Author Archives: narvd444

Final Week – Dario Narvaez – Final

(To see the process of building the necklace, please go to this link in Instructables)

The concept of this idea is supported by creating an object that hides messages, that are revealed by the act of time and curiosity. I believe artifacts should be mediums for playful and memorable experiences, where its attributes don’t scream for attention.

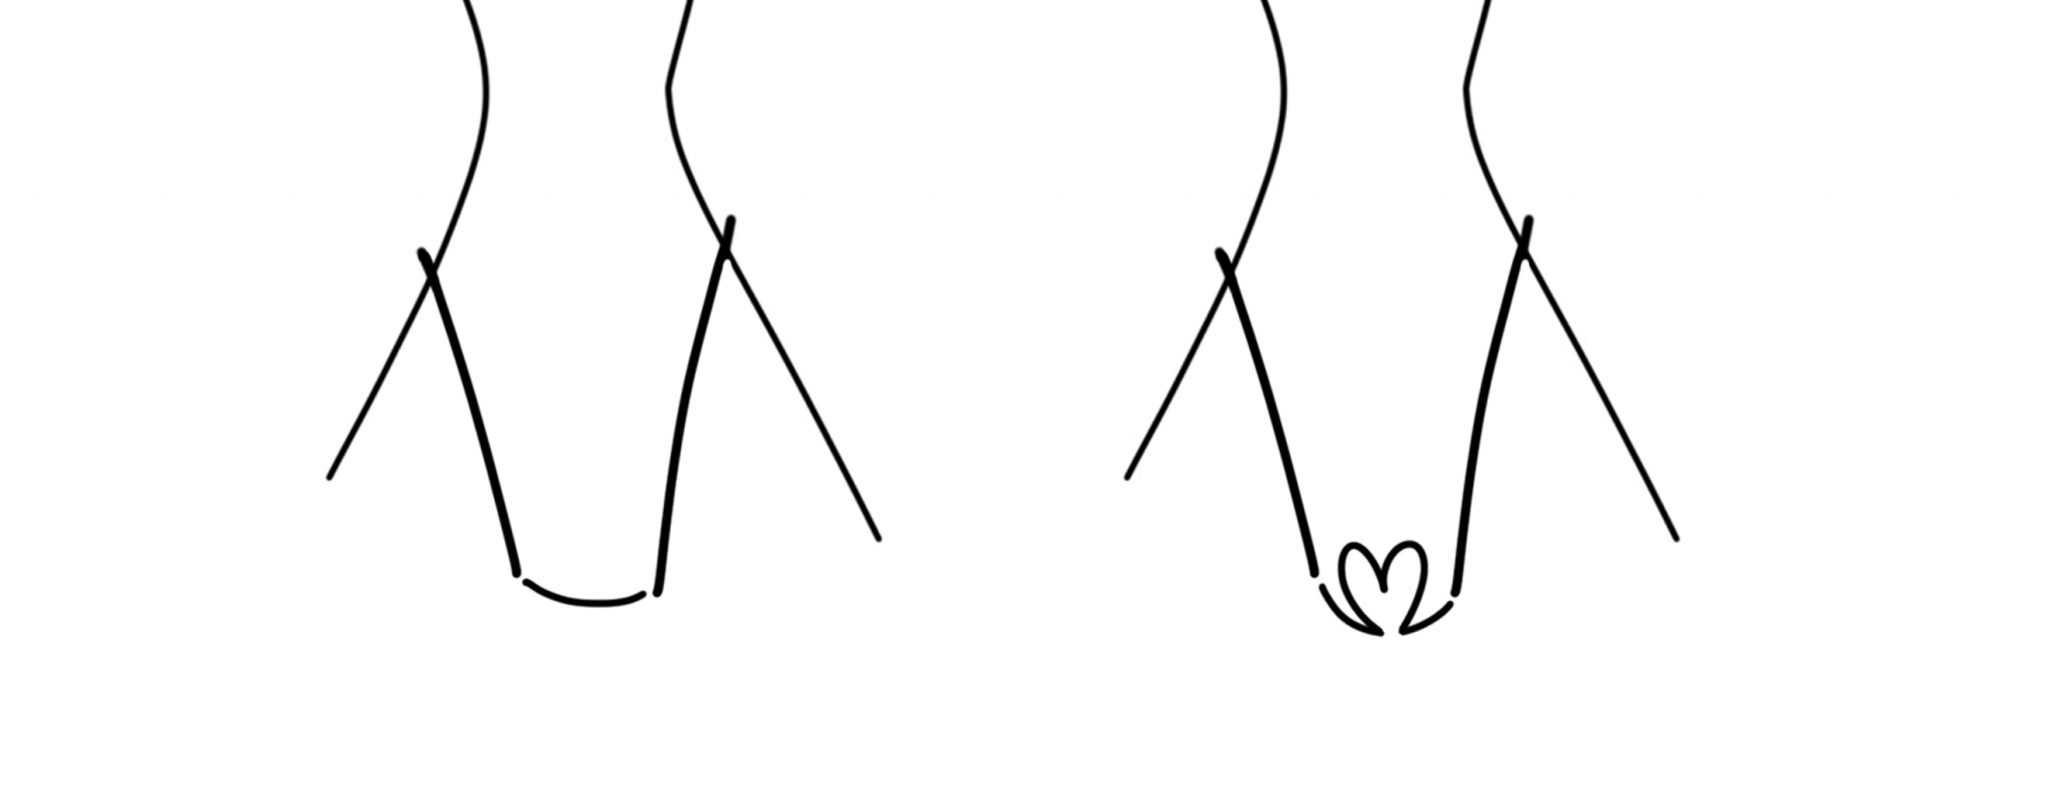
The object makes use of the iconic act of ‘hugging’ as a symbol of friendship, connection, bond and support, and also as the switch for the necklace to change state and shape, and to reveal a new message.


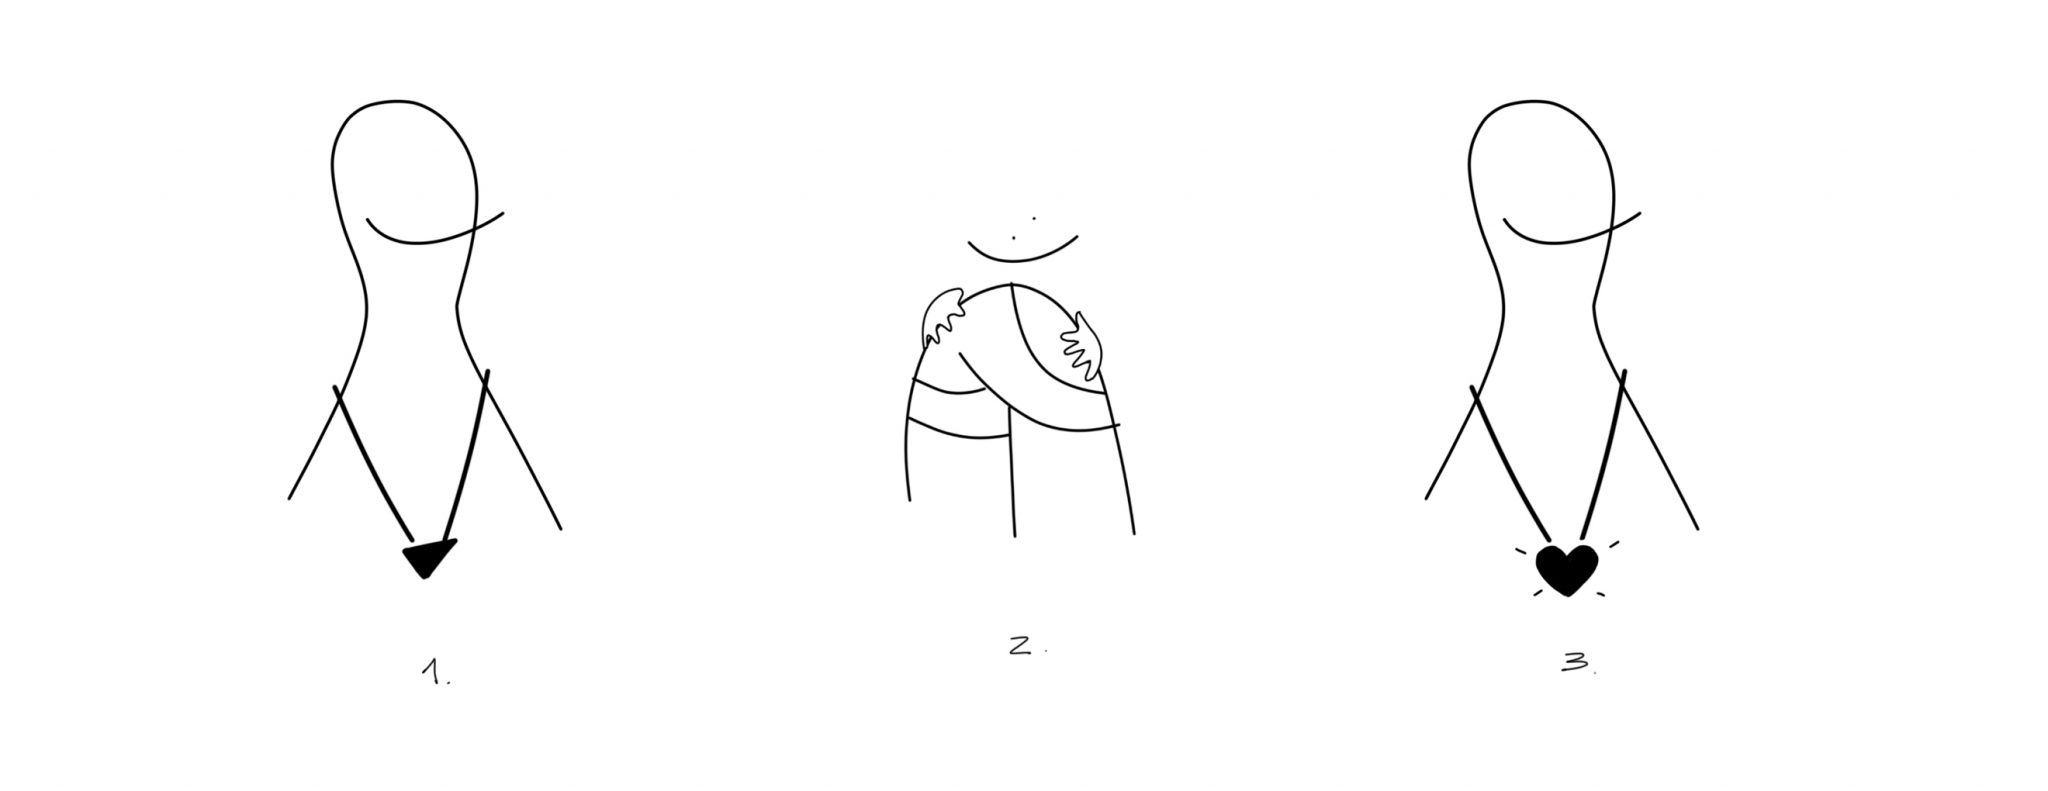
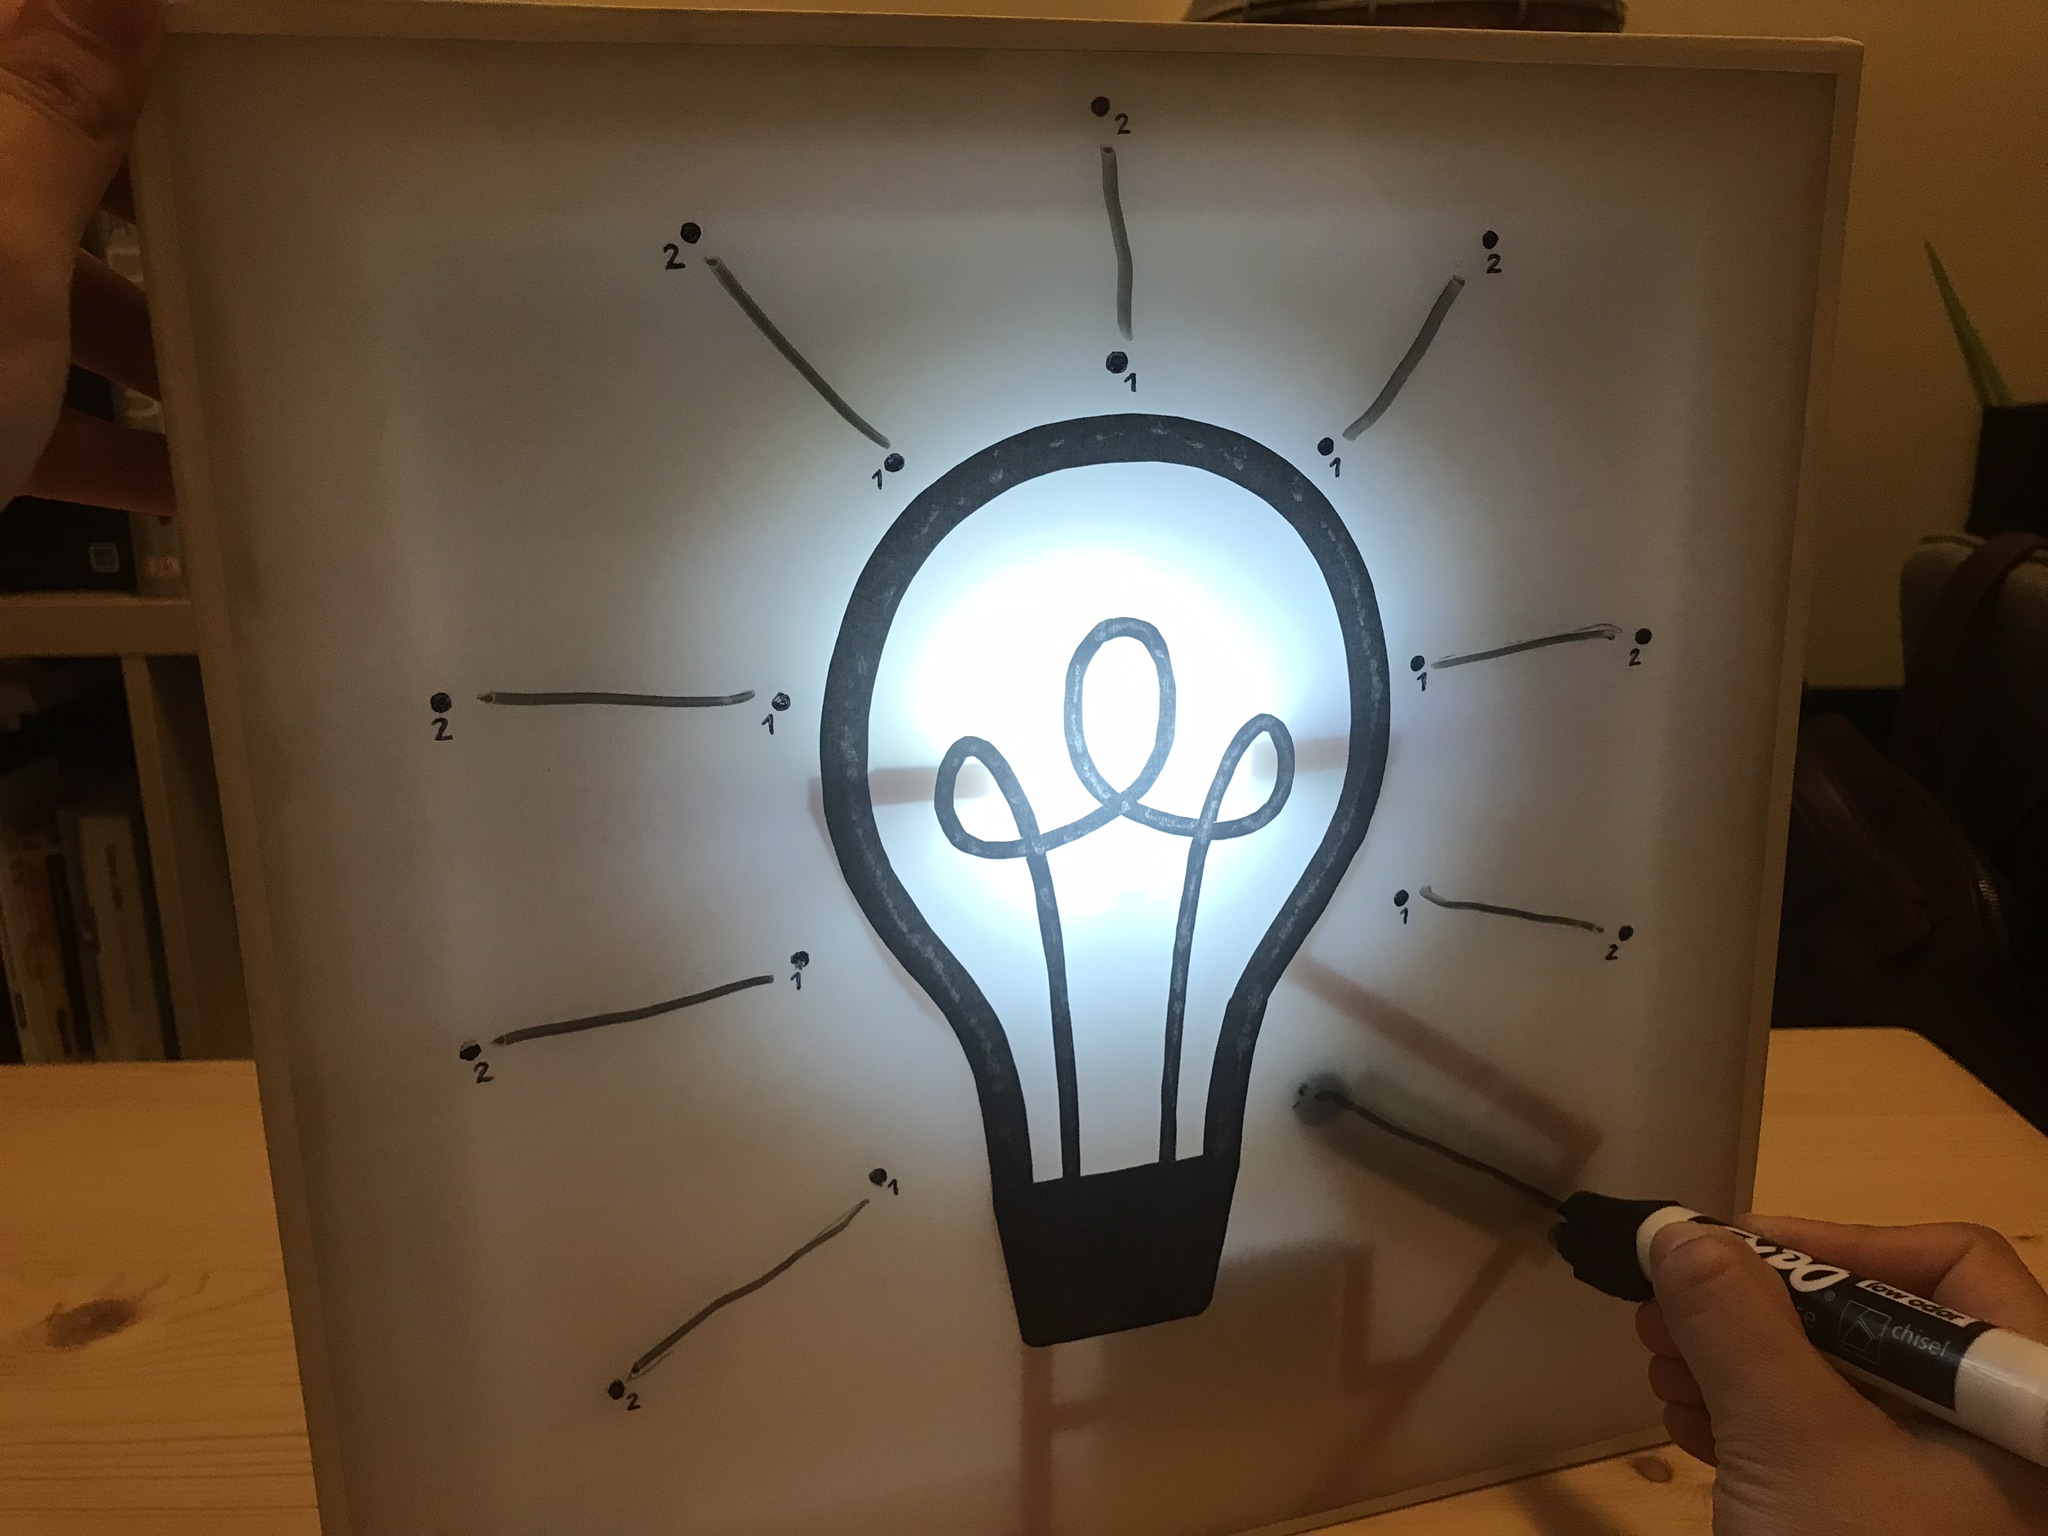
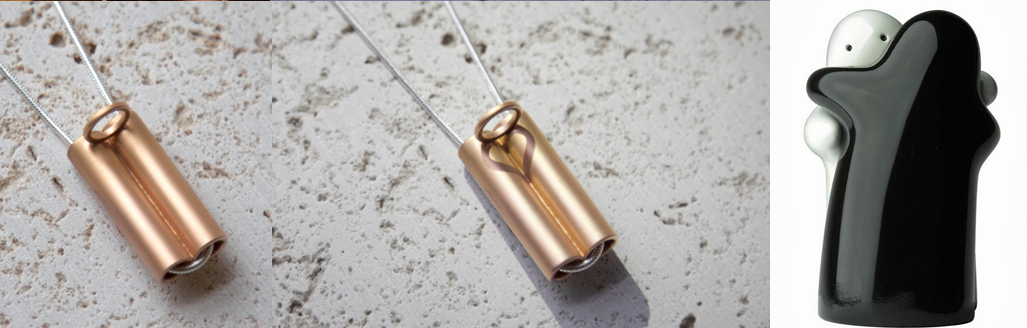
Two important precedents of Emotional Design: Invisible Love, a necklace I designed this year, is a unique and minimal piece of jewelry that highlights the relationship between light, shadow, and form; together these elements cleverly harmonize to create the iconic heart shape that reinforces the bonds between people like “the lassos of love”. This object aims to delve in “new links” that are revealed by the action of factors such as time, fortuity, surprise and curiosity, sustained and inspired by love.

As this necklace, this project aims to be a piece that embrace the communication of feelings by creating emotional bonds between people. The intention is to let people create unique values and meanings that extend the symbolic, functional and formal life of the object.

Another object that inspires this project is Camila’s Hug, a salt and pepper shakers designed by Alberto Mantilla. An object inspired by the love for his daughter, which holds symbols of racial and gender equity through the use of the ‘hug’ as a symbol.

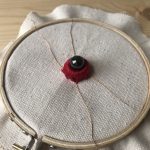
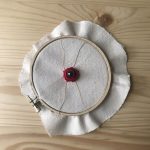
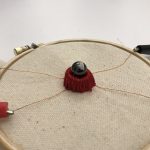
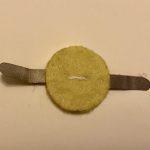
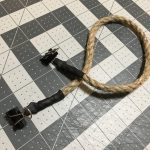
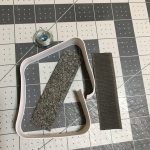
The necklace went through several tests and experiments. First, I decided to use trained flexinol around a cloth bag, which it’s contracted when current passes through the wire, taking the form of a heart-shaped wooden piece that is located in the center of the chain.

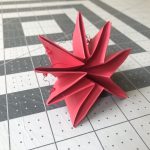
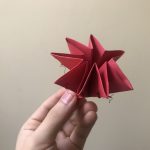
Continuing with the experiments with trained flexinol, I tried having a cleaner shape by placing the wire inside a rubber tube, whose volume contains living hinges. The idea was that the rod could take the shape of a heart when the wire was activated by heat. Unfortunately, the flexinol coils while is contracting, making the rod also follow this behavior, and impossible for it to take the shape of the heart.

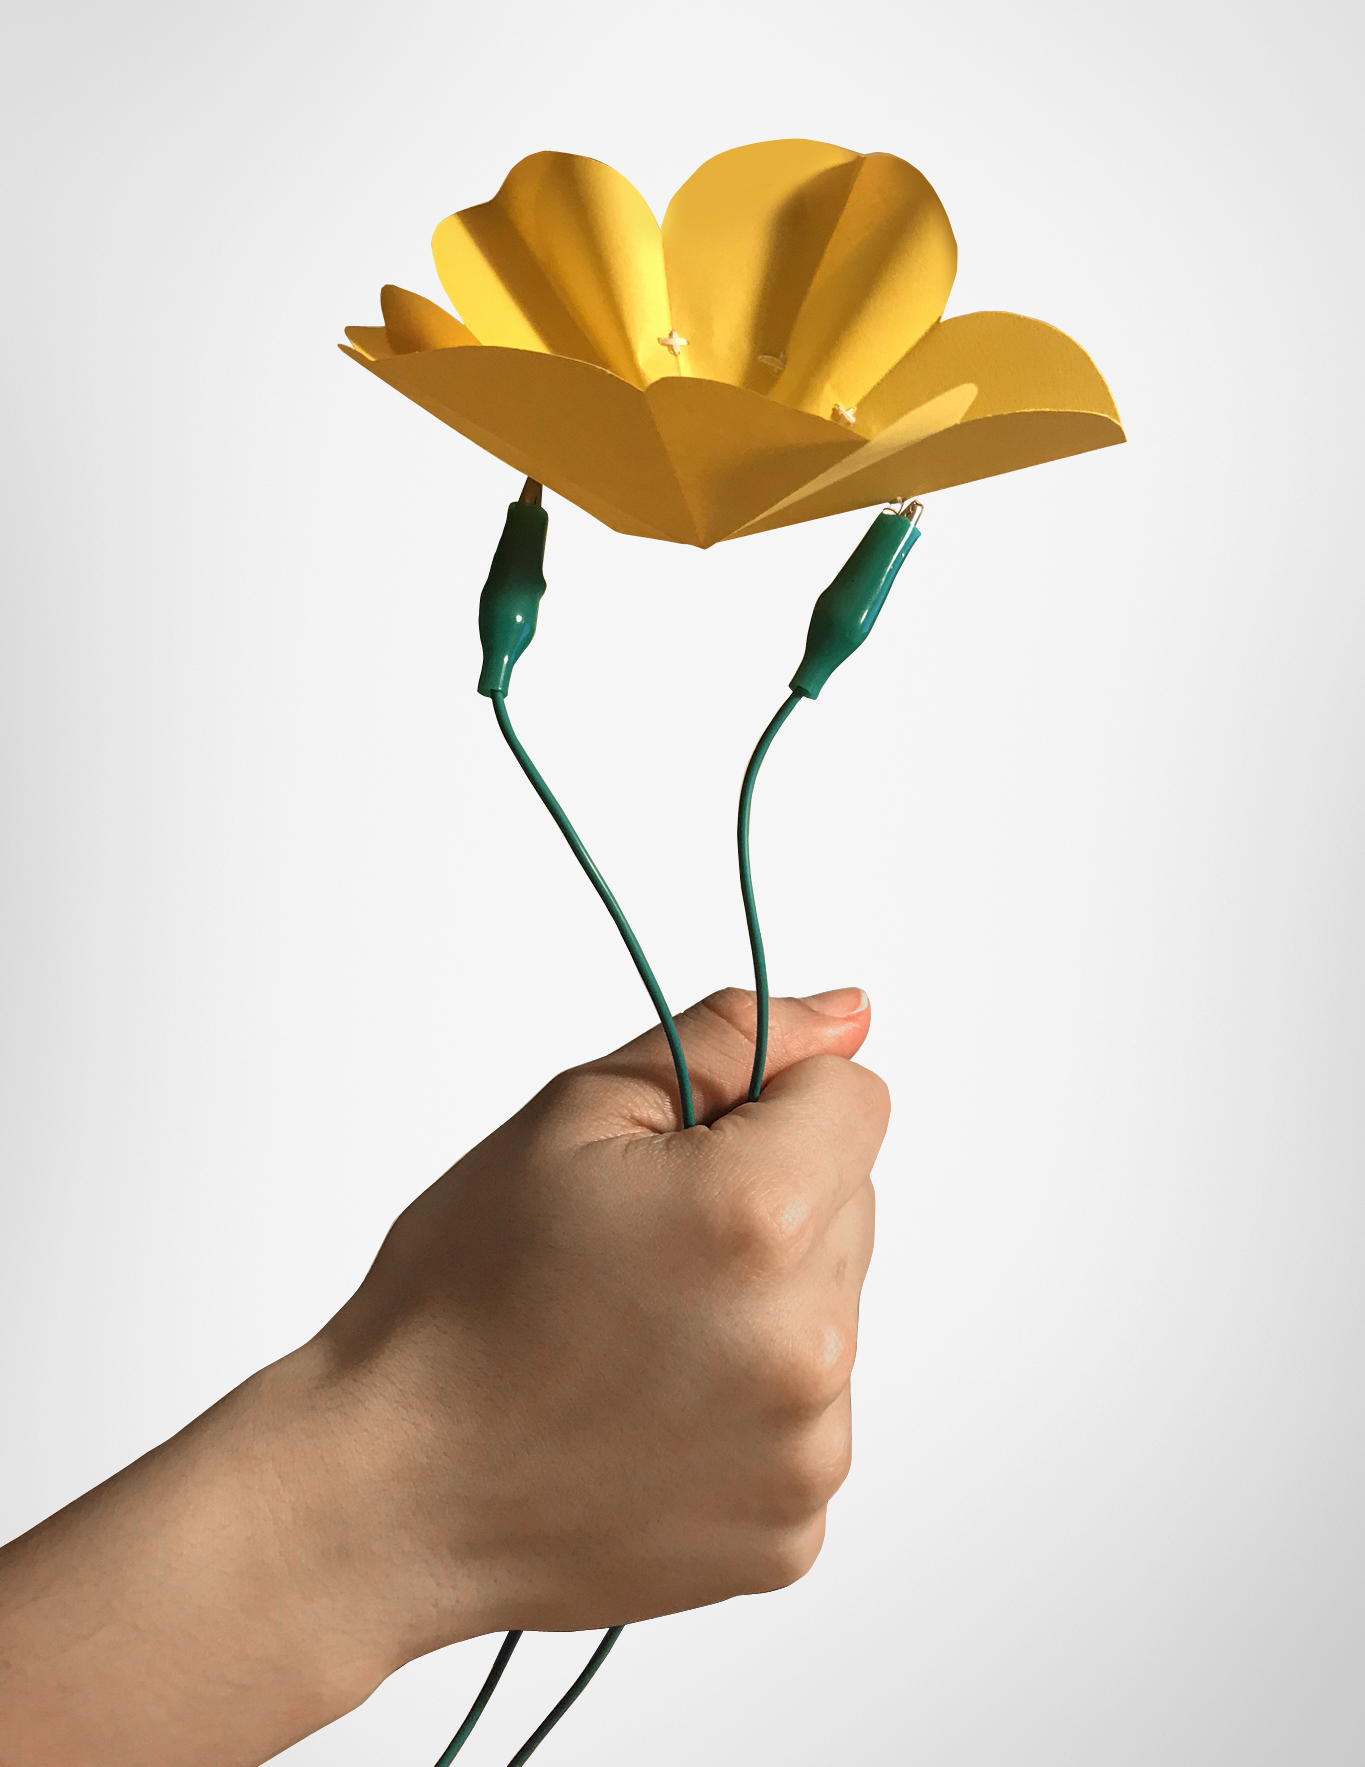
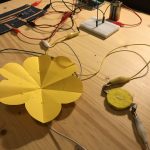
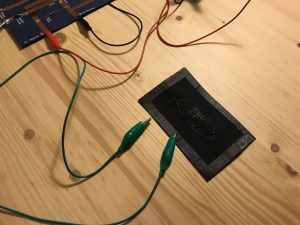
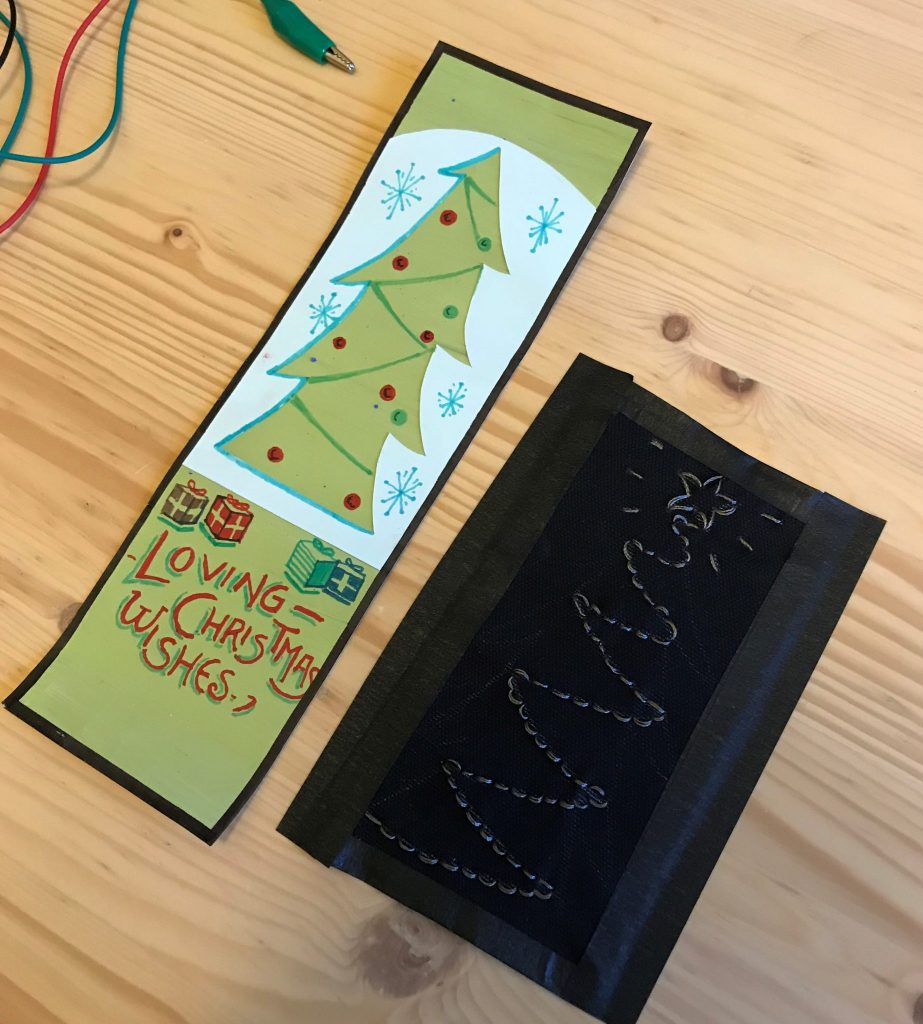
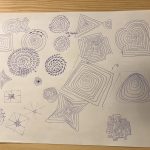
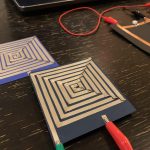
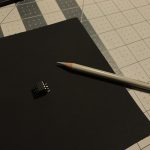
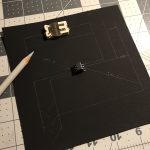
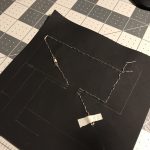
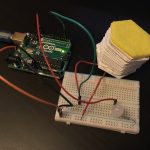
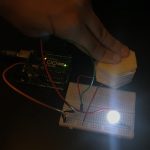
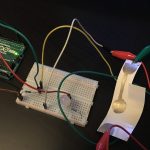
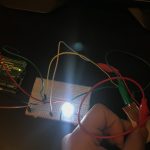
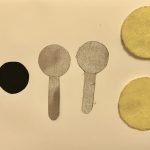
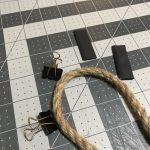
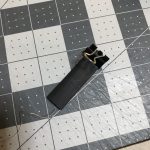
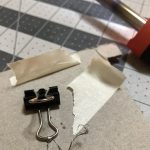
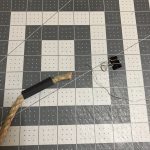
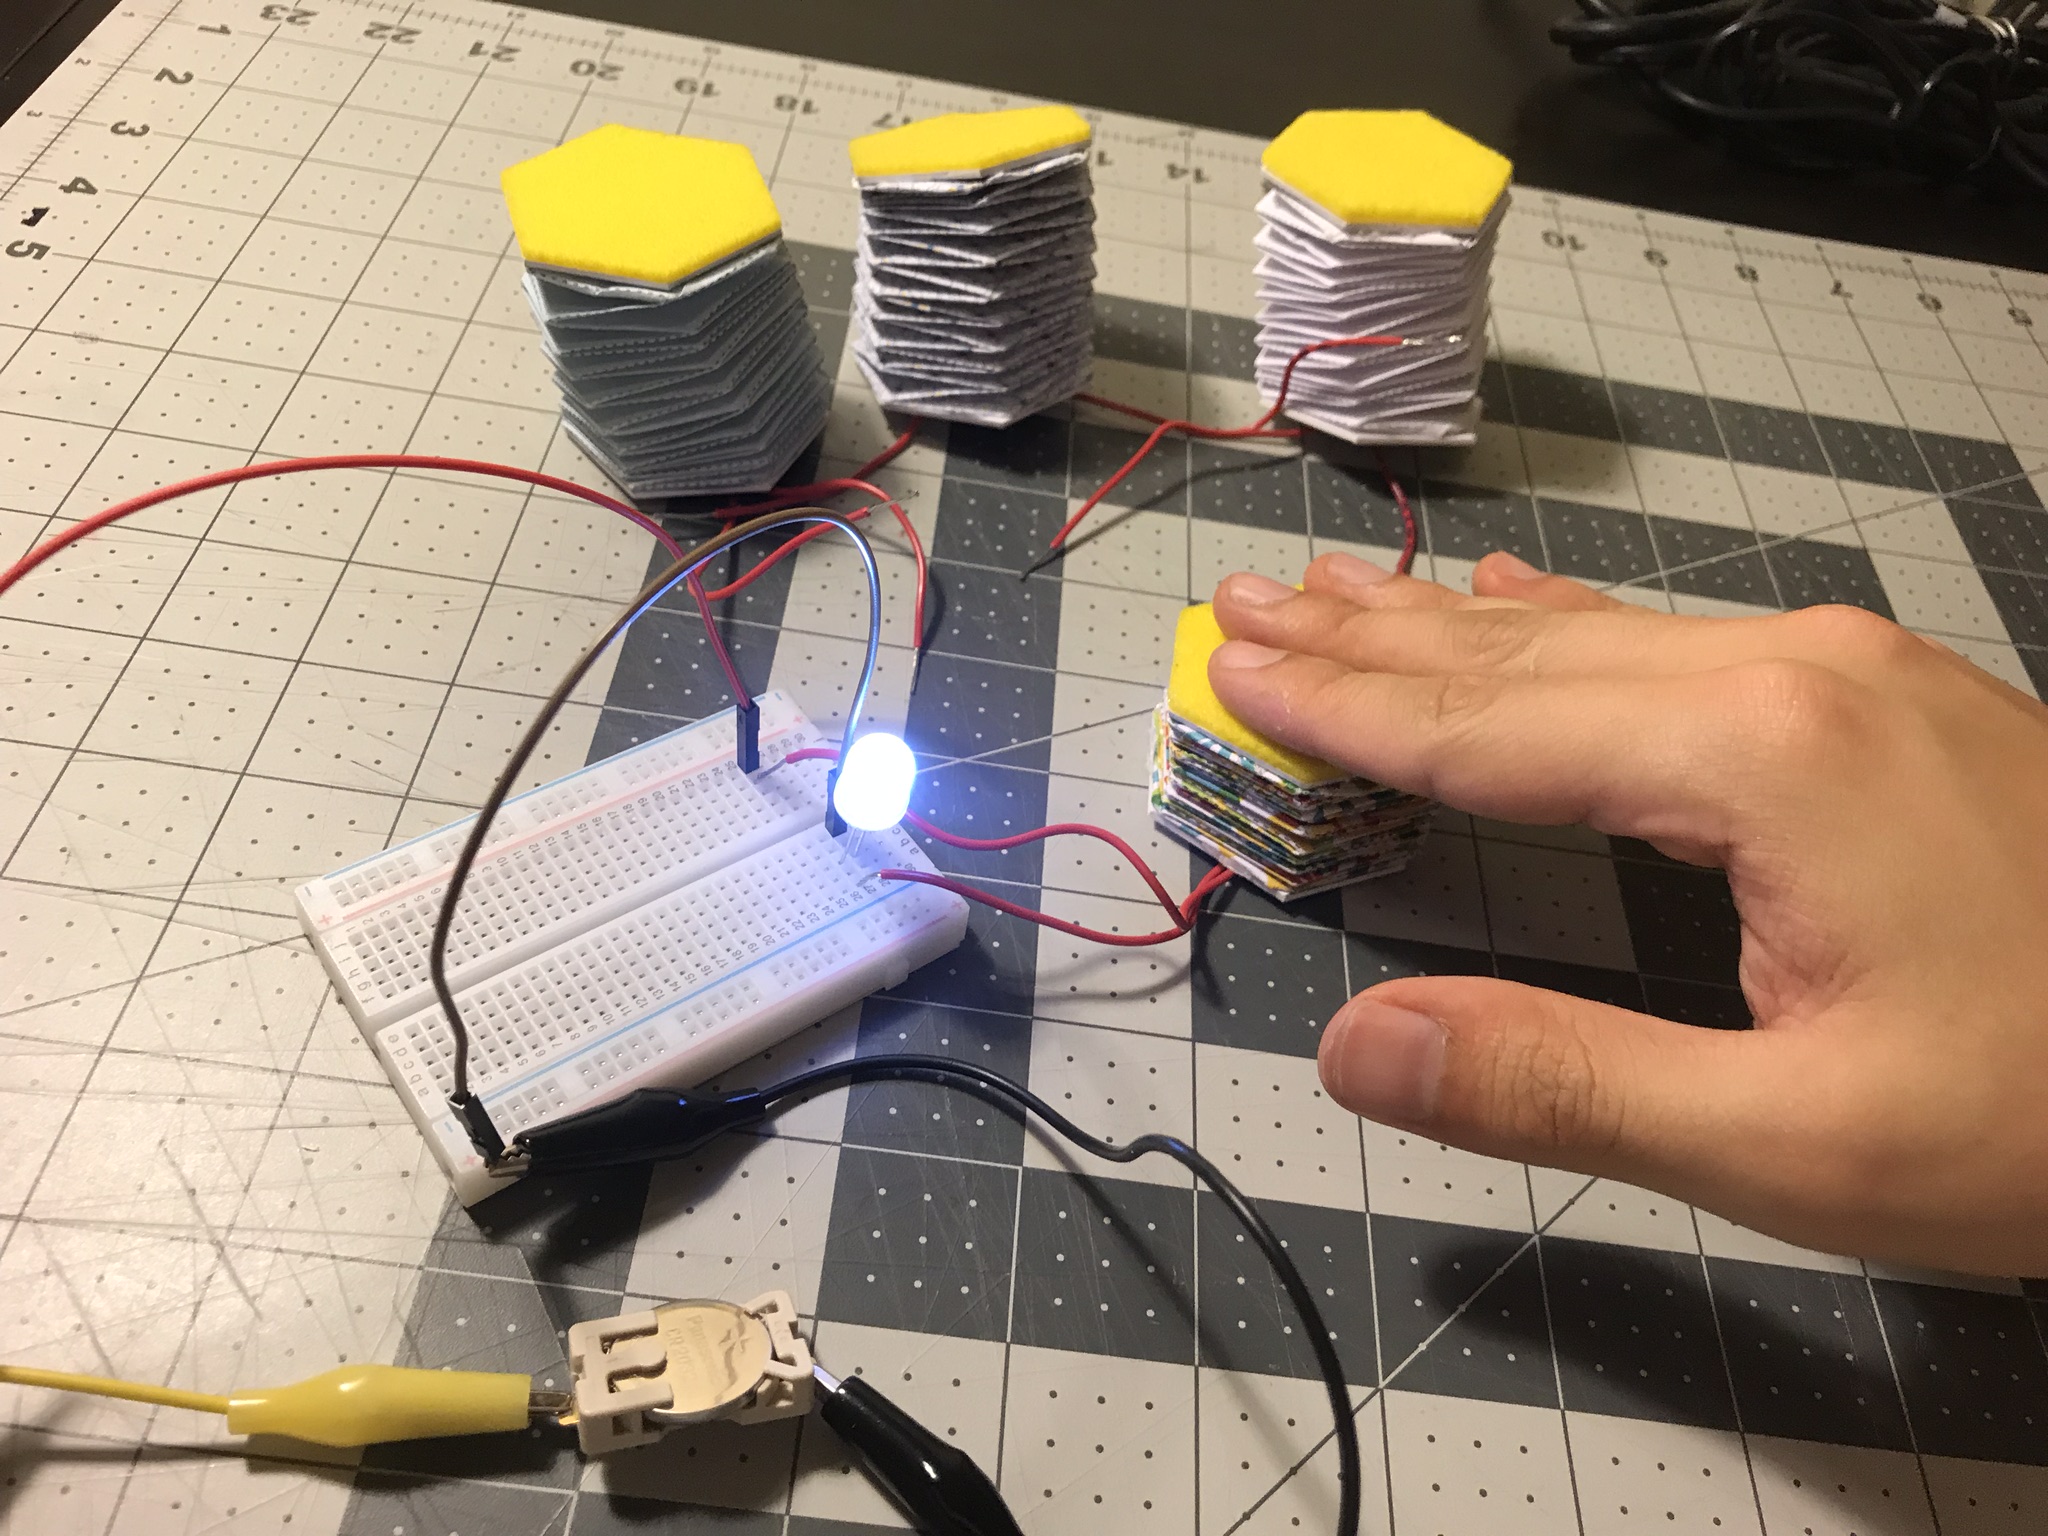
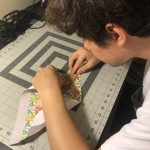
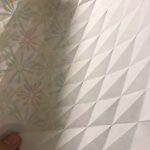
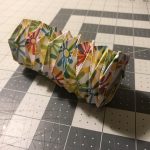
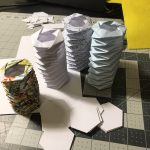
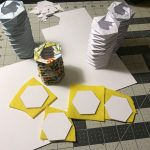
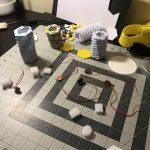
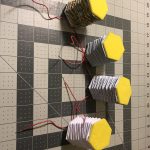
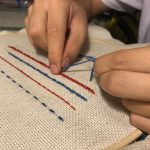
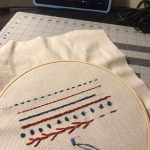
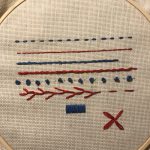
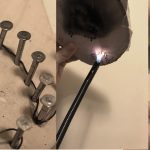
Many tests were also done with untrained flexinol. As in the previous experiment, I wanted to have a pure and clean shape at the start, and then changing the shape by activating the wire with heat. Many interesting learnings resulted from this experiment. I used a 0.012 “diameter flexinol wire that you can get here, which must be activated with 1.5Amps, a considerable amount of current. The wire must be programmed to take the desired shape. Here are some pictures of the process:

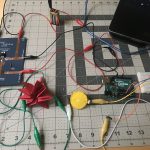
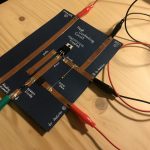
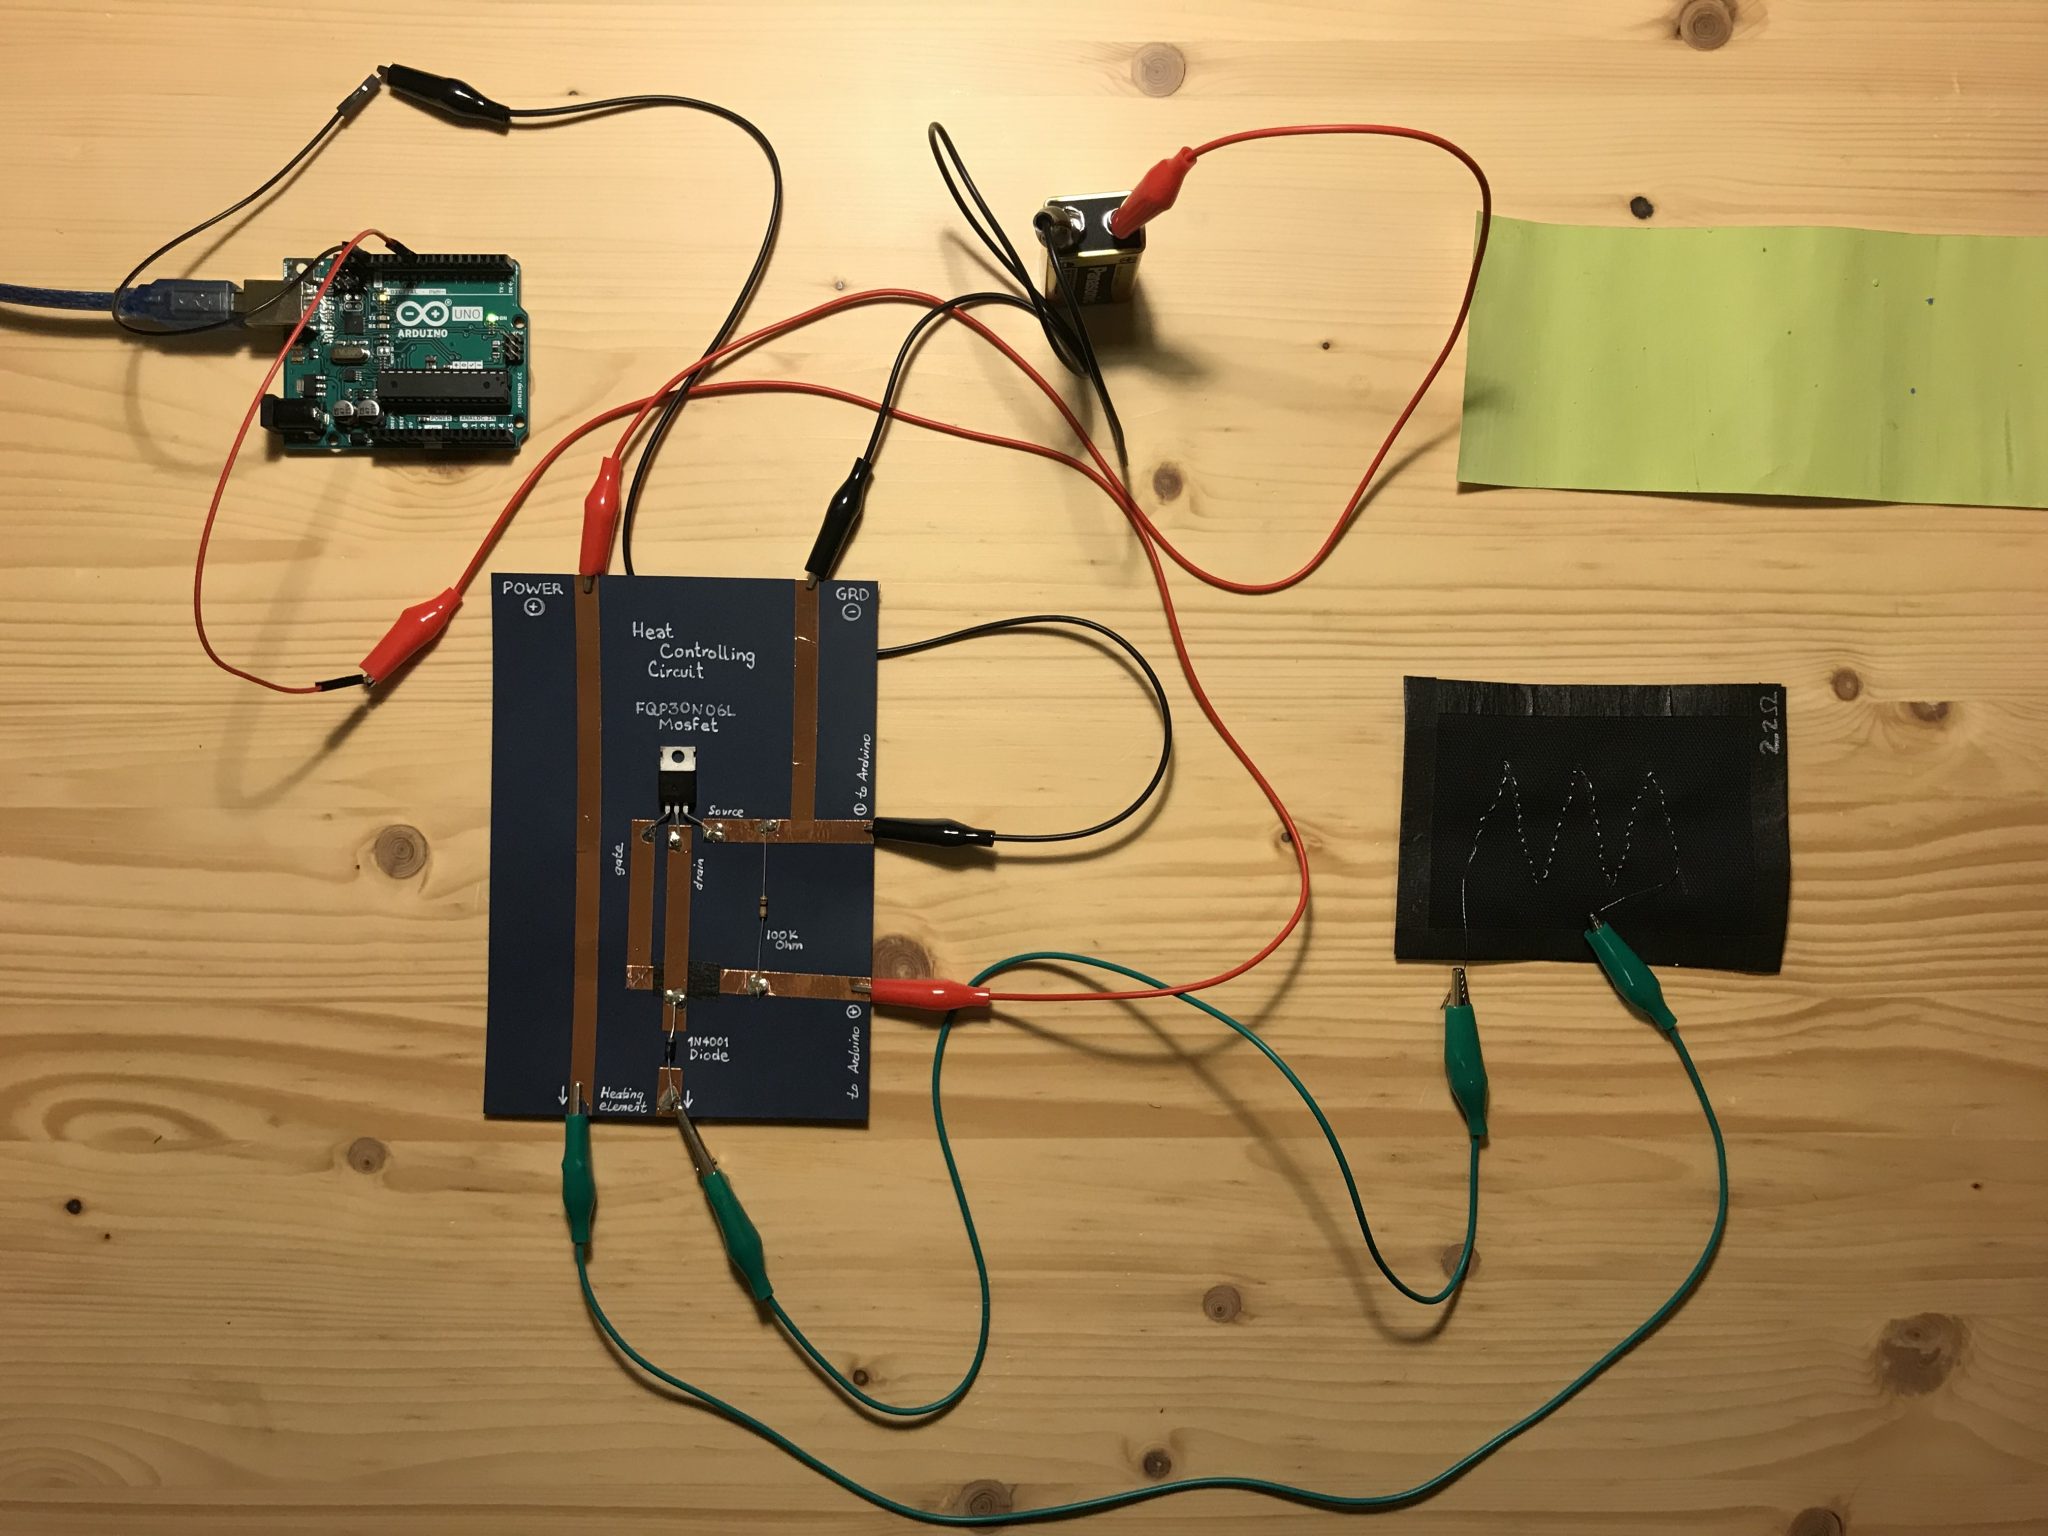
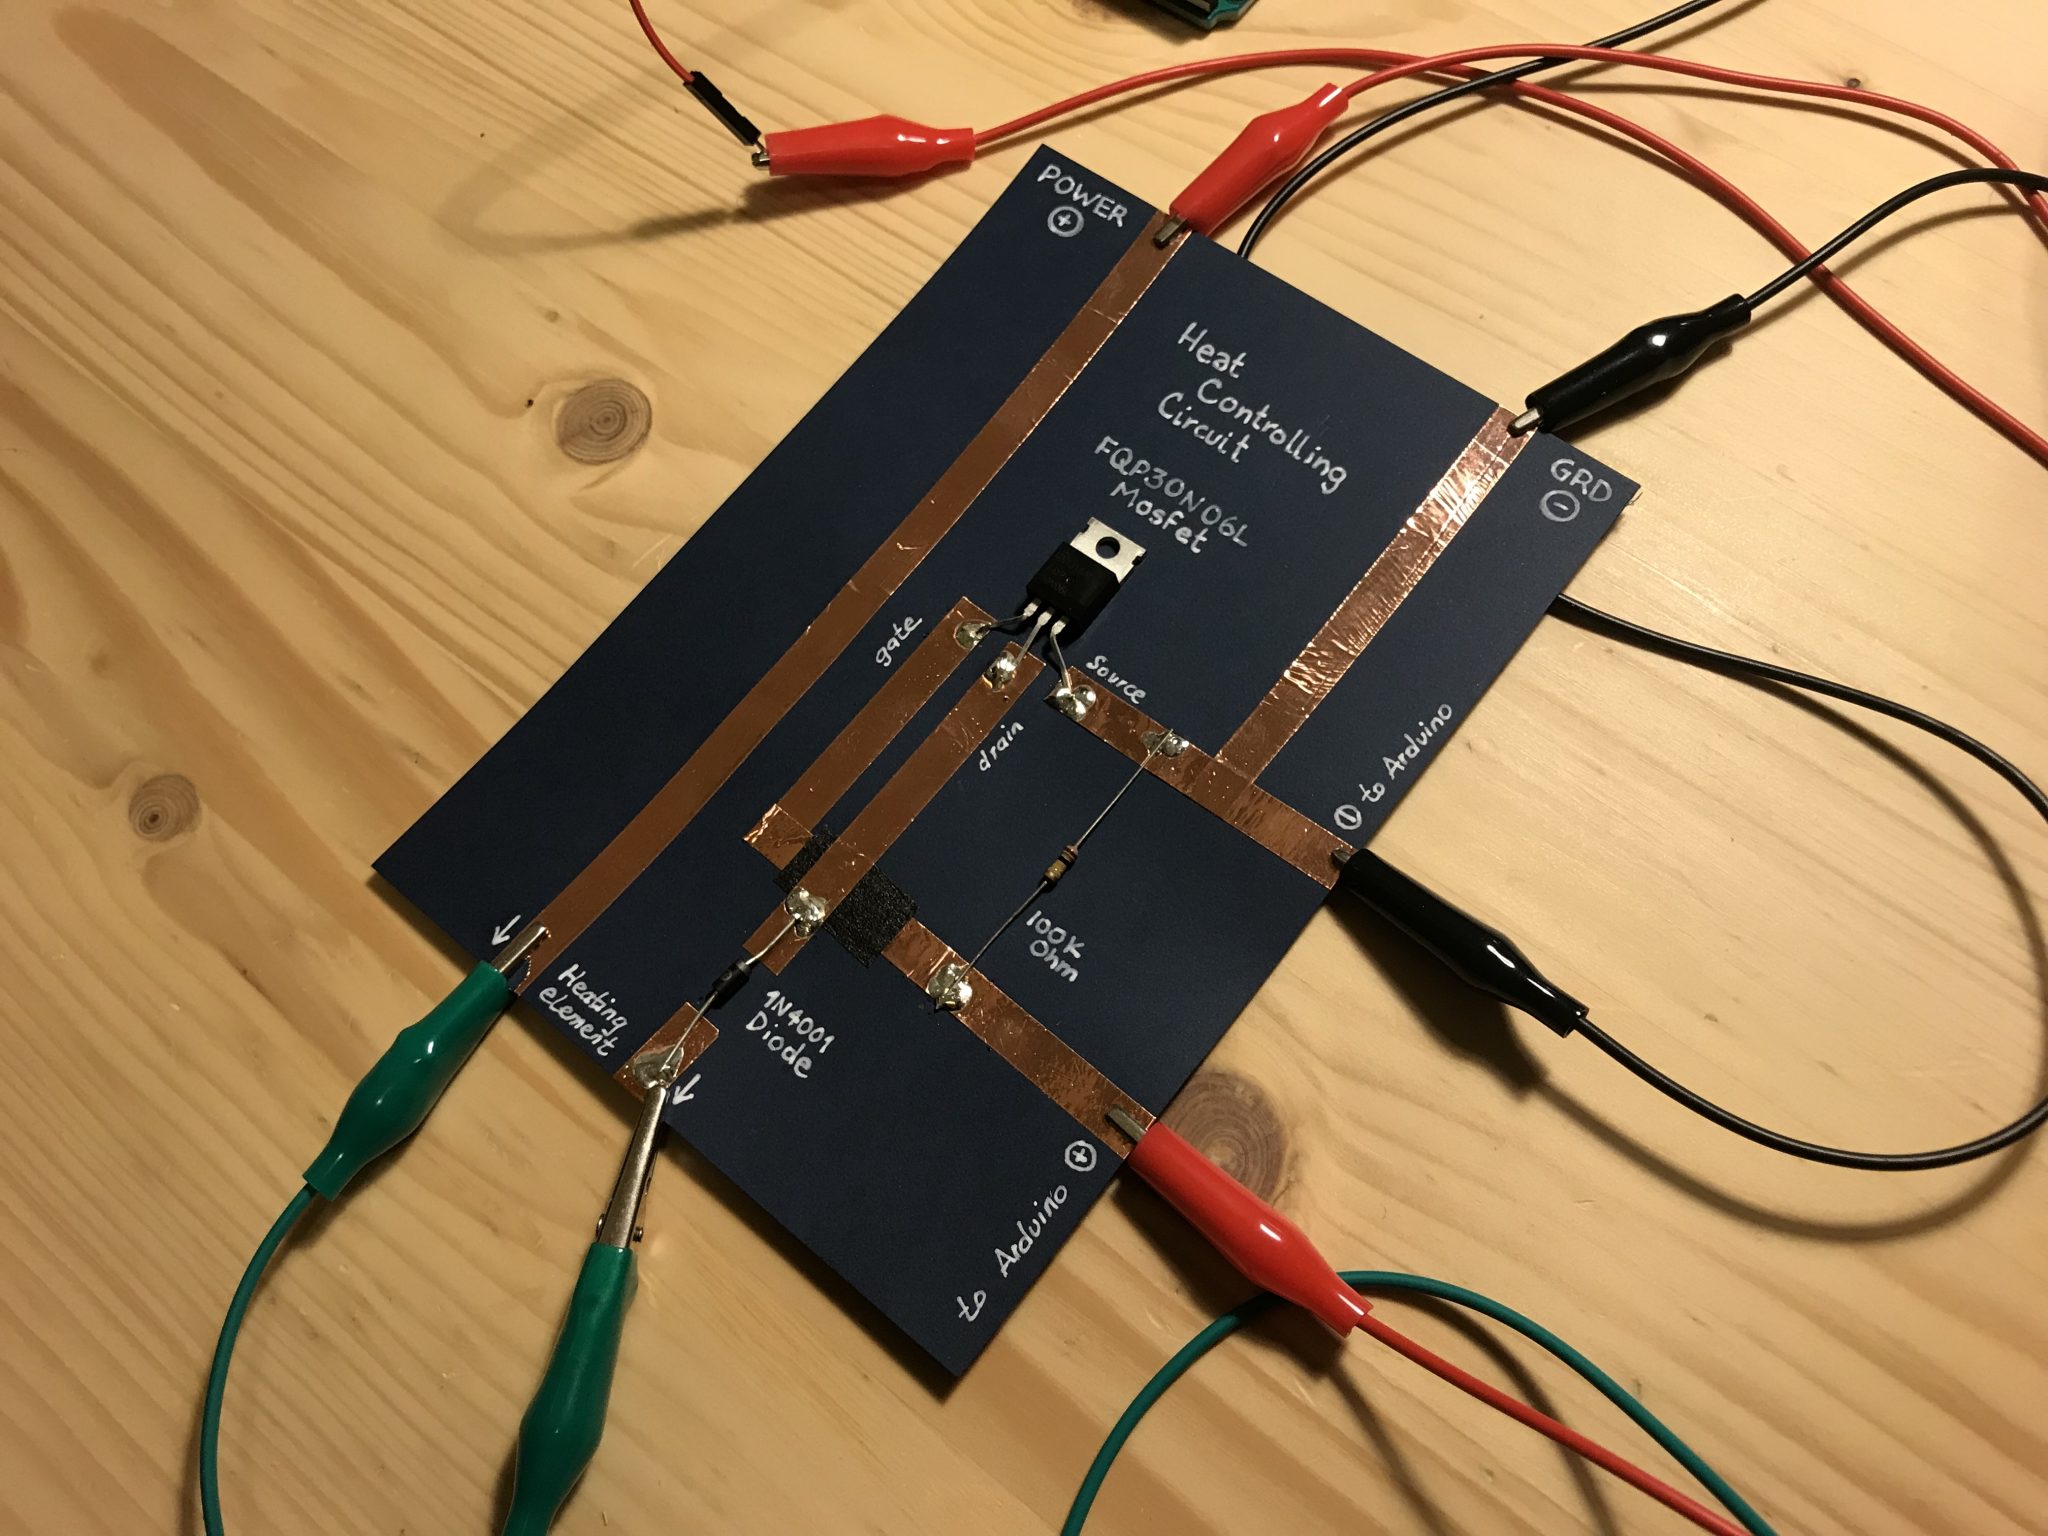
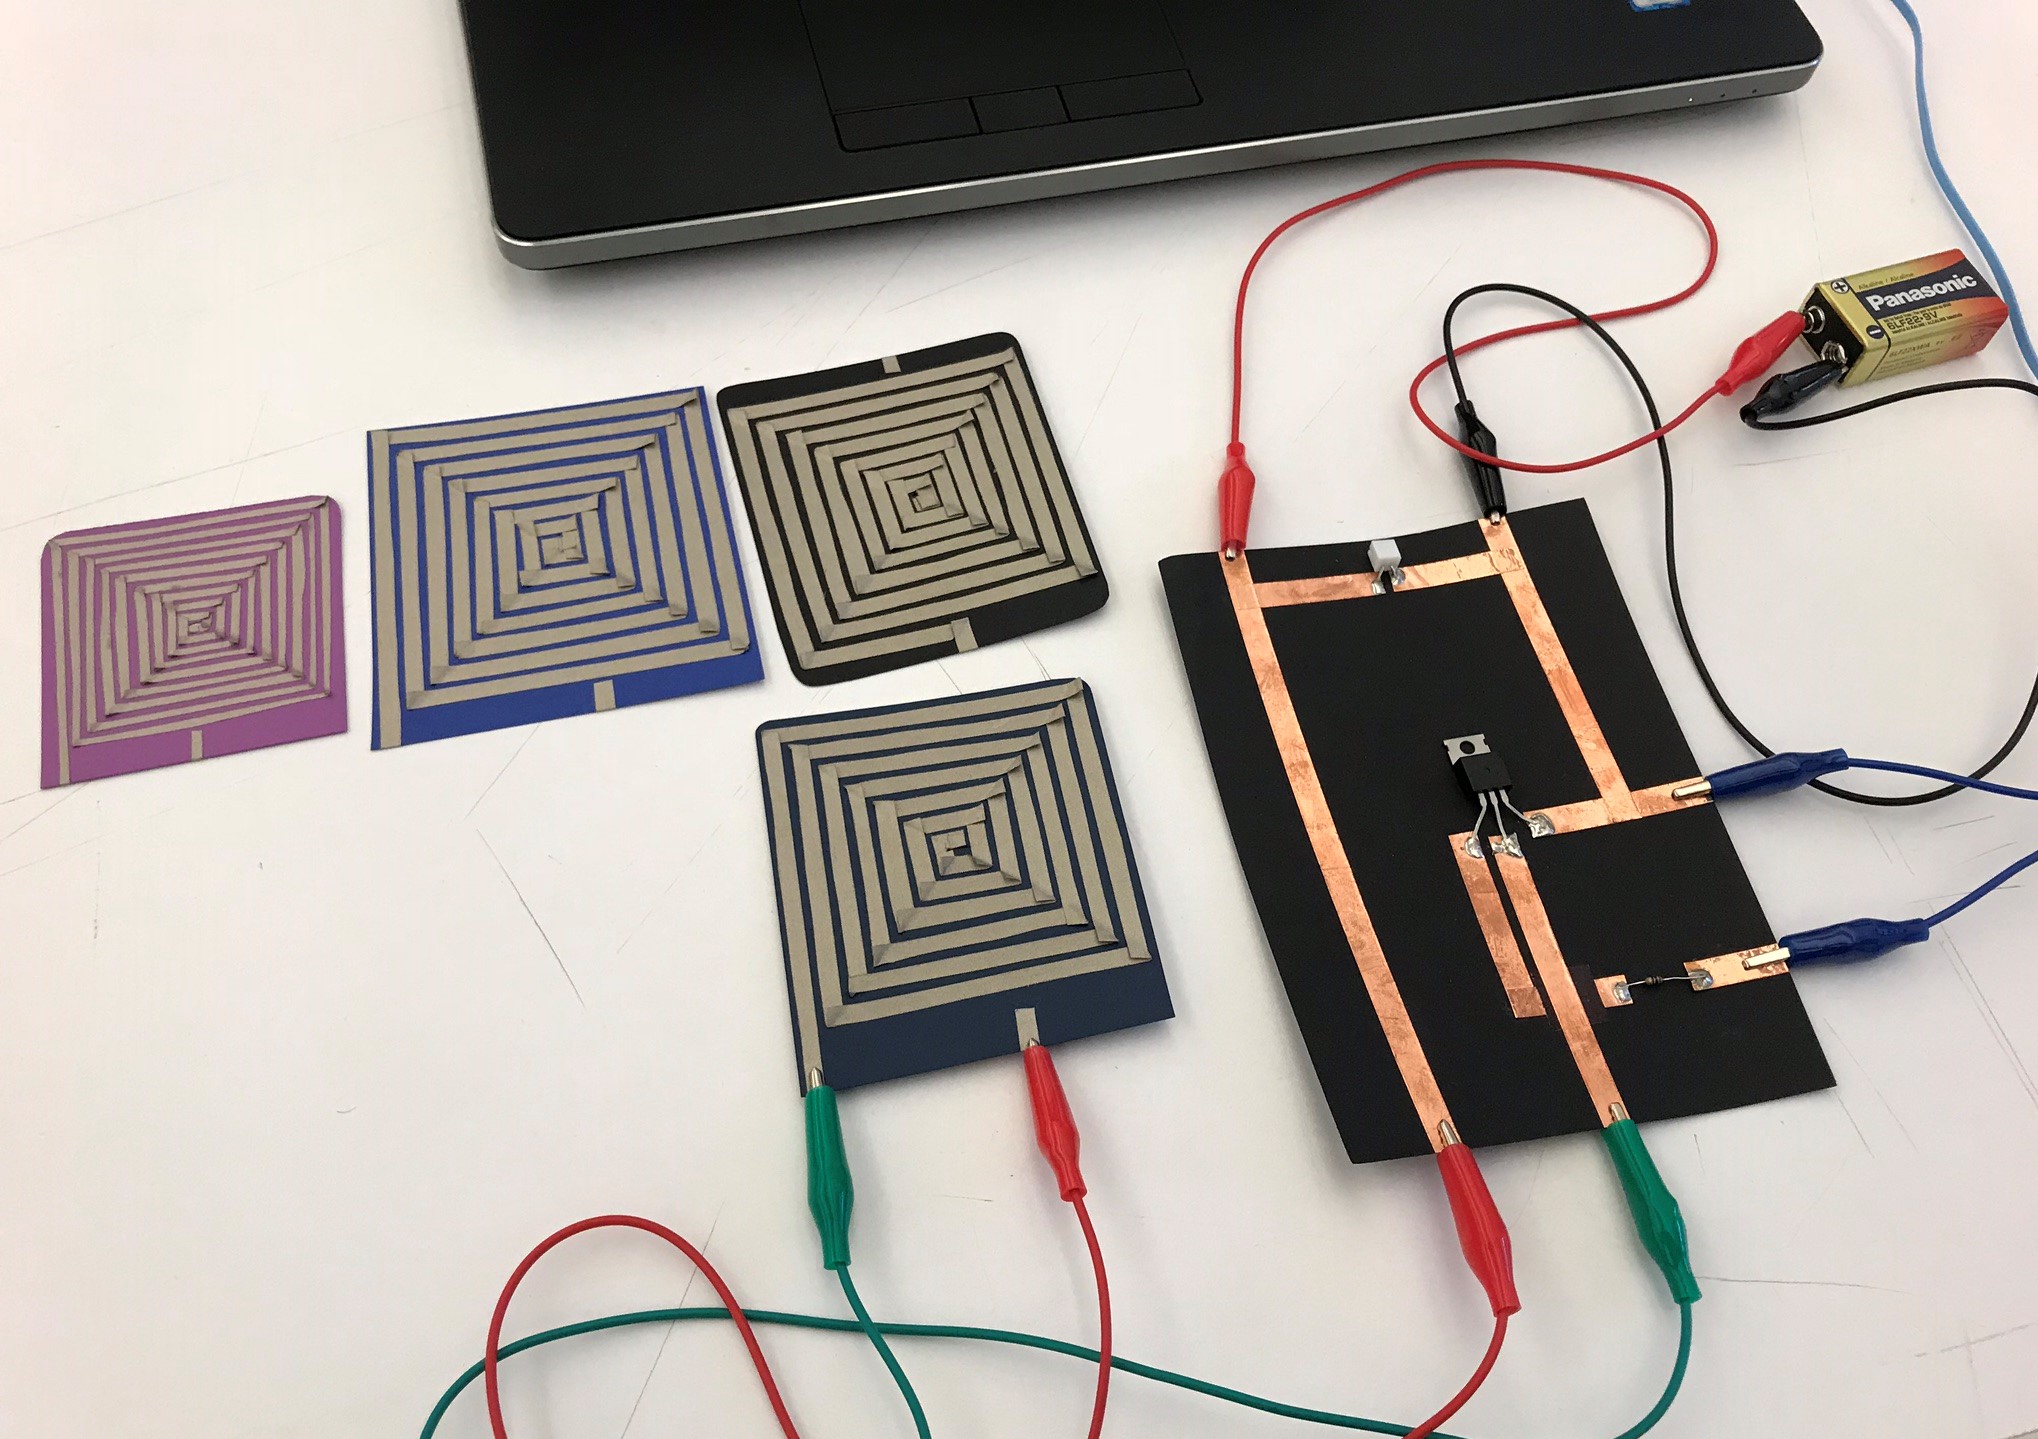
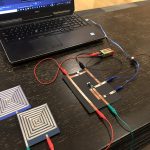
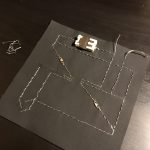
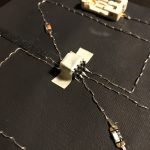
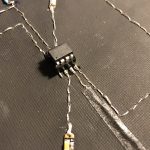
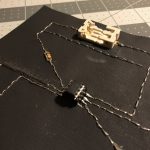
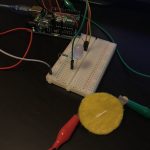
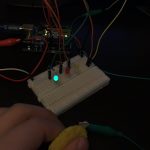
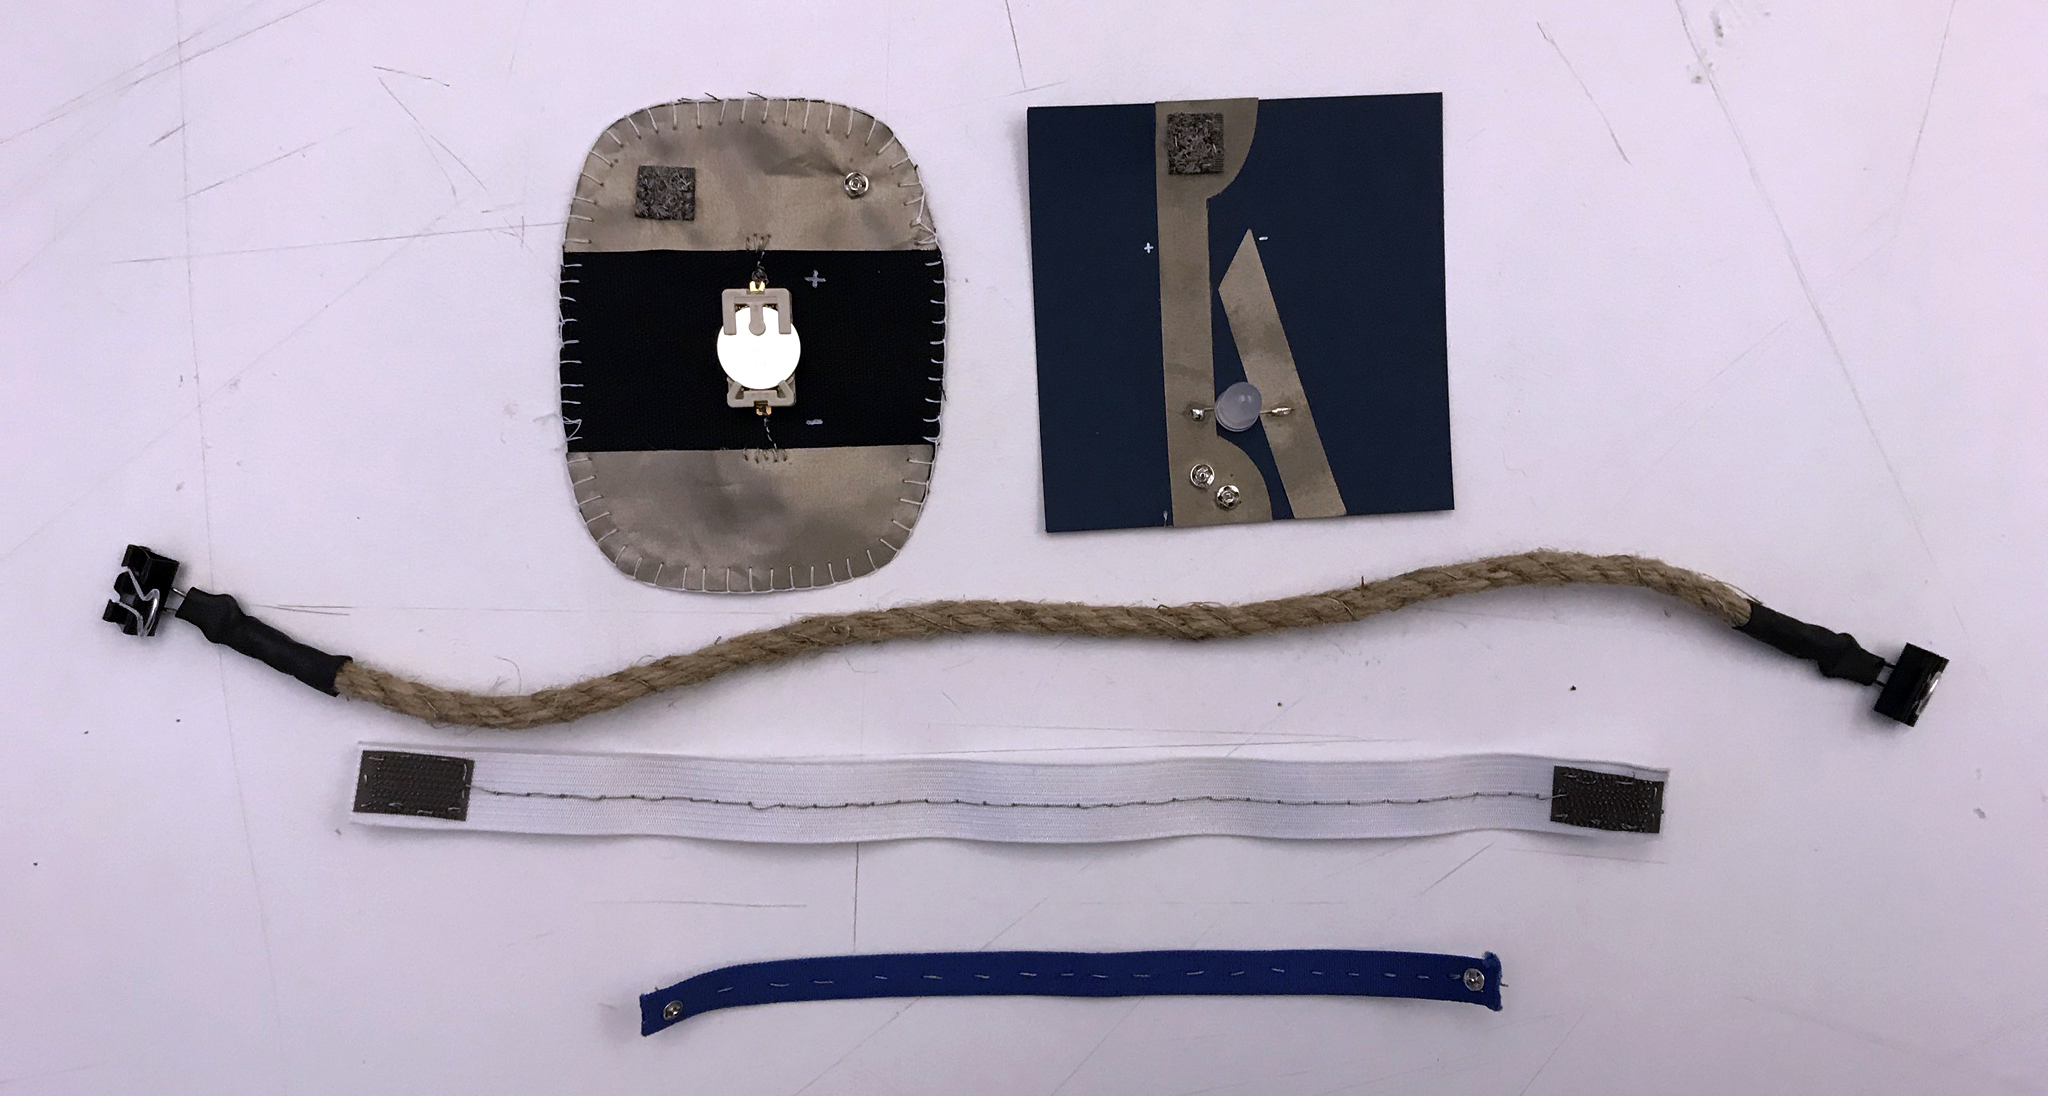
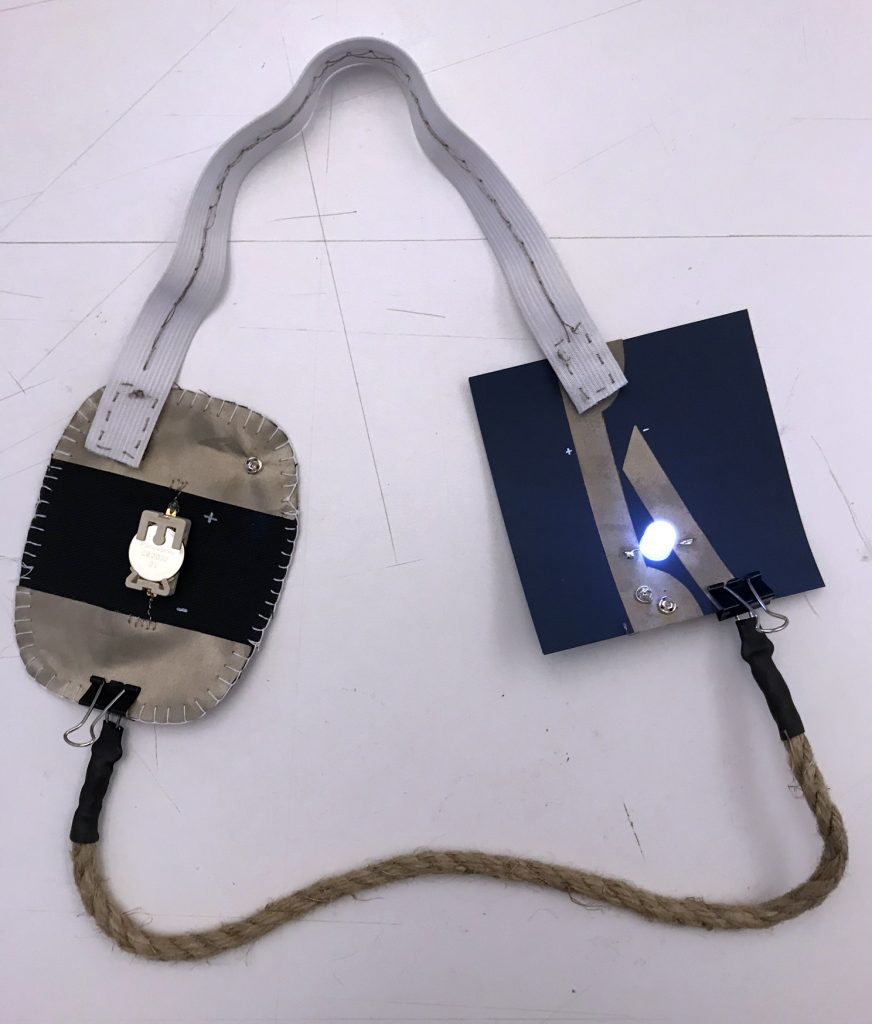
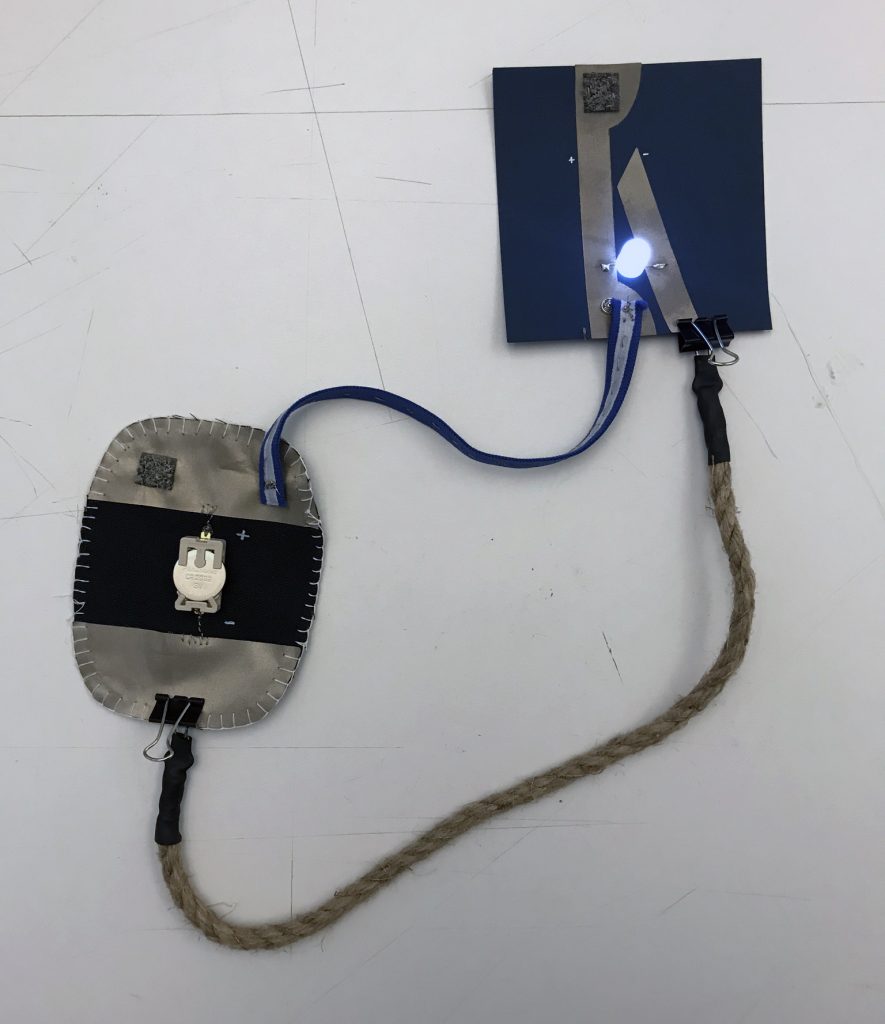
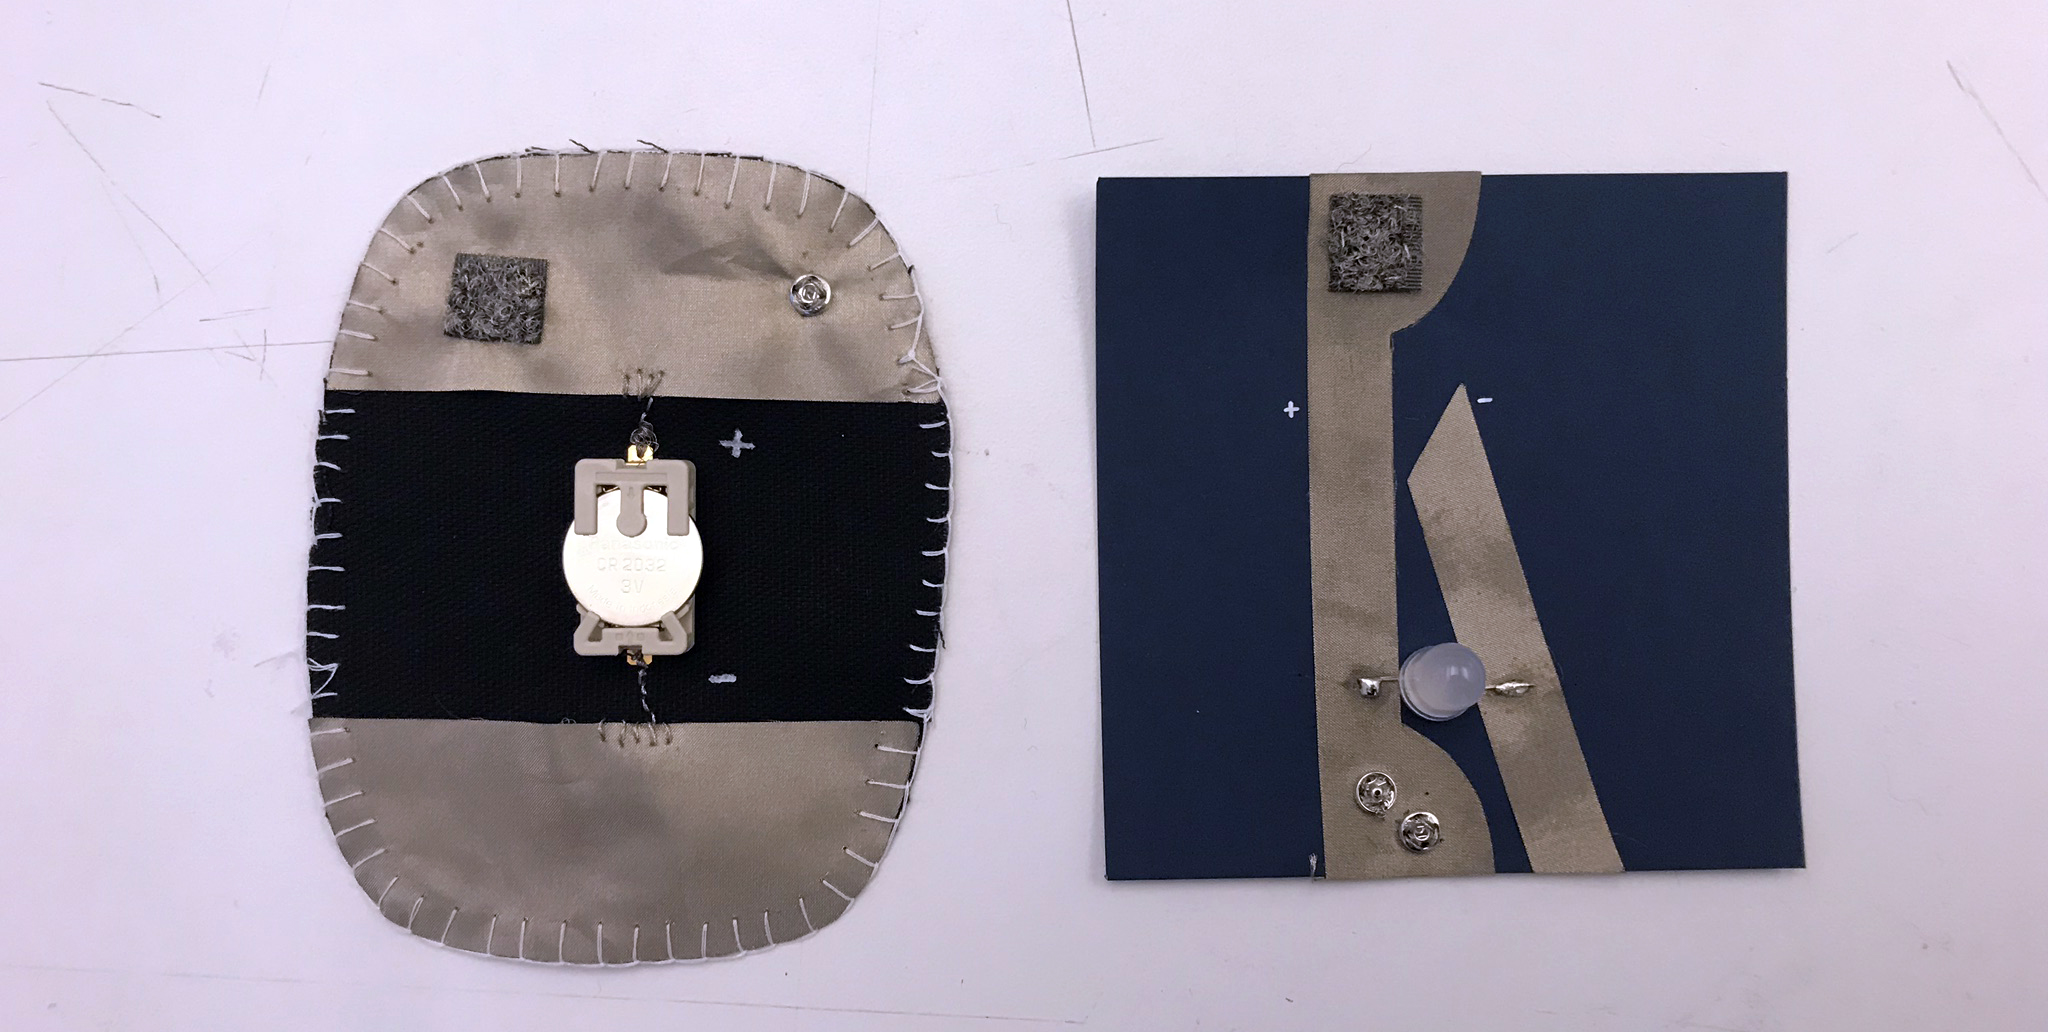
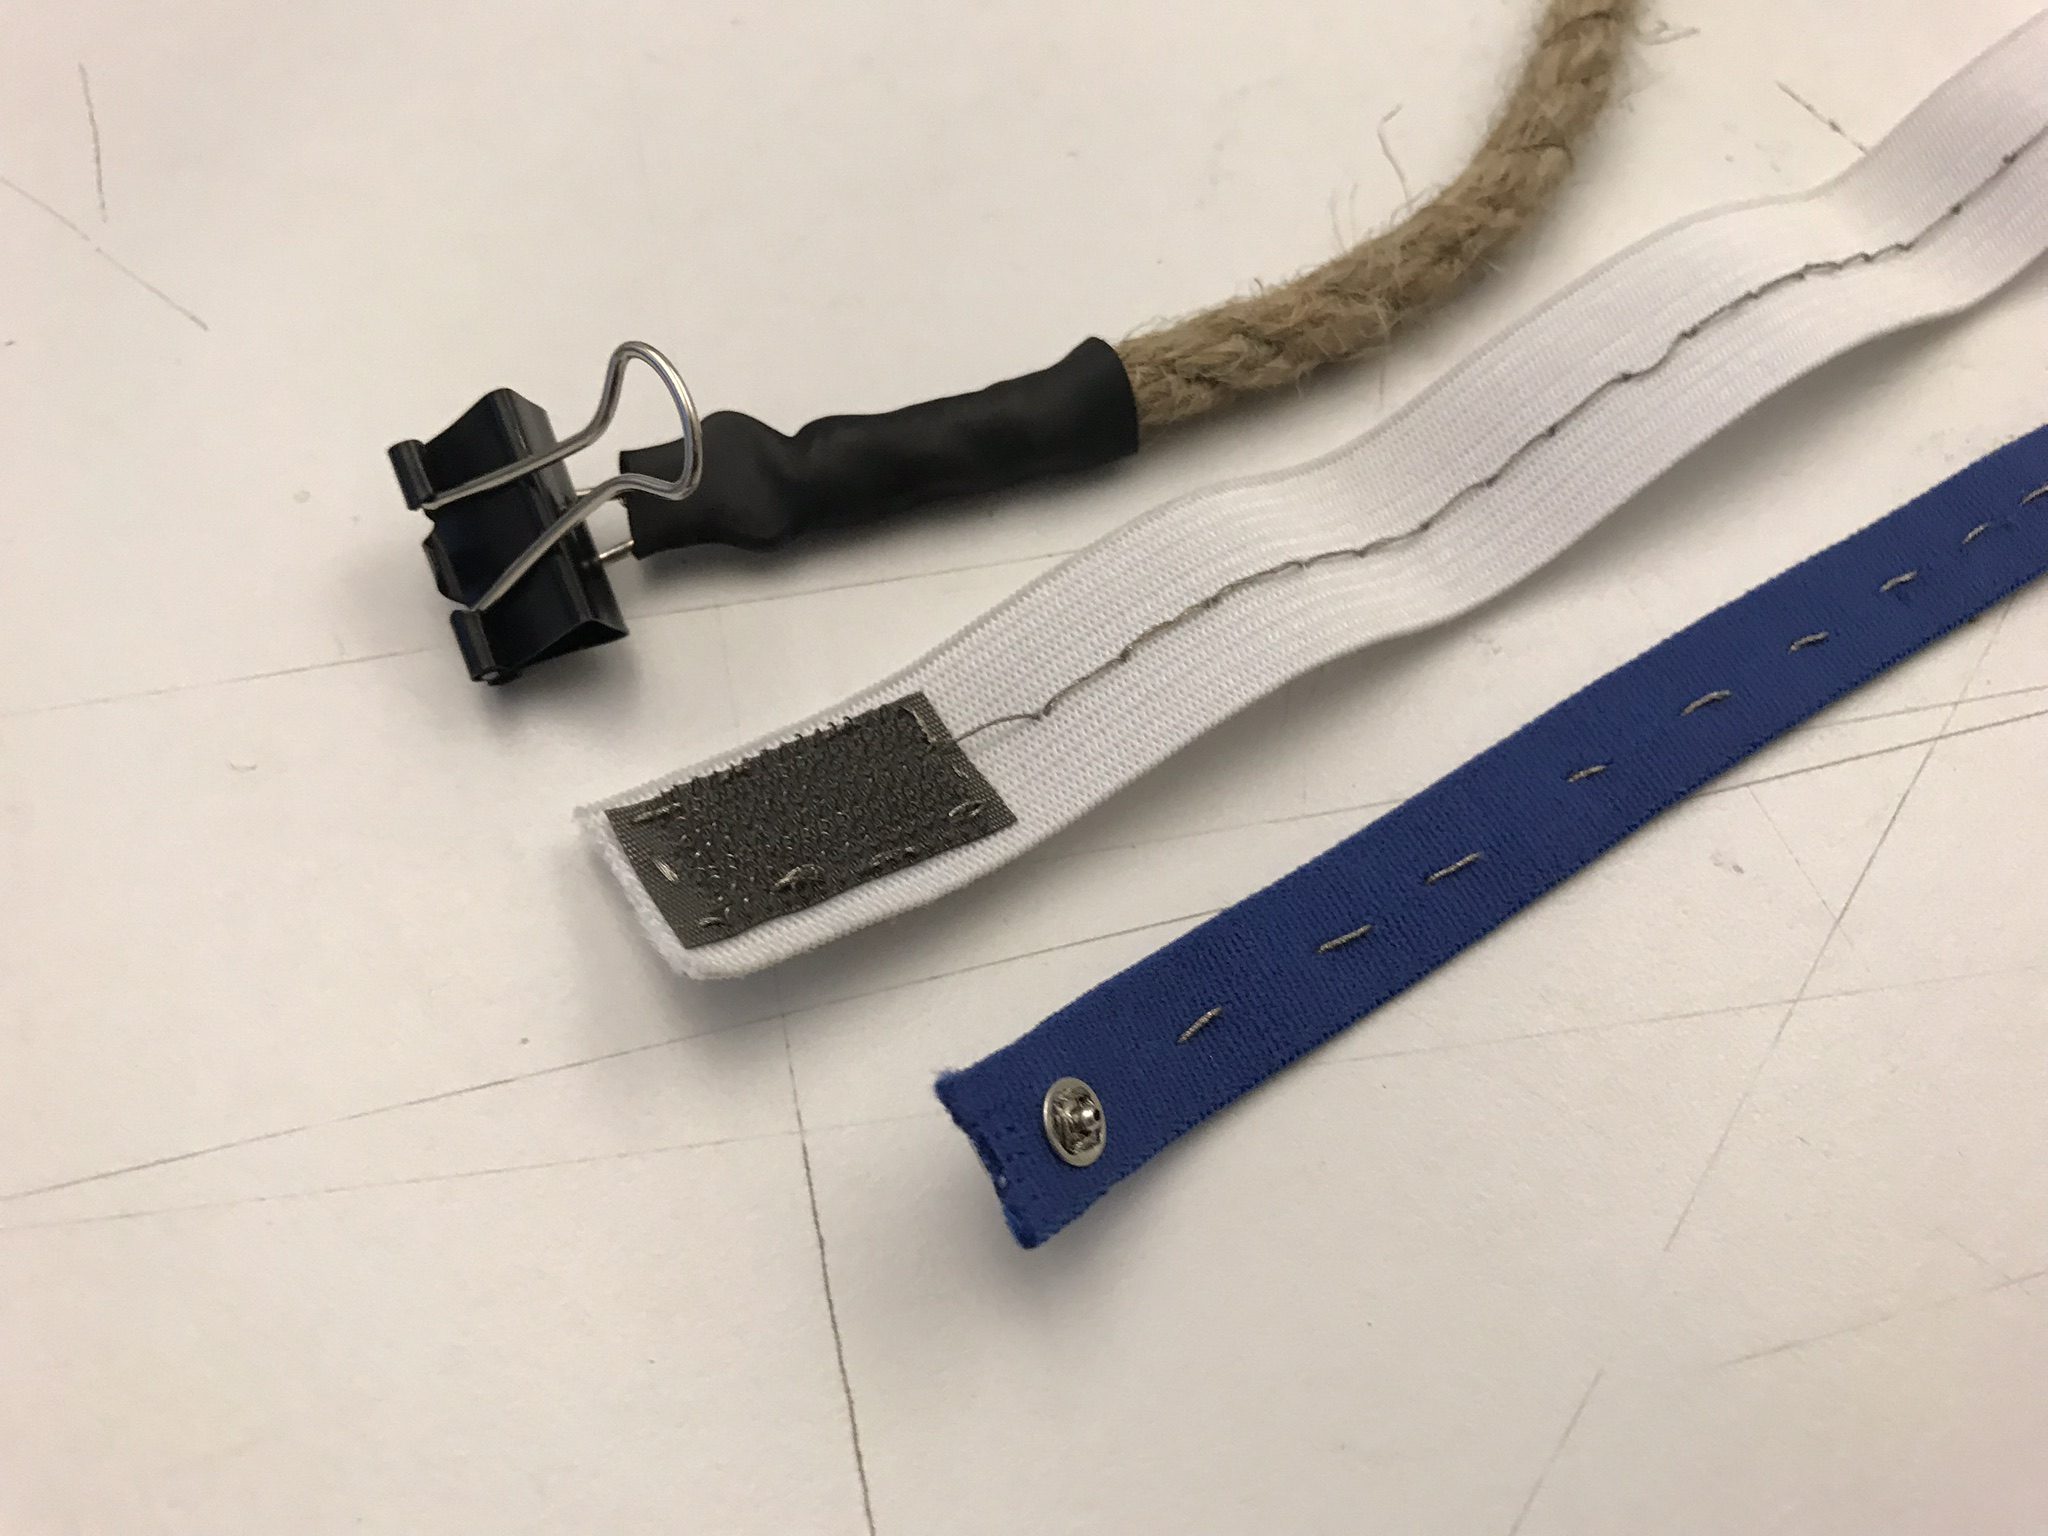
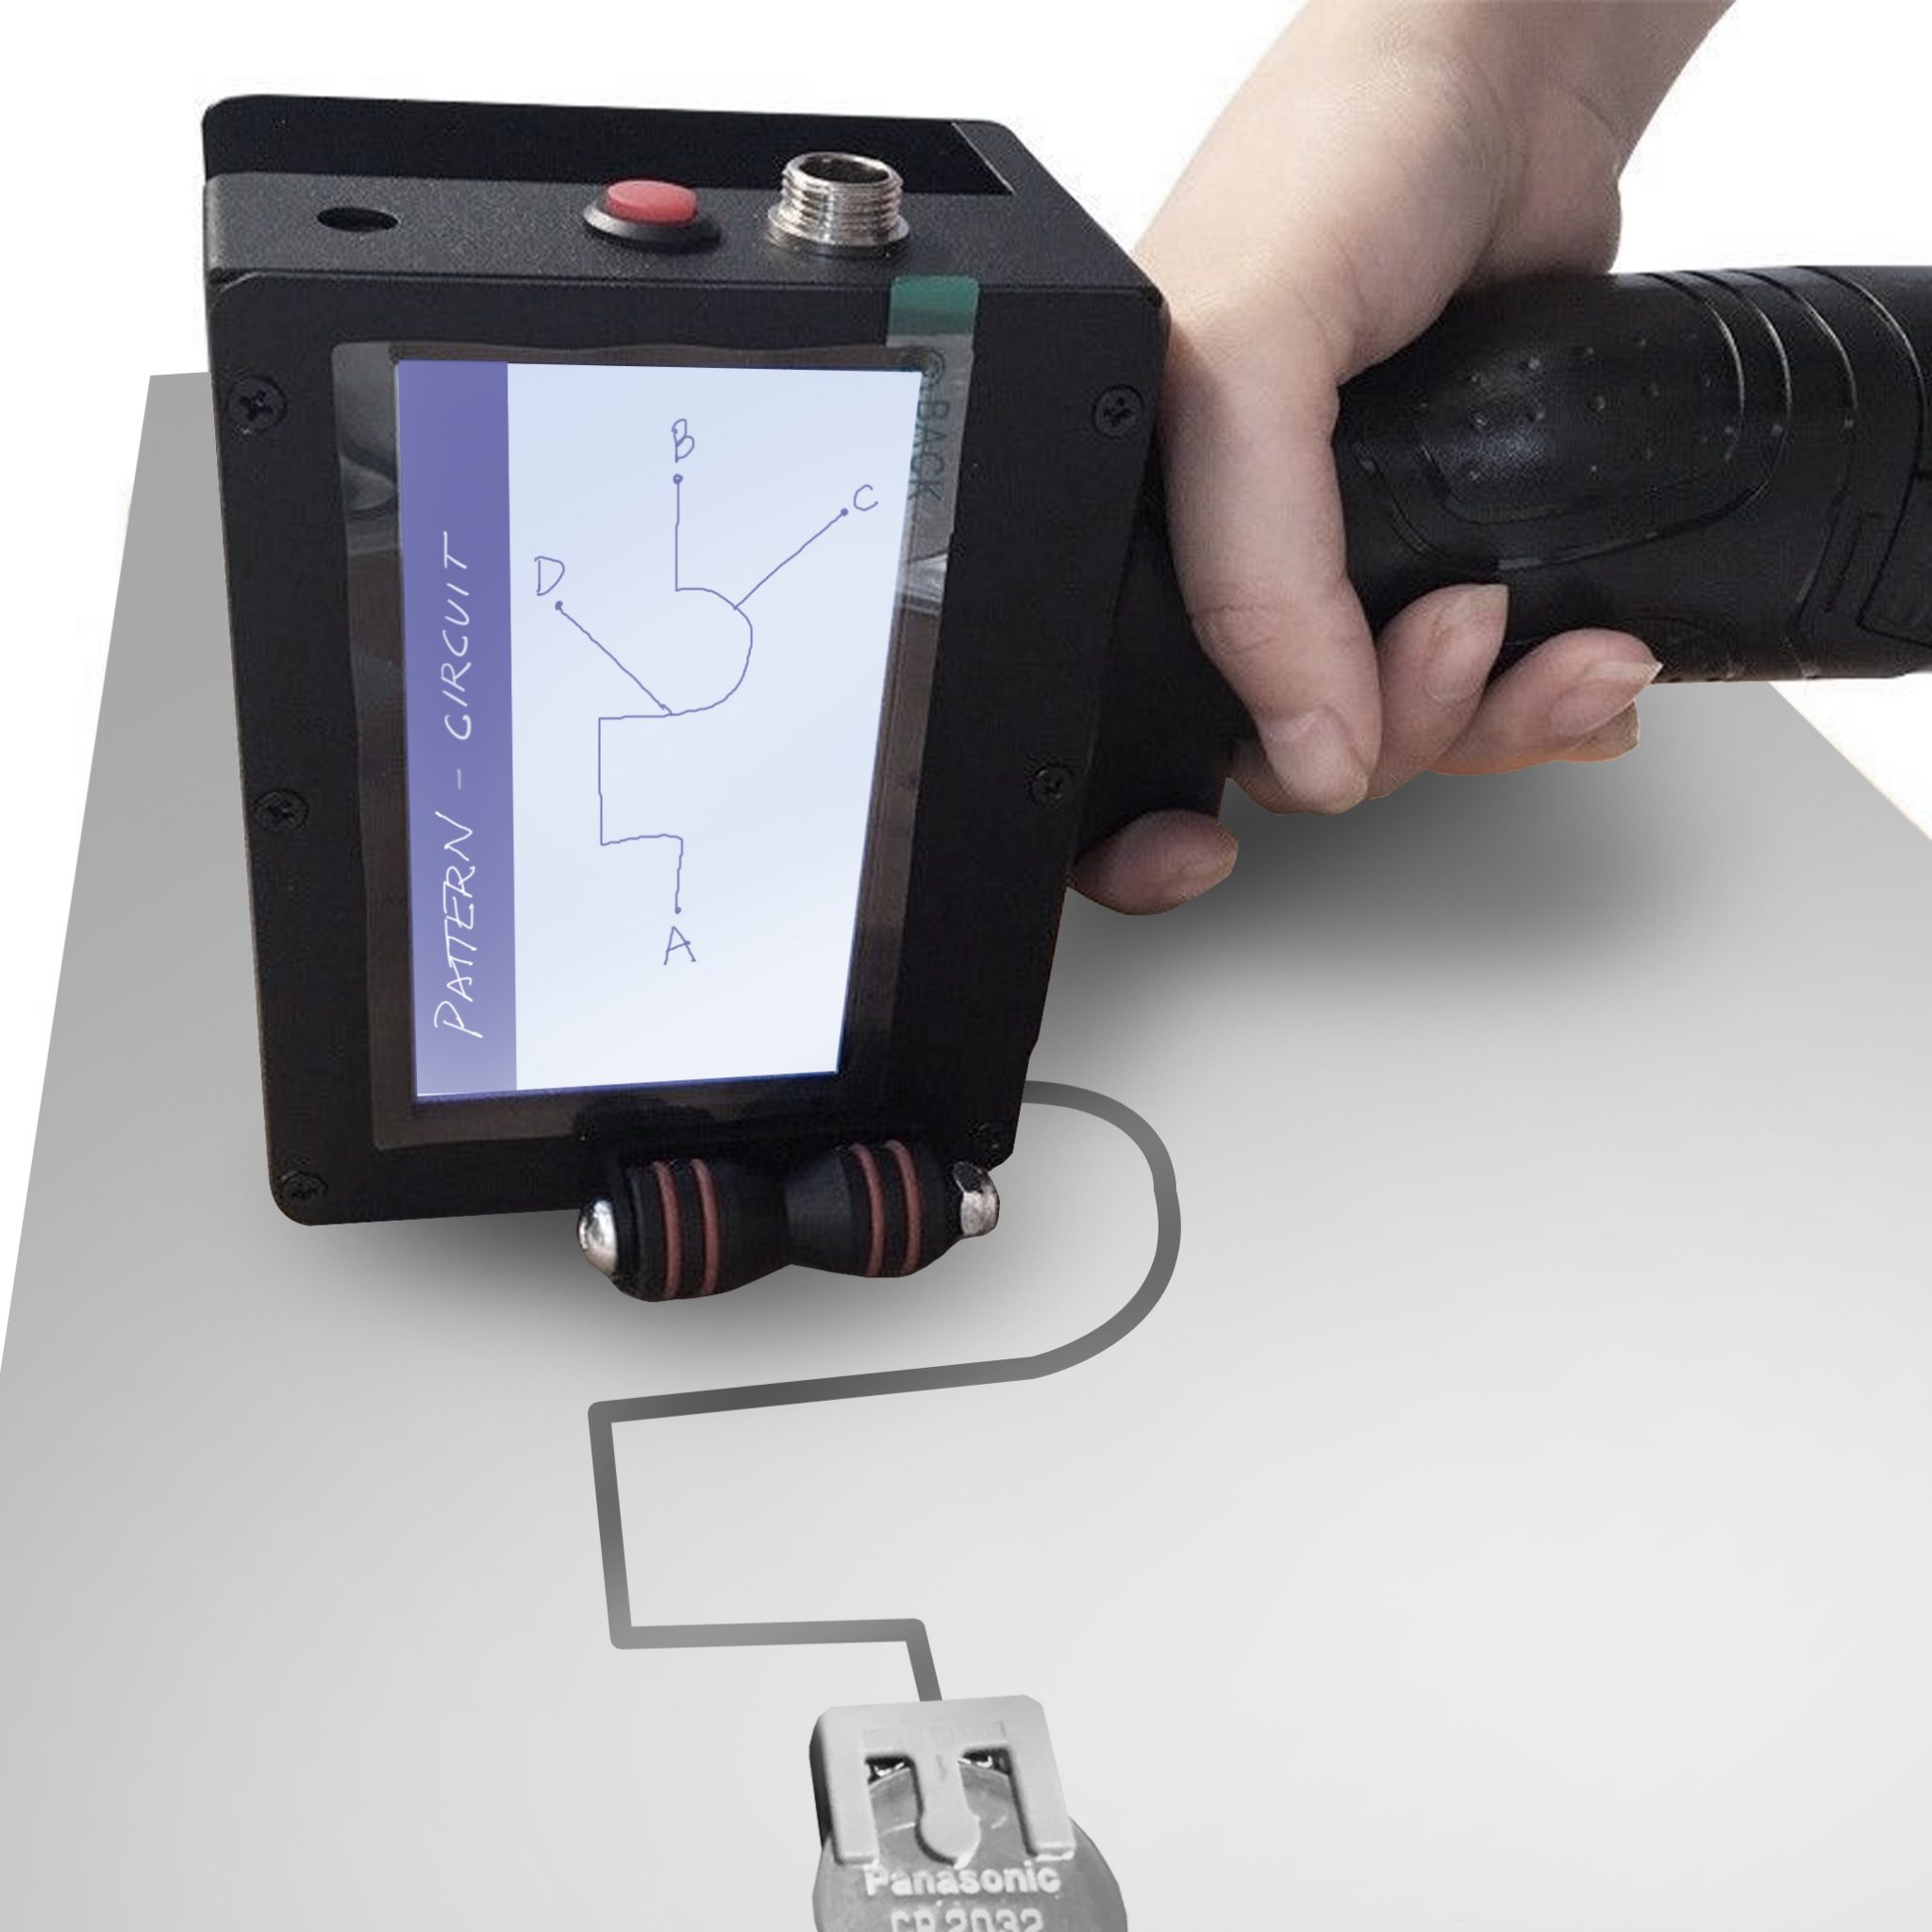
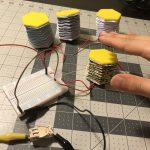
To create the necklace, this is the circuit scheme I designed:

Week 12 – Dario Narvaez

Working with magnetic hematite

In this week’s homework we got to play with the amazing magnetic hematite to create movement by generating a magnetic field.

I put together 2 coils (around 75 turns each) of hematite, and then put thread around to create a smooth surface and to create the axis for the ball to rotate.

Week 11 – Dario Narvaez

Working with Flexinol

This week’s exercise focused on experiencing the properties of Flexinol, as a material with memory that changes its physical properties when it’s affected by heat.

I decided to play with the concept of open/closed through the making of a paper flower. The first iteration (red flower) was not so successful since it was made using a very thick paper, as well as the geometries from origami generated a lot of resistance to the alloy.

The second iteration (yellow flower) worked perfectly; the paper was much thinner, and the folds help the Flexinol to change shape easily.

The Arduino code also allows to connect the pressure sensor and to control the moment in which Flexinol changes shape.

First Iteration – Process:

Second Iteration – Process:

Materials:

  • Flexinol
  • Paper
  • Arduino
  • Alligator clips
  • Heating Circuit

Week 10 – Dario Narvaez

Working with Thermochromic ink          

In order to work with Thermochromic ink, it is extremely necessary to perform tests with different colors and volumes of pigments. For example, I didn’t have any luck using yellow Thermochromic Ink; if it is used with a clear pigment, the contrast is very low and the change in temperature is not perceived; If a dark pigment is used, the powder is not sufficiently strong to clarify the mixture and create enough contrast.

Conductive thread worked perfect to generate an approximate resistance of 22-23 ohms. Enough to be used with a 9 Volt battery and create enough heat to affect the Thermochromic Ink. Of course, combinations of powder of high contrast colors is highly recommended.

For the I wish I could have explored another mini-project (a VERY premature idea for the time of the year, I’m sorry!), But I had to use the resources I had in hand, and this seemed a decent answer. The idea here was to allow the transformation of color to showcase the Christmas tree lights and star.

I really love doing circuits with paper or fabric with the intention of illustrating connections (using notes and symbols). I find enchanting the look and the educational sense of them. I just imagine having many of these nodes that could be combine in multiple ways.

Materials:

  • Thermochromic ink
  • Paper
  • Fabric
  • Arduino
  • Alligator clips

Week 9 – Dario Narvaez

Paper Speakers               

This week’s assignment consisted in making different swatches of speakers using soft materials. In my case, I used paper and conductive nylon. The test went pretty well and they work great! I also tested drawing shapes using conductive marker, but it didn’t work at all. Conductive marker is slightly unreliable when is used in long and complex shapes.

Materials:

  • Paper
  • Conductive Nylon

Construction Process:

Week 8 – Dario Narvaez – Midterm

Instructables link to see the step by step process: https://www.instructables.com/id/Connecting-Dots-Lamp/

For this lamp I found inspiration by the drawings created by connecting a sequence of dots, as a playful way to interact with materials and to create icons and symbols. The idea is grounded under some questions: Can you draw your own lamp? Can you activate the lamp by drawing it? Can you control the light by doing doodles? I’m also extremely interested in how icons such as the light bulb with dash lines that represent light, or a lamp, or a candelabra, can powerfully serve as elements for creating memorable interactions. In this case, as you draw the icons, the circuit closes, and therefore turns on. If the drawing is erased, the circuit opens, and the lamp turns off.

This idea can be scaled to other icons and images such as candlesticks, other type of light bulbs, lamps, etc…

The idea was born when I learnt about the technology with erasable conductive markers. Although this technology can’t be used in this case due to the limitations in terms of material and the fact that the object will be linked to a specific marker, in this proposal I’m using magnets to close the circuit. Of course, there should be other interesting ways to do it! Think about this project as a working prototype. I will keep continue exploring this concept with other mediums and technologies.

Materials:

  • White Translucent Acrylic 12×12 inches
  • Acrylic Rods of about 5x5mm
  • Copper Tape
  • LEDs
  • Battery Pack of 3 AAA
  • Magnets
  • Erasable Marker
  • Eraser
  • Wooden Frame of 12×12 inches

Week 7 – Dario Narvaez

For this week I followed the instructions proposed by Liza to create a circuit composed of 2 LEDs, 1 switch and a sensor, controlled by an ATtiny. To make the circuit I used a painted canvas as the base, conductive thread and conductive yarn, LED sequins, a 3V battery holder and a resistance of 10k. Something interesting from using a painted canvas is that you can draw a scheme of the circuit, a very nice practice to understand a bit more complex circuits before starting to sew.

As a precautionary measure, I used tape in some sectors of the circuit, to avoid any unintentional contact between the close thread lines.

Week 6 – Dario Narvaez

To control the LED with the soft button, I used the switch I built in week 3 made out of folded paper, which adds elastic properties to the material. This pushbutton explores a fun way to activate and control a circuit. In this case, I’m connecting the button and the LED through Arduino using a basic digital read function from the inputs and a digital write for the output.

Materials

  • Arduino
  • x3 LEDs
  • Soft Button (Pushbutton)
  • Sensor made with Velostat and fabric
  • Jumper Wires
  • x3 220 k Resistor
  • x1 10k resistor

To control one or more LEDs with a sensor. First, I built a sensor using Velostat. Velostat is a material that must be calibrated very well, since the values can be very variable and instable. To turn the LED off and on using Velostat I used map function where I compared the minimum and maximum number displayed by the sensor (in this case 940 and 1023), with the minimum and maximum intensity of the led (0-255).

To control multiple LEDs with the sensor I created three conditions. When the sensor is pressed and the sensor value is less than 940, the LED 1 (white) illuminates, when the value is greater than 940 and less than 1023, the red LED will light up, and if it is 1023 or maximum pressure, the yellow LED will turn on.


Midterm Lamp

For the lamp I found inspiration by the drawings made by connecting dots as a playful way to interact with paper. The idea is grounded under this premise: Can you draw your own lamp? Can you activate the lamp by drawing it? Can you control the light by doodles? As you draw the icons, the circuit closes, and therefore turns on. If the drawing is erased, the circuit opens, and the lamp turns off.

This idea can be scaled to other icons and images such as candlesticks, light bulbs, lamps, etc…

The idea was born when I saw the technology with erasable conductive markers. Although this technology can’t be used in this case due to the limitations in terms of material and the fact that the object will be linked to a specific marker, I believe that I can achieve the same effect with magnets.

Week 5 – Dario Narvaez

For this week I built 2 soft-circuits nodes made out of fabric and paper, as well as 3 connectors. These components explore the properties of different materials such as with woven conductive fabric, conductive Velcro, natural jute and sewable metal snaps.

Materials:

Fabric Node:

  • Regular Fabric. Piece of around 3inx3in
  • Woven Conductive Fabric
  • Sewable Metal Snaps
  • Conductive Velcro
  • Battery Holder
  • Conductive Thread

Paper Node:

  • Paper Square 3inx3in
  • Woven Conductive Fabric
  • Sewable Metal Snaps
  • Conductive Velcro
  • LED
  • Conductive Thread

Connectors:

  • Fabric Straps
  • Natural Jute
  • Conductive Thread
  • Conductive Velcro
  • Sewable Metal Snaps

Construction Process:

Sew all the components joining positive and ground nodes and areas, as well as the LED to the conductive fabric. The connectors were made by joining the snaps, the Velcro and the paper clip using conductive threat.

Important Note:

For the Paper Clip I connected the 2 silver components with conductive thread. The black part in the clip is NOT conductive. 

Idea of a Tool!

I’m thinking in a handheld printer (similar to the handheld inkjet printers), but where you can select the pattern (or upload your vector design, or predetermined lines, circles or geometric shapes), and  this pattern can be printed on paper or fabric , generating conductive pathways.


Week 3,4 – Dario Narvaez

Accordion Switch: A playful push-button made out of paper and foam.


This switch explores a fun way to activate and control a circuit, by using the spring properties derived from forming intricate geometries with paper. The paper and the mechanism derived from the folding have ‘memory’ (return to the original state – usually all kind of elastics have memory), so the button can return to the initial position and state after is released, and therefore, opens the circuit. The key in this exercise is to use the properties of the materials without the need to add mechanisms or extra parts such as a spring. It is interesting how a non-elastic material can become elastic by modifying with various triggers, in this by changing the geometry. Can hard-flat materials, such as wood, metal and plastic become elastic by changing properties?

Materials:

  • Paper with accordion template – Letter Size
  • Conductive flat surface (I used cooper tape and coins)
  • Foam for touch feedback (There is foam in the push surface and in the inside of the accordion to achieve a better physical feedback)

Construction:

The switch was made using paper engineering (template and design downloaded from https://www.robives.com/product/make-your-own-paper-squeeze-box-accordion/). This involves a complex and very persevering process of bending and gluing in different angles, as well as being able to find the right way to form the volumes. I had never worked with paper engineering, it is an exciting field, but one that requires a lot of time and patience (above all patience!!!).

The switch and the mechanism are simple; I used two conductive surfaces that allow the continuity of electricity. I also used different types of foam (at the top and inside) to provide physical feedback that is appropriate with the action of “pressing”.

References: 

This project was inspired by the amazing work of the paper engineer and artist Rob Ives. I also was inspired by this visual reference of the popular goofy glasses with elastic eyes. What would be the interaction of a button that is constantly moving and that has a goofy appreciation? Perhaps an answer that goes against the principles of ‘good’ design (maybe?), but that explores affordances and interesting mechanisms for game …


New Craft Endeavor

The craft that I started learning and exploring was embroidery (I followed the tutorial on the basics of embroidery from this youtube video). It is interesting how I was surrounded all my life of this craft for the beautiful work of my grandmother, but I had never tried it. There is an emotional connection with textiles and embroidery that I find motivating to explore. In this particular case, I spent a very good of time doing it, it was not so difficult, and it was definitely relaxing. I want to continue exploring more and more types of increasingly complex stitches. It is amazing to see the work of people who work in this craft, and the potential this field has to be mixed it with other fields.

I consider myself a designer and maker. I am always thinking about exploring materiality and construction methods but having a conscious process that involves constant communication with a specific user. I’ve also been intrigued by hacking processes and materials, as an interesting way convert a design in a sustainable system, where the life of use of a product is not limited to its vital functionality, but to possible and innovative alternatives to revive it.

My favorite tool is the pencil. With it, I can capture and plan what the brain is producing. It is often difficult to represent these ideas, which are often abstract, in the brain itself. They have to validate with reality, and the easiest way is to communicate them through a pencil. I also love calipers. I use this measurement tool in my everyday as an Industrial Designer. It’s always on my side while I’m modeling in 3D or constructing models.