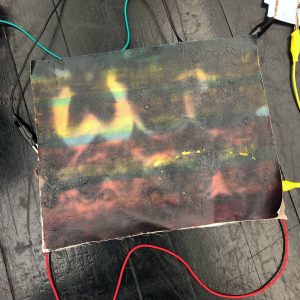
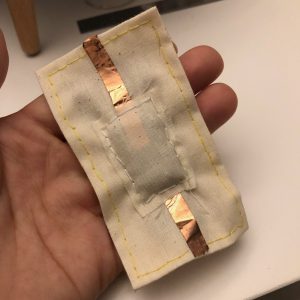
My final project was to reveal a word made up of copper thread, using thermochromic color and heating circuit.
Here is my instructable link: link: https://www.instructables.com/editInstructable/publish/E4KGABDJPX4RLGG
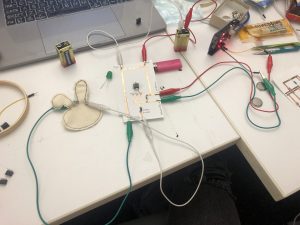
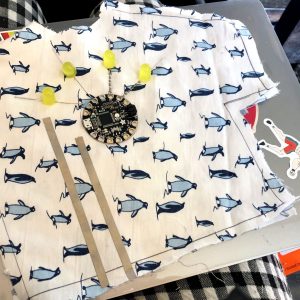
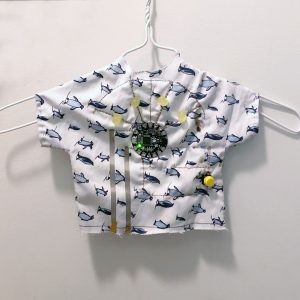
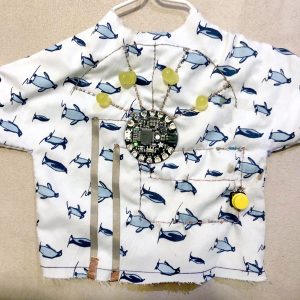
Materials used in this project:
– Arduino
– Ultrasonic Sensor
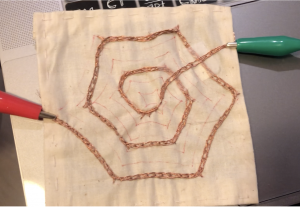
– Cotton pieces
– Conductive Copper Thread
– Wires
– Thermochromic Color Pigmen
– Clear Acrylic Paint
– Colorful Acrylic Paints
– Mosfet Heating Circuit (connector between Arduino and the sewed copper wires)
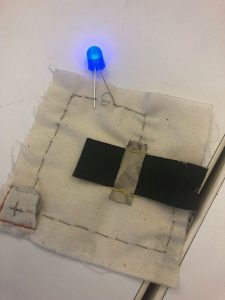
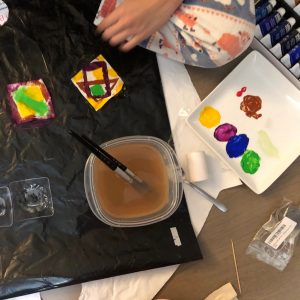
Playing and Testing Thermochromic Color:


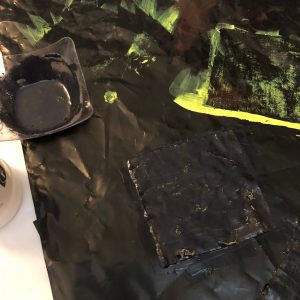
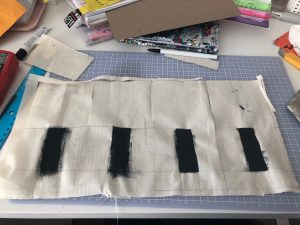
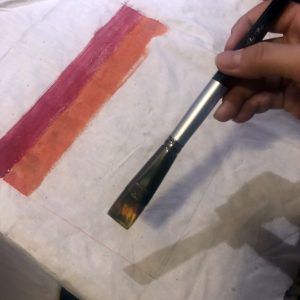
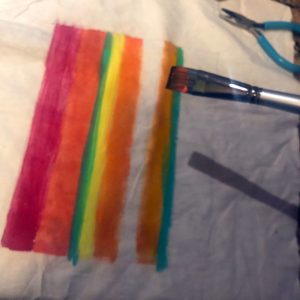
Painting acrylic paint:
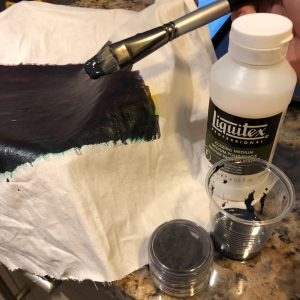
Covering on top of the acrylic paint with black thermochromic paint:
Testing!: