Author Archives: admin

Final Project Design Brief

Final times! Woohoo! Here are your final deliverables:

DUE THURSDAY, 12/13

1) WORKING PROTOTYPE
You MUST bring your prototype to show – even if it is not working. If you require a specific environment, please email me.

2) PRESENTATION
You will have 7 minutes to present. This includes time for feedback, so structure your presentation accordingly. Your should include the following in your presentation ( in whatever order you like):

  • Concept
  • Precedents
  • User testing + feedback
  • Process documentation
  • Video of project demo
  • Challenges you faced
  • Future iterations

3) VIDEO DOCUMENTATION
You should make a short video introducing your project. It should include the title of your piece, your concept, and a prototype demo.

DUE TUESDAY, 12/20 AT MIDNIGHT (I will not accept late submissions)

1) BLOG POST

  • Create a short post on the blog with The link to your Instructable.
  • Text of your project description from the Instructable
  • Any other documentation links.
  • A short reflection on your process. What were your wins, challenges? What did you learn?
  • Where would you take it next?

2) INSTRUCTABLE
Here are the components you should have:

  • Title. IMPORTANT: Make your title descriptive or catchy so it easy for people to find. If you have a more abstract title, include a subtitle. For example, Vague textiles VS Vague textiles: Using thermochromic ink to change fabric surfaces
  • Intended audience. Who is this for? Beginners? Textile coders of the 23rd century? Elementary afterschool STEAM club? Let people know what prior knowledge they need so they don’t have unreasonable expectations before jumping in.
  • Description of the project. Write a few sentences on why you made it, what it does, what you hoped to accomplish, challenges you might have faced, and where you would take it next.
  • Materials list. List the materials you used and link to where people can purchase. Here the materials list for the class. Email me if you cannot find a link to a material we used.
  • Video documentation. Include the video described above.
  • Steps to make it. Write all of the steps needed to recreate your project. Include images or diagrams to supplement.
  • Circuit diagram. Be sure to include a circuit diagram or drawing.


ASSESSMENT GUIDELINES

I will assess your project by the following criteria:

Ideation, Concept, and Design

  • Incorporates computational concepts discussed in class
  • Able to translate ideas/concepts into project form within a given environment
  • Thoughtful integration of design elements
  • Presents functioning prototype.
  • Presents working documentation if was unable to get working
  • Synthesizes design and technology to create interesting and contextually significant work that makes contributions to the domain

Process + Materials

  • Thoroughly documented according to class guidelines
  • Uses materials and processes learned in class
  • Synthesizes materials and processes to make relevant contributions to field
  • Iterated prototypes
  • Demonstrated effective problem-solving/ finding skills
  • Scoped approach to project and sculpted according to personal goals, strengths, and weaknesses

Presentation

  • Articulated concept and problem statement clearly
  • Prepared for presentation (slides ready and prototype set up)
  • Addresses all required elements for presentation
    • problem statement/question you are trying to answer
    • audience (who is this for? we are designers, which means we design for someone or something.)
    • concept statement
    • precedents/inspiration
    • process/prototypes
    • what you learned
    • where you would take the next iteration

Week 10 Assignment

1) Finish your heating circuit
2) Construct at least 2 test heating elements.
3) Measure their resistance, then use Ohm’s law to determine the proper power source. Test them with your thermochromic swatches and heat circuit.
4) Construct a mini-project that reveals an embedded message, pattern, or behavior using thermochromic ink.

Silhouette Portrait Vinyl Cutter Tutorial

TOOLS

  • Silhouette Portrait
  • Blade
  • Cutting Mat (8 in x 12 in)
    • This machine is only for printing circuits out of copper foil and conductive fabric. Please do not use it to cut paper designs unless you check with Liza first. Be sure to cover it with the blue sheet when you are finished.
      Iron (for fabric) + ironing board

MATERIALS

SOFTWARE

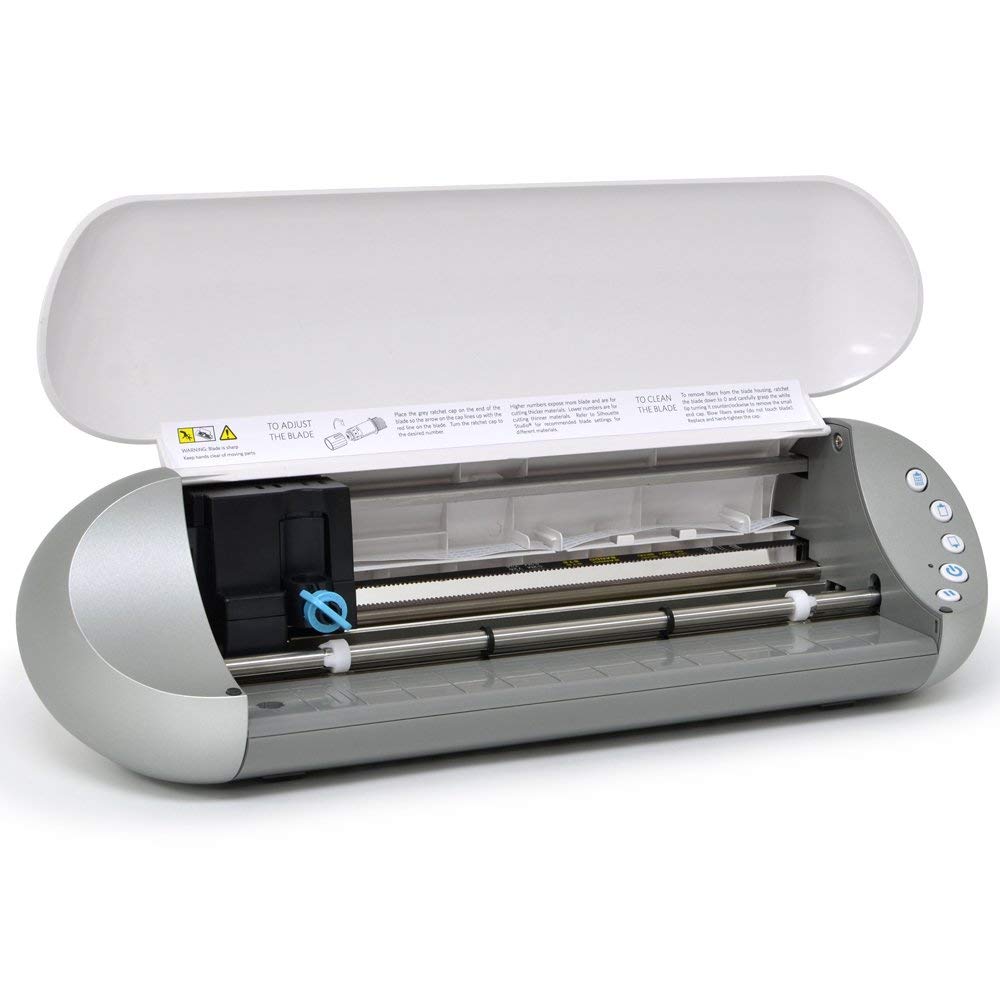
You can use their Design Studio software or purchase an add-on that will allow you to print directly from Illustrator.

Here is a file of basic components for Design Studio including the ATtiny, 5mm LEDs, SMD LEDs, etc.
Continue reading

Week 6 Assignment

  1. Connect one of a soft switch to your Arduino. Use it to control an LED.
  2. Build a circuit with one constructed sensor (variable resistor), your Arduino, and 3 (or more) LEDs or an RGB LED. Use one of the following control structures to turn the LEDs on and off in any sequence when the sensor or switch value changes: if, if/else, while() (e.g. when the sensor goes above a threshold, the LED turns one color; when it goes above another threshold, it changes to a second color, etc).
  3. Document both of these to the blog with images and your code.
  4. Midterm ideas due on the blog next class.