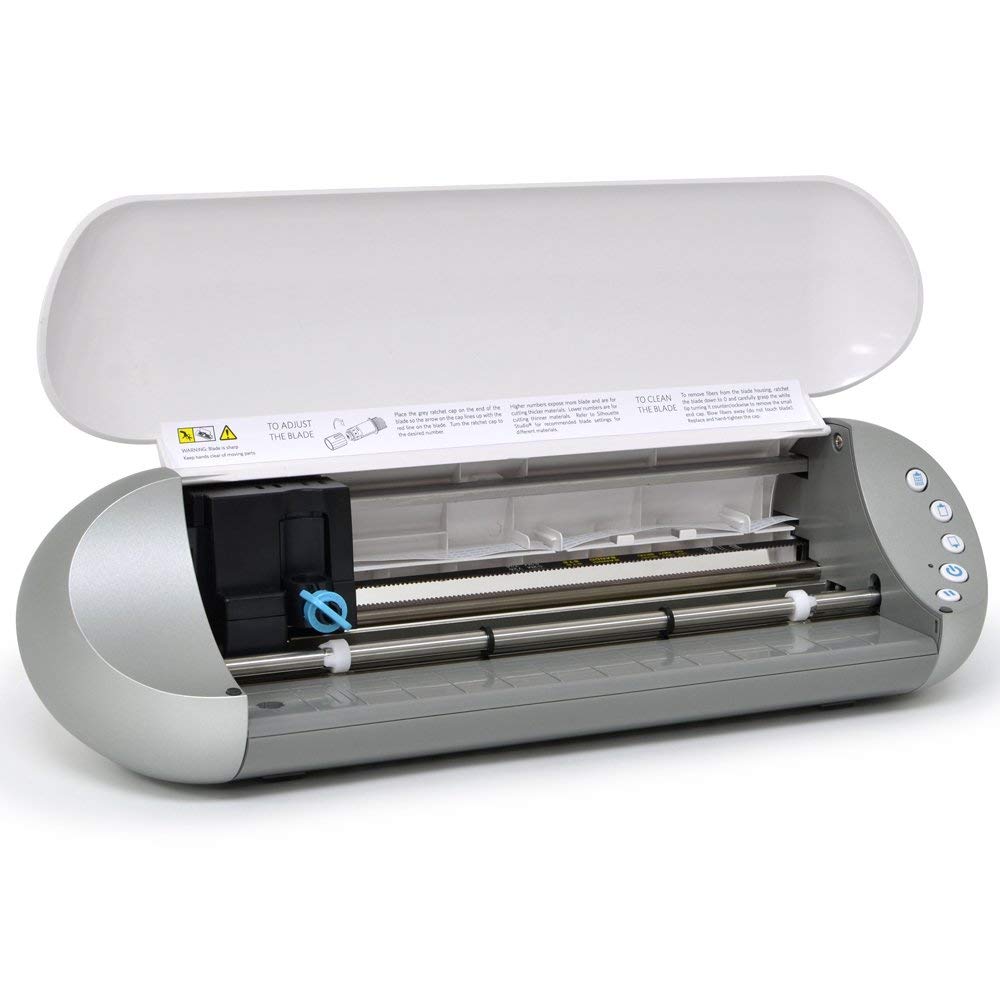
TOOLS
- Silhouette Portrait
- Blade
- Cutting Mat (8 in x 12 in)
- This machine is only for printing circuits out of copper foil and conductive fabric. Please do not use it to cut paper designs unless you check with Liza first. Be sure to cover it with the blue sheet when you are finished.
Iron (for fabric) + ironing board
- This machine is only for printing circuits out of copper foil and conductive fabric. Please do not use it to cut paper designs unless you check with Liza first. Be sure to cover it with the blue sheet when you are finished.
MATERIALS
- Conductive fabric
- Copper foil sheet
- Paper
- Fabric
- Contact paper
- Painters tape
SOFTWARE
You can use their Design Studio software or purchase an add-on that will allow you to print directly from Illustrator.
Here is a file of basic components for Design Studio including the ATtiny, 5mm LEDs, SMD LEDs, etc.
CREATING YOUR CIRCUIT
Workspace
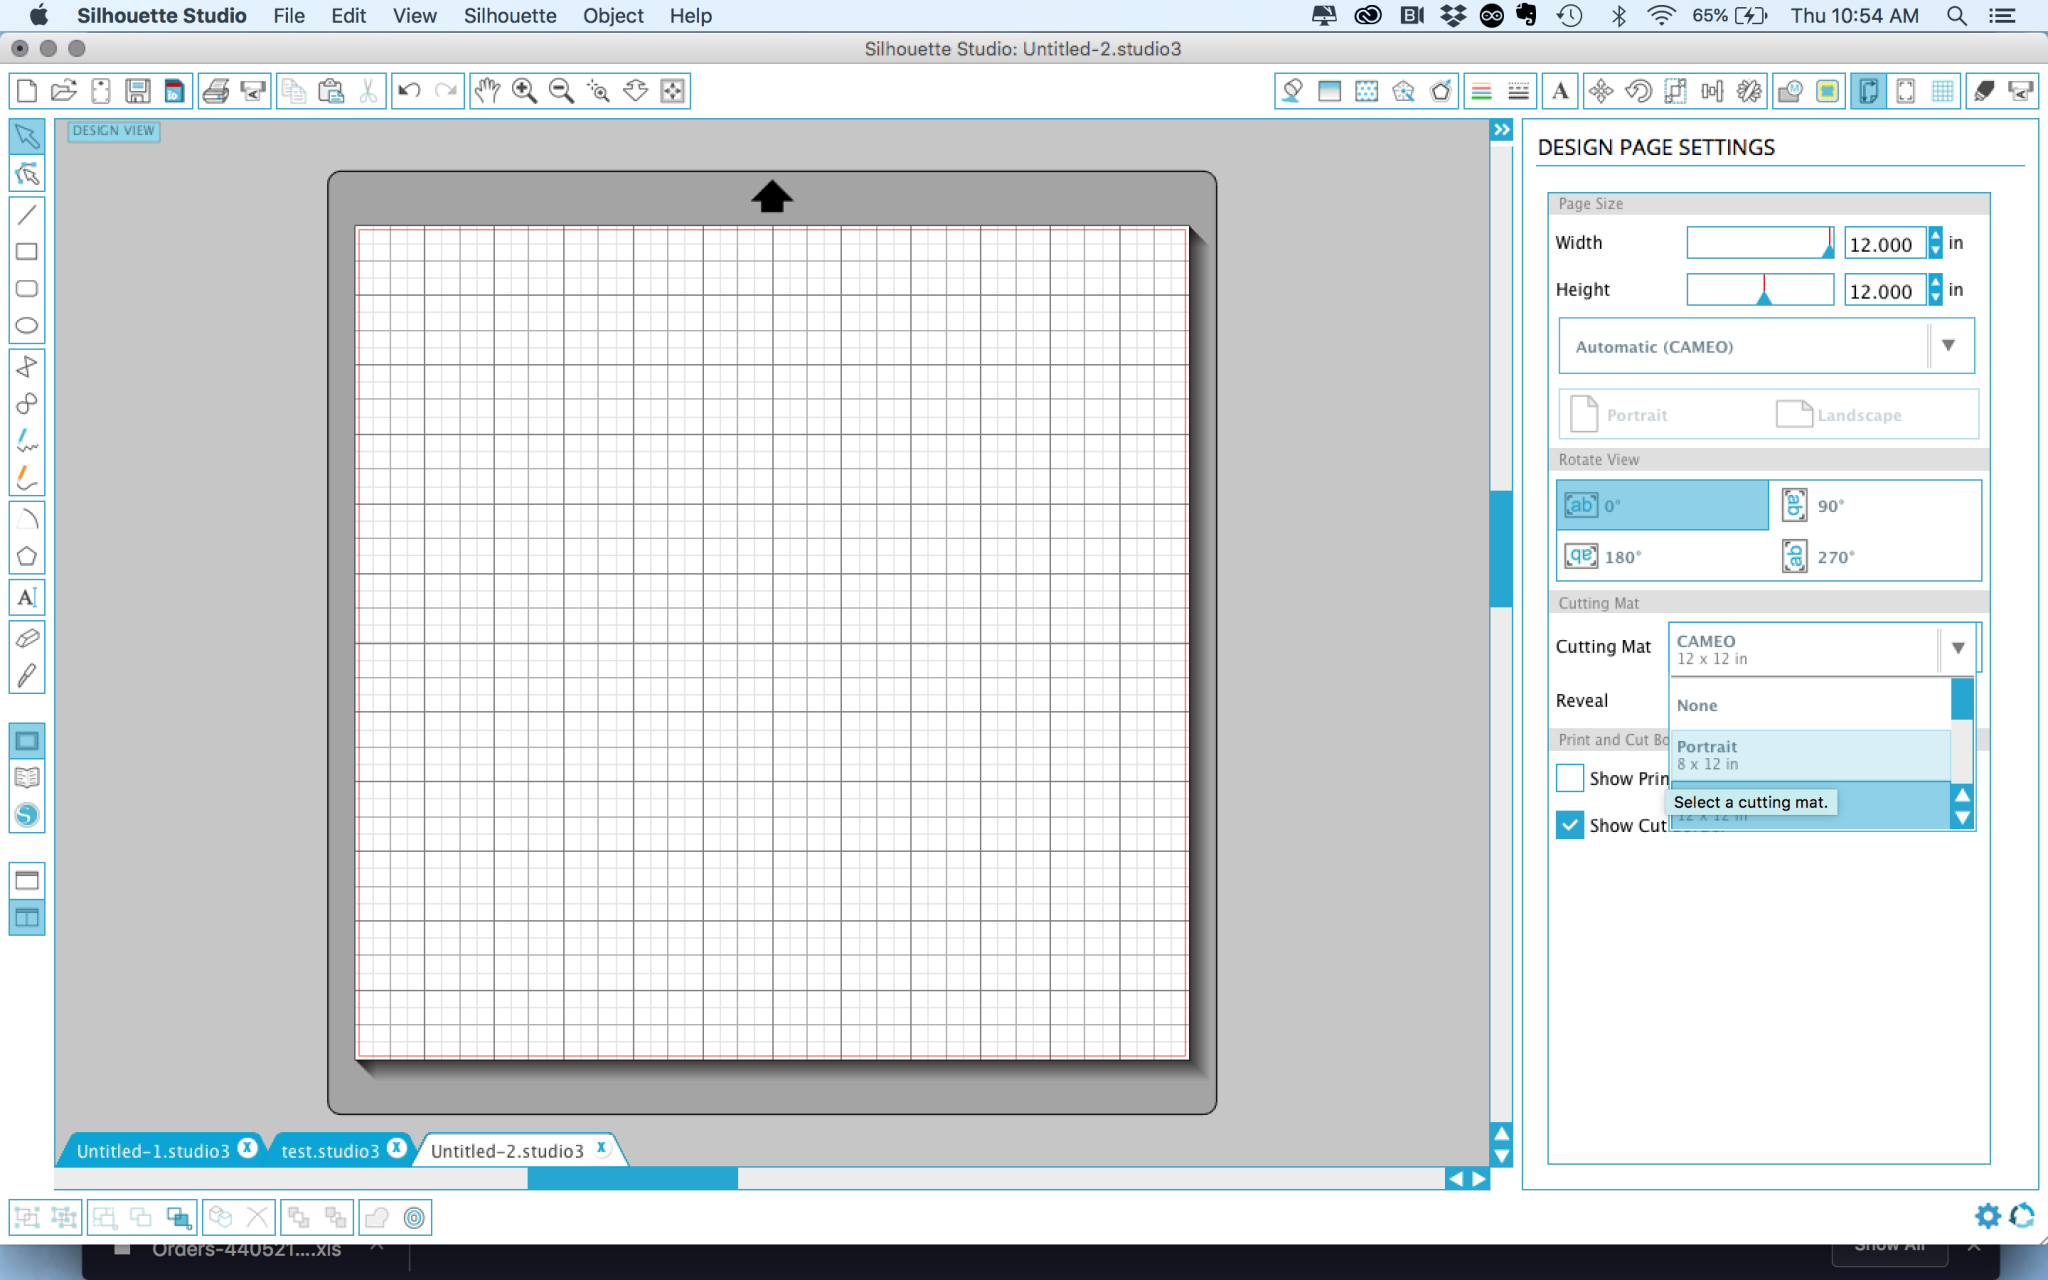
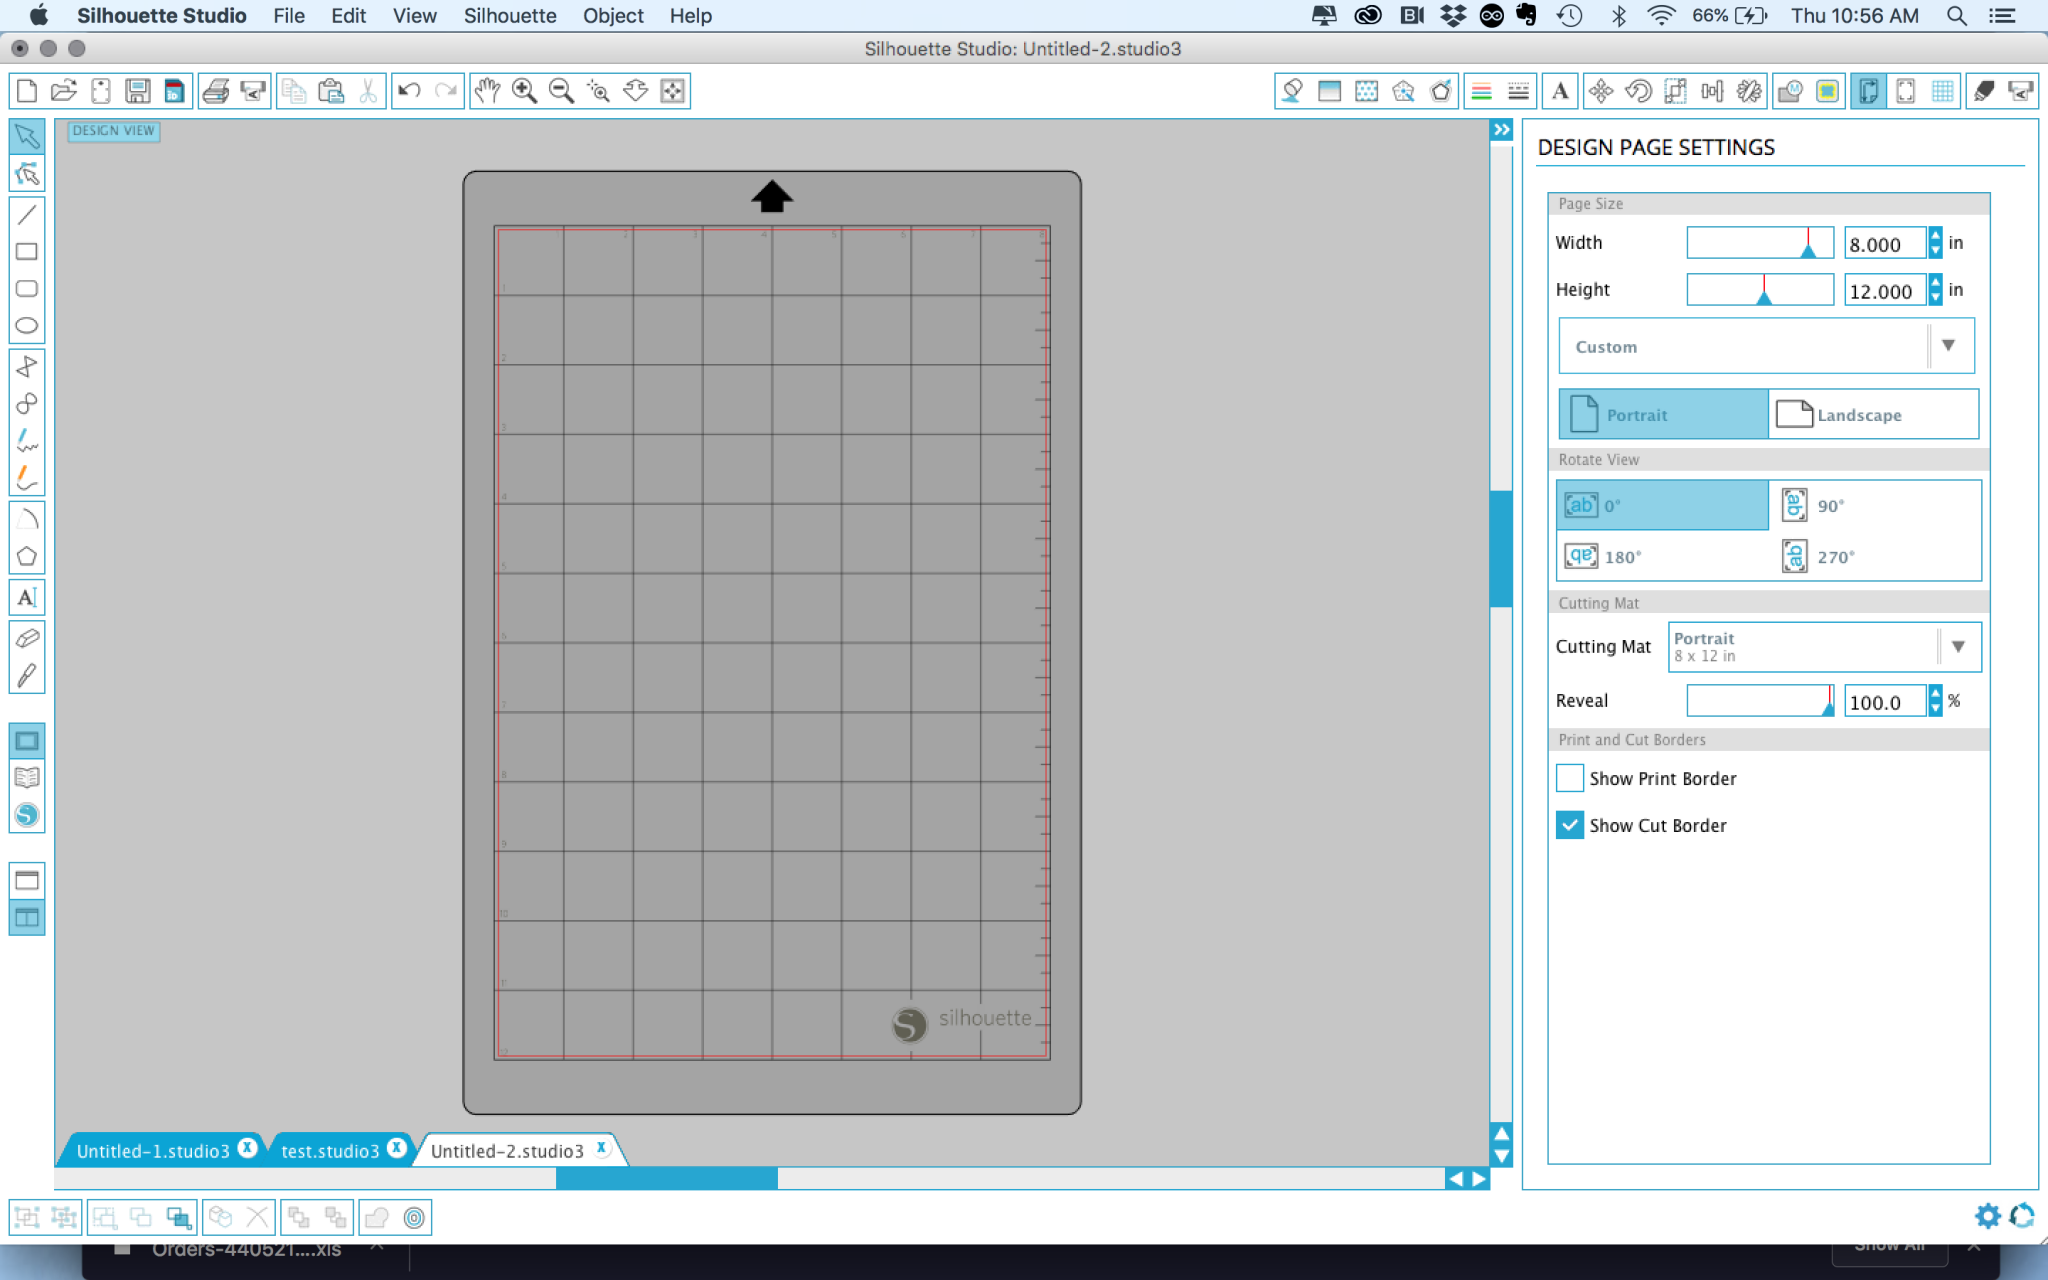
Change your workspace to the correct mat size.
Basic tools
Creating shapes
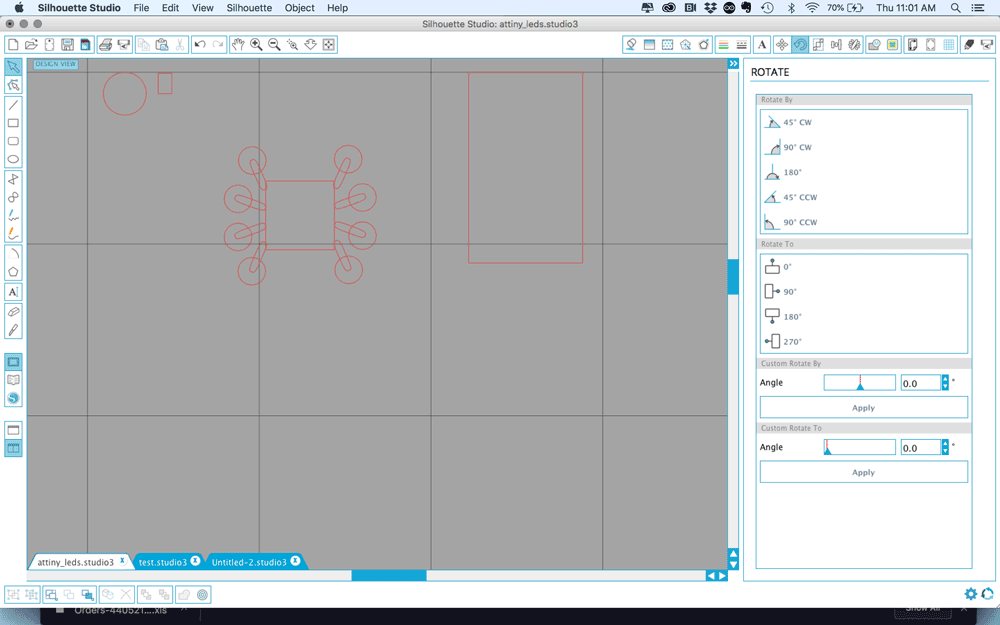
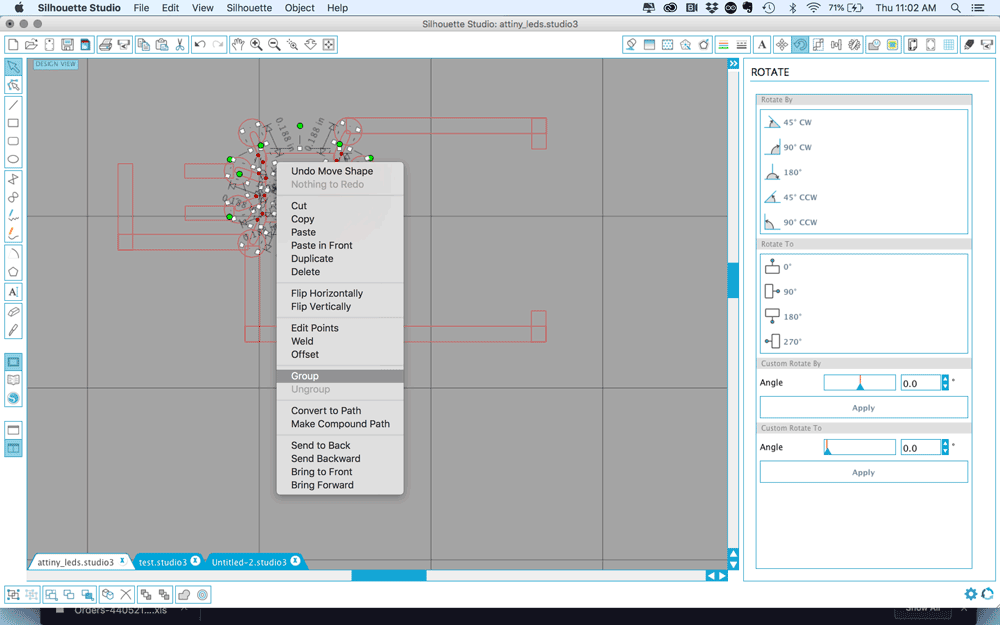
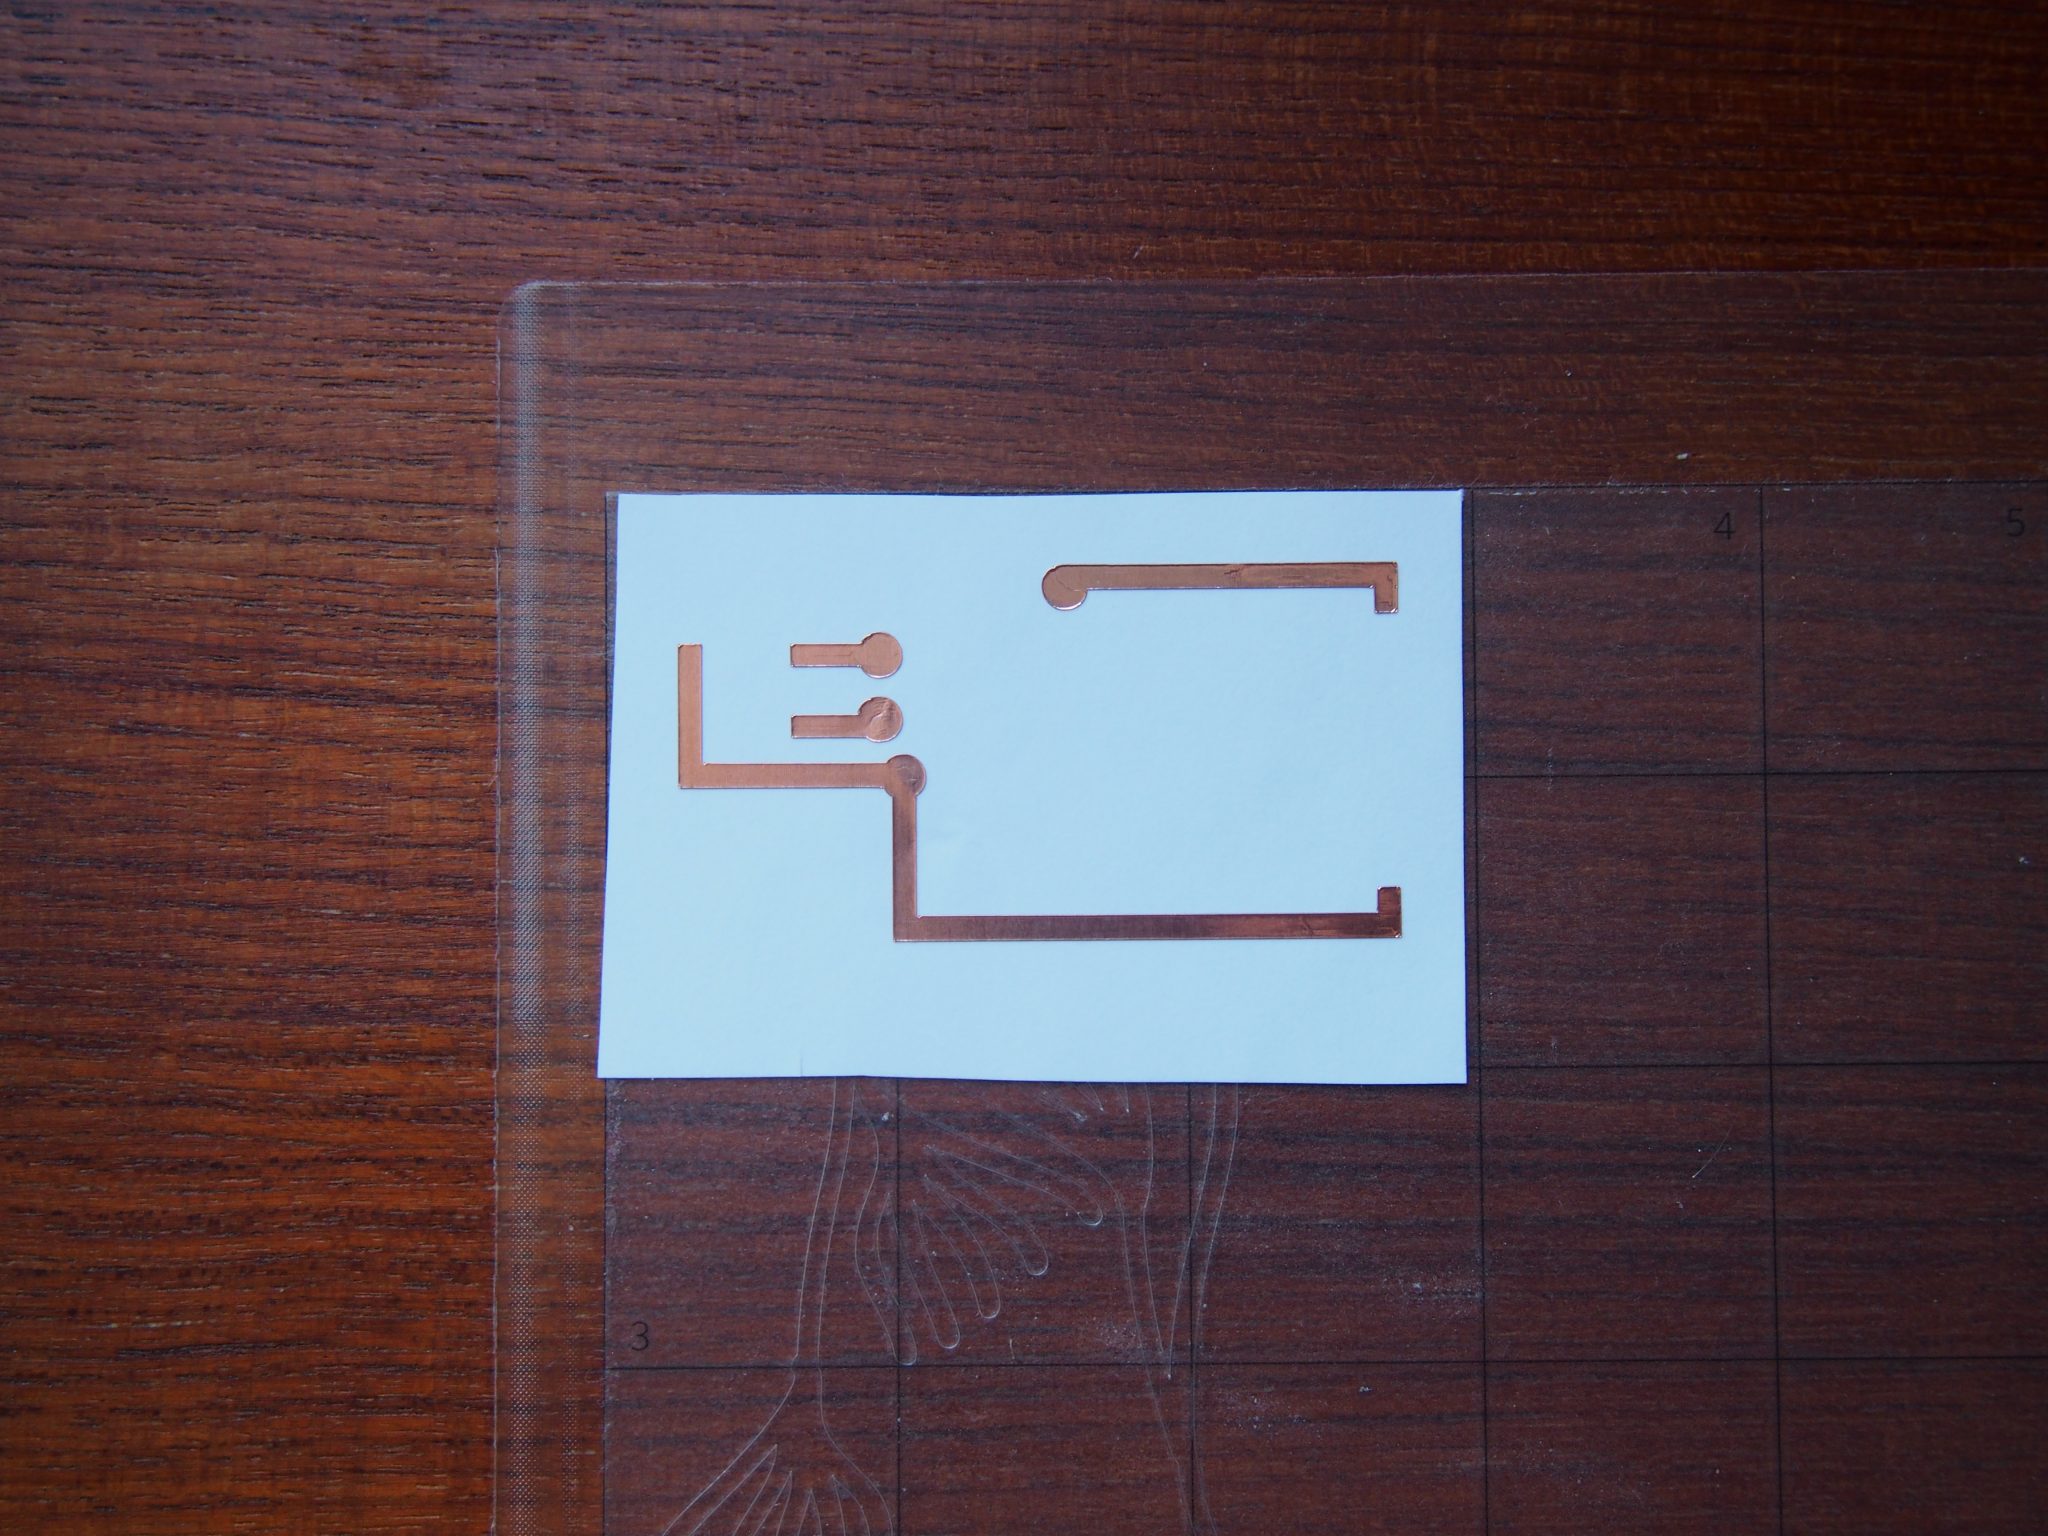
Use the shape building tools in the left hand toolbar to create your circuit. You can use this file with basic components or create your own. Just be sure to measure any new components.
Welding
The portrait will cut wherever there is a red line. If you want to combine shapes to create your circuit, you must weld them together.
PREP YOUR MATERIAL
Fabric
– Determine how much you will need. Be conservative! Only use as much as you need – avoid creating waste.
– Iron on adhesive to the back of your conductive fabric at a low setting. Be sure to cover it with a piece of freezer paper or scrap fabric to protect it.
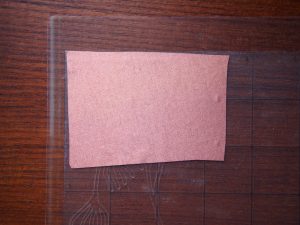
– Remove the backing and place on the cutting mat
– Press down firmly to remove any air bubbles
Foil
– Determine how much you will need and cut it out. Be conservative! Only use as much as you need – avoid creating waste.
– Press down firmly to remove any air bubbles
PRINTING YOUR CIRCUIT
Placing your circuit
There are two ways to place your circuit
1) As is. You can place your circuit as is so you can remove it from the mat and place it on the substrate. This is great for maintaining the shape of the circuit, but can be wasteful.
2) Condensed. Move your circuit traces as close together as possible to condense the printing space. This is better for conserving materials, but means you have to remove and place each trace individually.
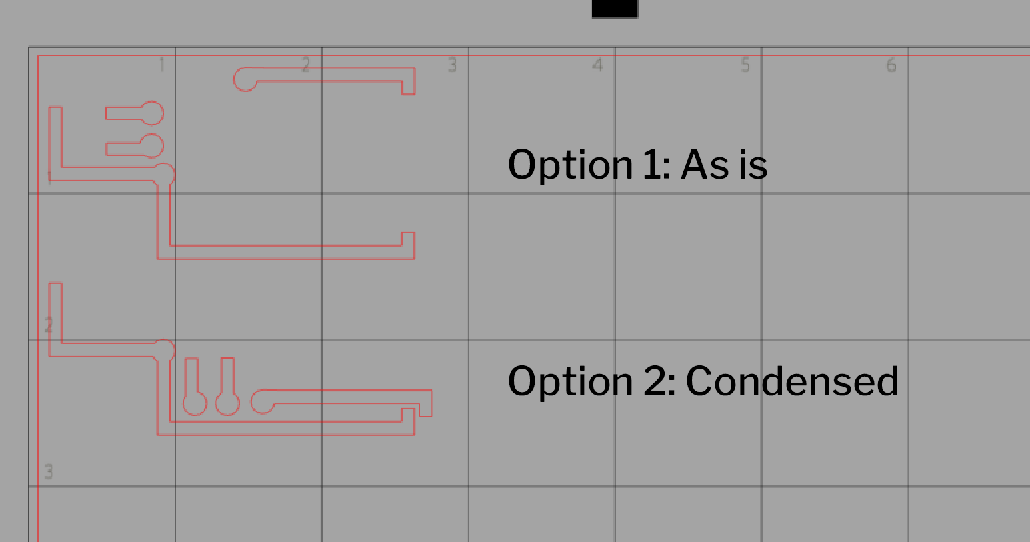
Again, it is important to be conservative with your materials for environmental and budgeting purposes, so the best solution is to try to keep this in mind as you begin to design your circuit from the start.
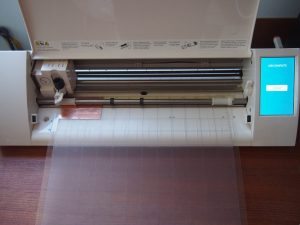
Connecting the machine
– Plug in the power cord to the machine
– Plug in the USB cord to the machine and your computer
– Turn it on
-
- Our machine!

-
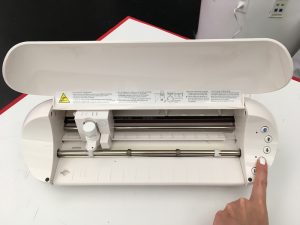
- Open the front cover and press power

Settings

Copper Fabric
– Material Type – Fabrics (Thin fabric like cotton prints)
– Blade – 3
Copper foil
– Material Type – Copy paper
– Blade – 2 (Note: This is a different blade setting than they use!!)
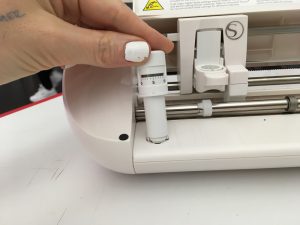
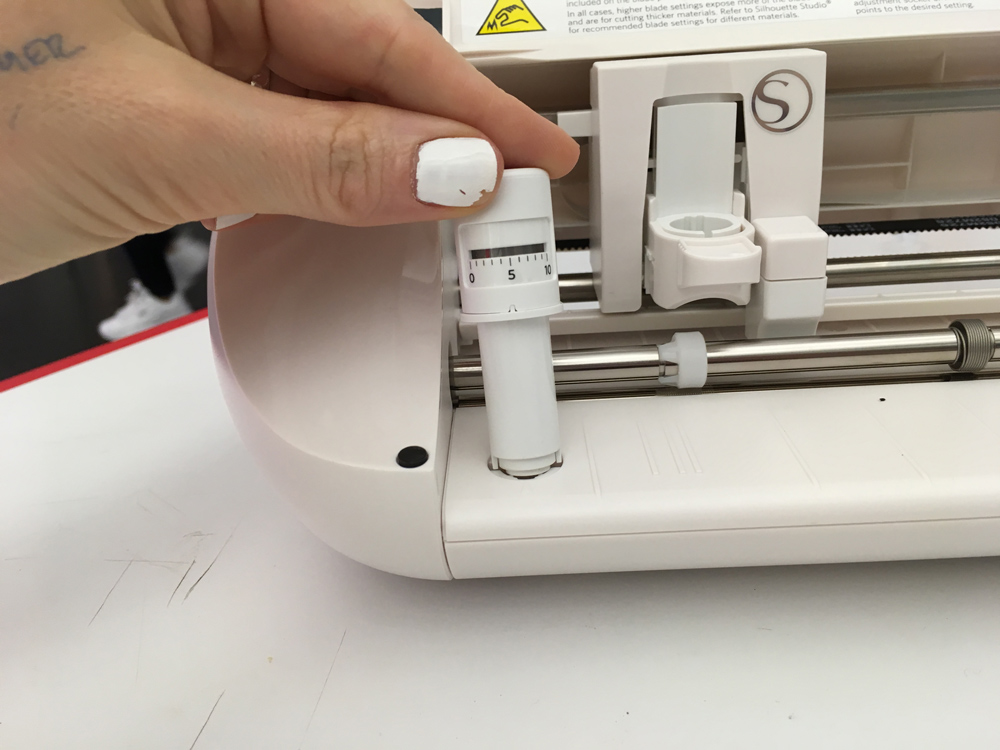
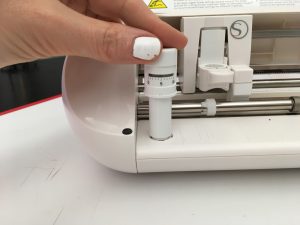
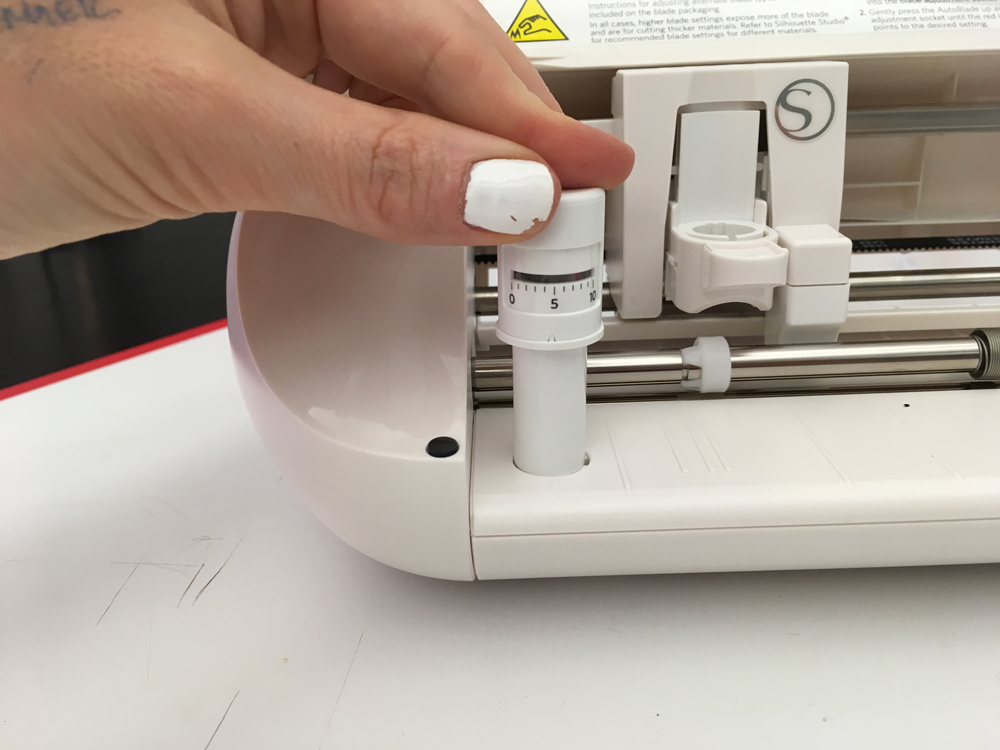
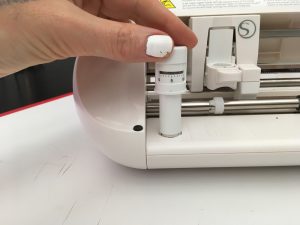
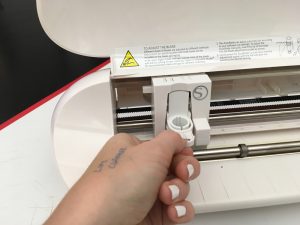
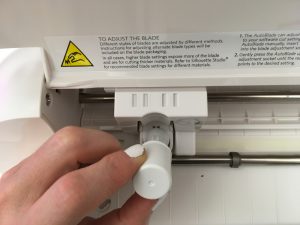
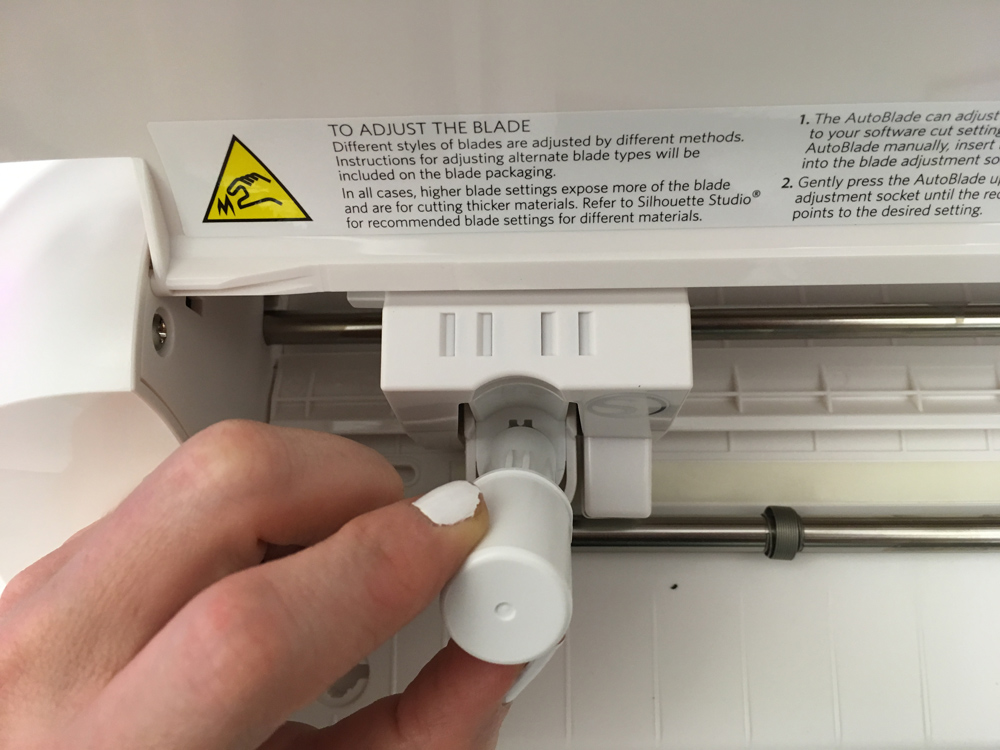
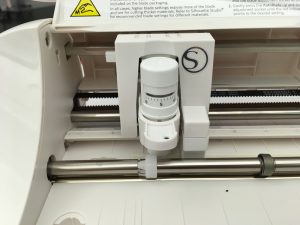
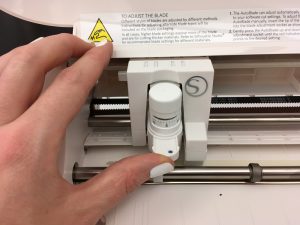
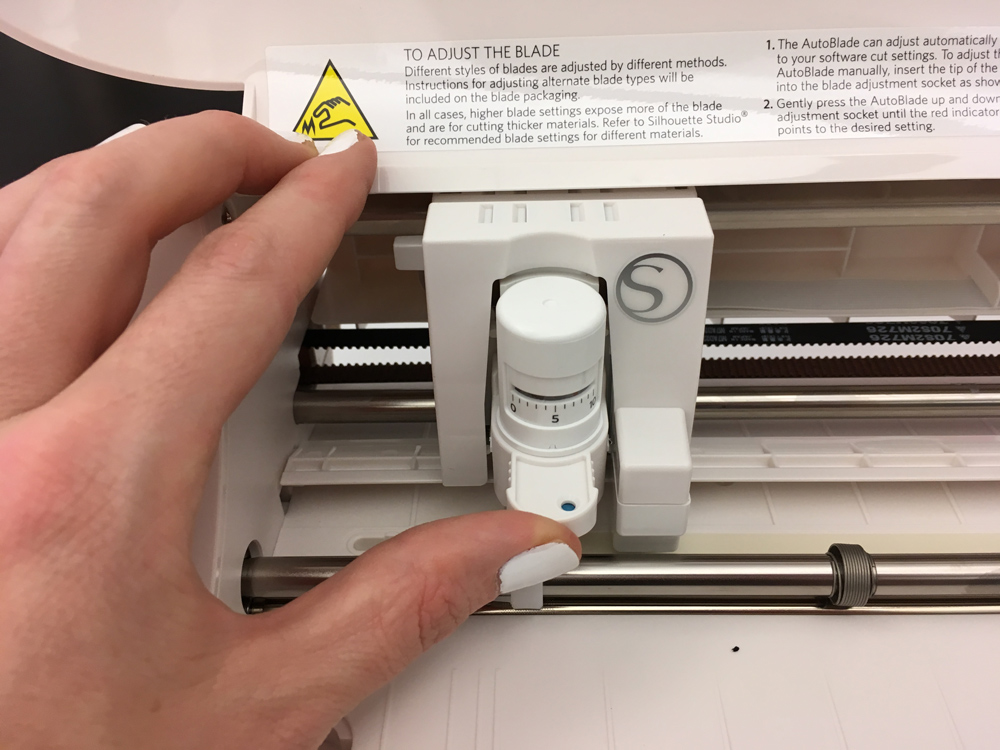
Changing the blade settings
To change the blade settings, you must remove the blade, place it in the indentation on the left side, then press up and down to adjust it. The red line tells you the setting.
-
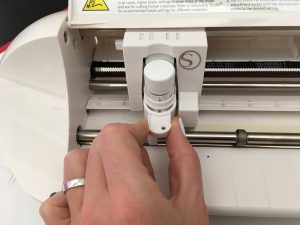
- Unlock the blade

-
- Pull the blade out
-
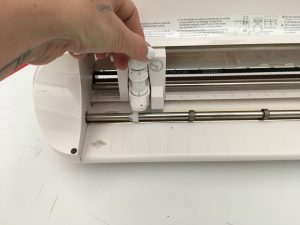
- Align it to the indentation
-
- Hold it in place

-

- Press down
-
- Release to change the blade setting

-
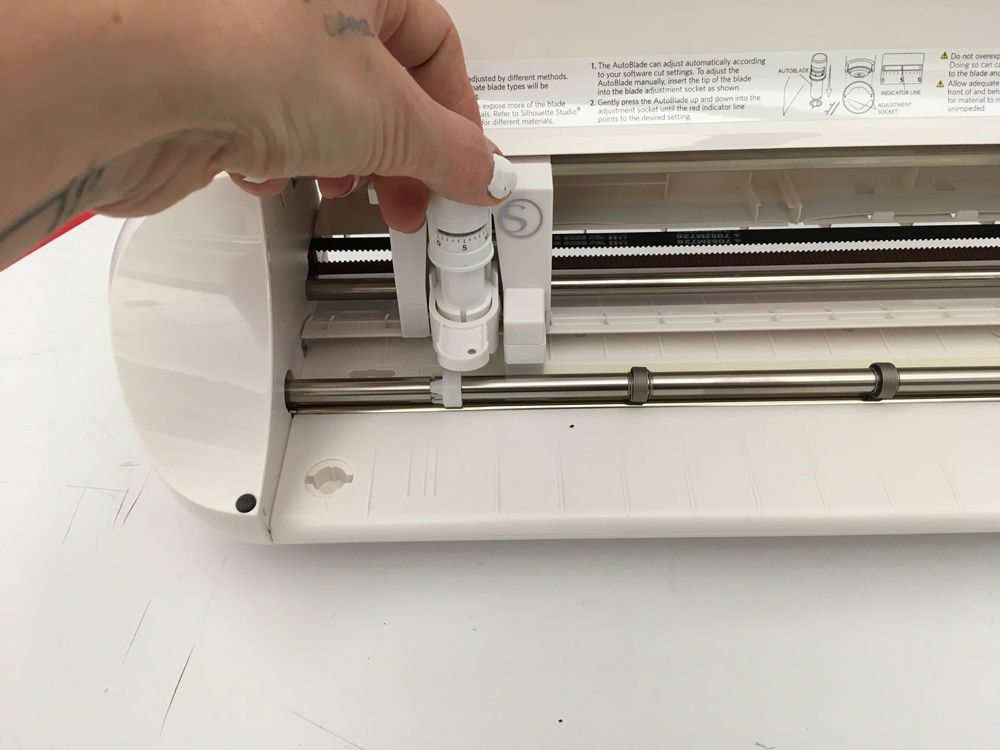
- Unlock the blade case

-
- Align the blade
-
- Push the blade ALL THE WAY IN

-
- Lock the blade case
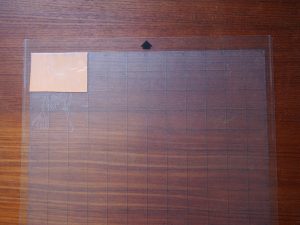
Loading the mat
– Align the mat with the plastic registration marks on the left side
– Press the load cut mat button. It should slowly feed the mat into the machine
-
- Adhere to mat

-
- Load mat

-
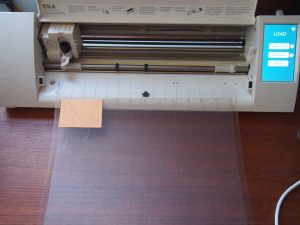
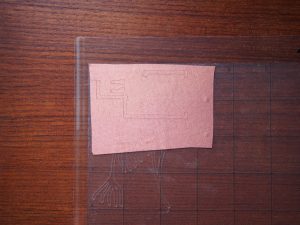
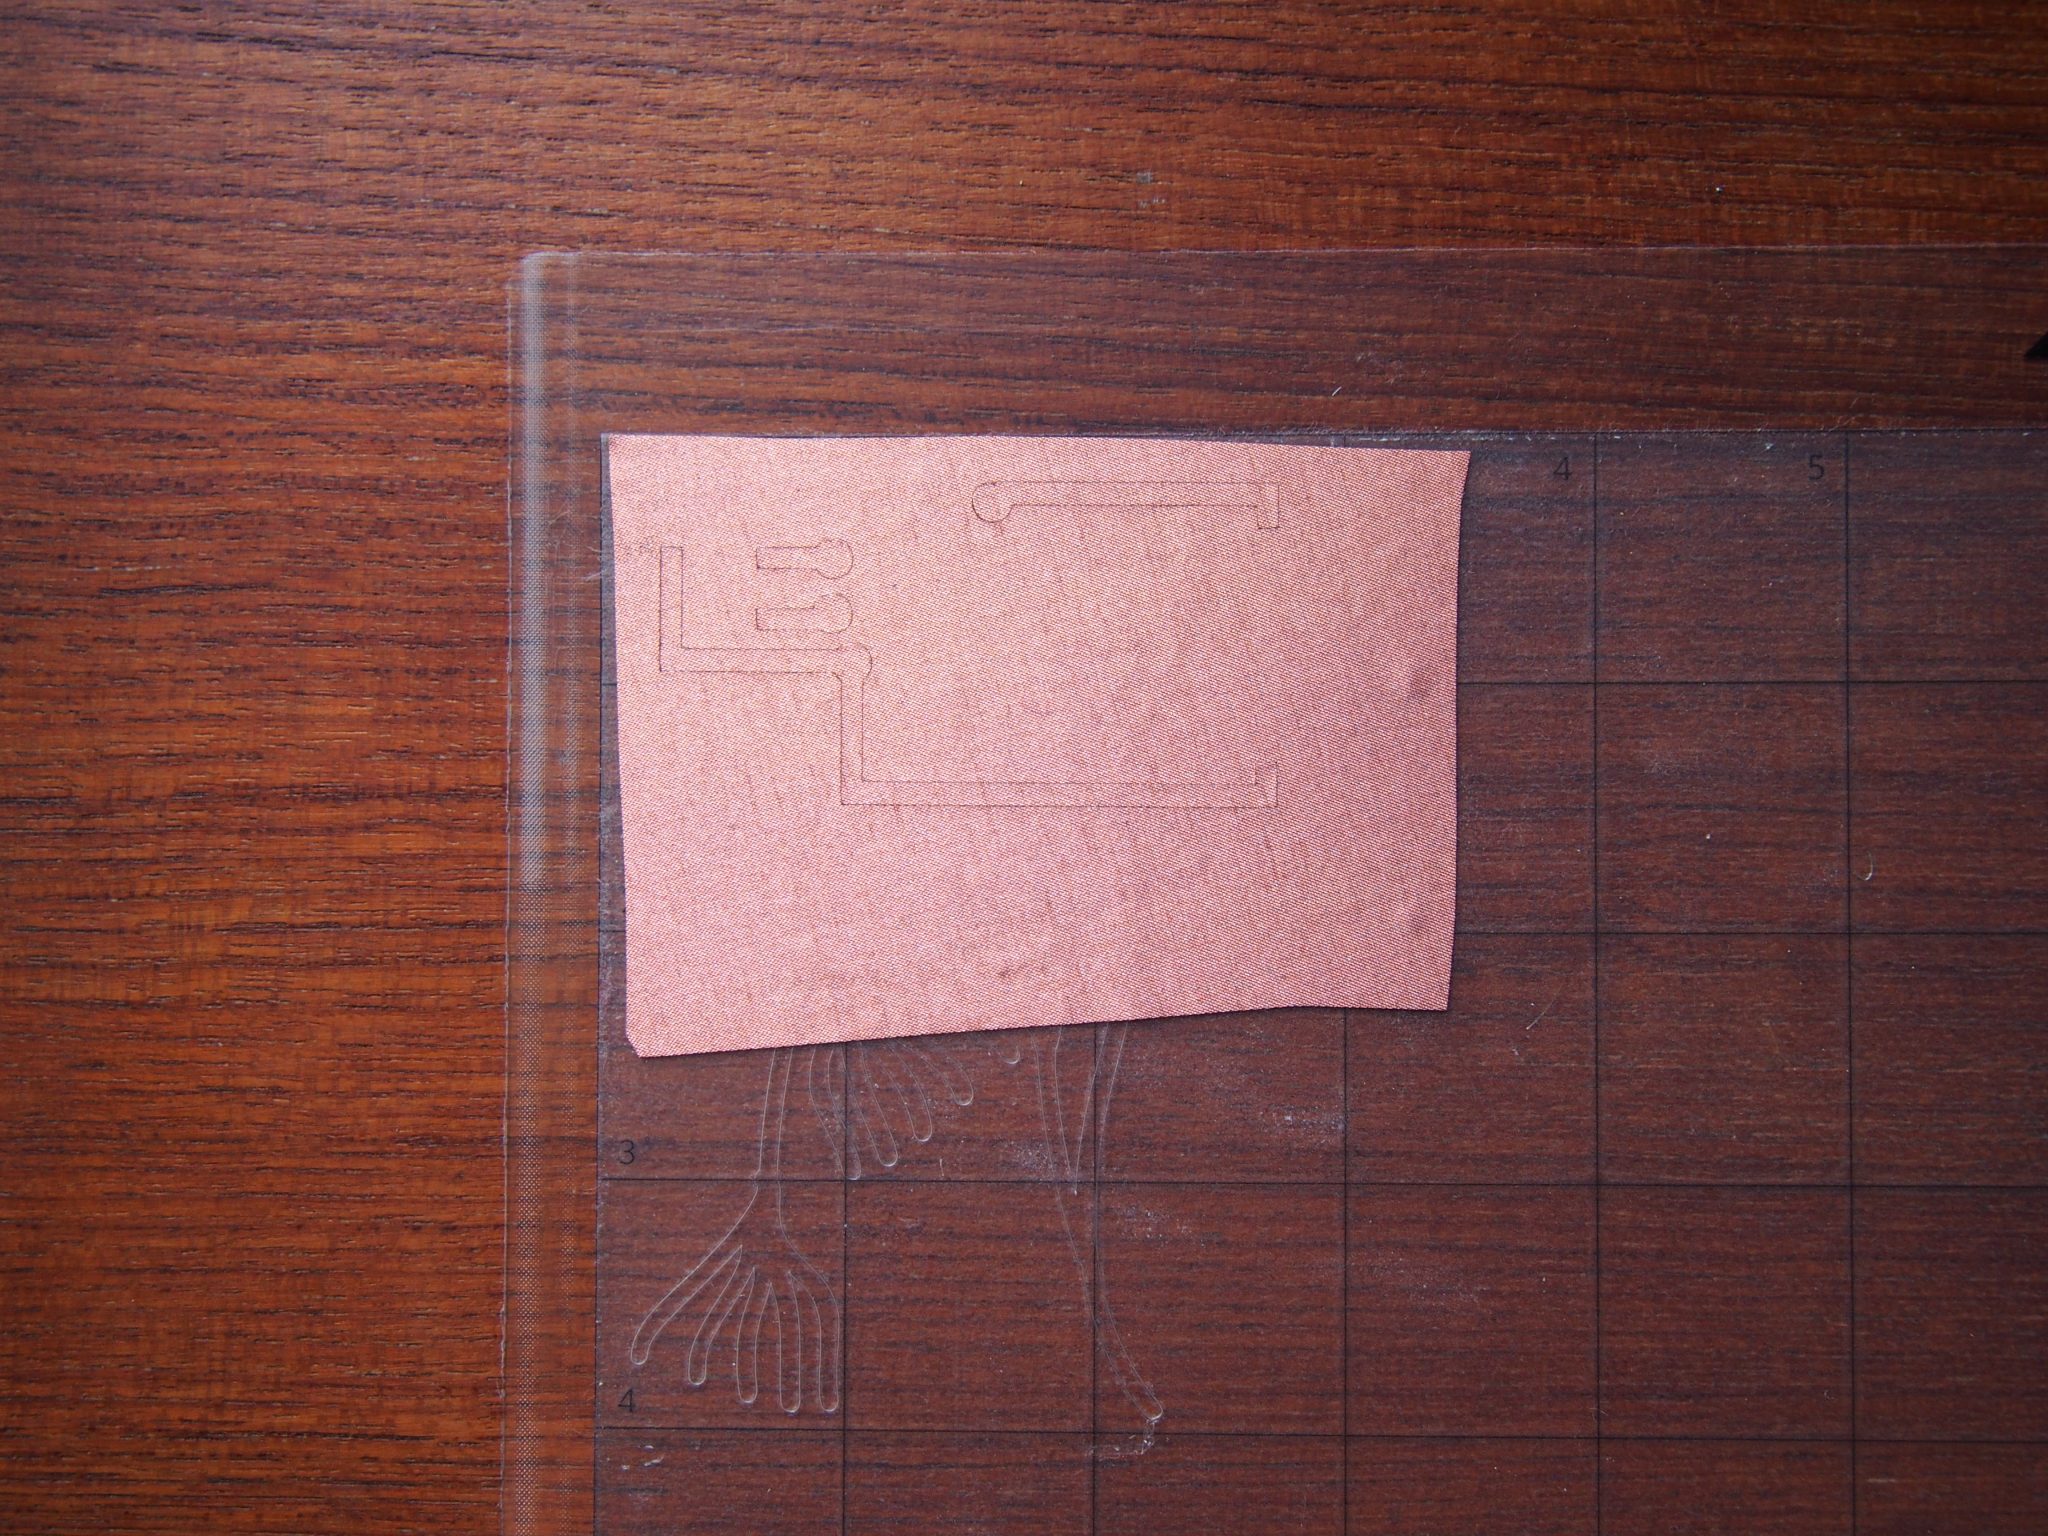
- Check circuit, then unload mat

Print
– Double check your settings
– Press print!
– Watch the entire process. If something goes wrong, press pause and unload the mat.
Unload the mat
– After it’s finished, check the cut before unloading.
– Once you’re finished, unload the mat.
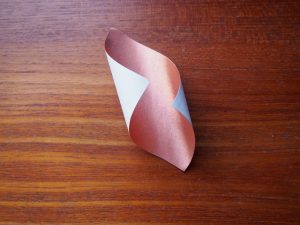
PLACING YOUR CIRCUIT
Fabric (option 1)
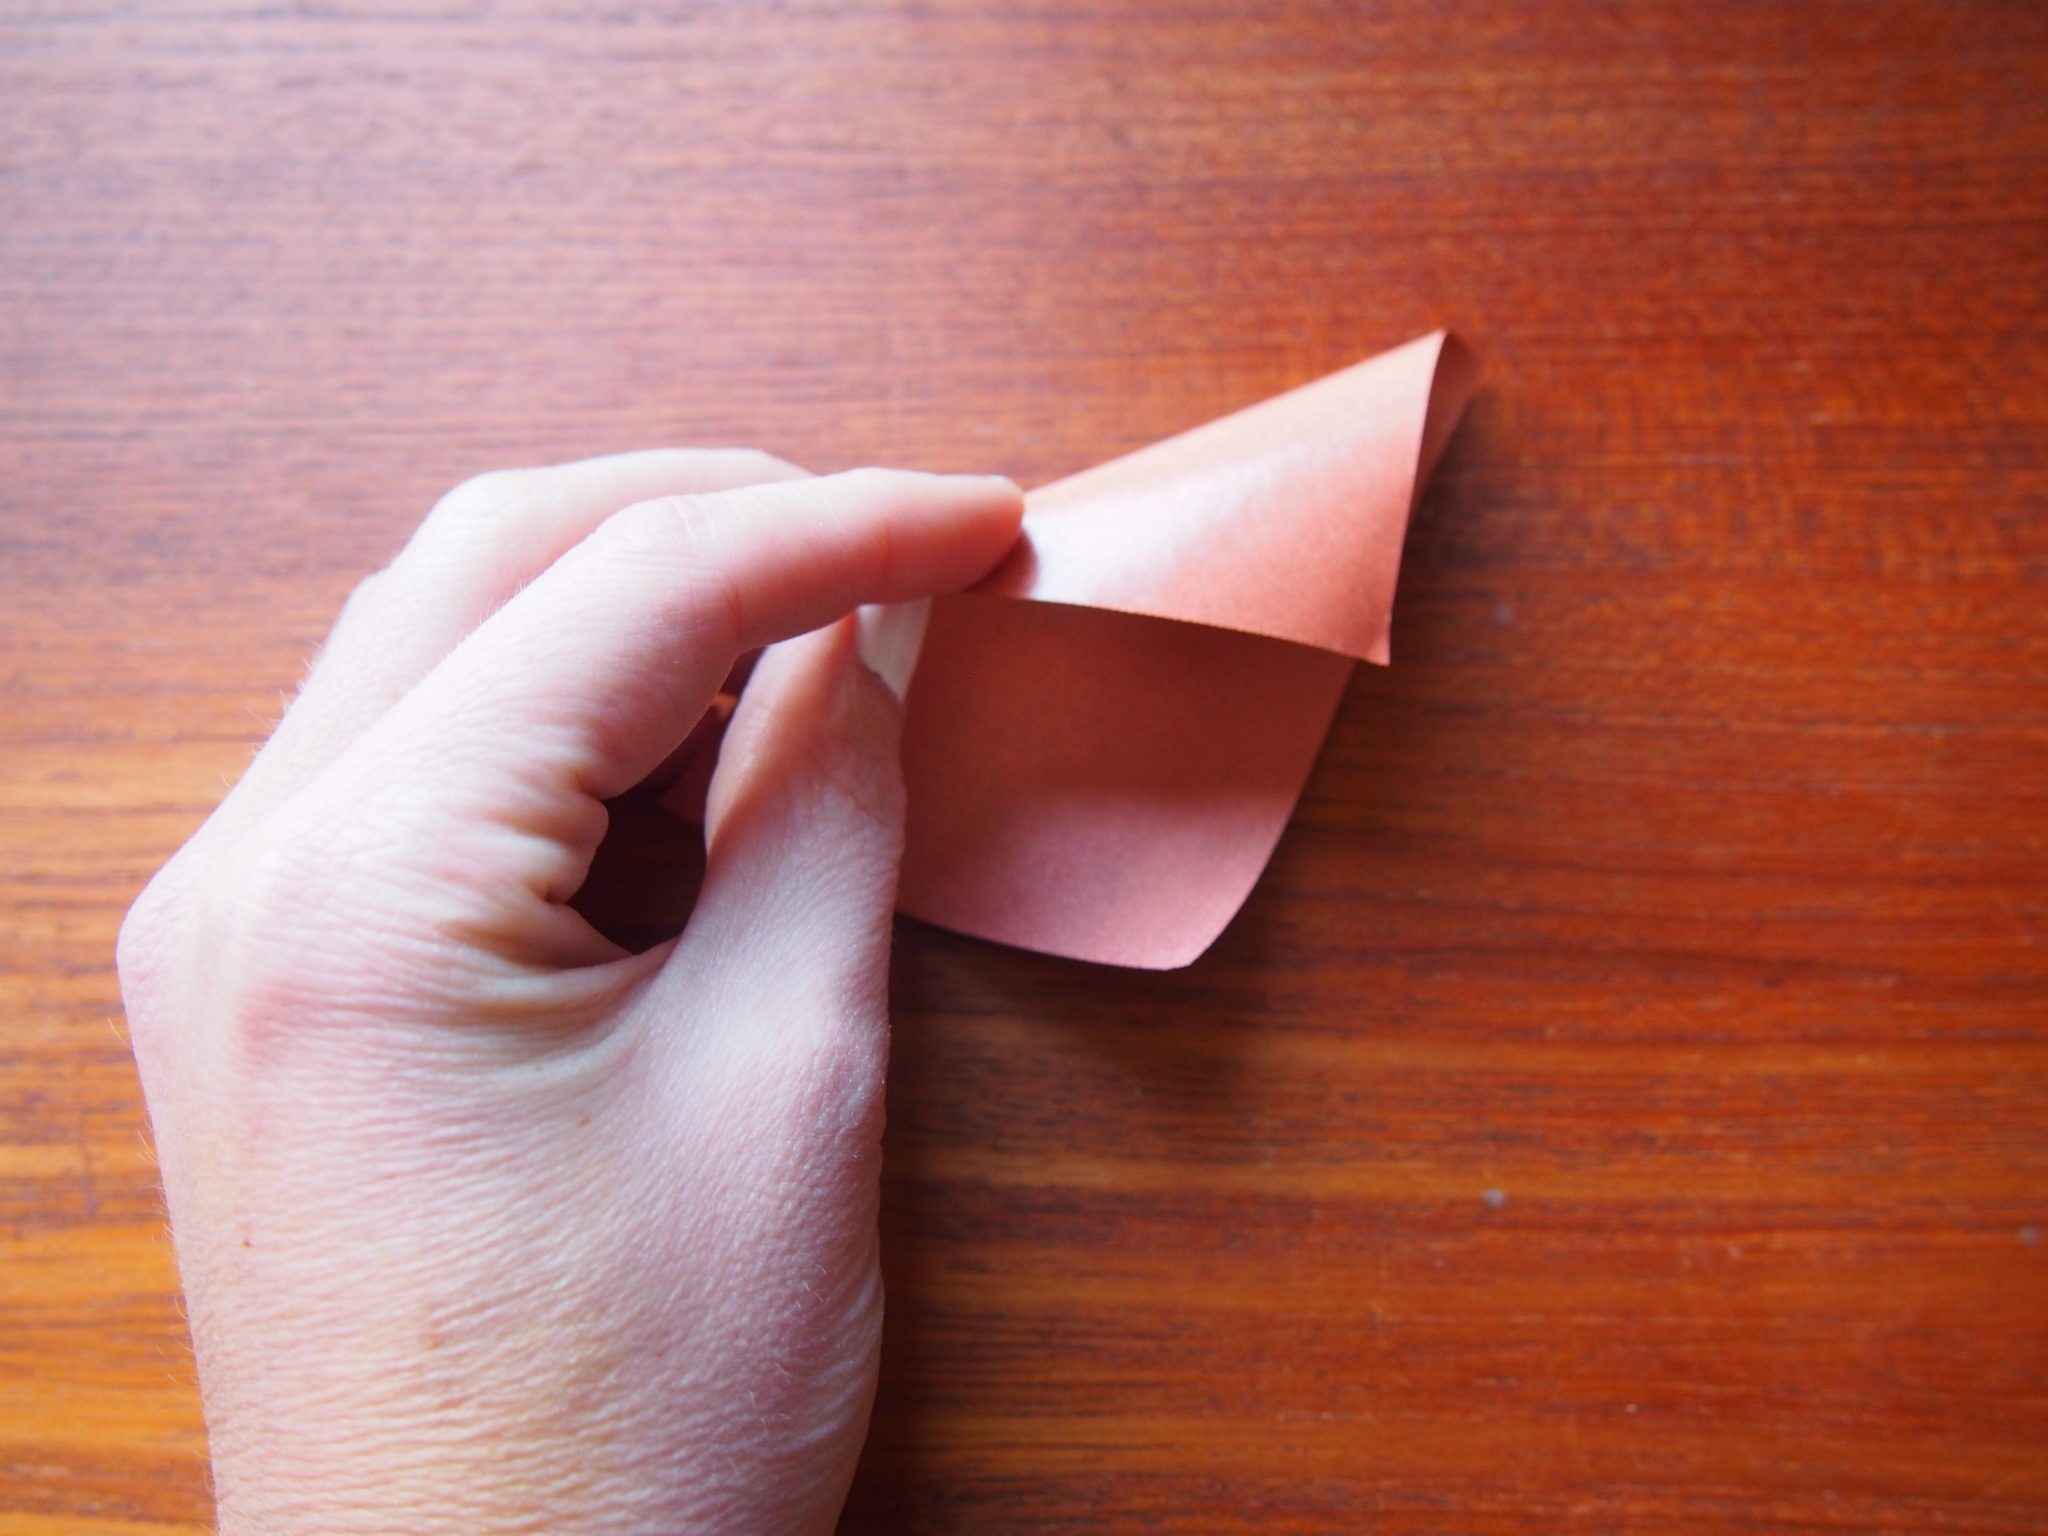
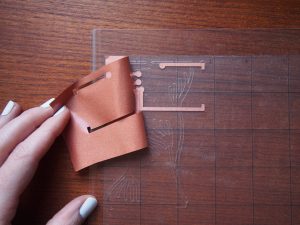
– Remove excess material
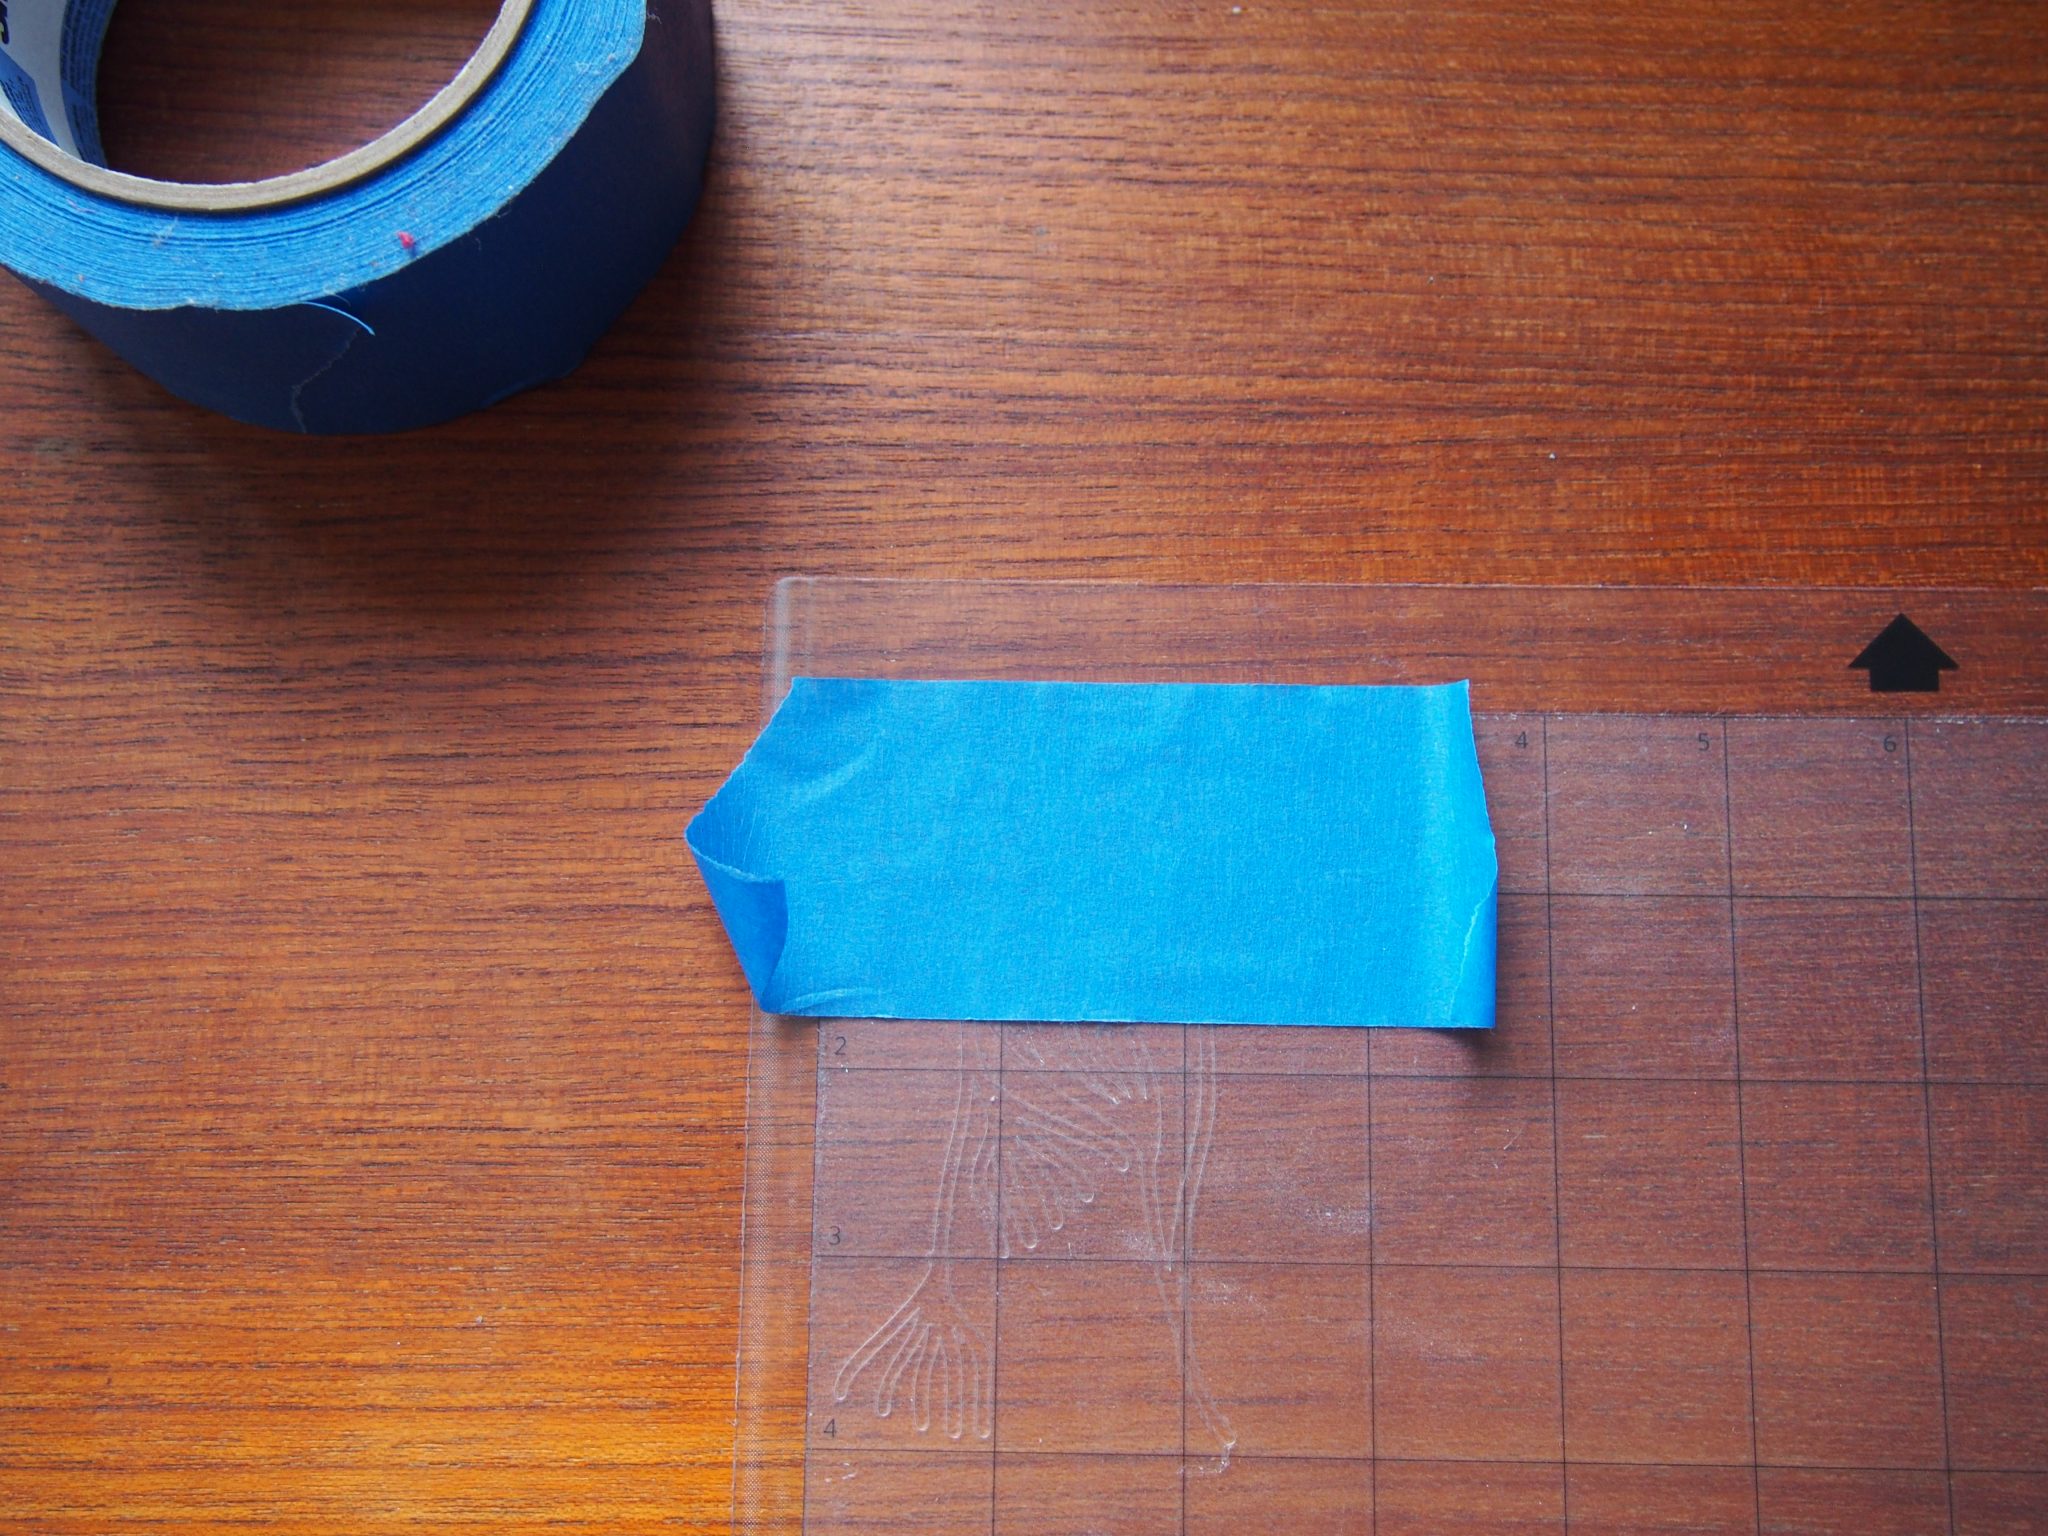
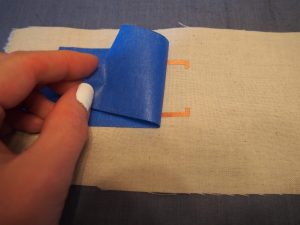
– Place painters tape + press. You may need to help it along.
– Remove tape carefully
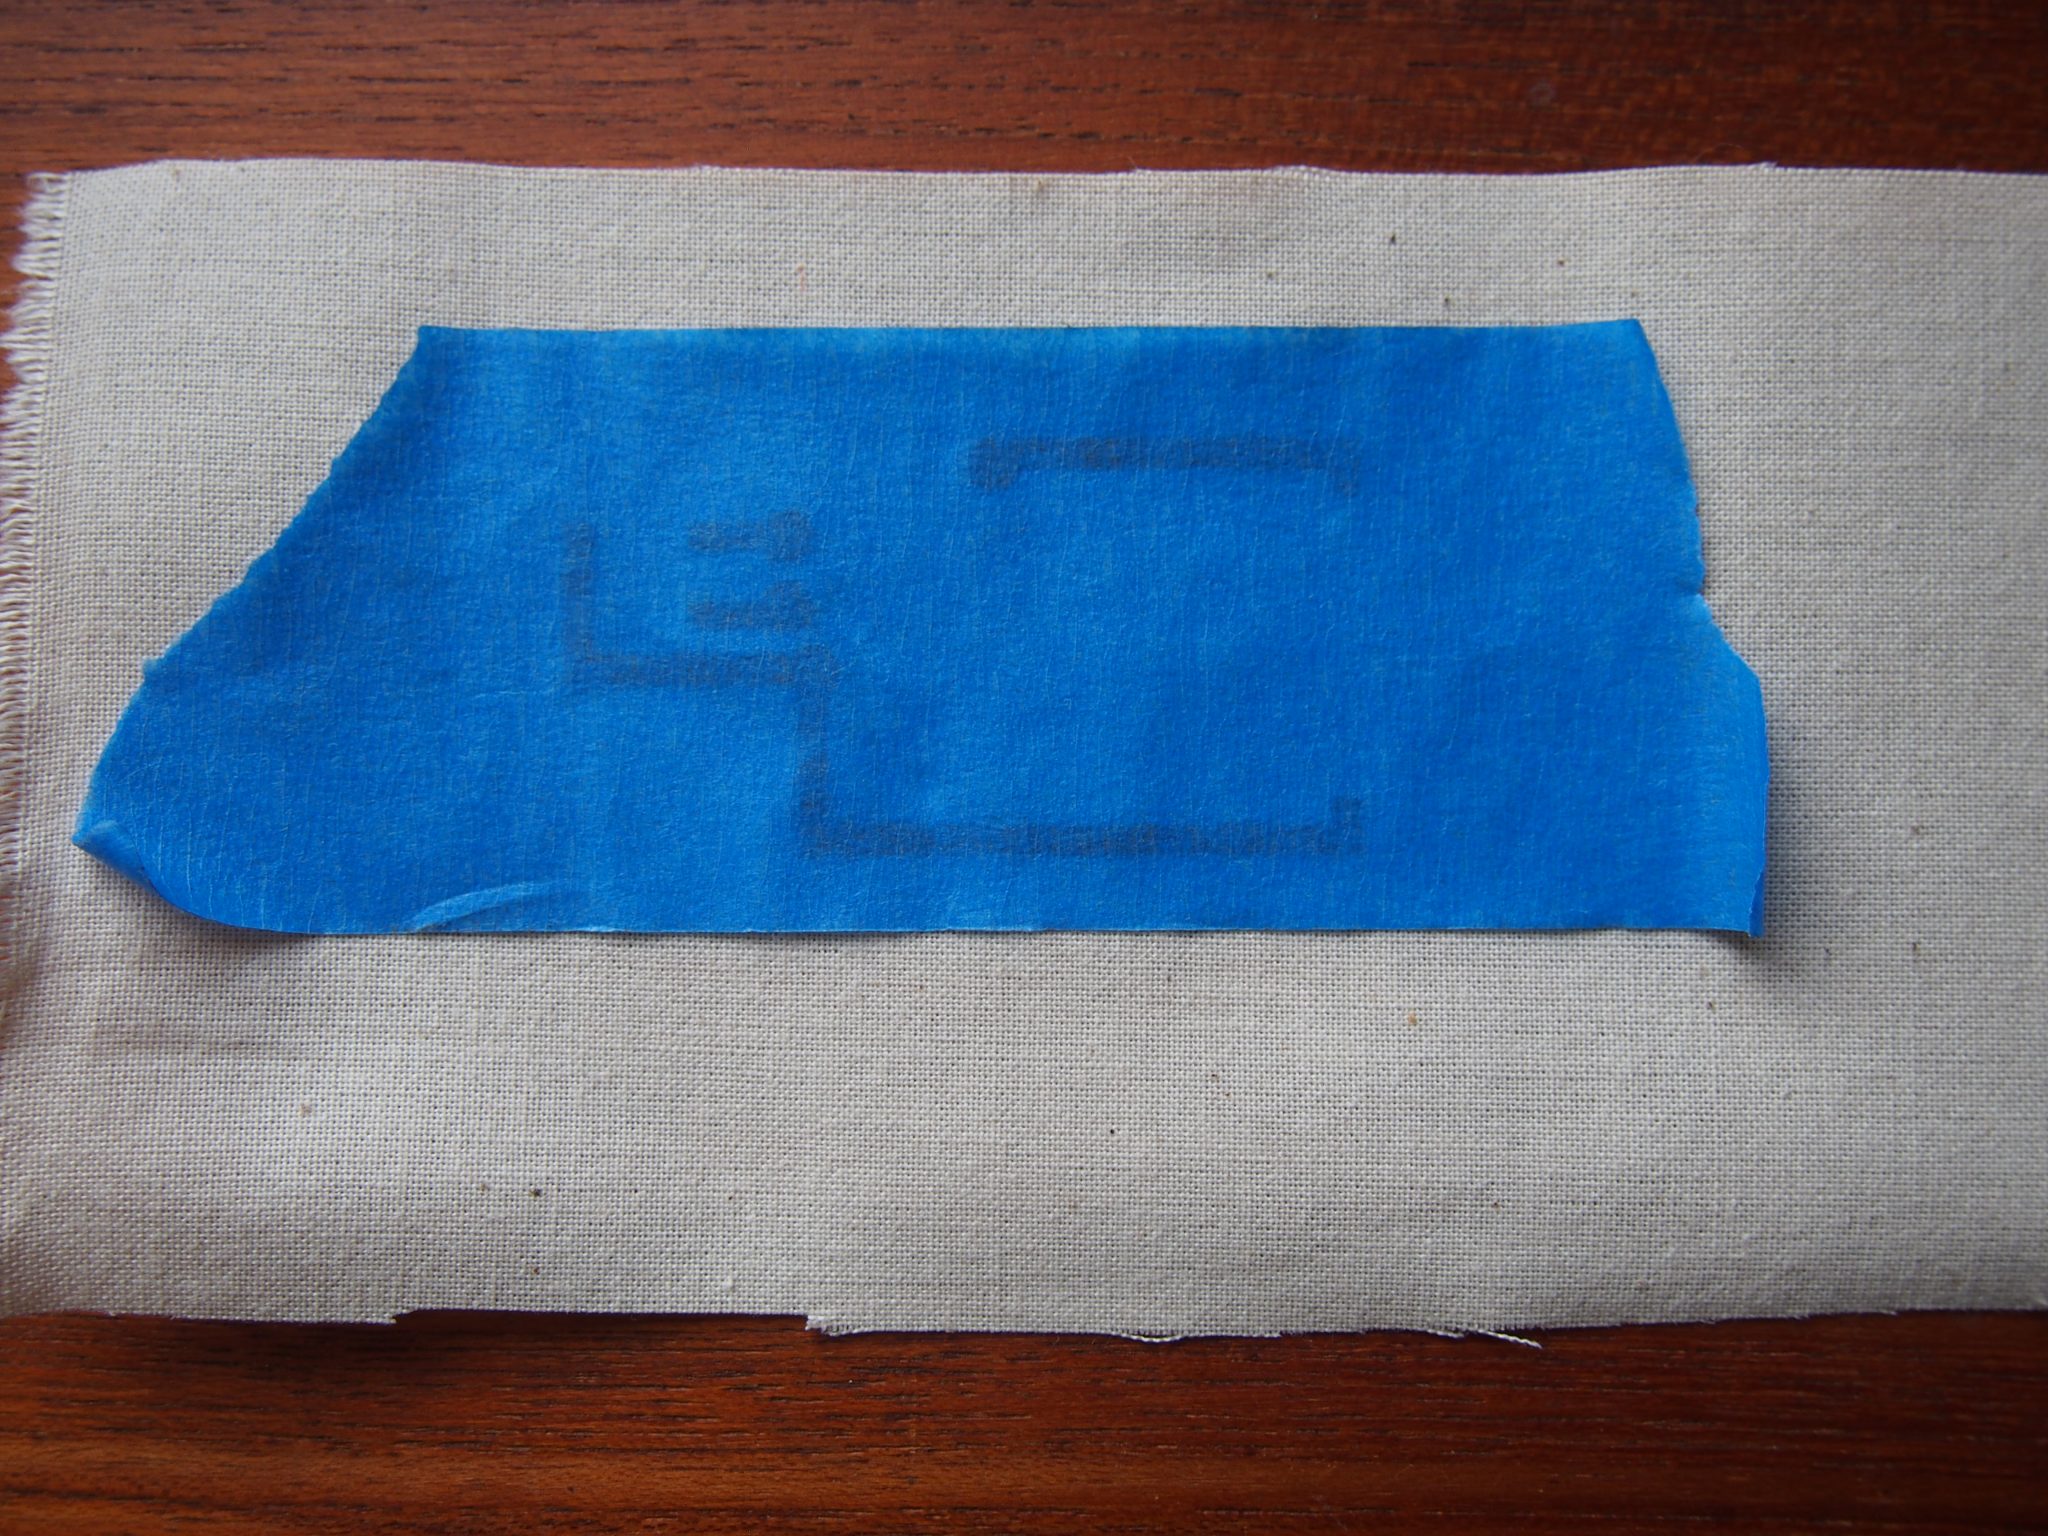
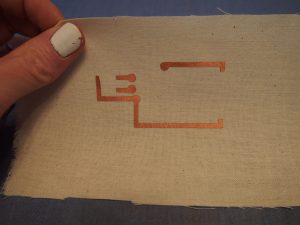
– Adhere tape with circuit to the fabric
– Turn over the fabric
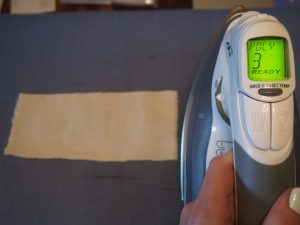
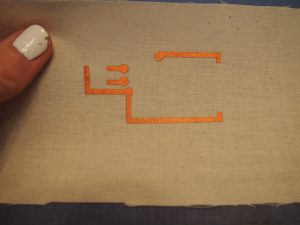
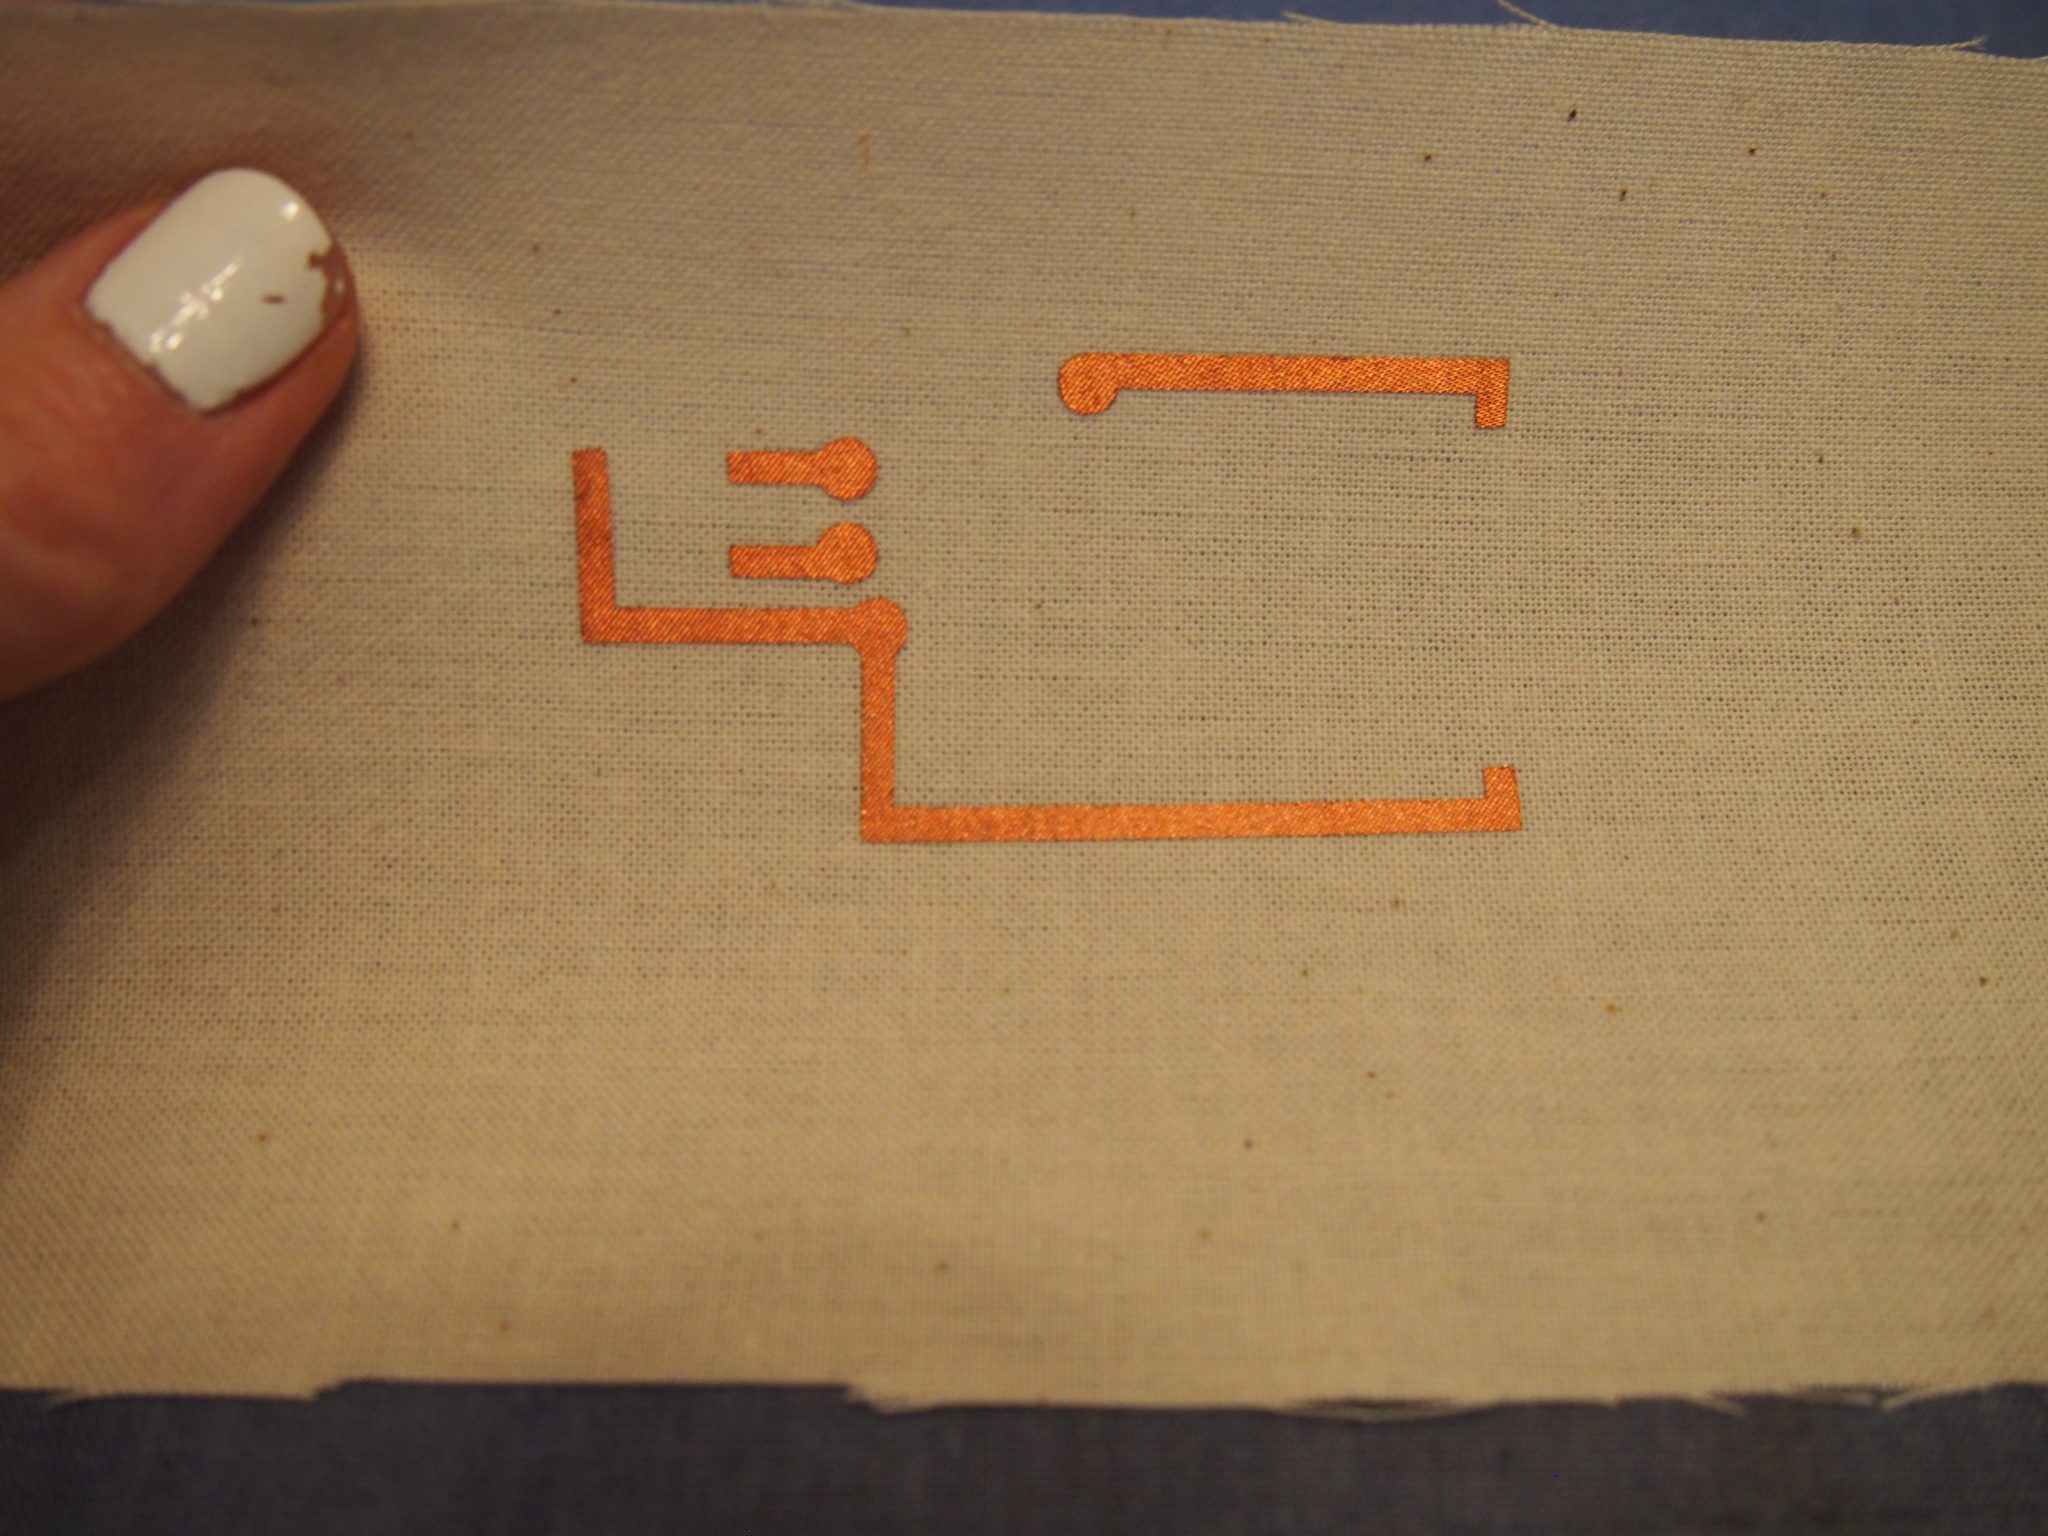
– Iron at low setting. Hold for 10 seconds and wait for it to cool.
– Carefully remove tape.
– Iron once more if necessary. Be sure to cover with freezer paper or another piece of fabric.
-
- Adhere to iron-on adhesive

-

- Remove the paper backing
-
- Stick to the cutting mat – press firmly to avoid air bubbles

-
- Cut out your circuit
-
- Remove excess fabric

-

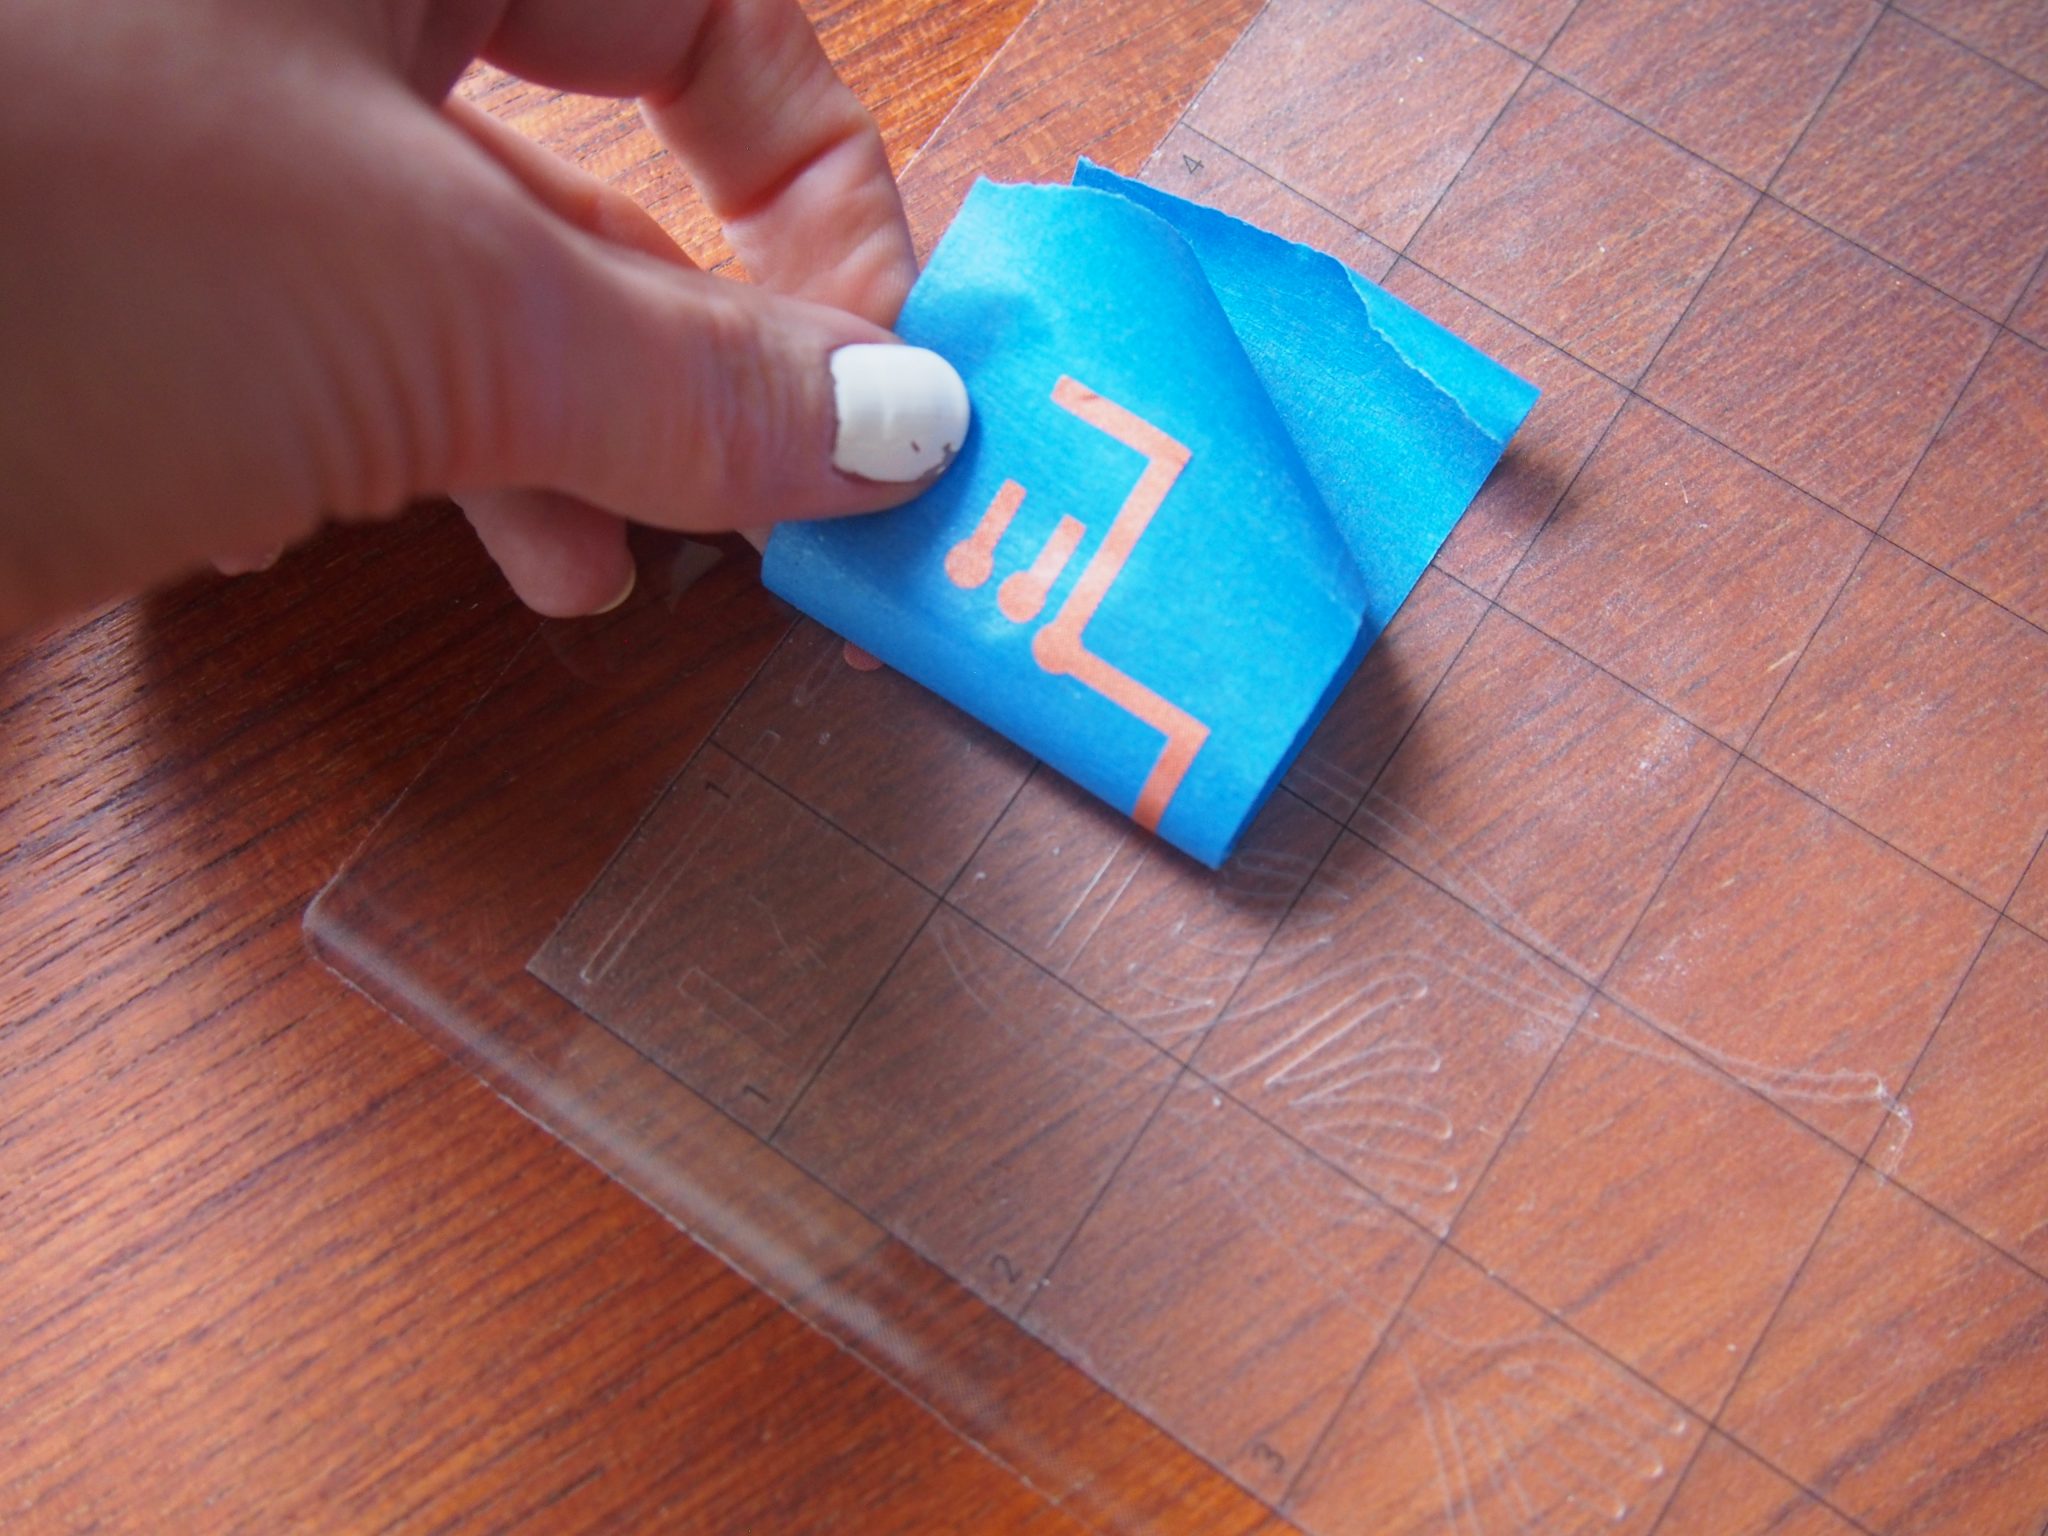
- Place a piece of painters tape over the circuit and press firmly
-

- Carefully remove the tape with the circuit
-

- Place the circuit down on your substrate
-
- Turn over the fabric and place iron (with a low setting) on it for 10 seconds

-
- Carefully remove

-
- Iron once more if necessary

-
- Be sure to cover with freezer paper or another piece of fabric
Fabric (option 2) – material saving
– Carefully remove traces
– Choose one piece to be your marker
– Iron it down on a low setting
– Line up your next piece. Use your components as a reference if needed.
– Iron it down on a low setting
– Continue placing pieces until you’re finished
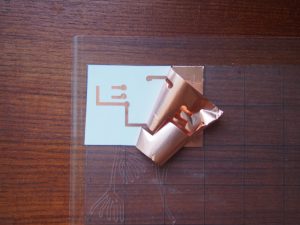
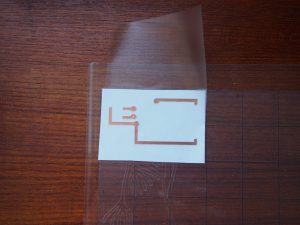
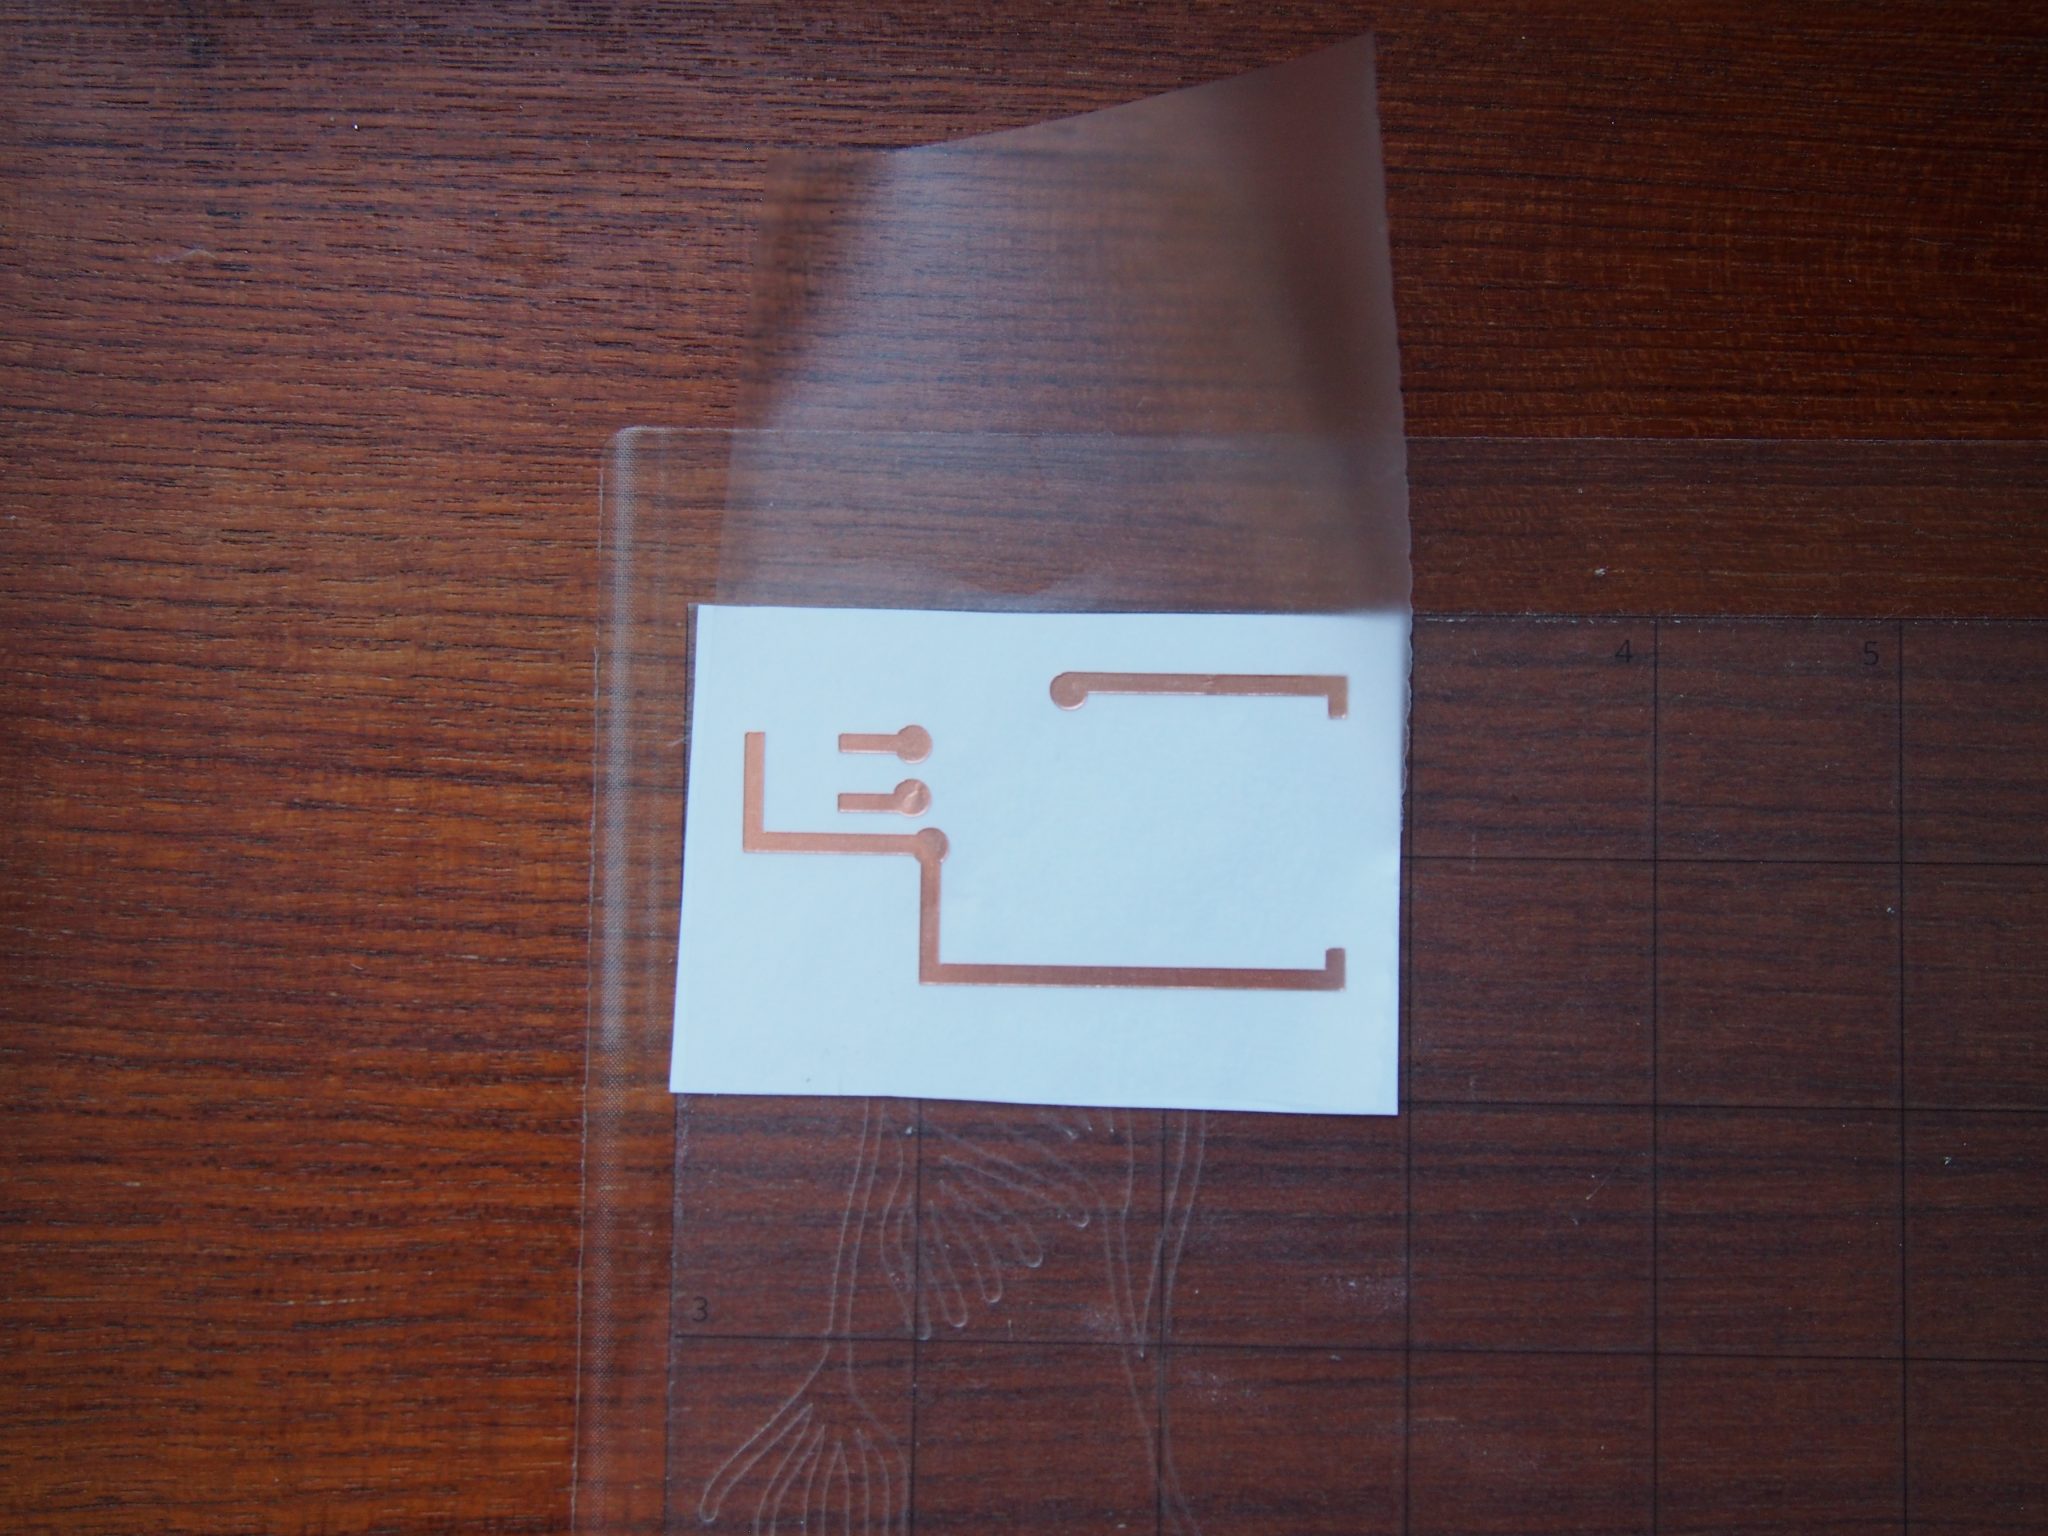
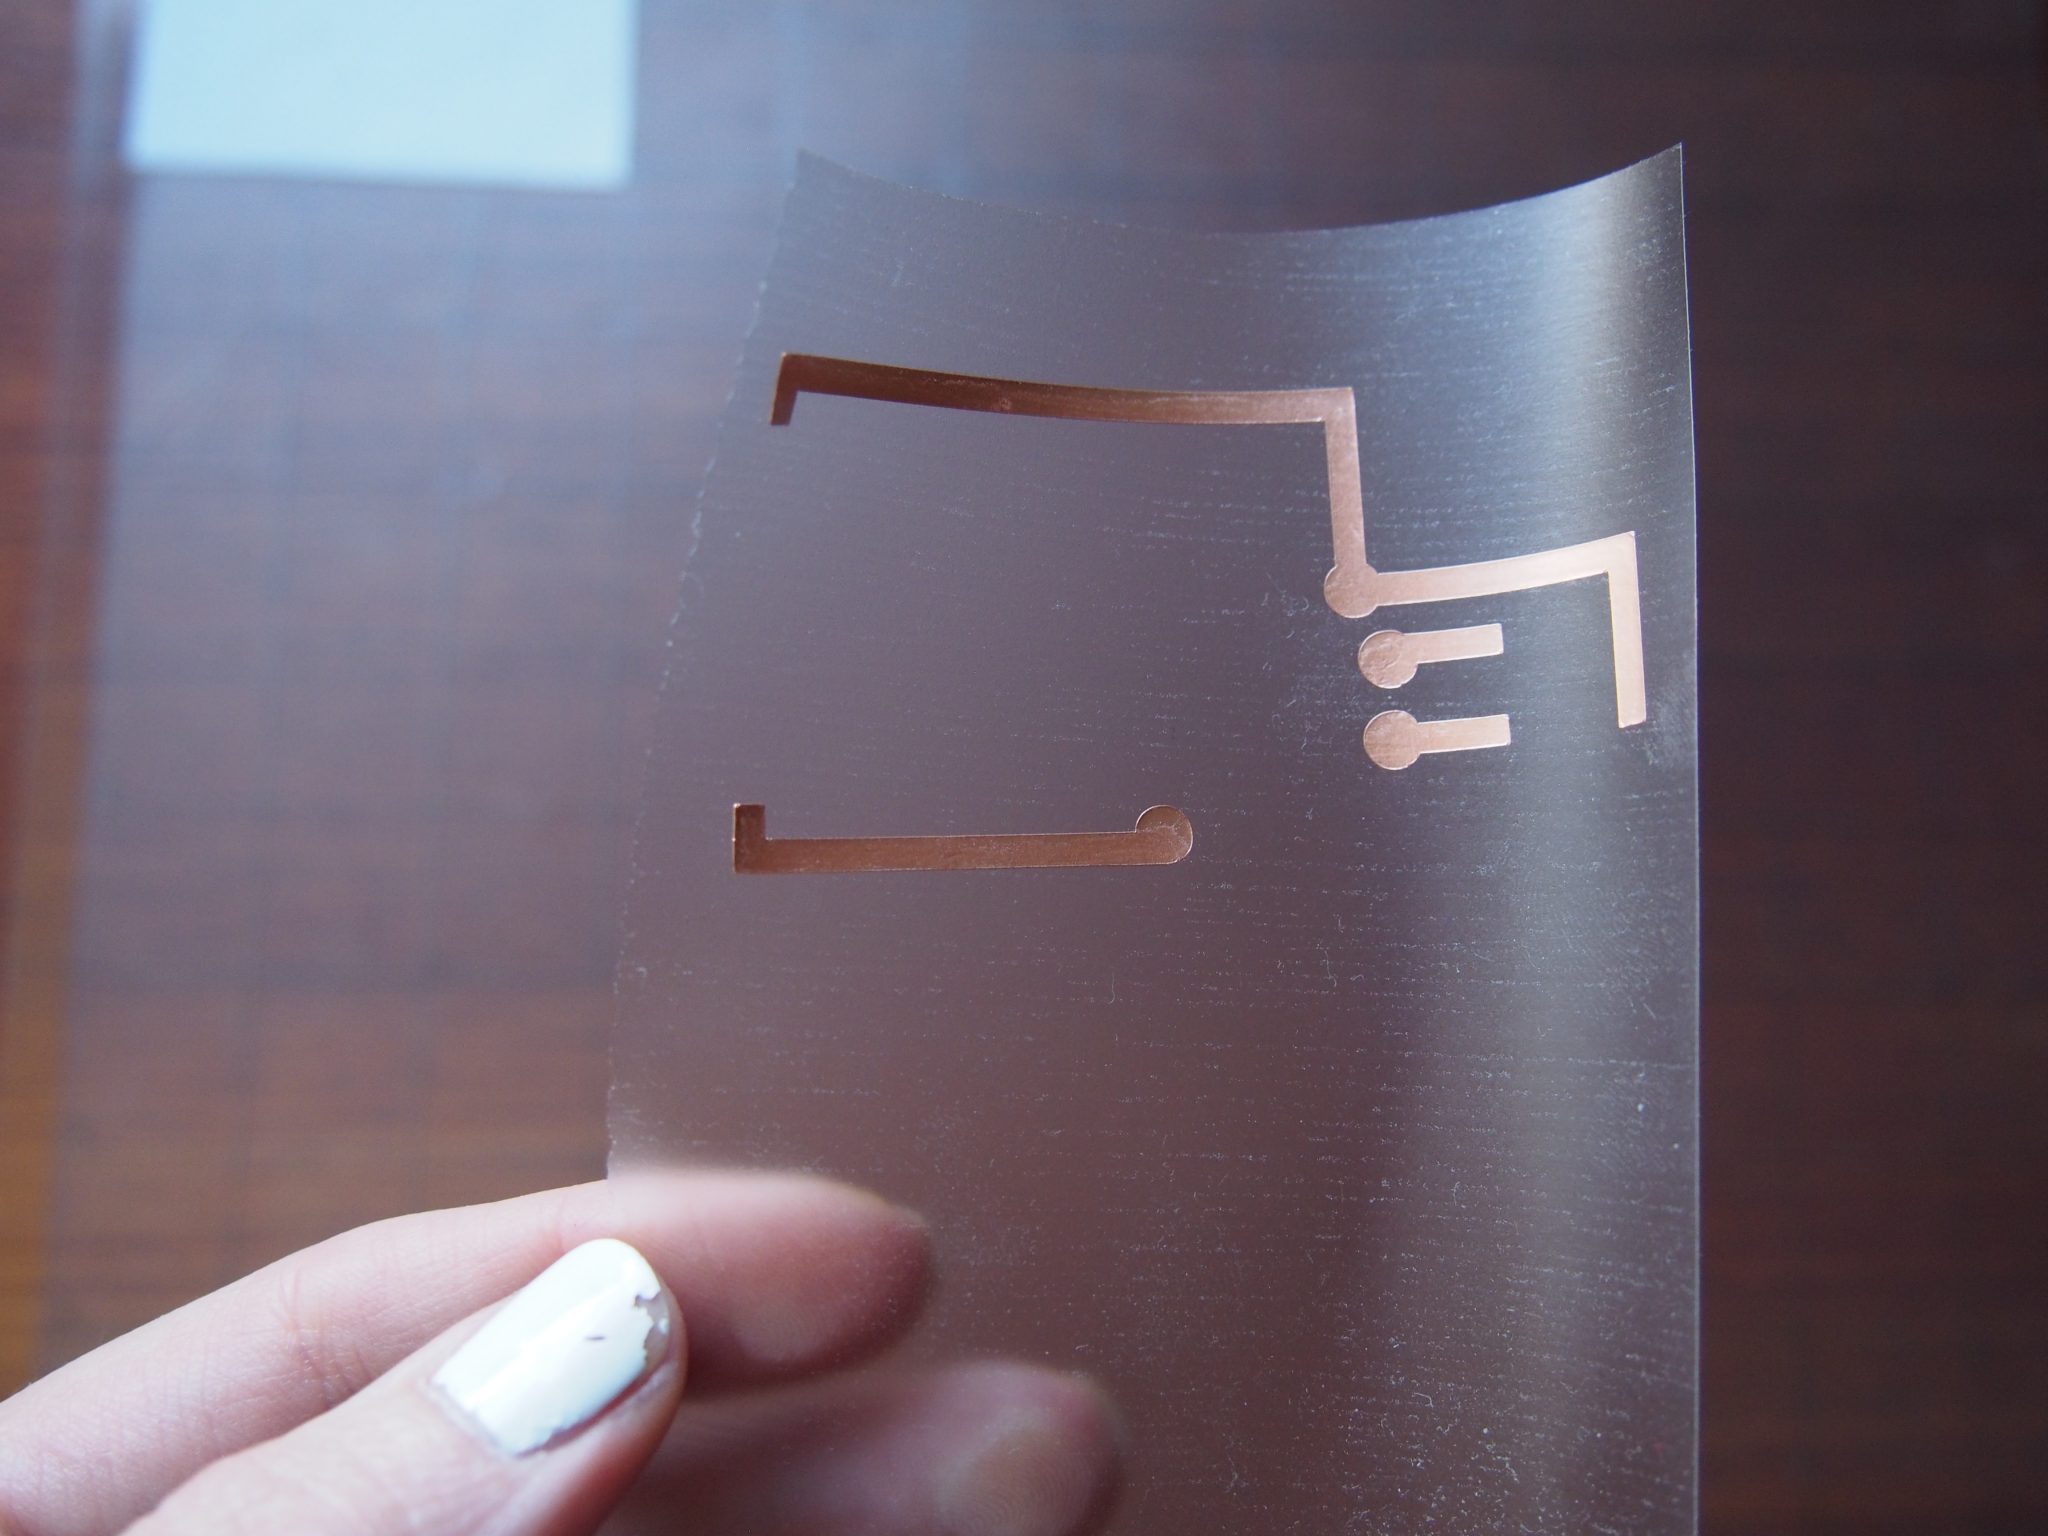
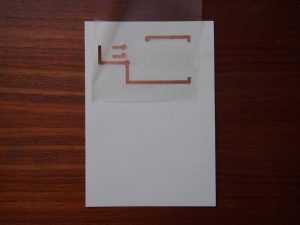
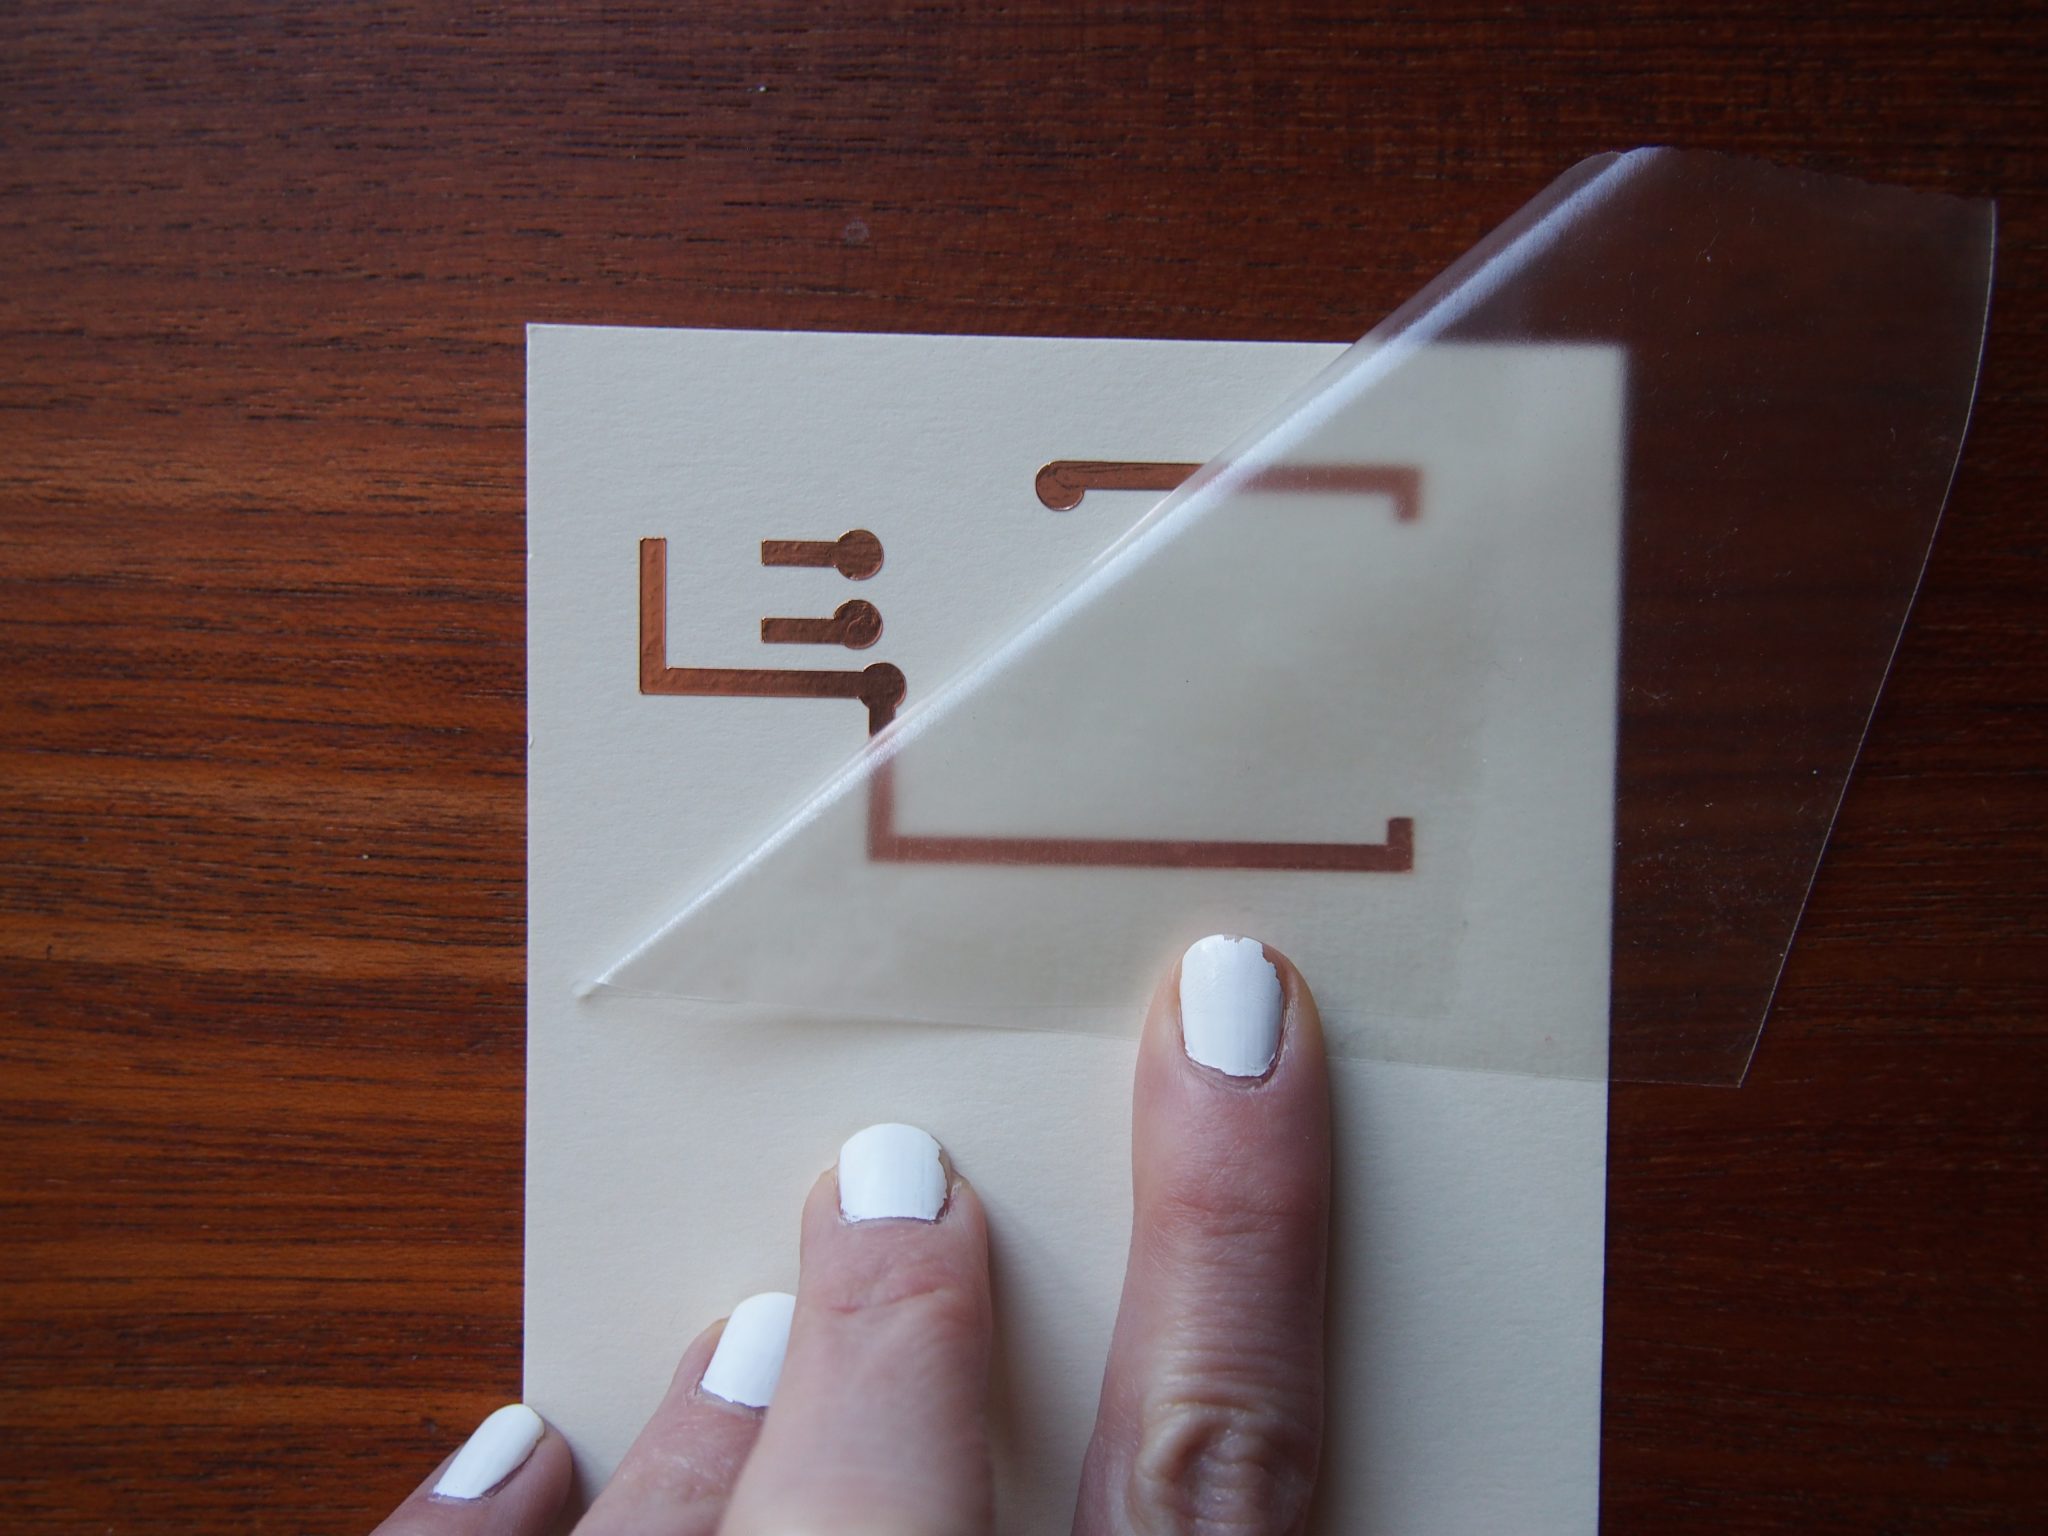
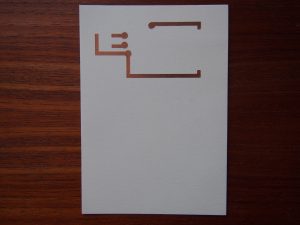
Foil
– Remove excess material
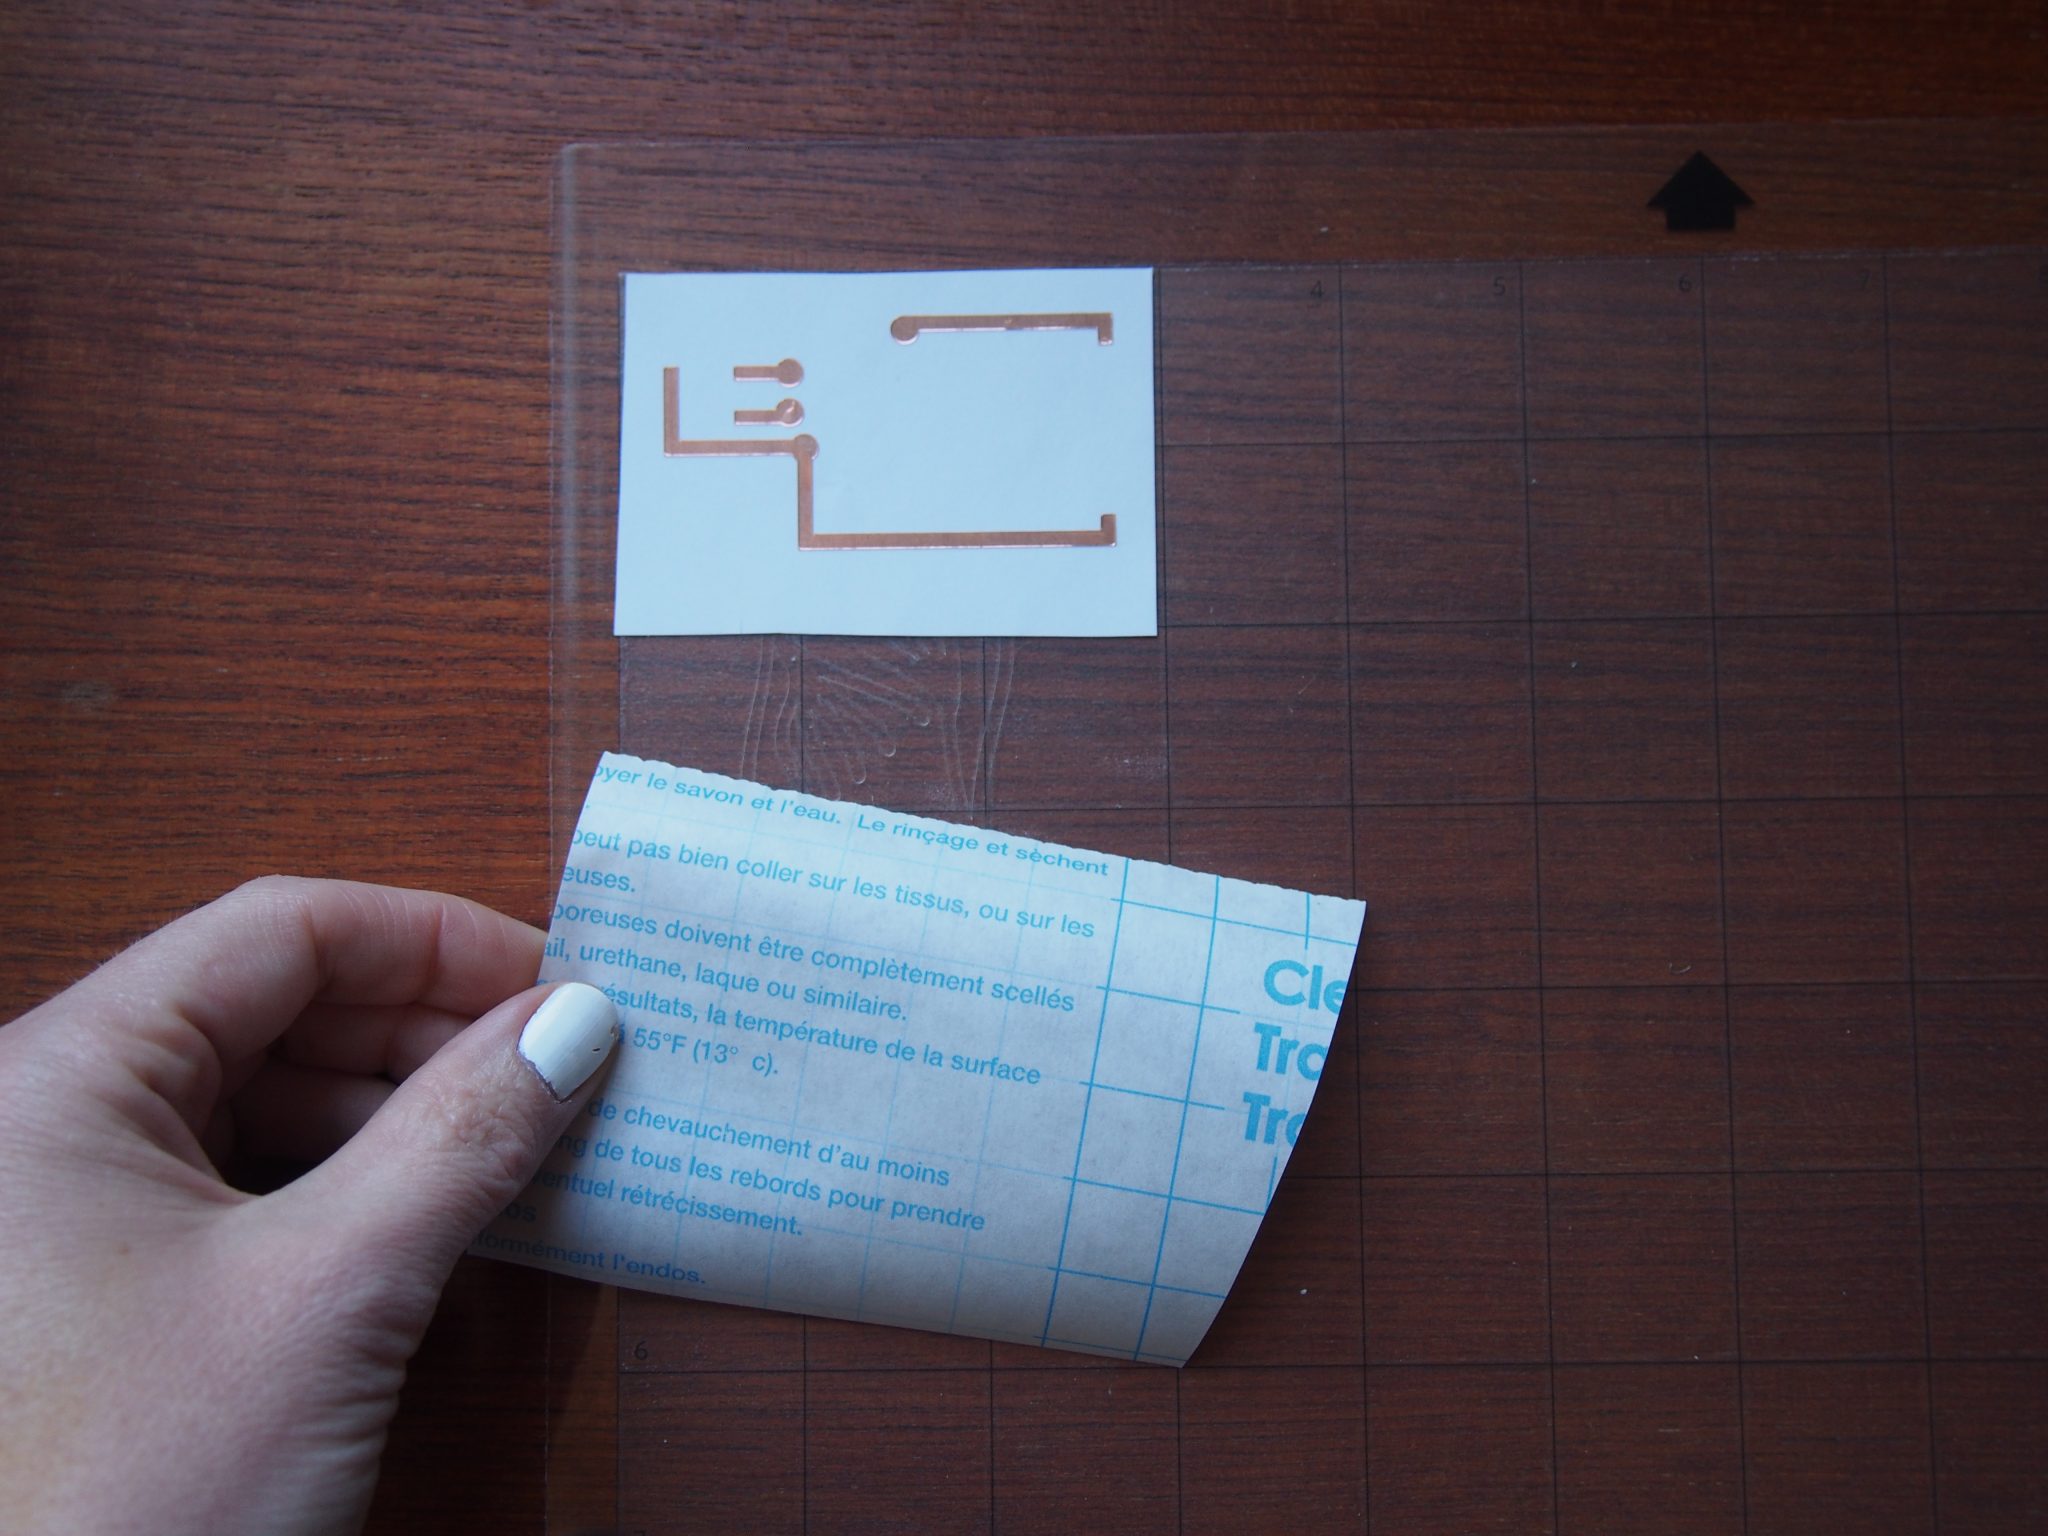
– Place contact paper + press
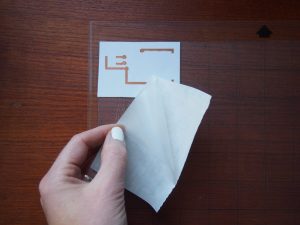
– Remove contact paper carefully
– Adhere contact paper with circuit
– Press
– Carefully remove contact paper
-
- Remove excess material

-

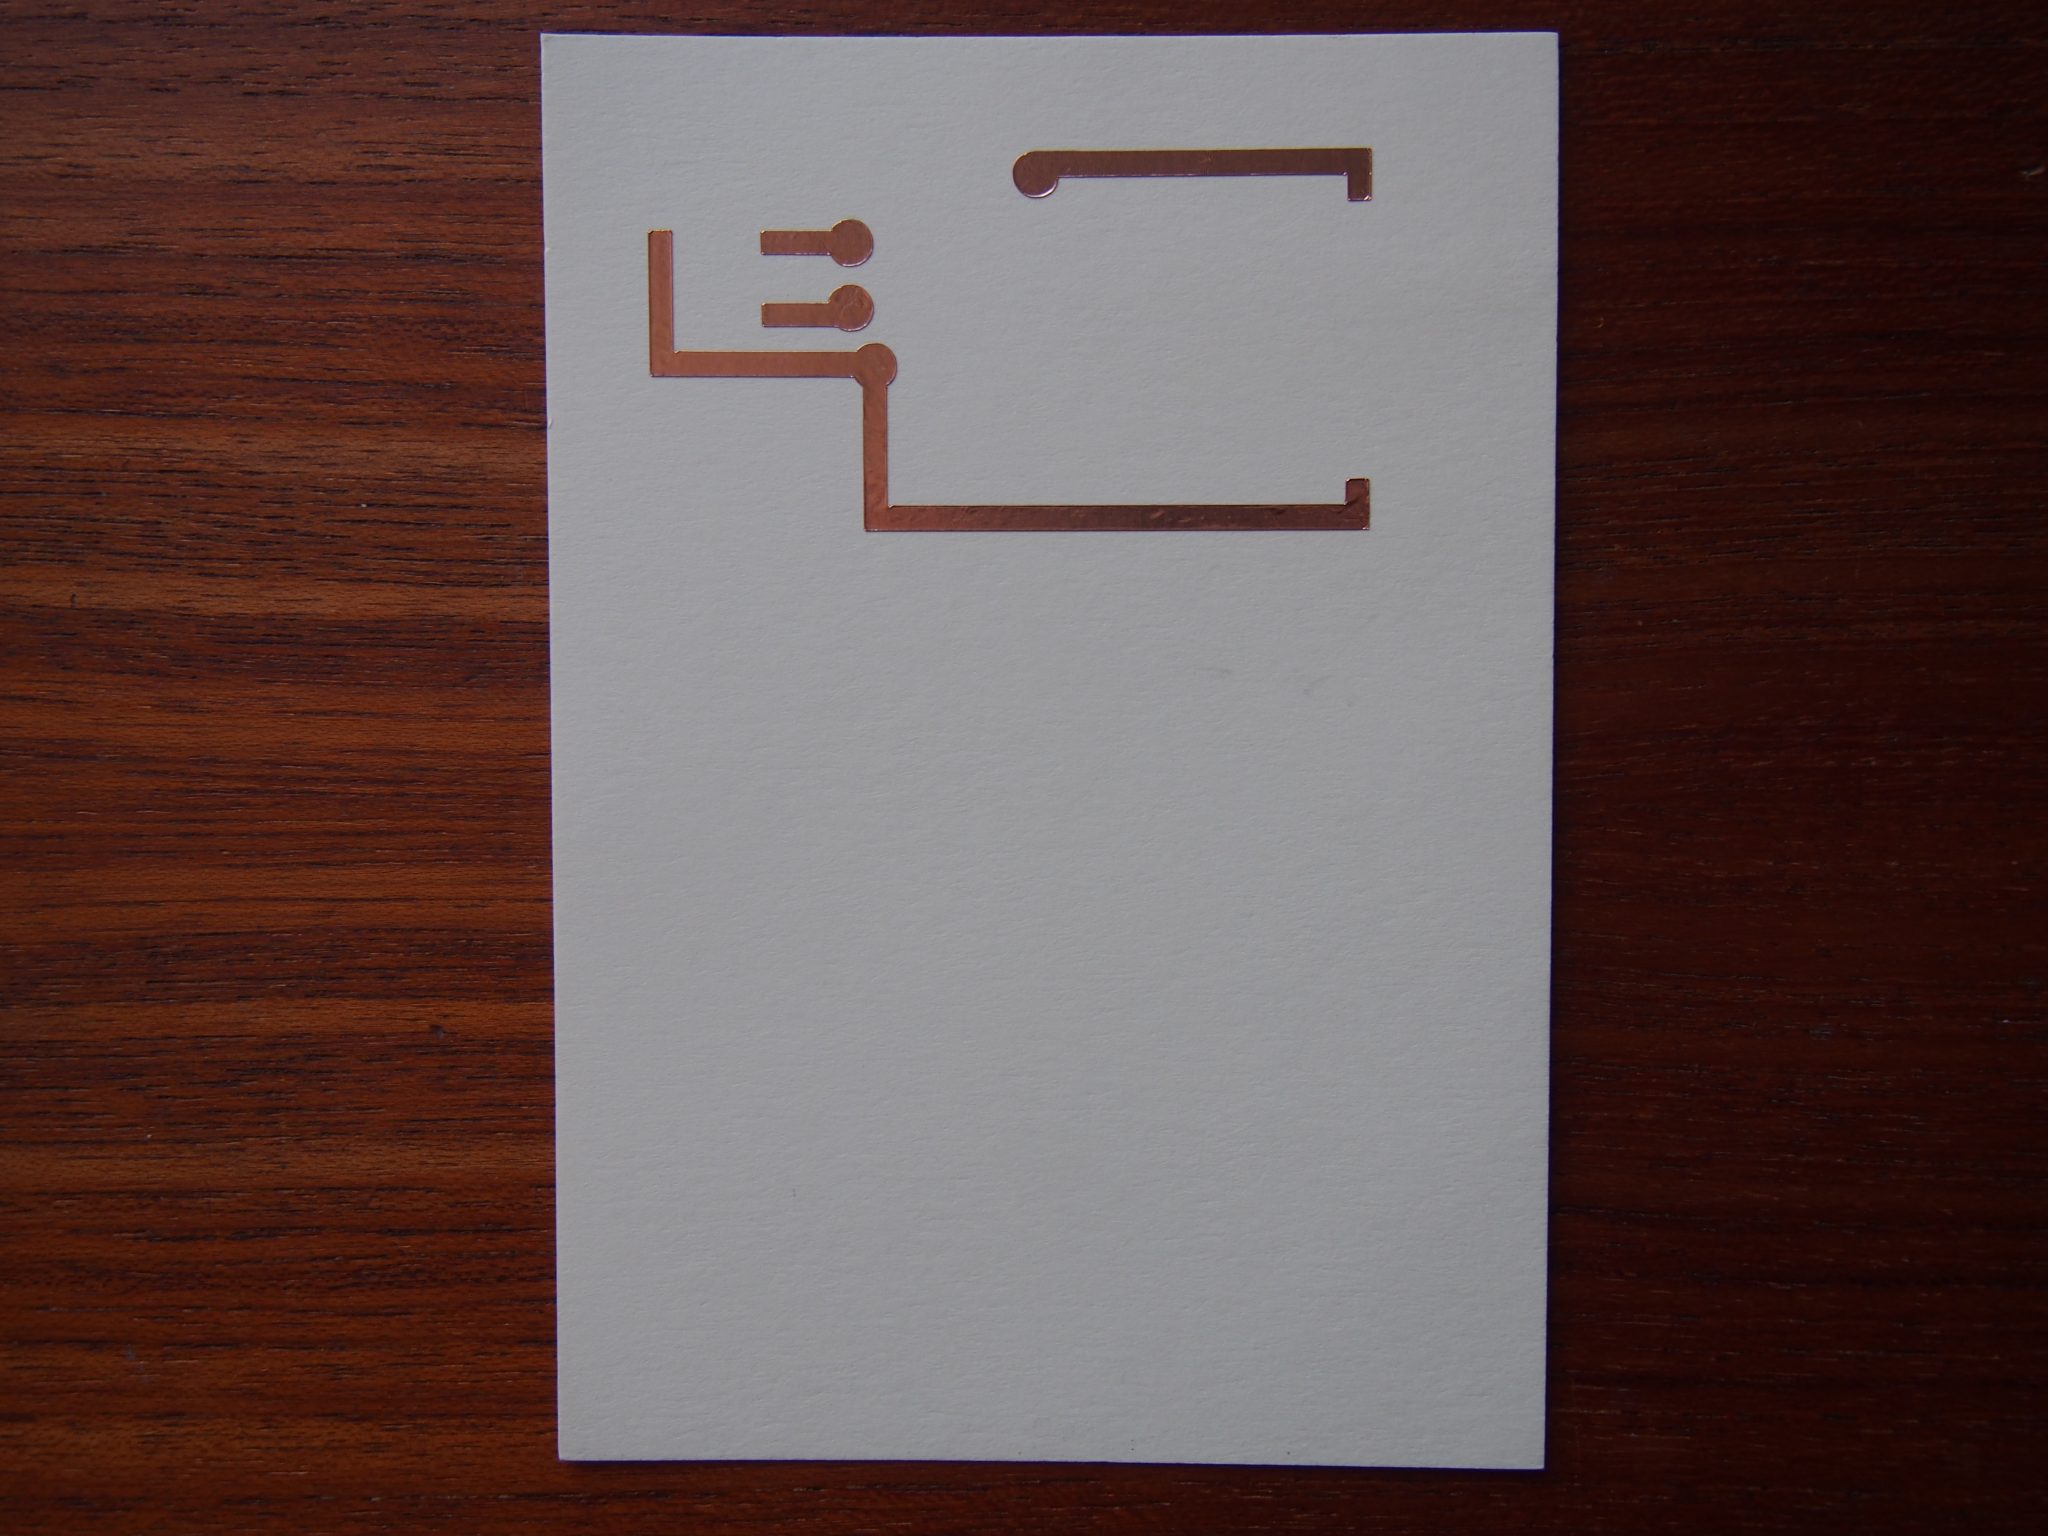
- You should only have the circuit traces
-

- Cut a piece of contact paper the size of your circuit
-
- Remove the backing

-
- Place it over your circuit and press firmly
-

- Carefully remove the contact paper with the circuit
-
- Place it on your substrate and press

-

- Carefully remove the contact paper
-
- Only the circuit should be left