Author Archives: zhany493

Week 11 – Youchun Zhang

In this week’s exercise, I tried adding flexinol into a felt fox’s tail. When the flexinol is heated, the tail will be slightly folded as if the felt fox is moving the tail. In the beginning, the flexinol is inserted into the felt. However, as wool is easily flammable, I moved the flexinol out and only connect it with both ends of the tail. Since I am using 9v battery directly, I also used a 10ohm resistor and a 4.7ohm resistor to control the heat and the folding time.

Materials – Felt, felting needle, resistor, flexinol, 9v battery


Week 10 – Youchun Zhang

Mini-project 

In this mini project, I used thermochromic ink to reveal the shape of a baby whale in the sea. I used blue and grey embroidery threads to outline the whale body. When the conductive thread is connected with the heating circuit and the power source, the pigments around the thread will turn from blue to white like a splash of water.

Materials – Fabric, thermochromic ink, embroidery thread, conductive thread, heating circuit, 9v battery


Heating circuit

Swatches with conductive thread


Week 9 – Youchun Zhang

For this week’s speaker assignment, I tried different combinations – conductive tape with cardstock paper, conductive tape with soft paper, and conductive thread with muslin fabric. It took me a while to figure out that I need to use the insulating tape to cover one end of the conductive tape. It was also harder than I thought to keep the tape as close as possible but not to touch each other. But the process was really fun.

Demo video IMG_1316

Speaker swatches

Week 7 & Midterm – Youchun Zhang

Instructable link: https://www.instructables.com/id/Yarn-Globe-Meditation-Lamp/

I was inspired by the breathing rhythm from the fading effect. So I made this bird nest style lamp that can help people medidate when they feel really stressed.

I started the process with making the yarn globe:

Soak the yarn into school glue

Wrap the yarn around a balloon

The code part is a combination of the ATtiny exercise (link) and the fading example.

Testing the ATtiny touch sensor

The yarn pom-pom is being used as a touch sensor. When holding it, the LEDs will be lit up with the fading effect. I only soldered two LEDs, therefore, it is not bright enough. For the future iteration, I am planning to use a brighter set of LEDs and also consider making several of them with different rhythms.

Week 6 – Youchun Zhang

Connect a soft switch to Arduino

Demo video IMG_0783

I used a switch from the swatch exchange and uploaded the “Blink” example to control the LED.

Connect a sensor to Arduino

Demo video IMG_0777

Step 1: Set up the LED

Step 2: Build the pressure sensor

Step 3:  Connect to Arduino

I added one if/else and set two thresholds – 450 and 900. When the sensor value is between 450 and 900, the LED will blink slowly. When the sensor value is larger than 900, the blinking will be much faster.

Midterm

For my midterm project, I would like to combine the open-weave pendant style with LED and create a lamp.

Week 5 – Youchun Zhang

Nodes and Connectors

The two nodes I made this week are made with paper and felt. I used the copper tape, one piece of cardstock paper and a yellow LED to make the LED node. For the battery node, I used the conductive thread, the conductive fabric, a small piece of felt to make the battery holder, and a bigger piece of felt.

The three connectors are using the same structure in the middle – the conductive thread either sewed to a piece of fabric or inside the thick knitted thread. I explored different kinds of objects in the junction part. I found a small bag of tiny wood clips at the crafting store, which became a part of my first connector. The second one is made with the sewable meta snaps. In the third one, I used the paper clip and the pin.

A tool I would like to have in this class

I wonder if there is an embroidery hoop that can be changed to different shapes so that all kinds of size of materials can be fixed to it. Most of the hoops are either circular or in an oval shape, but since the shape we created sometimes can be really random, more flexibility here would be great. 

Week 3&4 – Youchun Zhang

Learning embroidery

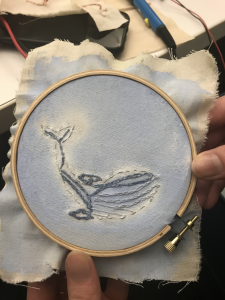
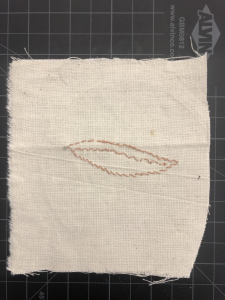
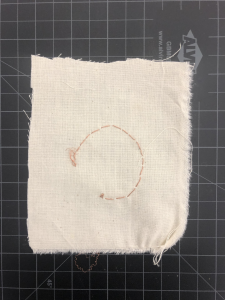
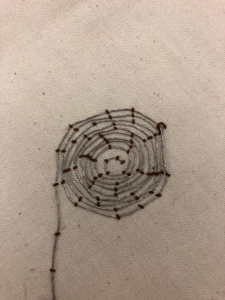
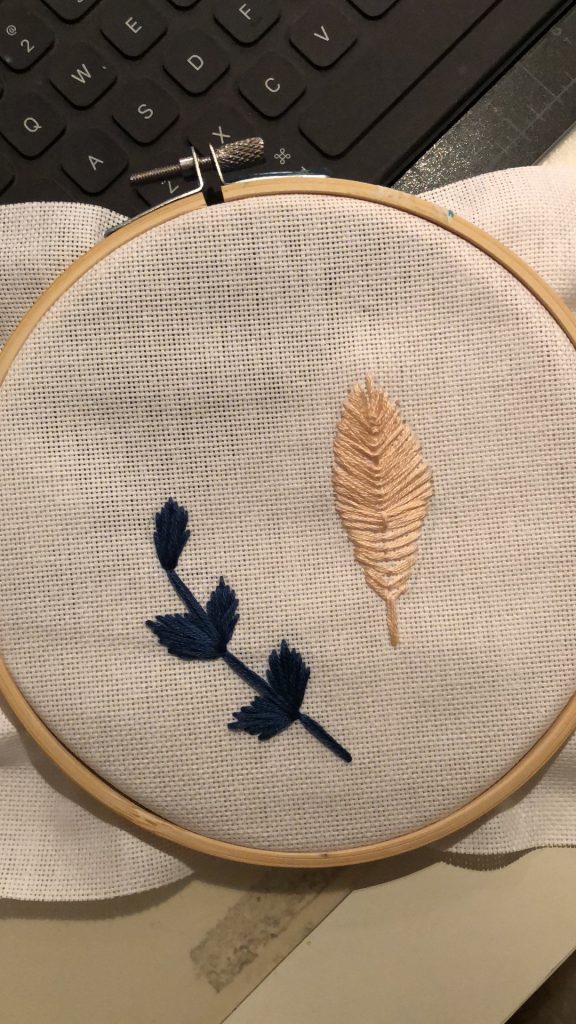
I started this week by learning a new craft – embroidery. I always enjoy the texture created by embroidery and how simple but persuasive about the threads that form their own visual language. In this practice, I think I am a maker, learner, and craftsperson. I spent most of the time getting used to the techniques and trying different topics until I get to the current version: plants. My favorite tool inside this process is the needle threaders. I like the mechanism of how it works, smart and helpful. My most frustrating moment during the process is when I was standing at Michael’s and trying to decide what are the right tools. Following a simple YouTube video is definitely an option, however, due to the fact that there are so many tools targeting at so many things, it is better to learn the system first.

Swatches

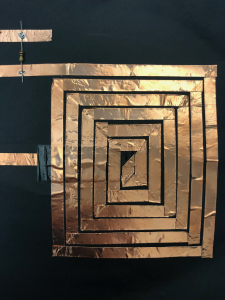
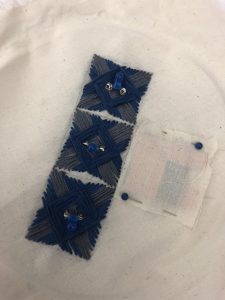
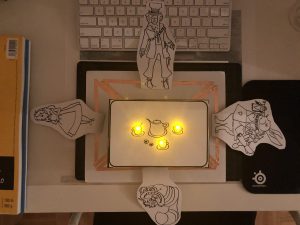
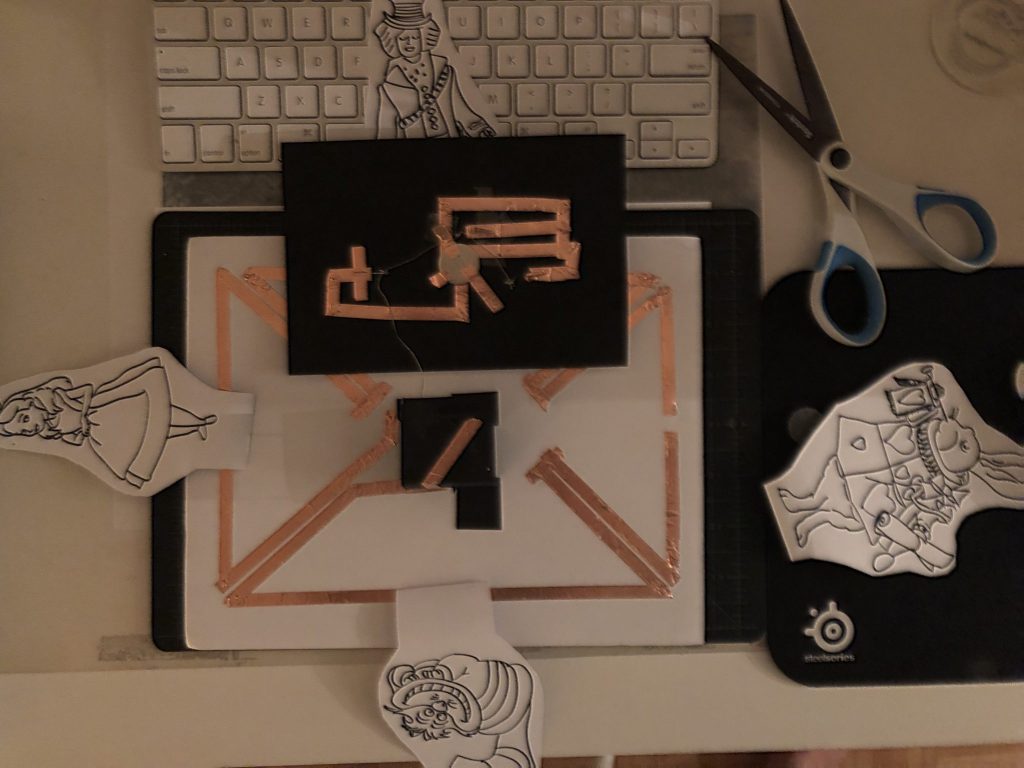
Title – Trace the Light

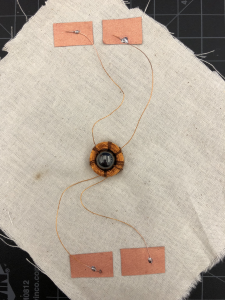
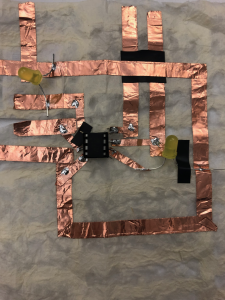
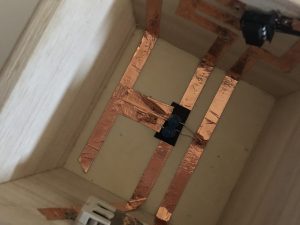
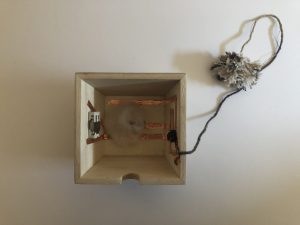
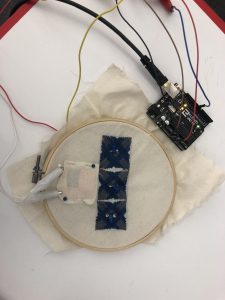
Description – Trace the Light is a set of switches that play with the pattern and the control of lighting up LEDs. It uses a battery pocket, tilt switch or the most simple switch but you will need to solve the puzzle.

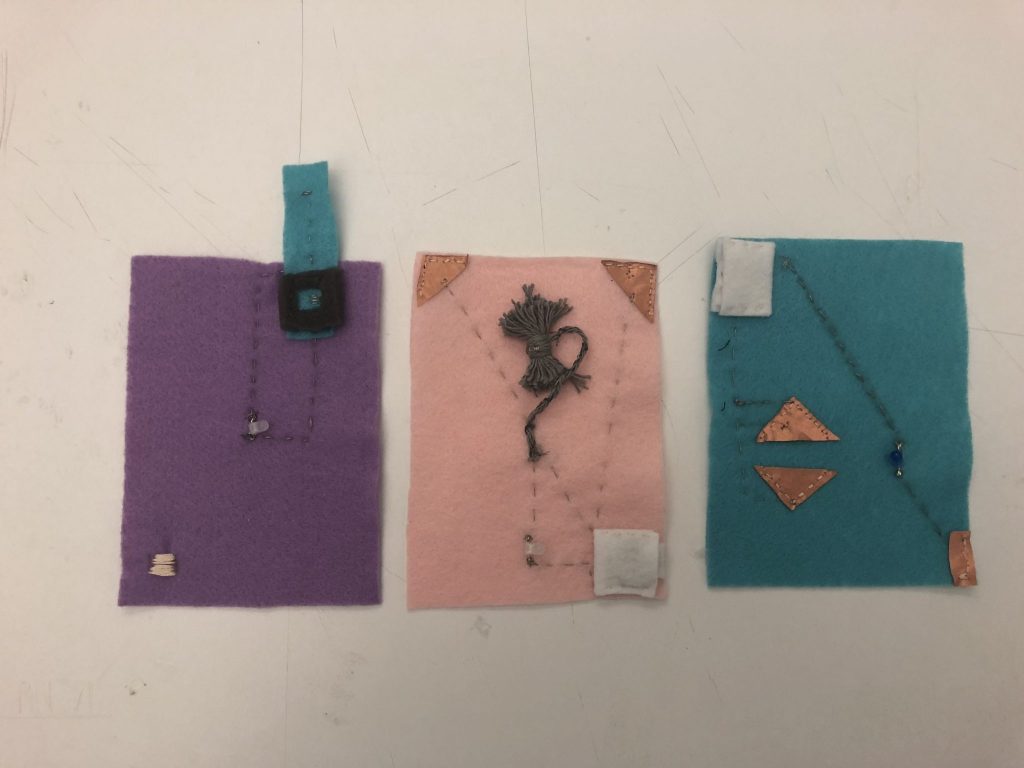
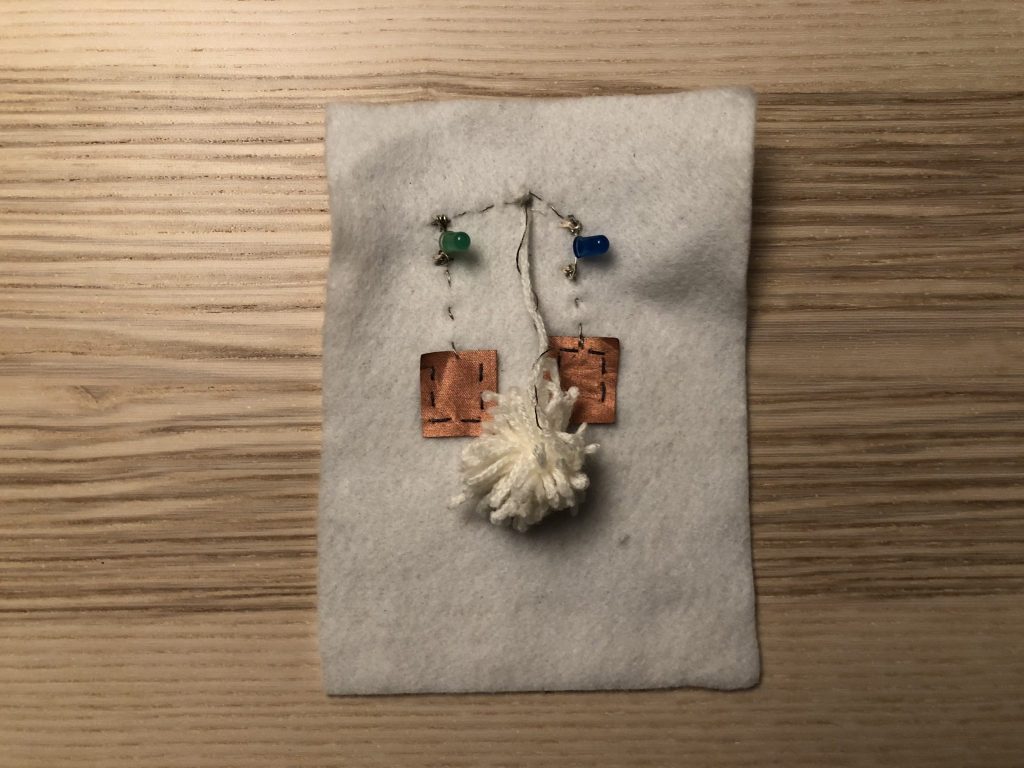
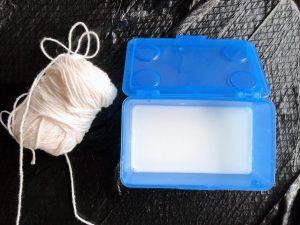
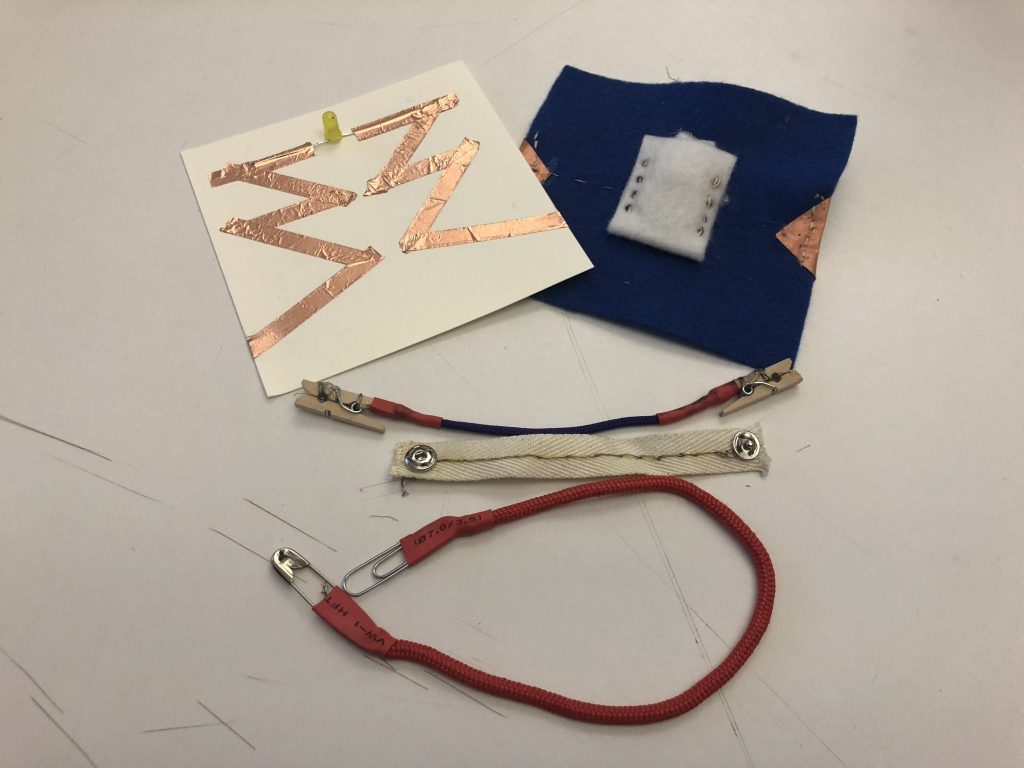
Materials – Felt, conductive thread, conductive fabric, yarn

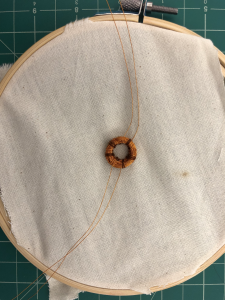
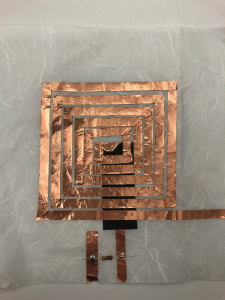
Techniques – The main technique I used is hand sewing. The two key parts are using felt to make a small pocket that holds the battery and using yarn to make pom poms.

References – https://youtu.be/uMBjCjk19GU

I started with thinking about the batteries and then working on positioning different components on different places. I saw this video explaining how to use yarn pom pom as part of the tilt switch, and I really liked it. Although most of the soft circuits were quite similar, I altered the style of the felt and the color of the LED to make it a different piece in the same set. I did see how I gradually have a more mature planning when I hold the felt and start my first thread.

Week 2 – Youchun Zhang


The illustration and the soft circuit I built is based on the story of Alice in the Wonderland. There are four characters: Alice, the rabbit, the mad hatter, and the Cheshire cat. The story was set up in the way that all the characters were gathering around the table. When all the characters were at the right position, the LED in the teacup would be lit up.

I started by arranging the copper tape as the pattern on the carpet, and I made small breaks on each side as a switch for the character to move to the position to turn on. But I underestimated the complexity of arranging the circuit and the power source when it came to two layers. It was a quite struggling process. I took the advice of using thread to connect the copper tape between layers, and I did a little bit of soldering.

Week 1 – Youchun Zhang

Awake is a project that uses electric paint, Arduino and projection mapping to create paintings that are alive and can respond to the environment. The experience begins with the audience touching the painted shape. As the interaction going, different shapes and narratives will appear, creating infinite possibilities of landscapes. This project combines the traditional medium with new technologies. It uses two materials: paint and light. Both have the poetic characteristic. It opens the door to the future of illustration and story-telling.