Here is the link to the Instructable that covers all of my experiments with magnetism!
Adam Moore: Final Experiments Instructable Link
Leave a reply
Here is the link to the Instructable that covers all of my experiments with magnetism!
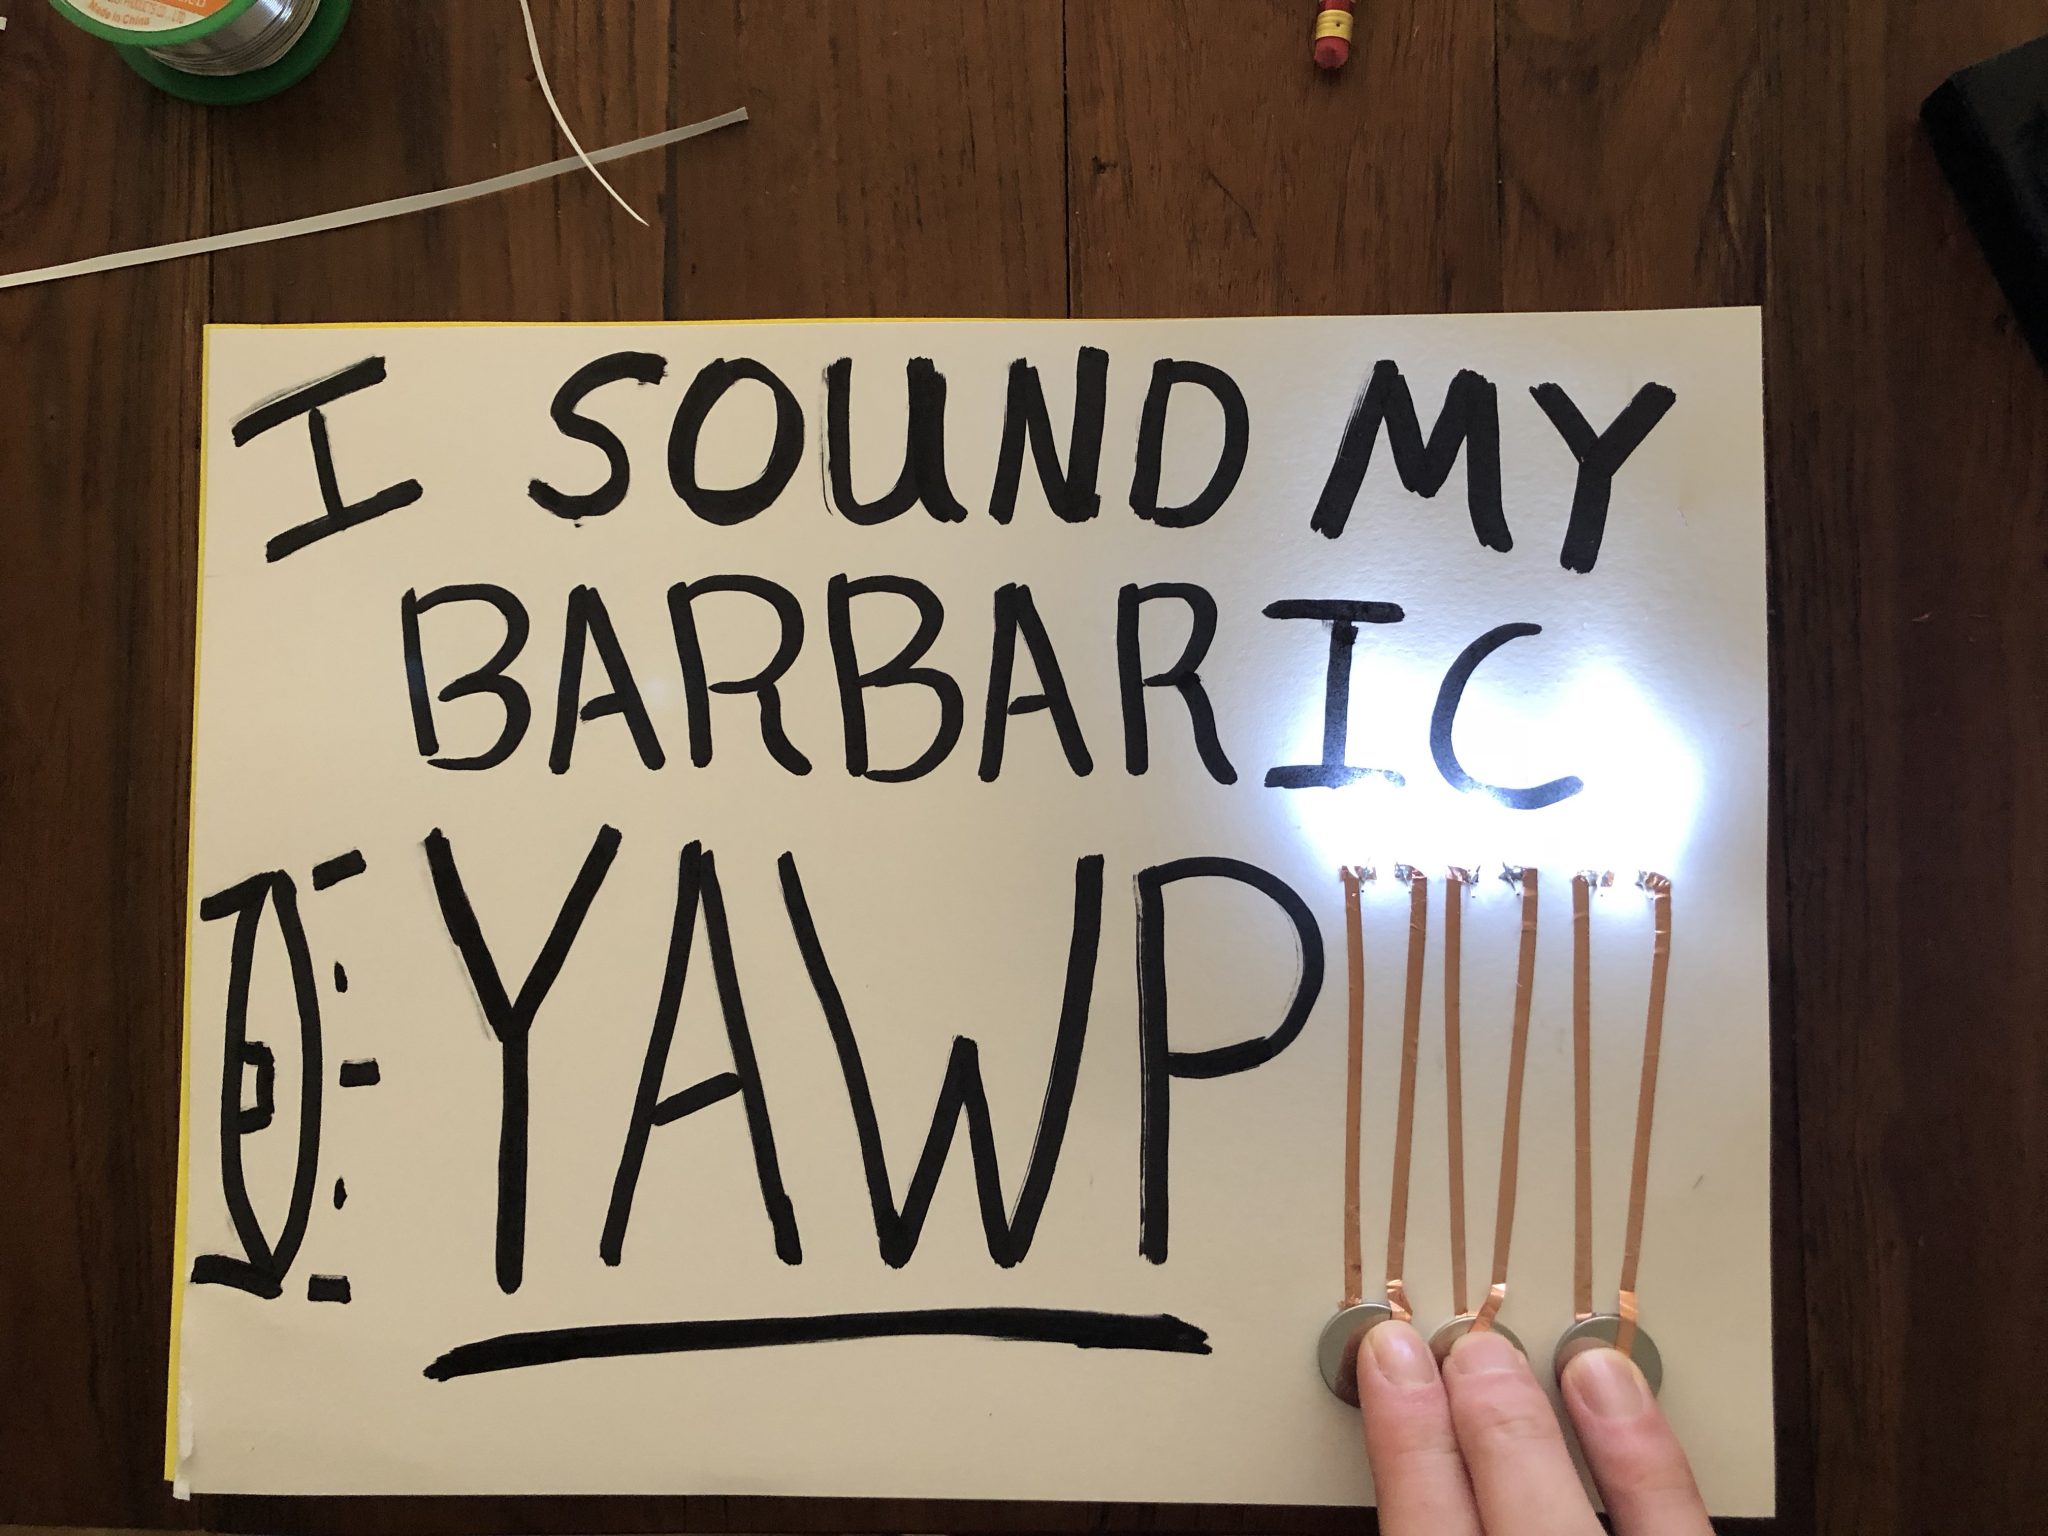
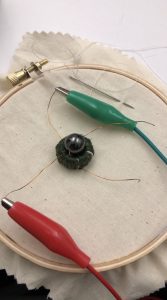
As we sped into Thanksgiving break gaining a much need respite before we were hit with the maelstrom of finals we created the final piece of structured homework for Computational Craft. Flip dots! I used an embroidery hoop, insulated copper wire, and a magnetic hematite bead to create the flip dot itself. To create magnetism within the wire, thereby inducing the bead to flip, I used a 9 volt battery. I connected with battery to the copper wire with alligator clips. Here is a picture of the finished piece and a video of it in action.
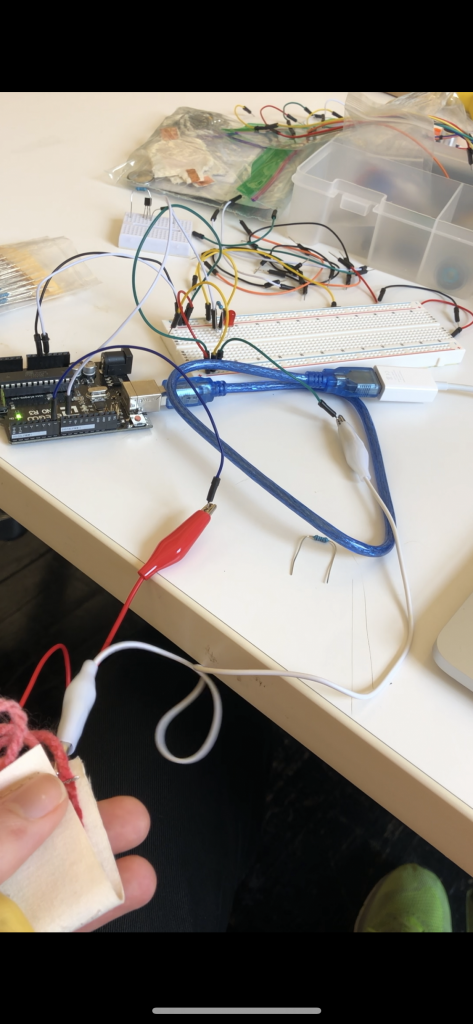
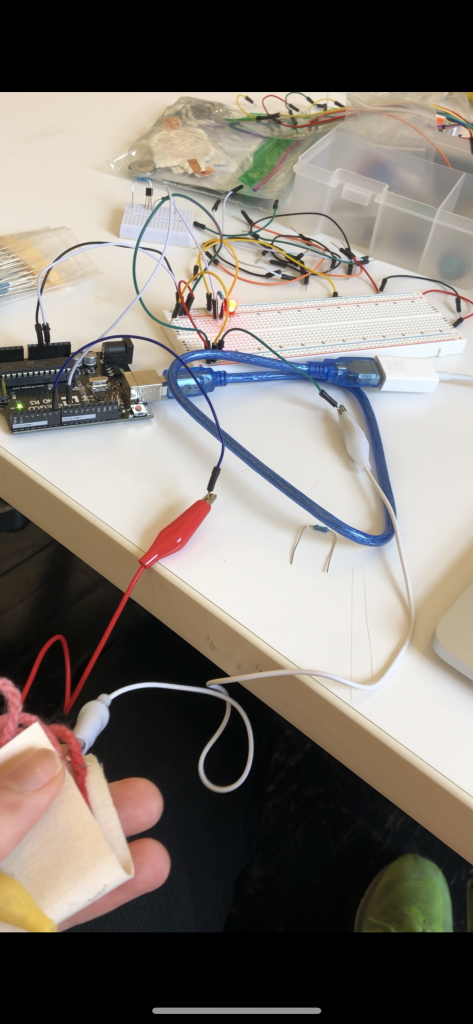
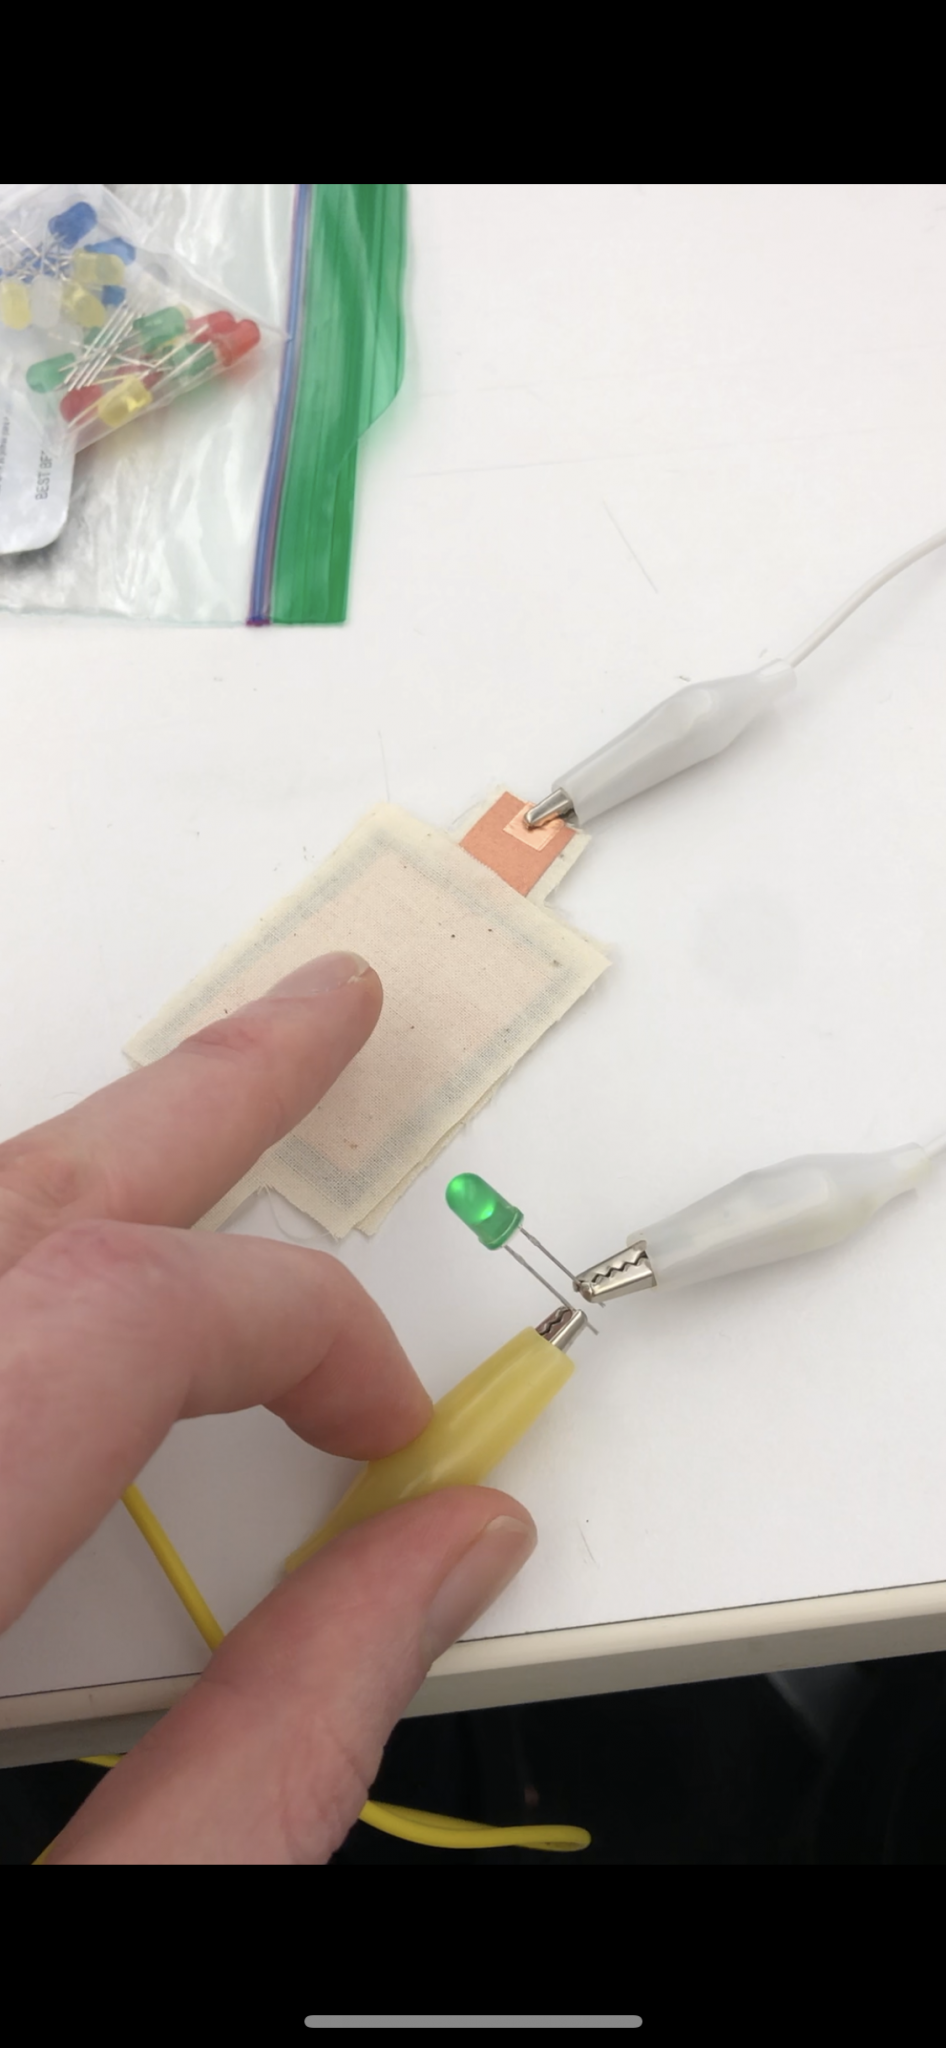
For this week’s assignment I decided to use a hand as my starting point. Mostly because the organic movement of the material could mimic a human hand somewhat.
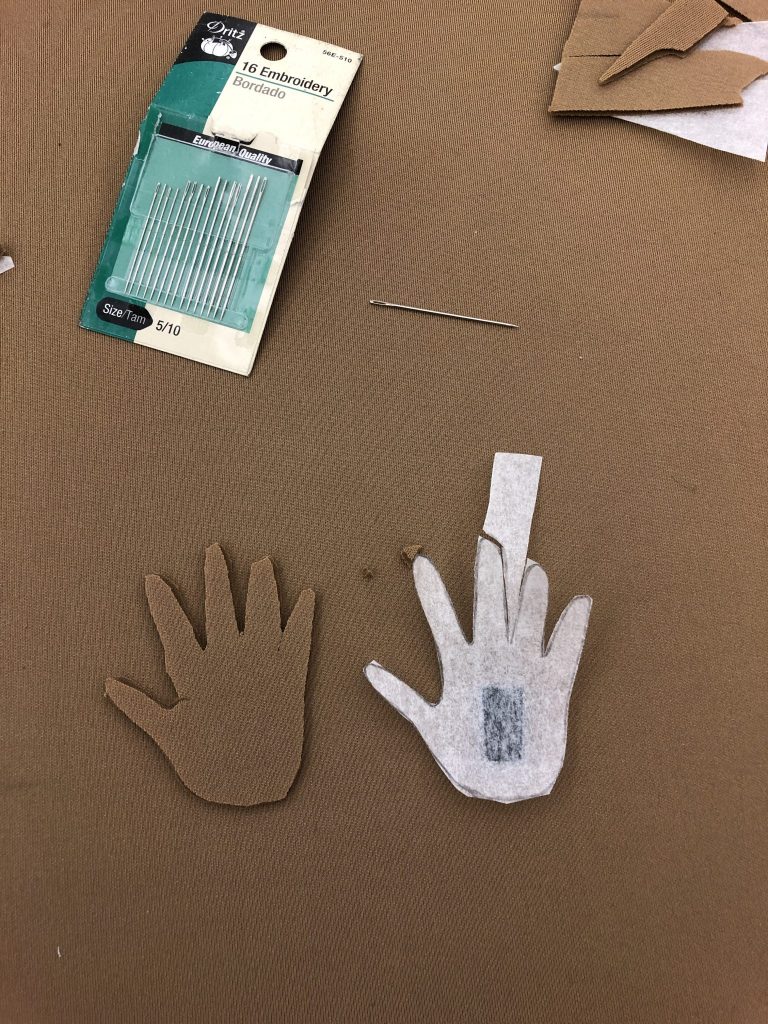
Given that the material was quite short I couldn’t execute my original idea of making a hand that closed into a fist. Naturally this ended up being a good thing. Because of the length of the material I used it to make the hand lower it’s middle and ring fingers creating the sign for “I love you” in American Sign Language. I then used one of the pressure sensors I made earlier in the semester, and mapped the values it delivers to control the force that the two fingers lower with.
Honestly this is a much more interesting finished product for me than a fist.
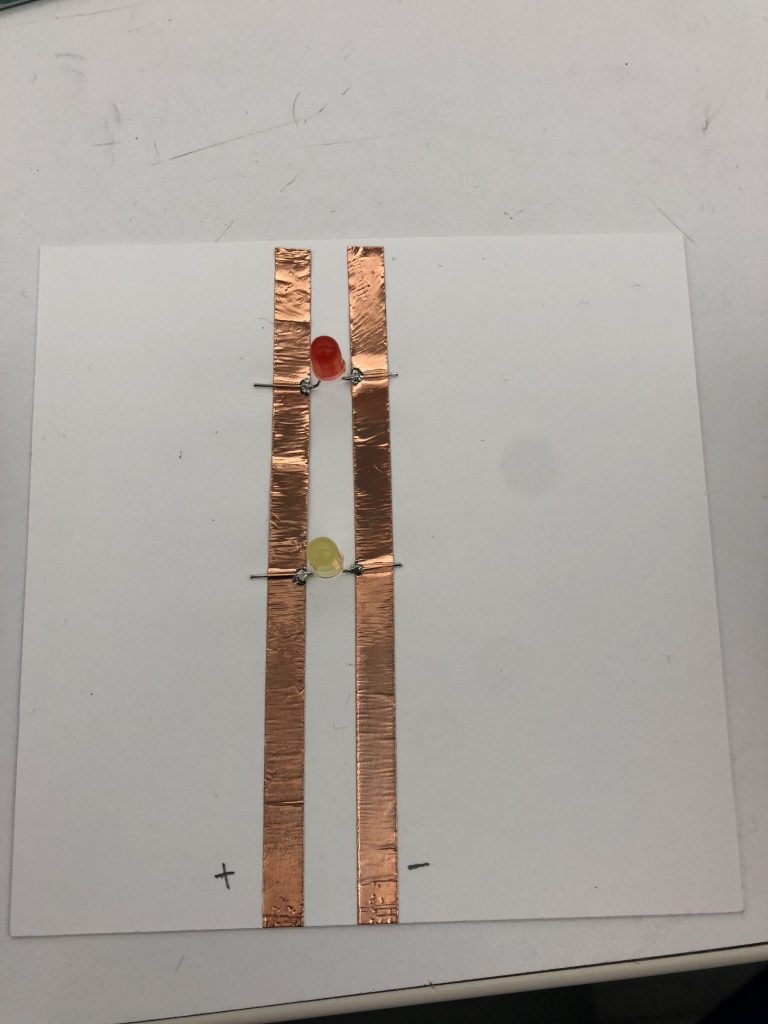
For this project I made the circuit first. Which is something I always find very relaxing. After making the circuit I moved on to making the traces to test the resistance of the different threads we had access to. I made two traces using the steel thread, I was interested to see exactly how much resistivity it has. Below is a video of me testing my traces with one of the swatches in Liza’s kit.
After seeing how small the traces would have to be to use steel thread I decided to use copper thread for the small piece I wanted to make. Chain stitching is a type of embroidery I’ve always wanted to make so I decided it would be interesting to play with the traditional soft look of embroidery. I embroidered my name in copper thread using a chain stitch.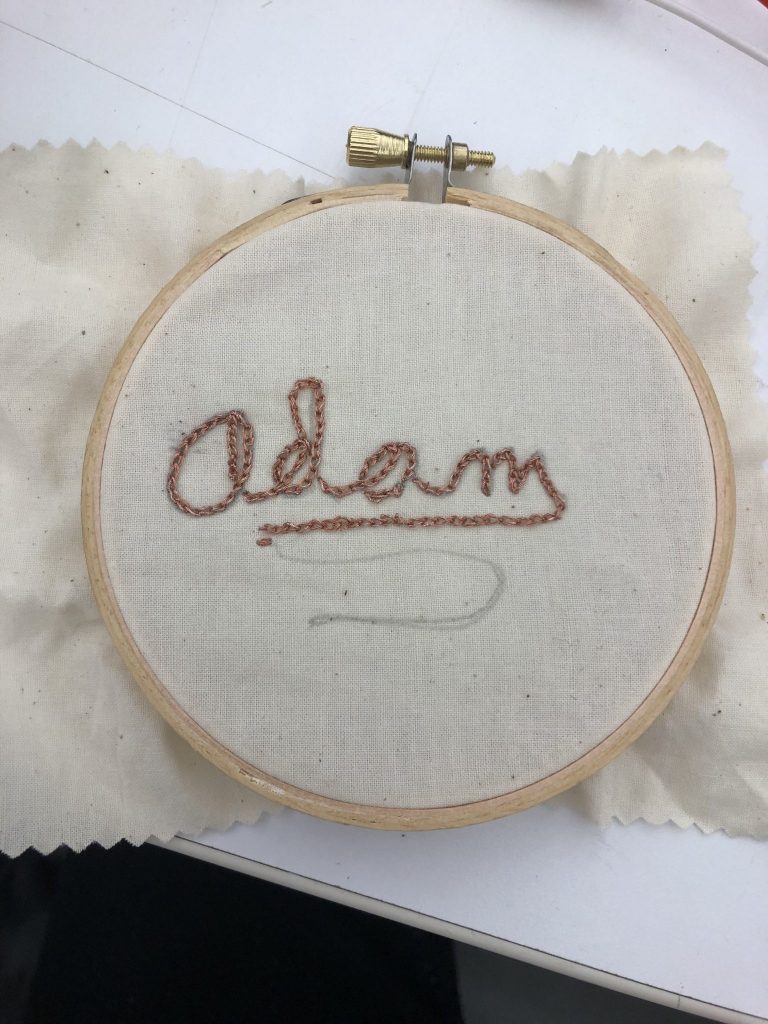
I tested the resistance and it was consistently around 3.5 ohms. I used a li-po battery to power my heating element and I wanted to test with the same swatch I’d been using before moving on to creating a thermochromic swatch of my own. This is where I ran into issues.
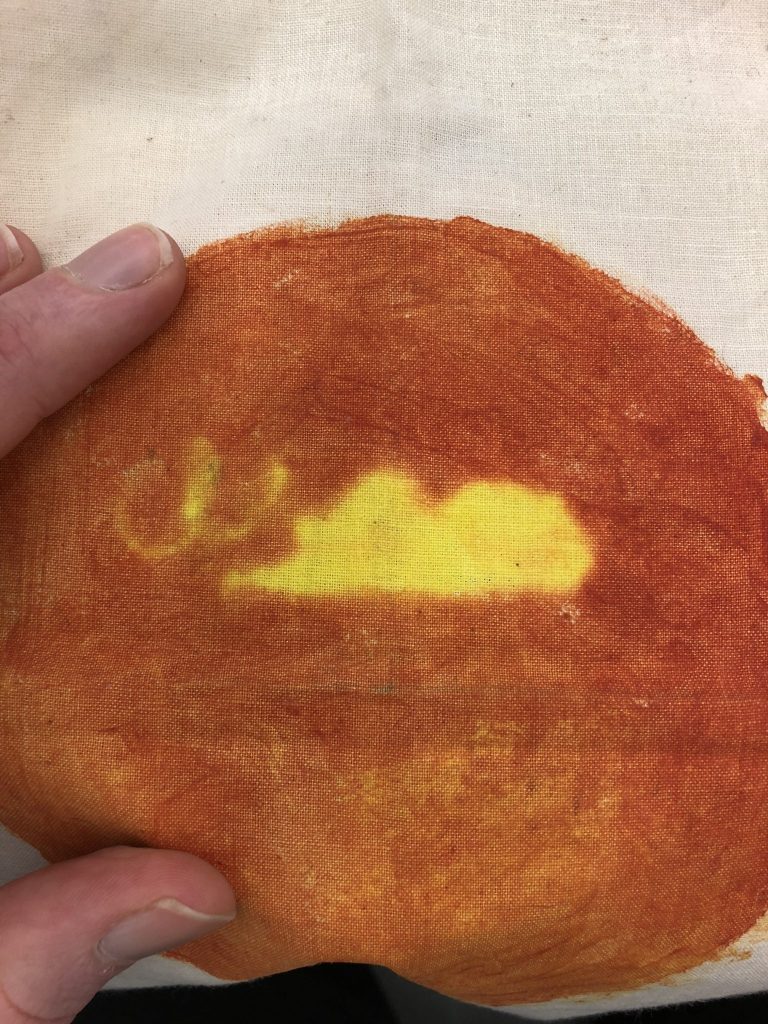
It turns out the the embroidery is too close together for it to appear clearly in thermochromic ink! To make this work better I would have to create a new embroidery on a much larger scale, given how long this smaller sample took I didn’t have time for that. I did still create a version of the thermochromic painting that I would have liked to use. I think I may have applied too much for the paint onto the velum paper because I had to use a 9 volt battery to get even my small tracing to appear.
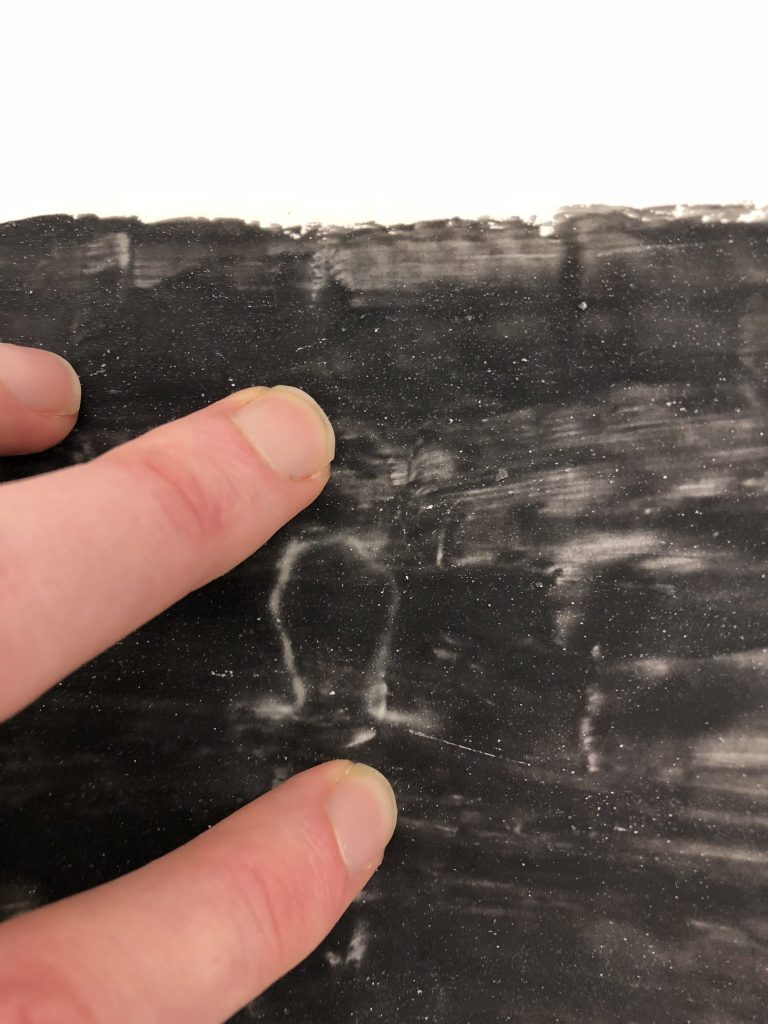
All in all I really enjoyed learning how to do the embroidery and the thermochromic ink is quite very fun even if a little temperamental in the hands of someone who is not experienced in its use.
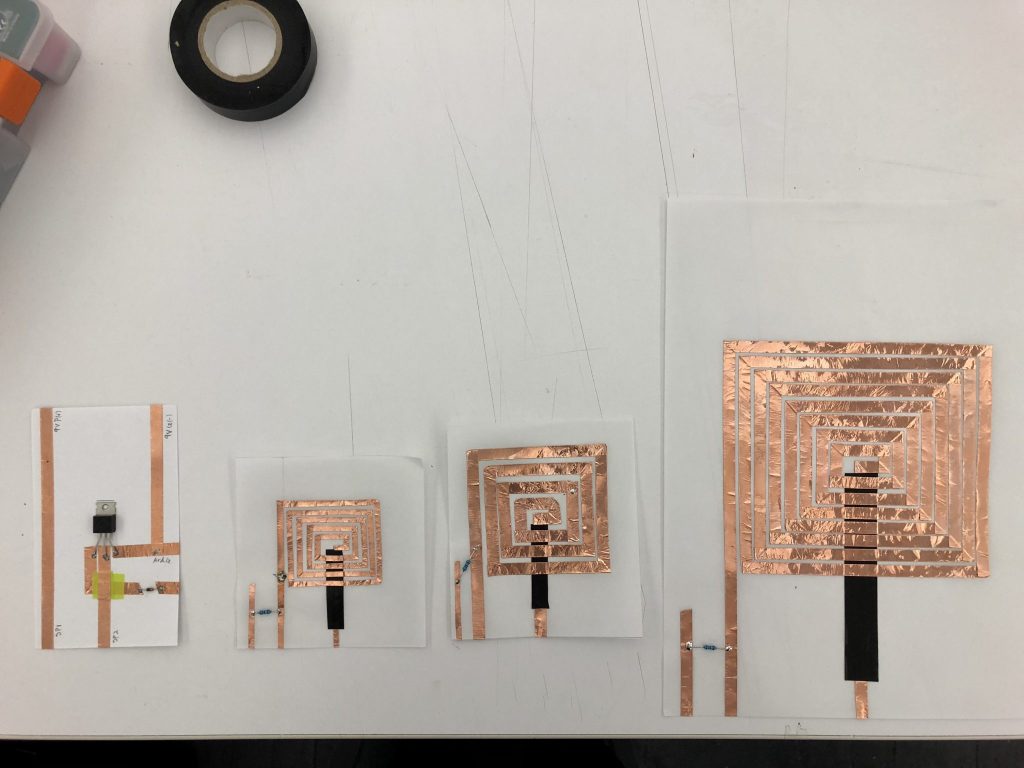
For this absolutely magical assignment I made my speakers in three different sizes, small, medium, and large. While I was working on this assignment on D12 people were various curious. Once I had finished making the speakers my classmates had so much fun listening to them!
Here is the link to the Instructable created for my mid term project! https://www.instructables.com/id/Wooden-LED-Lamp
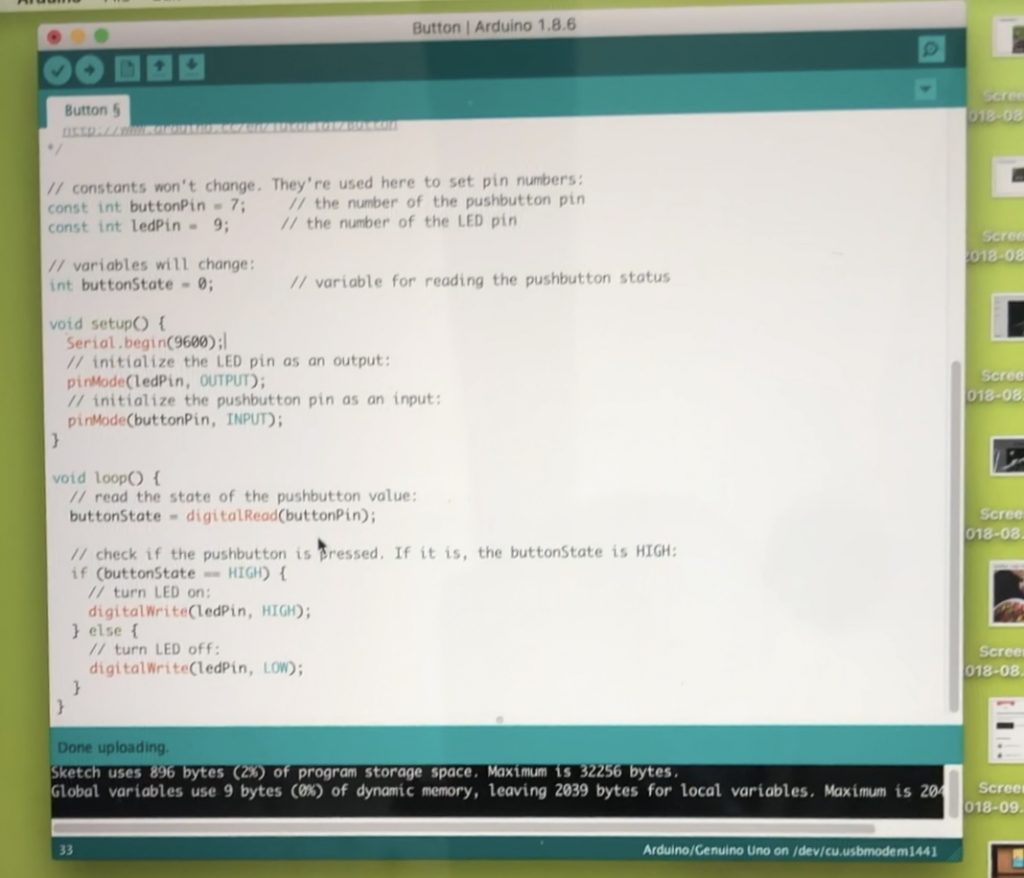
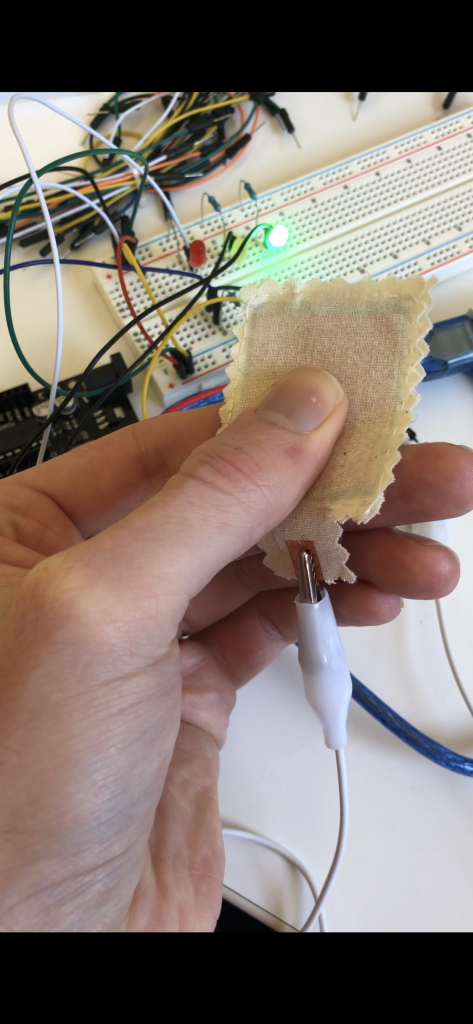
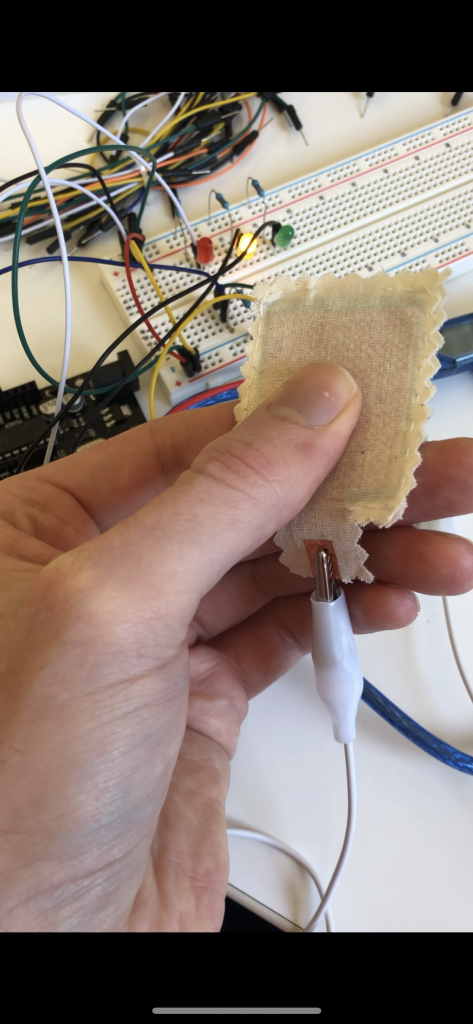
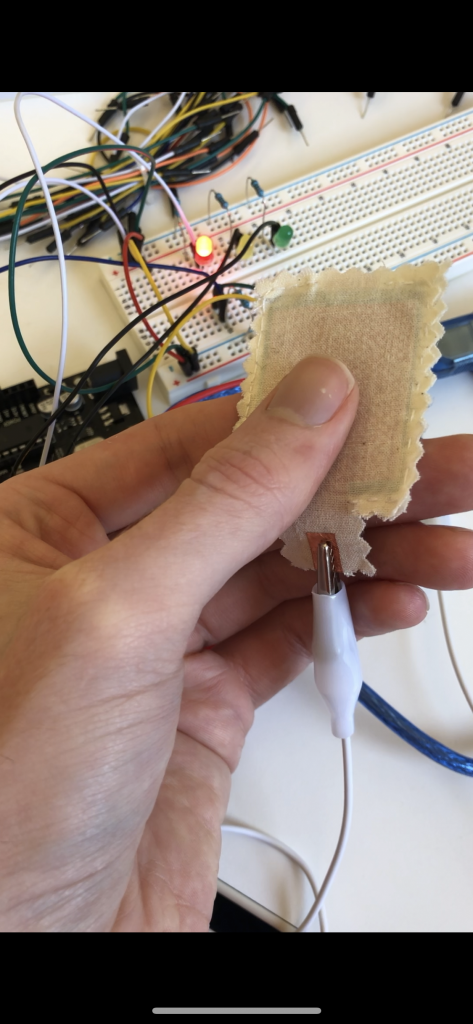
Here is the code for the two Arduino sketches I used to complete this homework. The first photo is the code for the button, the second is for the pressure sensor.
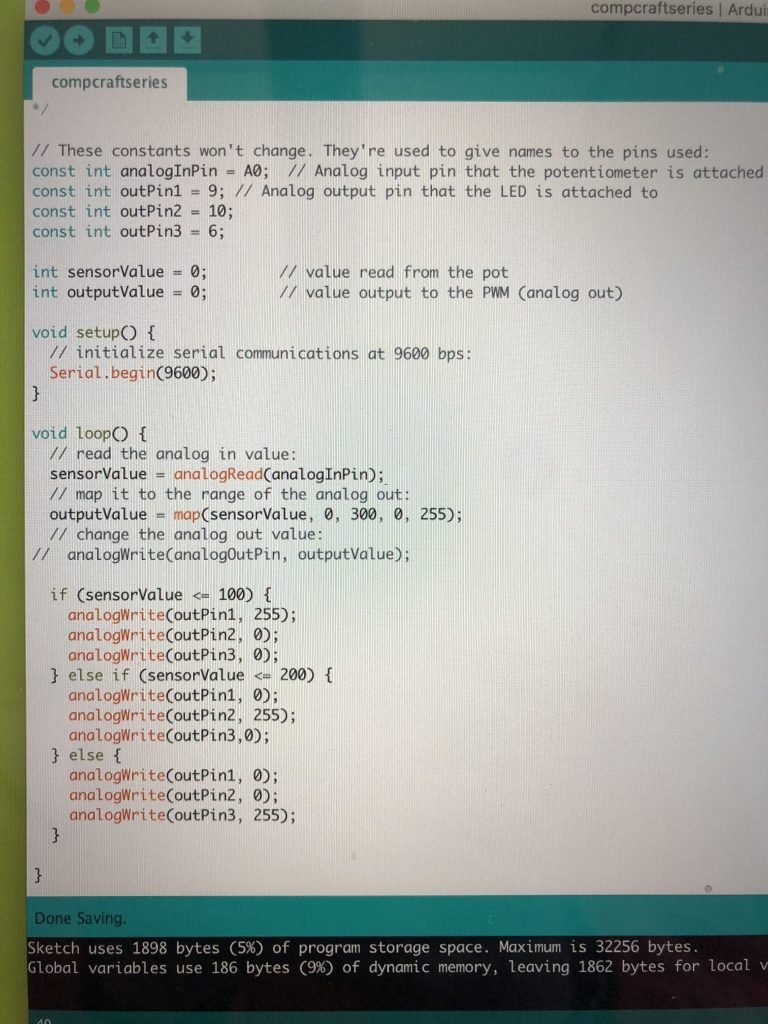
Here are screenshots of the pressure sensor in action!
Here are shots of the button working!
For the midterm I would like to build a modular lamp out of a cube of wood with holes drilled for LED’s. The base would be a the positive and negative terminals of the circuit. I’ll make a prototype and try to upload it before class on Thursday.
For this week I created two nodes, one from wood, the other from paper. As usual I really enjoyed using the different tools in the wood shop to create the node that is the power source. I would have liked to create my own battery holder rather than using one of the ready made ones, but this gives me an excuse to continue experimenting. Below are pictures of the nodes.
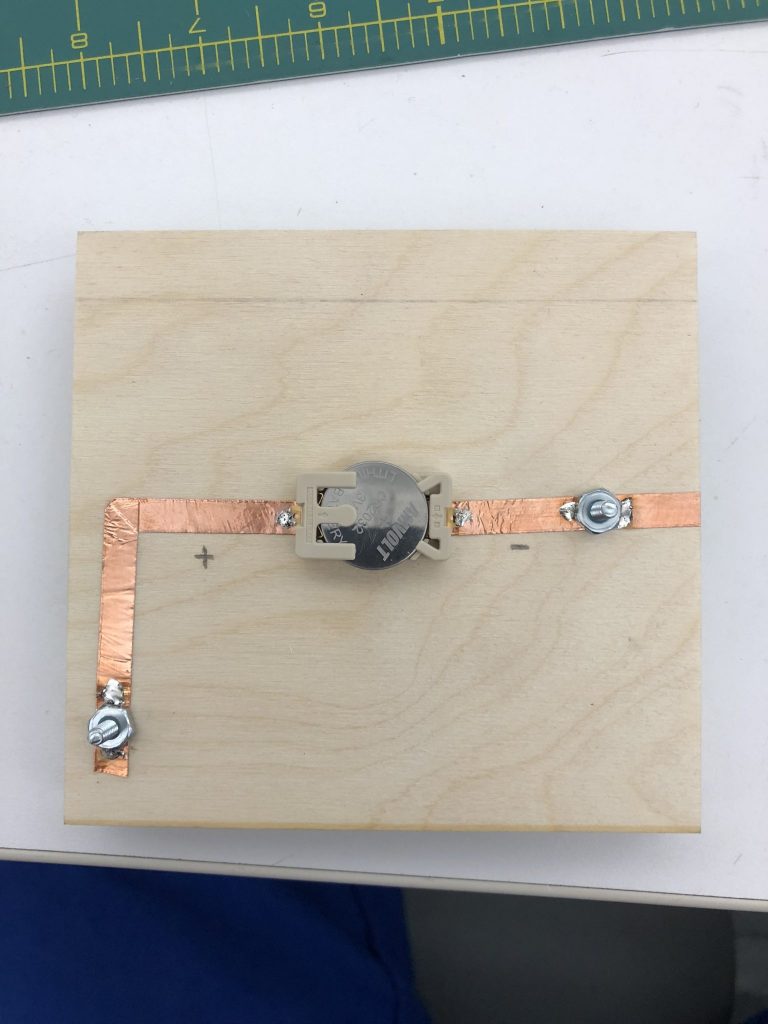

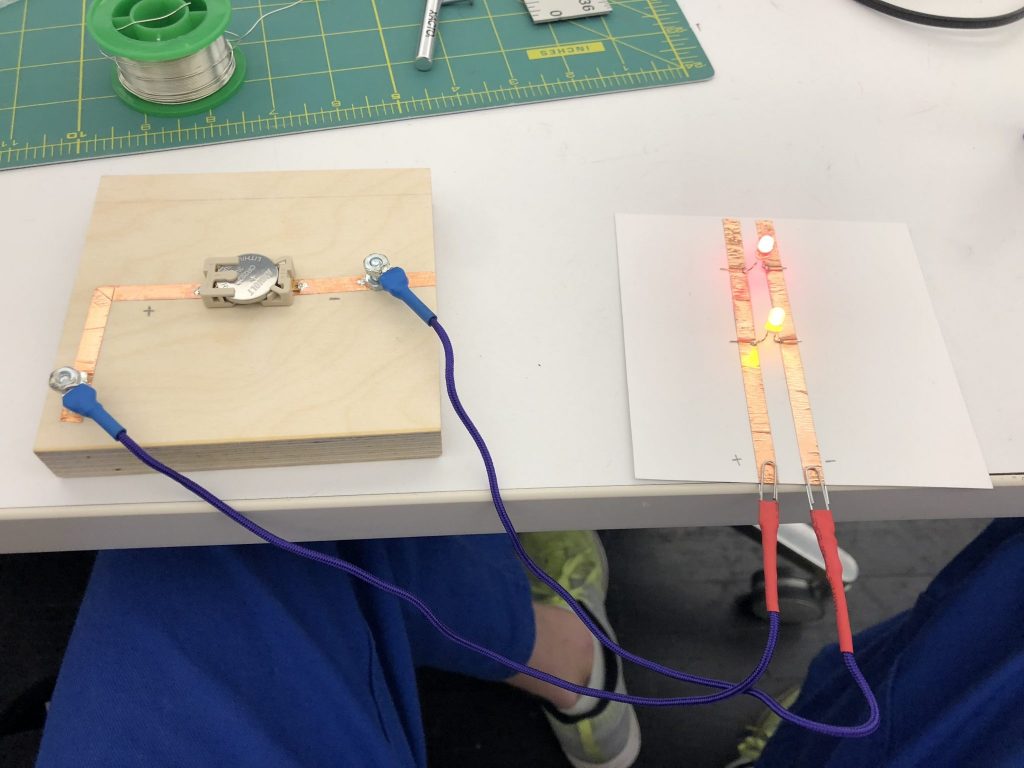
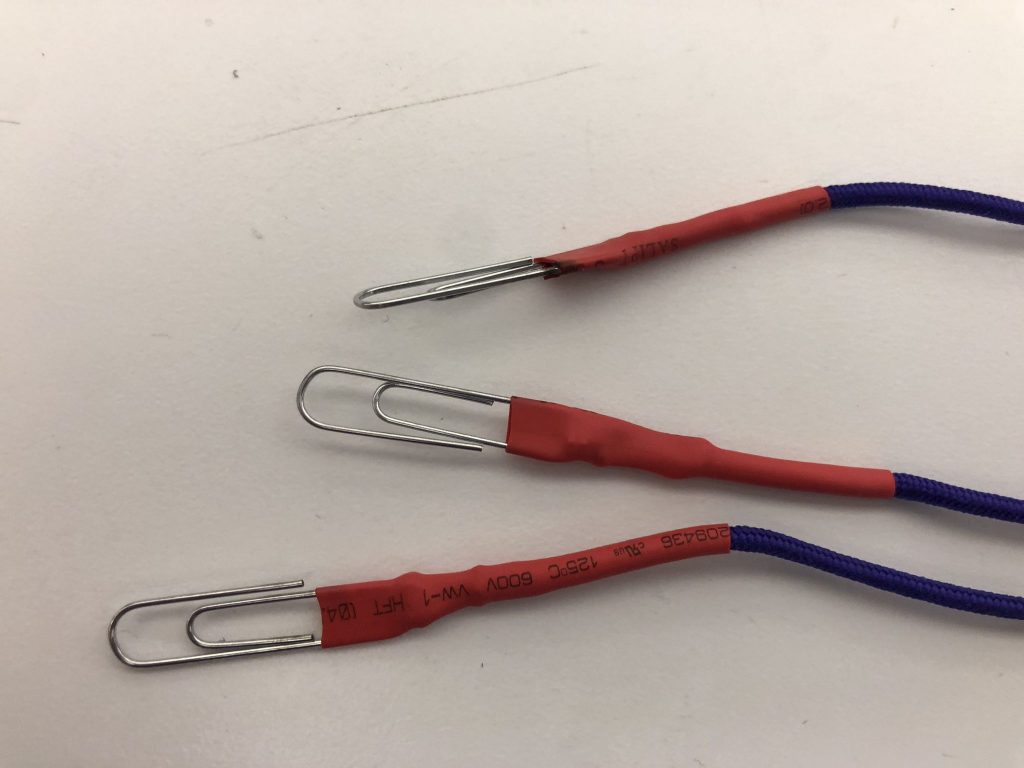
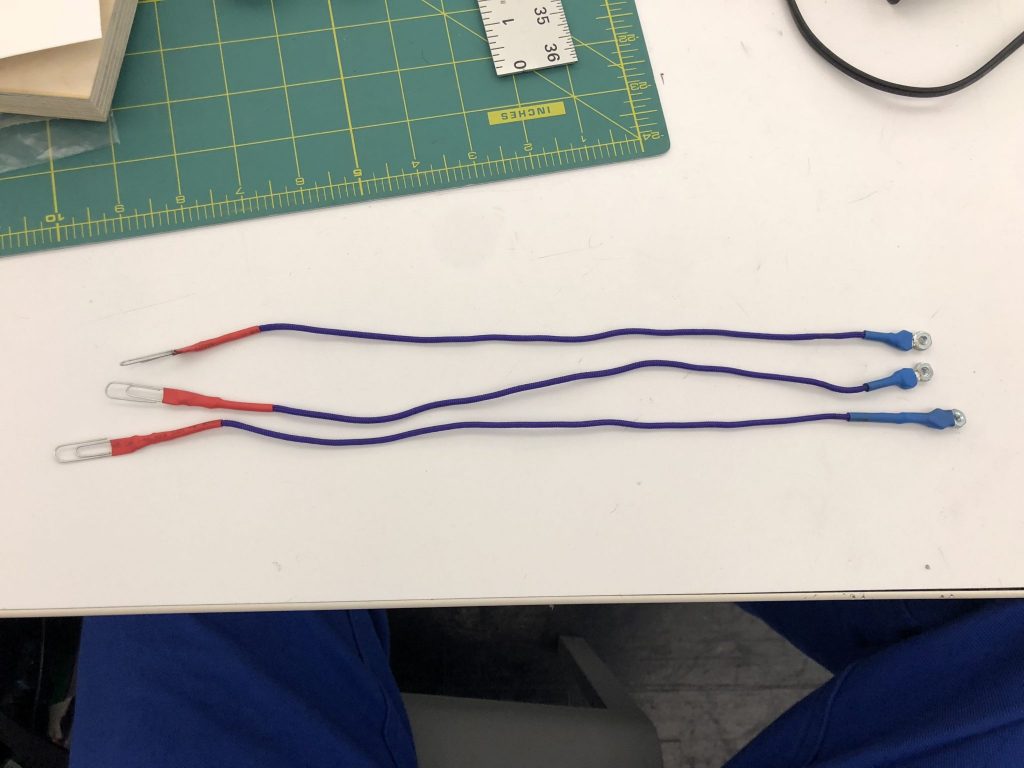
The connectors I created were equally enjoyable to craft. To connect to the wood node I used two nuts soldered together, one of which is covered by heat shrink. I discovered that soldering is not very strong, if I were to continue iterating on this I would first super glue the nuts together before soldering them. Attached are pictures of the flexible connectors.

As far as new tool I would like to have a tape gun that dispensed copper tape!
Part 1:
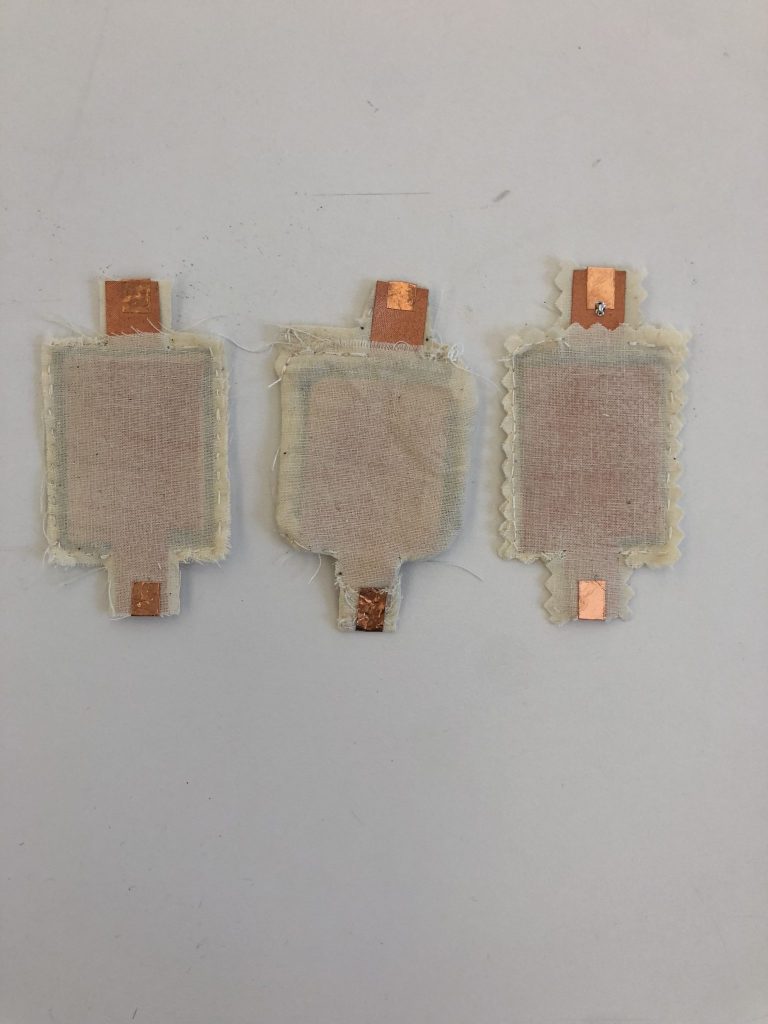
Fabric Pressure Sensor: Made from muslin, thread, conductive copper fused, velostat, copper tape.
I constructed this sensor by sewing two pieces of velostat between muslin with copper fused to each side. I followed the general idea on this instructable quite closely. I modified the shape and I used pinking shears to finish the edges of the three swatches made for my classmates. I didn’t like just giving people swatches with unfinished edges, but using the serger on such small swatches seemed like overkill. I experimented with keeping the raw edges on the inside of the sensor but the sensor was too small to turn it right-side out and not possibly damage the conductive material.
I also tried to make a linear potentiometer out of paper, copper tape, and graphite paint from Guerra paint. After a few hours of trying I could not figure out how to complete the circuit. I like the potentiometer as a sensor, I have no idea why, so I want to continue to try to make this work.
The first picture is of the progression of my thinking about how I would like to make a pressure sensor. The second are my pattern pieces. The third was my first test of the pressure sensor working.

Part 2:
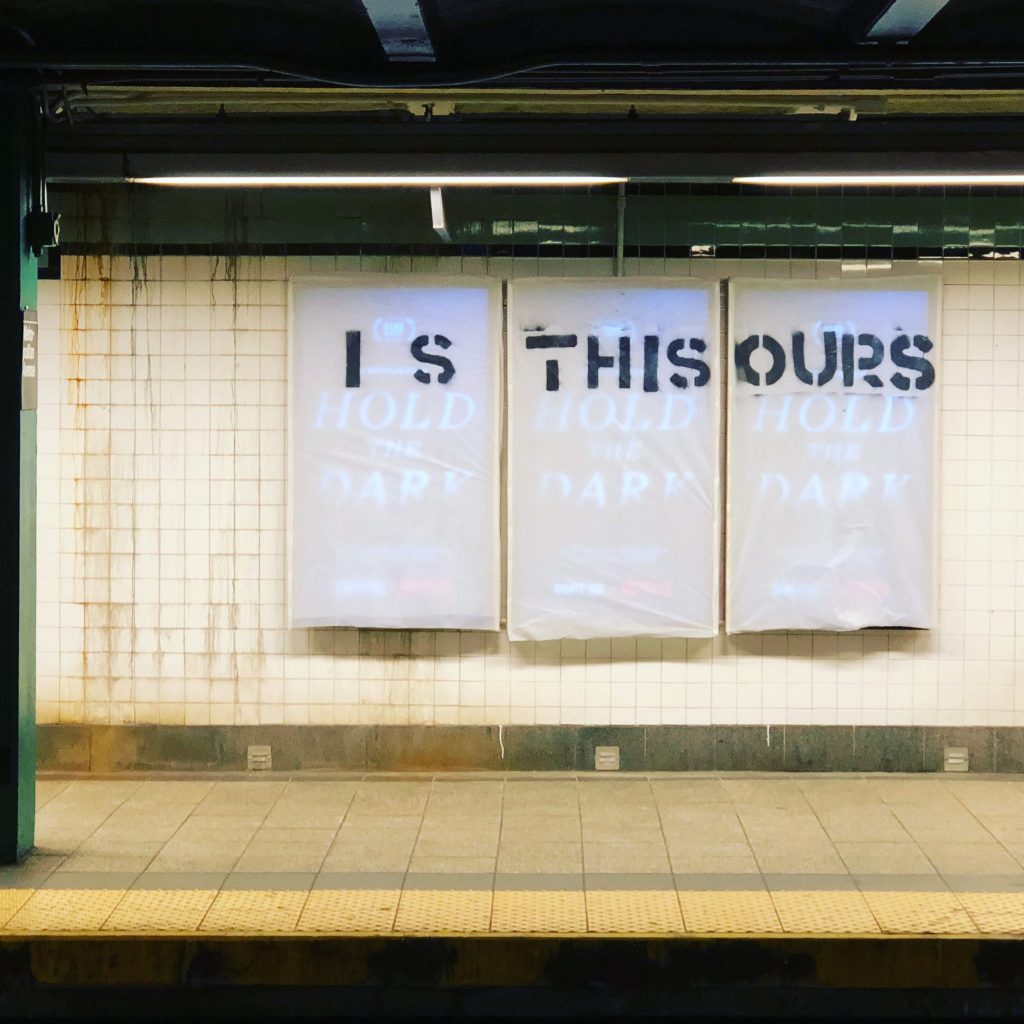
The craft I chose to learn was woodworking. Woodworking is something I’ve been interested in for long time so this was the perfect opportunity! I also was able to combine this with my 3D project for Ideas In Form. It was nice because I was able to get pretty into basic wood working principles. I used band saws, panel saws, table saws, chop saws, and drill presses to create hinged frames to hang on top of digital ads in the subway system. Attached is a picture of the frames installed in the subway.
I would classify my practice at the moment as an artist, hacker, designer, and craftsperson. The art for me comes first with hacking, designing, and crafting working in service to the art. I imagine as I become better at the physical, and digital making of things I will feel less like a hacker, but maybe not. The feeling of being a hacker may depend on the type of art that I am making.
My favorite new tool is DEFINITELY the table saw, it’s such a versatile tool, and while it looks scary, and is dangerous, it is so so SO useful. I loved working with it. The smell of the wood shop is also one of my favorite smells. I would still say my all time favorite tool is still my mind, and its ability to always learn new things.
I love learning a new craft and woodworking was no different. New crafts always have this habit of changing the way I view the physical world around me. I am now so much more aware of how wooden objects I see could possibly be made. I have to say the entire process was very pleasurable. The only thing that was frustrating was how clueless I felt the first day working in the shop. It’s been a while since I felt totally helpless in a workshop and it’s not a feeling I relish. If I were to give anyone advice about woodworking, I would tell them to plan to spend double the amount of time they thing is necessary on their first project. Everything takes forever when you’re new.
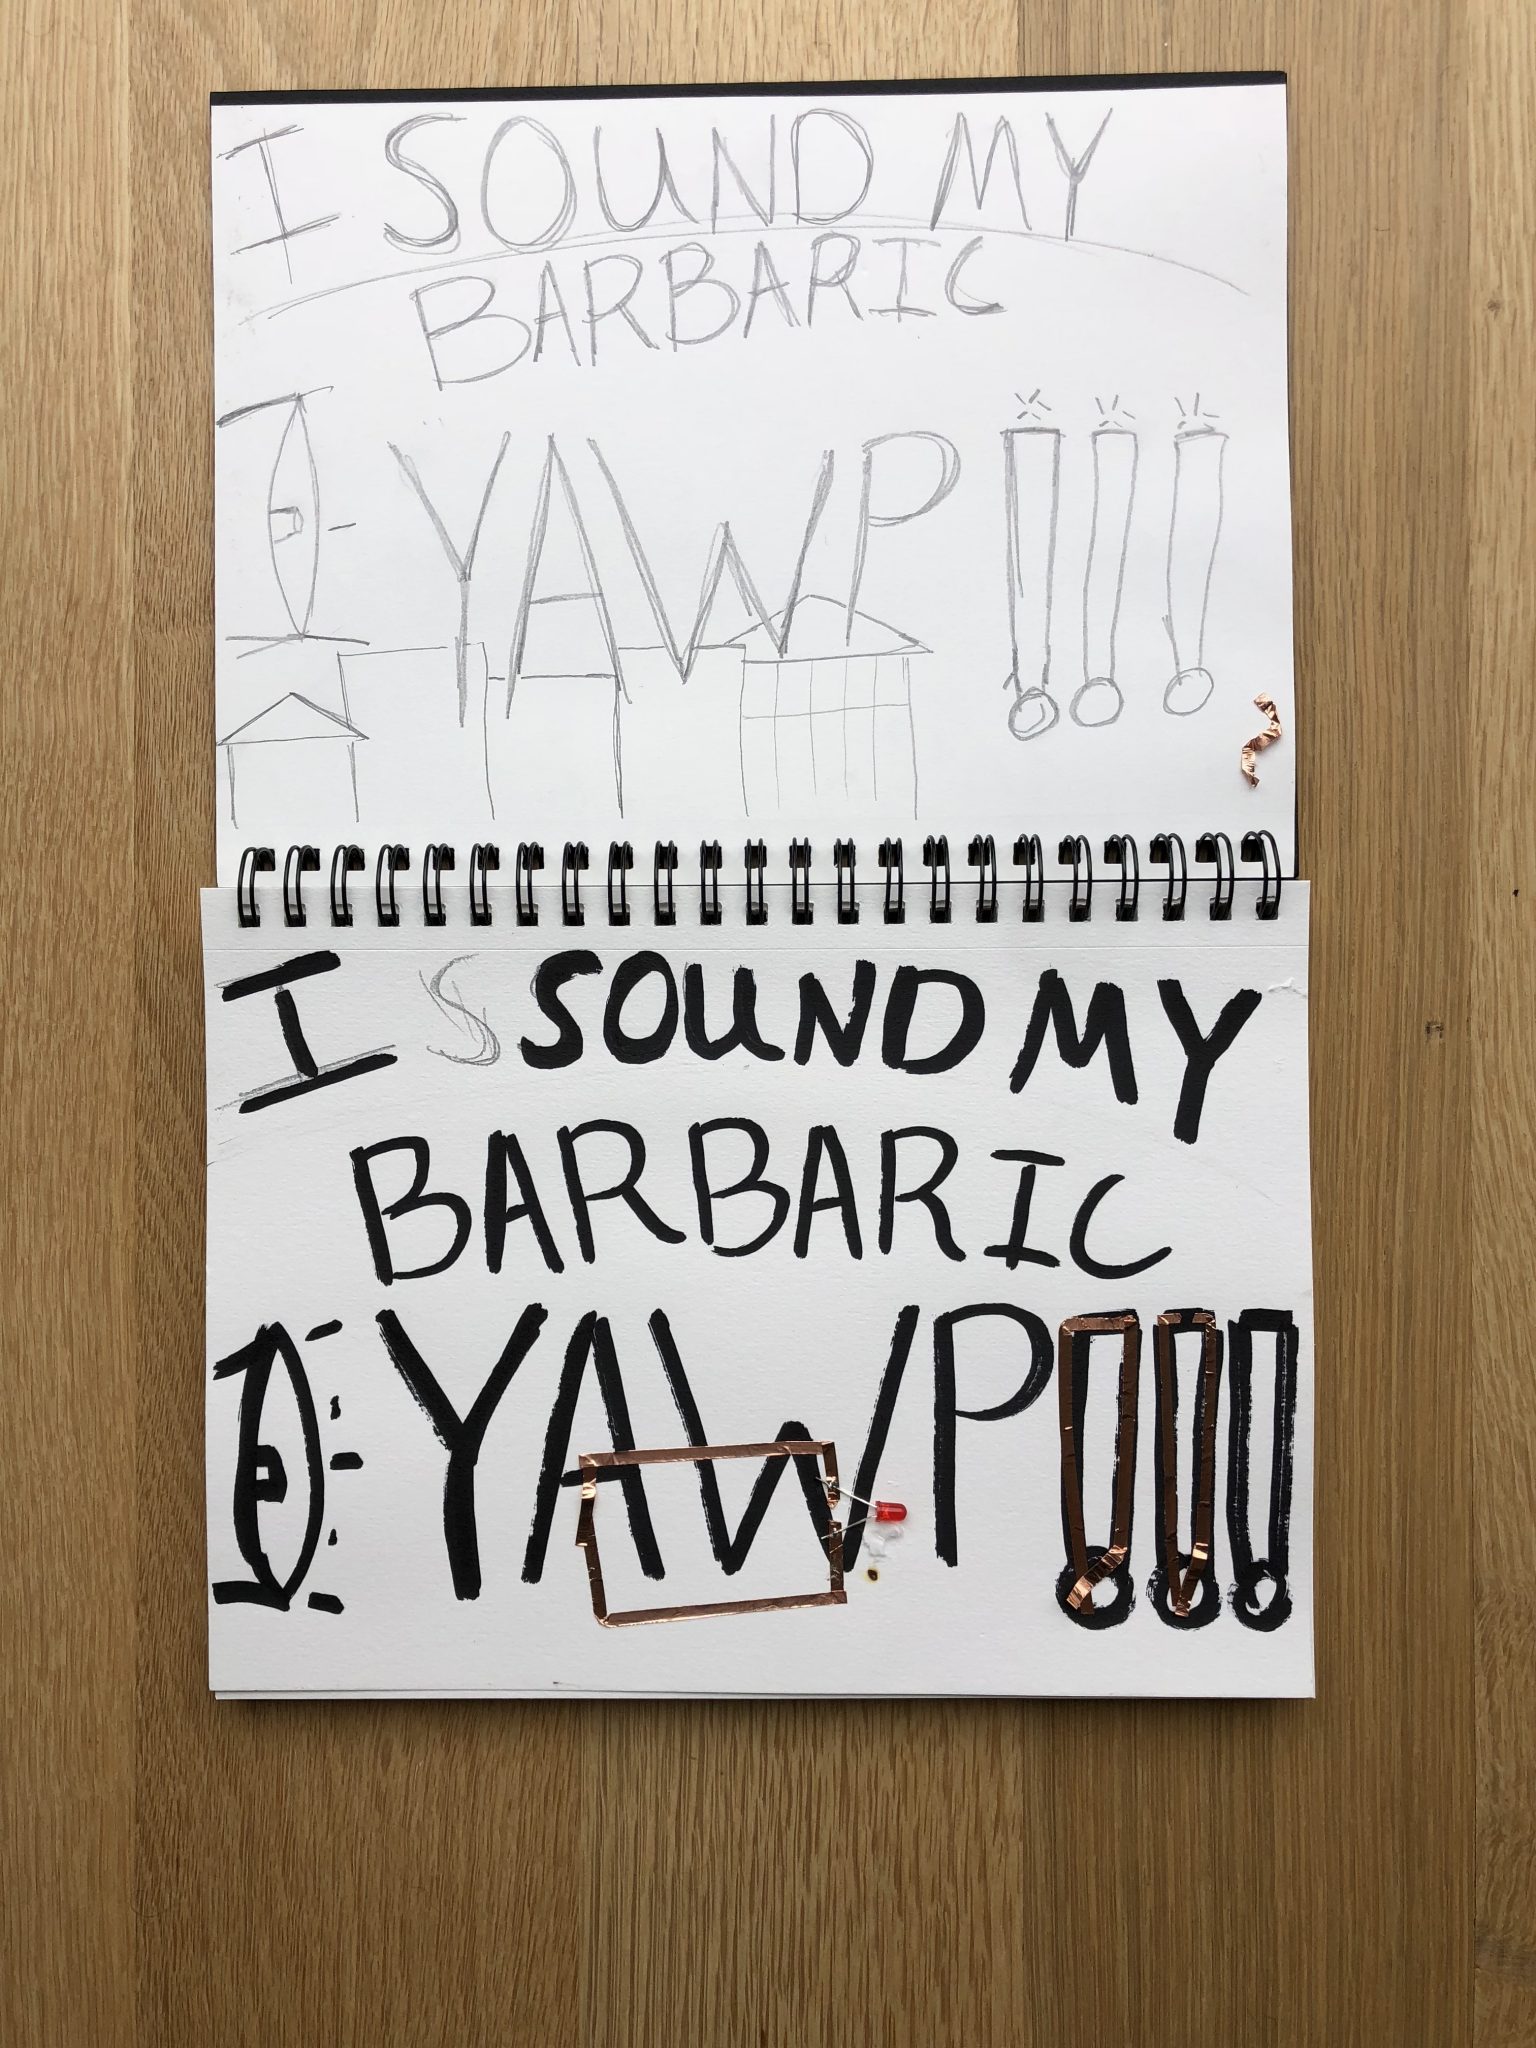
I chose to illustrate one of my favorite verses from Song of Myself by Walt Whitman. I’ve read this poem countless times. I felt this particular passage would work well with a loose looking style of writing using a simple marker. I wanted to accentuate the raw nature of the verse using simple tools. Above are a few of the practice sketches, beginning in pencil, and moving to marker once I felt like the proportion worked. I used the marker sketch to practice soldering. Below is the finished illustration.