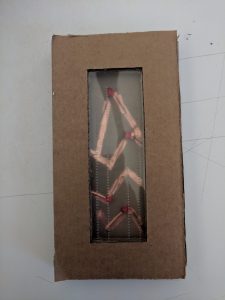
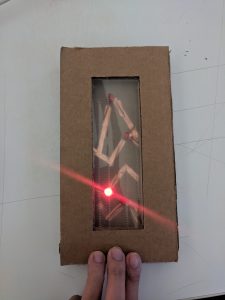
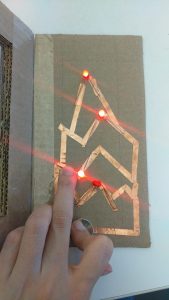
Was working at one time; not currently. Adding an image for posterity.
Was working at one time; not currently. Adding an image for posterity.
Summary
I’ve been excited all semester by a the freedom to really rethink what familiar hardware could look and feel like: when the components are small enough, or bendy enough, or crafted just right– can we make familiar hardware radically different? What new experiences do we get as a result?
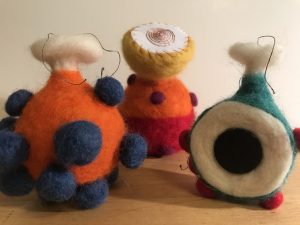
With that in mind, I turned to speakers. My goal for this final project was to create a functioning speaker that looks and feels nothing like the speakers that we know. Unlike most speakers, mine would be soft, squishy, organic, colorful, and weird.
Below is a short summary of my work, one component of which contains an Instructables link for a detailed how-to.
———————————————————————————————————————————
Part 1: early explorations
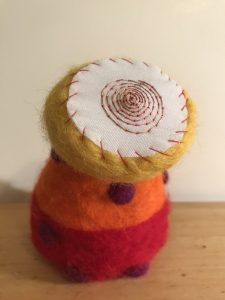
I chose to use wool as my main structural material: it was soft but still had some structure, could be sculpted into organic shapes, came in various colors, and could withstand heat from small electronics.
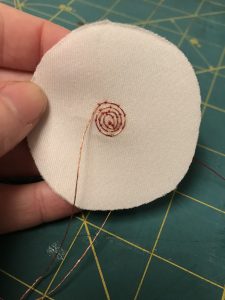
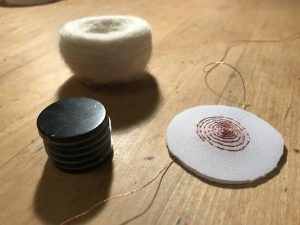
In these first component prototypes, I created a pressure sensor (orange and blue) and a speaker “swatch” (green and red) using wool, conductive thread, velostat, and neonymium magnets. I’ve described the detailed process for the pressure sensor as an Instructable.

———————————————————————————————————————————
Part 2: middle explorations
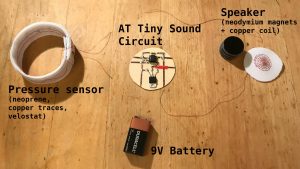
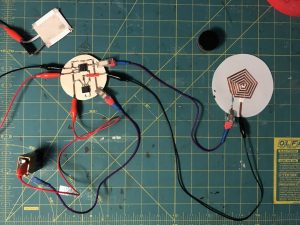
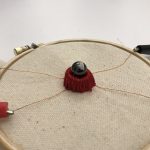
After getting familiar with the materials, I moved towards making a single shape that included all three of my speaker components: a pressure sensor, a speaker, and an AT Tiny sound circuit (diagrammed here), and referenced again below.
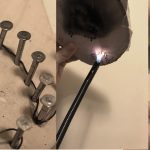
Components
AT Tiny Circuit details
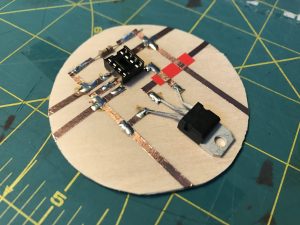
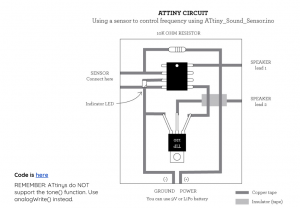
Modeled after class slides (slide 56), this circuit includes an AT Tiny, 10k Ohm resistor, and a TIP 120. All components are connected with copper tape (soldered where needed). They rest on a super thin piece of birch wood, so that the circuit stays flat even when the speaker is squished.
Here’s the bad news of this post and my final: my circuit / code isn’t quite working. I’ve tested connections, sensors, mixed and matched various components, but the debugging continues past due date. I’m determined to figure it out, but for the sake of submission, I’ve completed the other components to give a feel for the final imagined product. My code uses analogWrite() in the same manner as the template here.
Pressure sensor details
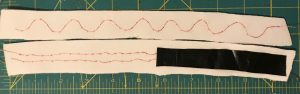
Two strips of neoprene, each with copper thread sewn onto one side using a couch stitch. THe two layers are then sewn together, copper tape facing inward, with velostat between (shown partway assembled above). The entire strip is then made into a circle, shown in the Components diagram above.
Speaker details
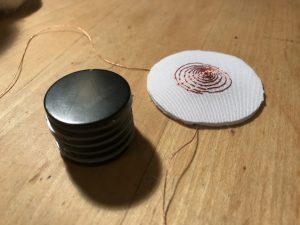
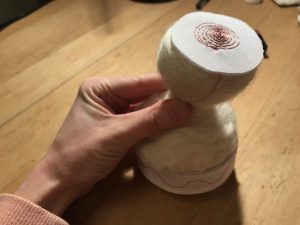
The speaker’s main components include a stack of neodymium magnets and a copper thread coil sewn into a swatch of neoprene.
Assembly
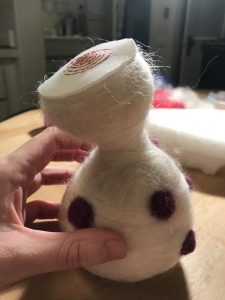
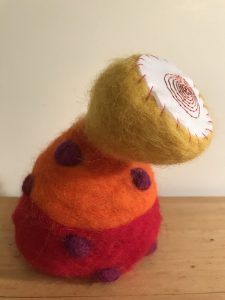
All of these components, when assembled, sit inside a felted wool body.
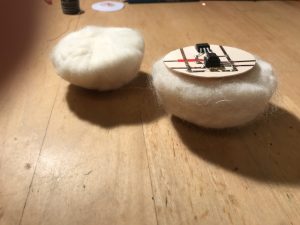 AT Tiny circuit goes in the main body
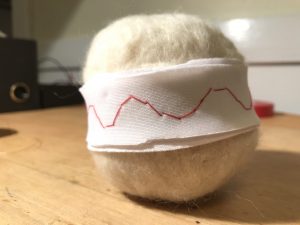 Pressure sensor wraps around main body
 Magnet and coil get their own body
 Magnet and coil body connect to main body
 The rest is aesthetic…
———————————————————————————————————————————
Part 3: future
I’m determined to get this working properly, maybe even through a final iteration that takes the best of all my prototypes so far.
(To see the process of building the necklace, please go to this link in Instructables)
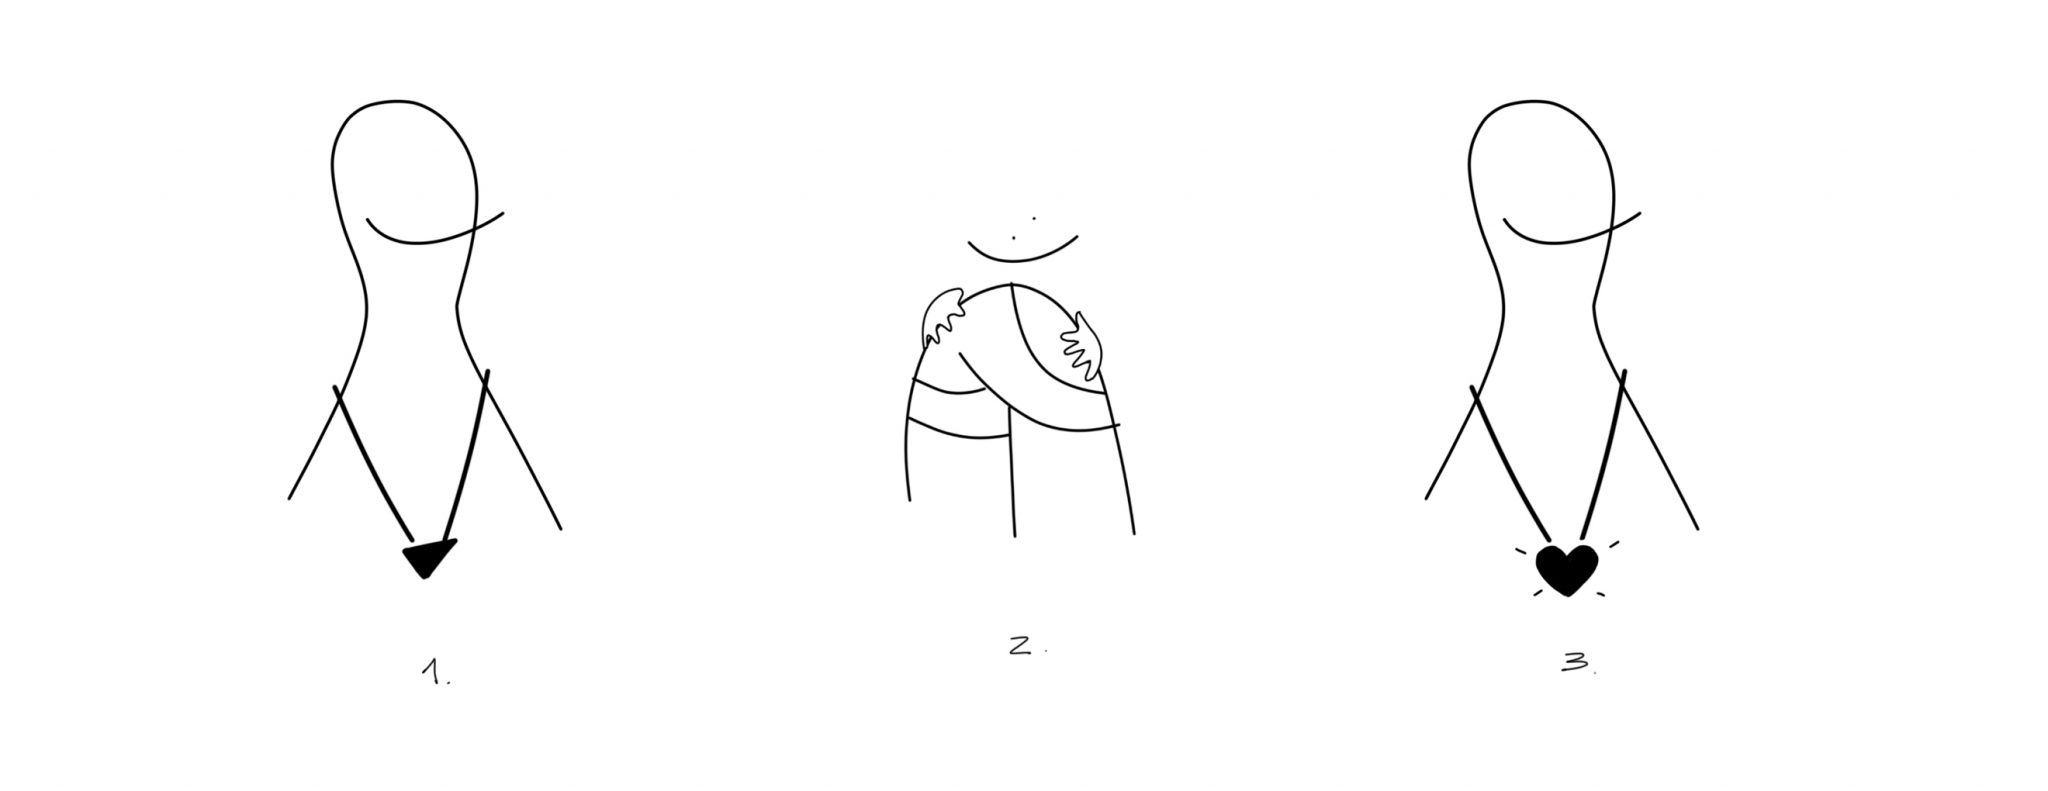
The concept of this idea is supported by creating an object that hides messages, that are revealed by the act of time and curiosity. I believe artifacts should be mediums for playful and memorable experiences, where its attributes don’t scream for attention.
The object makes use of the iconic act of ‘hugging’ as a symbol of friendship, connection, bond and support, and also as the switch for the necklace to change state and shape, and to reveal a new message.
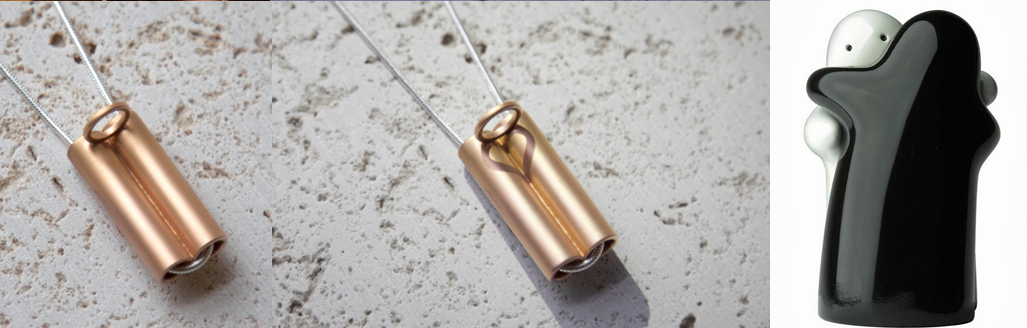
Two important precedents of Emotional Design: Invisible Love, a necklace I designed this year, is a unique and minimal piece of jewelry that highlights the relationship between light, shadow, and form; together these elements cleverly harmonize to create the iconic heart shape that reinforces the bonds between people like “the lassos of love”. This object aims to delve in “new links” that are revealed by the action of factors such as time, fortuity, surprise and curiosity, sustained and inspired by love.
As this necklace, this project aims to be a piece that embrace the communication of feelings by creating emotional bonds between people. The intention is to let people create unique values and meanings that extend the symbolic, functional and formal life of the object.
Another object that inspires this project is Camila’s Hug, a salt and pepper shakers designed by Alberto Mantilla. An object inspired by the love for his daughter, which holds symbols of racial and gender equity through the use of the ‘hug’ as a symbol.
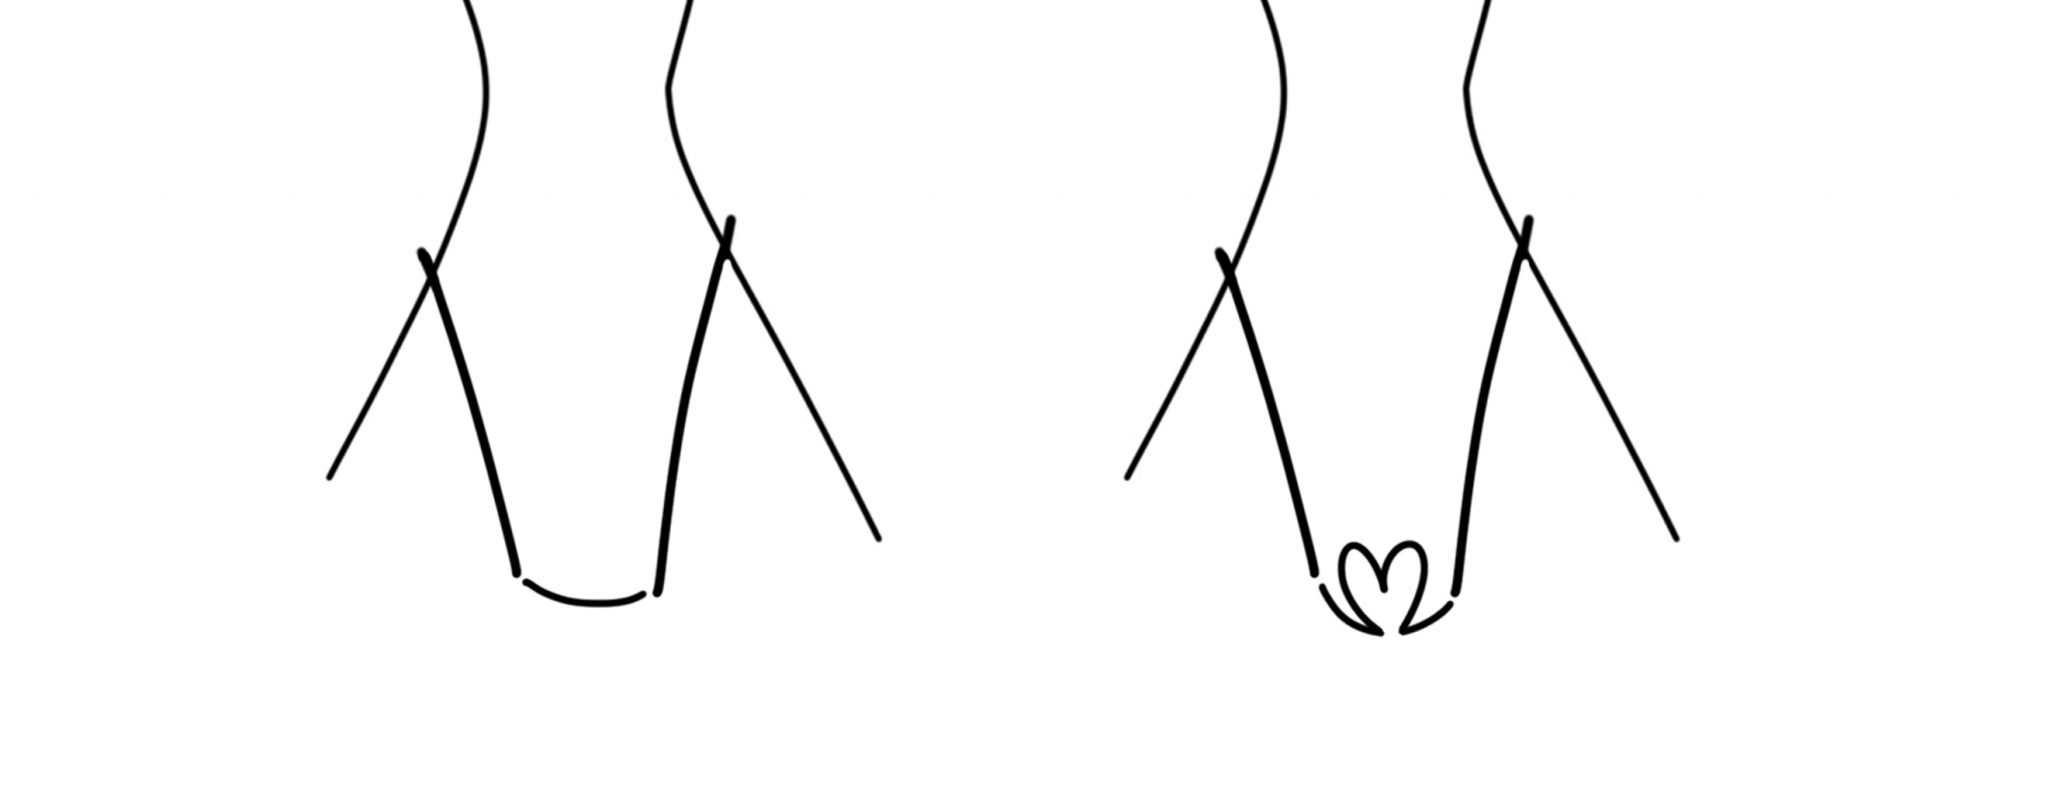
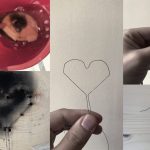
The necklace went through several tests and experiments. First, I decided to use trained flexinol around a cloth bag, which it’s contracted when current passes through the wire, taking the form of a heart-shaped wooden piece that is located in the center of the chain.
Continuing with the experiments with trained flexinol, I tried having a cleaner shape by placing the wire inside a rubber tube, whose volume contains living hinges. The idea was that the rod could take the shape of a heart when the wire was activated by heat. Unfortunately, the flexinol coils while is contracting, making the rod also follow this behavior, and impossible for it to take the shape of the heart.
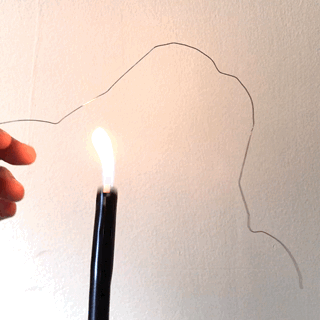
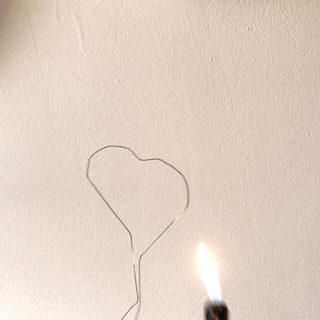
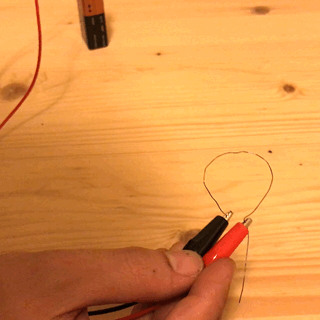
Many tests were also done with untrained flexinol. As in the previous experiment, I wanted to have a pure and clean shape at the start, and then changing the shape by activating the wire with heat. Many interesting learnings resulted from this experiment. I used a 0.012 “diameter flexinol wire that you can get here, which must be activated with 1.5Amps, a considerable amount of current. The wire must be programmed to take the desired shape. Here are some pictures of the process:

To create the necklace, this is the circuit scheme I designed:

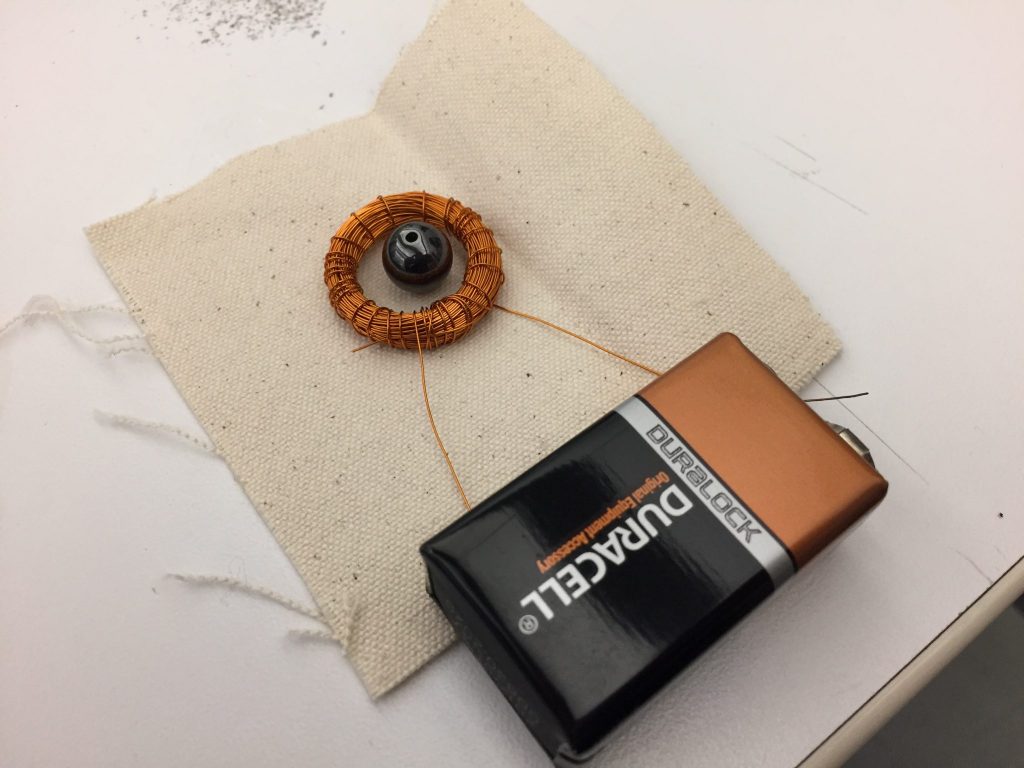
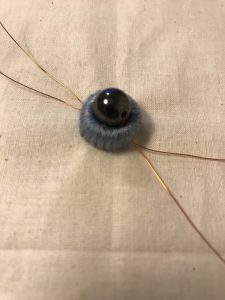
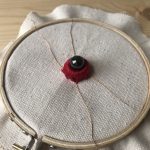
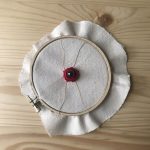
Working with magnetic hematite
In this week’s homework we got to play with the amazing magnetic hematite to create movement by generating a magnetic field.
I put together 2 coils (around 75 turns each) of hematite, and then put thread around to create a smooth surface and to create the axis for the ball to rotate.

The Merry Grinchmas sweater is an interactive garment that provides a wide range of personalized printed messages as a complain whenever someone touches the Grinch’s hat pompon. Anti-Christmasy messages coming through a thermal printer controlled by Gemma MO, Arduino, and Capacitive Sensing.
This project is aimed at everyone who wants to have some fun and make others laugh while being the Grinch themselves!. Also, If you’ve ever wanted a sweater that prints, this is the one too.
Reference: Petrifax (mid- 90s).
Find here my Instructable–>
https://www.instructables.com/id/Merry-Grinchmas-Sweater-Thermal-Printer-GemmaM0
Here is the link to the Instructable that covers all of my experiments with magnetism!
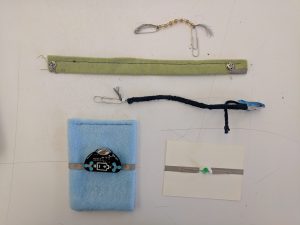
I tried to use many different techniques for making connectors. I found beads is a very pretty enclosure or the conductive threads and are quite easy to use.
Swatch exchange: bracelet switch
Using conductive yarns and thread in the middle is a socket for a battery and additional velostat for pressure sensor function.
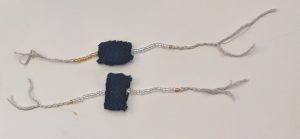
New craft: rope threading
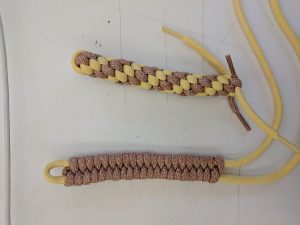
I think rope threading is a very interesting technique that could be used for giving enclosure to wire or conductive thread for connectors. In the picture the one on top also has a stretch effect which could also be interesting too.
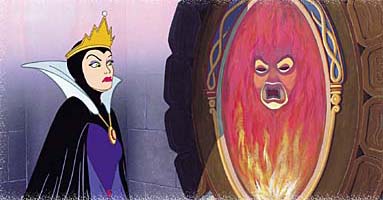
Inspired by ‘mirror mirror on the wall’
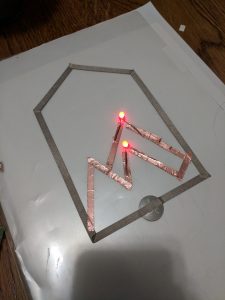
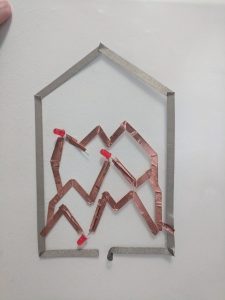
Flip-dot Assignment
It was fun to wrap around the coil. I had fun making a ring shape for the flip-dot. It was a little bit tricky when I first plugin, it wasn’t do anything. So I asked my friend and she said that I have to sand the start and the end for the conductive coil.
I work with Earn. We work together and found it easier to complete the assignment faster by helping each other.
Collaboration with Earn Chavisa Rojratanadumrong