Was working at one time; not currently. Adding an image for posterity.
Was working at one time; not currently. Adding an image for posterity.
Summary
I’ve been excited all semester by a the freedom to really rethink what familiar hardware could look and feel like: when the components are small enough, or bendy enough, or crafted just right– can we make familiar hardware radically different? What new experiences do we get as a result?
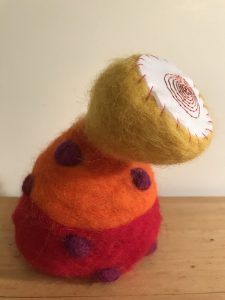
With that in mind, I turned to speakers. My goal for this final project was to create a functioning speaker that looks and feels nothing like the speakers that we know. Unlike most speakers, mine would be soft, squishy, organic, colorful, and weird.
Below is a short summary of my work, one component of which contains an Instructables link for a detailed how-to.
———————————————————————————————————————————
Part 1: early explorations
I chose to use wool as my main structural material: it was soft but still had some structure, could be sculpted into organic shapes, came in various colors, and could withstand heat from small electronics.
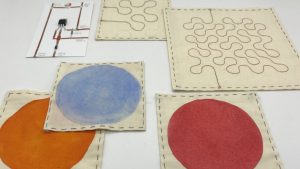
In these first component prototypes, I created a pressure sensor (orange and blue) and a speaker “swatch” (green and red) using wool, conductive thread, velostat, and neonymium magnets. I’ve described the detailed process for the pressure sensor as an Instructable.

———————————————————————————————————————————
Part 2: middle explorations
After getting familiar with the materials, I moved towards making a single shape that included all three of my speaker components: a pressure sensor, a speaker, and an AT Tiny sound circuit (diagrammed here), and referenced again below.
Components
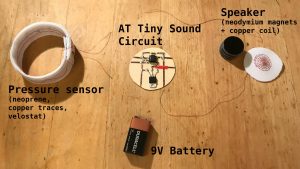
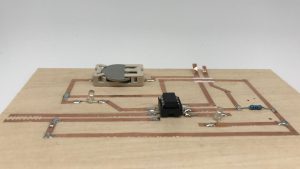
AT Tiny Circuit details
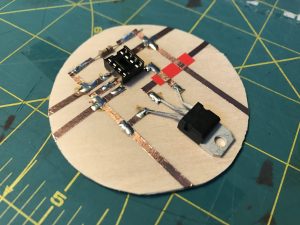
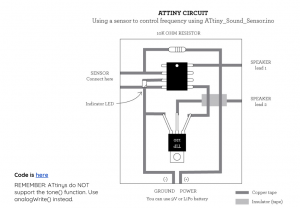
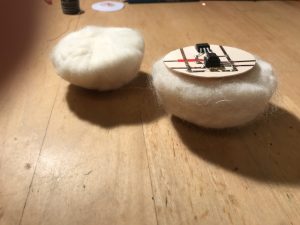
Modeled after class slides (slide 56), this circuit includes an AT Tiny, 10k Ohm resistor, and a TIP 120. All components are connected with copper tape (soldered where needed). They rest on a super thin piece of birch wood, so that the circuit stays flat even when the speaker is squished.
Here’s the bad news of this post and my final: my circuit / code isn’t quite working. I’ve tested connections, sensors, mixed and matched various components, but the debugging continues past due date. I’m determined to figure it out, but for the sake of submission, I’ve completed the other components to give a feel for the final imagined product. My code uses analogWrite() in the same manner as the template here.
Pressure sensor details
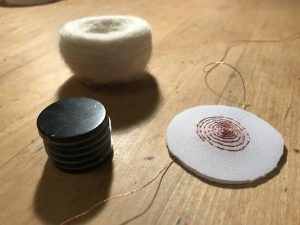
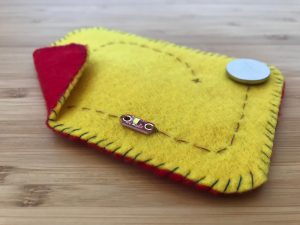
Two strips of neoprene, each with copper thread sewn onto one side using a couch stitch. THe two layers are then sewn together, copper tape facing inward, with velostat between (shown partway assembled above). The entire strip is then made into a circle, shown in the Components diagram above.
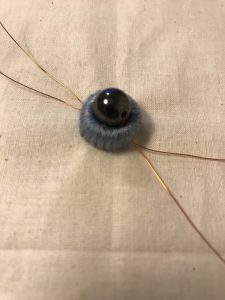
Speaker details
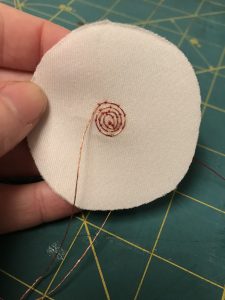
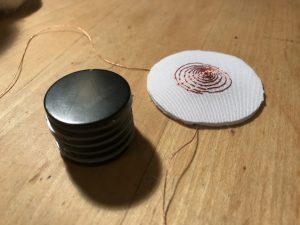
The speaker’s main components include a stack of neodymium magnets and a copper thread coil sewn into a swatch of neoprene.
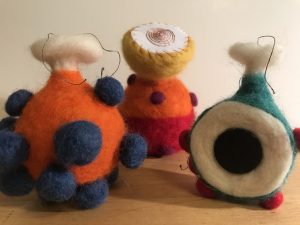
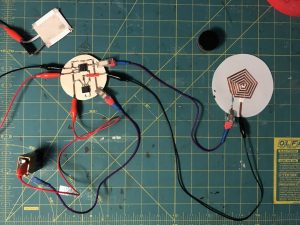
Assembly
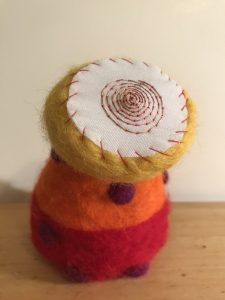
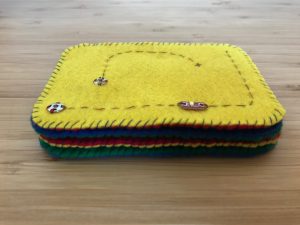
All of these components, when assembled, sit inside a felted wool body.
 AT Tiny circuit goes in the main body
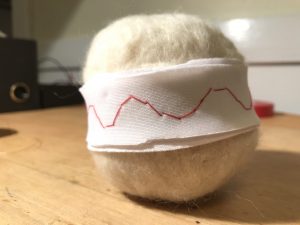 Pressure sensor wraps around main body
 Magnet and coil get their own body
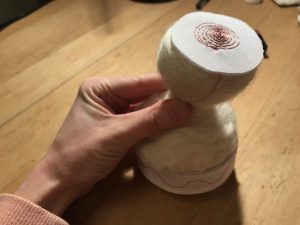 Magnet and coil body connect to main body
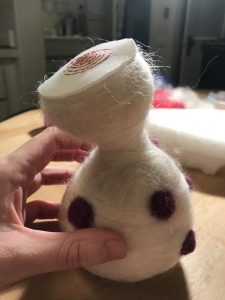 The rest is aesthetic…
———————————————————————————————————————————
Part 3: future
I’m determined to get this working properly, maybe even through a final iteration that takes the best of all my prototypes so far.
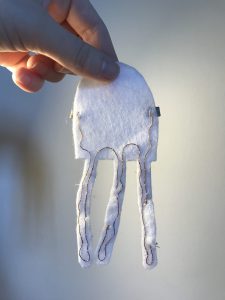
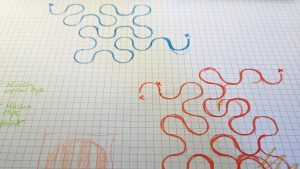
I attempted to make a fabric jellyfish, whose tentacles can be programmed to curl and relax using nitinol and electricity. As of class-time, I still need to do some debugging.
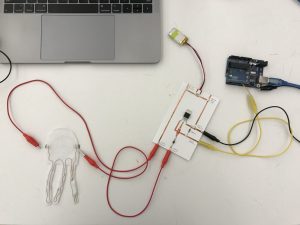
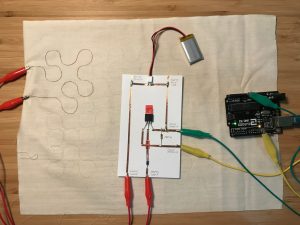
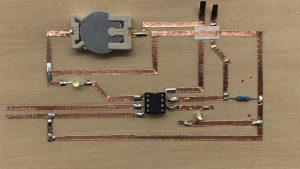
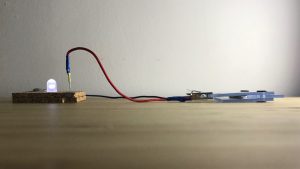
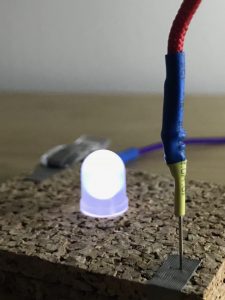
So far, I’ve confirmed that my “circuit board” (the same one from Week 10’s heat circuit) works, but I suspect I have some loose connections in my actual jellyfish circuit. I’ll further secure the connections, and update here with the working result. For now, some initial pictures:
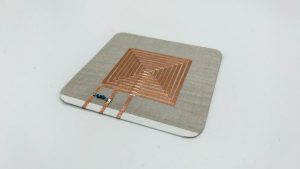
First iteration:
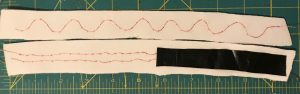
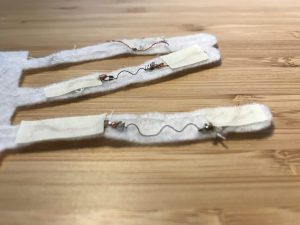
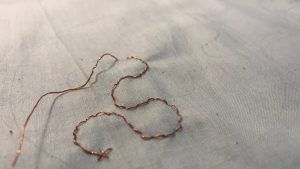
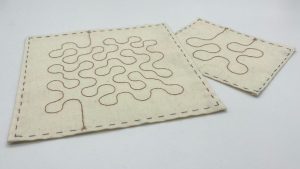
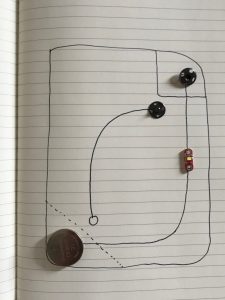
The first copper thread heating circuit (below) was created with a backstitch. After in-class debugging we found its resting-state resistance to be too high for our purposes (~67 Ohms). When we press on the circuit, we can close air pockets between stitches, creating significantly lower resistance (~10 Ohms). I’ll iterate on this swatch with a new stitch that has less resistance, and will post an update with new results.
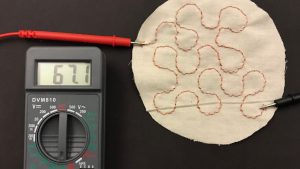 (no pressure applied – 67 Ohm)
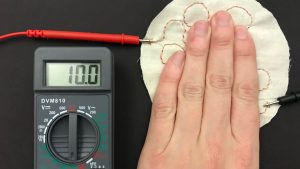 (pressure applied – 10 Ohm)
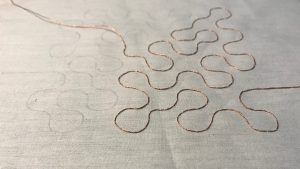
12/20 update:
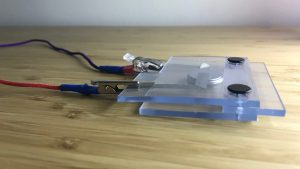
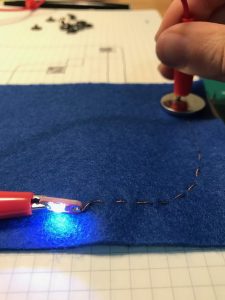
A new stitch does the trick! I’ve redone these using a couch stitch, which reduces the resistance significantly.


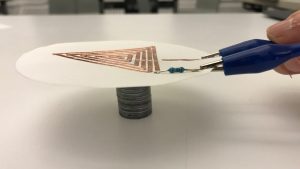
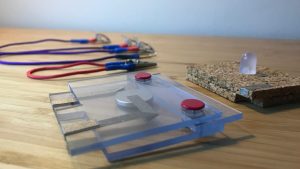
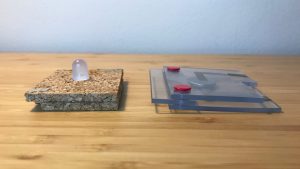
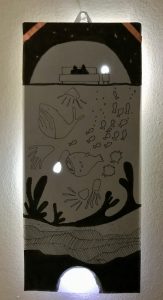
A trio of vellum speakers
Each speaker in the set includes a copper tape coil and a 10 Ohm resistor on vellum. The coil shapes vary from triangle, to square, to pentagon. All emit intelligible sound.
Click to watch the speaker in action.
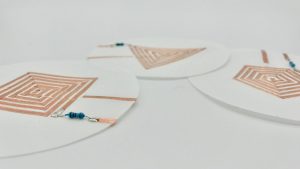
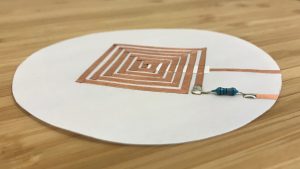
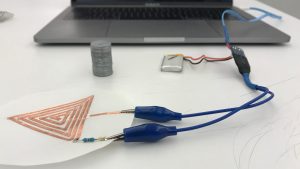
A fourth swatch made with a longer coil on .4mm birch plywood needs some debugging (no sound yet).
Midterm
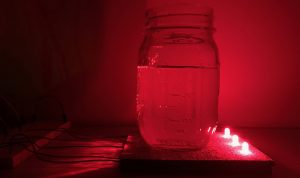
I created a coaster that uses an existing interaction (putting a glass on a coaster) to close a circuit and complete the lamp. My original hope was that when different glasses/drinks were placed on the coaster, different colors and shapes of light would be illuminated– a modular lamp of sorts.
The circuit works as hoped: the lights shine when (and only when) a glass is on the coaster. But if I were to do it again, I’d use brighter lights and/or a more transparent surface for the lights to shine through. As is, it’s a little dim.
Instructables link: https://www.instructables.com/id/LED-Coaster
ATtiny
Part 1: Control an LED using a soft sensor and Arduino.
Part 2: Build a circuit with one constructed sensor (variable resistor), your Arduino, and 3 (or more) LEDs or an RGB LED.
Watch in action here; still images below.
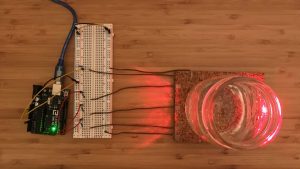 (the setup)
 (full glass on sensor triggers all three LEDs)
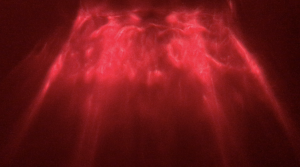 (playing with light, water, and glass)
Summary: Arduino reads the analog input from a constructed pressure sensor, controlled for example by pouring water into a jar over the sensor pad. Based on the input, the Arduino controls three LEDs: the more pressure, the more lights turn on.
Pressure sensor materials: Velostat, conductive tape, cork, LEDs.
Code snippet:
```
// This function determines the LED pins' output (HIGH or LOW)
// based on the sensor pin's input (held in the variable "average").
void displayLights() {
if (average > 200) {
digitalWrite(ledA, HIGH);
digitalWrite(ledB, HIGH);
digitalWrite(ledC, HIGH);
} else if (average > 150) {
digitalWrite(ledA, HIGH);
digitalWrite(ledB, HIGH);
digitalWrite(ledC, LOW);
} else if (average > 100) {
digitalWrite(ledA, HIGH);
digitalWrite(ledB, LOW);
digitalWrite(ledC, LOW);
} else {
digitalWrite(ledA, LOW);
digitalWrite(ledB, LOW);
digitalWrite(ledC, LOW);
}
}
```
Part 3: Document midterm ideas.
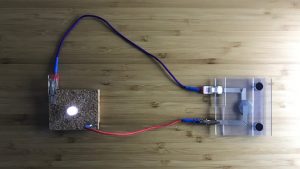
I’d like to create transparent modular blocks, each containing a piece of a circuit: e.g. one might contain a 3v battery, another a resistor, another an LED, and others just connecting components. A user would be able to play with the blocks by connecting them in 3d space; complete a circuit with the blocks, and the blocks with the LED shines.
The intention is to build something simple, playful, and educational.
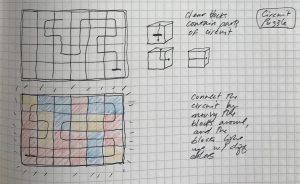 (early ideation on paper)
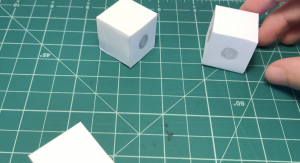 (prototyping)
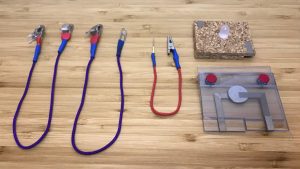
Node materials: two layers of cork with conductive fabric tape between, superglue, LED (node 1); soft plastic held together with push pins, visible conductive fabric tape circuits, removable cell battery (node 2)
Connector features: pin to gator clip (connector 1), plastic clip with conductive tape to plastic clip with conductive tape (connector 2), clip and plastic clip with conductive tape to paper clip (connector 3)
Design considerations: Short and long tape signify negative and positive ends when connecting to the LED node; these connecting points can be clipped onto or pushed into. Black and red pins help show positive and negative side of cell battery at a glance.
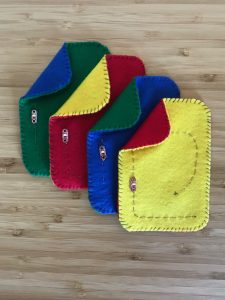
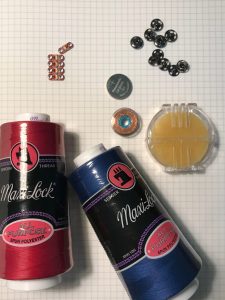
Oh snap! These four swatches use copper thread with a snap switch. When the circuit is closed, the mini LED shines.
** Swatches **

** Swatch materials and process **
** Learn a new craft **
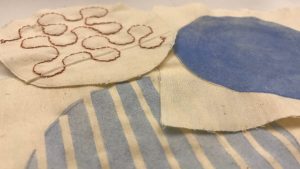
Last week, I did hand sewing for the first time through my swatch-making. I also took a silkscreen printmaking class, and am looking forward to playing with printmaking and conductive ink in a future project this semester.
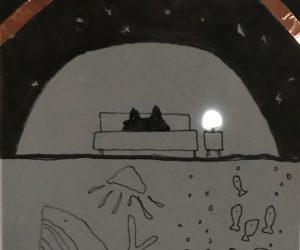
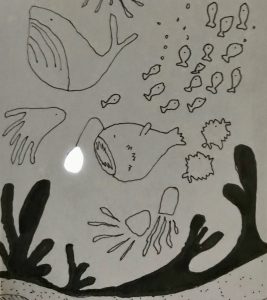
Crafting a Path, inspired by the last stanza of Osso Buco by Billy Collins:
In a while, one of us will go up to bed
and the other will follow.
Then we will slip below the surface of the night
into miles of water, drifting down and down
to the dark, soundless bottom
until the weight of dreams pulls us lower still,
below the shale and layered rock,
beneath the strata of hunger and pleasure,
into the broken bones of the earth itself,
into the marrow of the only place we know.