Author Archives: wus457

Shenyue’s Final Project

Here is my link for final project on Instructables: https://www.instructables.com/id/Flip-Dots-Simpson/

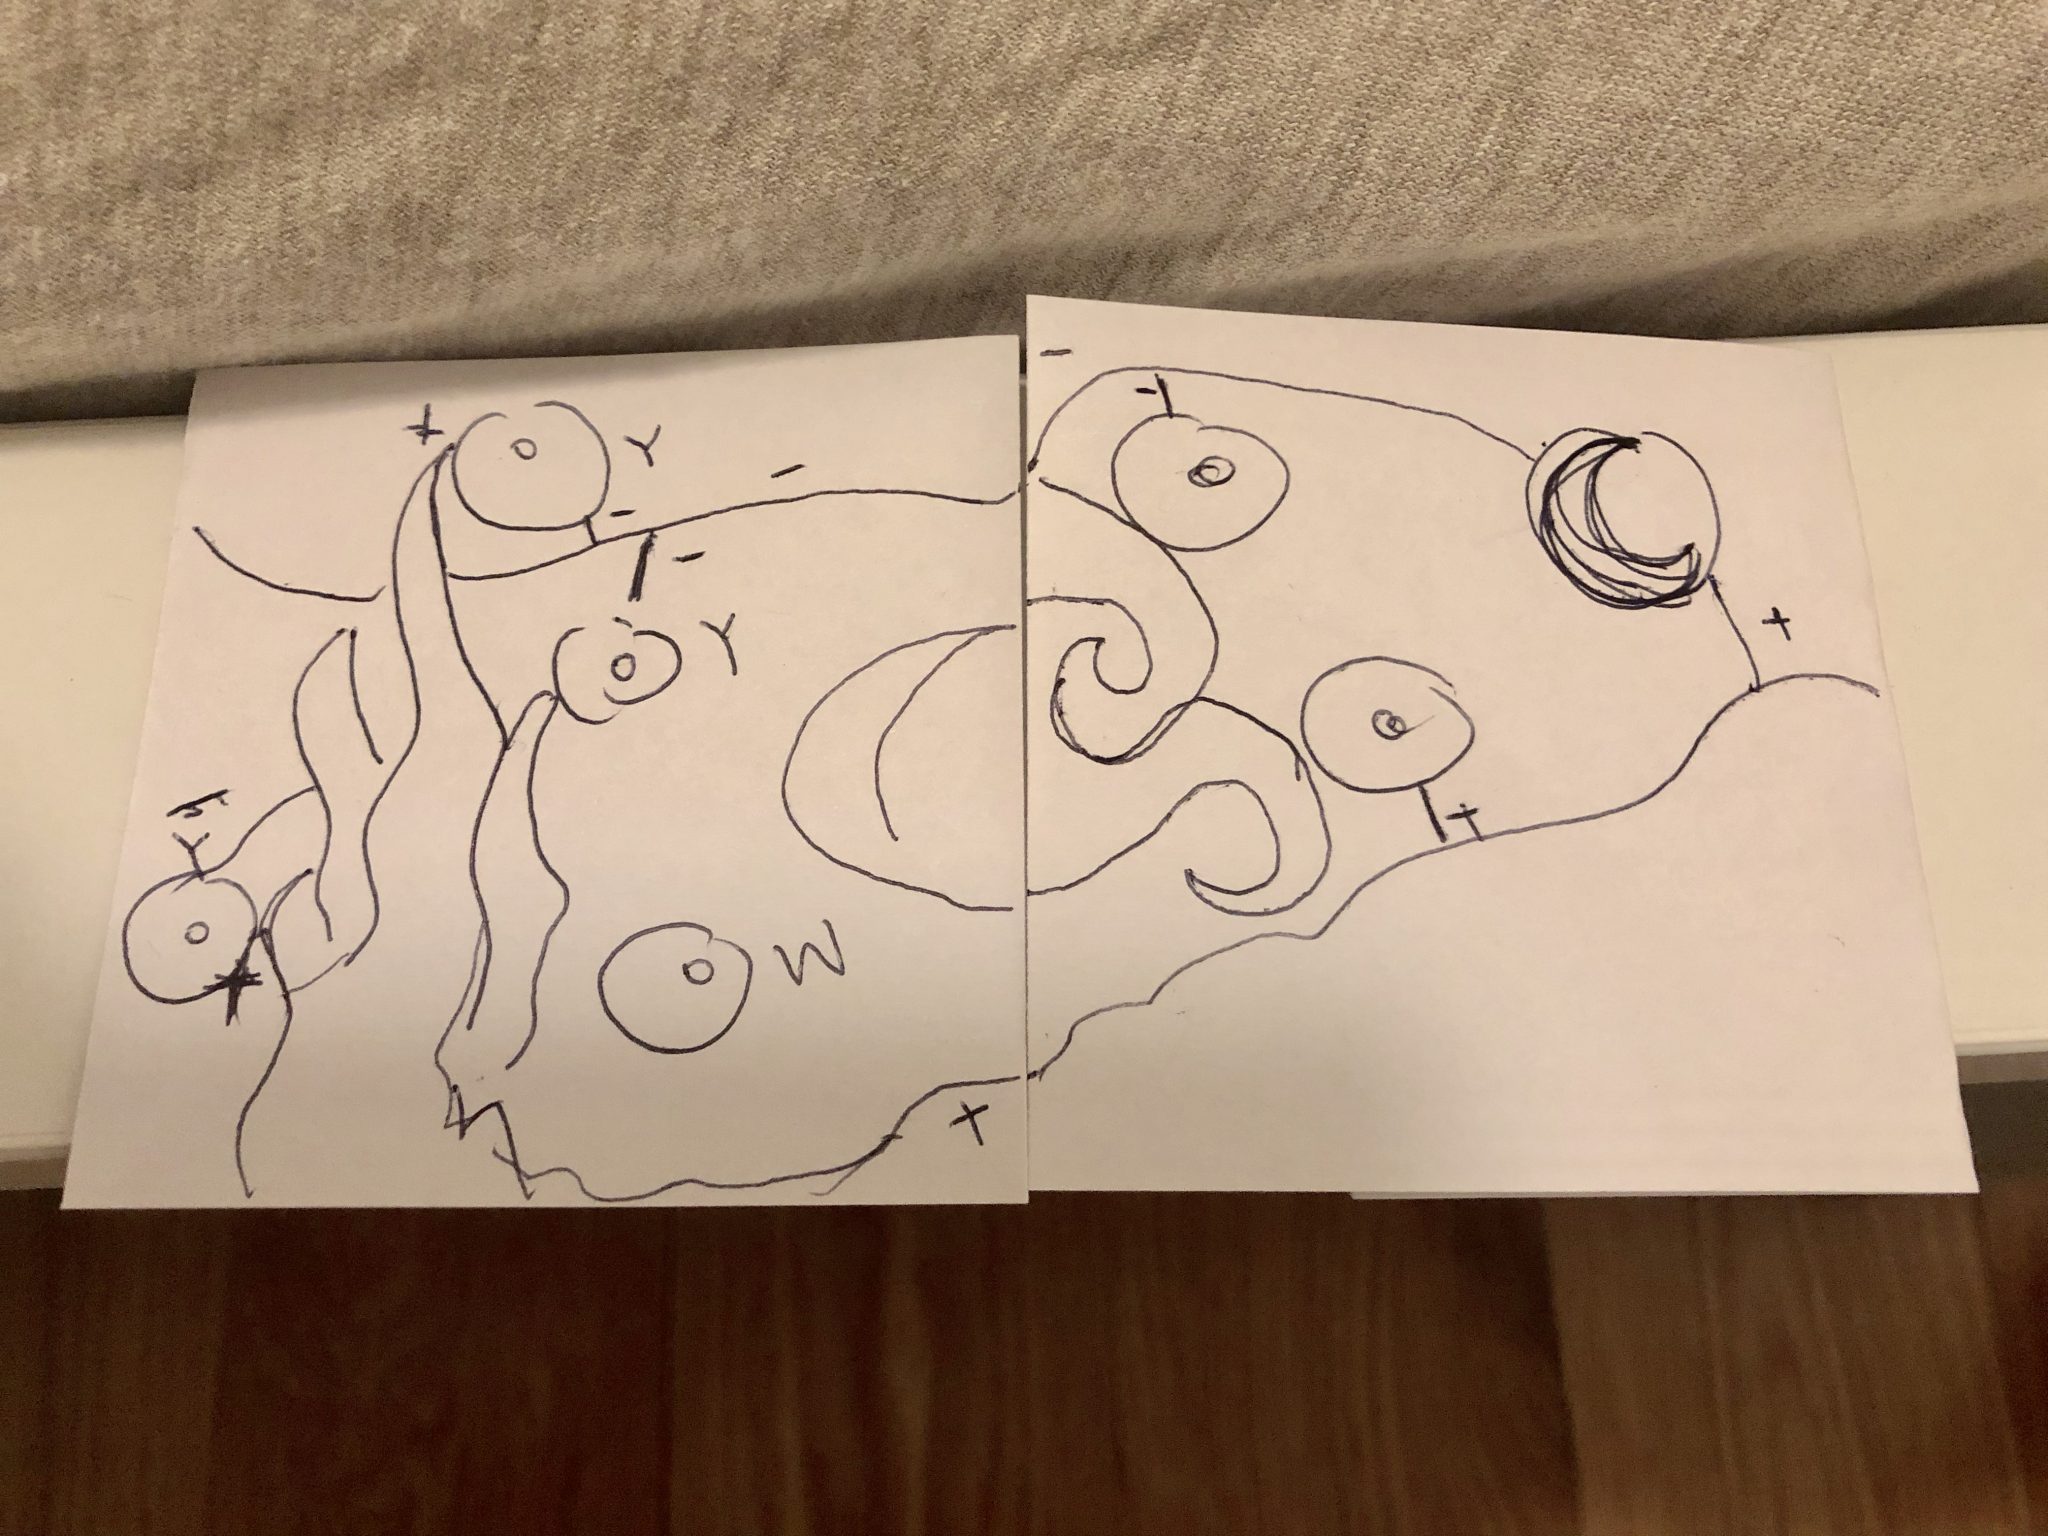
In this project, I mainly focus on using flip dots. At the beginning, Im was ambitious that I intended to create a painting of a sunflower, with the central part full of flip dots, and flexinol on the edge of the petals. When talking to Liza about this idea, she told me that it is not easy to incorporate all of them. Thus, I decided to start with the flip dots since it is the one that I am most interested in.

After I started, I figured that the flip dots are not easy to deal with as what I expected before.

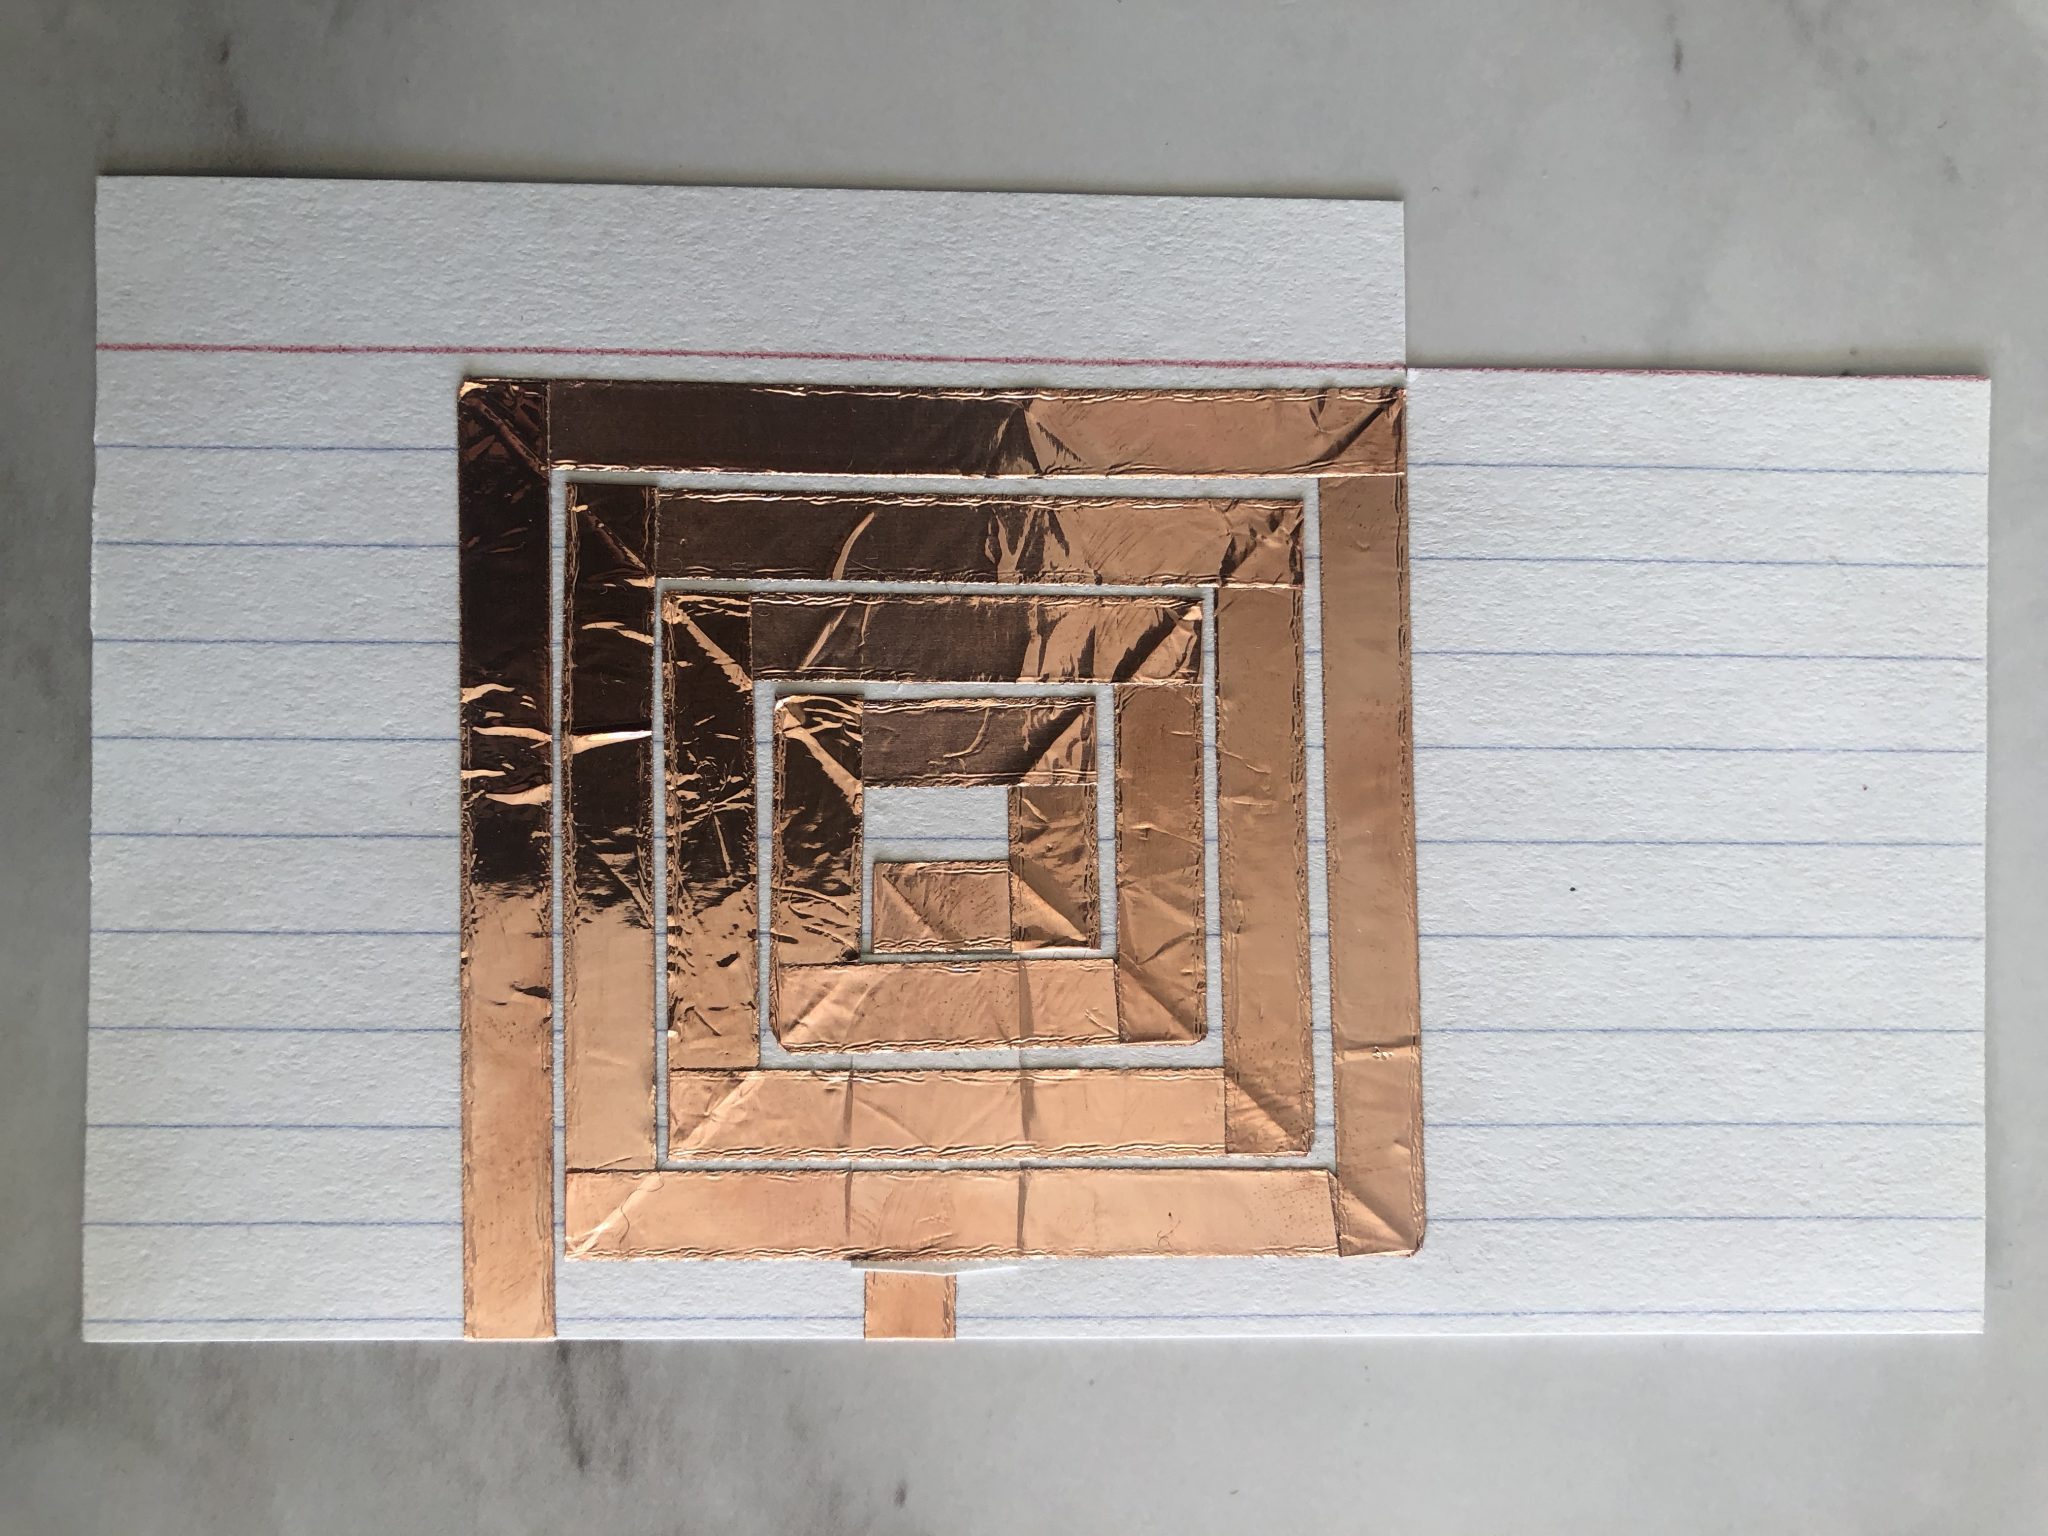
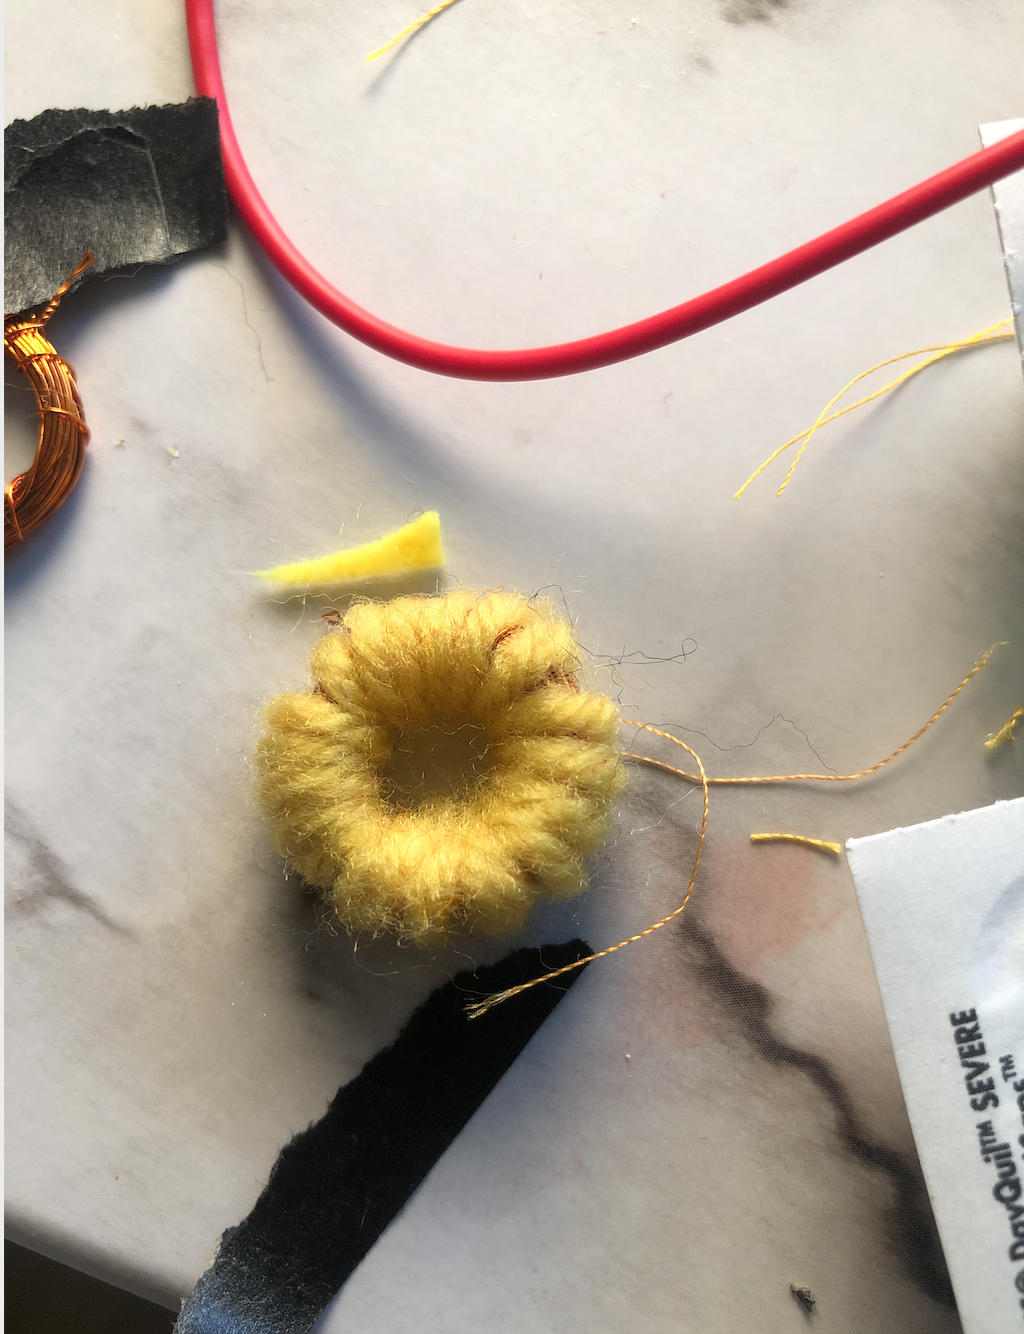
The first step I have done is to wrap the coil. I wrapped each coil around 50 times and I did almost 12 of them.

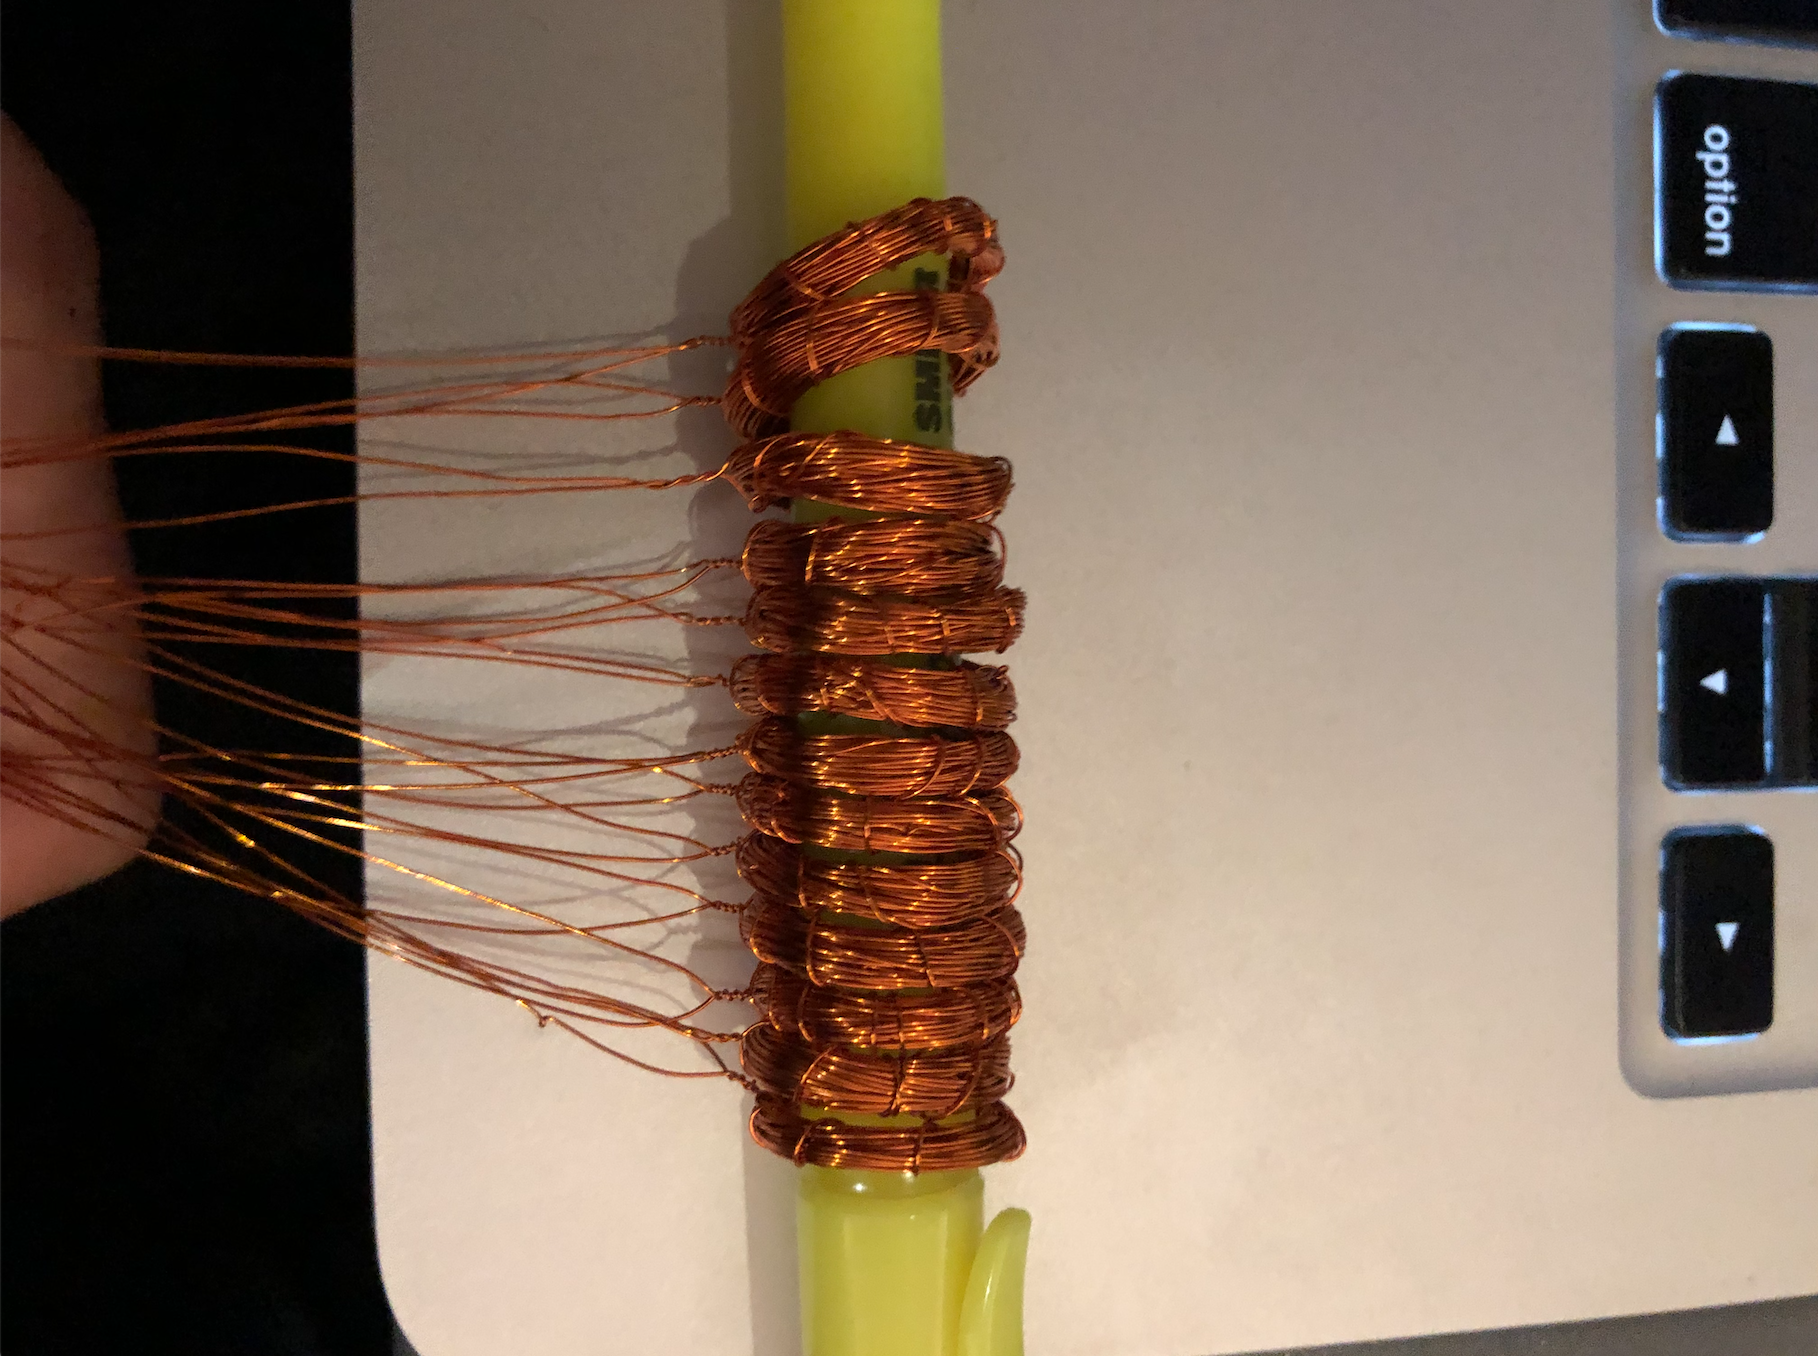
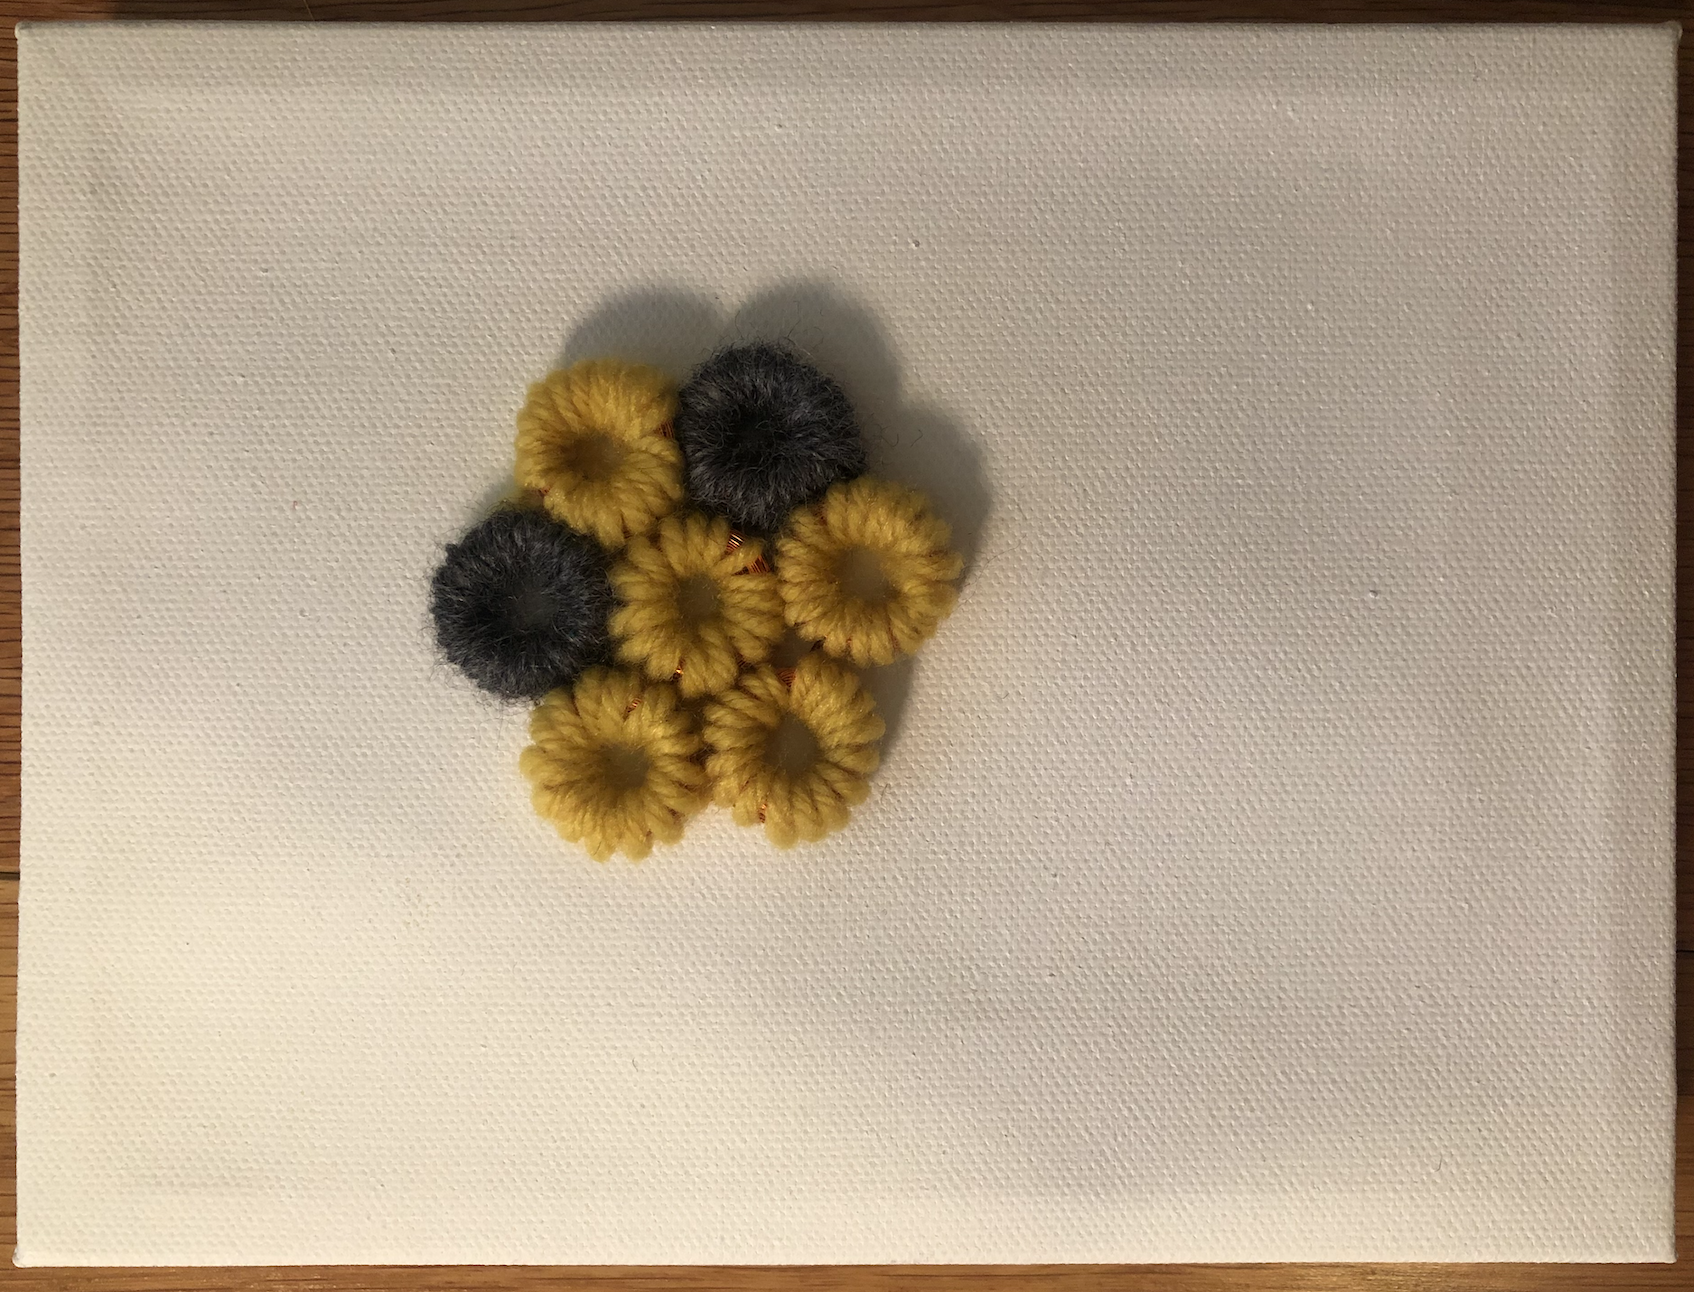
Next I wrapped all of them as double coils using yellow and grey yarns.


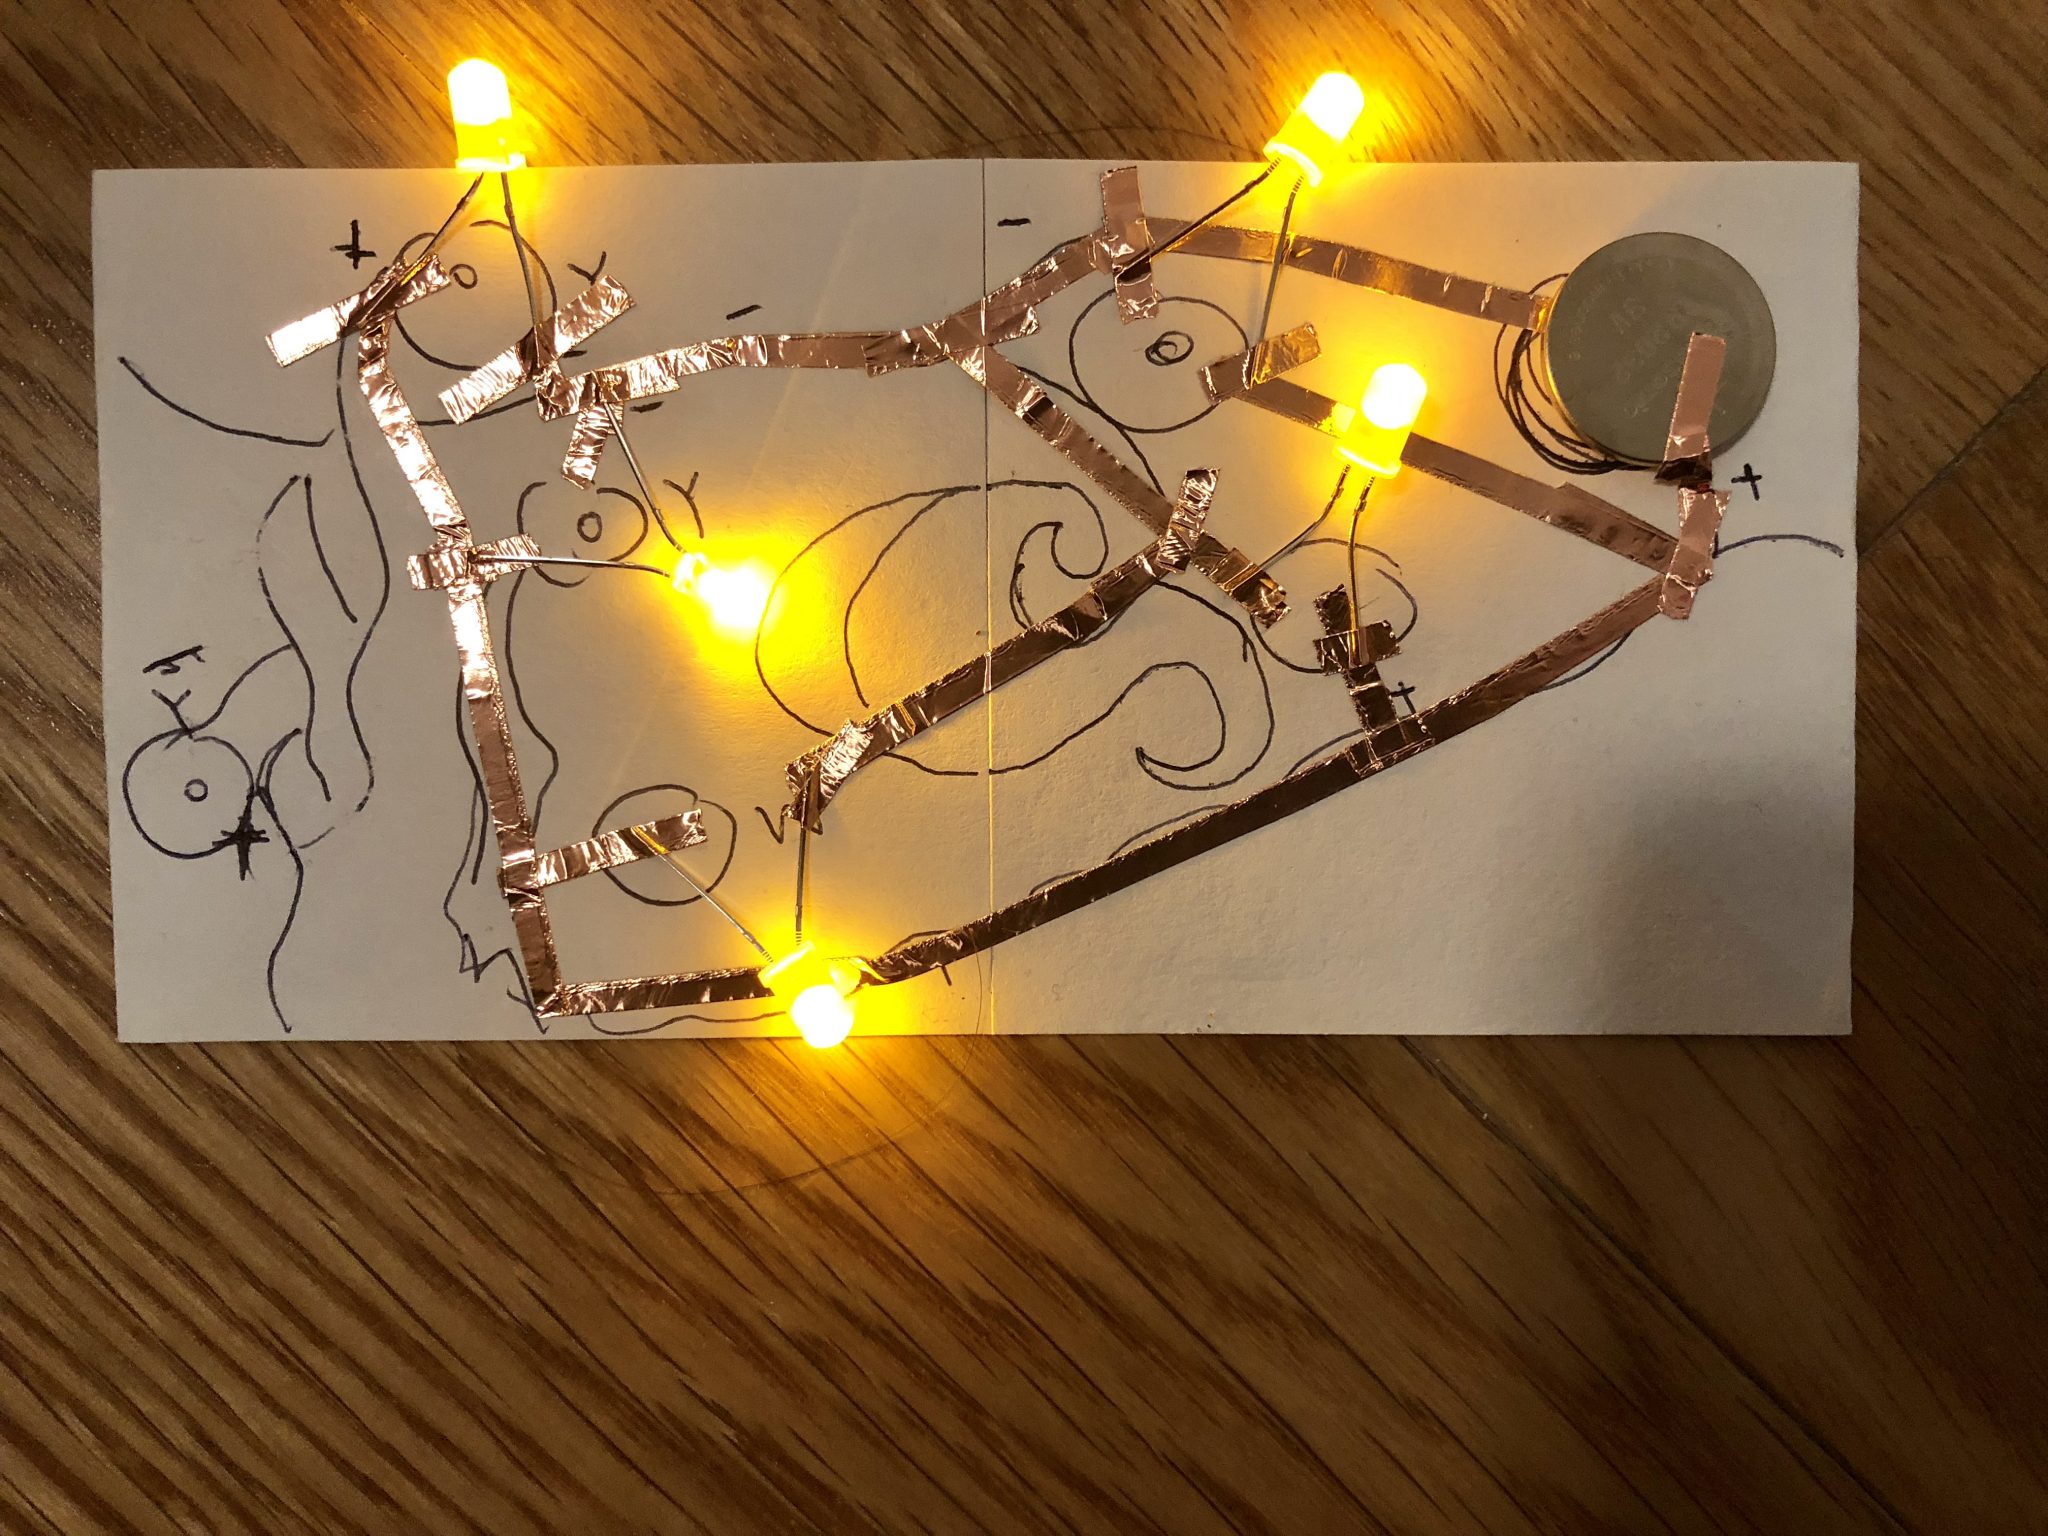
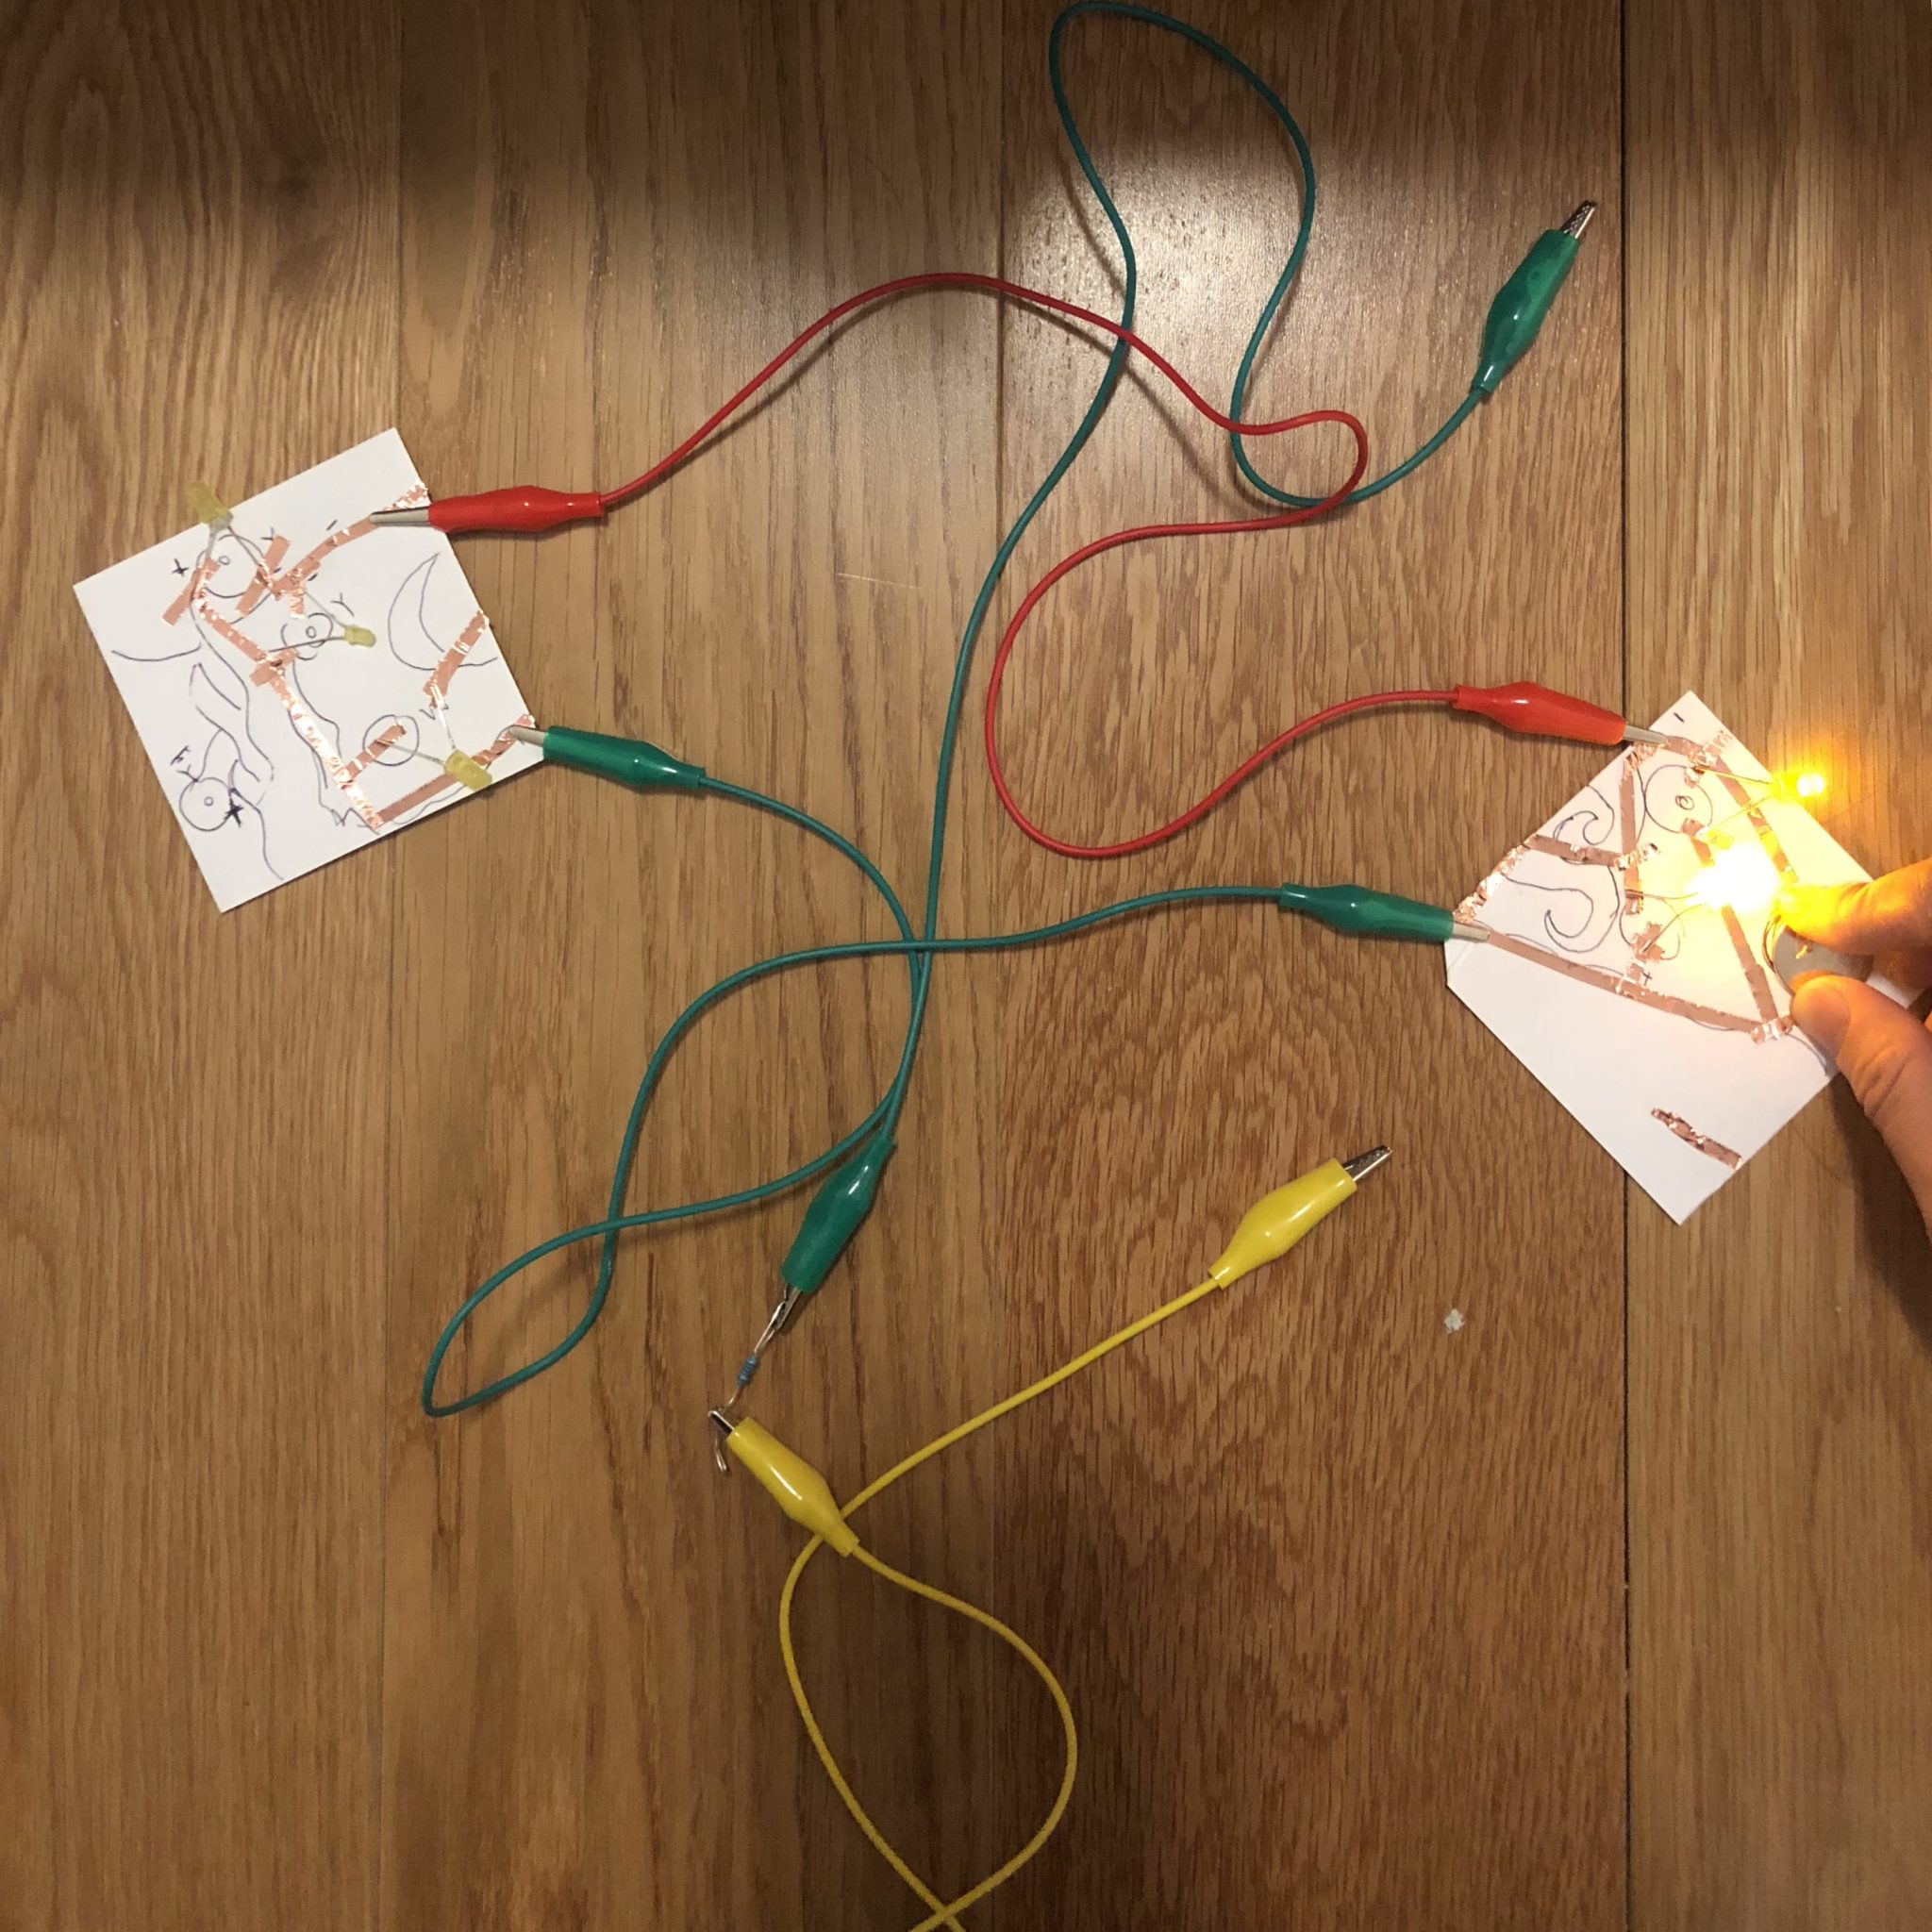
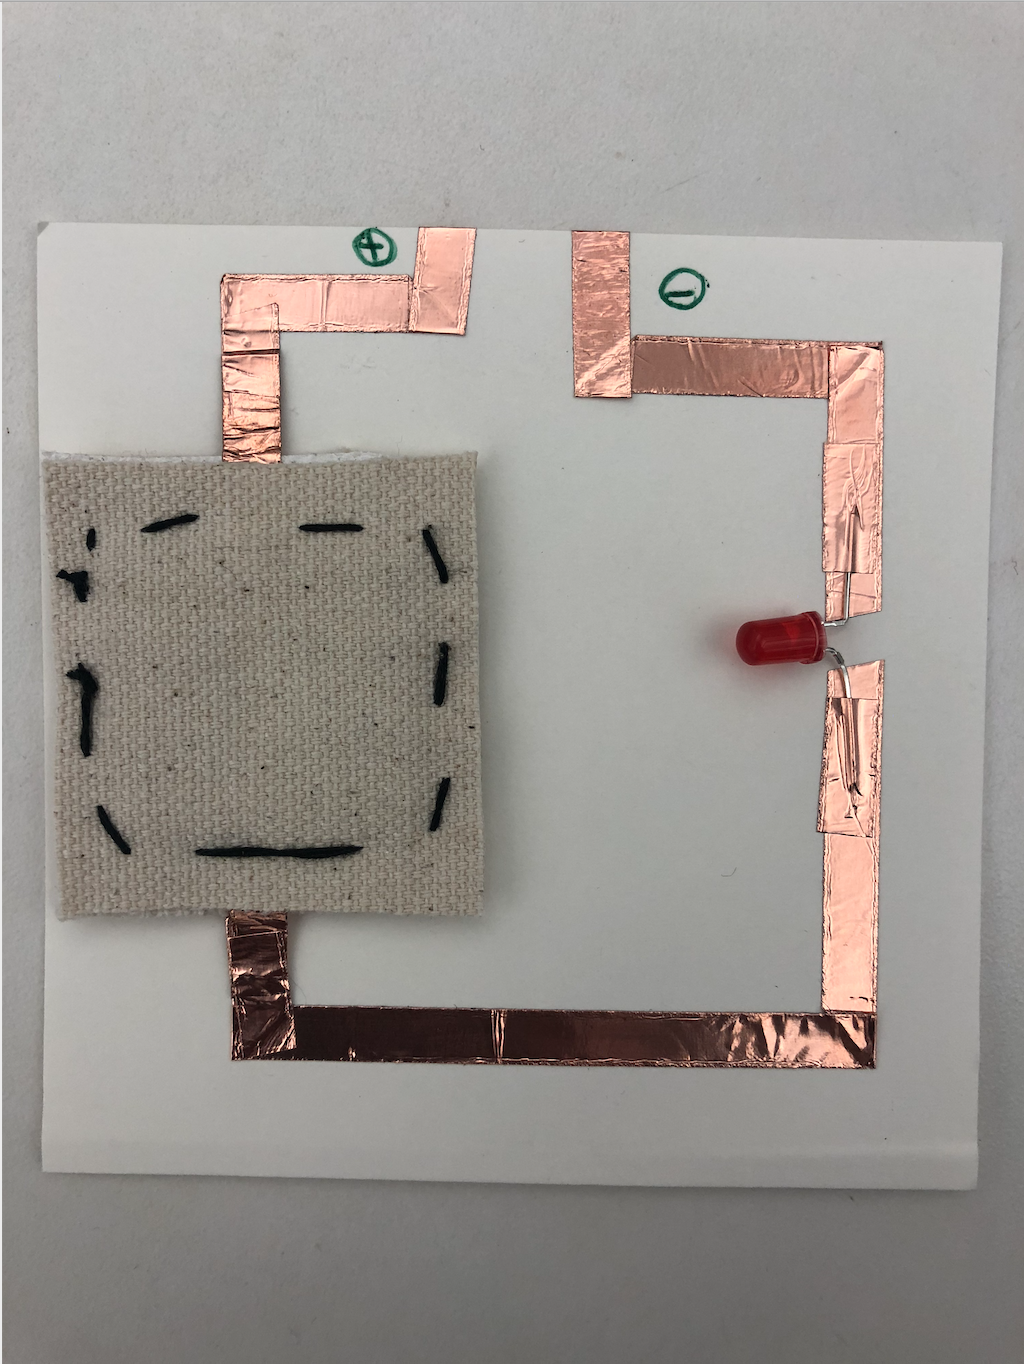
Then, I put them on the canvas like the picture below.

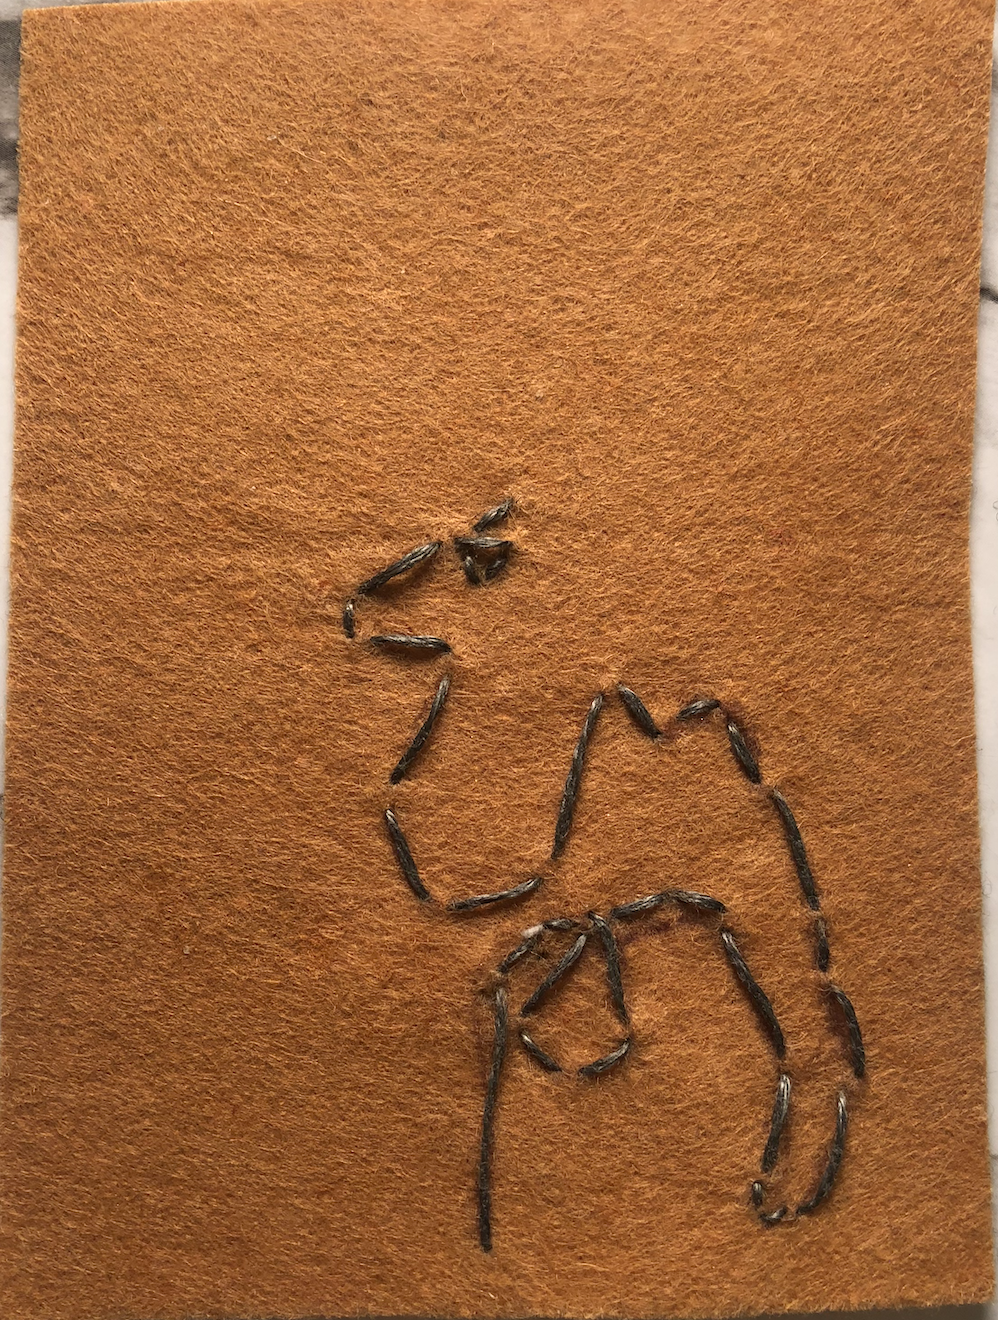
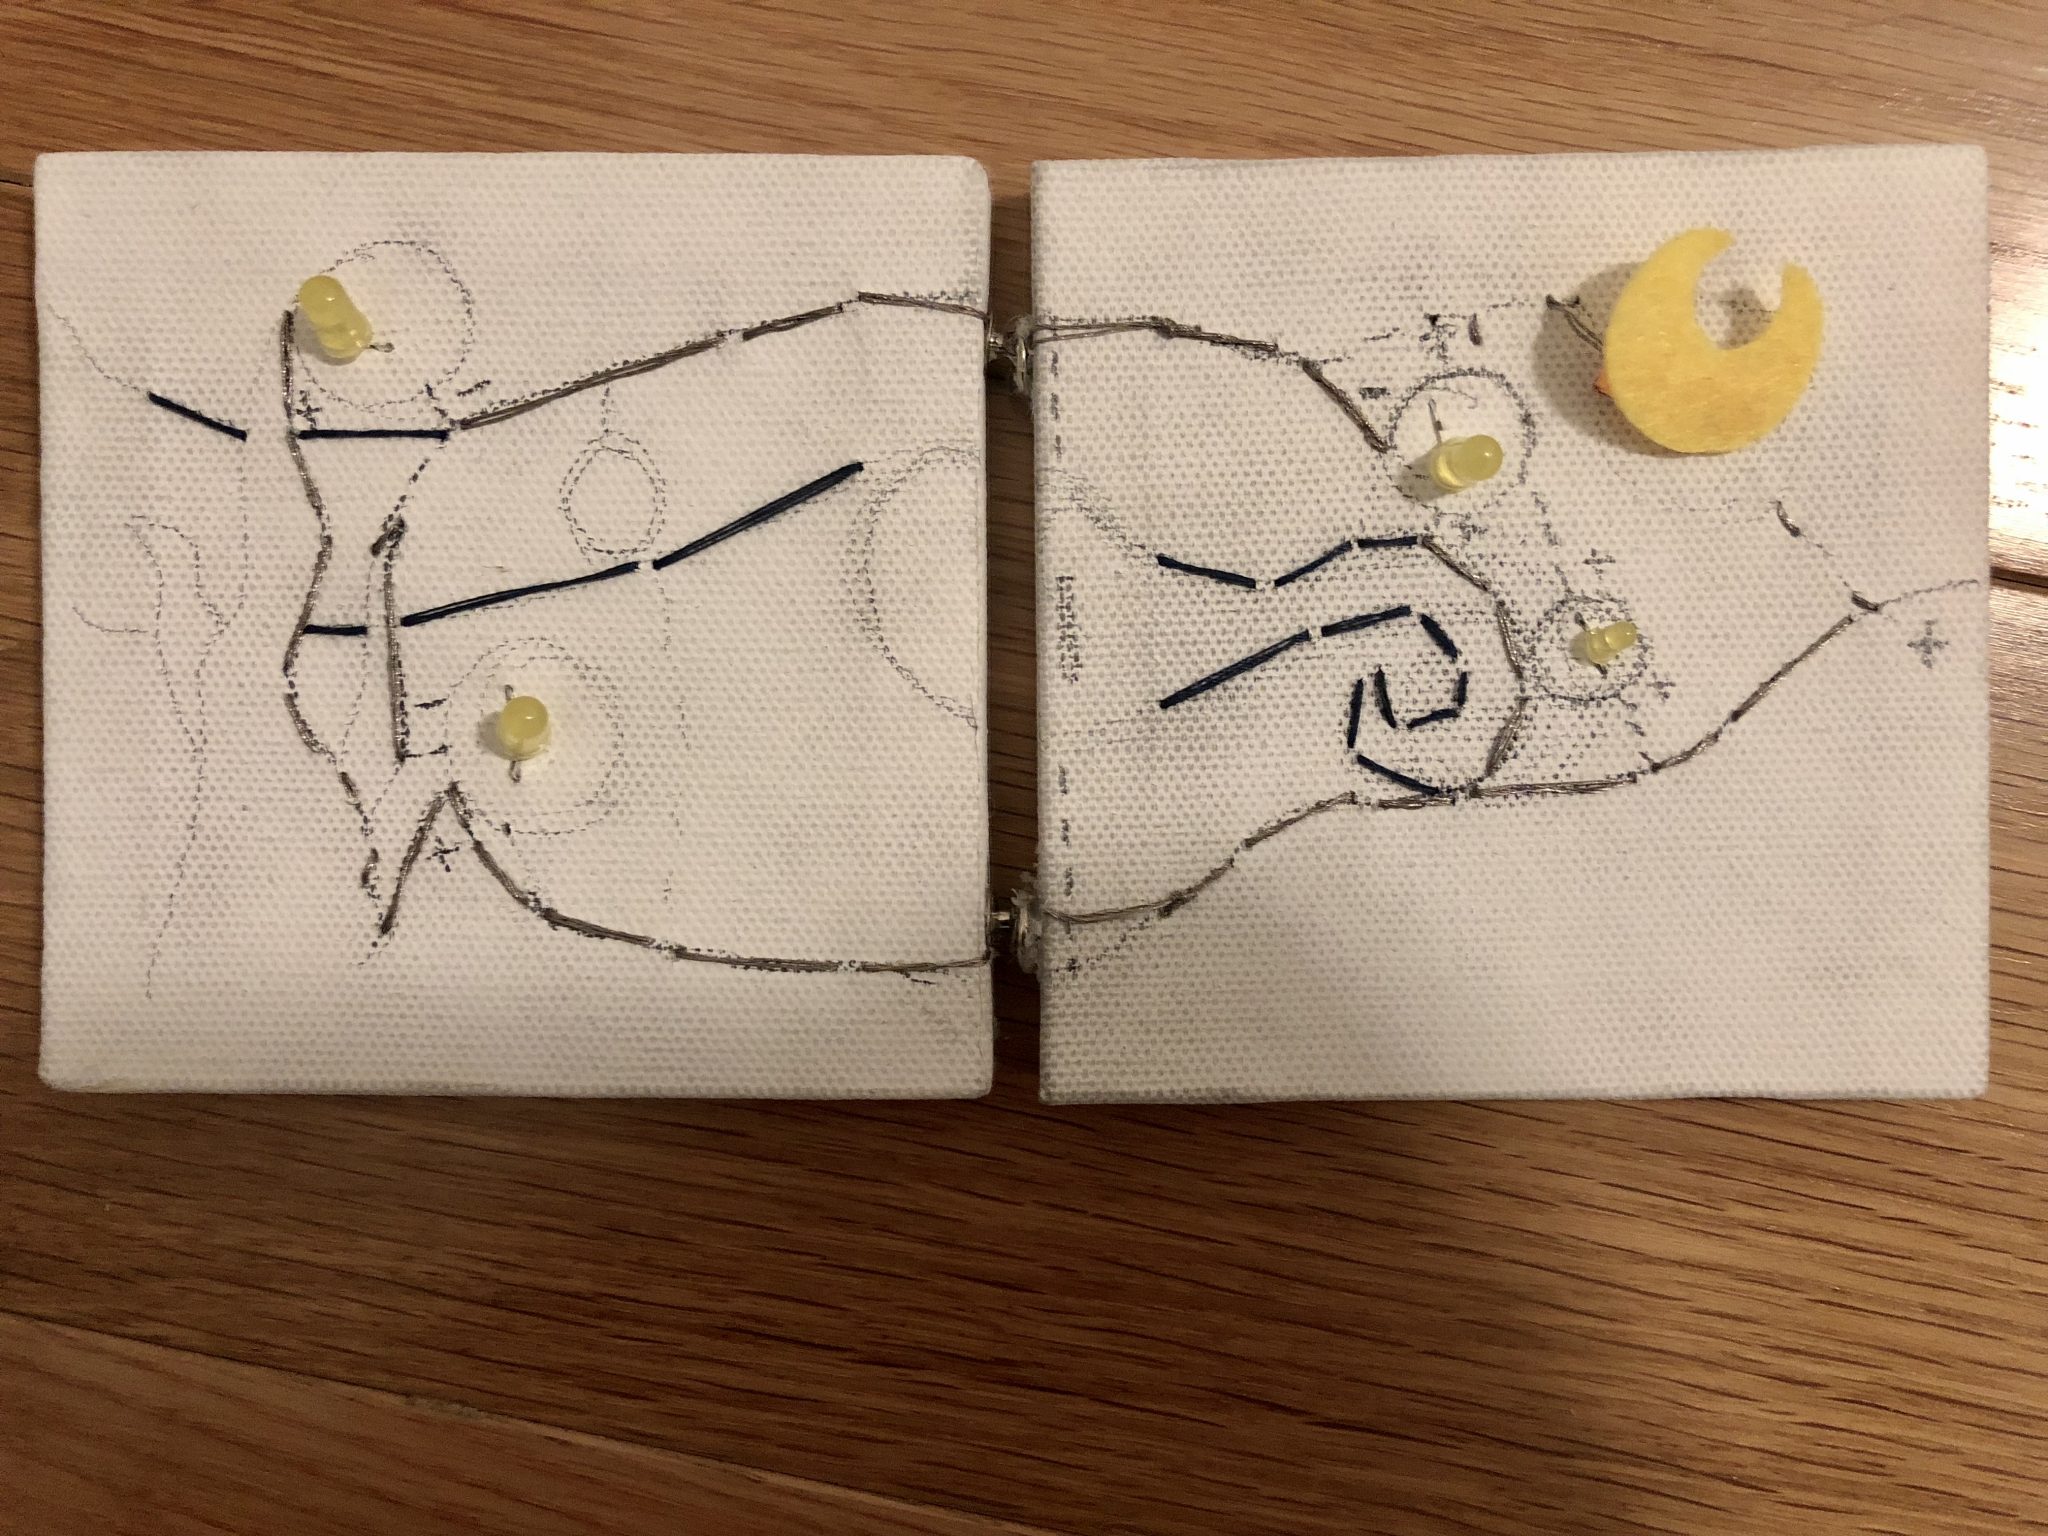
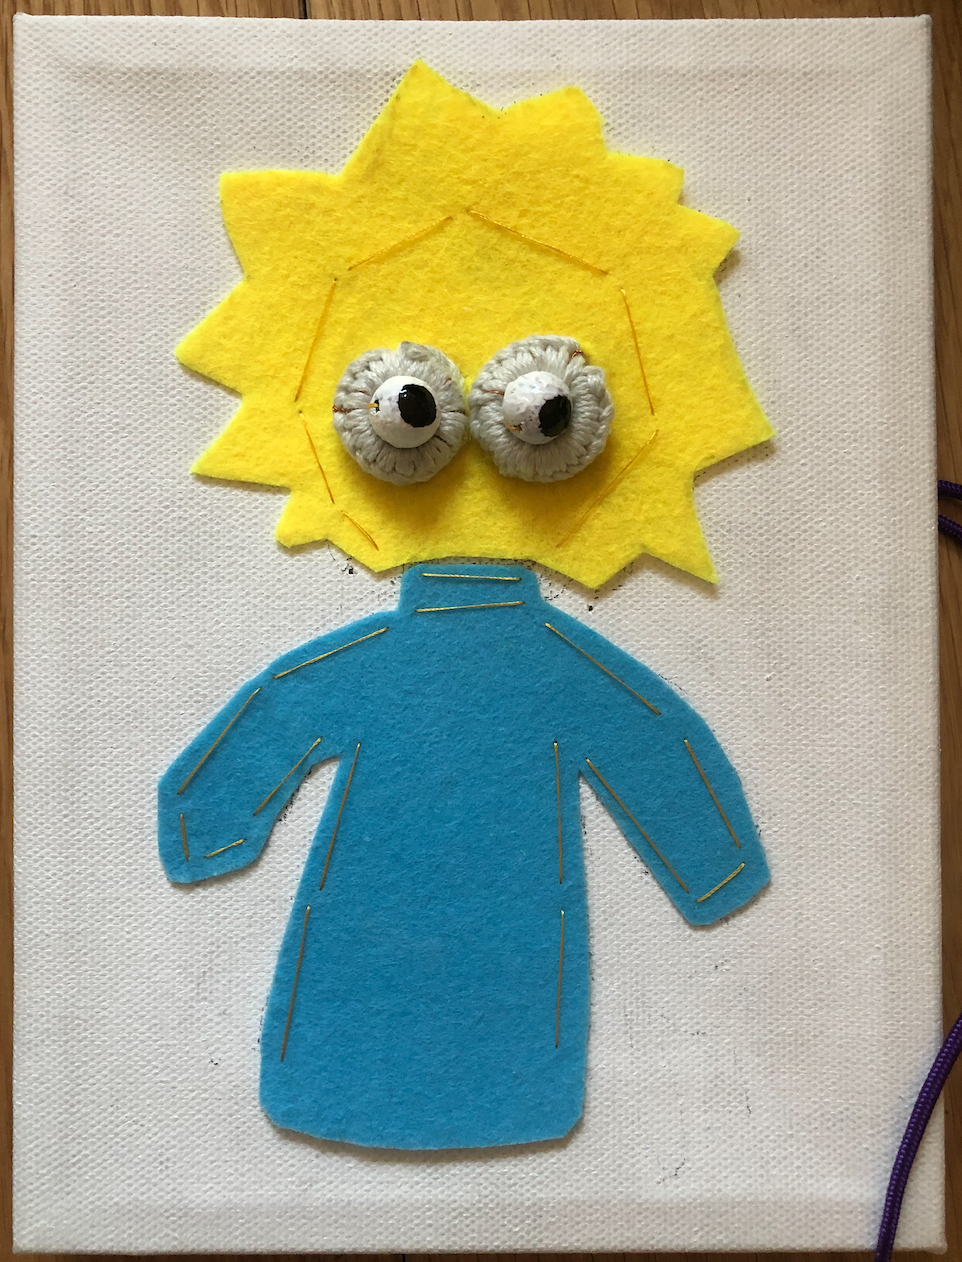
But after I put all the flip dots on it and connected it to the battery, I didn’t work at all. I guessed the problem was that there were too much current needed but I only have two battery to provide power. Then I started to deduct it to be more simple. I started with two coil and thinking about a way to make them interesting. Then, I used two flip dots to represent eyes as the dots flip over, it can be seen as the eyes are moving around. I was inspired by my Simpson toy and started to draw an outline of the shape.

I used white yarn to wrap the coil this time and the material is more smooth. Also, to make the flip dots like eyes, I painted the dots using gesso as the base and marker to draw the circle as the eyeballs. Then, I found that the surface was not very smooth so that I used my clear nail polish to cover the surface to make it more smooth.

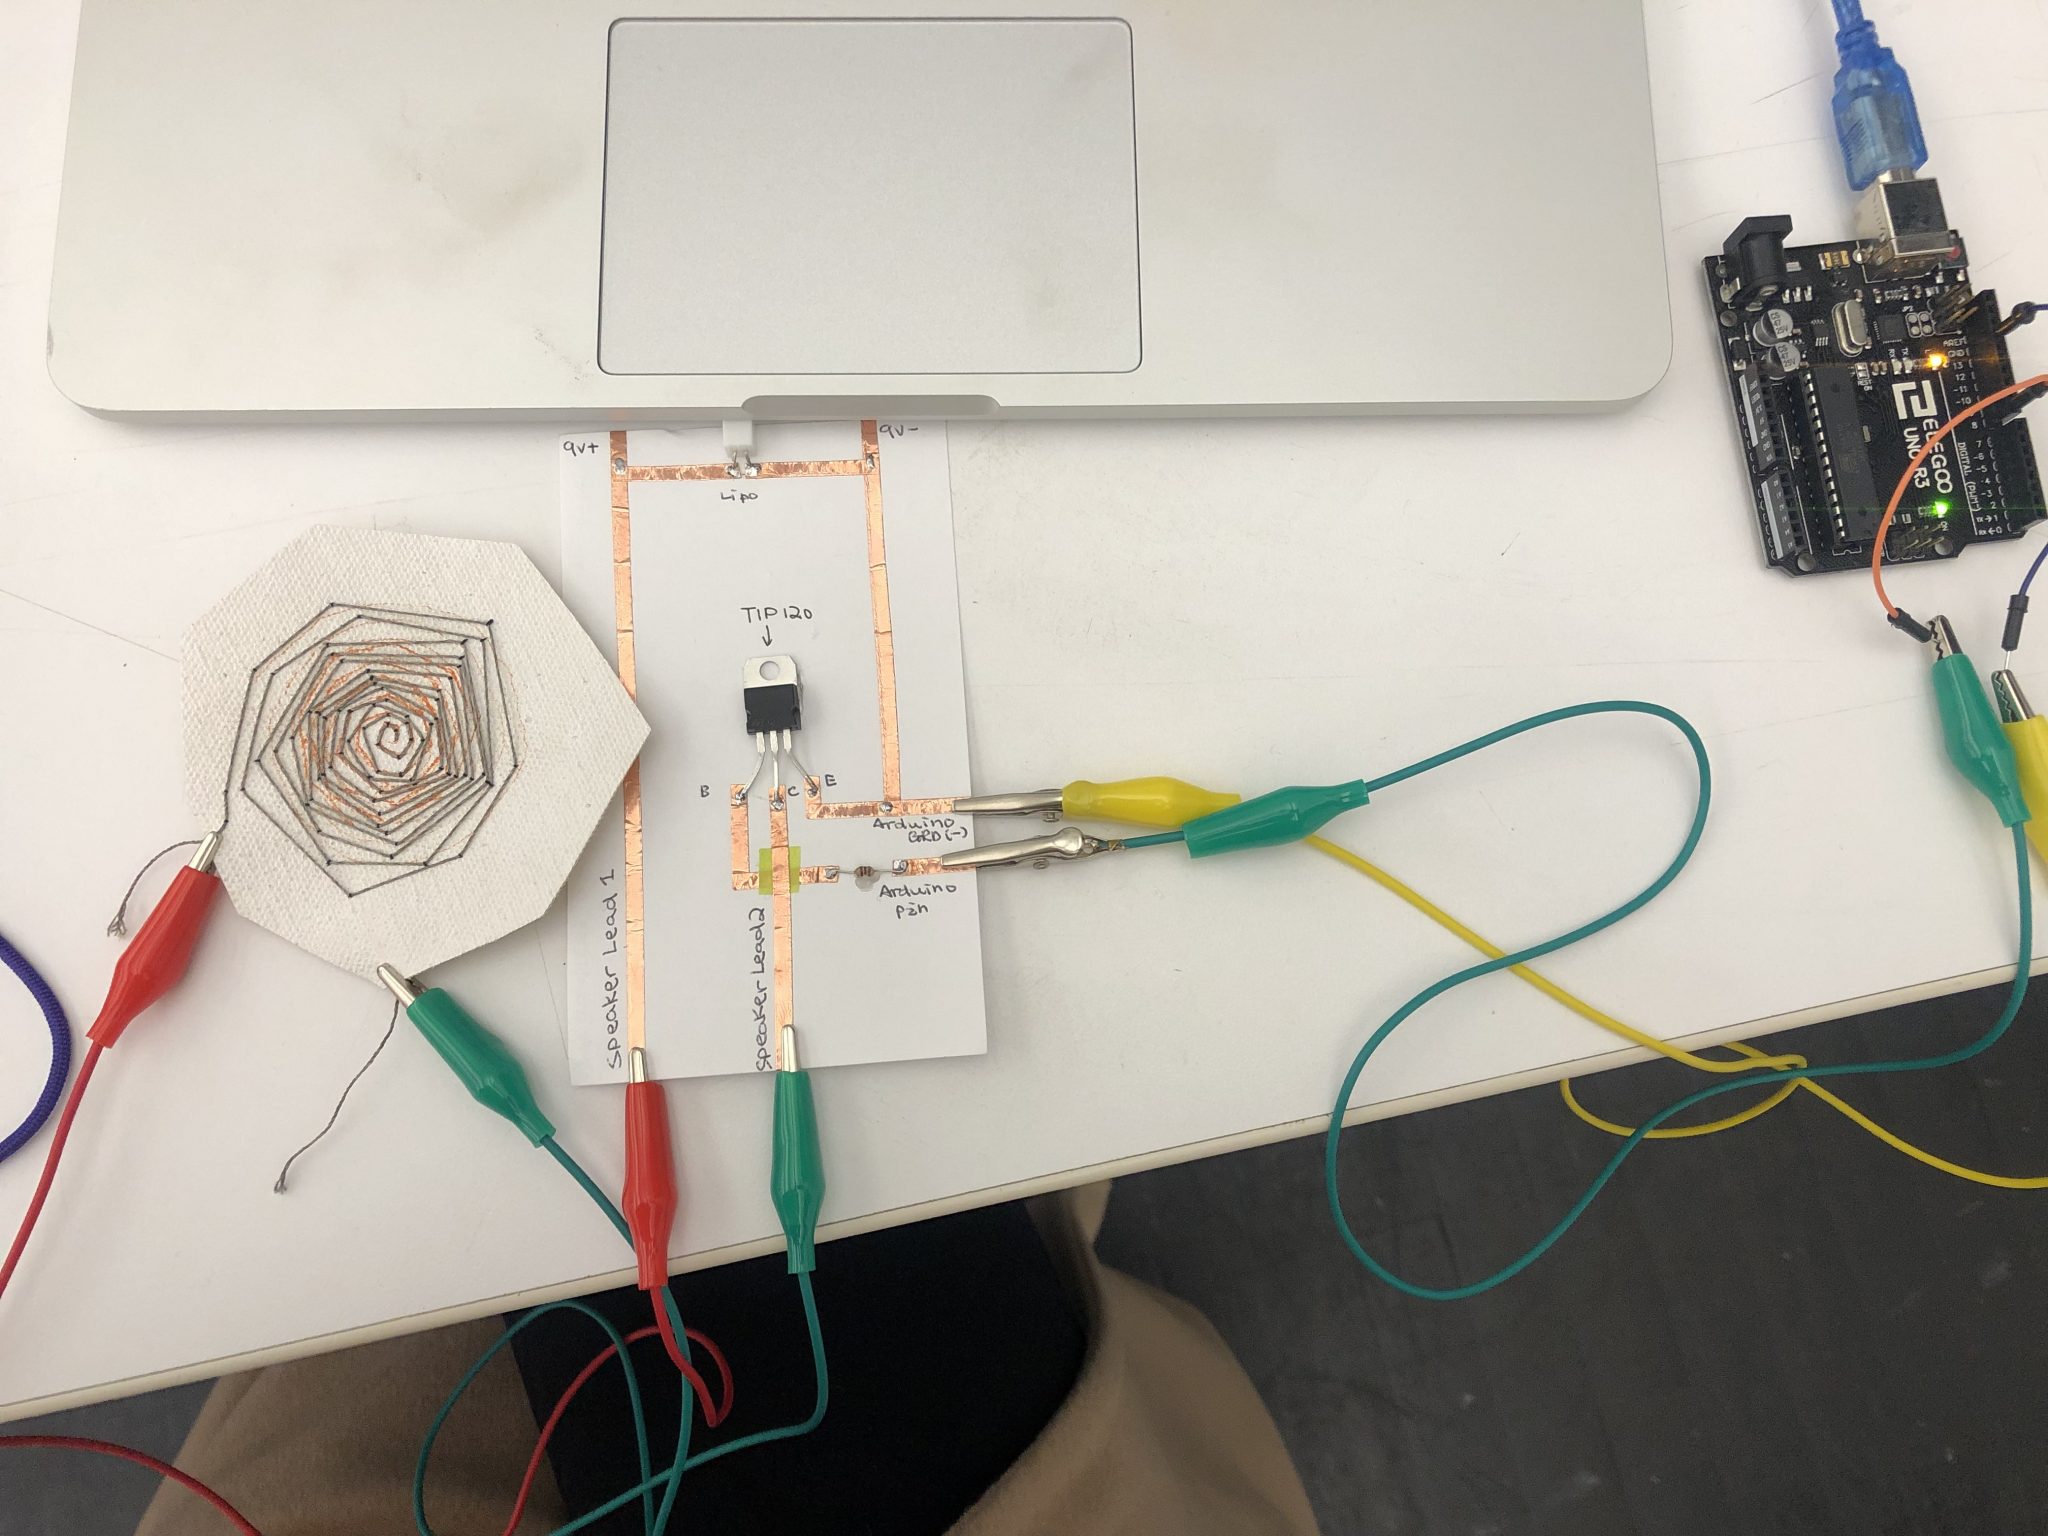
Then I connected all the conductive thread at the back and solder the parts that need to be soldered. For some reasons, I checked that it is only work for either one of the coils but not for both.

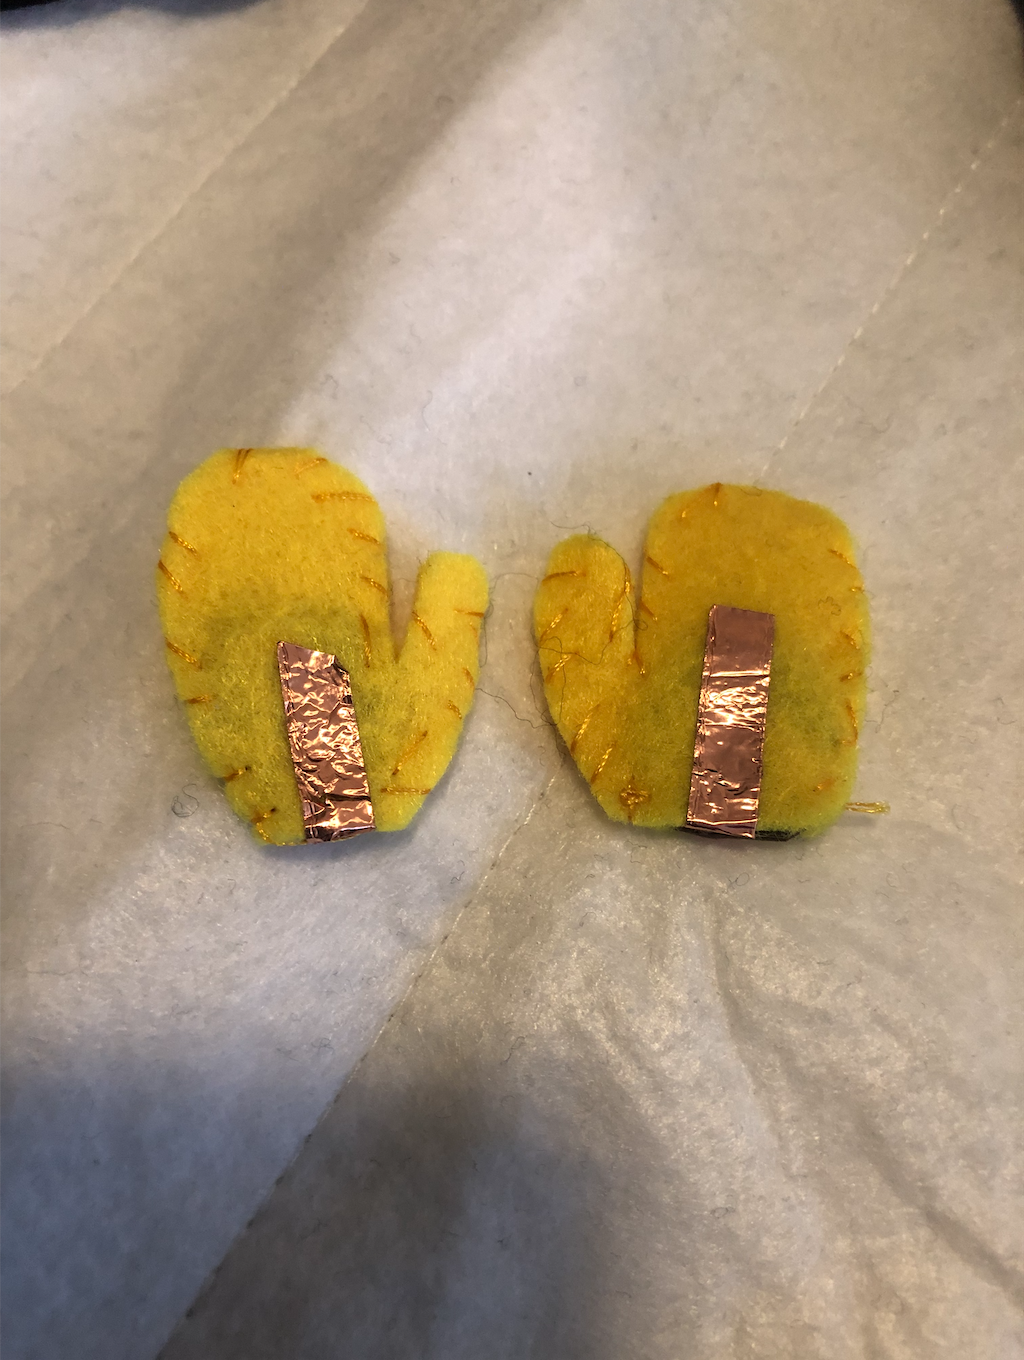
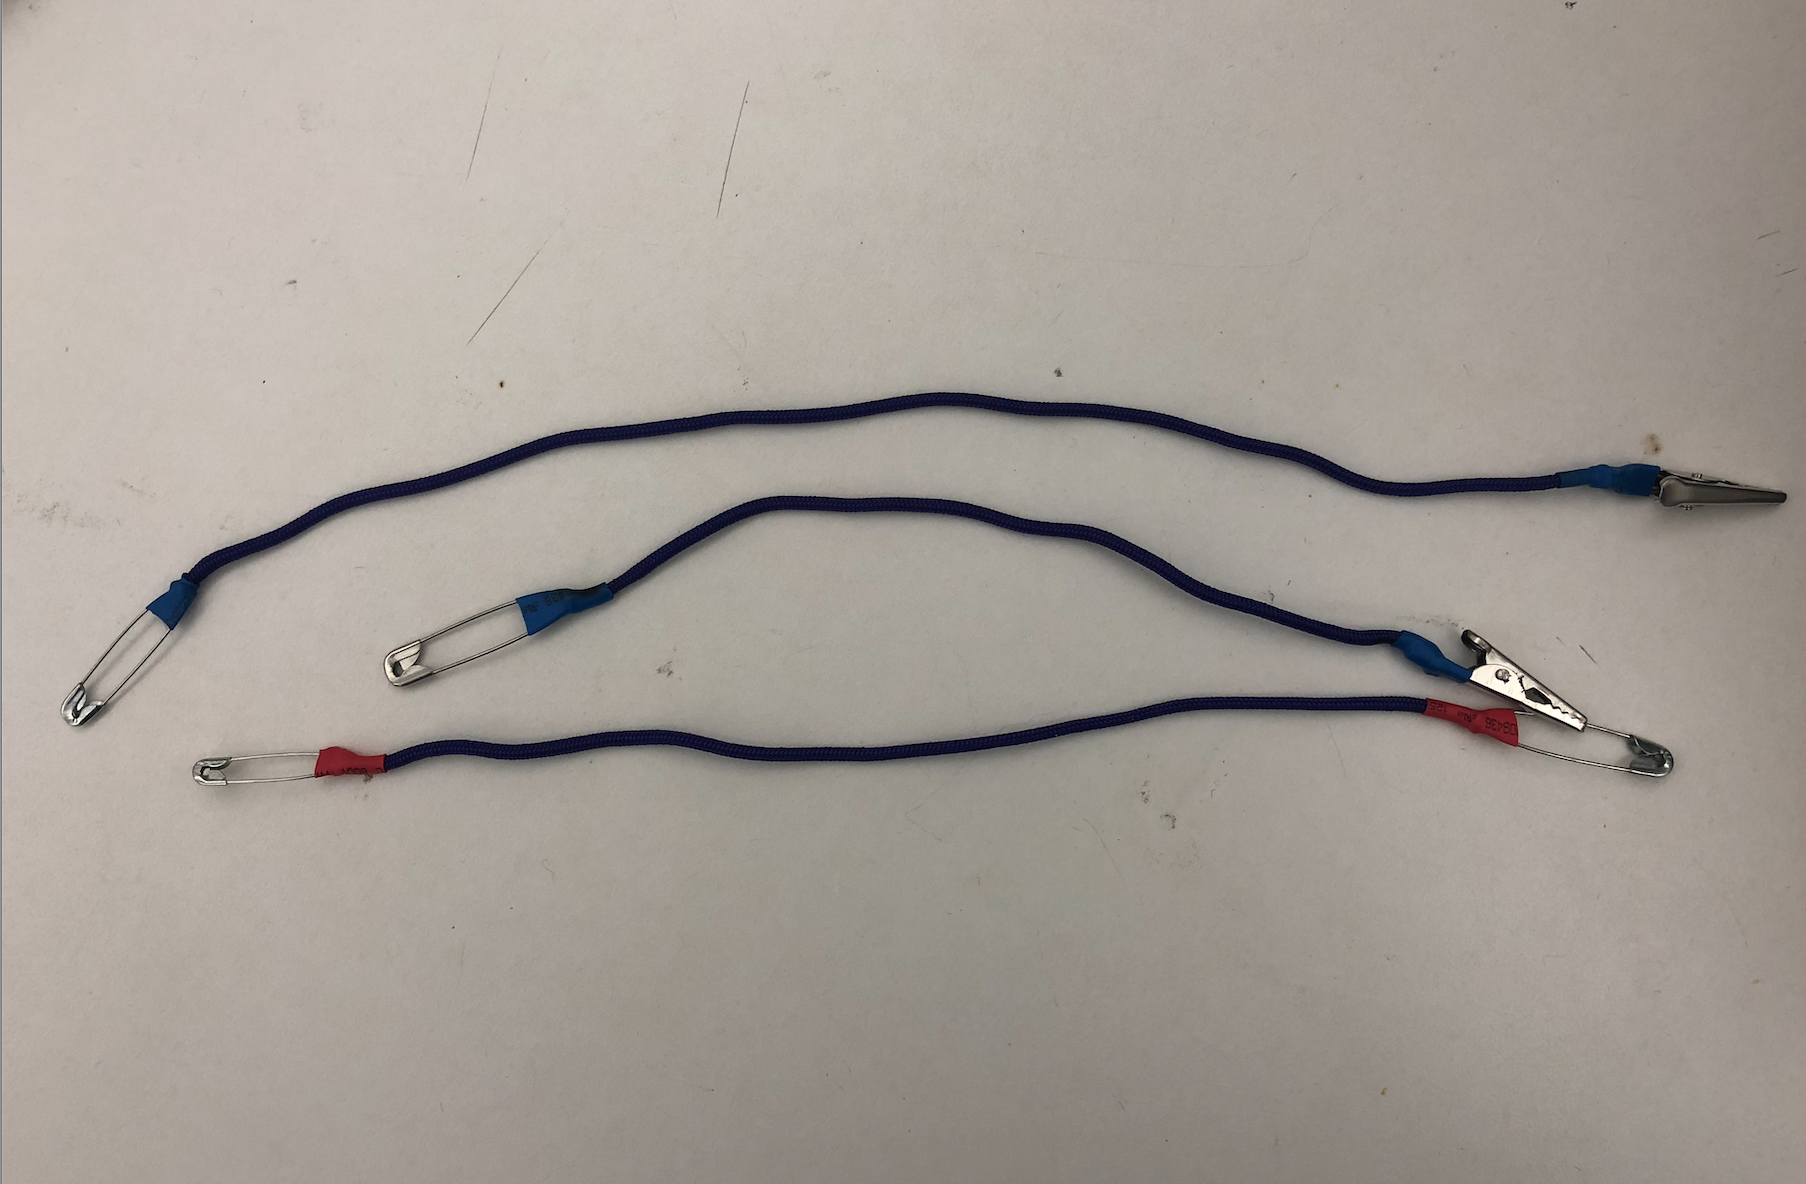
Thus, the little gloves that I prepared as the switches for the double coil has not been used in this case.

IMG_6227

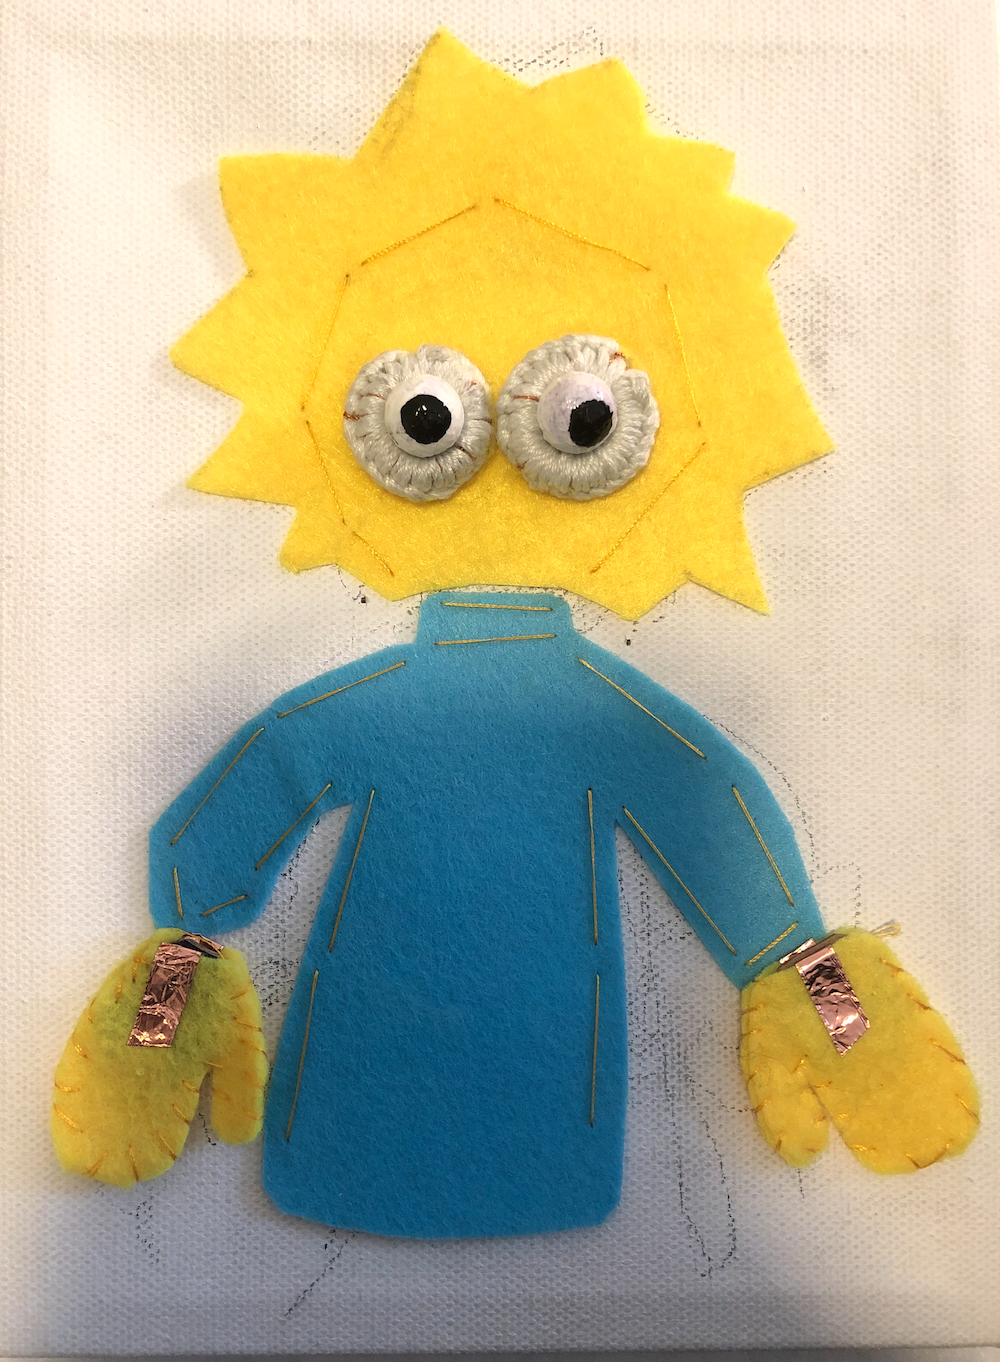
Above are the pictures and video of the final piece. I really enjoyed the making process. The most important thing I learnt in making this is that there is always something that we didn’t expected at the beginning. We should learn from what we failed before and become more familiar with the materials or the process. Overall, I am satisfied in what I created.

Shenyue’s Assignment 7 – ATTiny

I created this attiny circuit using paper, 3V battery, copper tape, 10k resistor and LED lights. As the result, the light should be turned on when I touch the two ends by hand. The first time after I upload the code into ATTiny, it did not work. I checked it using bread board first and uploaded the code again. One of the lights in my circuit worked, which means my ATtiny worked fine and there was a problem with my circuit. I have to check the connection in my circuit.

attiny

Shenyue’s Assignment 10

I made these two heating elements below, by hand sewing using stain steel thread and fabric. The first one is a pattern in a line drawing by one of my favorite artists Pablo Picasso, with 8ohm resistance in it.

The second one is a victory sign meaning cheering up, with 11ohm resistance in it.

For both of them, it is good to use 9v battery as a power source, according to the equation. But when I was trying it, it didn’t work very well. The pattern seemed very weak and couldn’t really be seen in the photo. I guess that the problem was probably because the color I used to paint the fabric is too light so it didn’t have room to change much. I intend to try using a darker color on fabric to test. 

Shenyue’s Assignment 9-Speaker

I made these two speakers using different materials.

The first one is made by copper tape and paper index card. I constructed it by sticking a continuous copper tape on the the paper to form multiple squares.

The second one is made by using painting canvas and conductive threads. It is done by hand sewing the conductive thread into random geometric shapes over and over again. It worked when connected to TIP120 and Arduino.


Shenyue’s Midterm Documentation

Here is my link for Midterm project on Instructables: https://www.instructables.com/id/Starry-Light/

I intended to created a painting inspired by Starry Night, by Vincent van Gogh, using hand sewing on canvas. The stars in the sky have been designed to be LED lights that when connected the battery to the circuit, the yellow lights will light up. Also the painting is divided into two parts. The right one has switch that can control the circuit while the left one is simply a part of circuit. When they are separate, only the right part can be a complete painting in which we can use switch to control the lights. When they are connected, they form a whole larger painting, which the switch can control the whole lights.

At the beginning, I drew the circuit on the paper, intending to incorporate circuit into lines of drawing. I used copper tape to cover the circuit to test everything was working and there was no short circuit.

Then, I drew the draft on the canvas and started sewing the conductive thread onto the canvas.

After checking my conductive thread and lightbulbs were working, I sewed more colorful thread for the decoration. Below is the final version of the project.

IMG_2942.TRIM


Shenyue’s Assignment 6

I attached my pressure sensor into my Arduino circuit. As a result, the led light bulb will turn on when pressed hard. The pressure put on the sensor determine the brightness of the light bulb.

IMG_1514.TRIM

Then I used RGB light bulb and pressure sensor. The RGB light bulb will change its color by the pressure, from red to purple. I spent a lot of time working on the map function, trying to specify the range of sensor value and finally I worked it out.

IMG_1516.TRIM

For the midterm project, I intend to do a lamp that can be triggered by the sound, using fabric as decoration. Thus, whenever there is people around, it will light up.

Shenyue’s Assignment 5

The first node I created is a circuit in series with red, green and yellow LED light.

For the second one I incorporated the switch I did for the last assignment that allow us to control the red light.

The tool I want to create is a punch for sewing that can be used for punching a straight line of little holes. It would be easier when we sew in a way that we don’t have to push very hard to pierce the fabric and it should be helpful to keep the sewing straight.


Assignment 3

I used painting canvas and cardboard as materials to create the switch/sensor and it turns on the light bulb when you press it hard and turns off when you release you finger. I sewed on the edges of canvas to close it, with a cardboard and copper tape inside. And for the new skill, I practiced on sewing. In the beginning I found that it is hard to find a hole to pierce through but as I was getting more familiar with the technique, I get used to it by pushing the needle harder.

IMG_0624