Author Archives: techv499

Week 12 – Neil V. Techapanichgul

Flip-dot Assignment

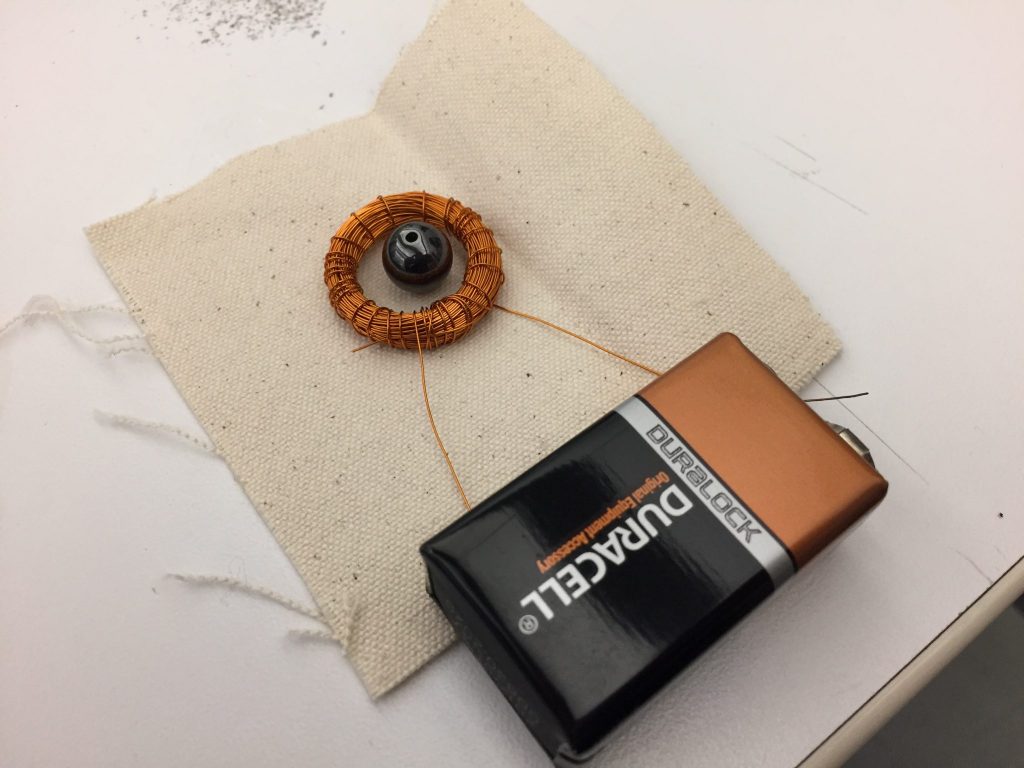
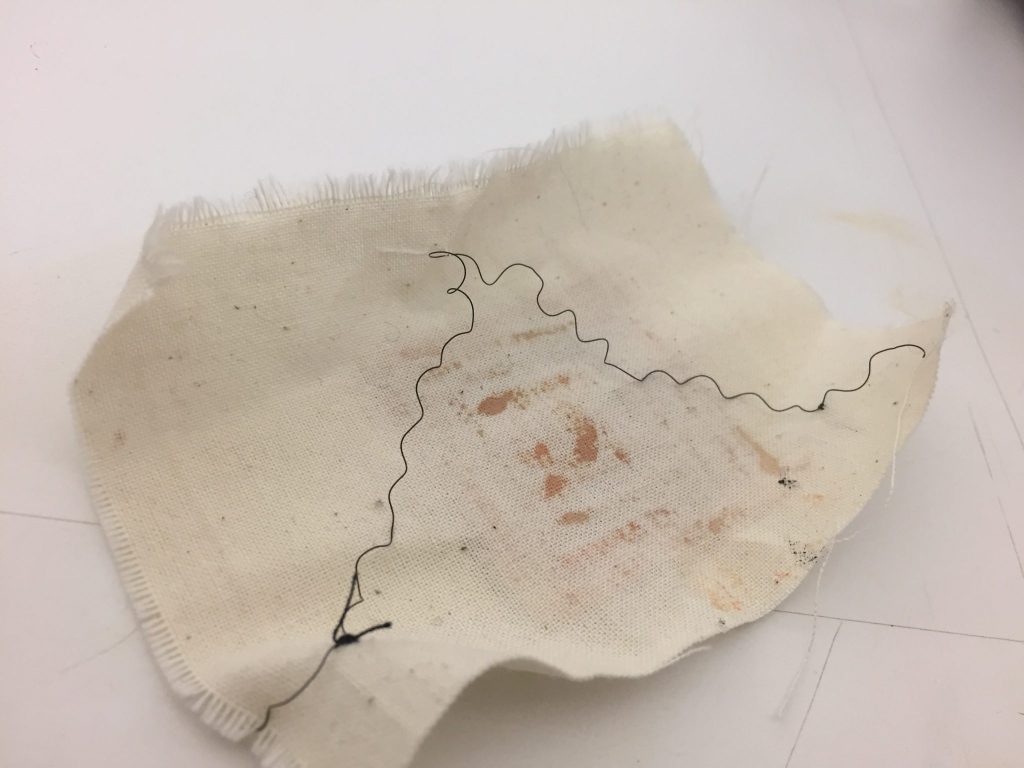
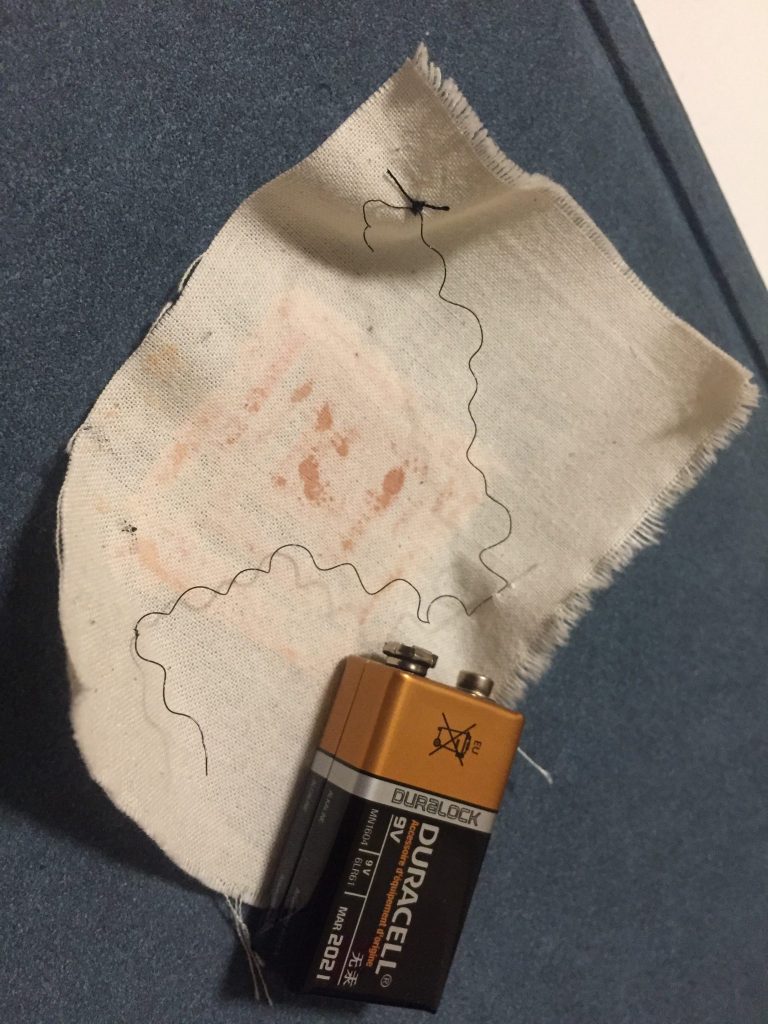
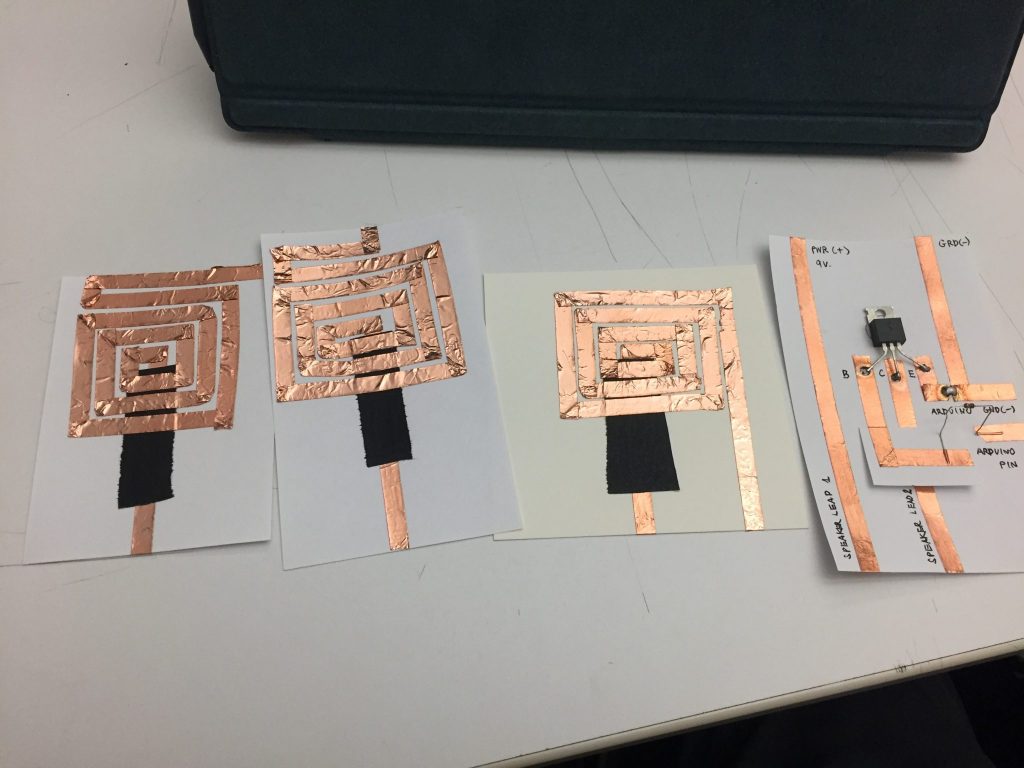
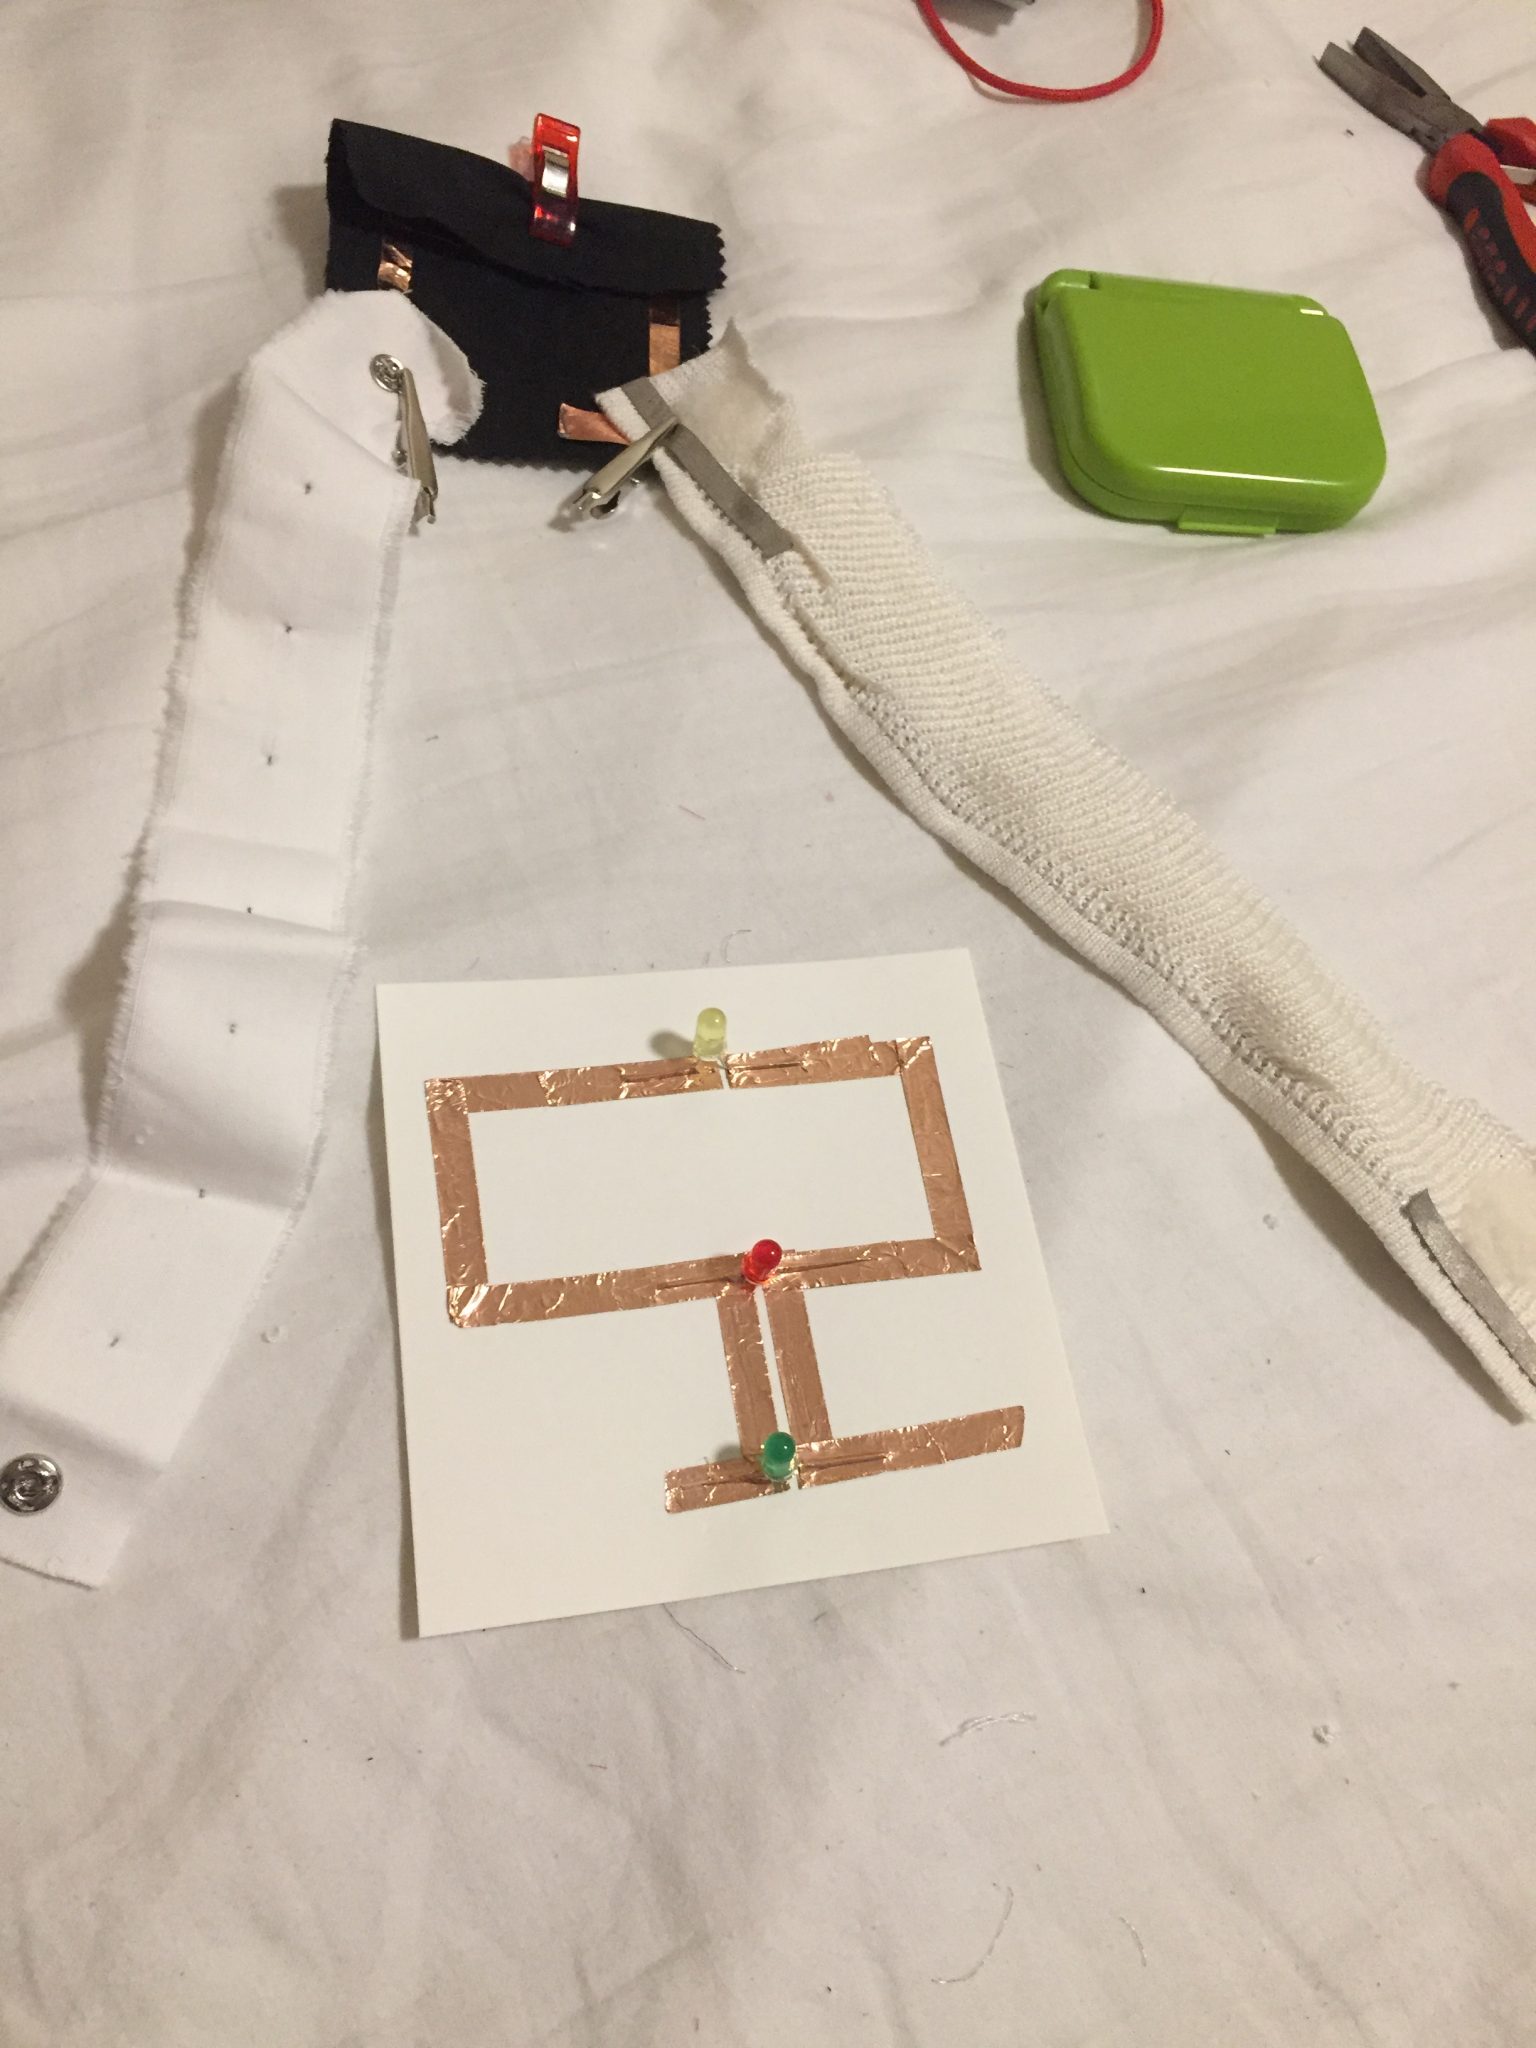
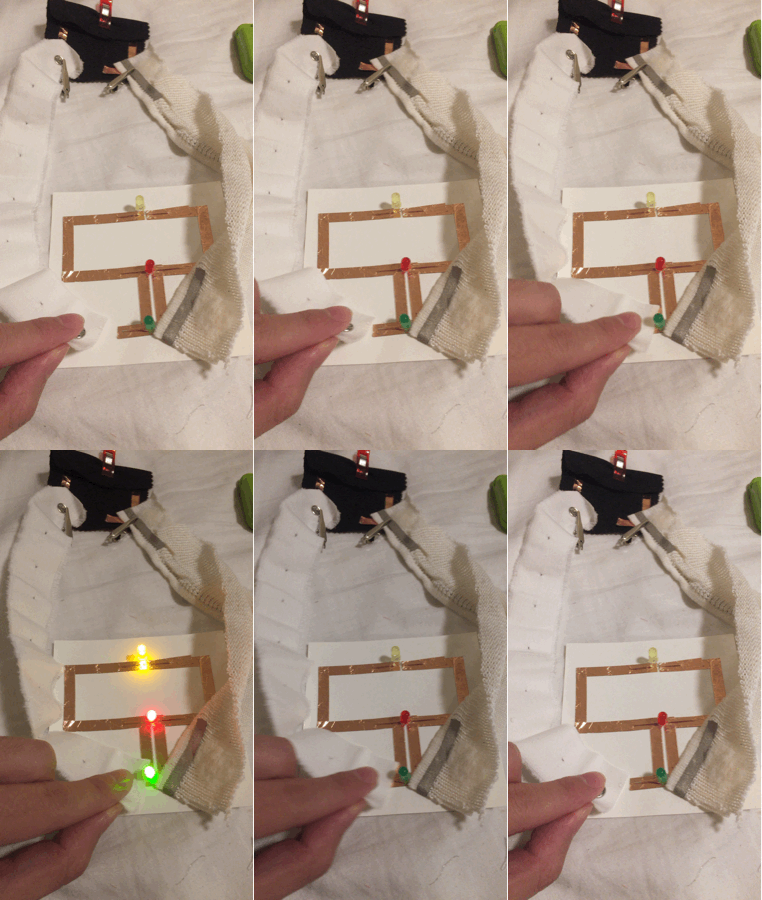
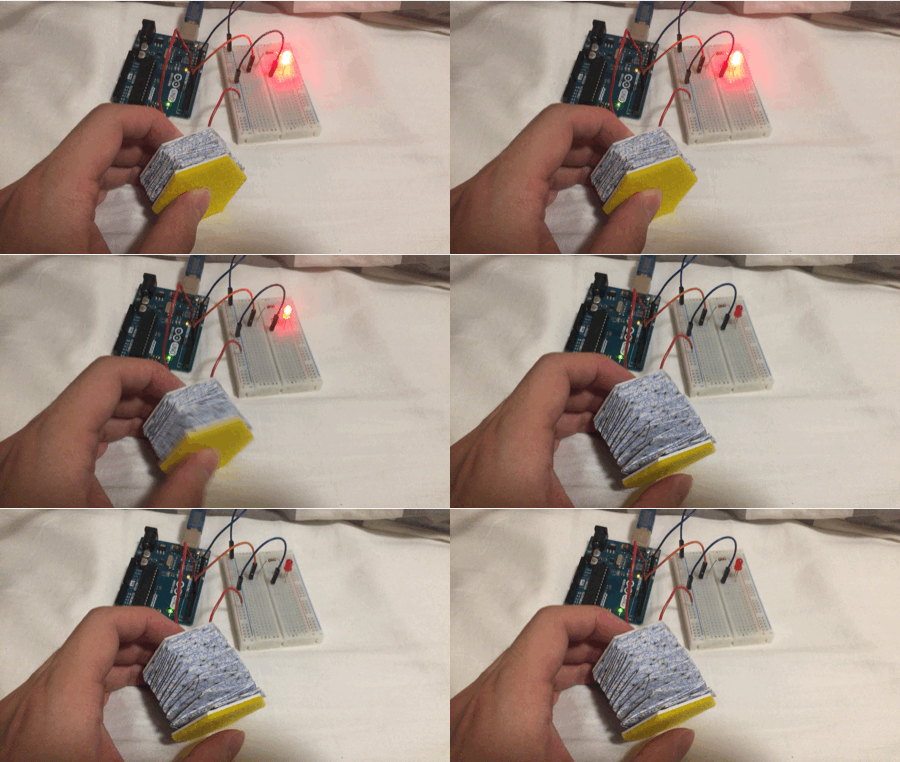
It was fun to wrap around the coil. I had fun making a ring shape for the flip-dot. It was a little bit tricky when I first plugin, it wasn’t do anything. So I asked my friend and she said that I have to sand the start and the end for the conductive coil.

I work with Earn. We work together and found it easier to complete the assignment faster by helping each other.

Collaboration with Earn Chavisa Rojratanadumrong


Week 7 and 10 – Neil V. Techapanichgul

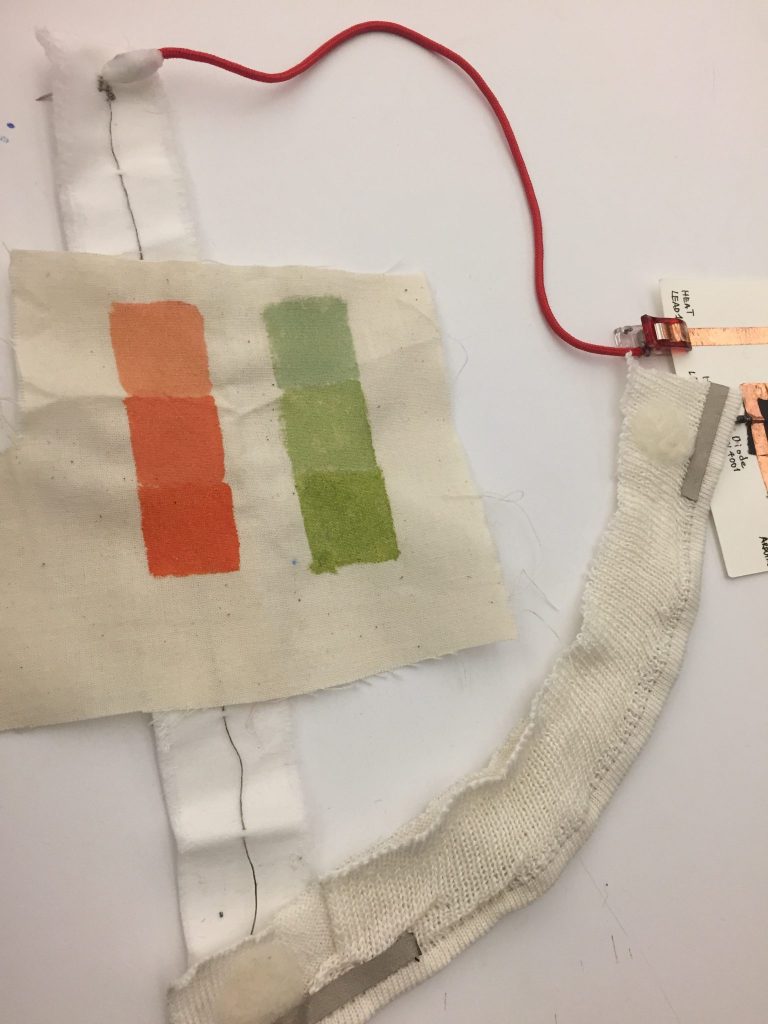
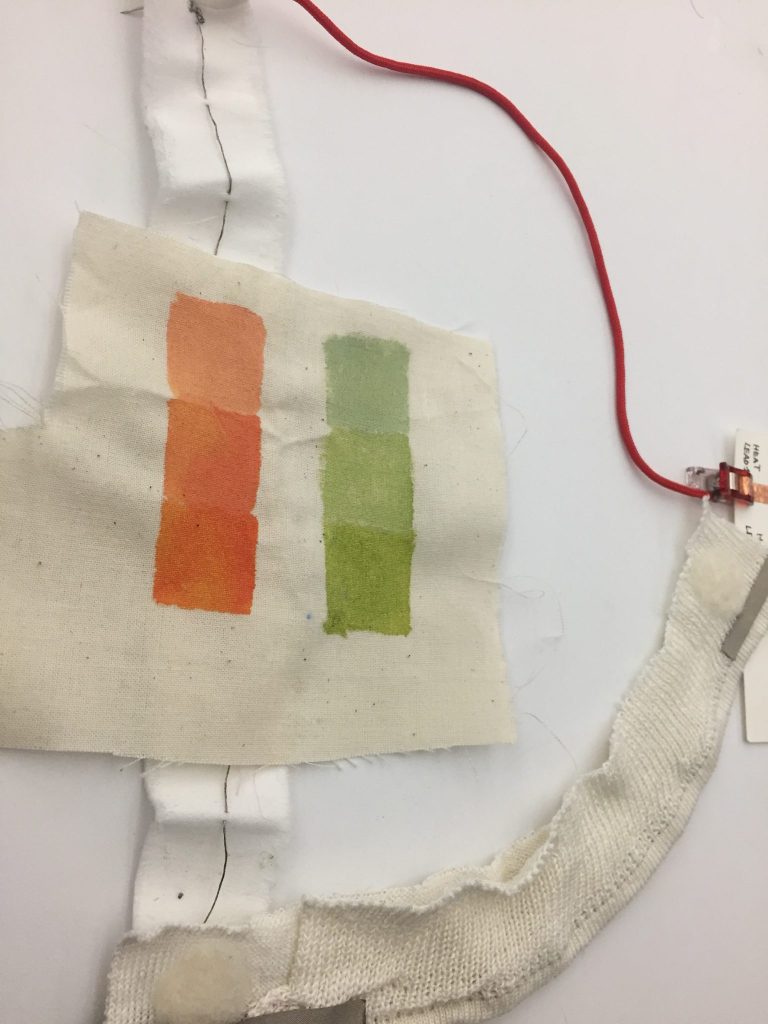
Thermochromic Ink

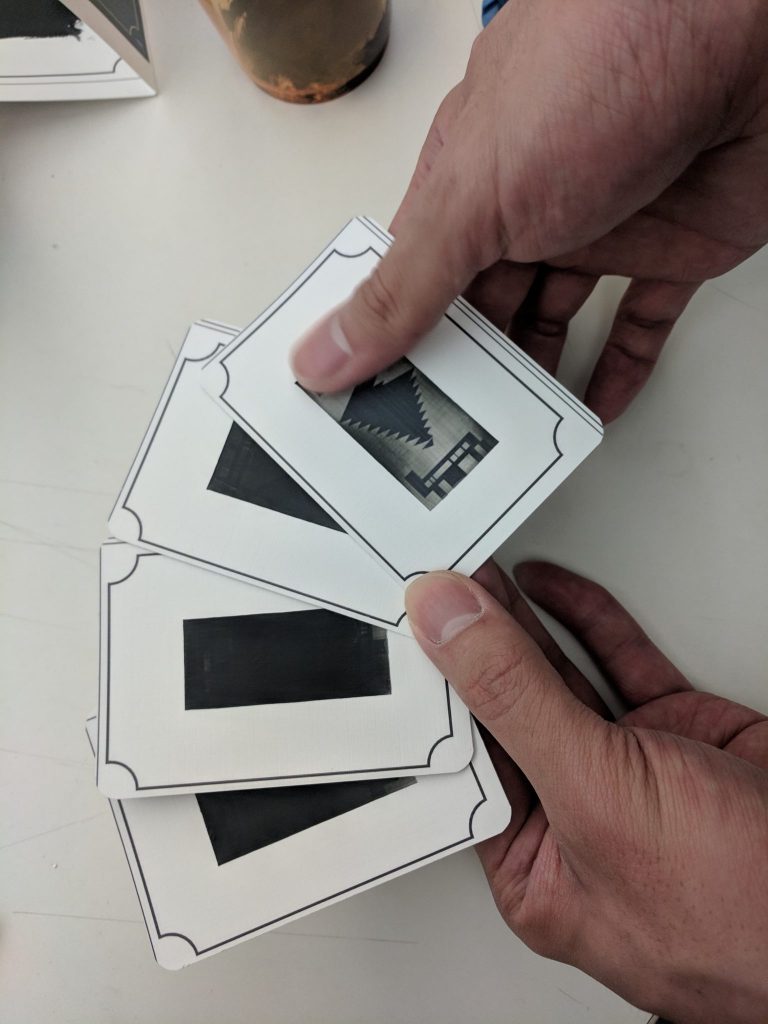
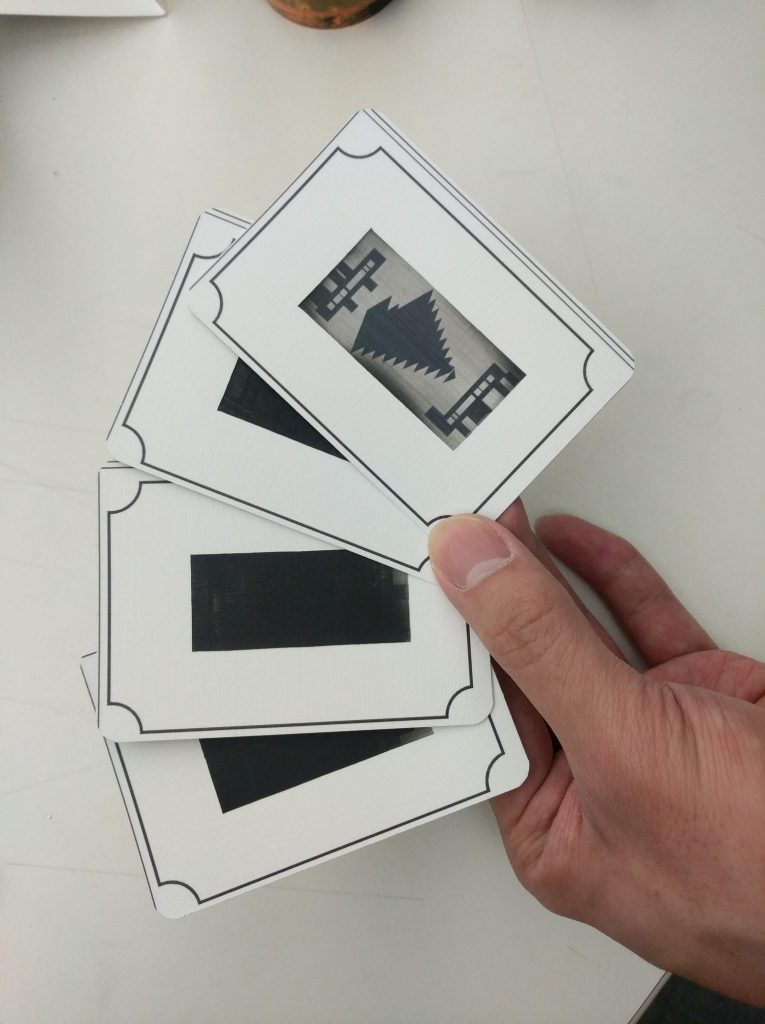
The circuit is completed but the effect is minimal. I think I mix the water too much or the powder is too low. It’s hard to make it right however, I can make it happened in the final project.


Challenge: The mixture is very hard to get it right. As I do not have the basic knowledge of watercolor or brush.


Experiment with Flexinol

I like how the spring can go back to its original form. This is pretty fun when playing with it. I failed to work on the first try because of the voltage.


Challenges : The calculation of the voltage is a little complex for a beginner.

Fluffy BMO & ATtiny Homework

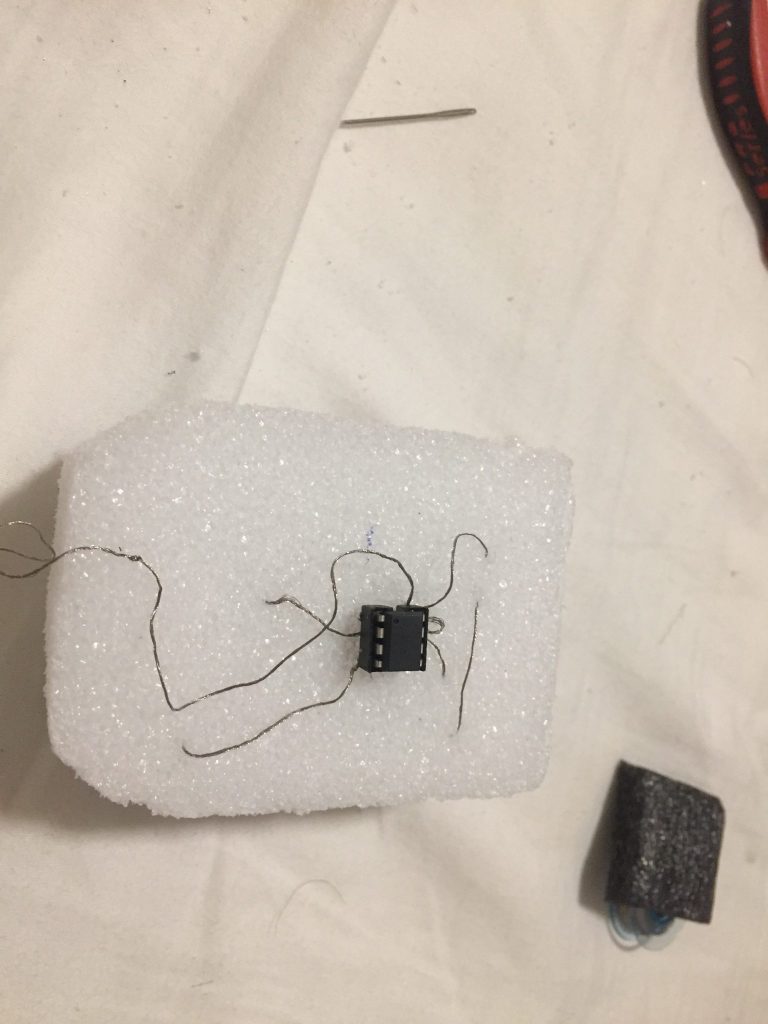
ATtiny Circuit

Videos

Button

Switch

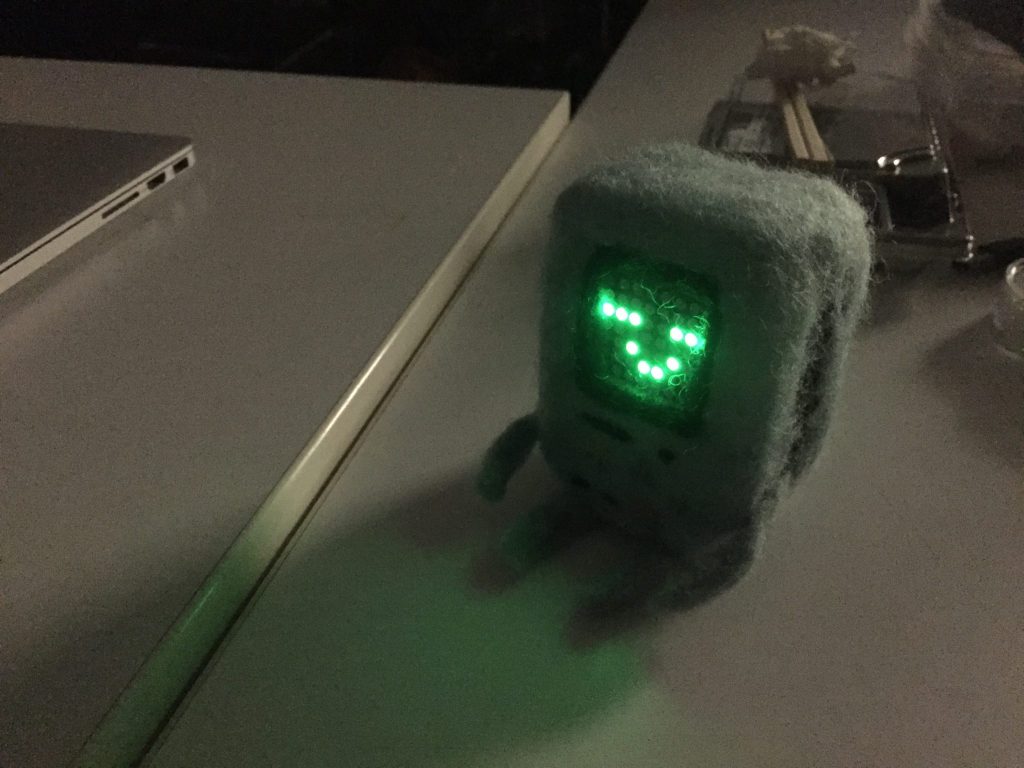
Fluffy BMO

FOR THE INSTRUCTABLE LINK:

https://www.instructables.com/id/Felted-BMO/


How I made it?

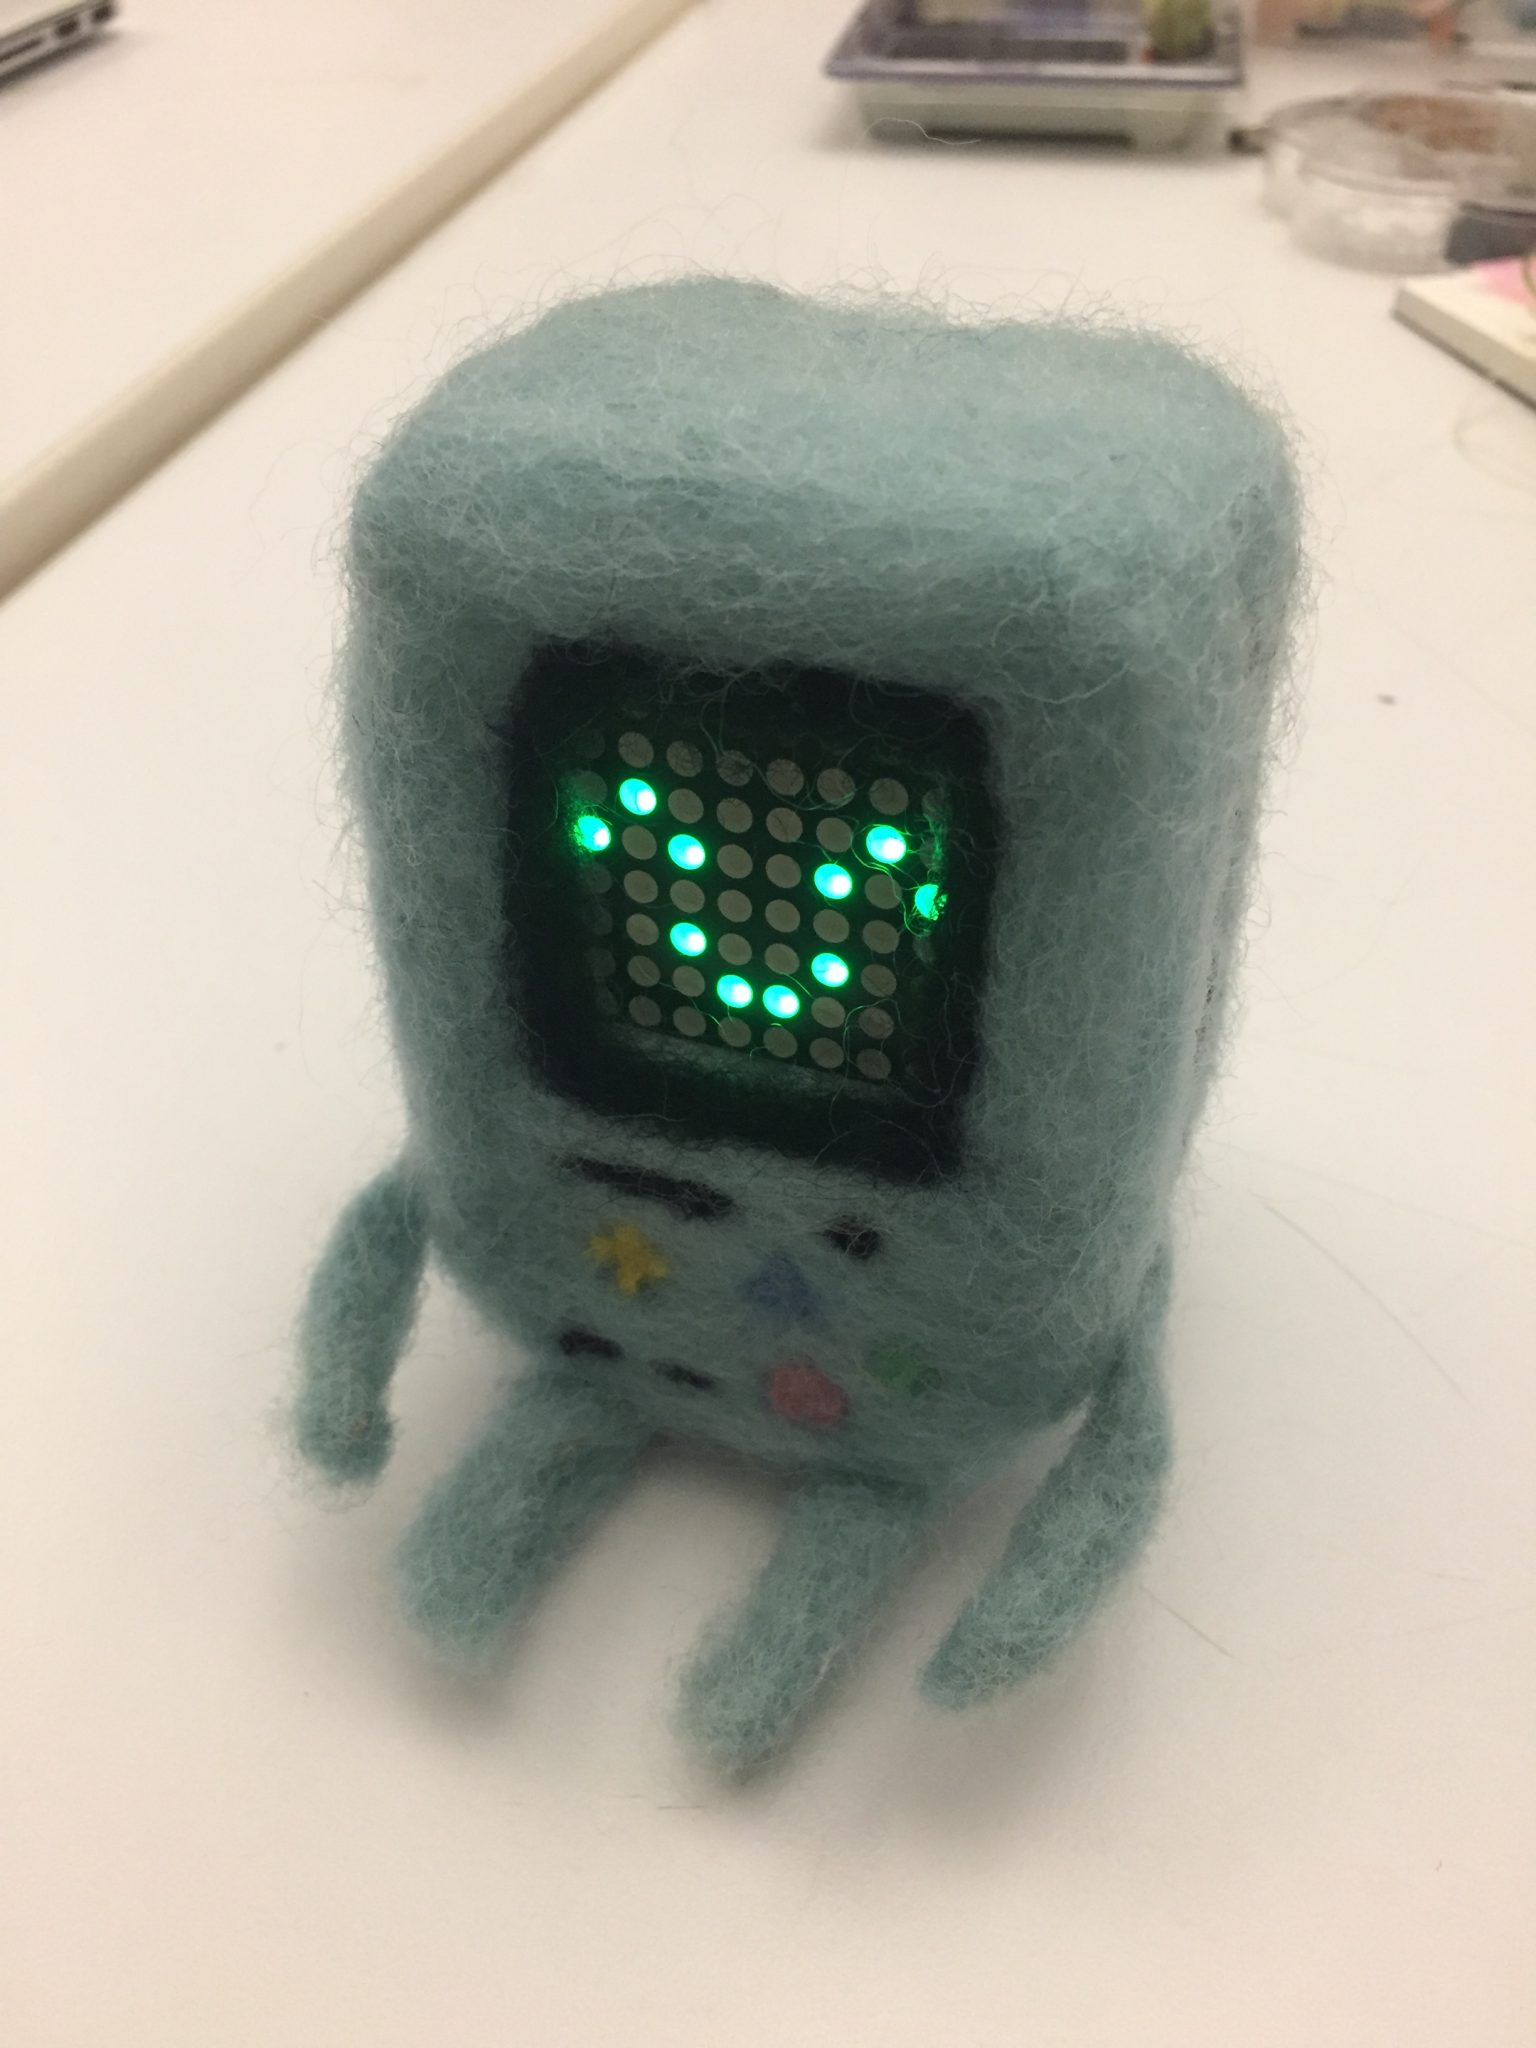
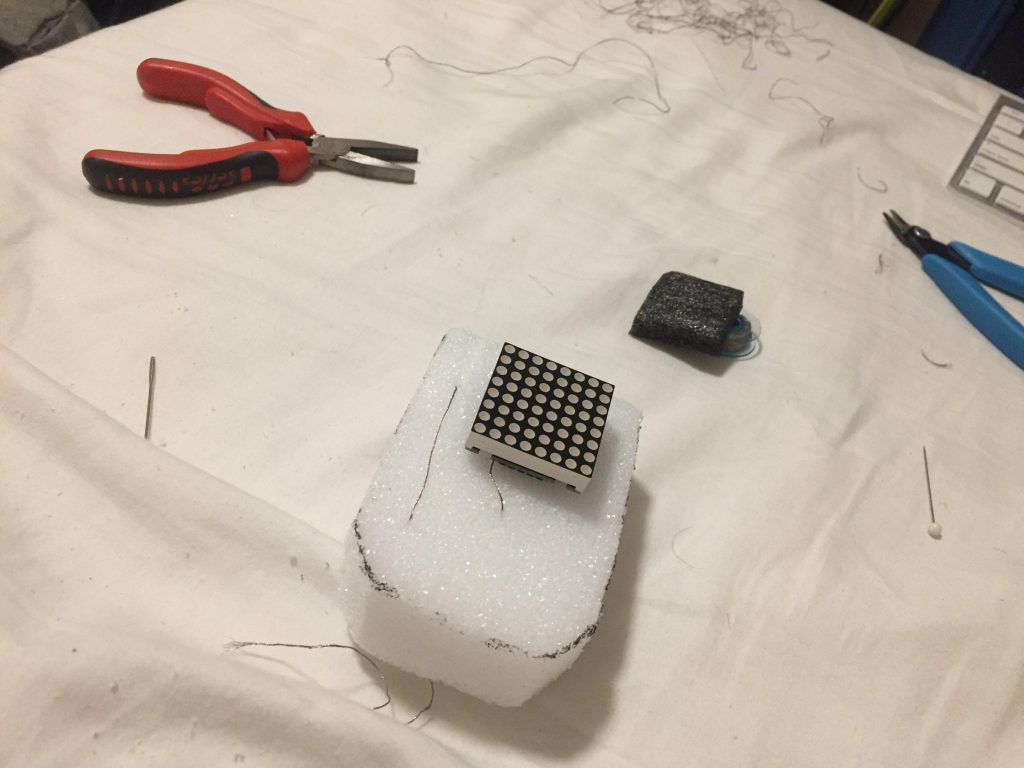
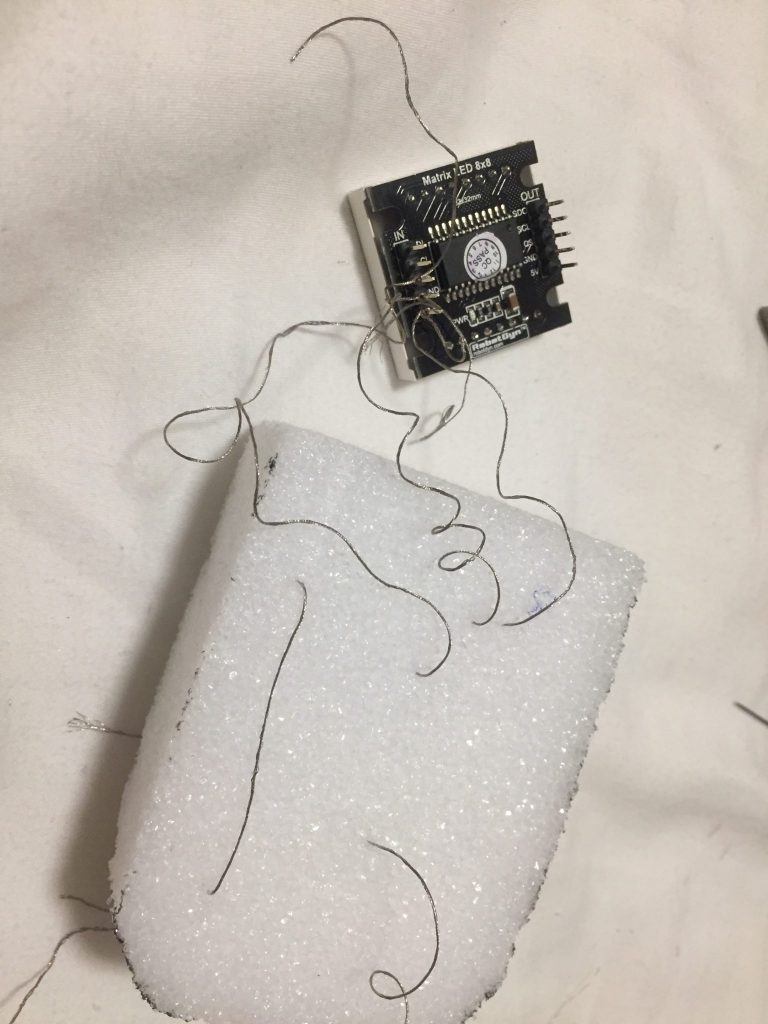
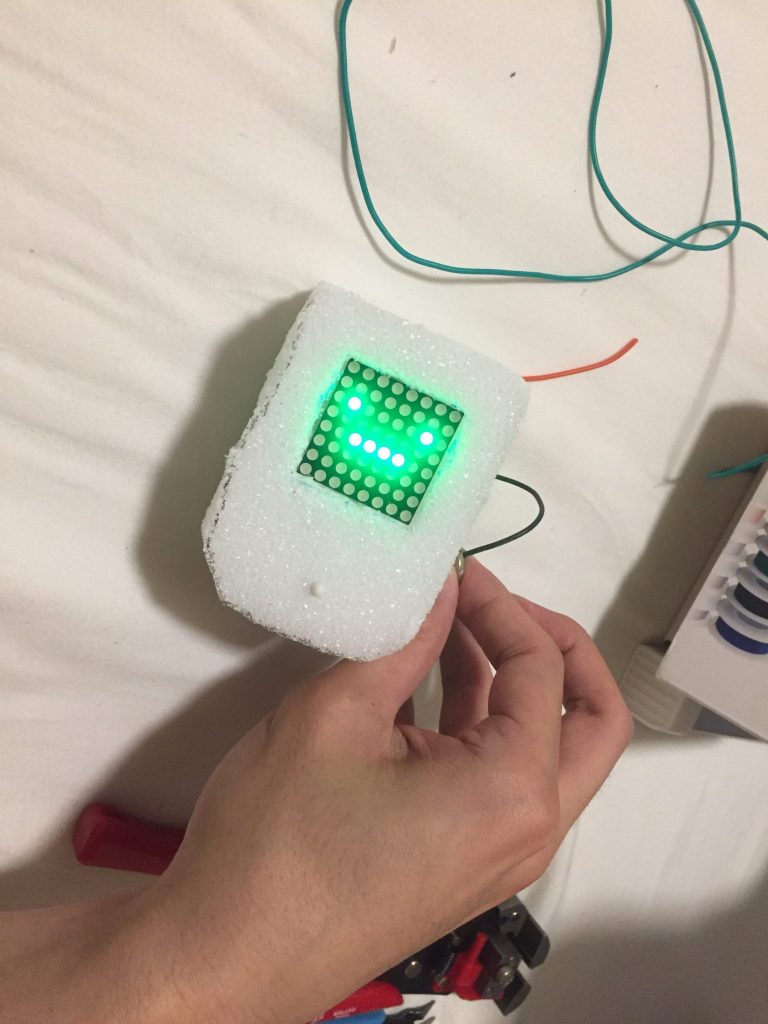
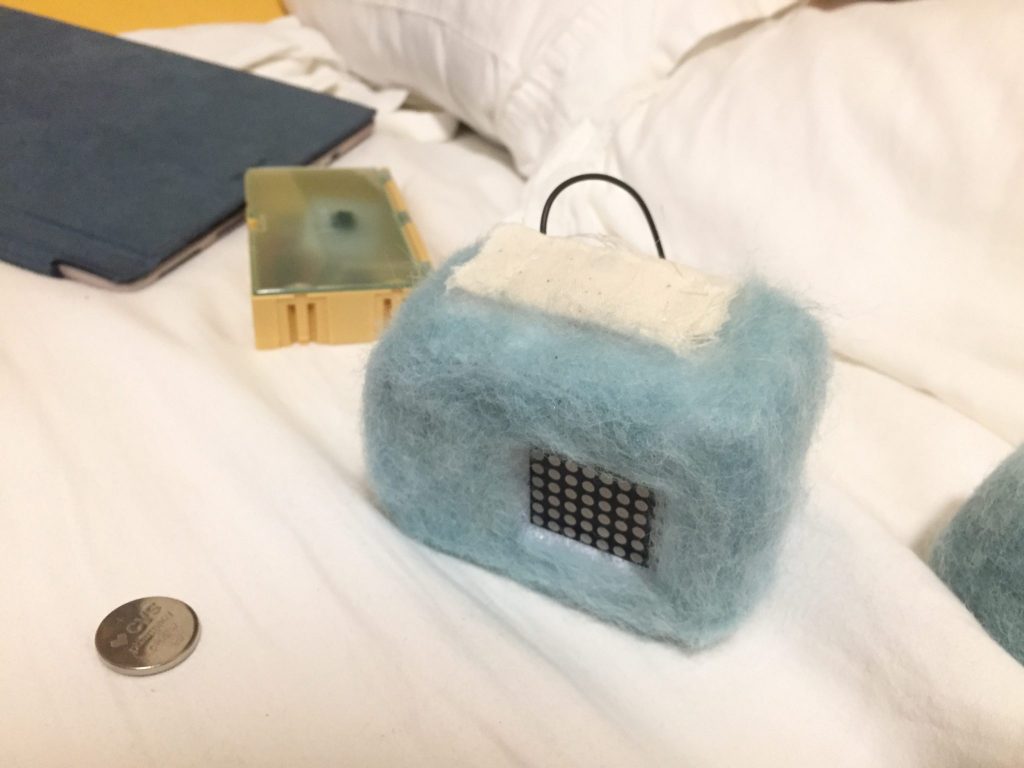
I start to use a foam as a base for the body. Then, embed the Matrix 8 by 8 in the front of it.

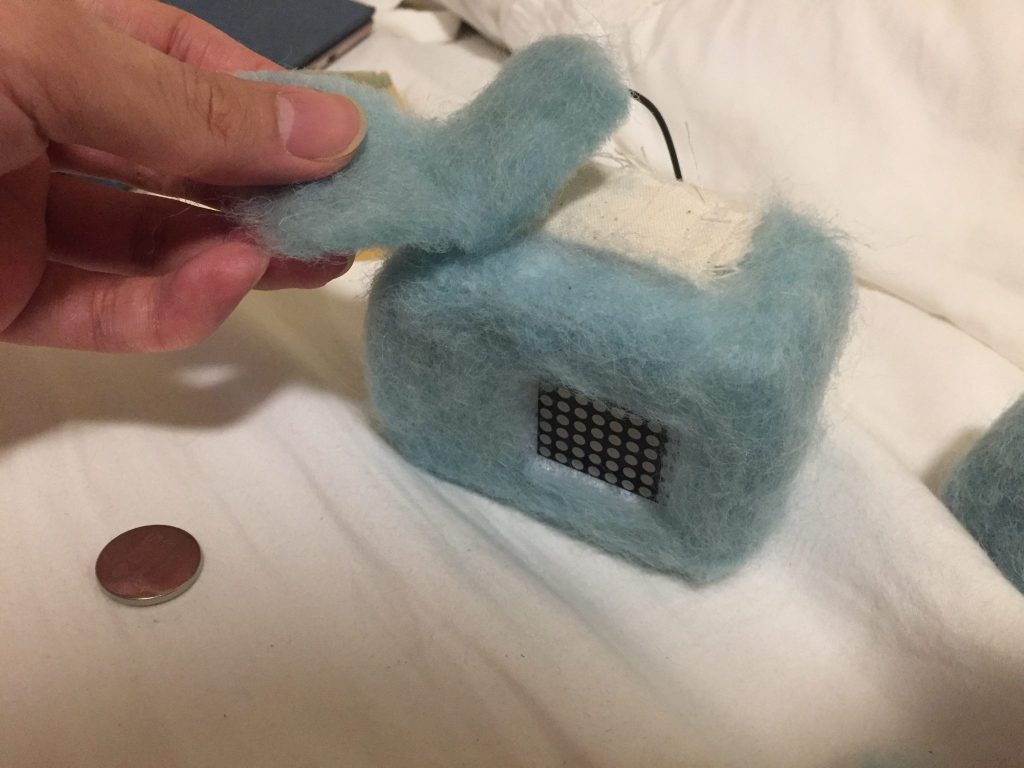
I work on a soft button which hides beside the body of the Robot


Week 6 – Neil V. Techapanichgul

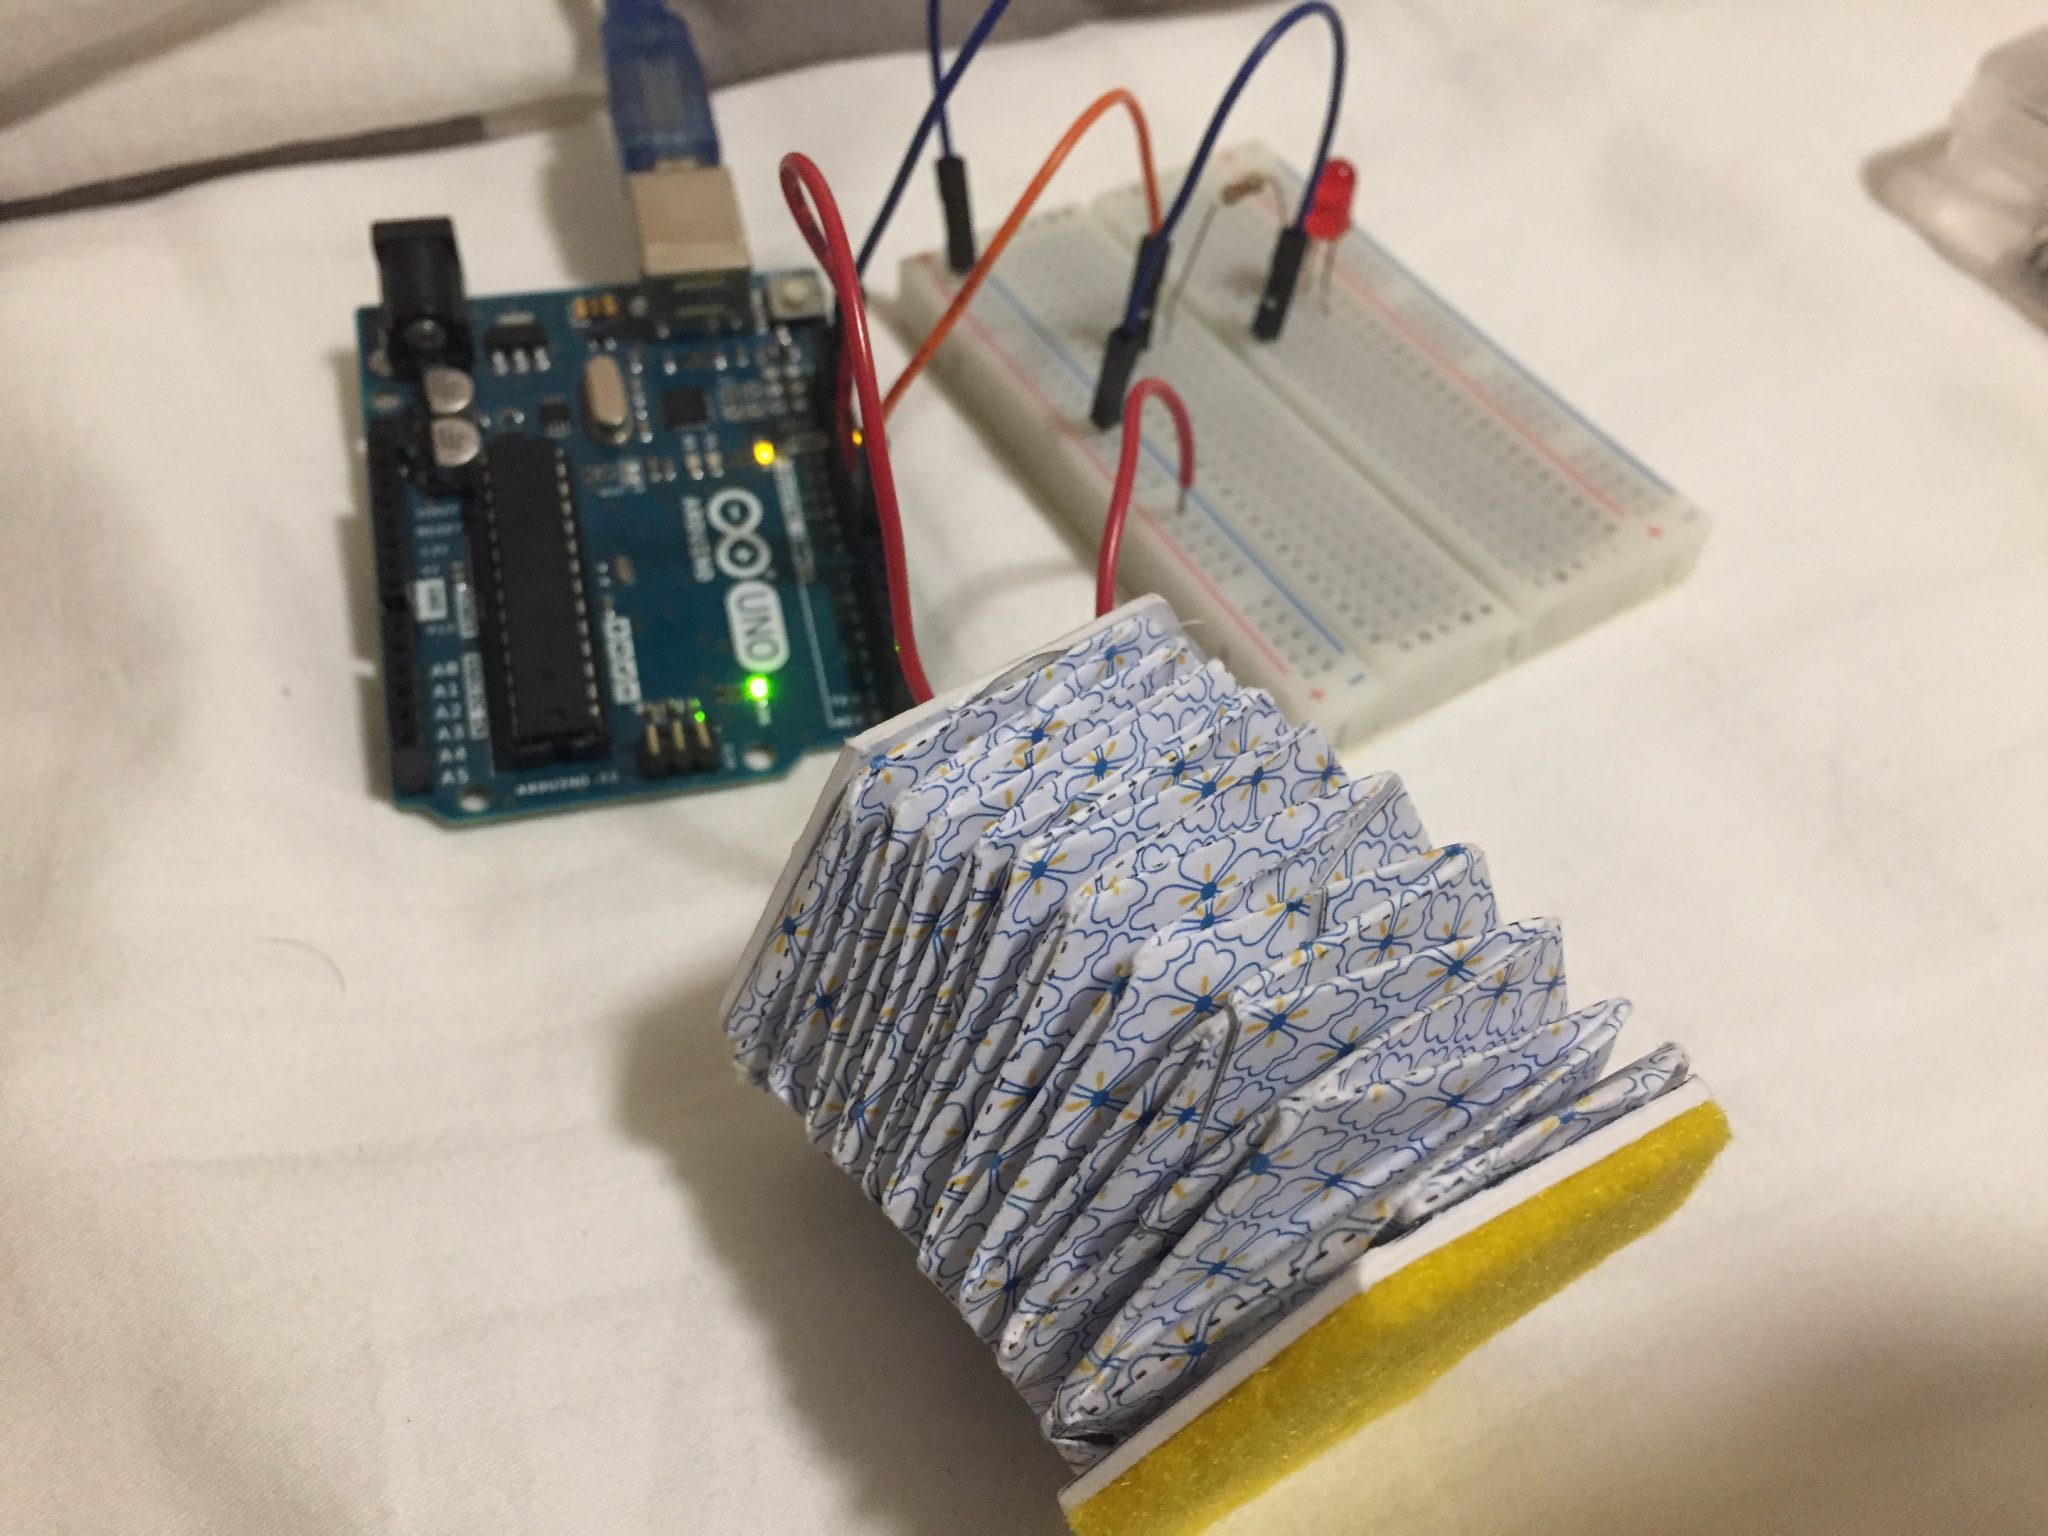
LED CONTROL VIA BUTTON

Thanks to Dario for the soft switch. It works perfectly fine. I like how squishy of the switch. The circuit is pretty simple. I use “INPUT_PULLUP” for the switch. It’s a quick tip for all buttons 😀
LED CONTROL VIA BUTTON CODE


/*
Button

The circuit:
– LED attached from pin 13 to ground
– pushbutton attached to pin 2 from +5V
– 10K resistor attached to pin 2 from ground

– Note: on most Arduinos there is already an LED on the board
attached to pin 13.

created 2005
by DojoDave <http://www.0j0.org>
modified 30 Aug 2011
by Tom Igoe

This example code is in the public domain.

http://www.arduino.cc/en/Tutorial/Button
*/

// constants won’t change. They’re used here to set pin numbers:
const int buttonPin = 8; // the number of the pushbutton pin
const int ledPin = 7; // the number of the LED pin

// variables will change:
int buttonState = 0; // variable for reading the pushbutton status

void setup() {
// initialize the LED pin as an output:
pinMode(ledPin, OUTPUT);
// initialize the pushbutton pin as an input:
pinMode(buttonPin, INPUT_PULLUP);
}

void loop() {
// read the state of the pushbutton value:
buttonState = digitalRead(buttonPin);

// check if the pushbutton is pressed. If it is, the buttonState is HIGH:
if (buttonState == HIGH) {
// turn LED on:
digitalWrite(ledPin, LOW);
} else {
// turn LED off:
digitalWrite(ledPin, HIGH);
}
}

MARCH OF LEDs

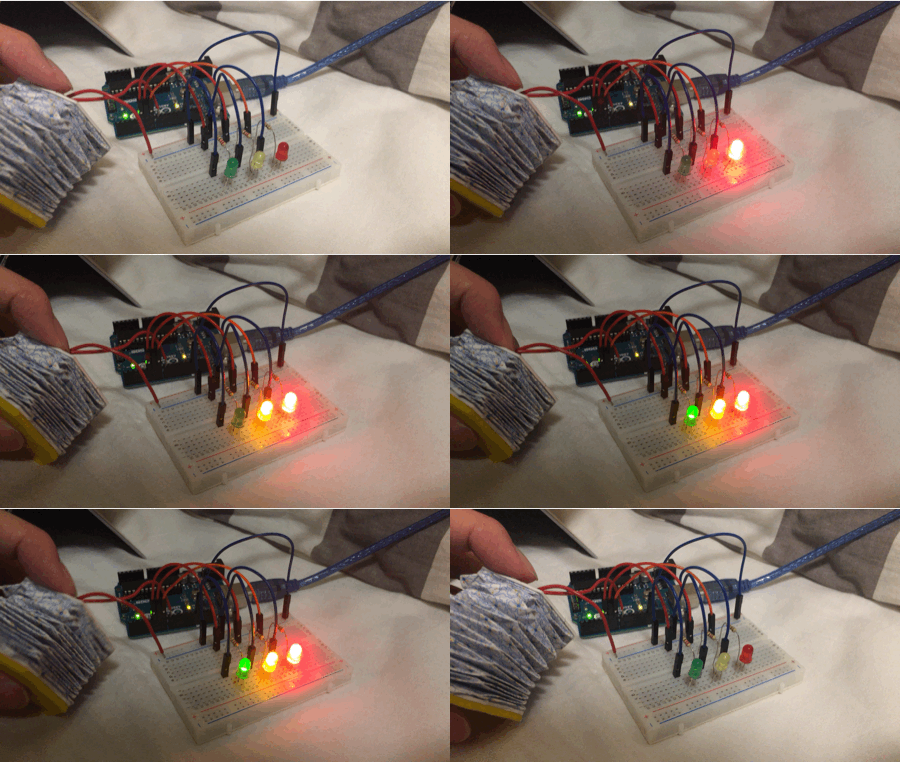
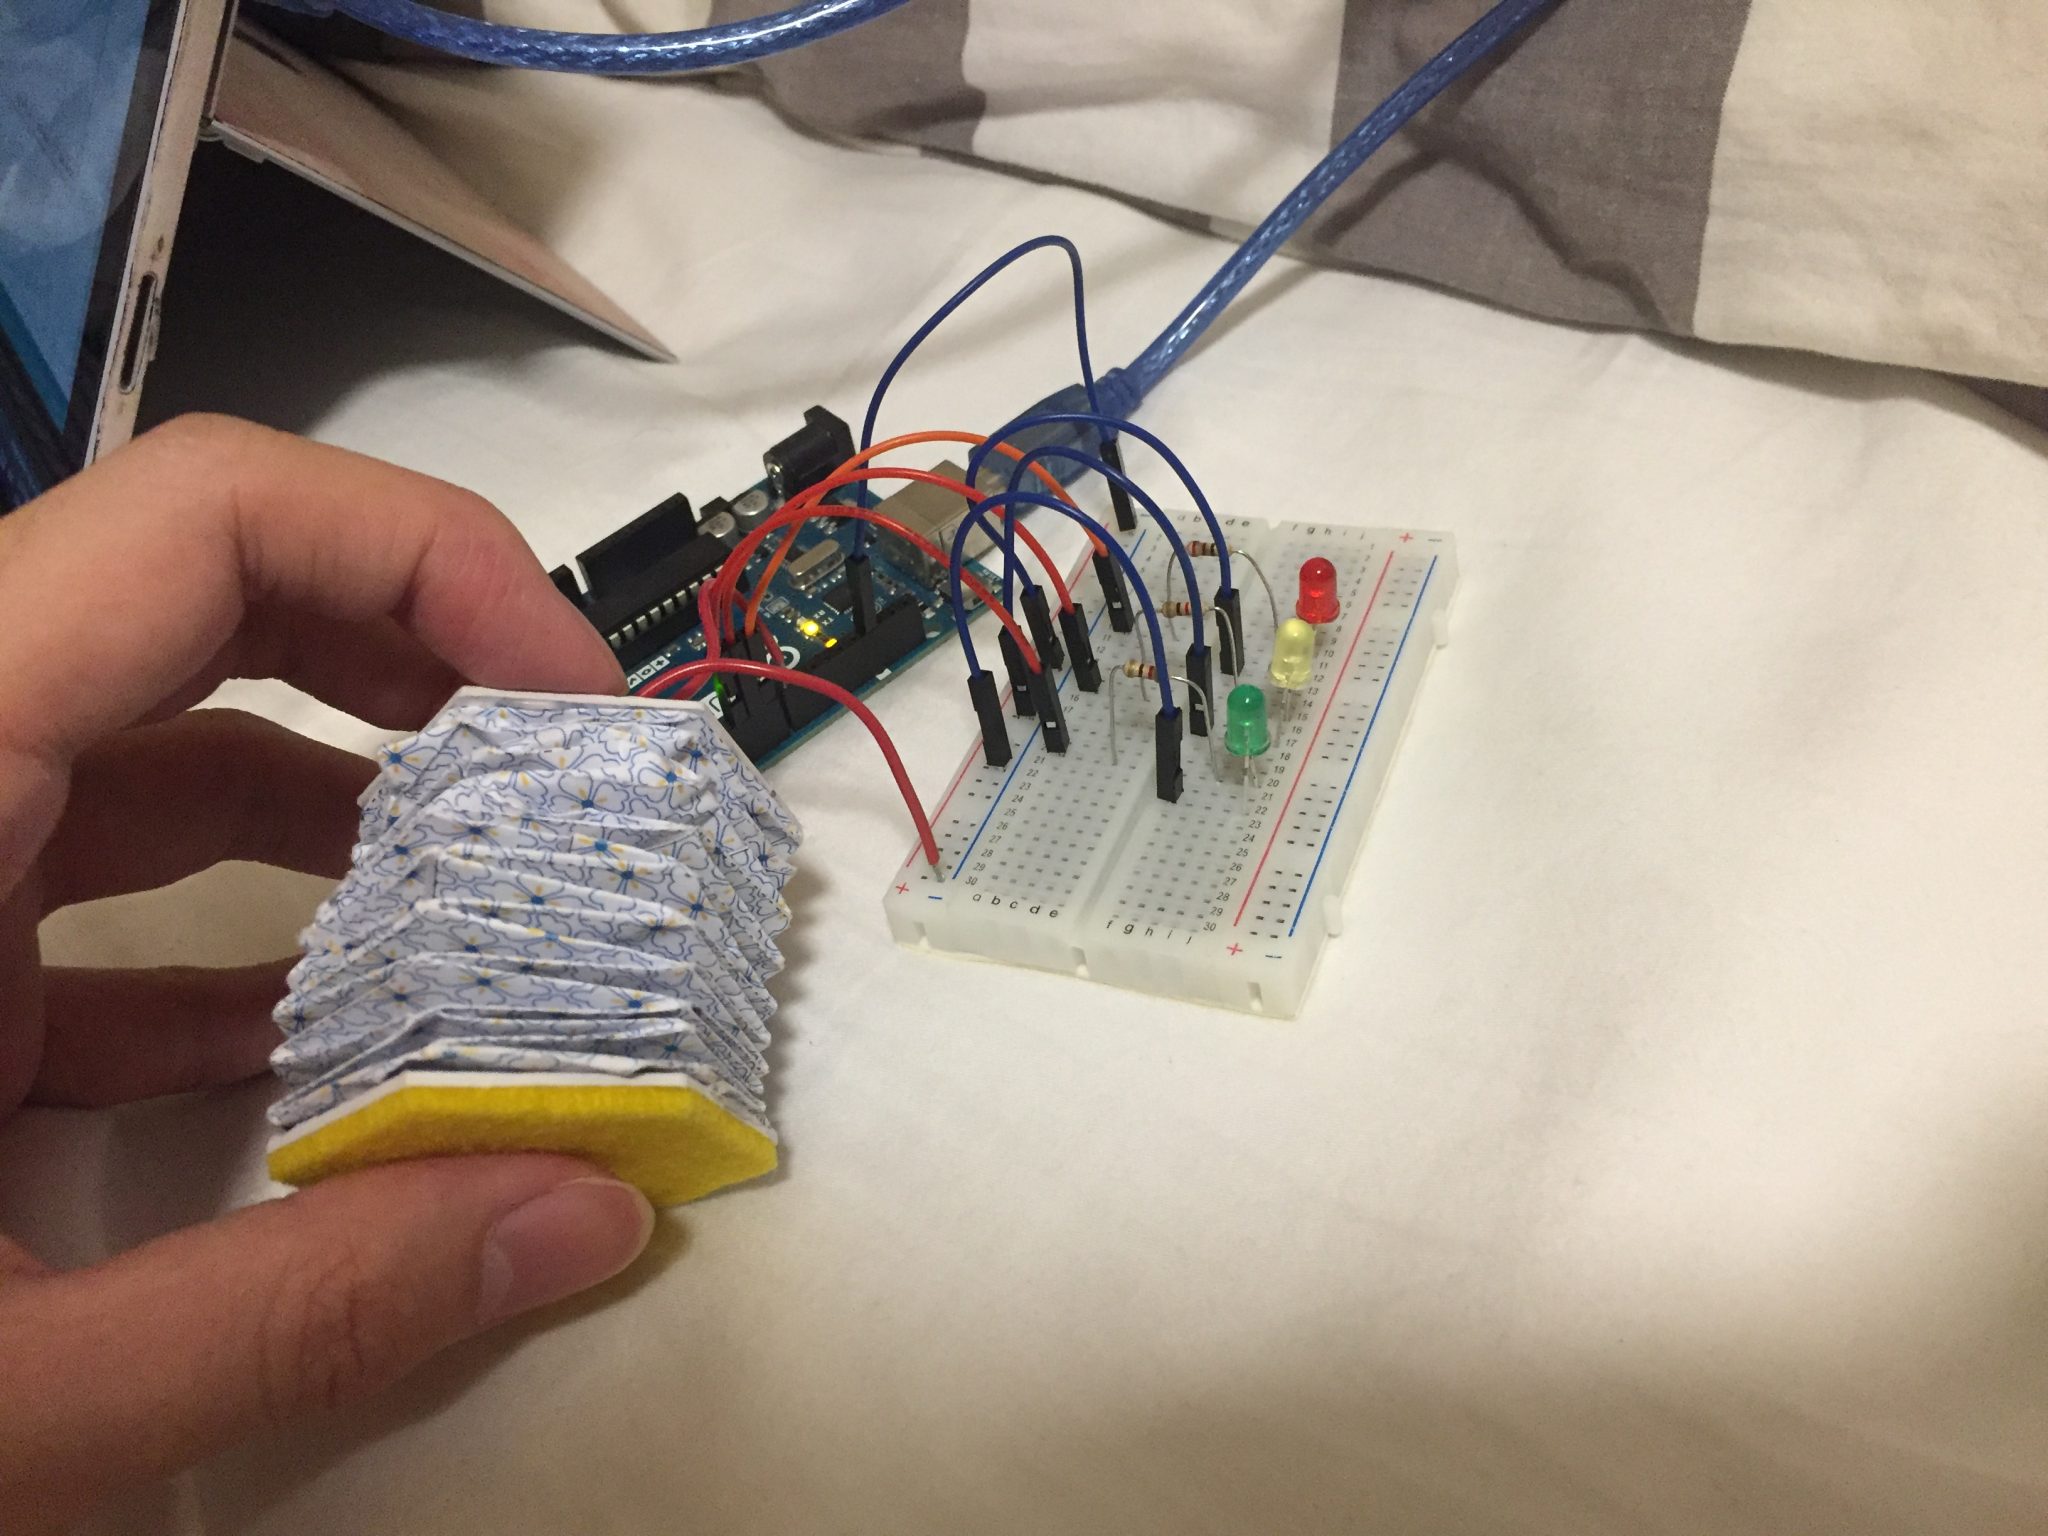
It is tricky to make each of them light up when I press my switch. I have to make the specific states for them to light up in order. It’s pretty fun and cute with 3 LEDs with Red, Yellow and Green.
MARCH OF LEDs CODE


/*
Button

Turns on and off a light emitting diode(LED) connected to digital pin 13,
when pressing a pushbutton attached to pin 2.

The circuit:
– LED attached from pin 13 to ground
– pushbutton attached to pin 2 from +5V
– 10K resistor attached to pin 2 from ground

– Note: on most Arduinos there is already an LED on the board
attached to pin 13.

created 2005
by DojoDave <http://www.0j0.org>
modified 30 Aug 2011
by Tom Igoe

This example code is in the public domain.

http://www.arduino.cc/en/Tutorial/Button
*/

// constants won’t change. They’re used here to set pin numbers:
const int buttonPin = 8; // the number of the pushbutton pin
const int ledPin = 7; // the number of the LED pin

bool startCapture;
float Timer = 0;
float Duration = 10000;
int State = 0;

bool Pressed;
bool Added;

// variables will change:
int buttonState = 0; // variable for reading the pushbutton status

void setup() {
Serial.begin(9600);
// initialize the LED pin as an output:
pinMode(ledPin, OUTPUT);
pinMode(6, OUTPUT);
pinMode(5, OUTPUT);
// initialize the pushbutton pin as an input:
pinMode(buttonPin, INPUT_PULLUP);
}

void loop() {
// read the state of the pushbutton value:
buttonState = digitalRead(buttonPin);

Serial.println(State);

if (!Pressed && buttonState == 0)
{
Pressed = true;
}

if (Pressed && buttonState == 1)
{
Pressed = false;
Added = false;
}

if (Pressed && !Added)
{
State++;
Added = true;
}

if (State == 1)
{
digitalWrite(7, HIGH);
digitalWrite(6, LOW);
digitalWrite(5, LOW);
}

if (State == 2)
{
digitalWrite(7, HIGH);
digitalWrite(6, HIGH);
}

if (State == 3)
{
digitalWrite(7, HIGH);
digitalWrite(6, HIGH);
digitalWrite(5, HIGH);
}

if (State > 3)
{
digitalWrite(7, LOW);
digitalWrite(6, LOW);
digitalWrite(5, LOW);
State = 0;
}

}


MIDTERM IDEA

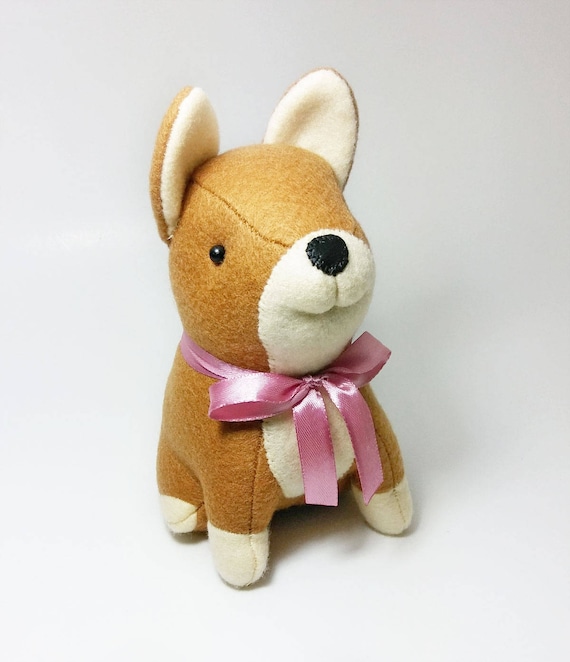
I want to make one big squishy doll that can emit some lights through its eyes by dragging the tail. It could be really cute! The technique I use is going to be wool felting.Image result for Felt Doll animal
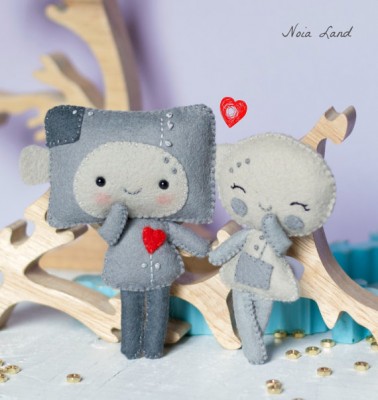
Image result for Felt Doll animal

Week 5 – Neil V. Techapanichgul

Nodes and Connectors

CONNECTORS

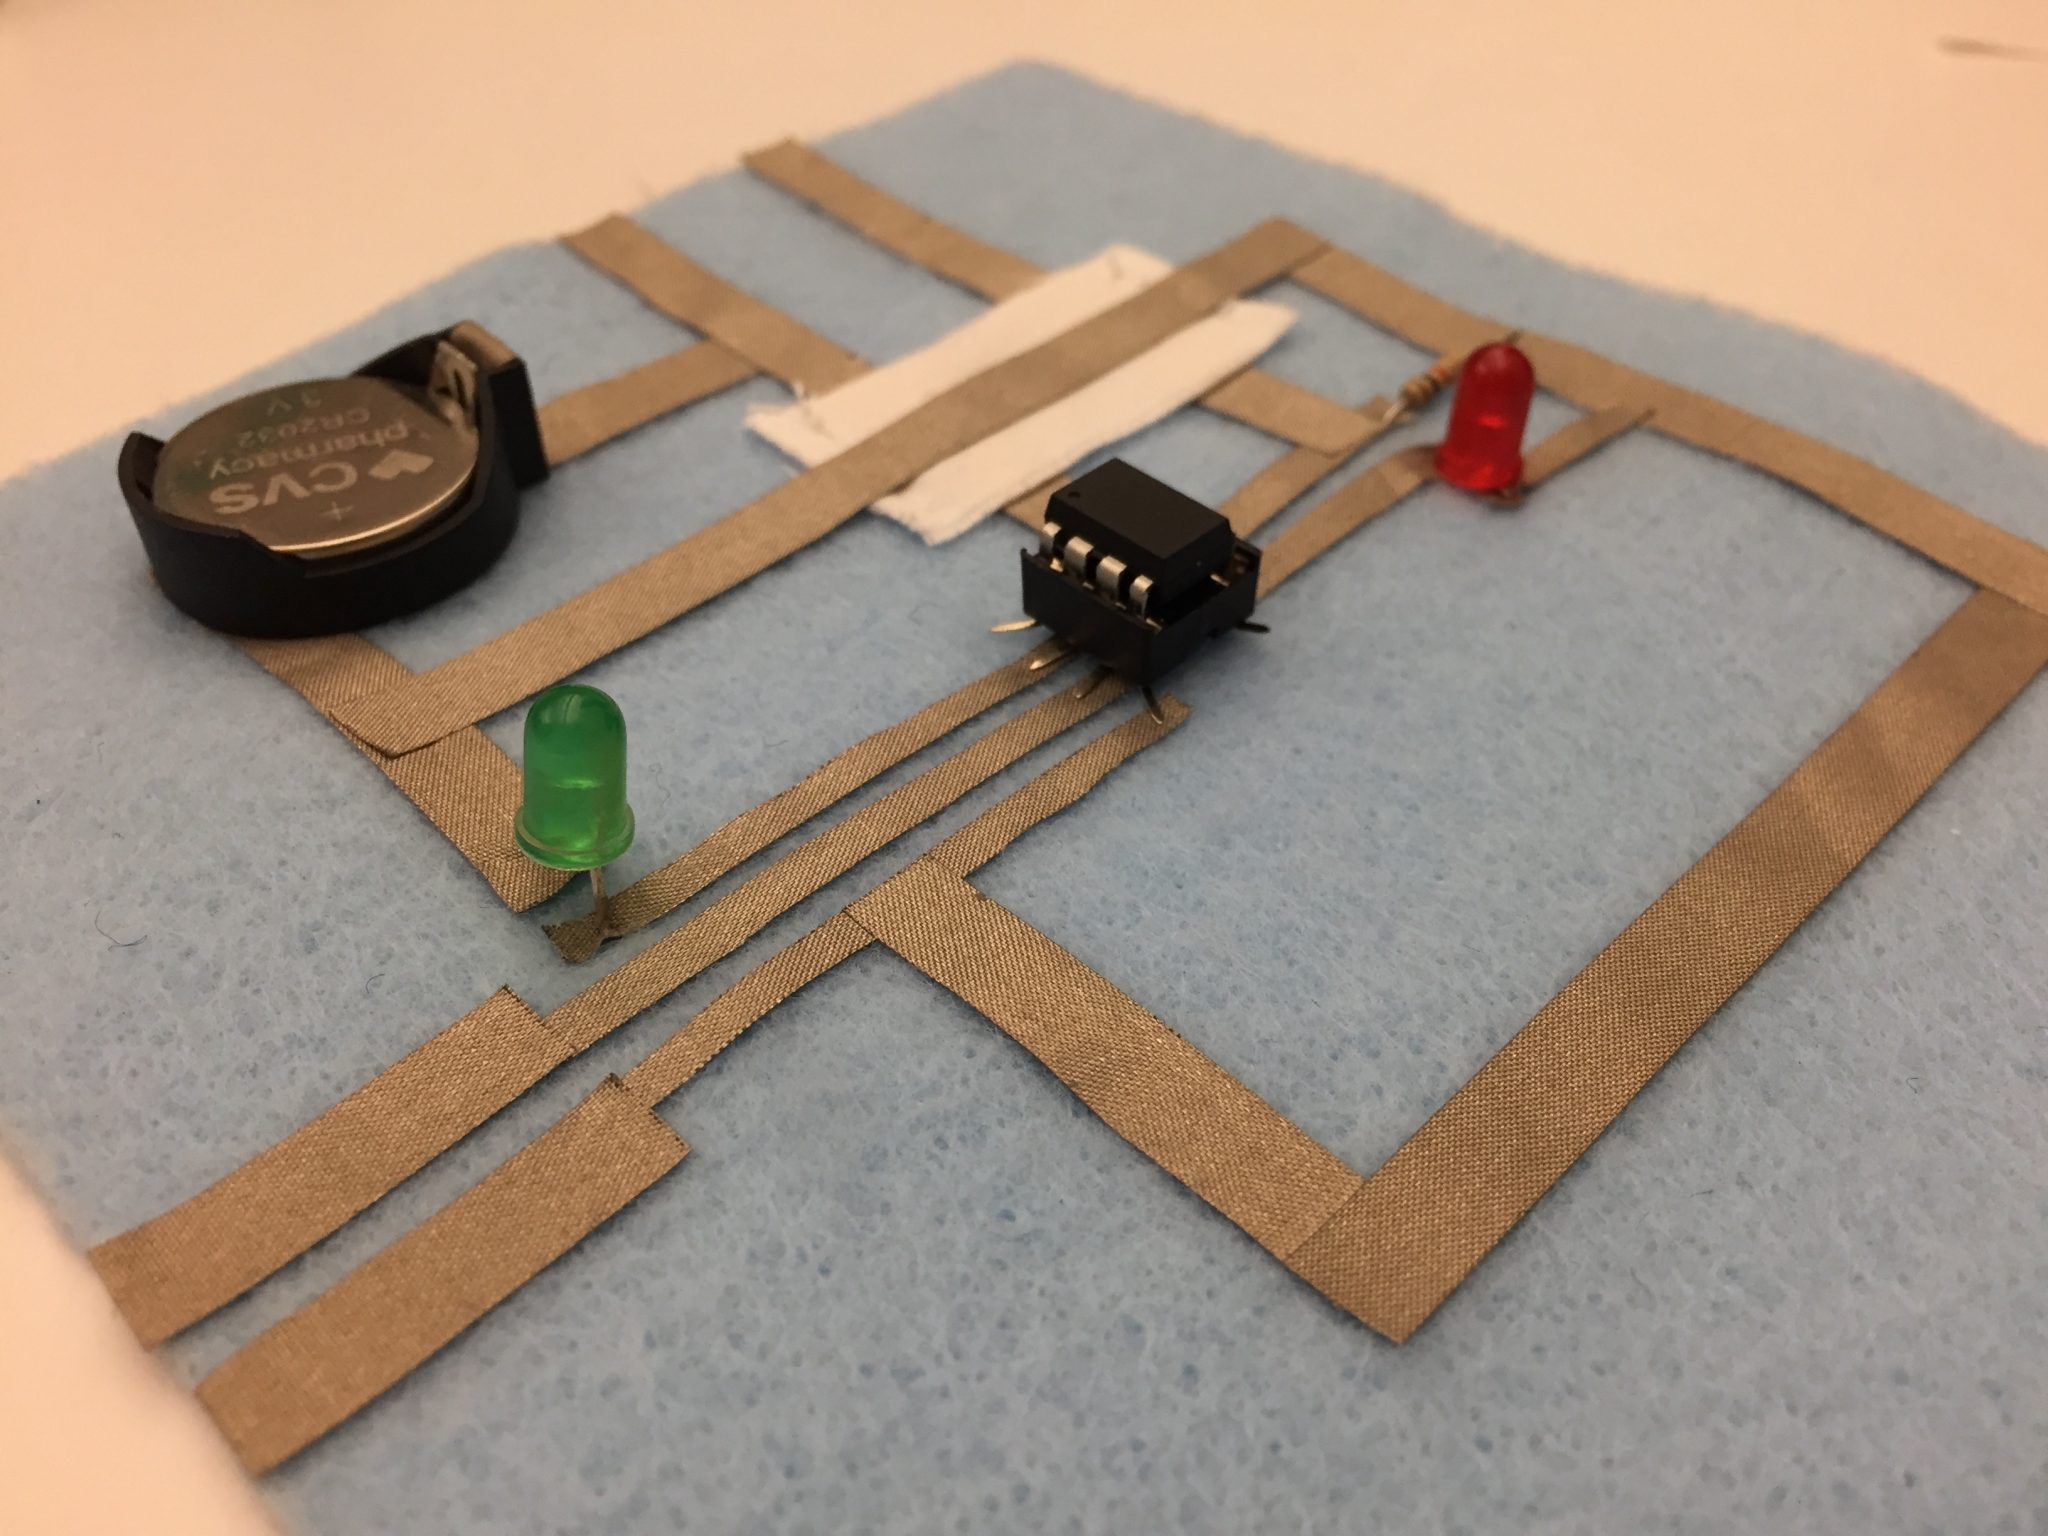
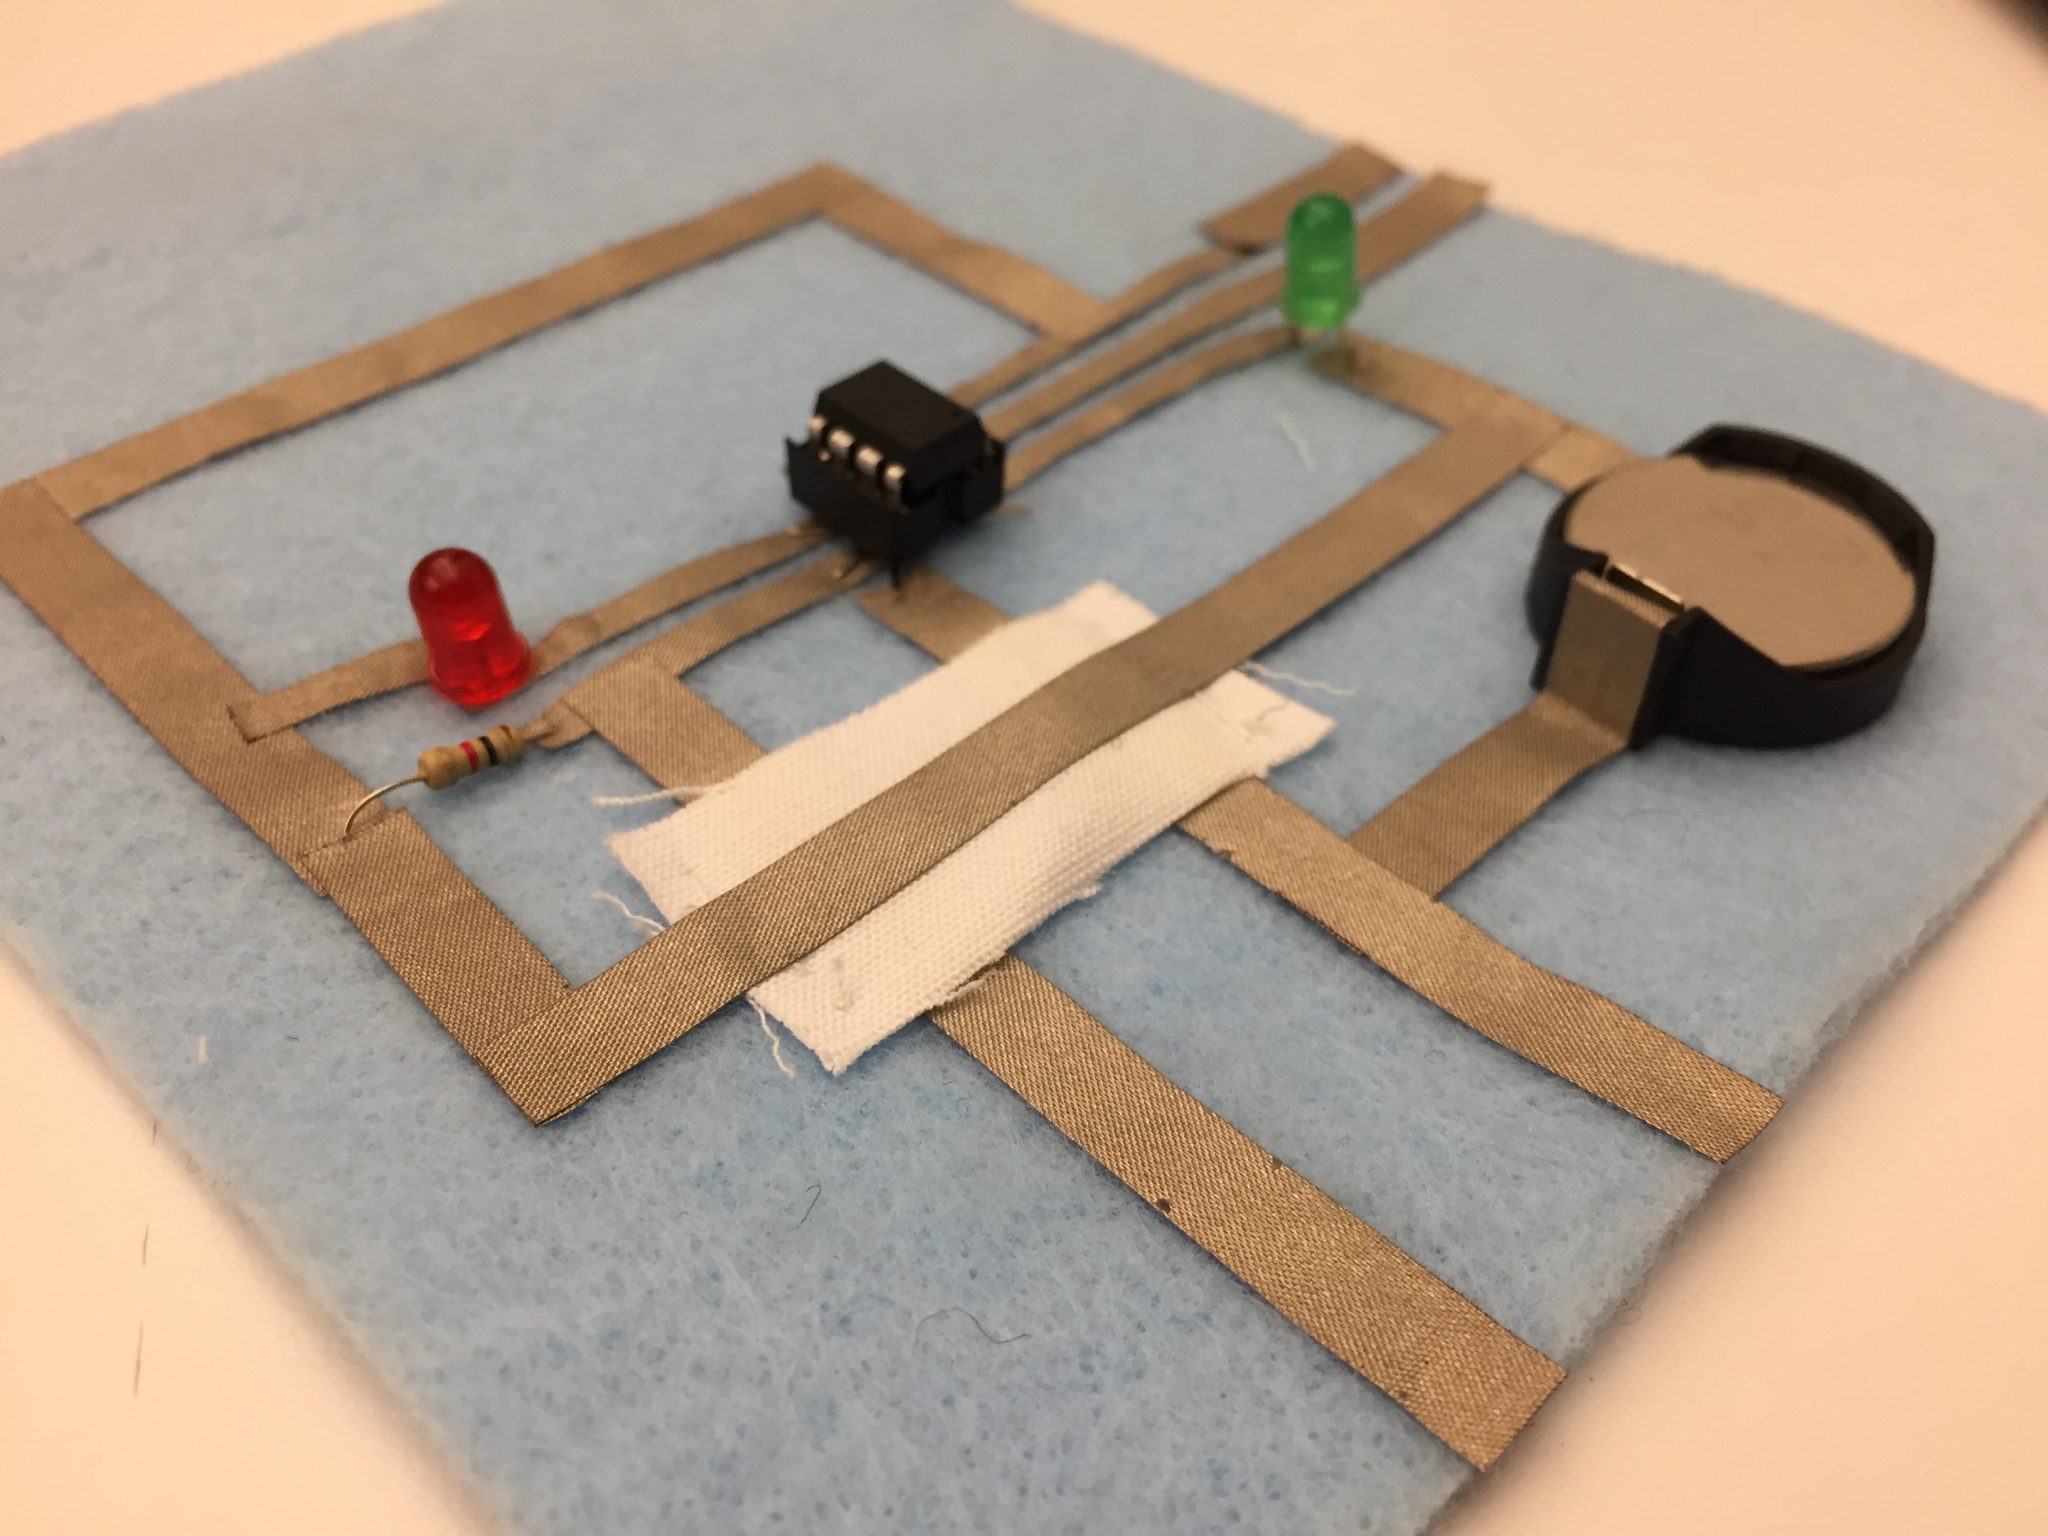
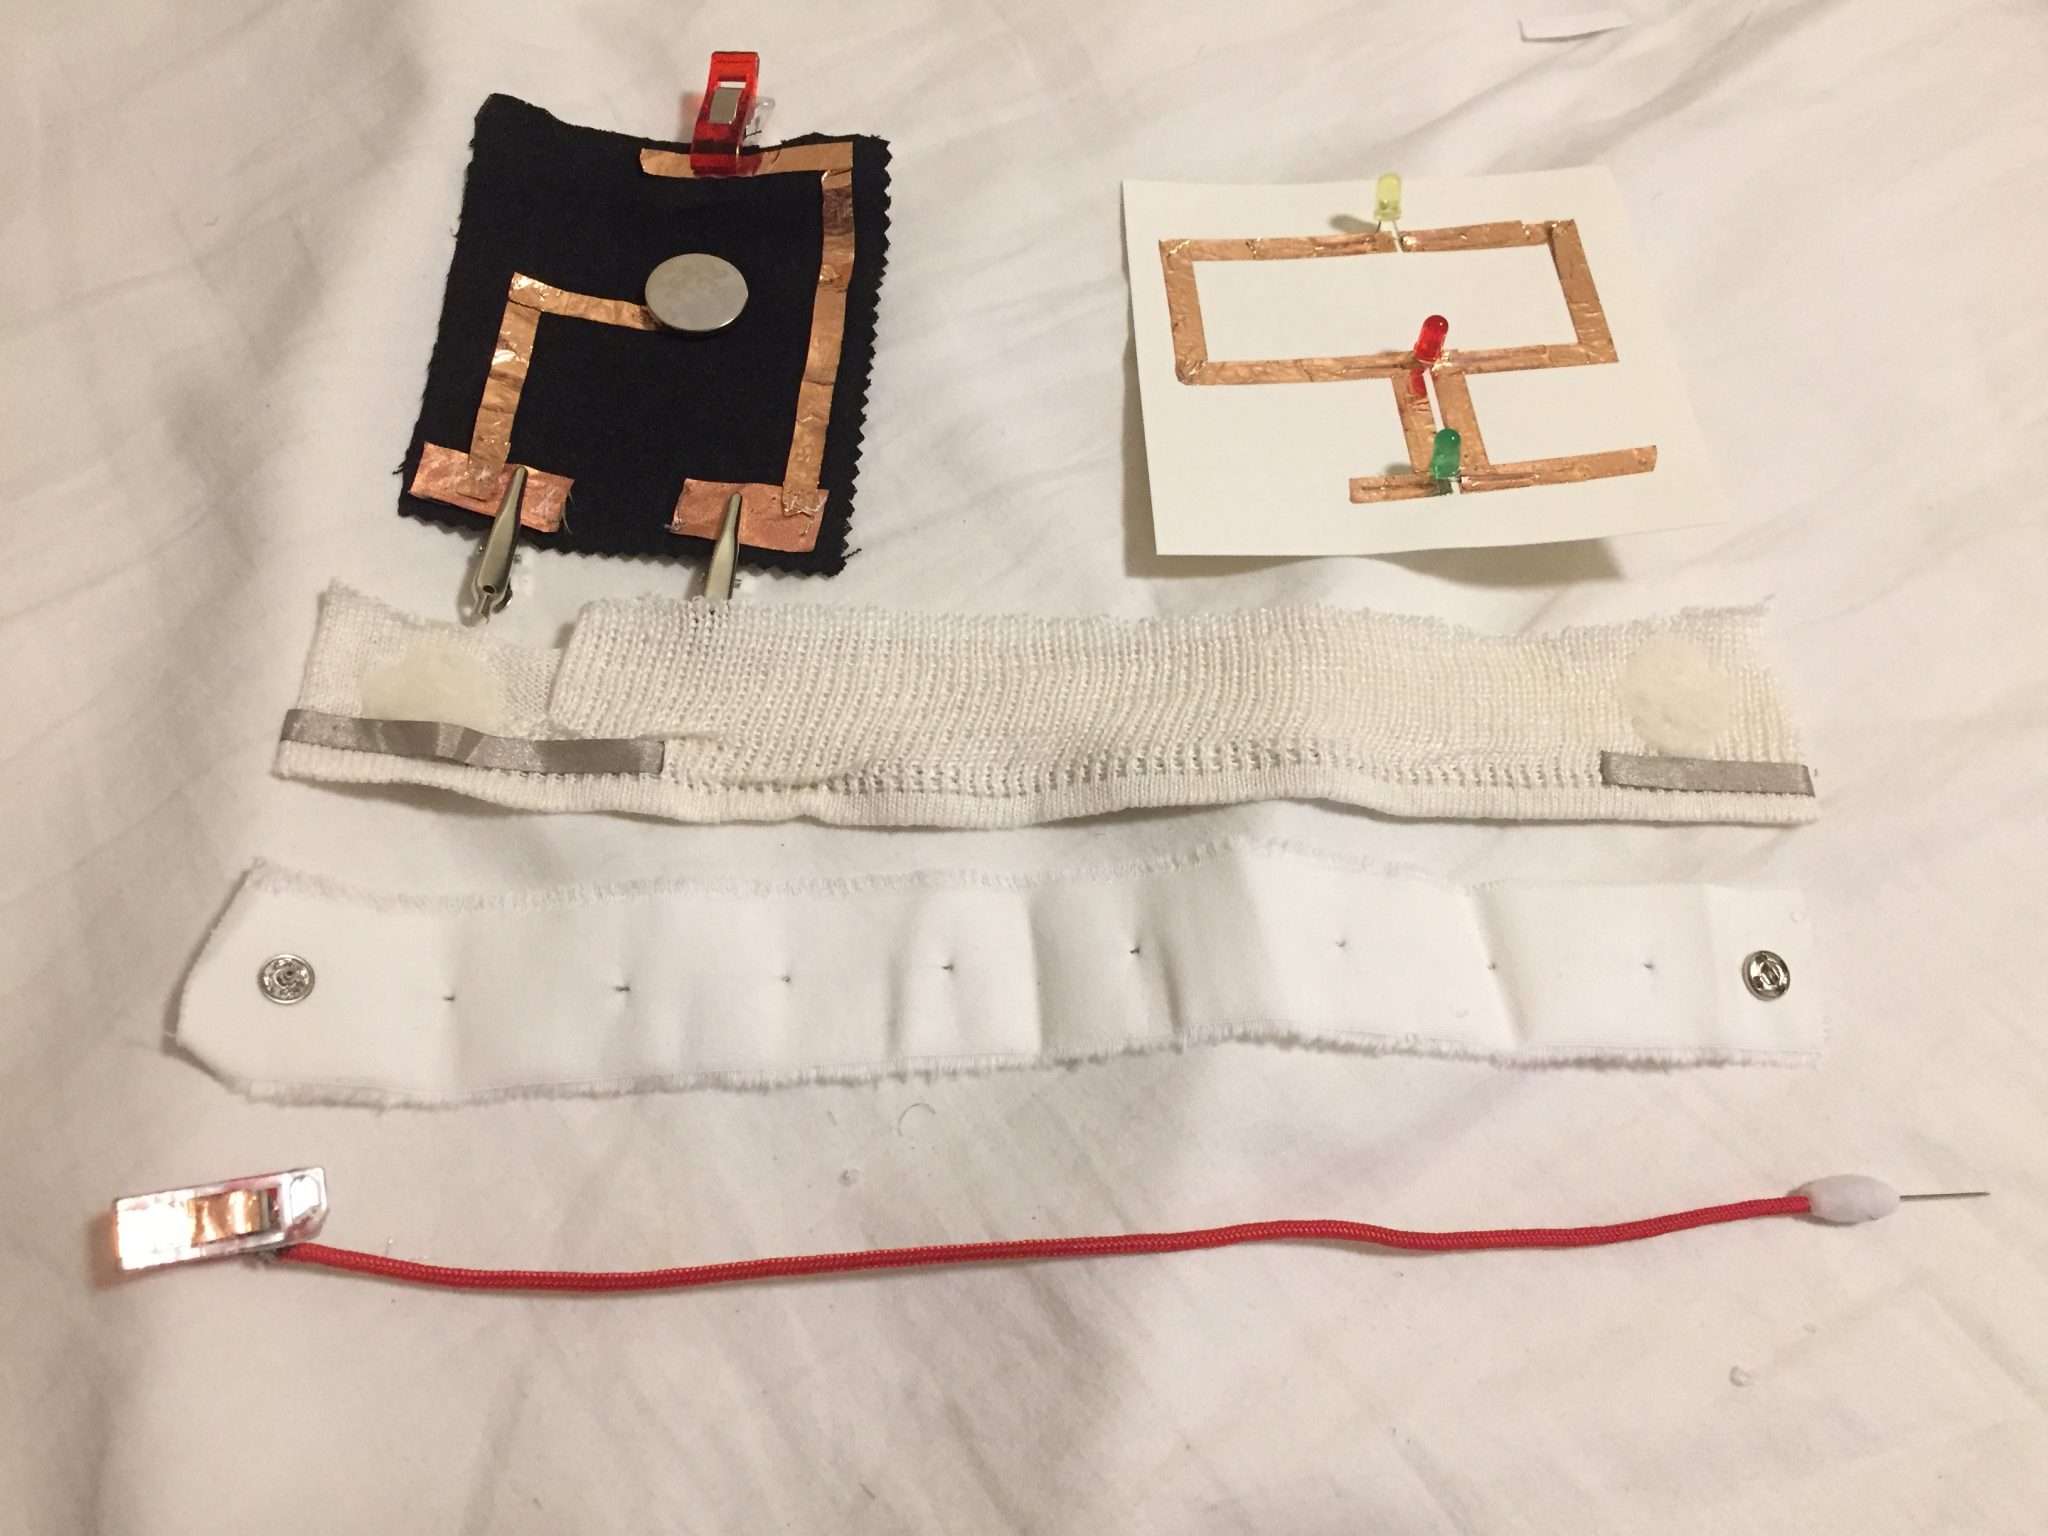
I try to make the basic connectors with different materials that I have. I come up with Fabric tape connector, Button connector and Snap and Needle connector. I use playful materials to experiment with conductivity for each one. They all work perfectly.

3 Connector Tools:

  1. conductive fabric
  2. conductive thread, metal button
  3. alligator clip and needle

NODES

So the battery node is using the folding technique to let you easily change coin cell battery. For the LEDs, I use three lights as the indicators to test the circuit works.

Week 3 & 4 – Neil V. Techapanichgul

NEW CRAFT

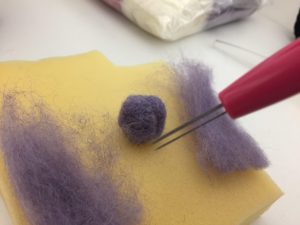
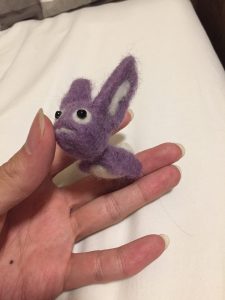
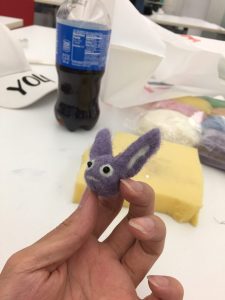
I chose Felting because the way you can sculpt an object by poking into a shape looks fun. I never have this kind of experience before but, it is so relaxing and mesmerizing.

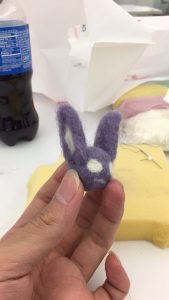
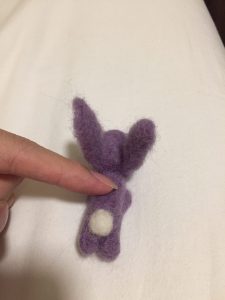
So I tried to make a sphere which took me about 3 hours to form the model. Anyway, I achieved the head of my rabbit, and I continue to work on the body.

There we go! We got a little purple bunny!

SWATCHES

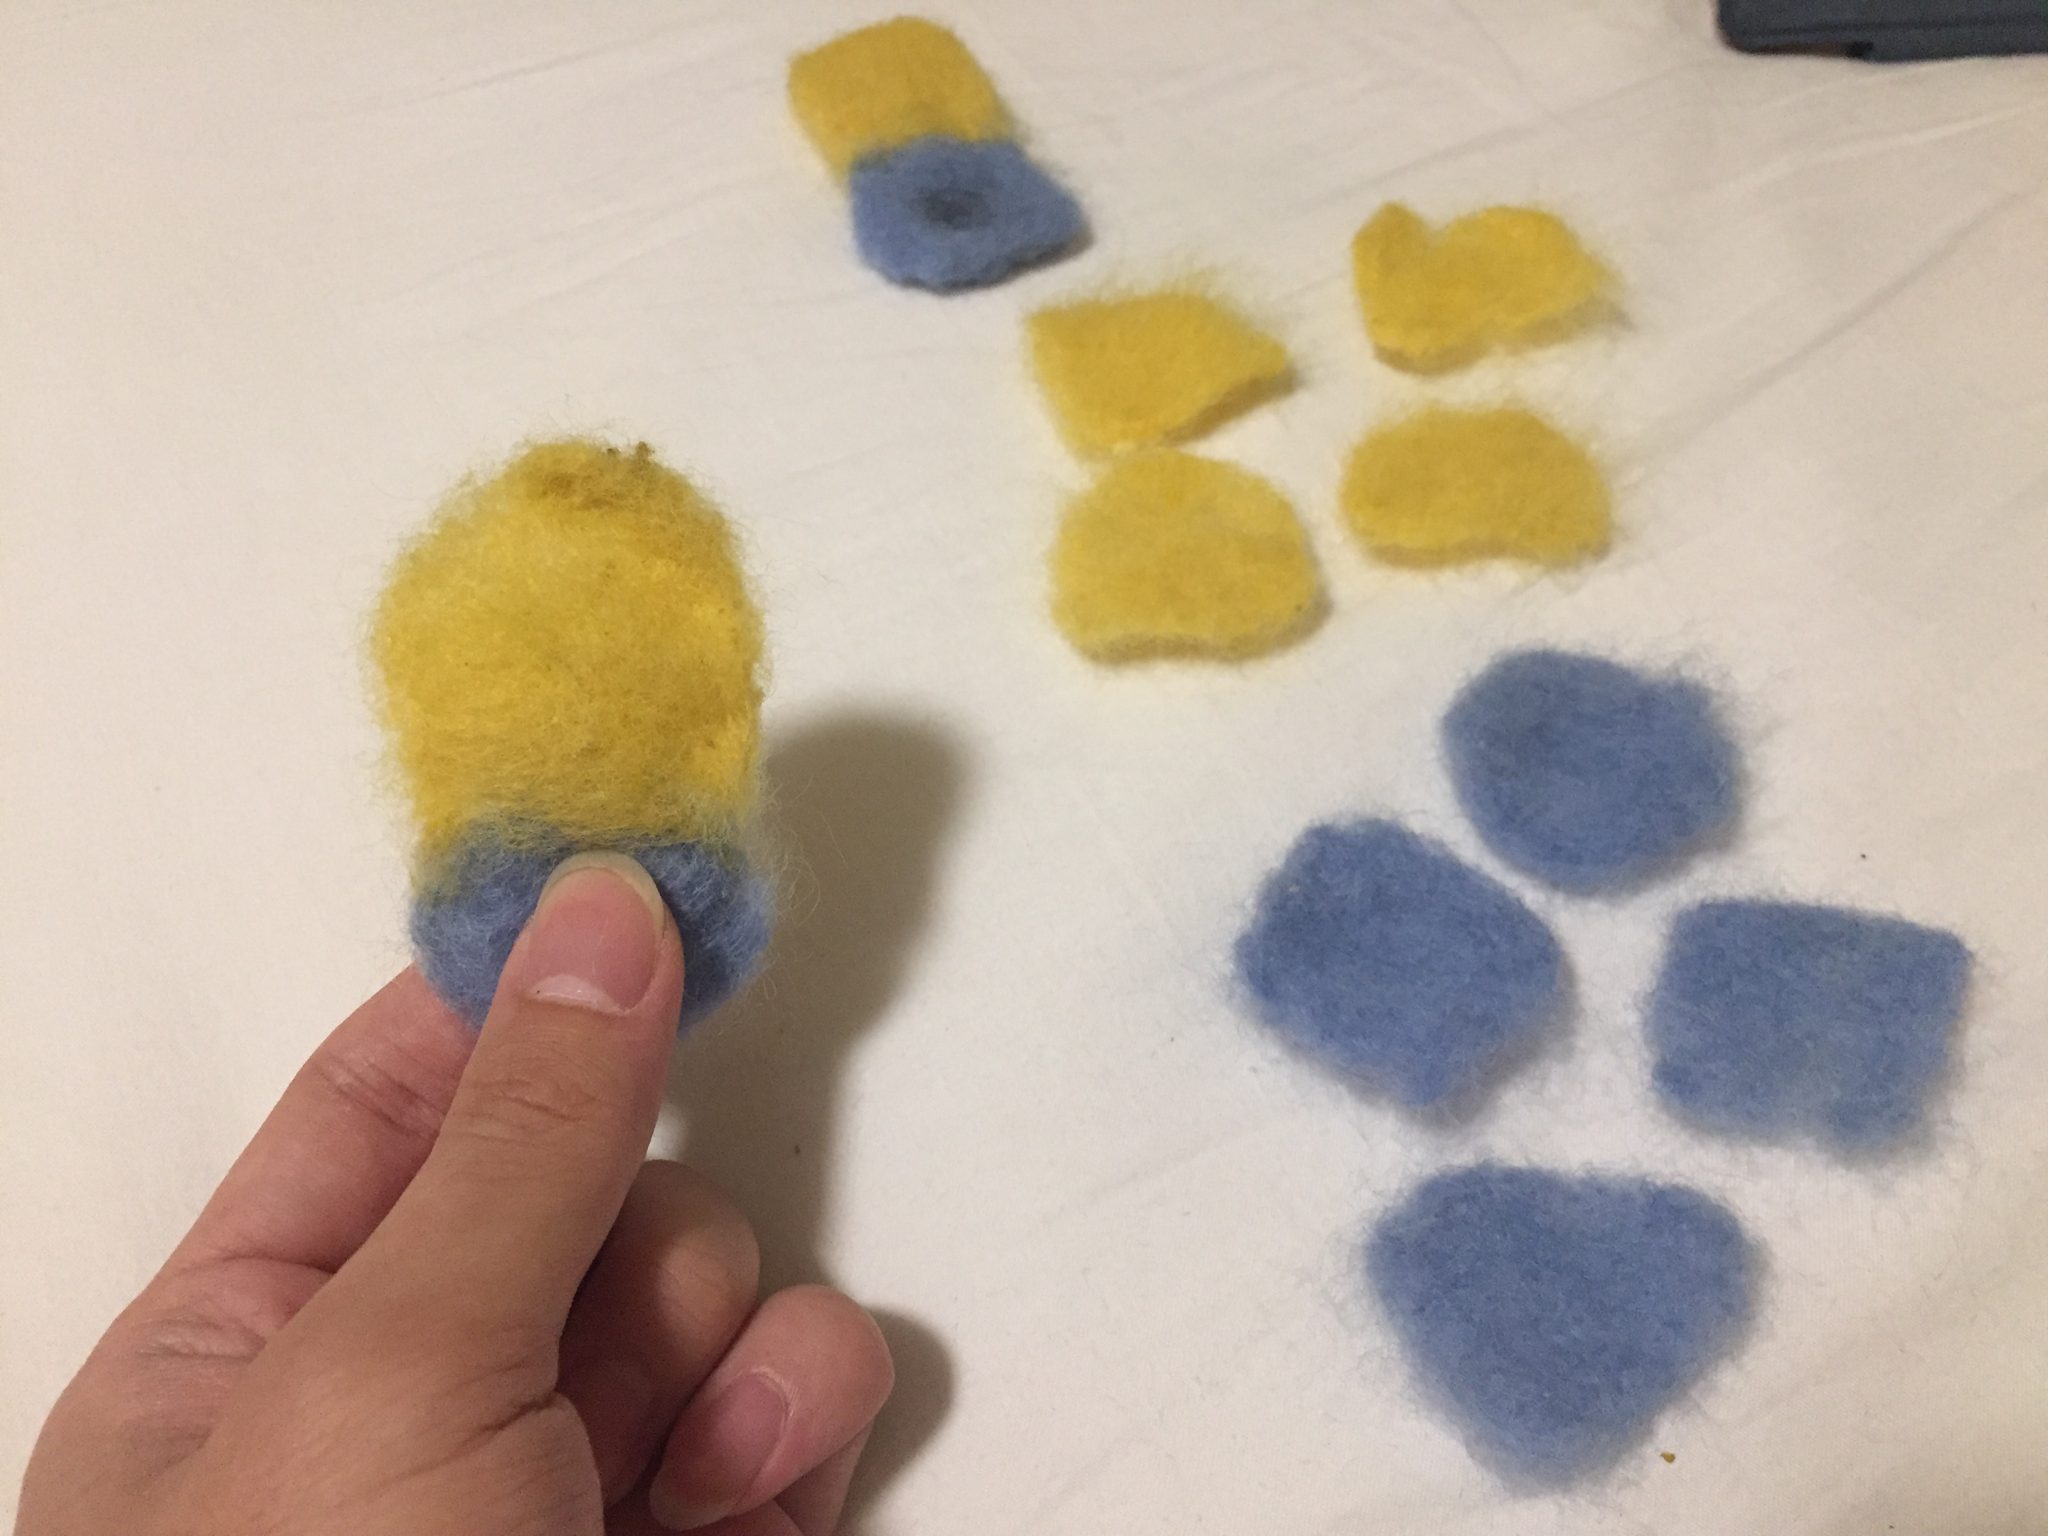
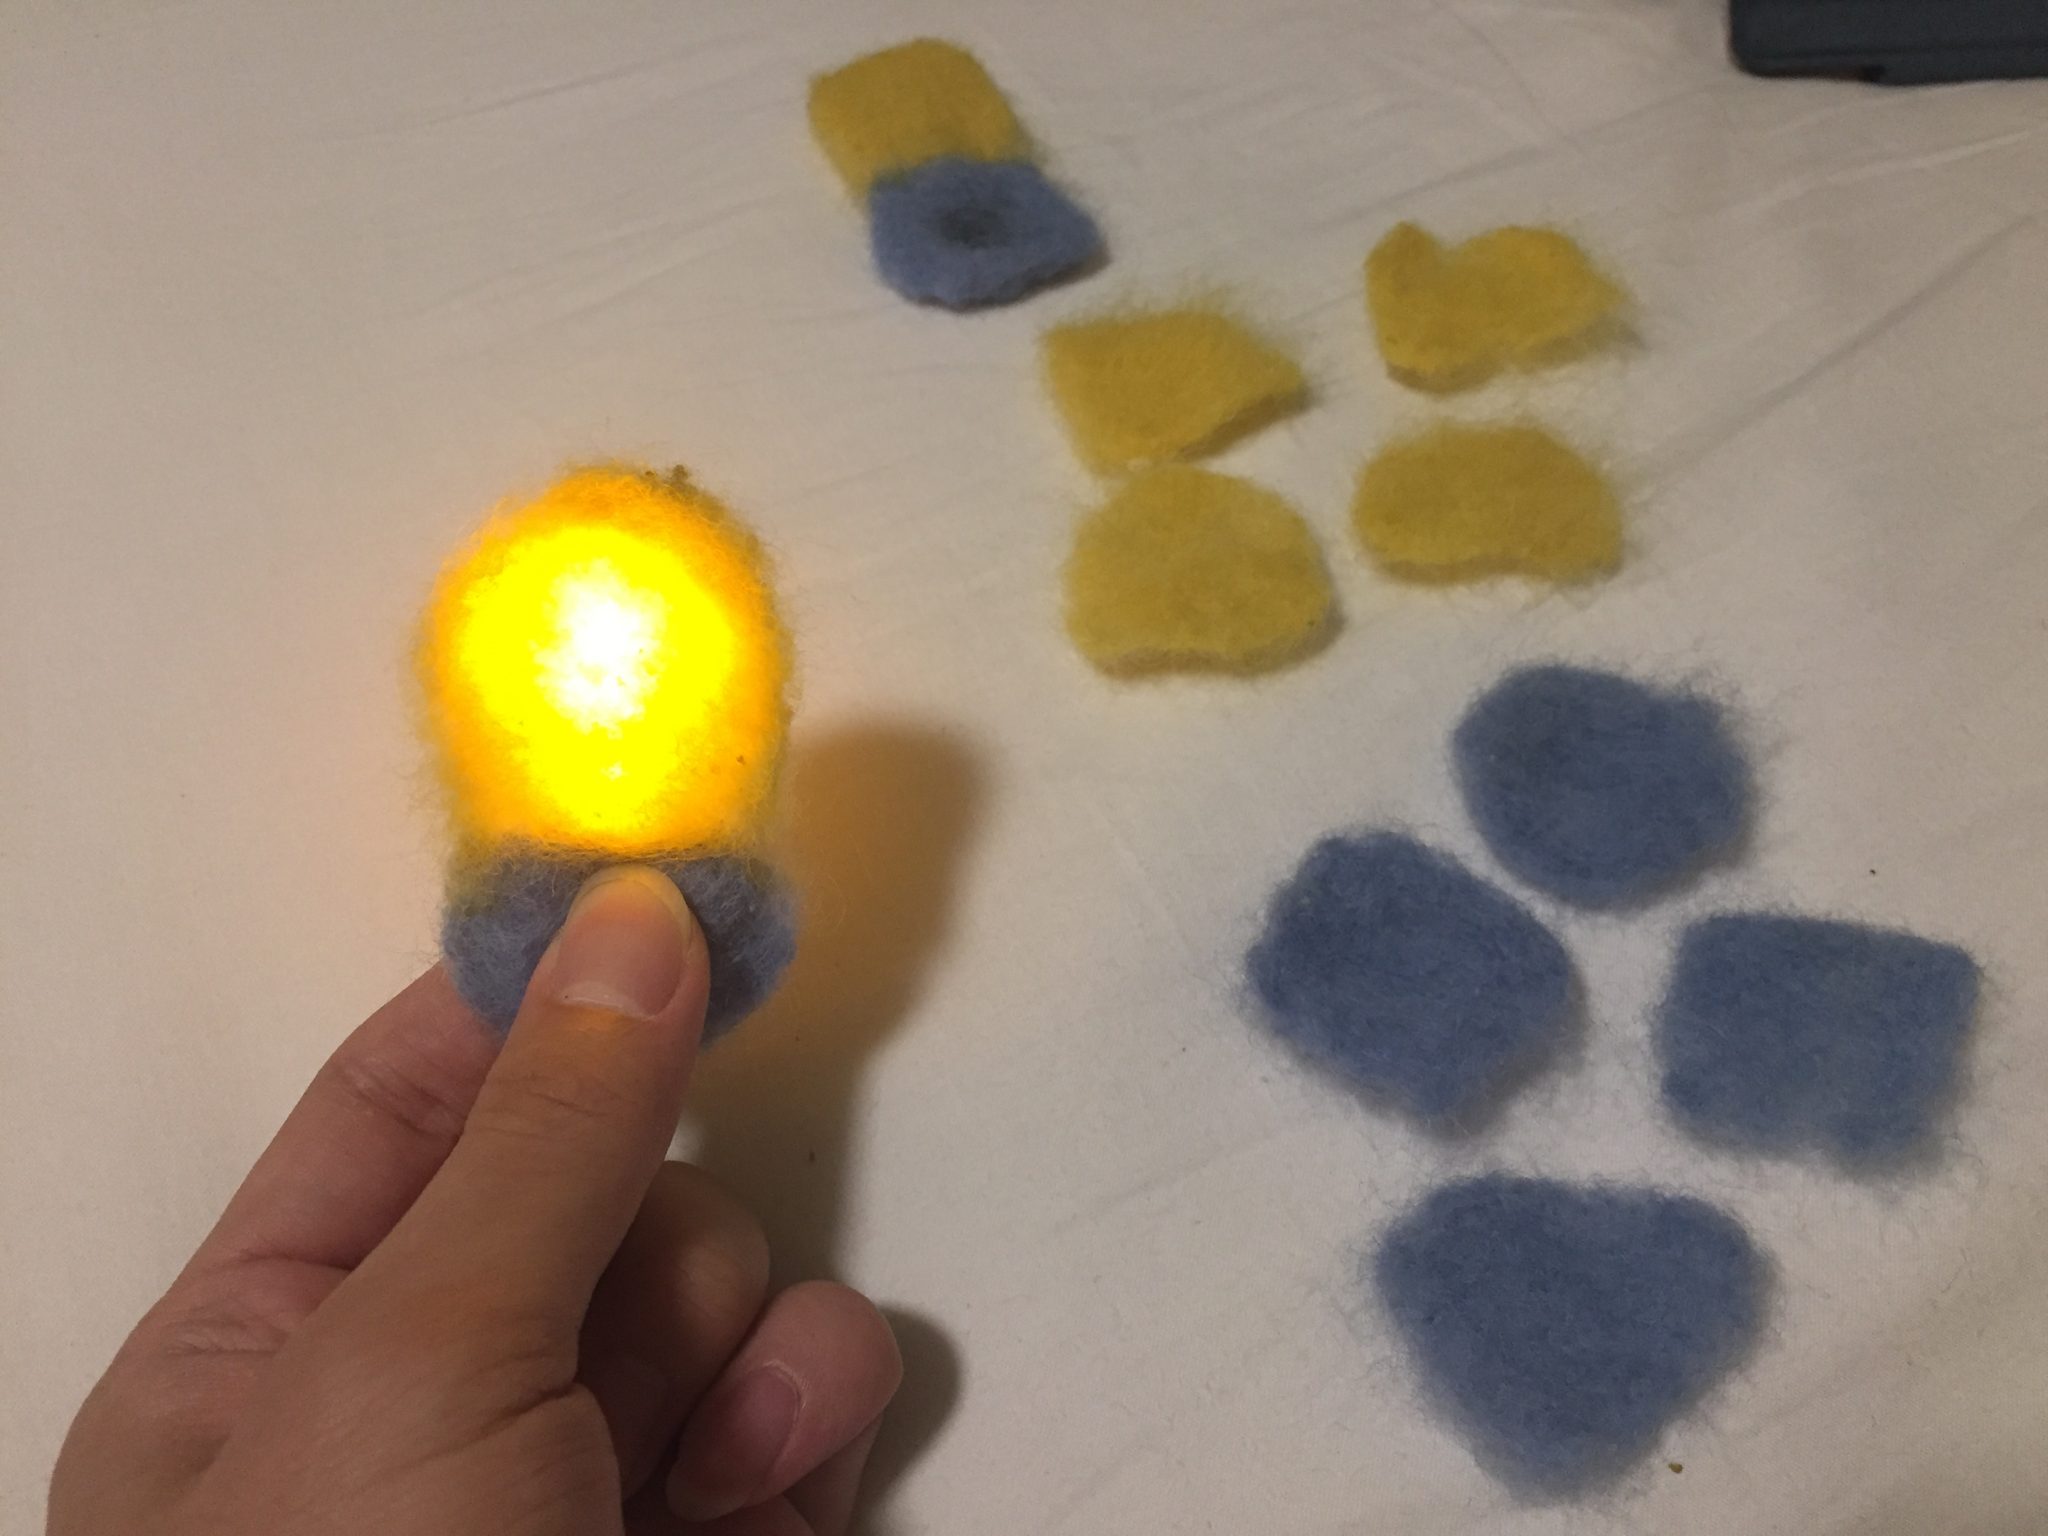
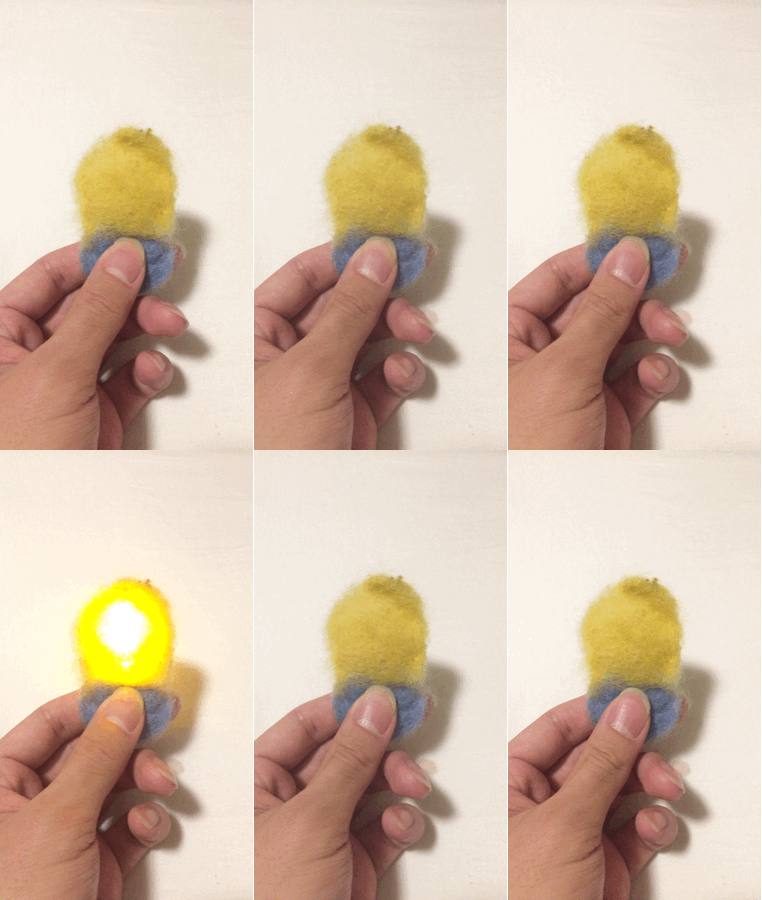
For the swatch exchange, I’m also trying to make a light bulb by using felting technique to make one. It’s a little bit tricky and hard to put electric components inside a piece of wool.

So I make two parts which a front and a back piece to connect to each other between a battery and a led.

I had fun working on these projects.

Thank you, Liza, 😀


Week 1 – Neil V. Techapanichgul

In this video, they used painting as an interface to play a music. This is fascinating because you can now have more sense to play with. Normally, we just use one sense to perceive. For Example, an eye to watch a painting. I’m really want to try to use as many senses we have in future projects to enhance interaction experience. If we can use visions, sounds, and scents, our experience with any interaction will increase and more memorable than the other medium.
You can narrate your story through painting and sounds which I love to experiment with.

Project By sab

Week 2 Homework – Neil V. Techapanichgul

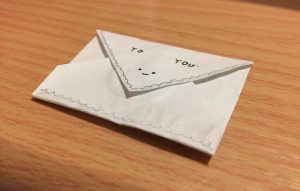
Smile Envelope

In Action

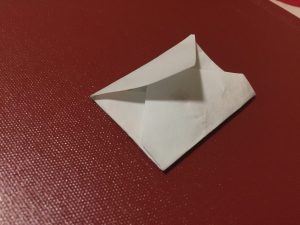
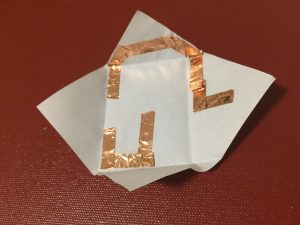
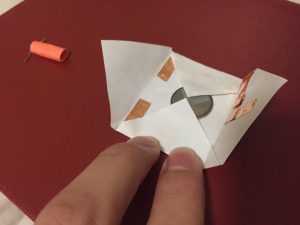
Process


Description

I always like the quote about the moment when you missing someone.

“Your words warmed my heart” – Unknown

At some point in our life, there is sometimes to get lonely and you are not expecting anything else except a mail from your loved one. My inspiration is when you received a mail from your loved one such as your family members, your boyfriend or girlfriend, you tend to be happy and get warmer.

Materials used

1 x Led Light

1 x 3v Battery

1 x Copper Tape

Challenges

It is hard to make a spring that blocks the circuit. I’m trying to use a letter to block the copper tape and it kind of works. I want to know a better way to use this in the future.