MIDTERM ASSIGNMENT: LAMP FOR A CLOSET!
- link to Instructable website: https://www.instructables.com/id/Light-Hanger-1/
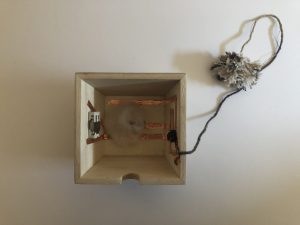
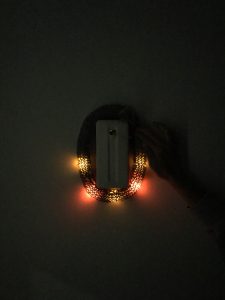
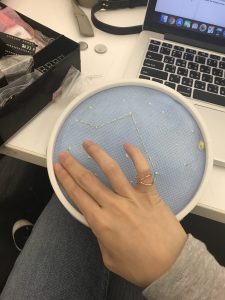
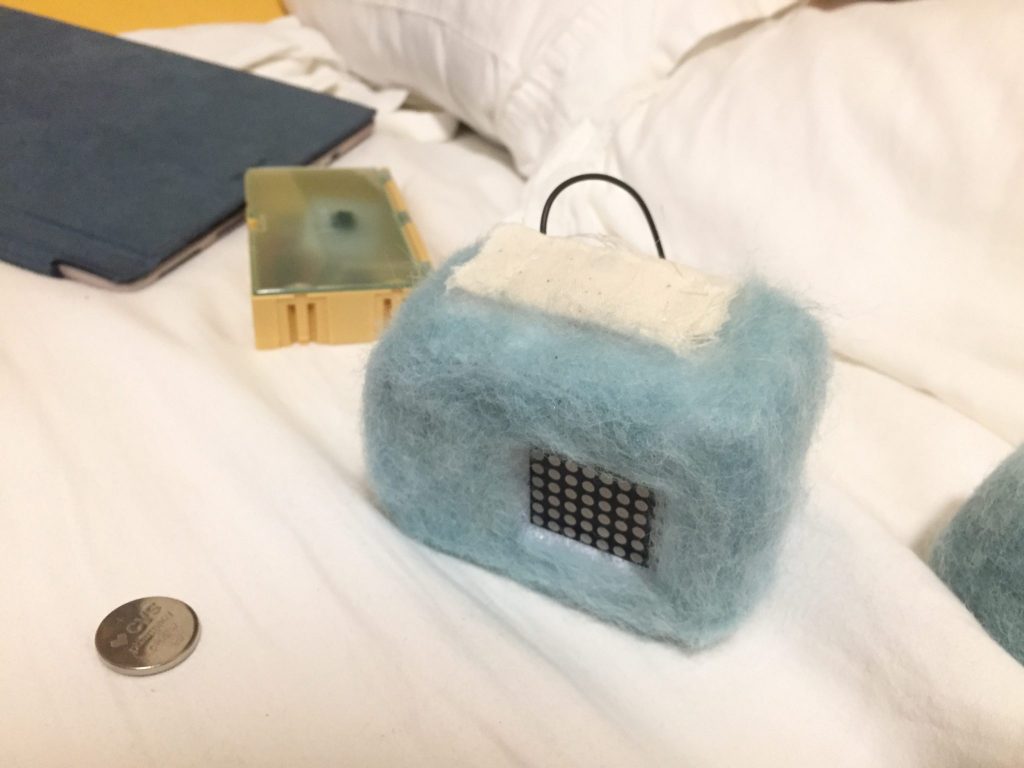
I often thought that I needed a separate light just for a closet. There were some situations when I did not want to turn on my room light to grab something out of closet.. especially not to wake up my roommate and pets. So I thought about creating a moveable light on a hanger.
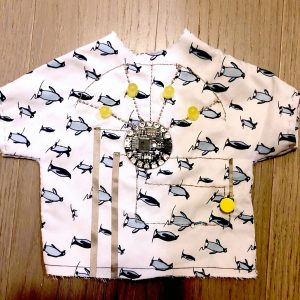
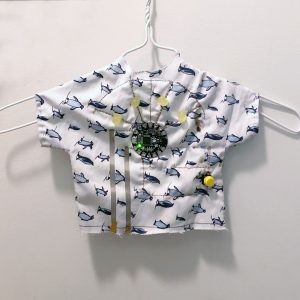
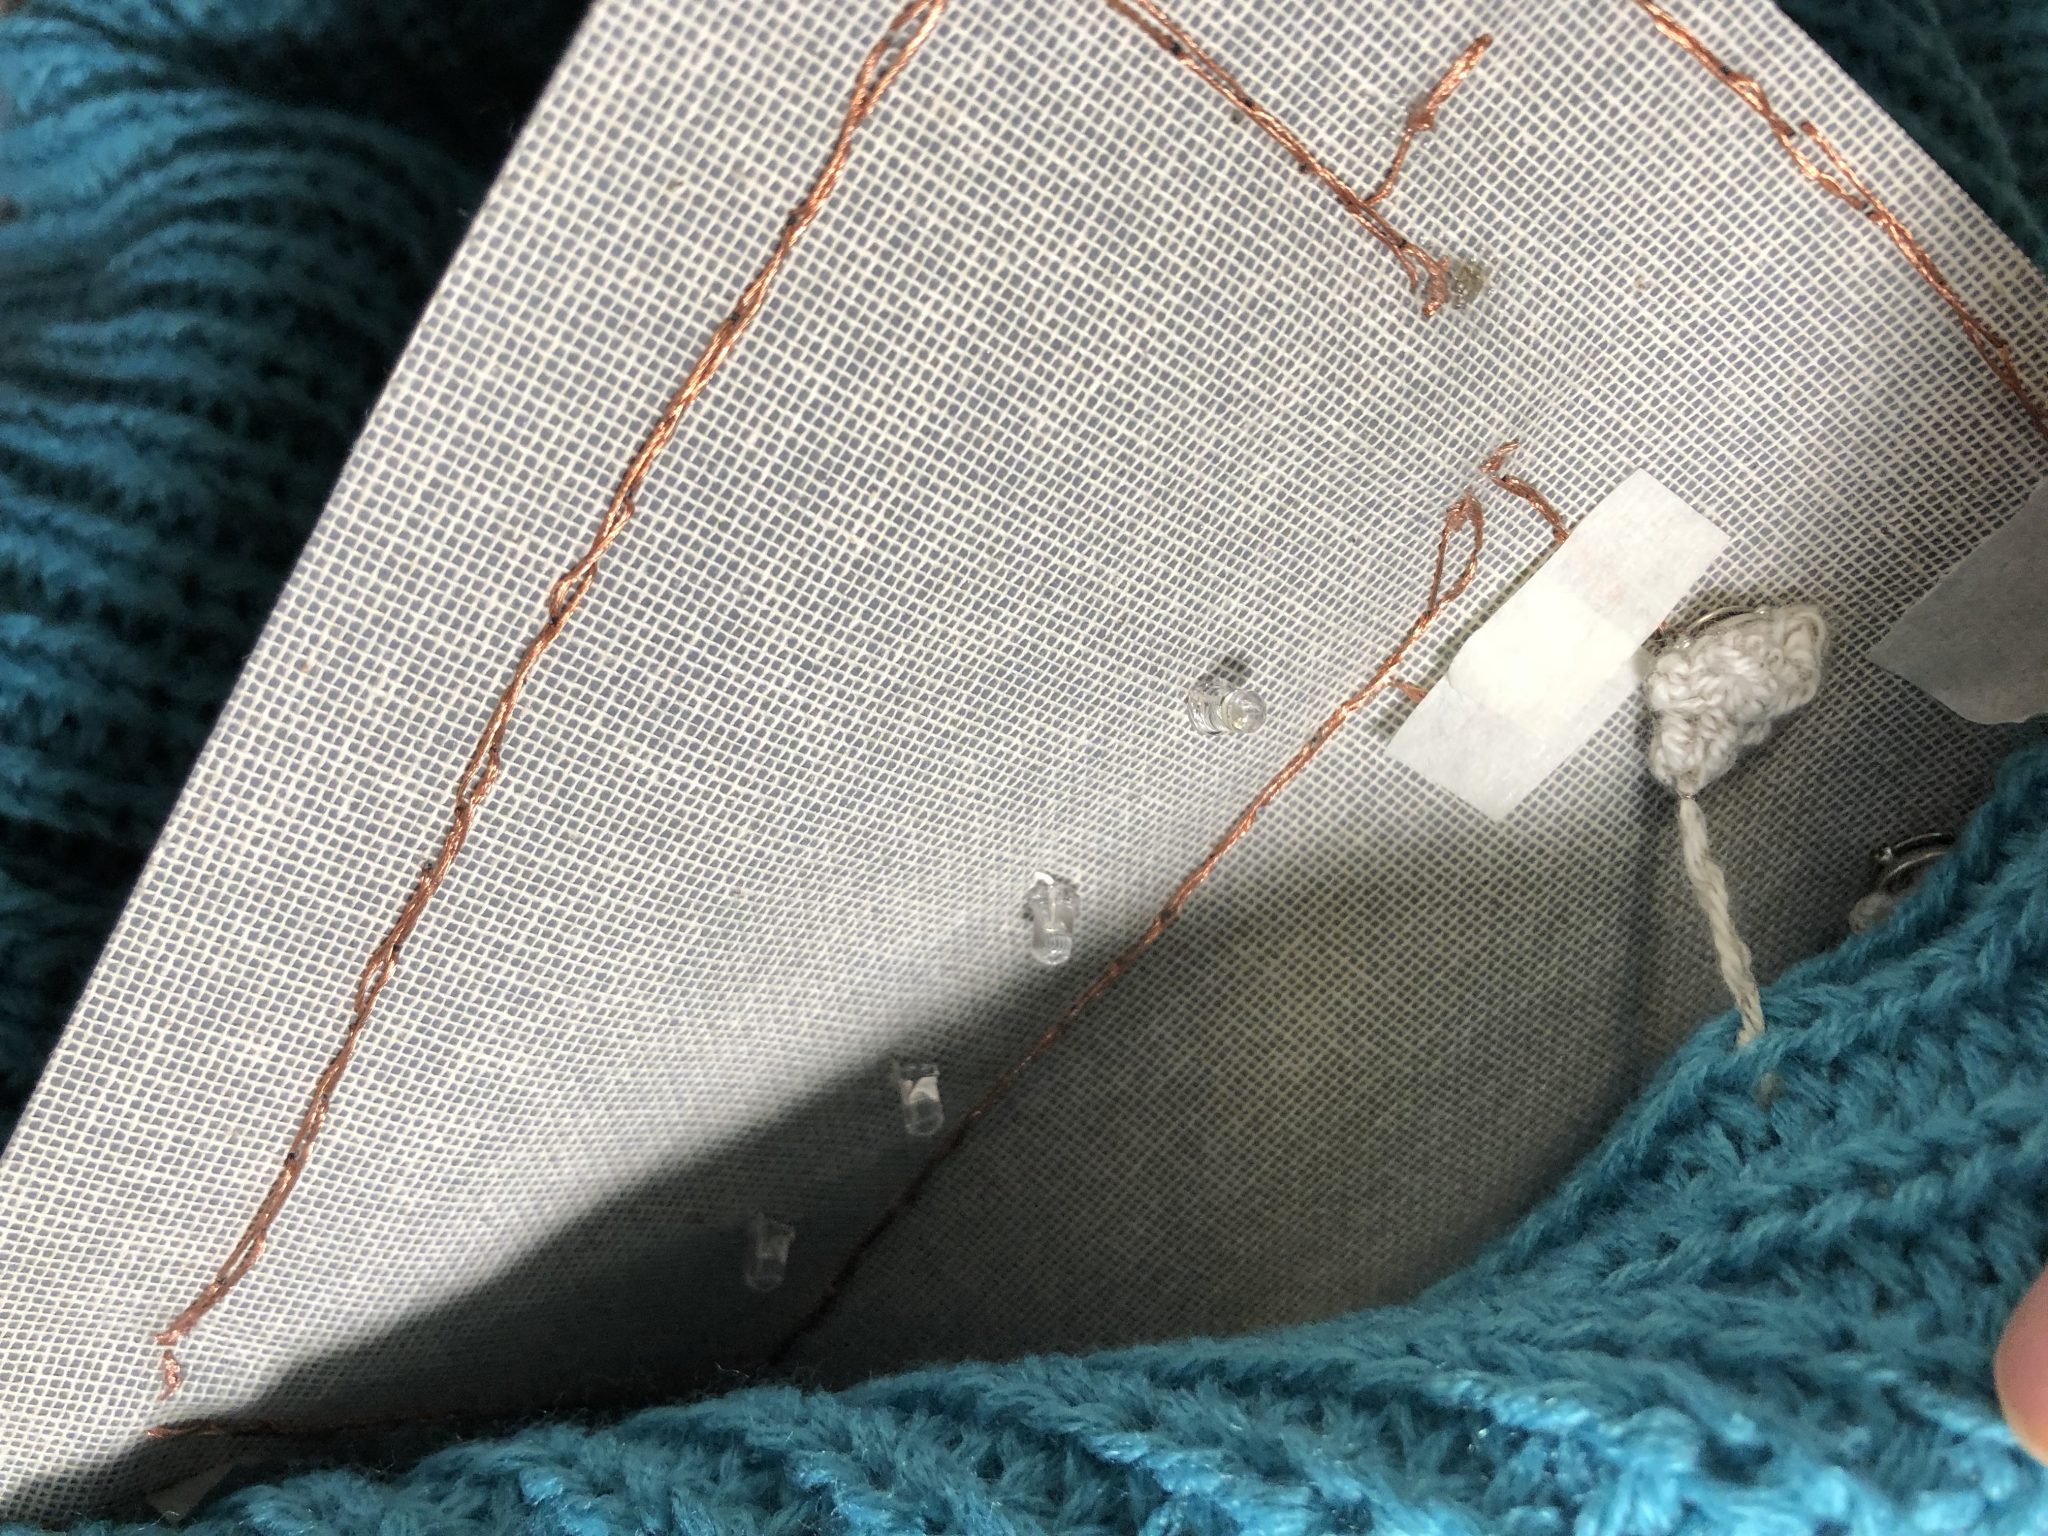
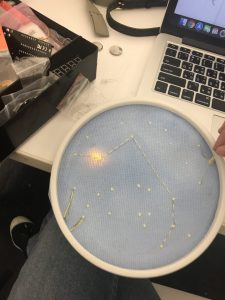
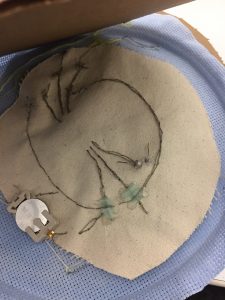
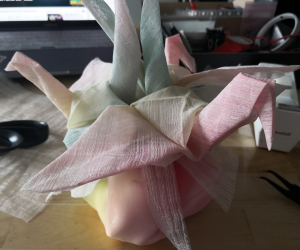
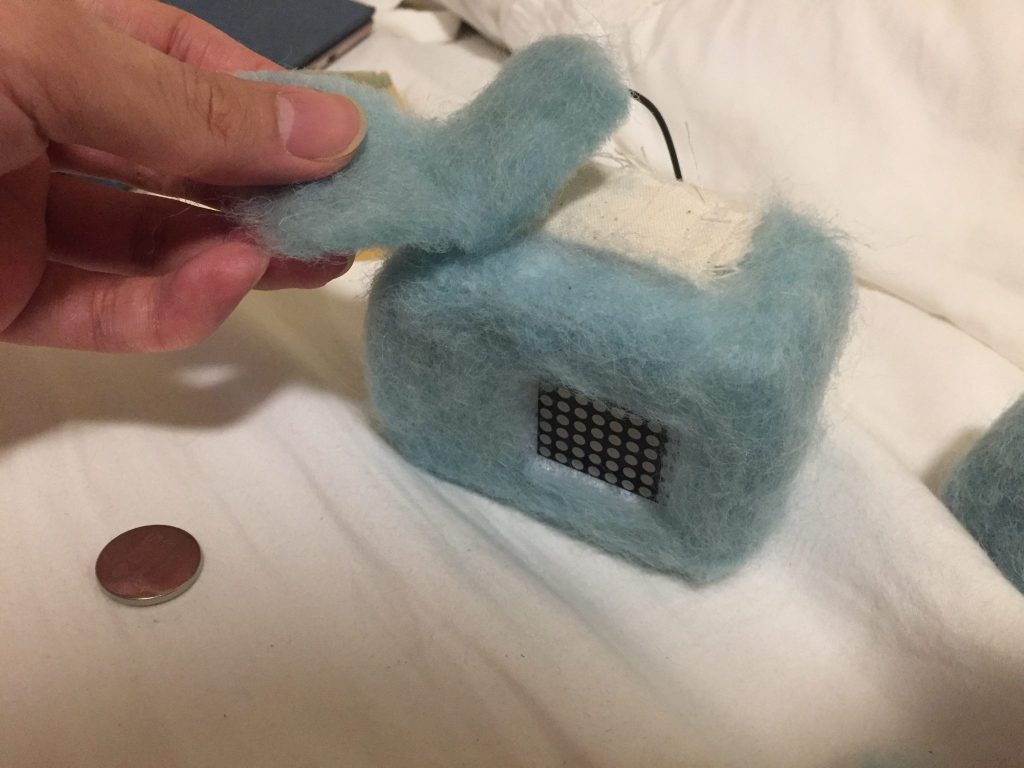
I planned to make the circuit directly onto one of my shirts, however, it did not quite work out because the shirt was too stretchy. Instead, I used pillow case fabric to make a mini shirt that can be hung on a hanger.
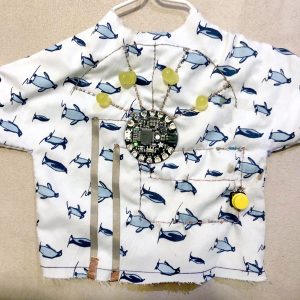
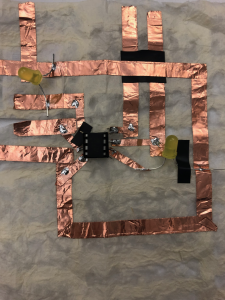
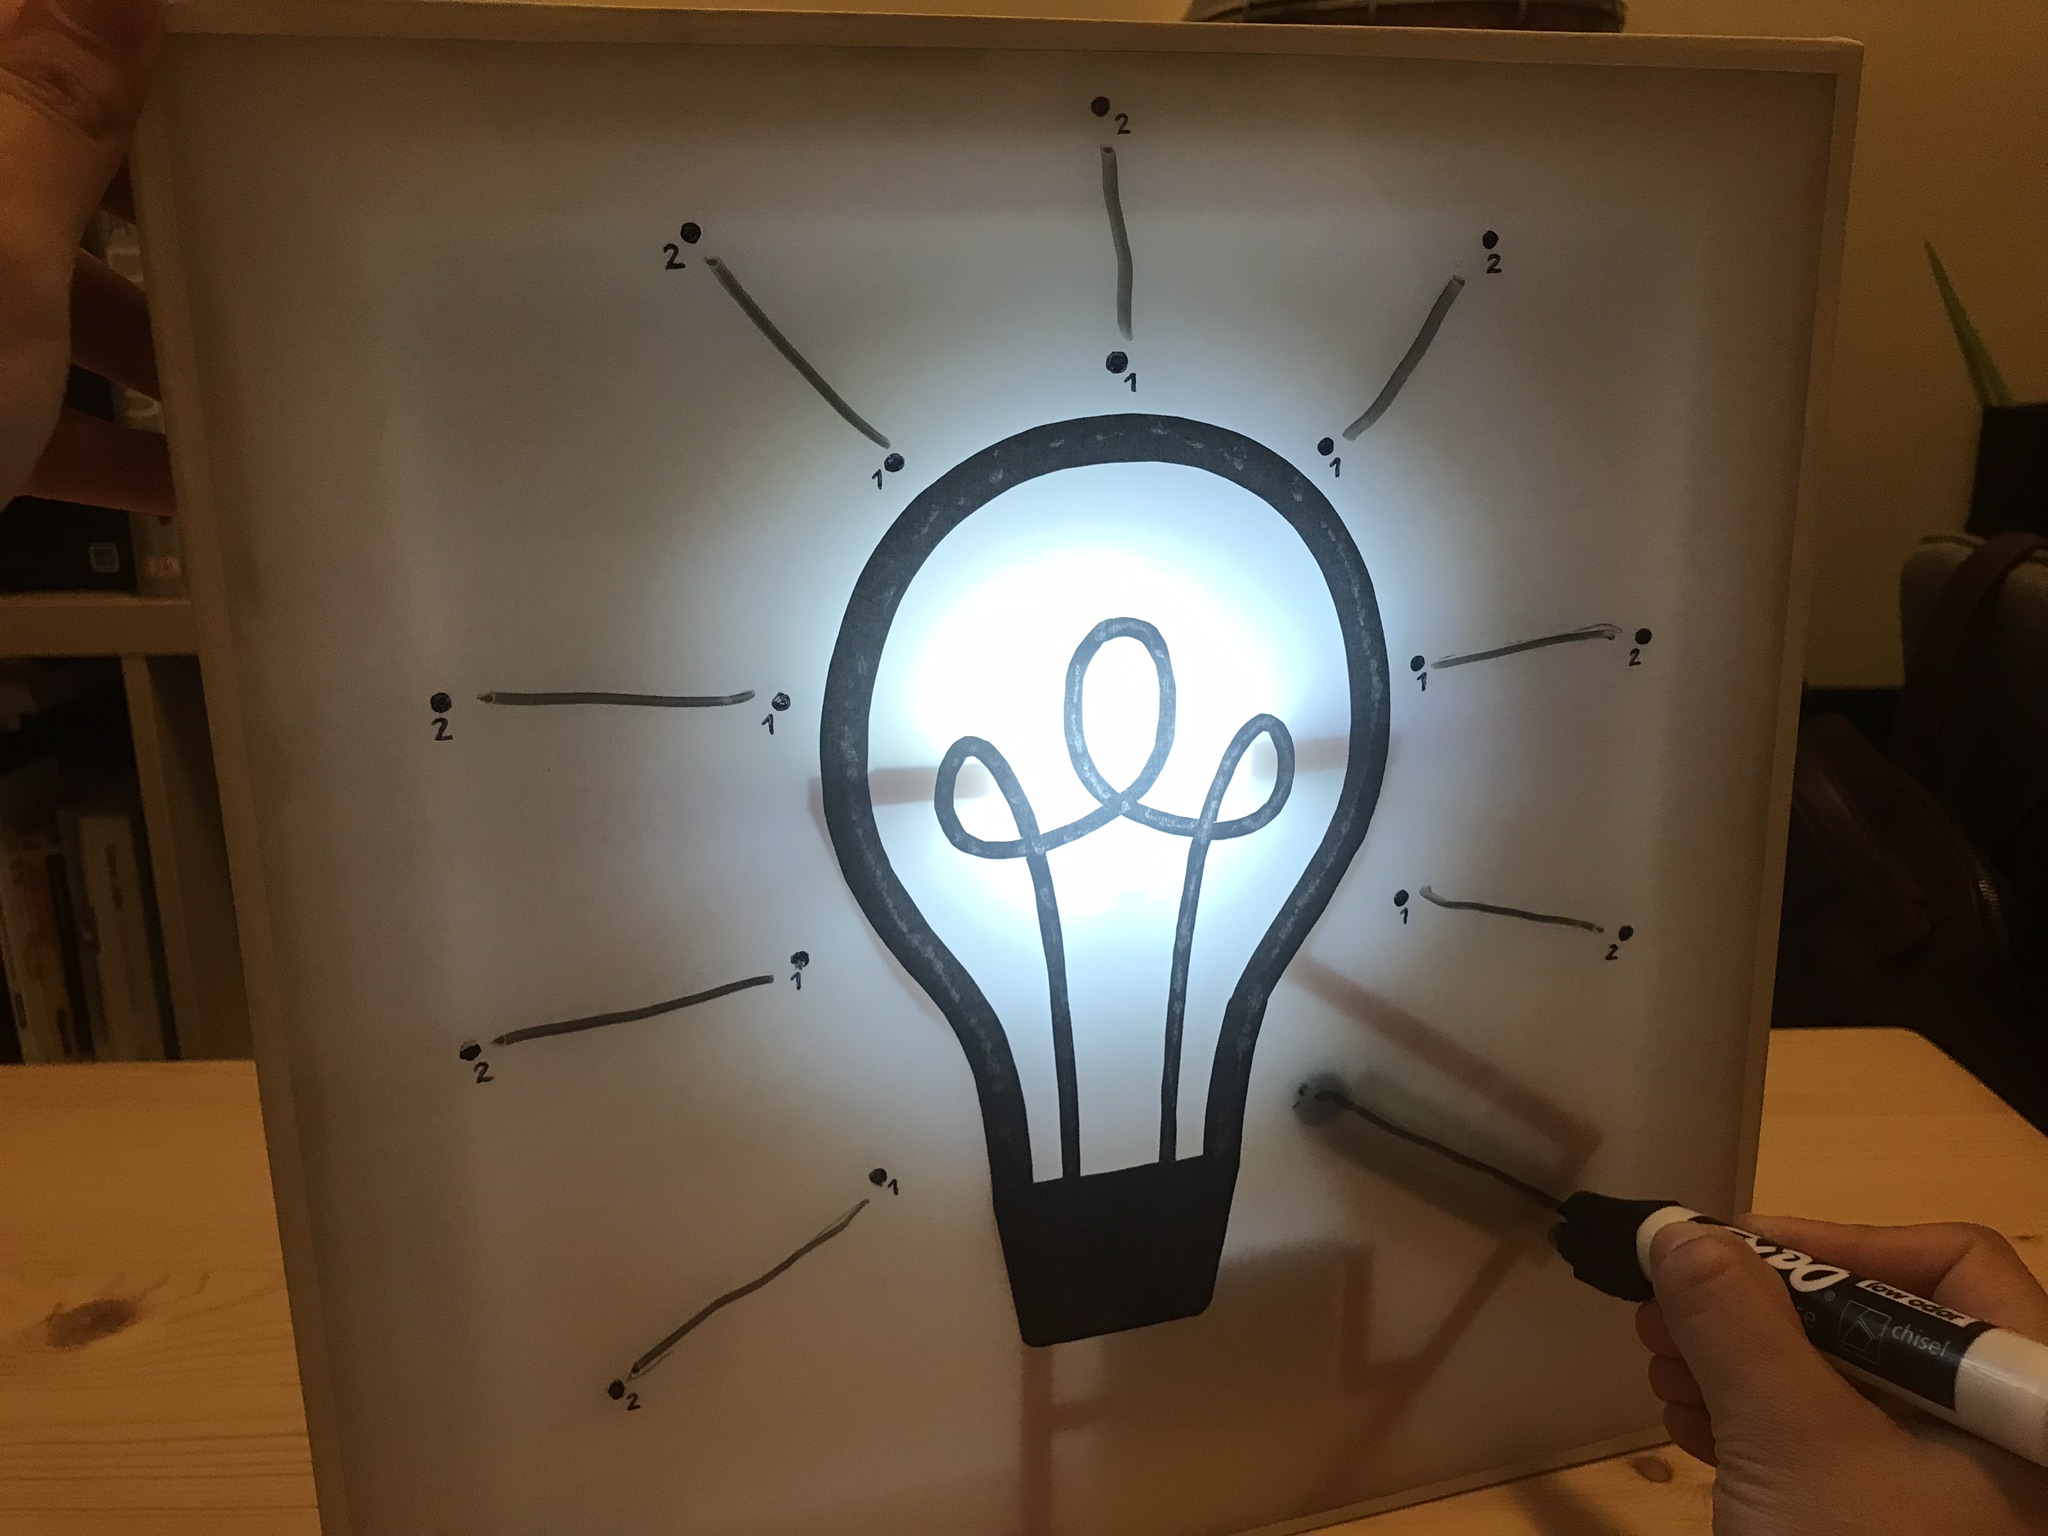
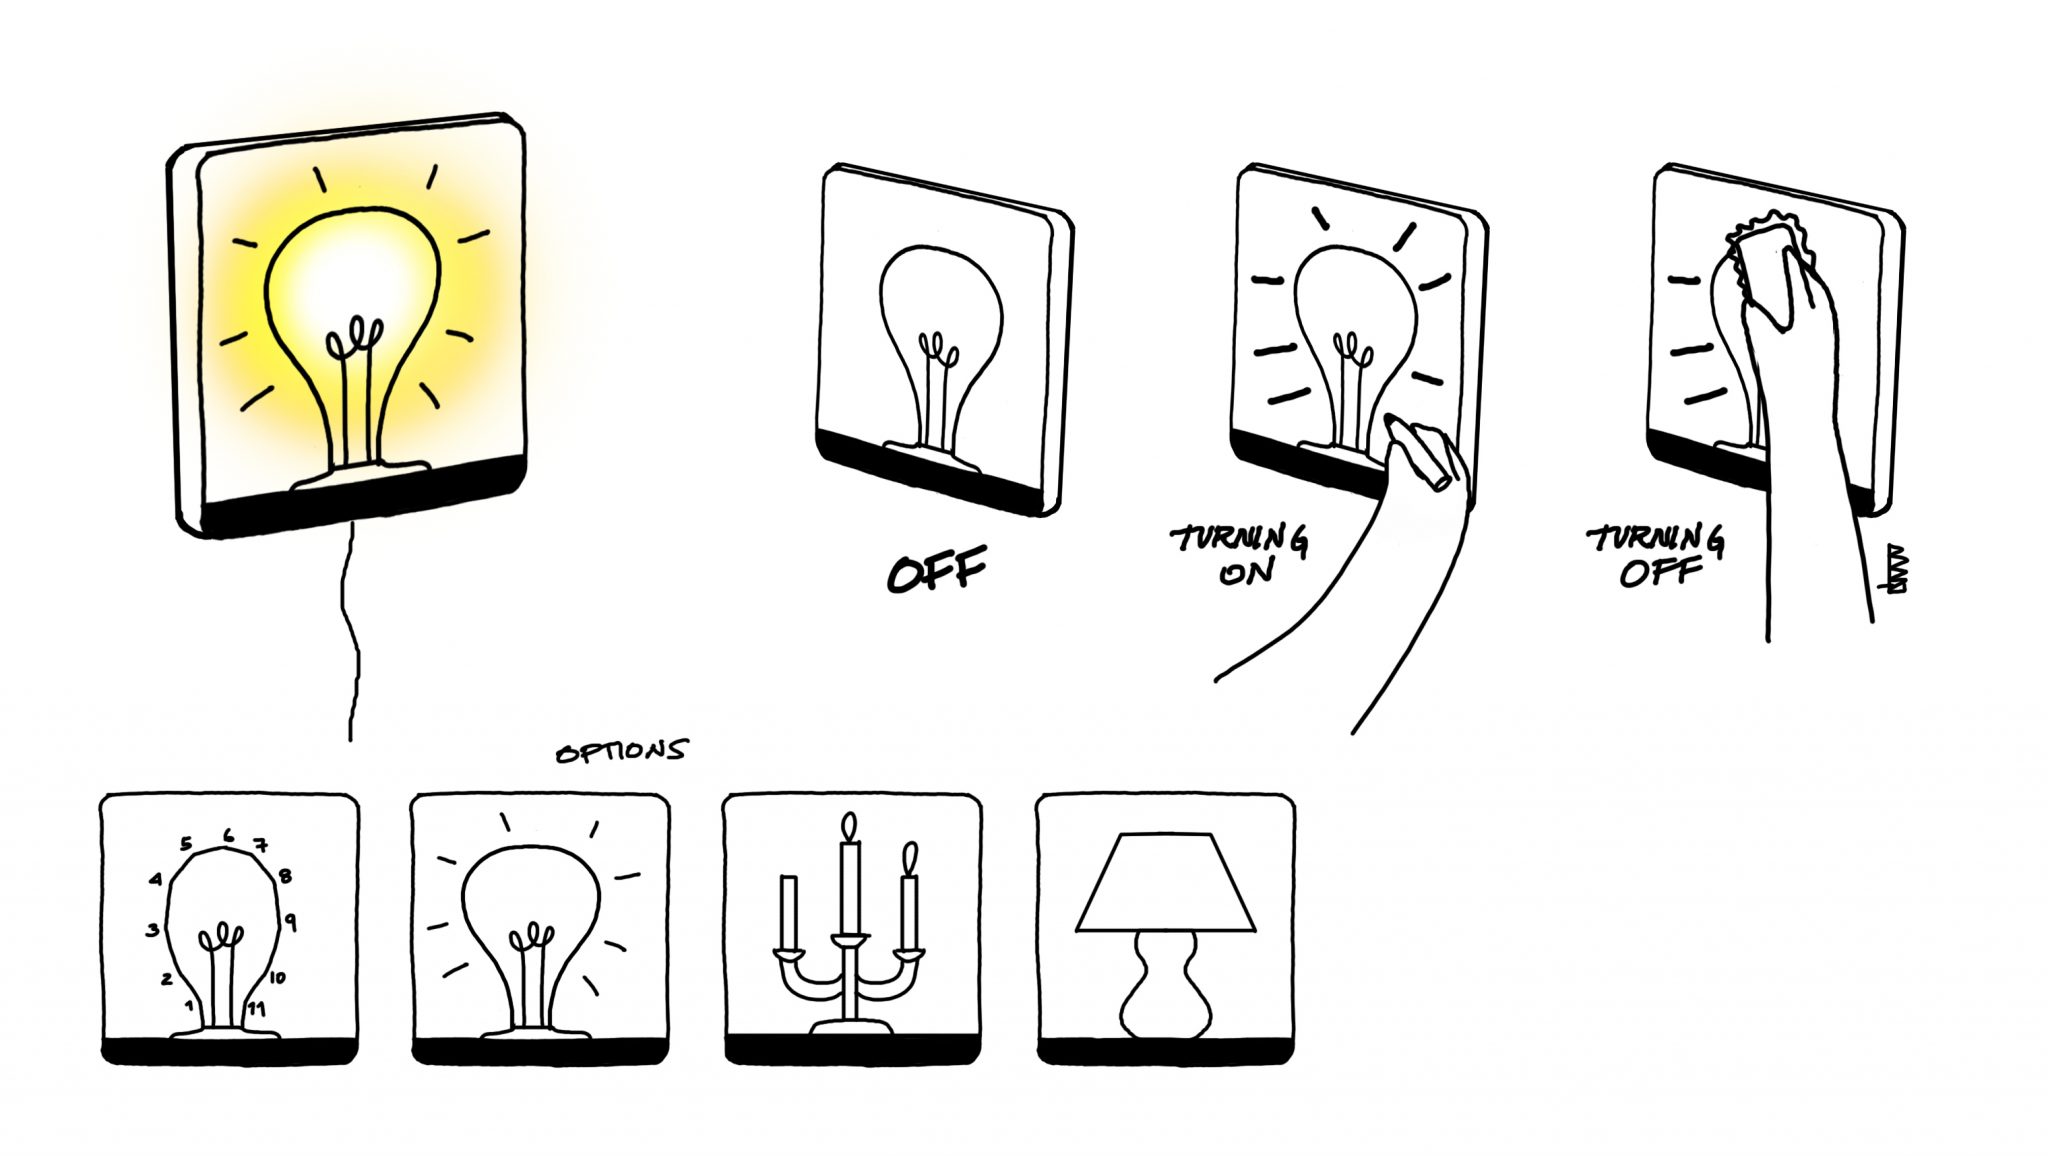
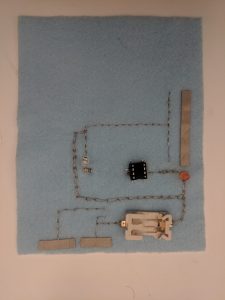
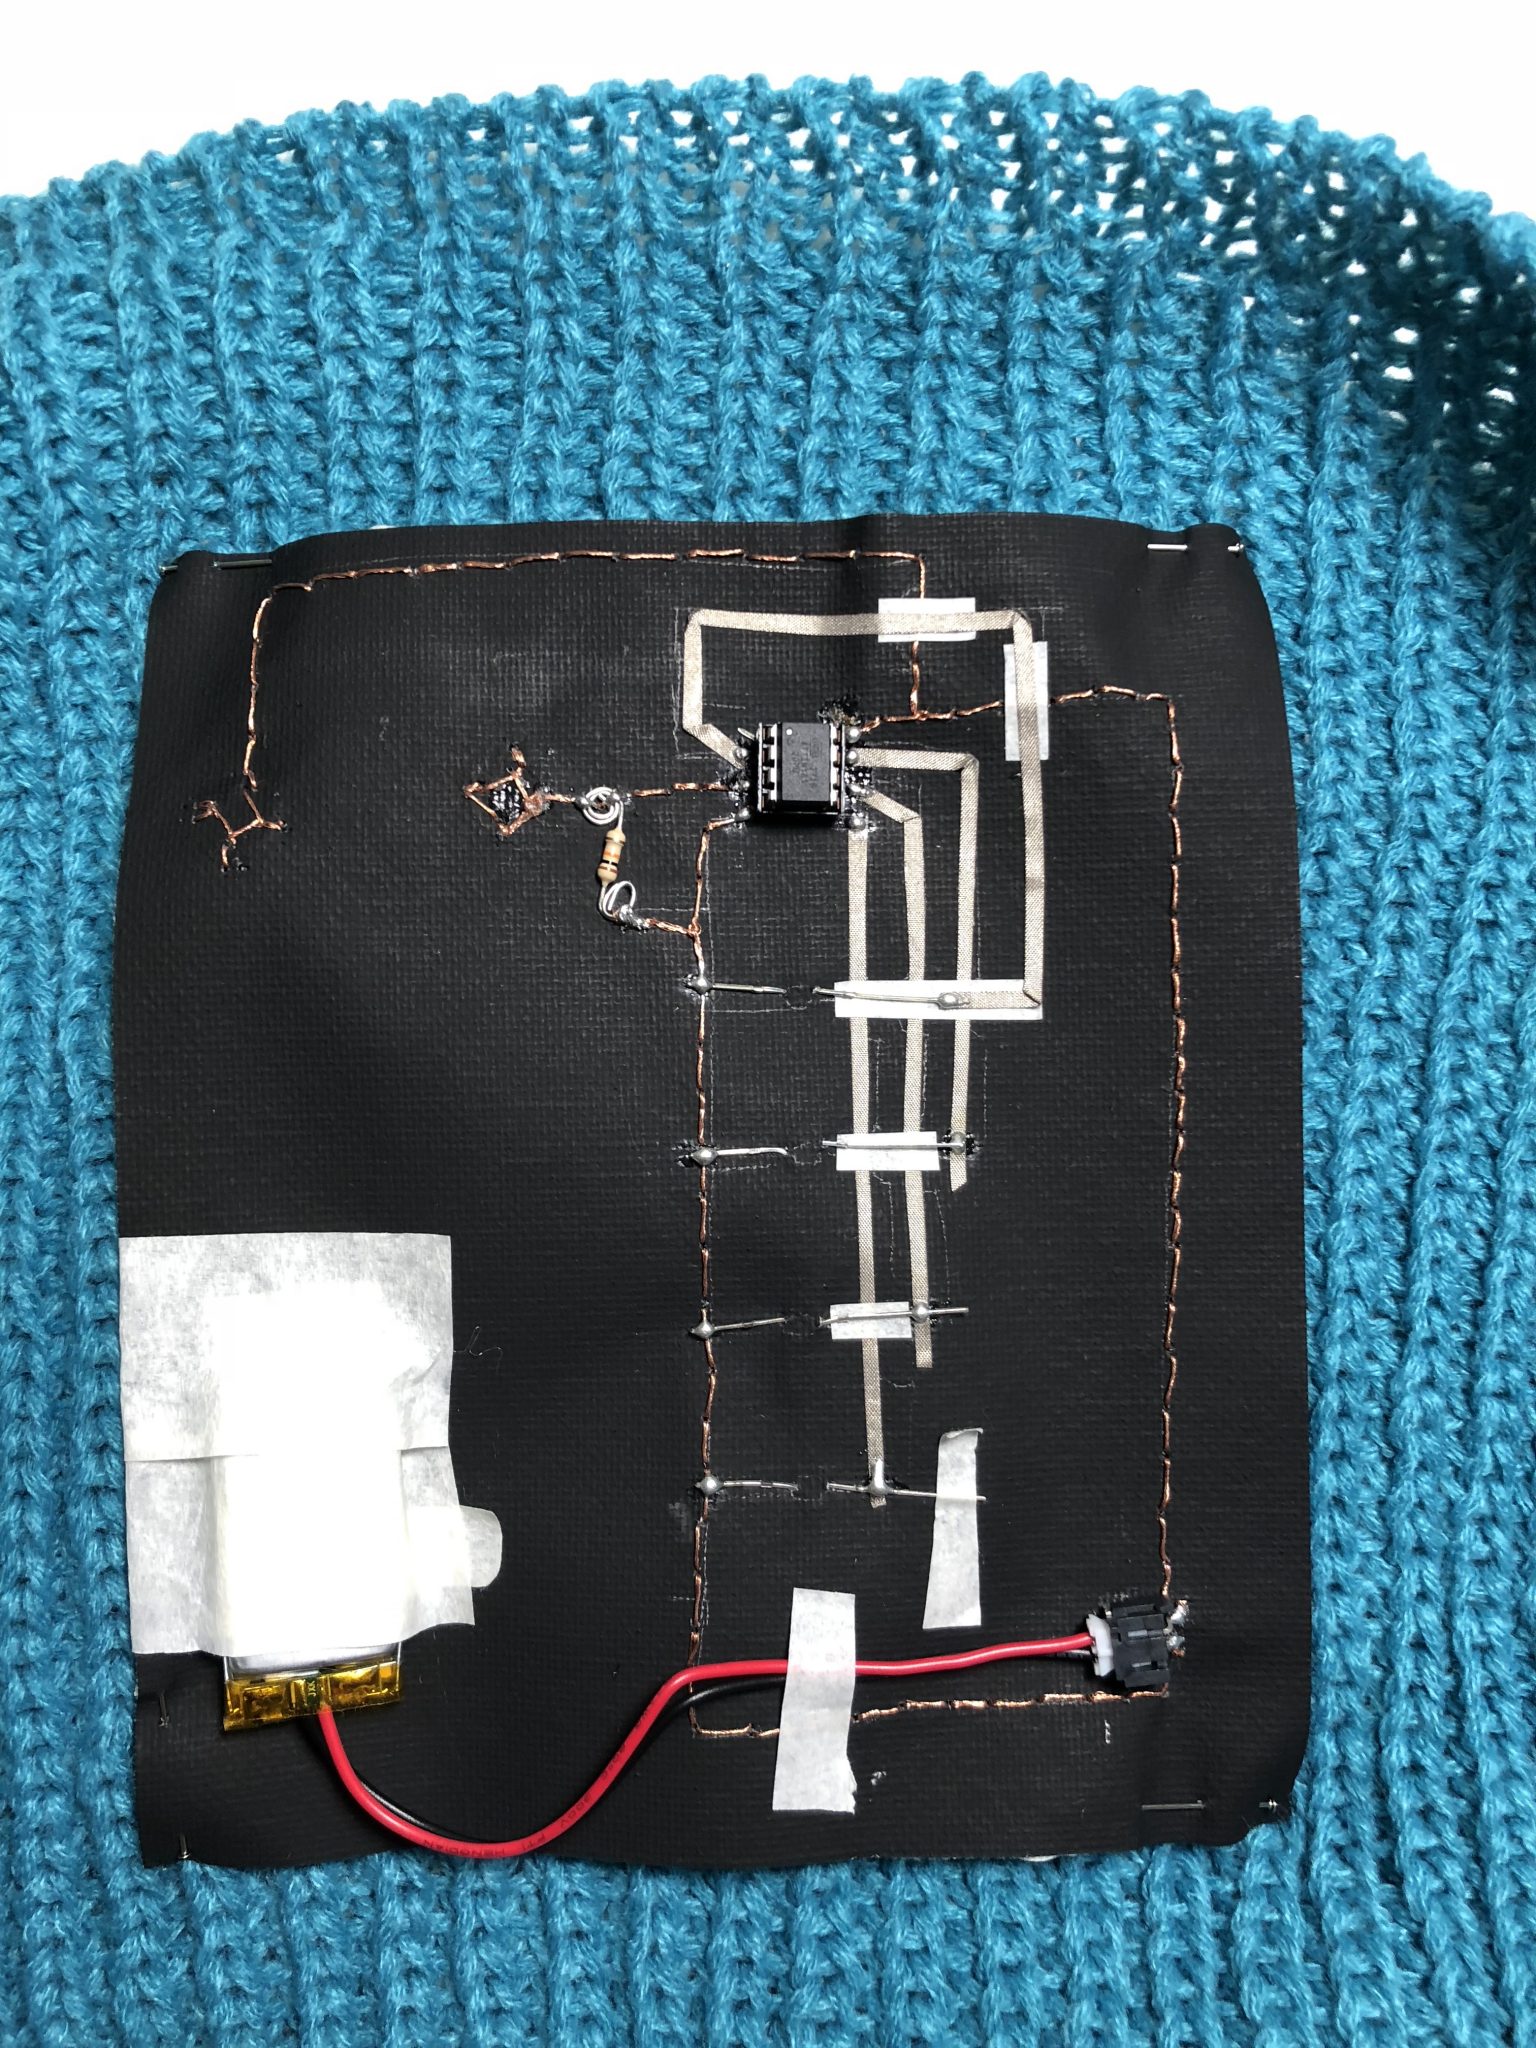
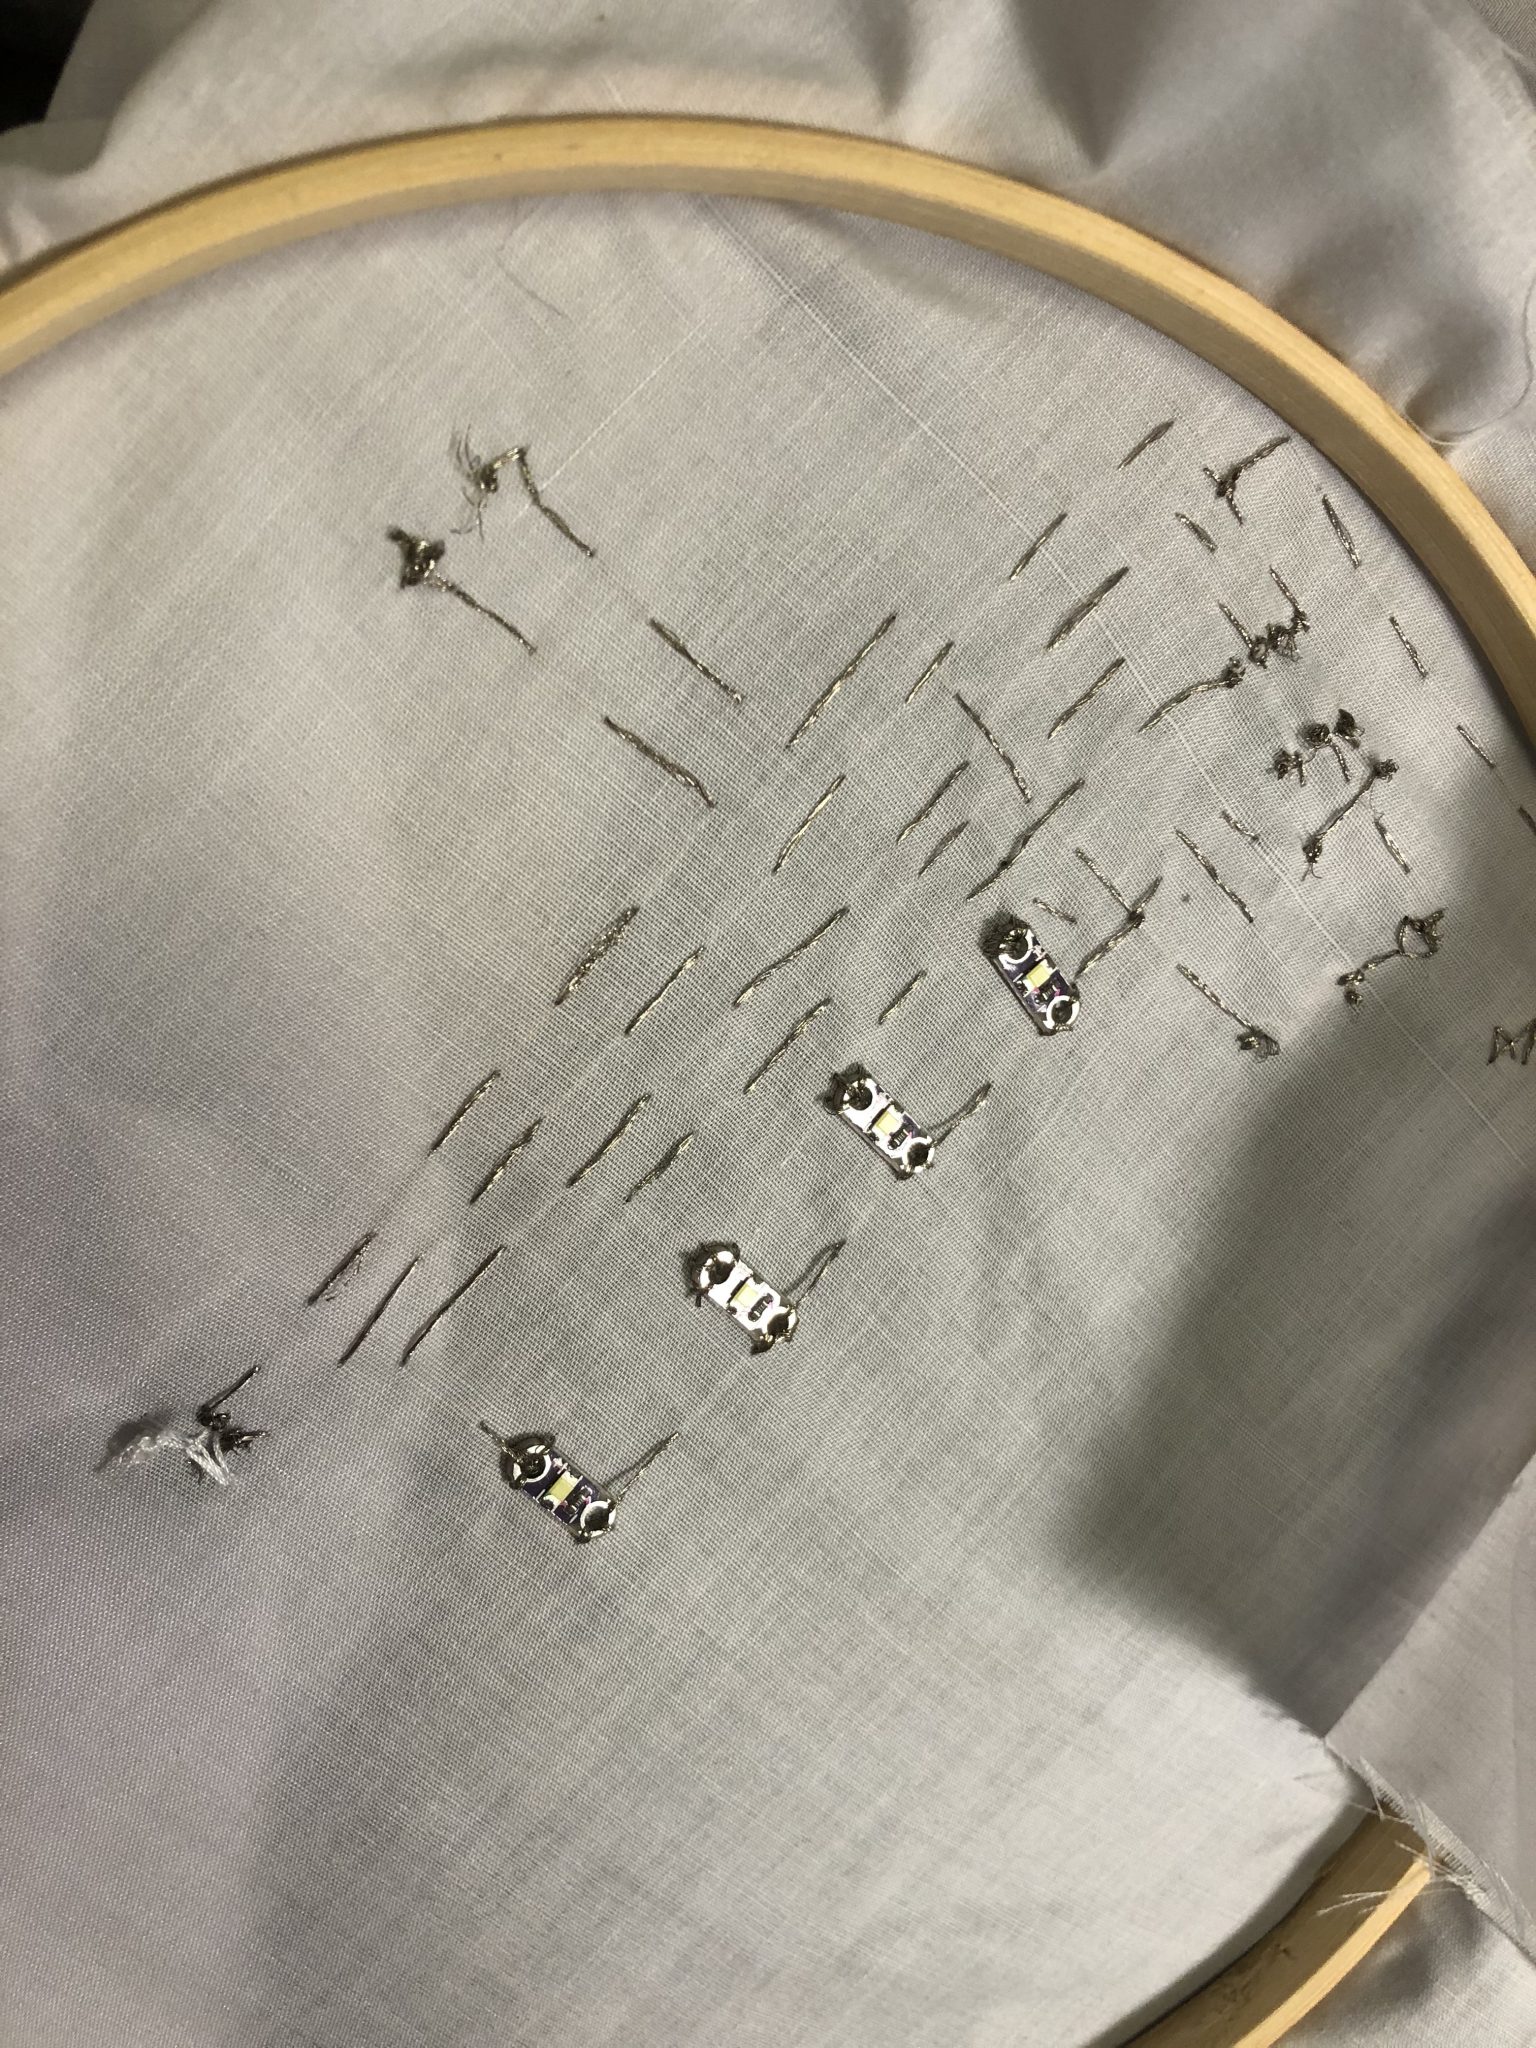
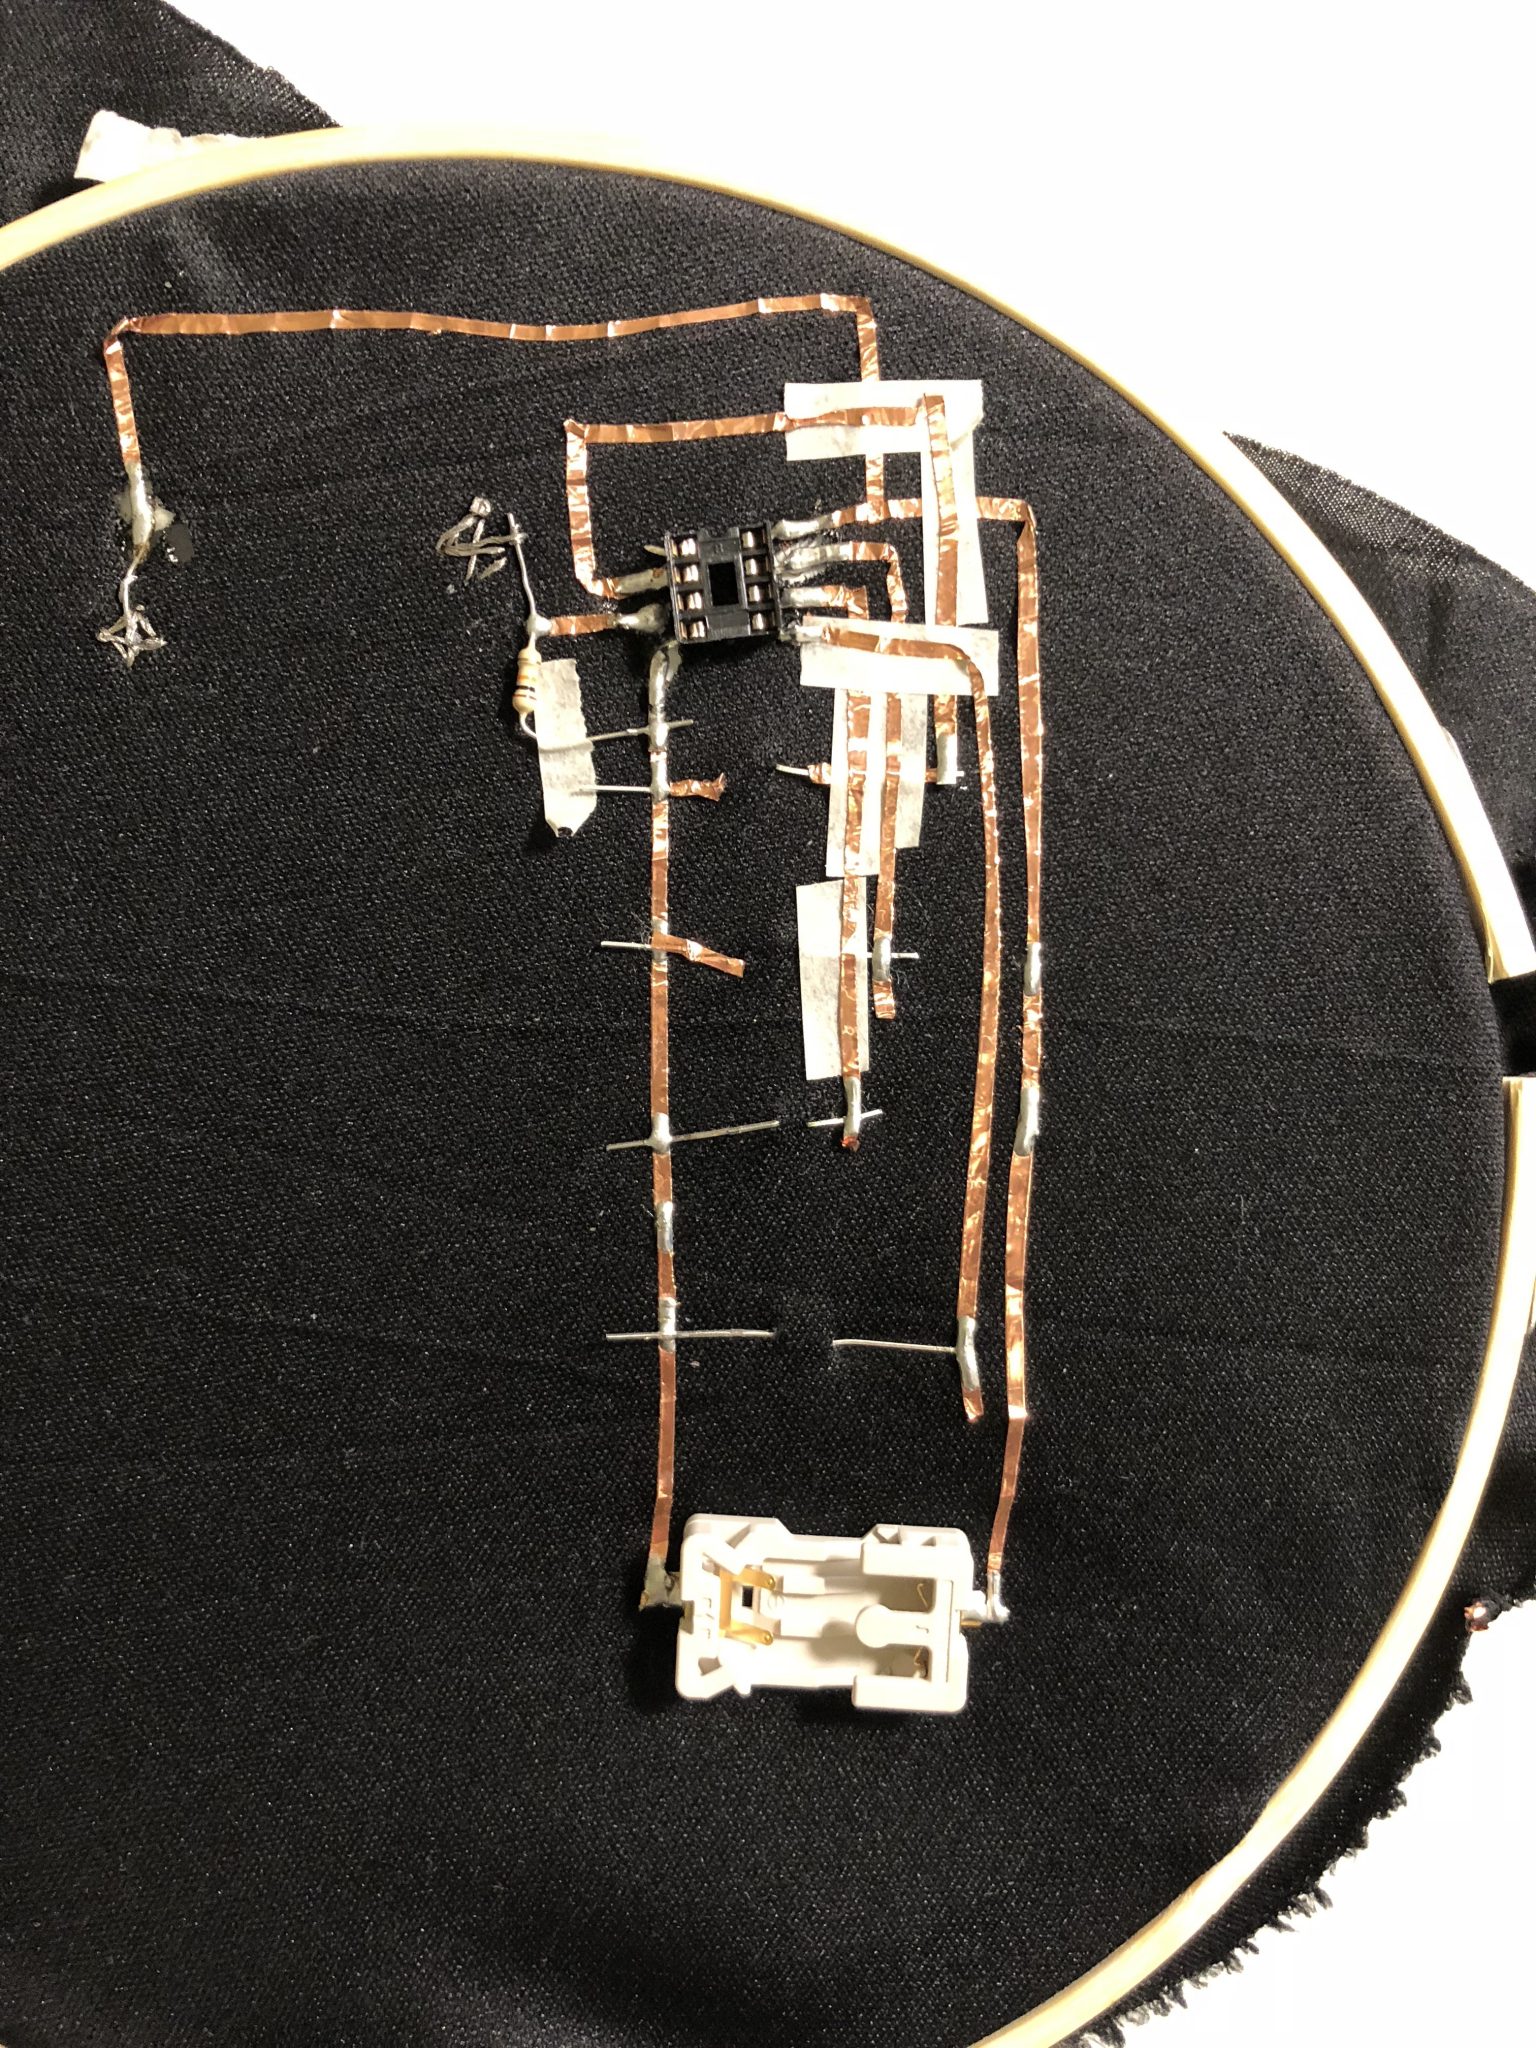
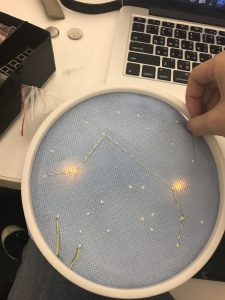
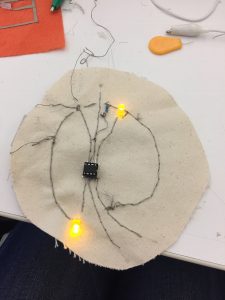
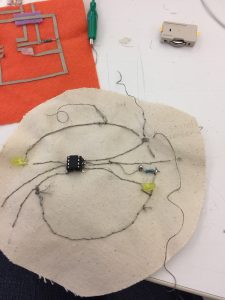
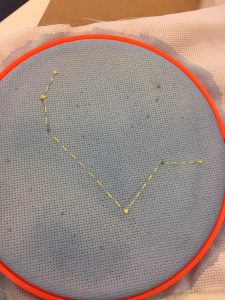
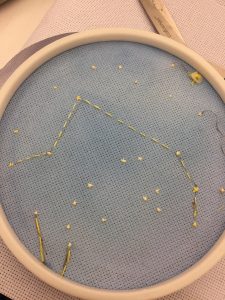
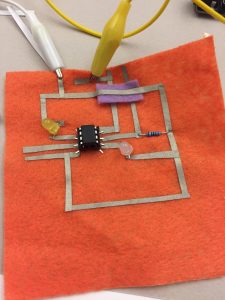
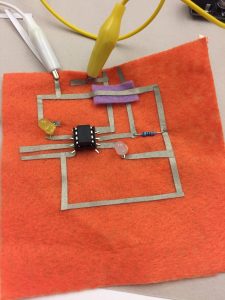
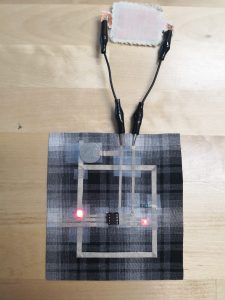
I created a circuit using Flora, LED lights, and a button that controls turning on/off the lights. When Flora is connected to a battery, a button is activated to control the lights.
Materials used:
- Pillow cover
- LED lights * yellow
- Flora (arduino)
- A button
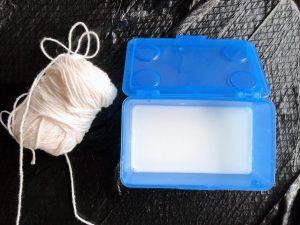
- Conductive thread
- Conductive fabric
- Copper thread
Future iteration:
- make more than one state for lights. (ex: blinking, lights partially on, etc)
- make both side of the shirt work (add more lights on the other side of the shirt)