Part 1: Control an LED using a soft sensor and Arduino.
Part 2: Build a circuit with one constructed sensor (variable resistor), your Arduino, and 3 (or more) LEDs or an RGB LED.
Watch in action here; still images below.
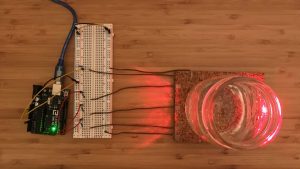 (the setup)
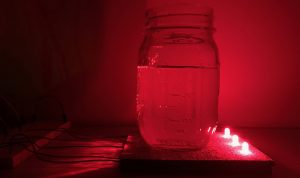 (full glass on sensor triggers all three LEDs)
 (playing with light, water, and glass)
Summary: Arduino reads the analog input from a constructed pressure sensor, controlled for example by pouring water into a jar over the sensor pad. Based on the input, the Arduino controls three LEDs: the more pressure, the more lights turn on.
Pressure sensor materials: Velostat, conductive tape, cork, LEDs.
Code snippet:
```
// This function determines the LED pins' output (HIGH or LOW)
// based on the sensor pin's input (held in the variable "average").
void displayLights() {
if (average > 200) {
digitalWrite(ledA, HIGH);
digitalWrite(ledB, HIGH);
digitalWrite(ledC, HIGH);
} else if (average > 150) {
digitalWrite(ledA, HIGH);
digitalWrite(ledB, HIGH);
digitalWrite(ledC, LOW);
} else if (average > 100) {
digitalWrite(ledA, HIGH);
digitalWrite(ledB, LOW);
digitalWrite(ledC, LOW);
} else {
digitalWrite(ledA, LOW);
digitalWrite(ledB, LOW);
digitalWrite(ledC, LOW);
}
}
```
Part 3: Document midterm ideas.
I’d like to create transparent modular blocks, each containing a piece of a circuit: e.g. one might contain a 3v battery, another a resistor, another an LED, and others just connecting components. A user would be able to play with the blocks by connecting them in 3d space; complete a circuit with the blocks, and the blocks with the LED shines.
The intention is to build something simple, playful, and educational.
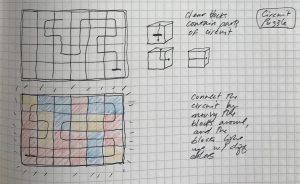 (early ideation on paper)
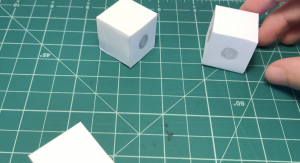 (prototyping)