This is the final presentation project slides
This is the instructable link for the project
https://www.instructables.com/id/AR-Fortune-Telling-Card/
Documentation
This is the final presentation project slides
This is the instructable link for the project
https://www.instructables.com/id/AR-Fortune-Telling-Card/
Documentation
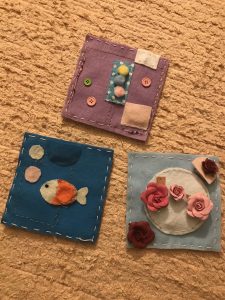
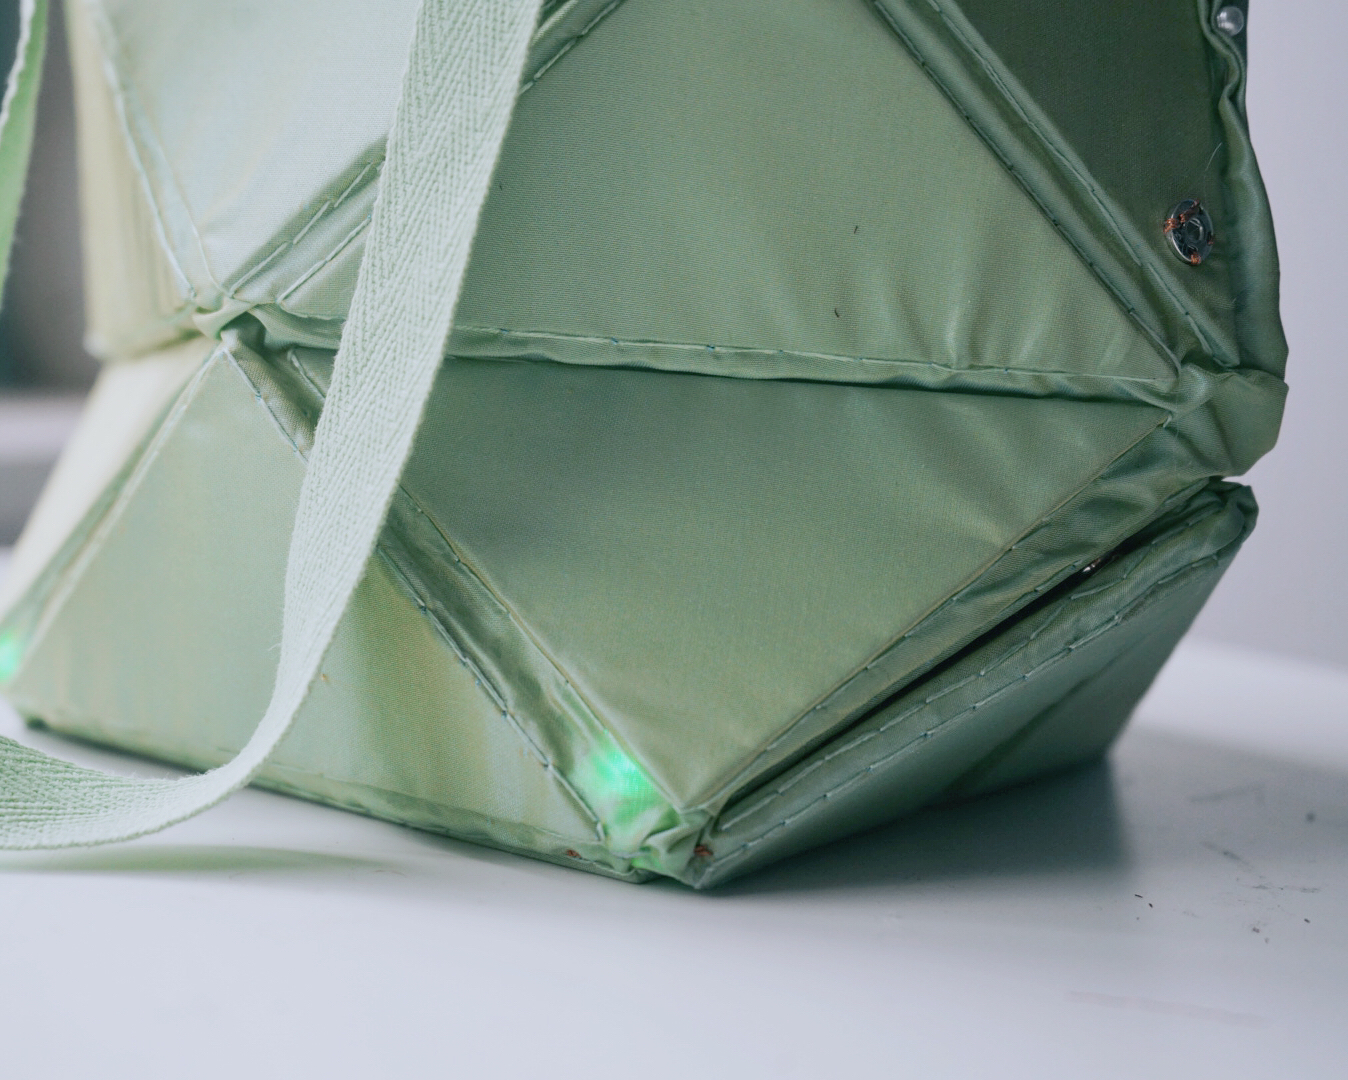
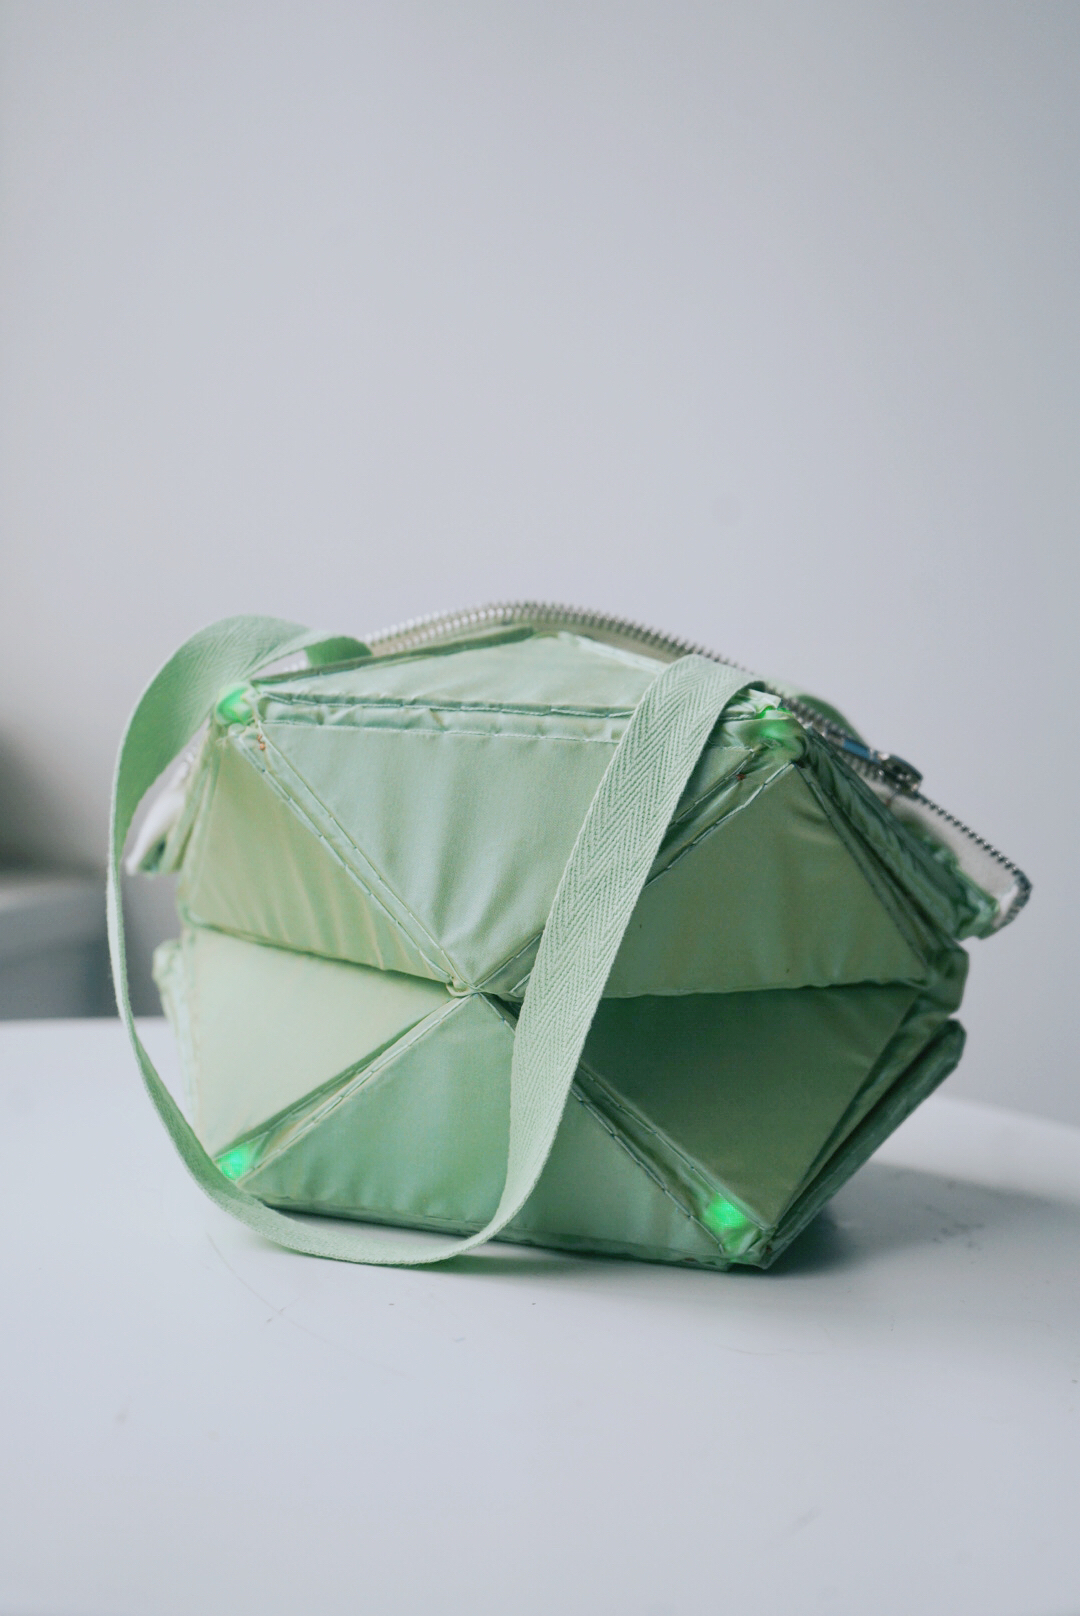
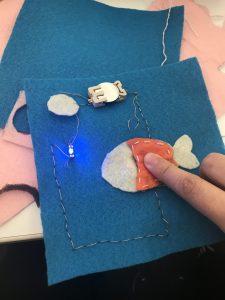
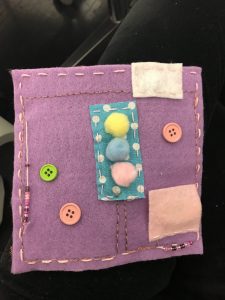
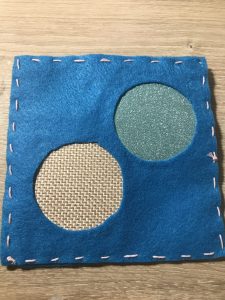
For my final, I decided to combine the idea of fidget blankets for Dementia, Alzheimer’s, Seizures and fabric books to make a series of interactive fidget portable pieces for children in which they can play anywhere with them.
Materials use –
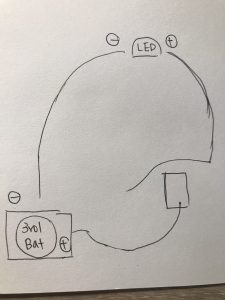
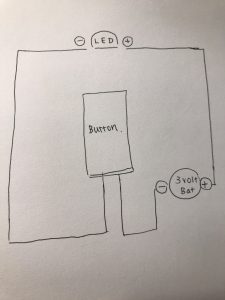
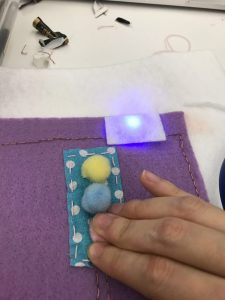
I think the hardest part is to think of a good circuit to incorporate into your swatch design, once that is drawn and tested out. The rest will be sewing the circuit and hoping that there isn’t any short circuits that prevent your LED from working.
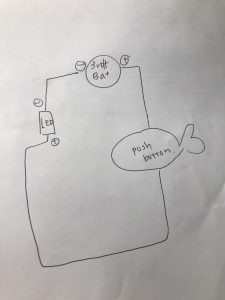
Then, I sewed the drawn circuits on my fidget pieces!
Link to Instructable page: https://www.instructables.com/id/Fidgety/
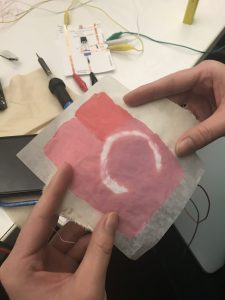
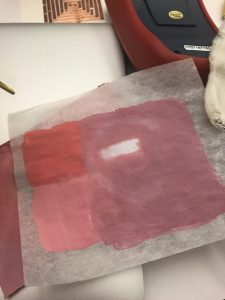
The circuit is completed but the effect is minimal. I think I mix the water too much or the powder is too low. It’s hard to make it right however, I can make it happened in the final project.
Challenge: The mixture is very hard to get it right. As I do not have the basic knowledge of watercolor or brush.

I like how the spring can go back to its original form. This is pretty fun when playing with it. I failed to work on the first try because of the voltage.
Challenges : The calculation of the voltage is a little complex for a beginner.
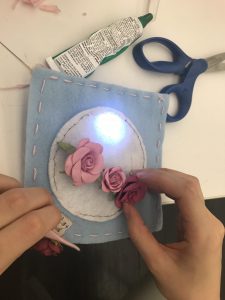
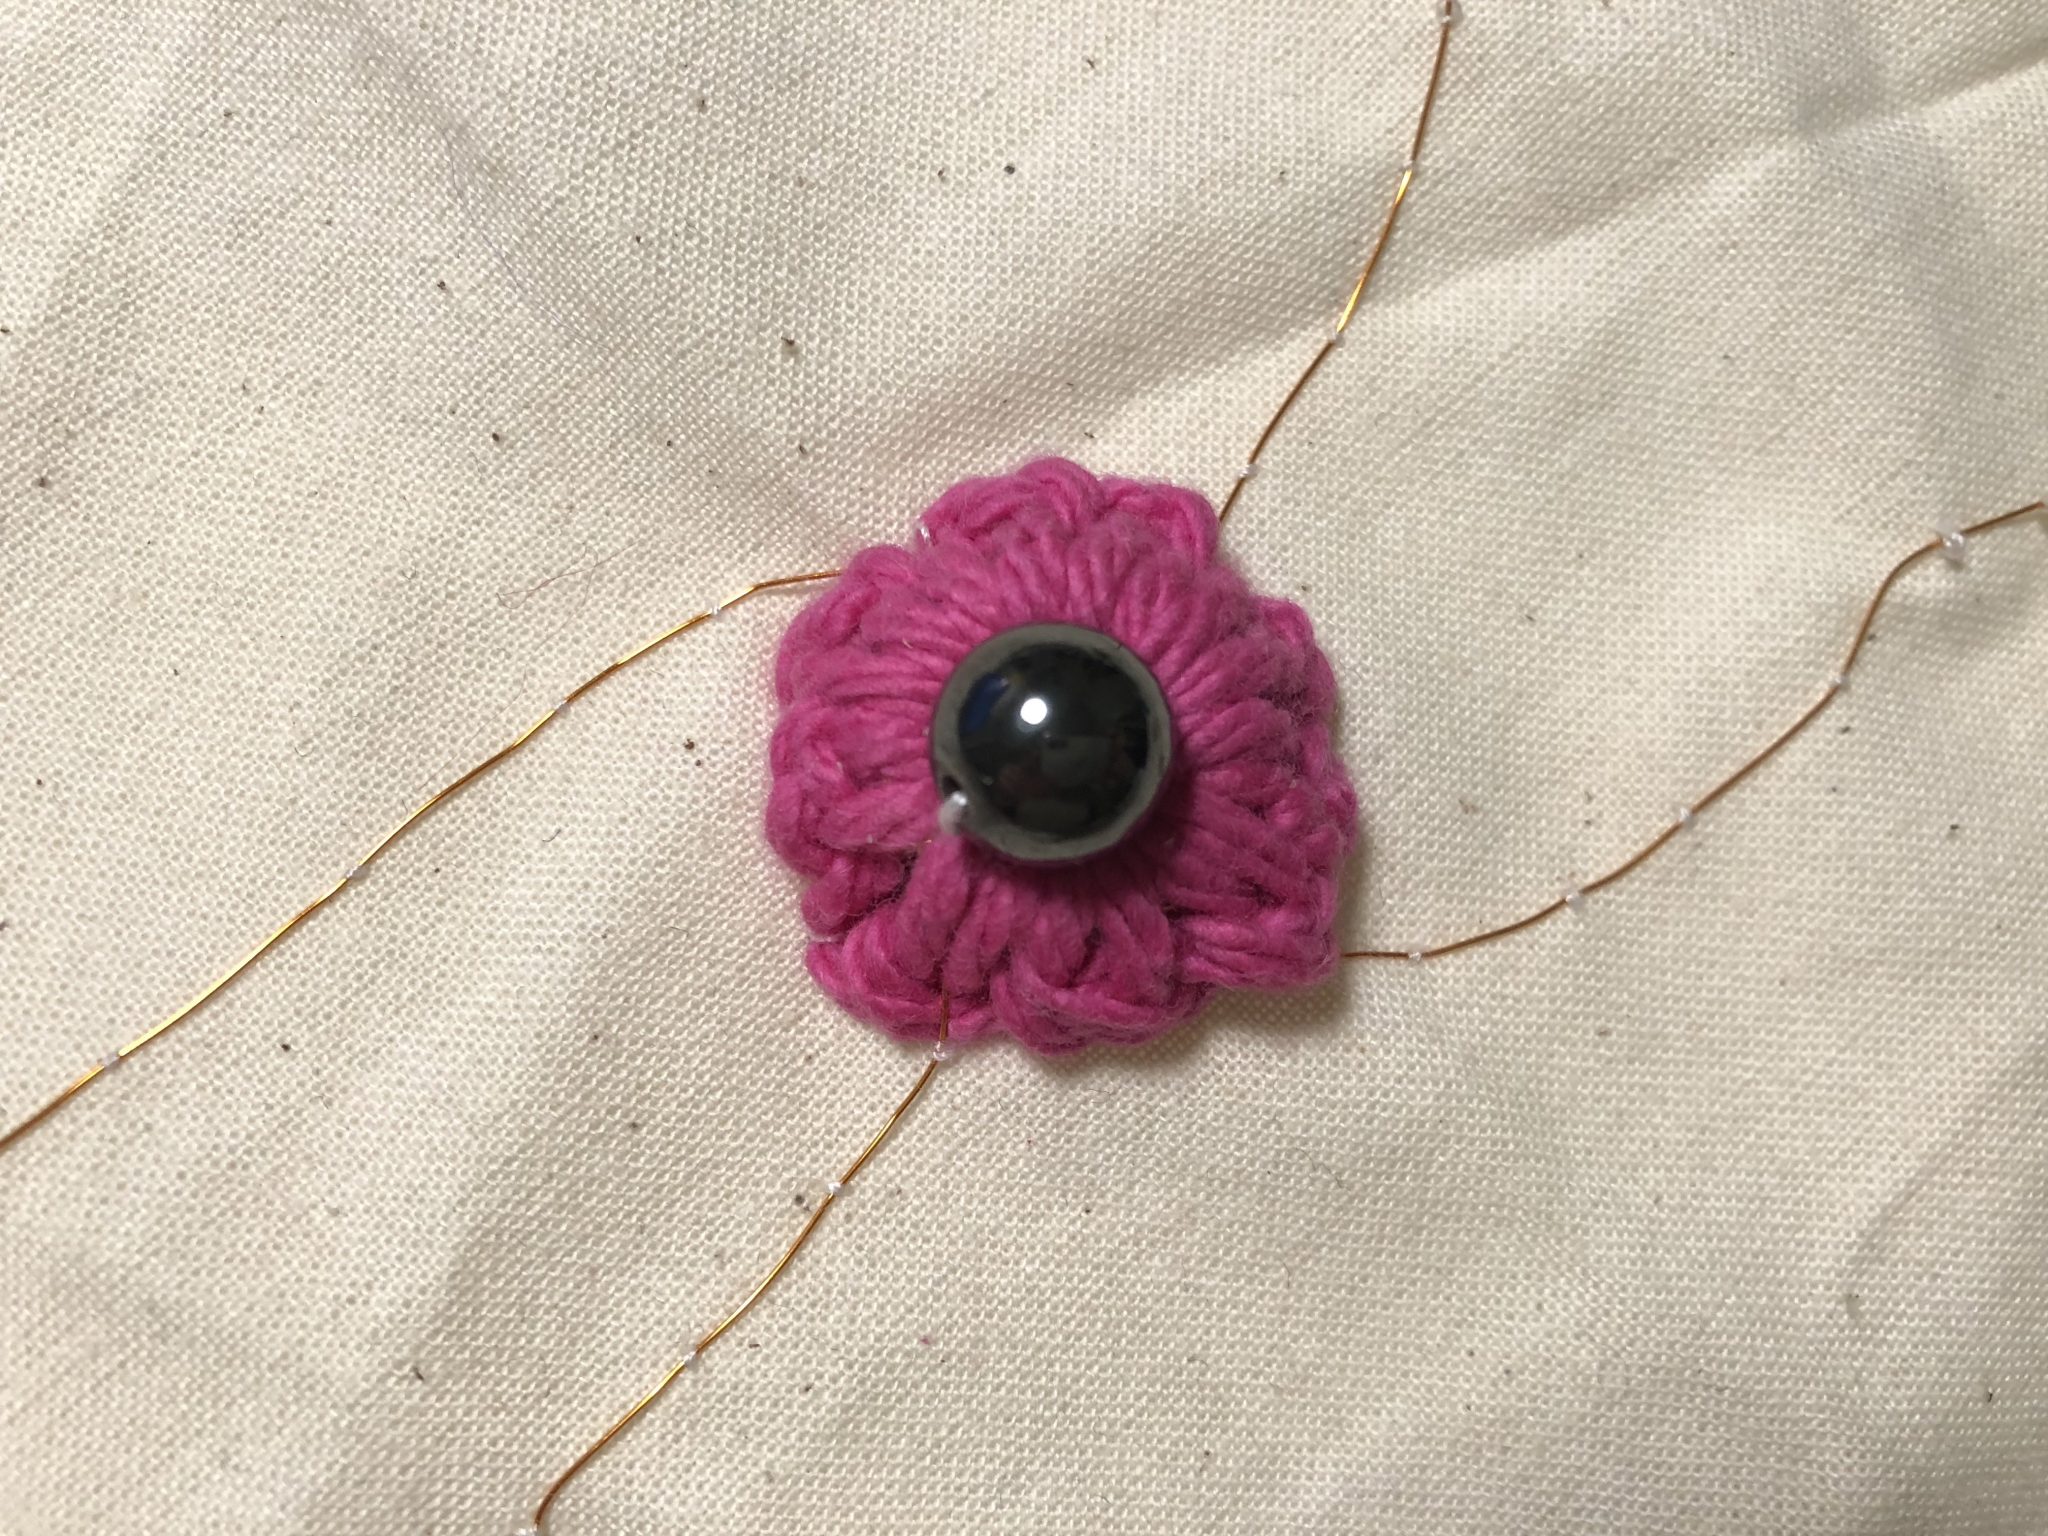
My flip dot aimed to resemble a dancing small flower. The crochet technique used to cover the coil helps to visualize small petals made of yarn and the flower core made by the bead.
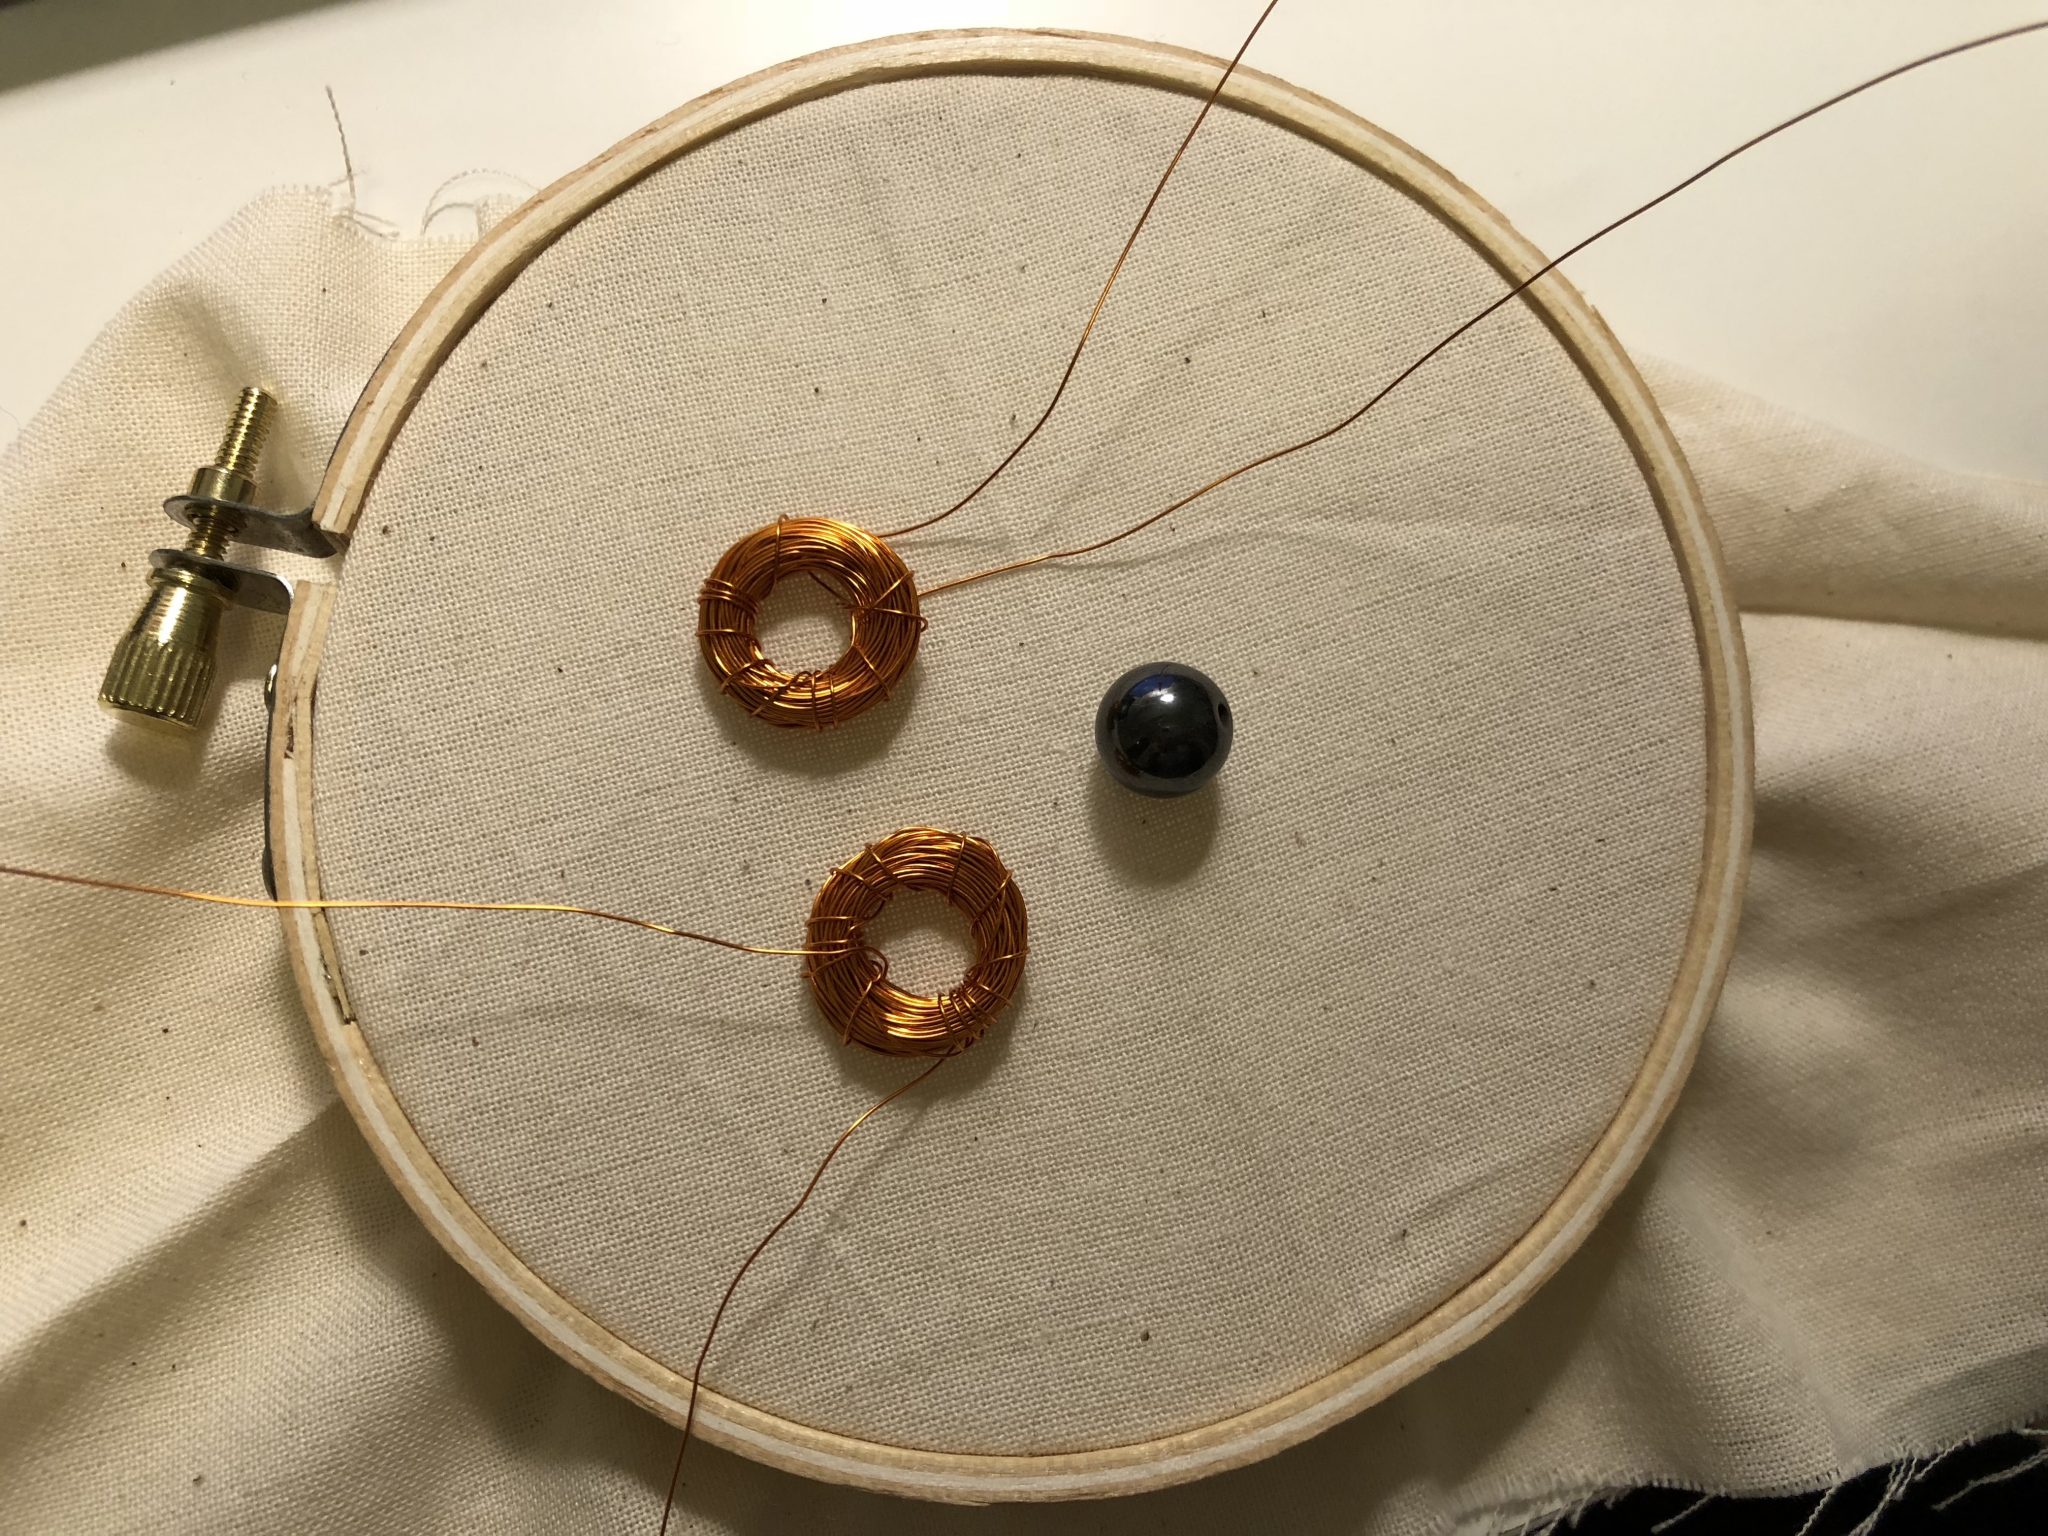
2. Before crocheting the cover I labeled the wires to be able to, later on, connect it to the batteries to add the current and consequently motion.

Here a close-up of my flower core. I sewed the wires as well as the coil and the bead. very carefully.
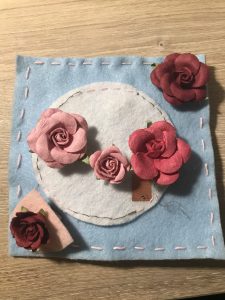
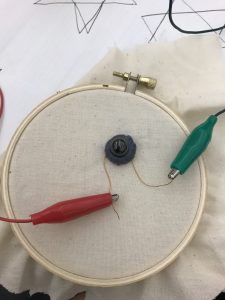
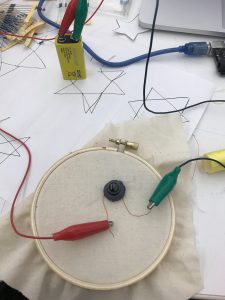
Here a clear shoot changing the polarity from one coil to the other making the bead go back and froth.
Takeaways, it was worth it to add so much detail to the coil because it moved very smooth and at the same time very fast.
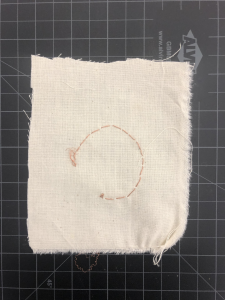
For this week’s project, I made my flip dot with 1 circuit. It took me a long time to embroider the circle/ring part of the circuit to the fabric. I wanted the circuit to be completely hidden. It is really satisfying to see the dot flip as you connect to the battery.
Materials used-
Video of the bead flipping –
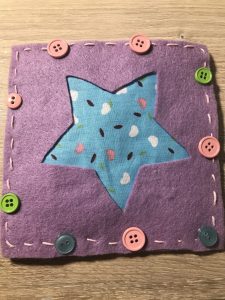
In this week’s assignment, I tried to put the flexinol into a start to mimic how it glitters and sparkles in the sky. I think the effect is not what I expected. It is a little bit slow. But I love stars so I still love the little star I made.
Materials – felt, flexinol, jumper wires, 9-volt battery, and resistor
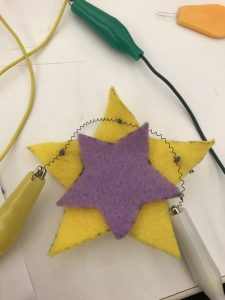
I used one of the soft buttons I build and made my start sparkle.
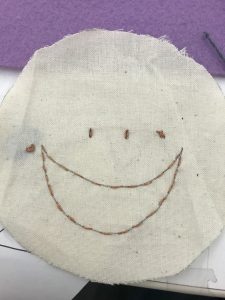
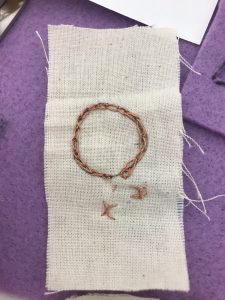
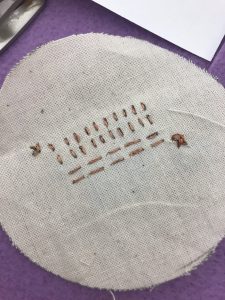
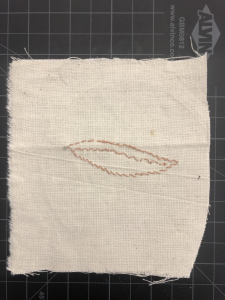
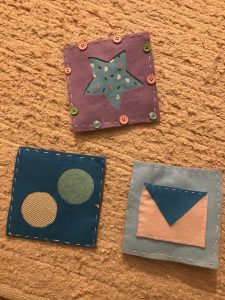
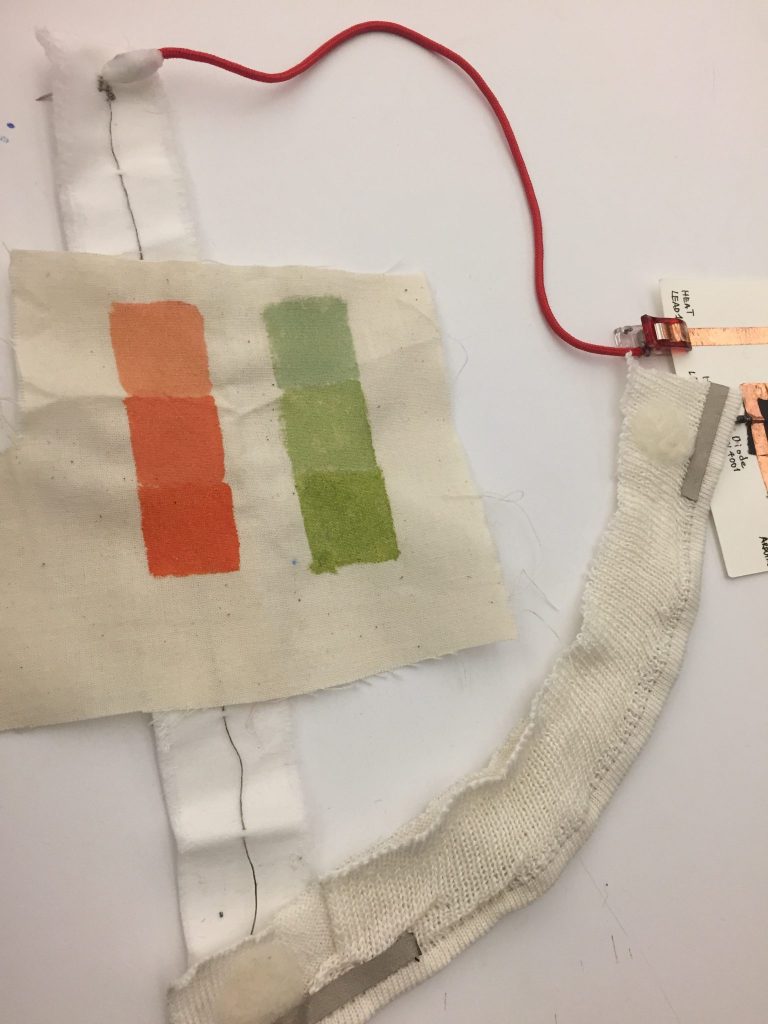
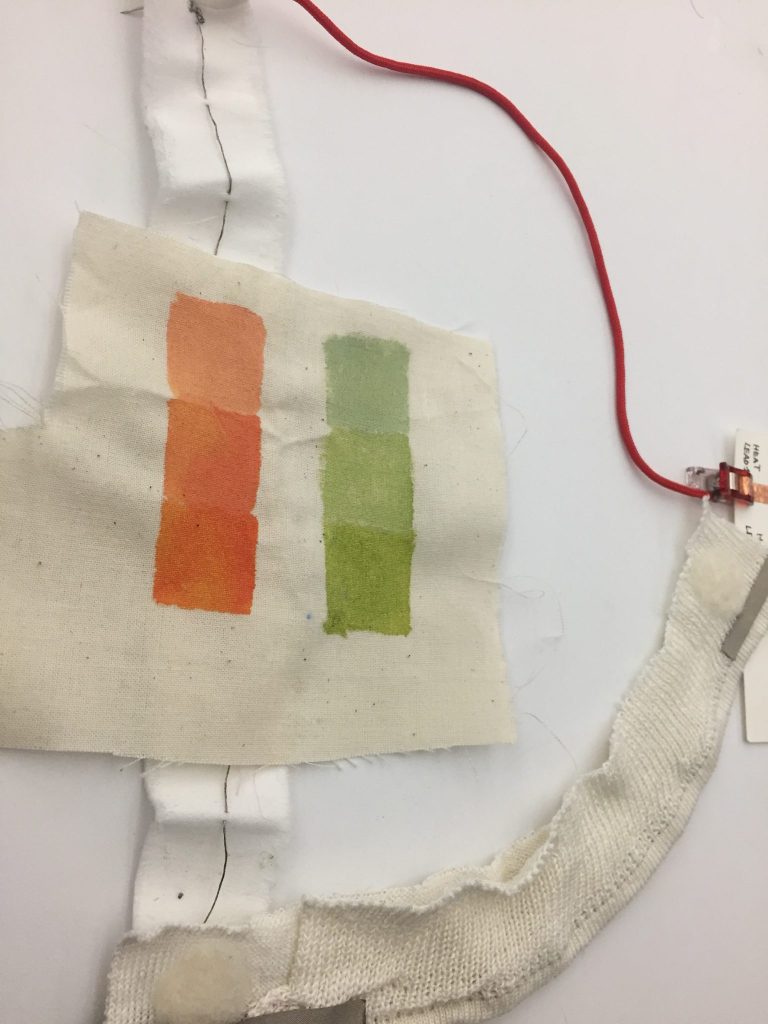
For this week’s Thermochromic ink assignment, I created one swatch with a message which is the smiley face where I wanted to bring forth the importance of smiling and staying positive. The other two swatches I just tried with different sewing techniques to see if there is a difference between the speed of ink change.
Material Used-
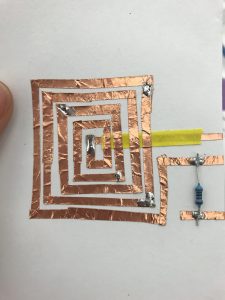

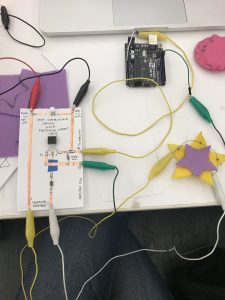
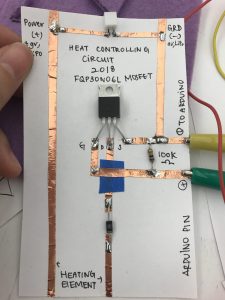
For this week’s speaker assignment, I decided to use paper and fabric to build my speakers. I wish I had the patience to spend more time to make the fabric speaker closer so it plays louder. The paper speaker did not work and I’m not sure if it is because of some parts not being soldered properly. Nonetheless, it was very fun to make. Below is the heat controlling circuit for the speaker.
 .
.
Material used-
Mini-project
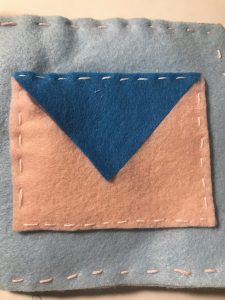
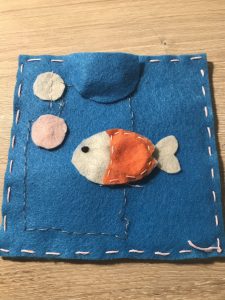
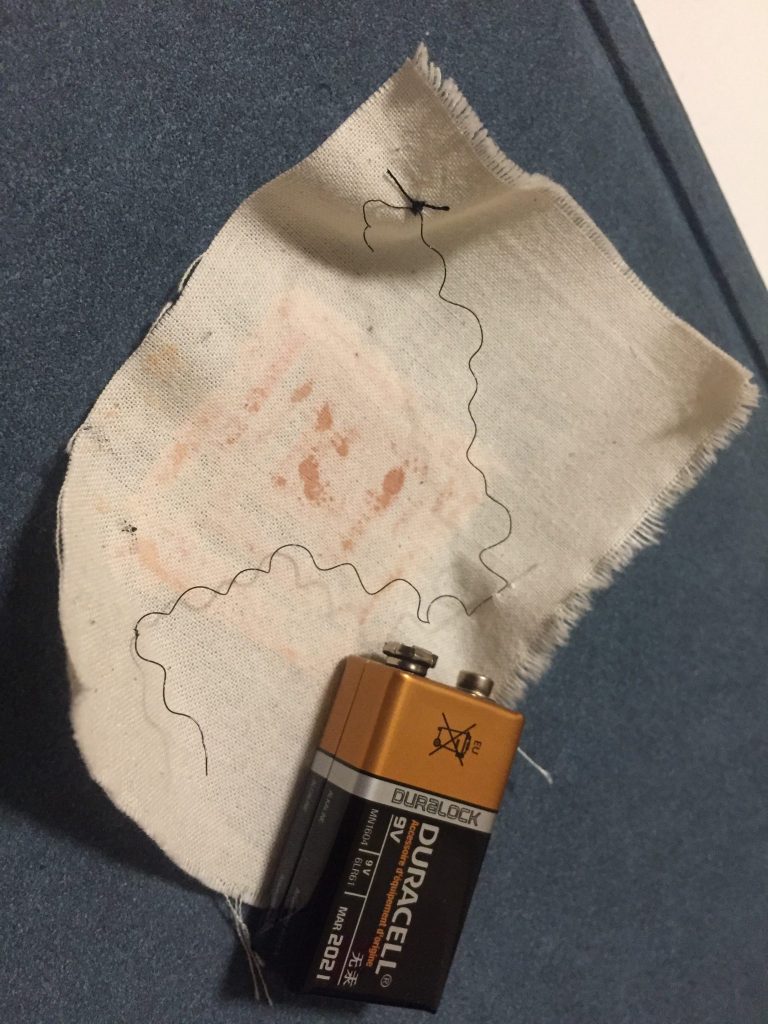
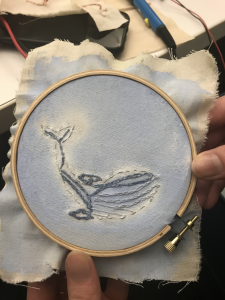
In this mini project, I used thermochromic ink to reveal the shape of a baby whale in the sea. I used blue and grey embroidery threads to outline the whale body. When the conductive thread is connected with the heating circuit and the power source, the pigments around the thread will turn from blue to white like a splash of water.
Materials – Fabric, thermochromic ink, embroidery thread, conductive thread, heating circuit, 9v battery

Heating circuit

Swatches with conductive thread