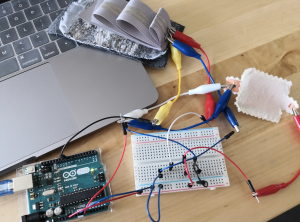
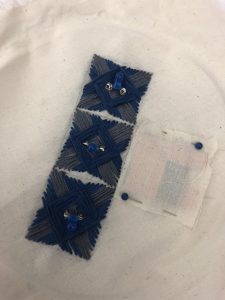
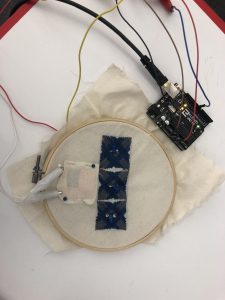
Part 1: Control an LED using a soft sensor and Arduino.
Part 2: Build a circuit with one constructed sensor (variable resistor), your Arduino, and 3 (or more) LEDs or an RGB LED.
Watch in action here; still images below.
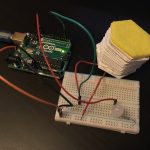
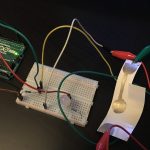
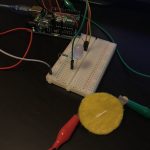
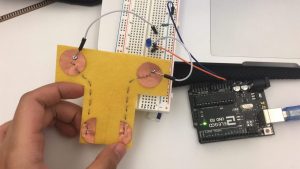
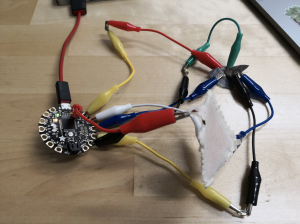
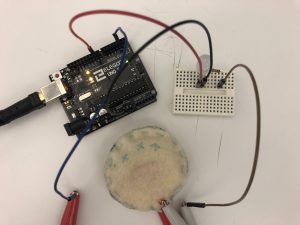
 (the setup)
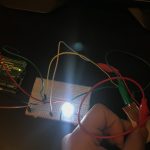
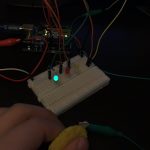
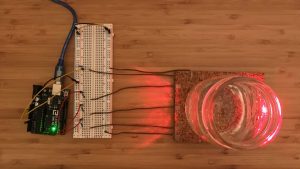
 (full glass on sensor triggers all three LEDs)
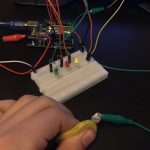
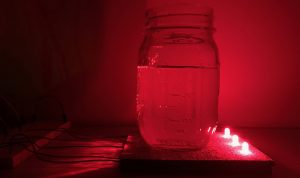
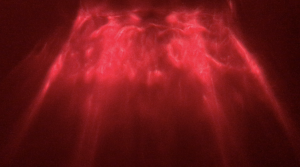 (playing with light, water, and glass)
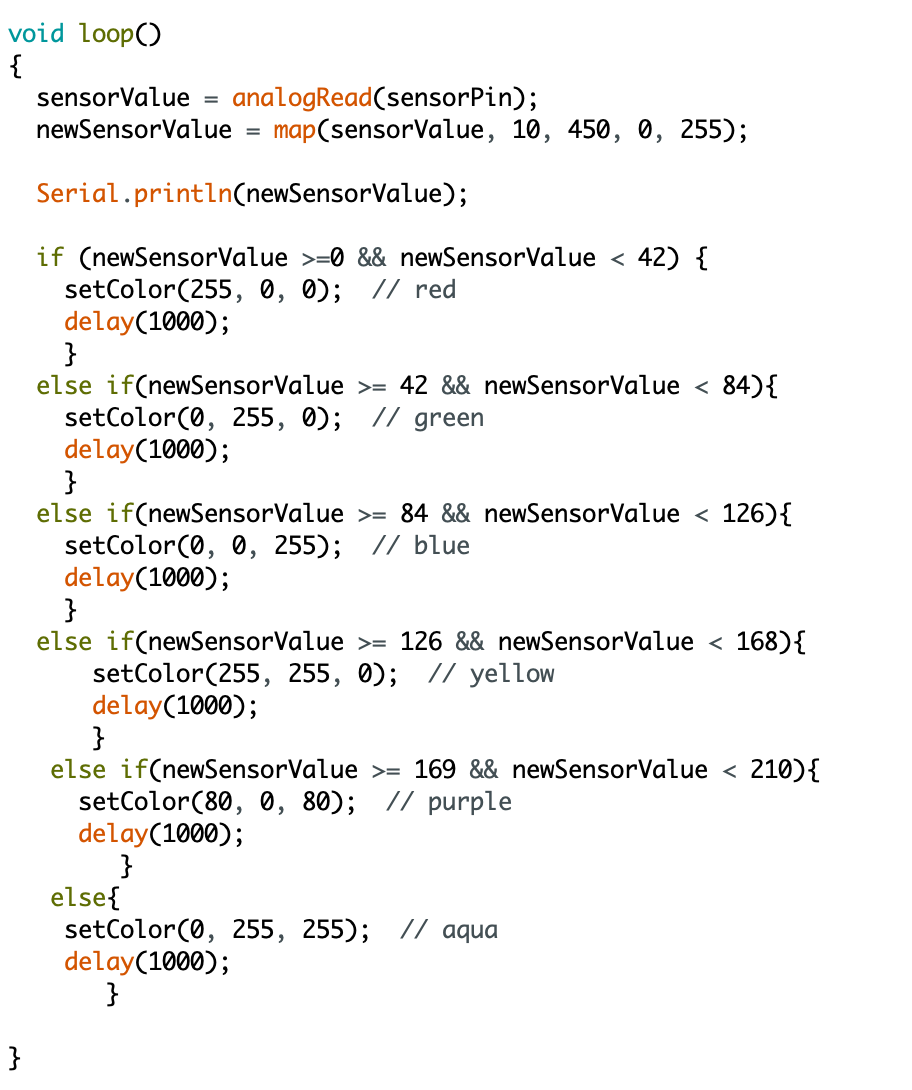
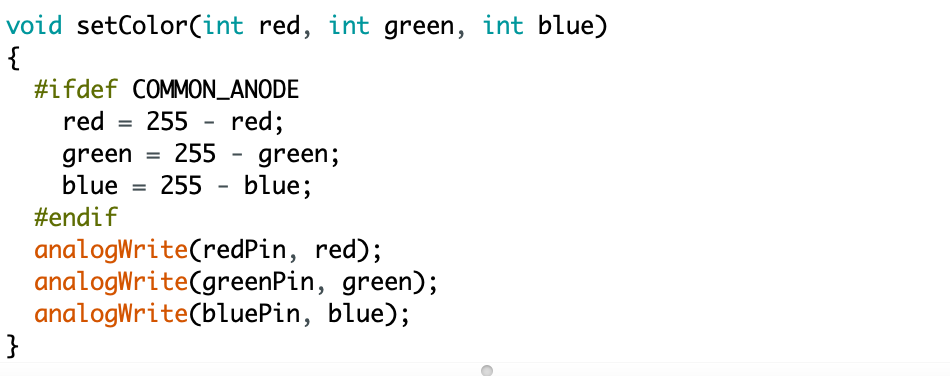
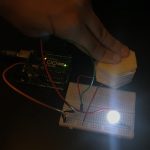
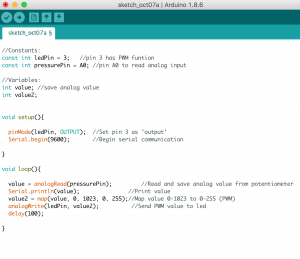
Summary: Arduino reads the analog input from a constructed pressure sensor, controlled for example by pouring water into a jar over the sensor pad. Based on the input, the Arduino controls three LEDs: the more pressure, the more lights turn on.
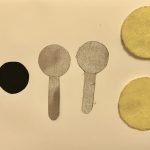
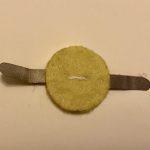
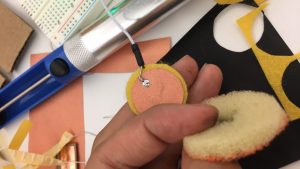
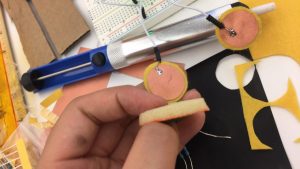
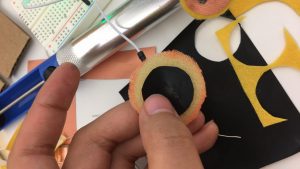
Pressure sensor materials: Velostat, conductive tape, cork, LEDs.
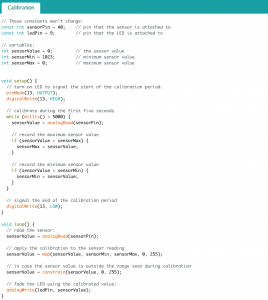
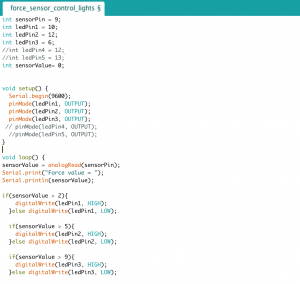
Code: https://github.com/annagarbier/annagarbier.github.io/blob/master/work/courses/2018/fall/computational_craft/resources/code/assignment_6.ino
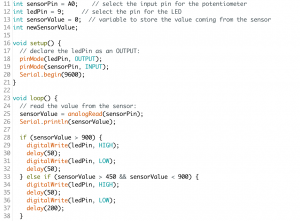
Code snippet:
```
// This function determines the LED pins' output (HIGH or LOW)
// based on the sensor pin's input (held in the variable "average").
void displayLights() {
if (average > 200) {
digitalWrite(ledA, HIGH);
digitalWrite(ledB, HIGH);
digitalWrite(ledC, HIGH);
} else if (average > 150) {
digitalWrite(ledA, HIGH);
digitalWrite(ledB, HIGH);
digitalWrite(ledC, LOW);
} else if (average > 100) {
digitalWrite(ledA, HIGH);
digitalWrite(ledB, LOW);
digitalWrite(ledC, LOW);
} else {
digitalWrite(ledA, LOW);
digitalWrite(ledB, LOW);
digitalWrite(ledC, LOW);
}
}
```
Part 3: Document midterm ideas.
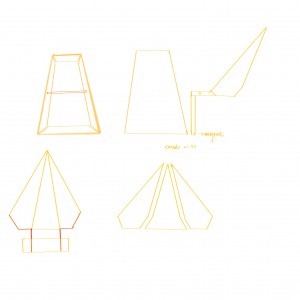
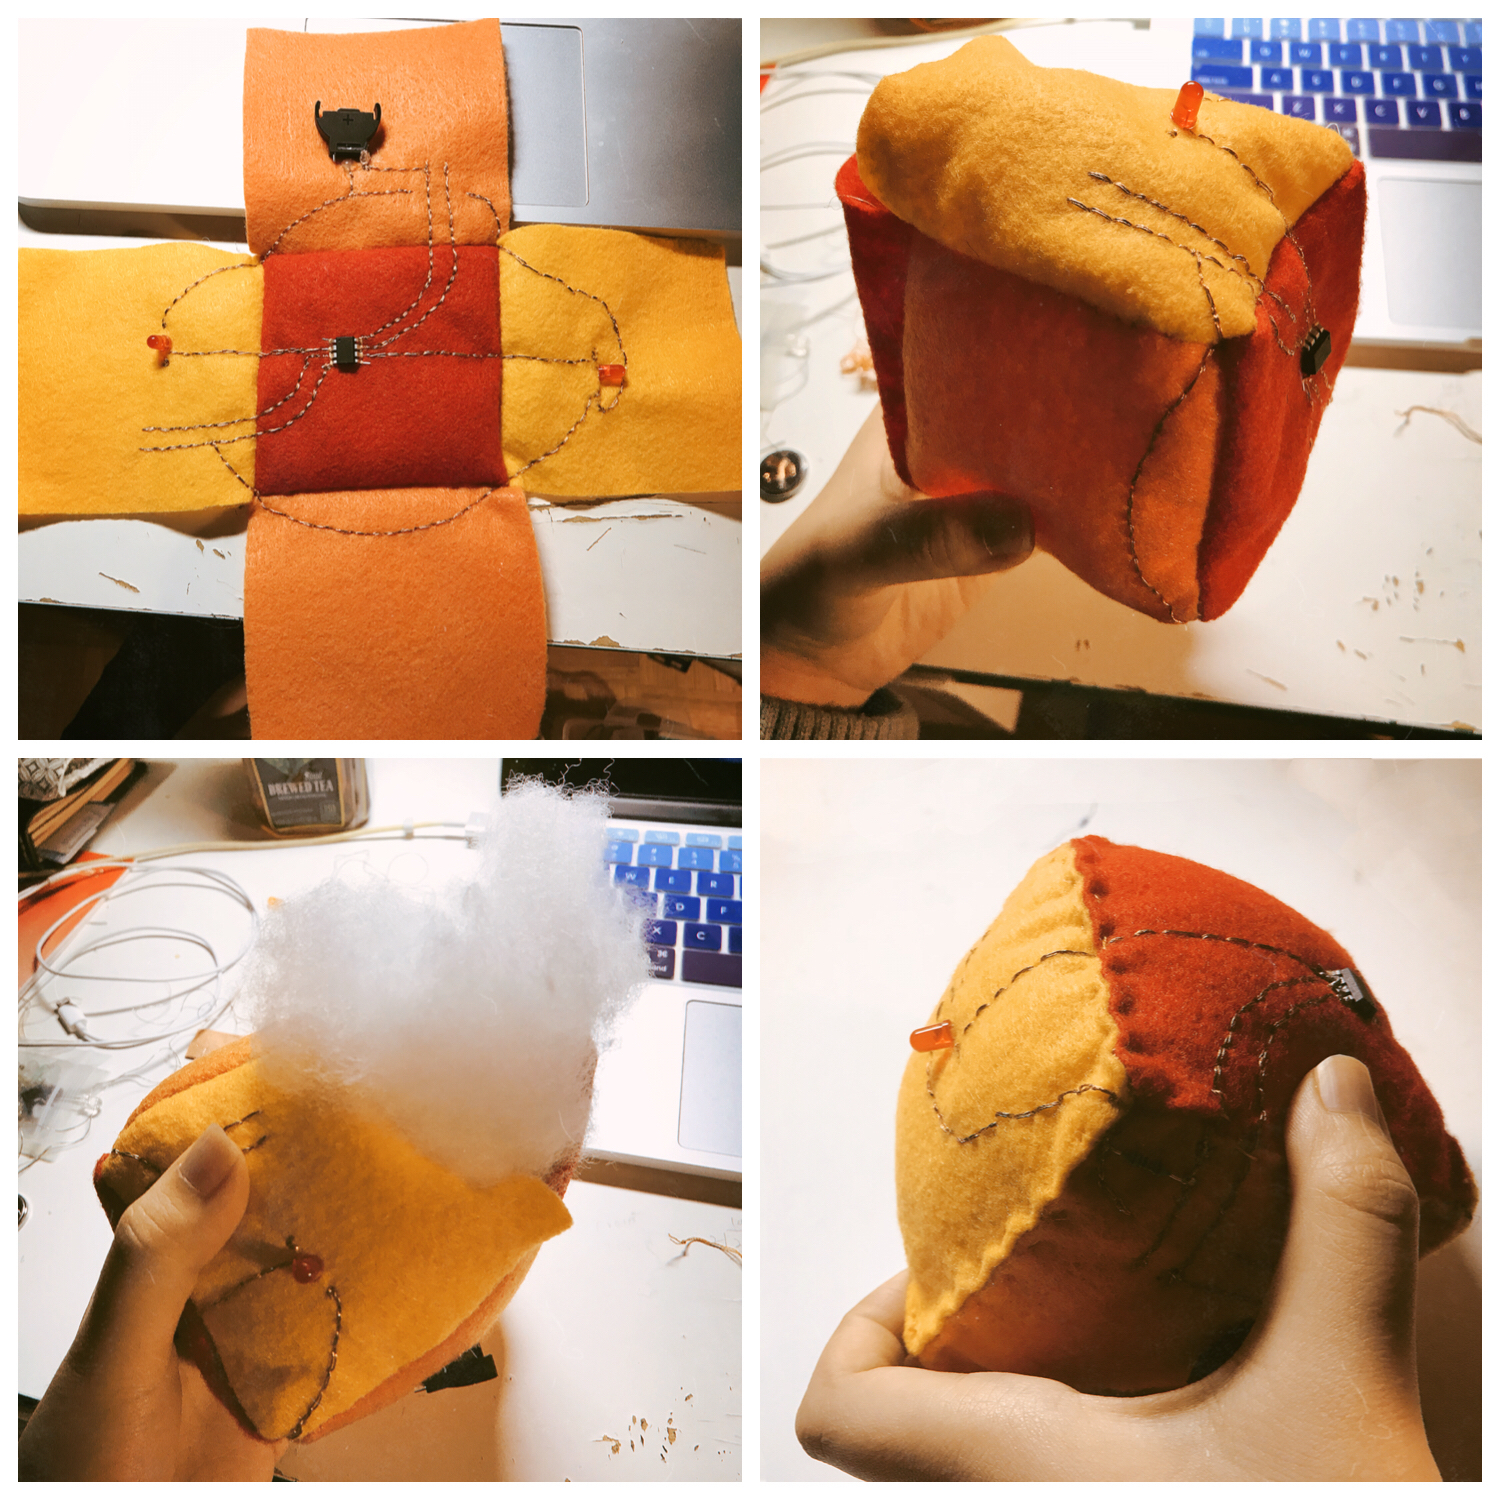
I’d like to create transparent modular blocks, each containing a piece of a circuit: e.g. one might contain a 3v battery, another a resistor, another an LED, and others just connecting components. A user would be able to play with the blocks by connecting them in 3d space; complete a circuit with the blocks, and the blocks with the LED shines.
The intention is to build something simple, playful, and educational.
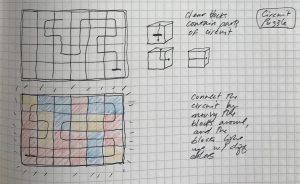 (early ideation on paper)
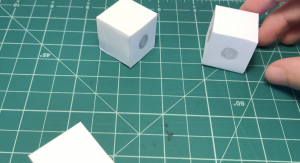 (prototyping)


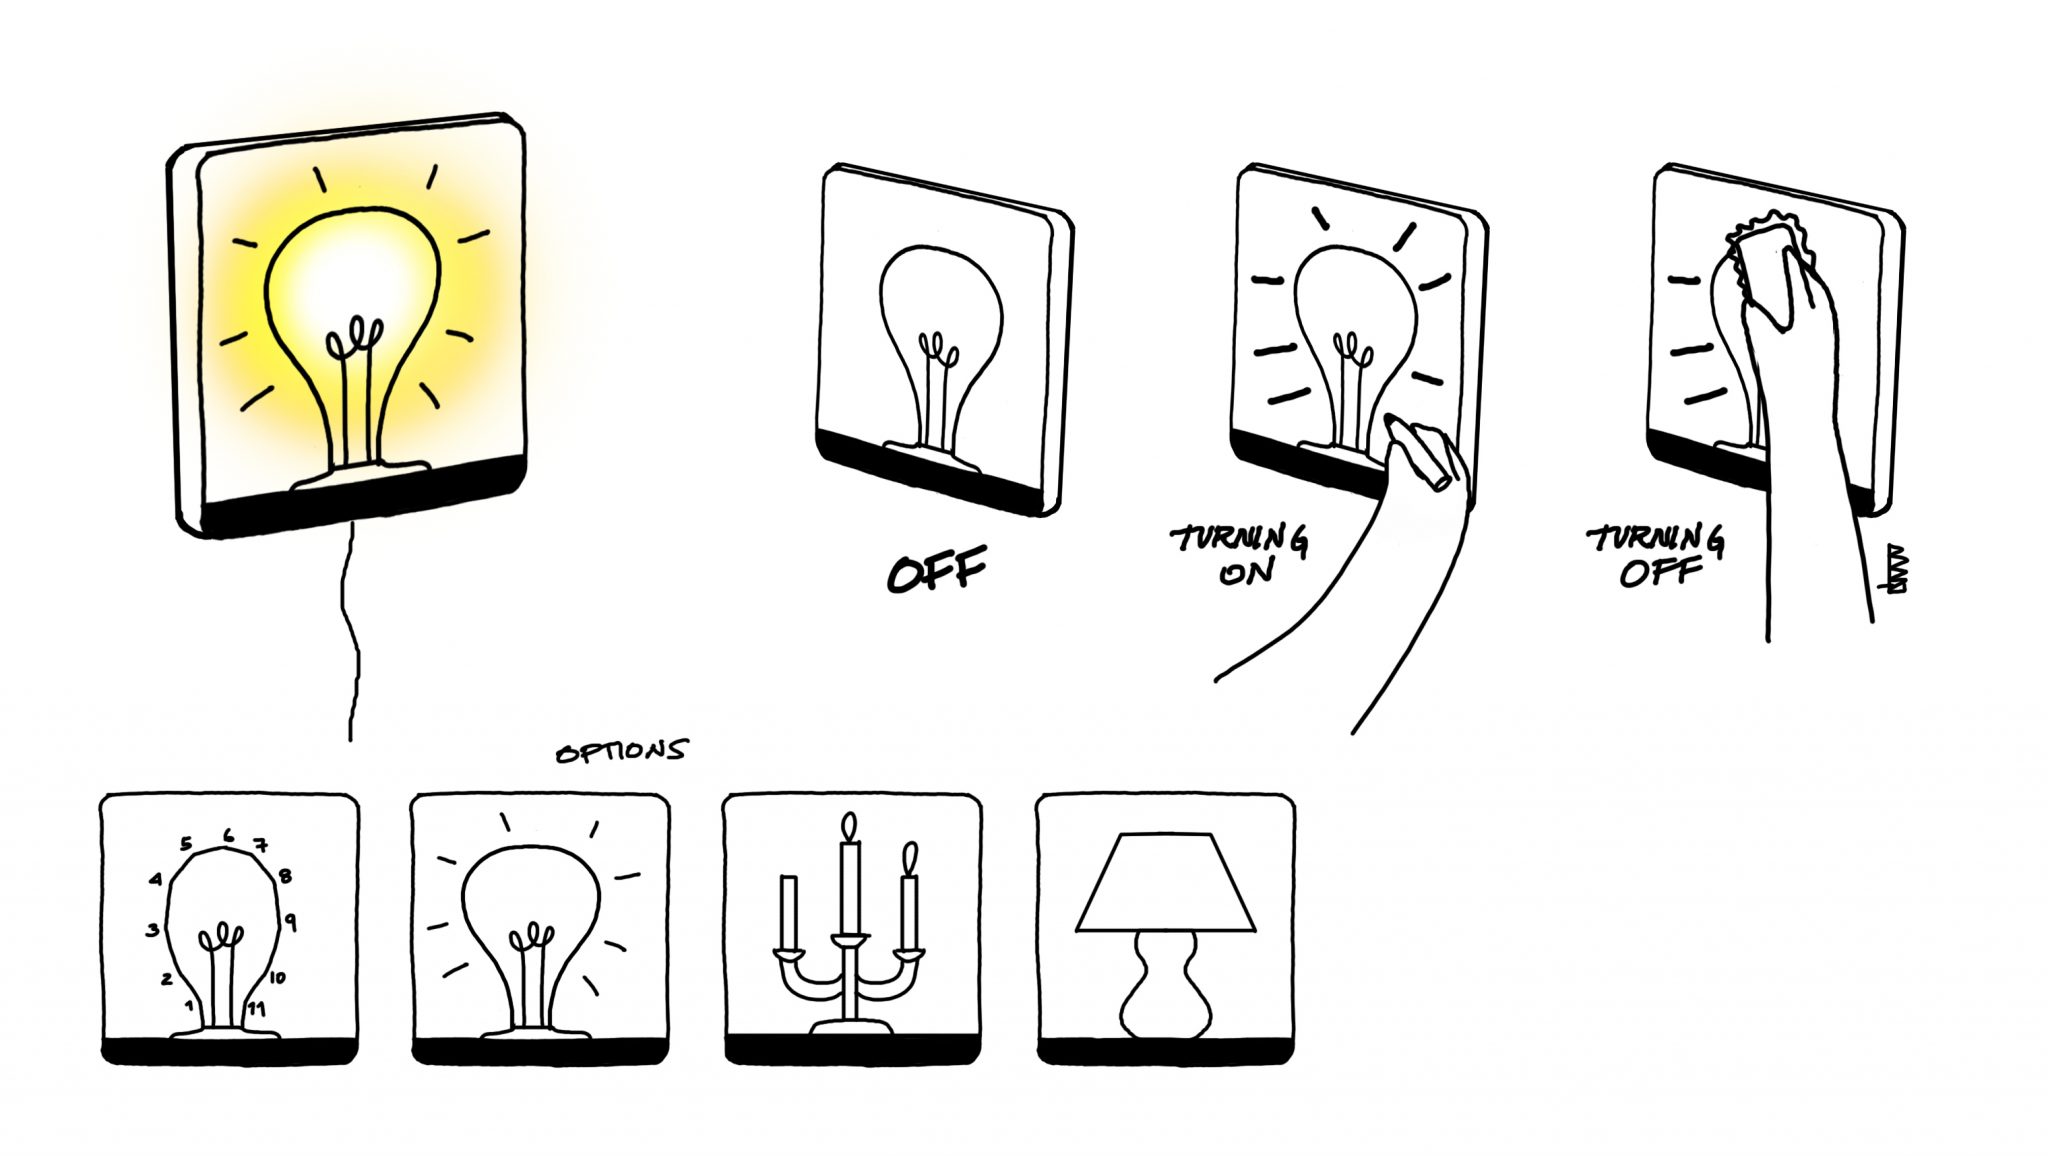
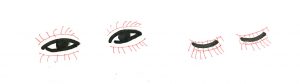 The switch of my lamp will be a fake eyelash. if eyes open, the lamp will be light up and if eyes close, the lamb will shut down. I want to build speculative eyelashes to control the light that we may use in our daily life.