Week 8 – Dario Narvaez – Midterm

Instructables link to see the step by step process: https://www.instructables.com/id/Connecting-Dots-Lamp/

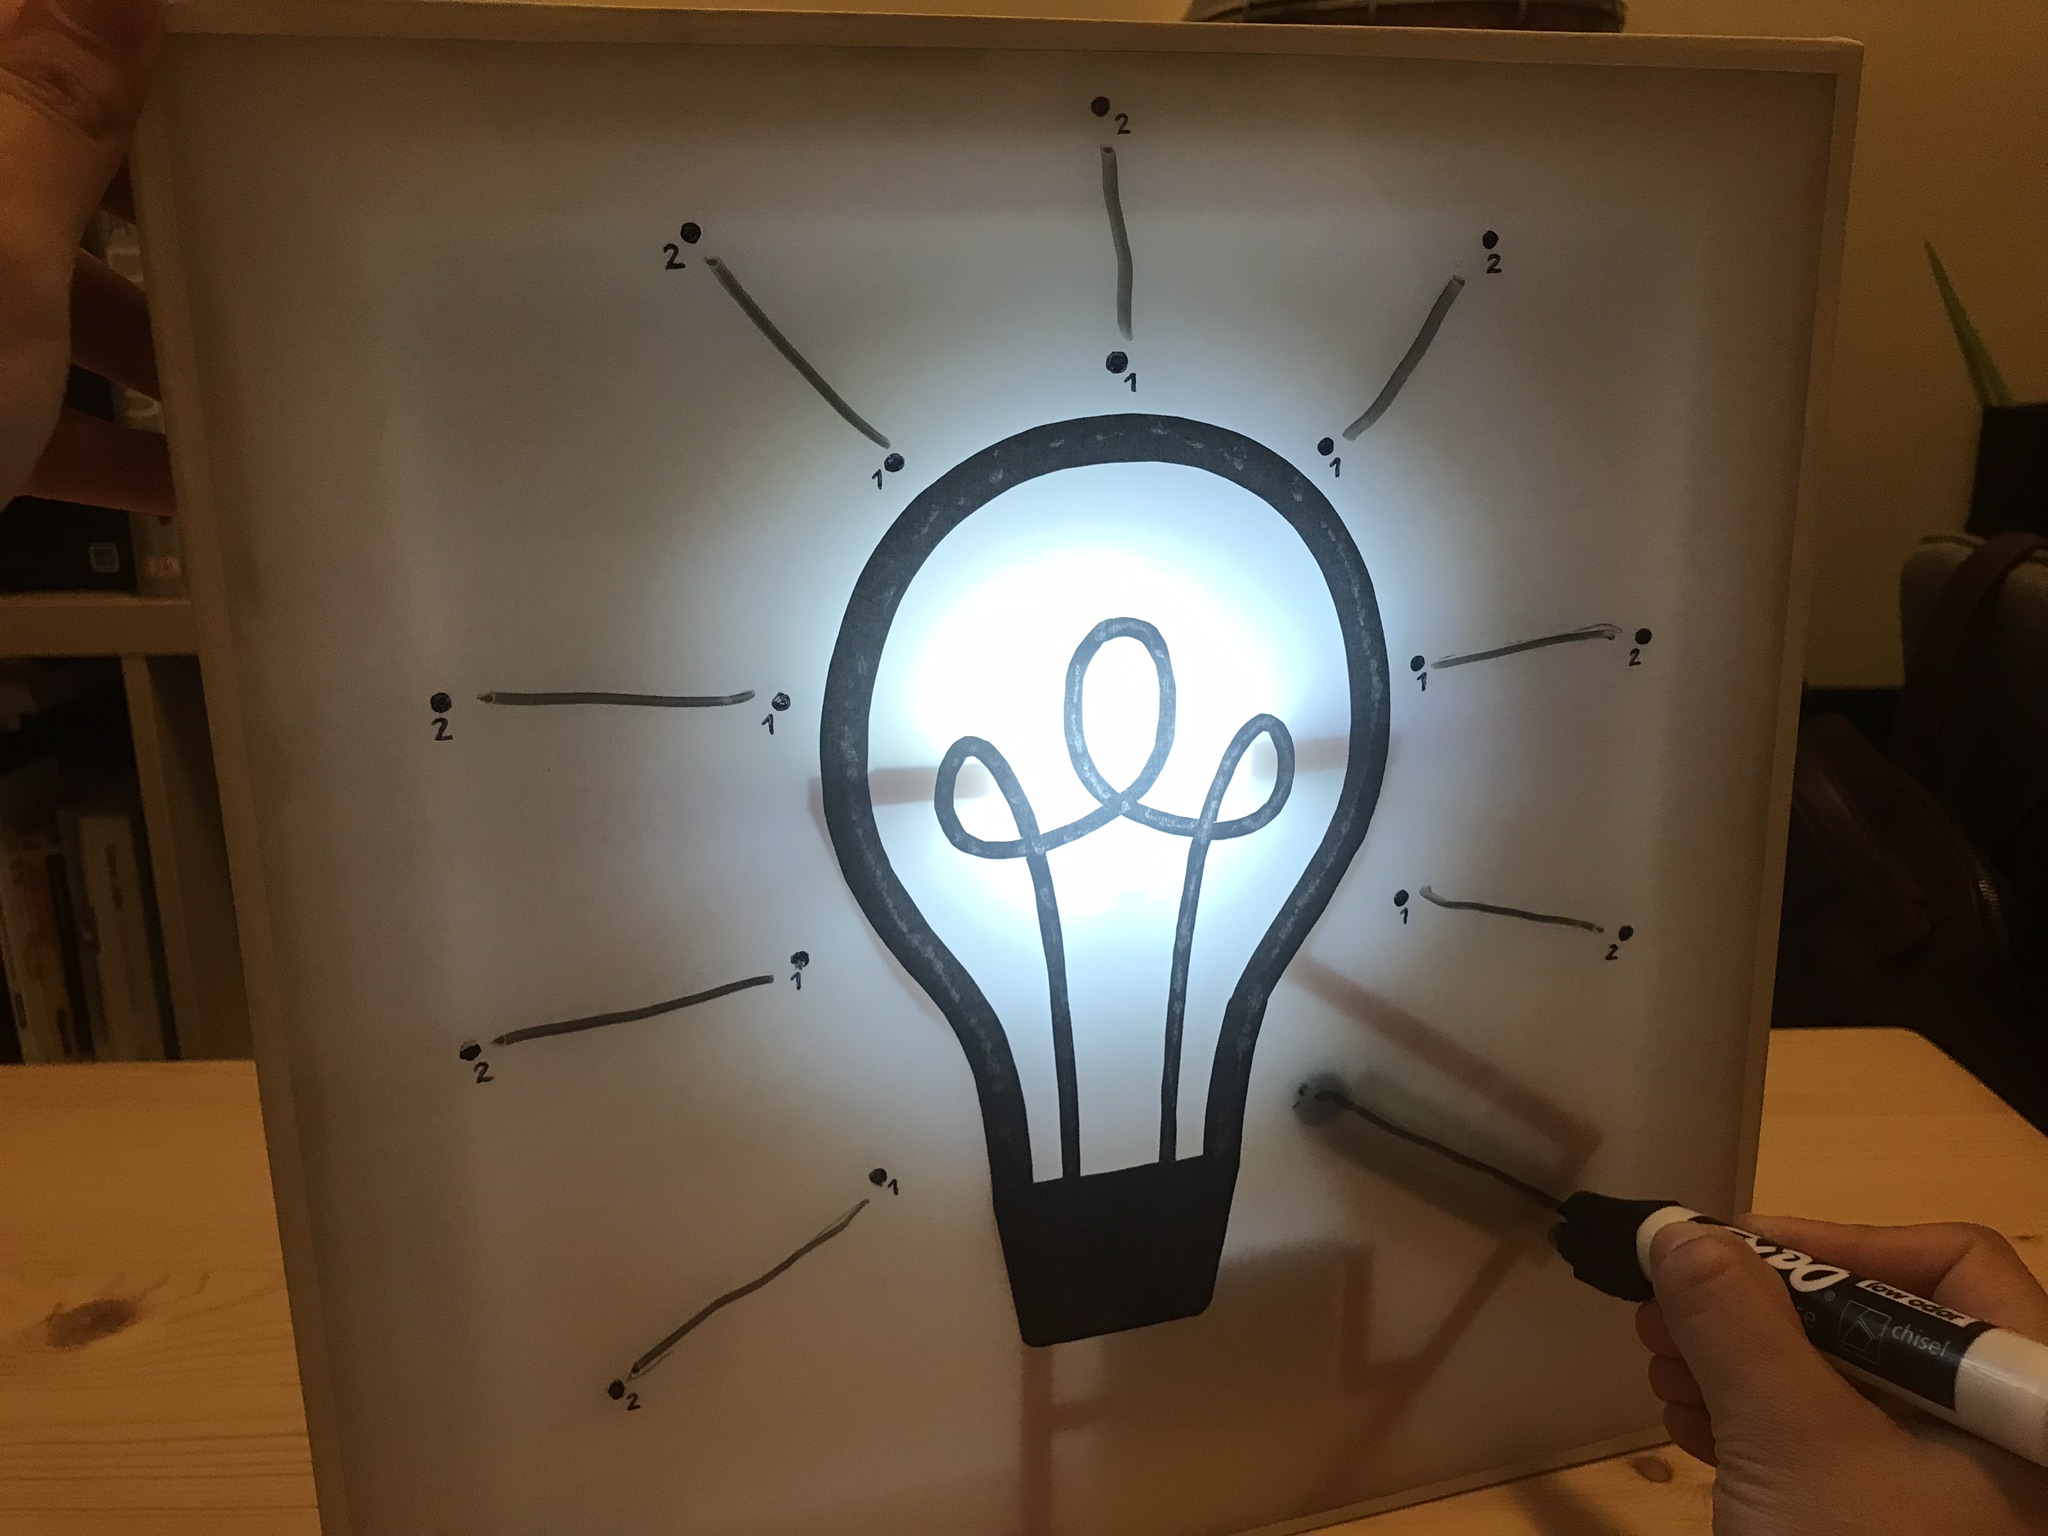
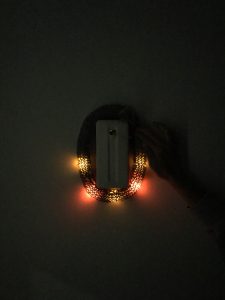
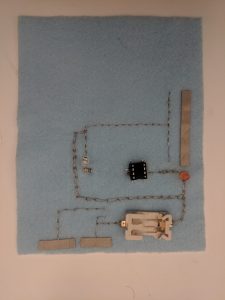
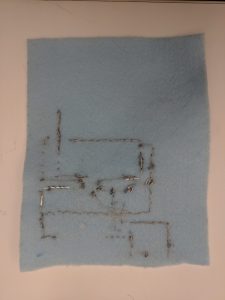
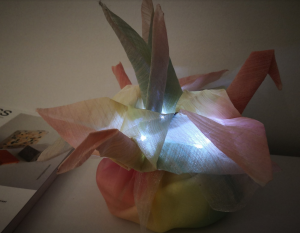
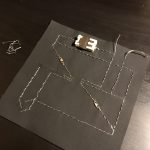
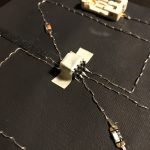
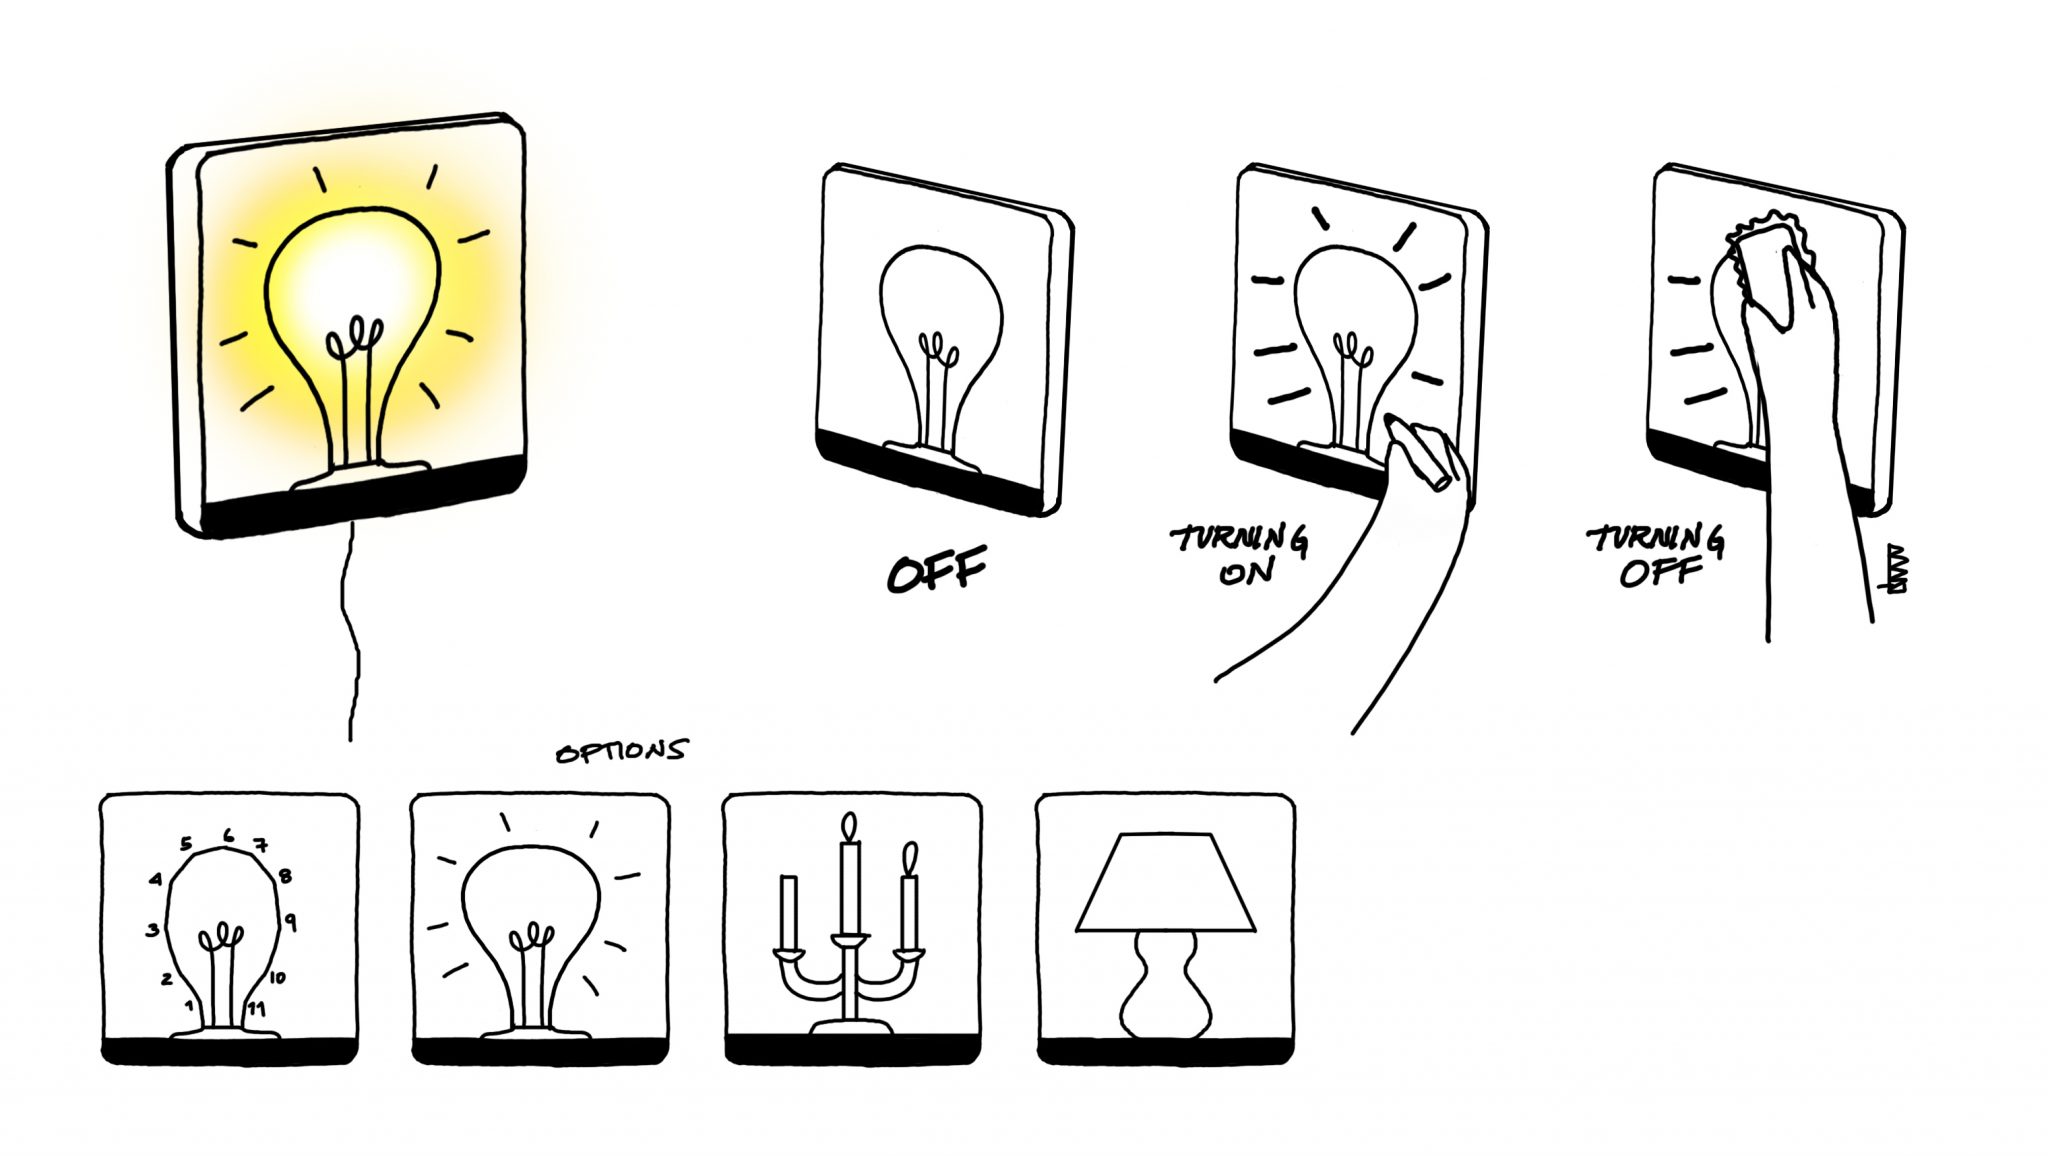
For this lamp I found inspiration by the drawings created by connecting a sequence of dots, as a playful way to interact with materials and to create icons and symbols. The idea is grounded under some questions: Can you draw your own lamp? Can you activate the lamp by drawing it? Can you control the light by doing doodles? I’m also extremely interested in how icons such as the light bulb with dash lines that represent light, or a lamp, or a candelabra, can powerfully serve as elements for creating memorable interactions. In this case, as you draw the icons, the circuit closes, and therefore turns on. If the drawing is erased, the circuit opens, and the lamp turns off.

This idea can be scaled to other icons and images such as candlesticks, other type of light bulbs, lamps, etc…

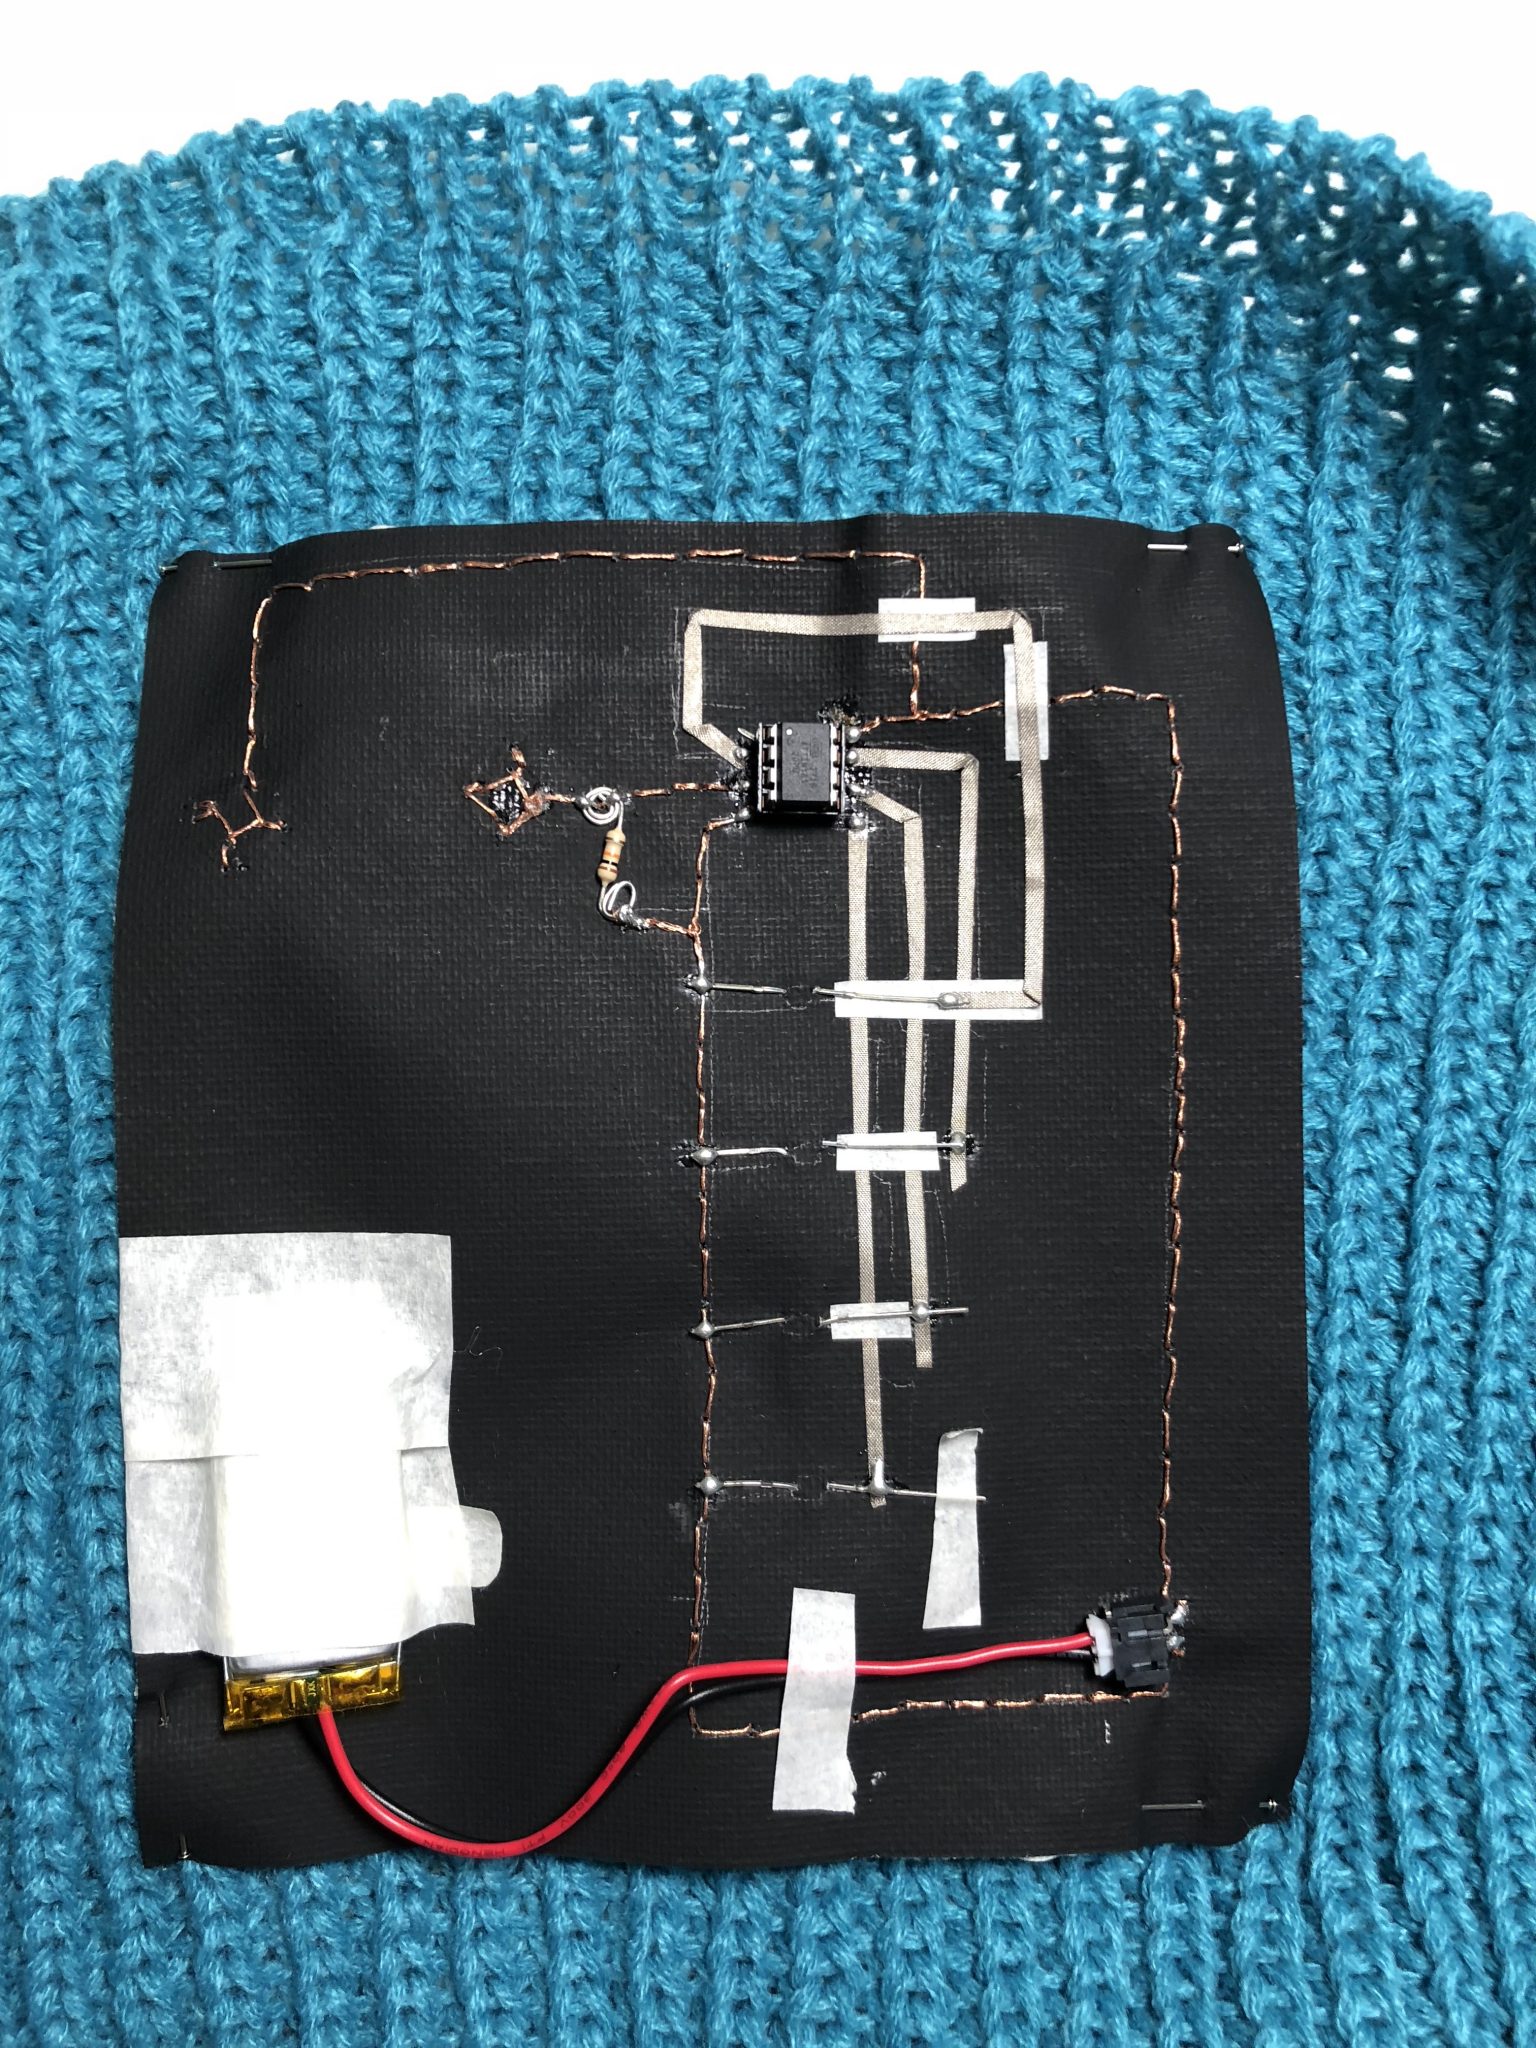
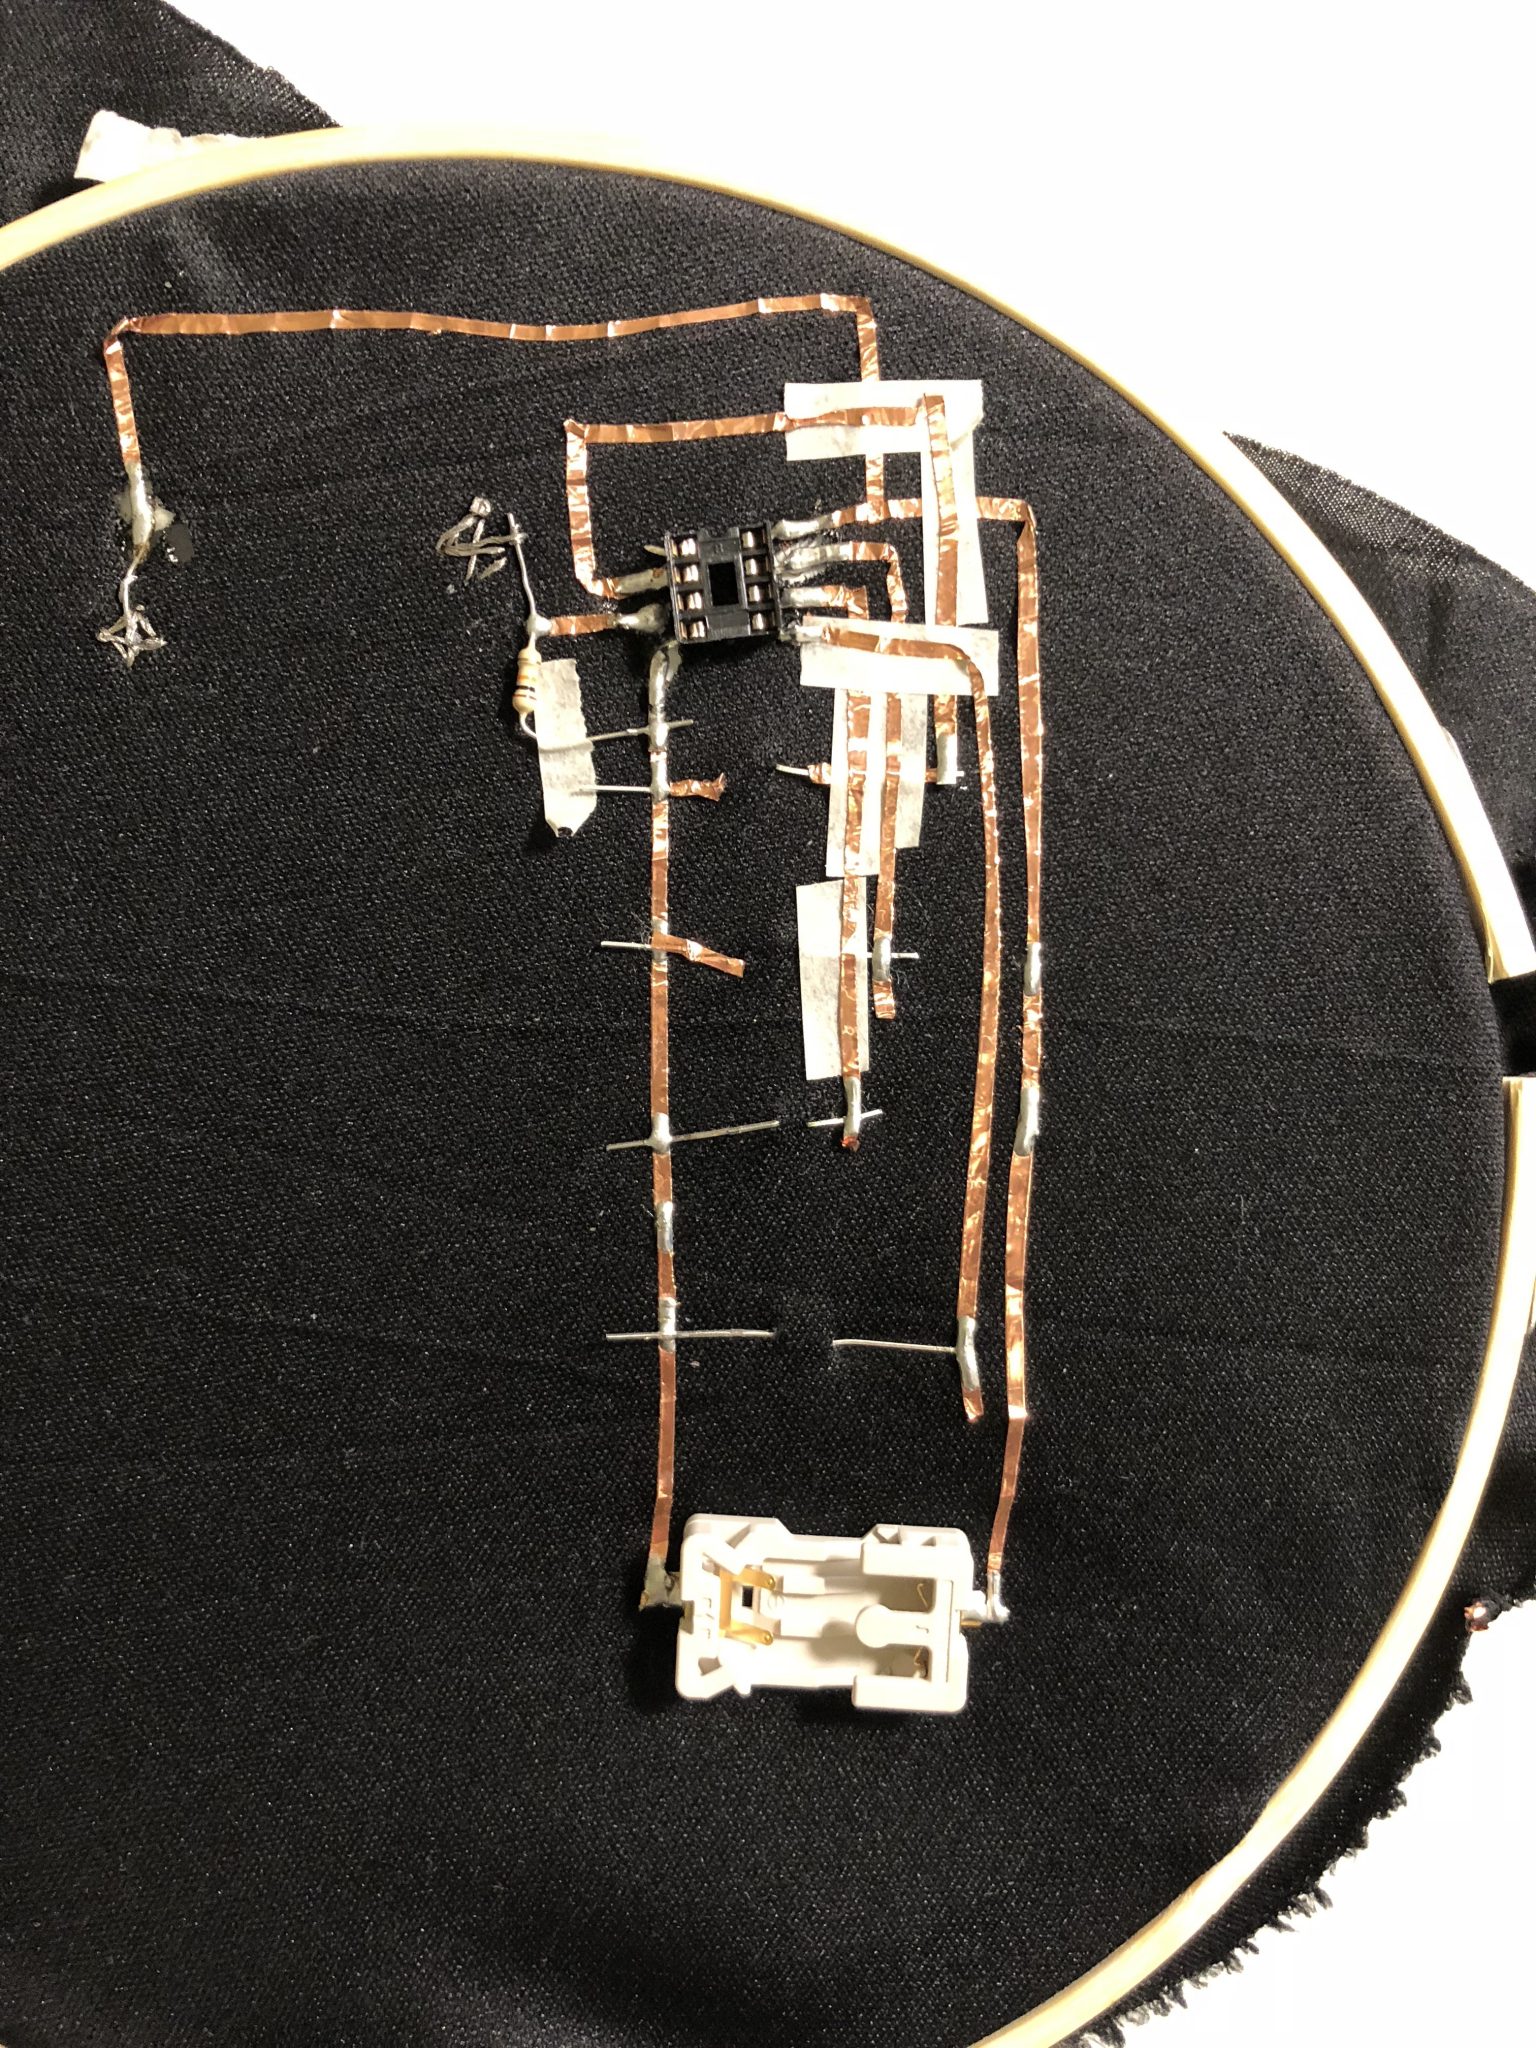
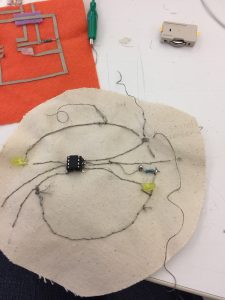
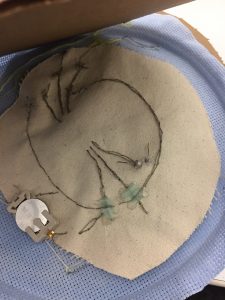
The idea was born when I learnt about the technology with erasable conductive markers. Although this technology can’t be used in this case due to the limitations in terms of material and the fact that the object will be linked to a specific marker, in this proposal I’m using magnets to close the circuit. Of course, there should be other interesting ways to do it! Think about this project as a working prototype. I will keep continue exploring this concept with other mediums and technologies.
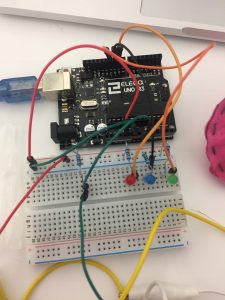
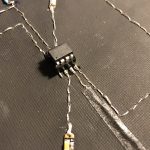
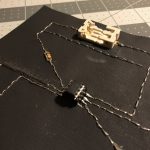
Materials:

  • White Translucent Acrylic 12×12 inches
  • Acrylic Rods of about 5x5mm
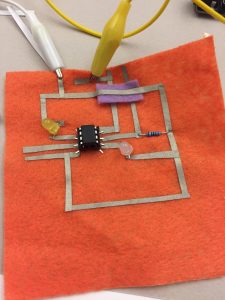
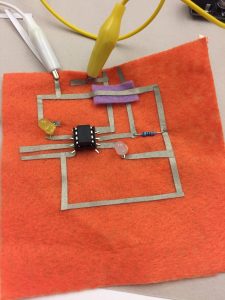
  • Copper Tape
  • LEDs
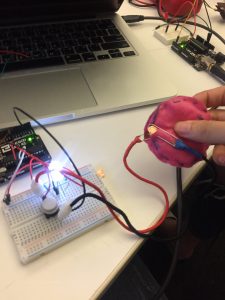
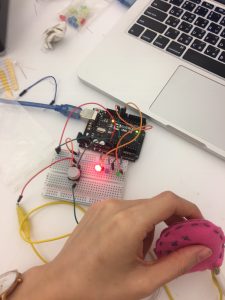
  • Battery Pack of 3 AAA
  • Magnets
  • Erasable Marker
  • Eraser
  • Wooden Frame of 12×12 inches

Midterm – Carla

Social Scarfmeter

This project comes aims to quantify and visualize the mood, more specifically how eager I am to interact with other people at that precise moment. Ranging from 0 to 4, embedded LEDs show the value on the front of the person’s torso. The user has a stretchy knitted knob that can be used to change the value of the social value just by pulling.

User testing

Demo


On the final iteration of the project, I used a scarf, some black canvas that provided some structure to the soft circuit, copper thread, conductive tape, conductive yarn, AT-tiny85, socket, resistor, Lipo Battery and battery socket.

This project had 3 past iterations that didn’t work as expected. This circuit was very tricky. All version below had some kind of shortcircuit even though they follow the same circuitry than the final version. During the process, I improved no only my technique but also my decision making towards circuits.

Here the first prototype that work using ATtiny and breadboard.

Find here the code used. There is a threshold for the sensor that I defined first using Arduino UNO and taking advantage of the serial port. After that, I’ve adjusted blindly any time I needed.

ATtiny exercise capacitive + switch 

Week 7 Midterm – Lisa Ho


My midterm was a star constellation embroidery that lights up when you touch it and connect the thread together. I’ve always loved constellations and stars at night because I love how it lights up the dark. For this project, I used thread, conductive thread, water paint to paint the white fabric, LEDs, Attiny to make the LED light up, solder and hot glue to make my circuit connection stronger.

I sew my circuit of the light with conductive thread on another fabric and then embroidered the star embroidery to make sure that the two LEDs I’m lighting up are in the right places. Then I sewed it all together. And the end product is when you touch the two threads at the bottom, one LED will light up and when you connect the thread on top, the top LED will light up.

You can find the instructable here 

This is the Attiny circuit I made which is the basis of the code and circuit I used in my midterm.

Continue reading

Week 6 – Lisa Ho

I connected one of the soft switches I made to your Arduino. I used it to light up an LED. So when I pressed on the switch, the LED will LED up.

Then, I built a circuit with the switch and 3 LEDs. I light up the LED by using different pressure. When the sensor goes greater and equal than 100 but less than 200, the red LED will turn on. When the sensor goes greater or equal to 200, the blue LED will turn on and else the green LED will turn on.

Sadly, I lost the video I filmed. But I have the code which I will post below.

The materials used include Arduino, LEDs, soft switch I made out of felt and sponge, jumper wires, breadboard.

For Midterm

I love constellations. I am thinking of doing an embroidery and incorporating light into the embroidery so it lights up whenever I touch it. I’m thinking this could be an art that hangs up by my wall.


Continue reading

Week 7 – Dario Narvaez

For this week I followed the instructions proposed by Liza to create a circuit composed of 2 LEDs, 1 switch and a sensor, controlled by an ATtiny. To make the circuit I used a painted canvas as the base, conductive thread and conductive yarn, LED sequins, a 3V battery holder and a resistance of 10k. Something interesting from using a painted canvas is that you can draw a scheme of the circuit, a very nice practice to understand a bit more complex circuits before starting to sew.

As a precautionary measure, I used tape in some sectors of the circuit, to avoid any unintentional contact between the close thread lines.