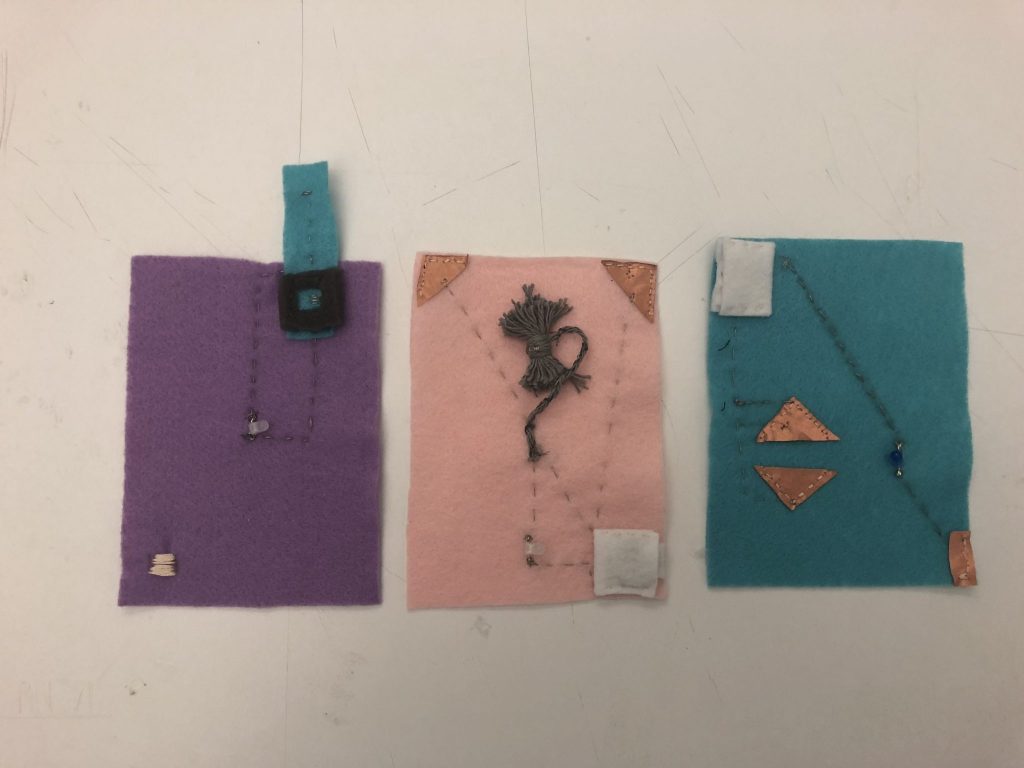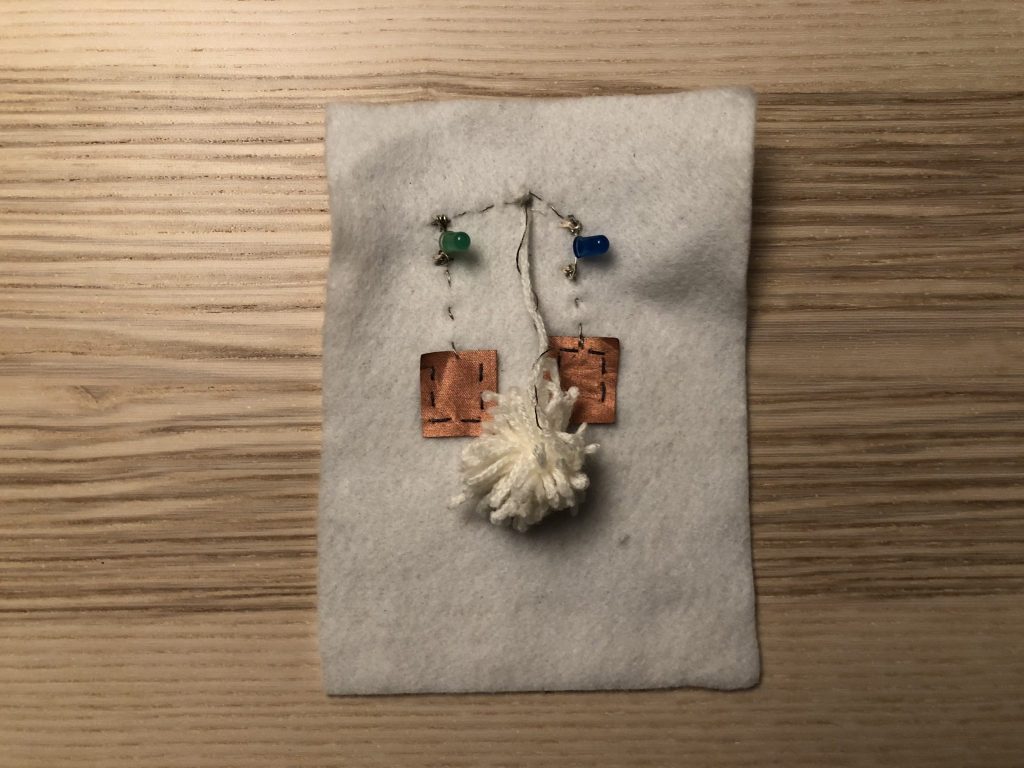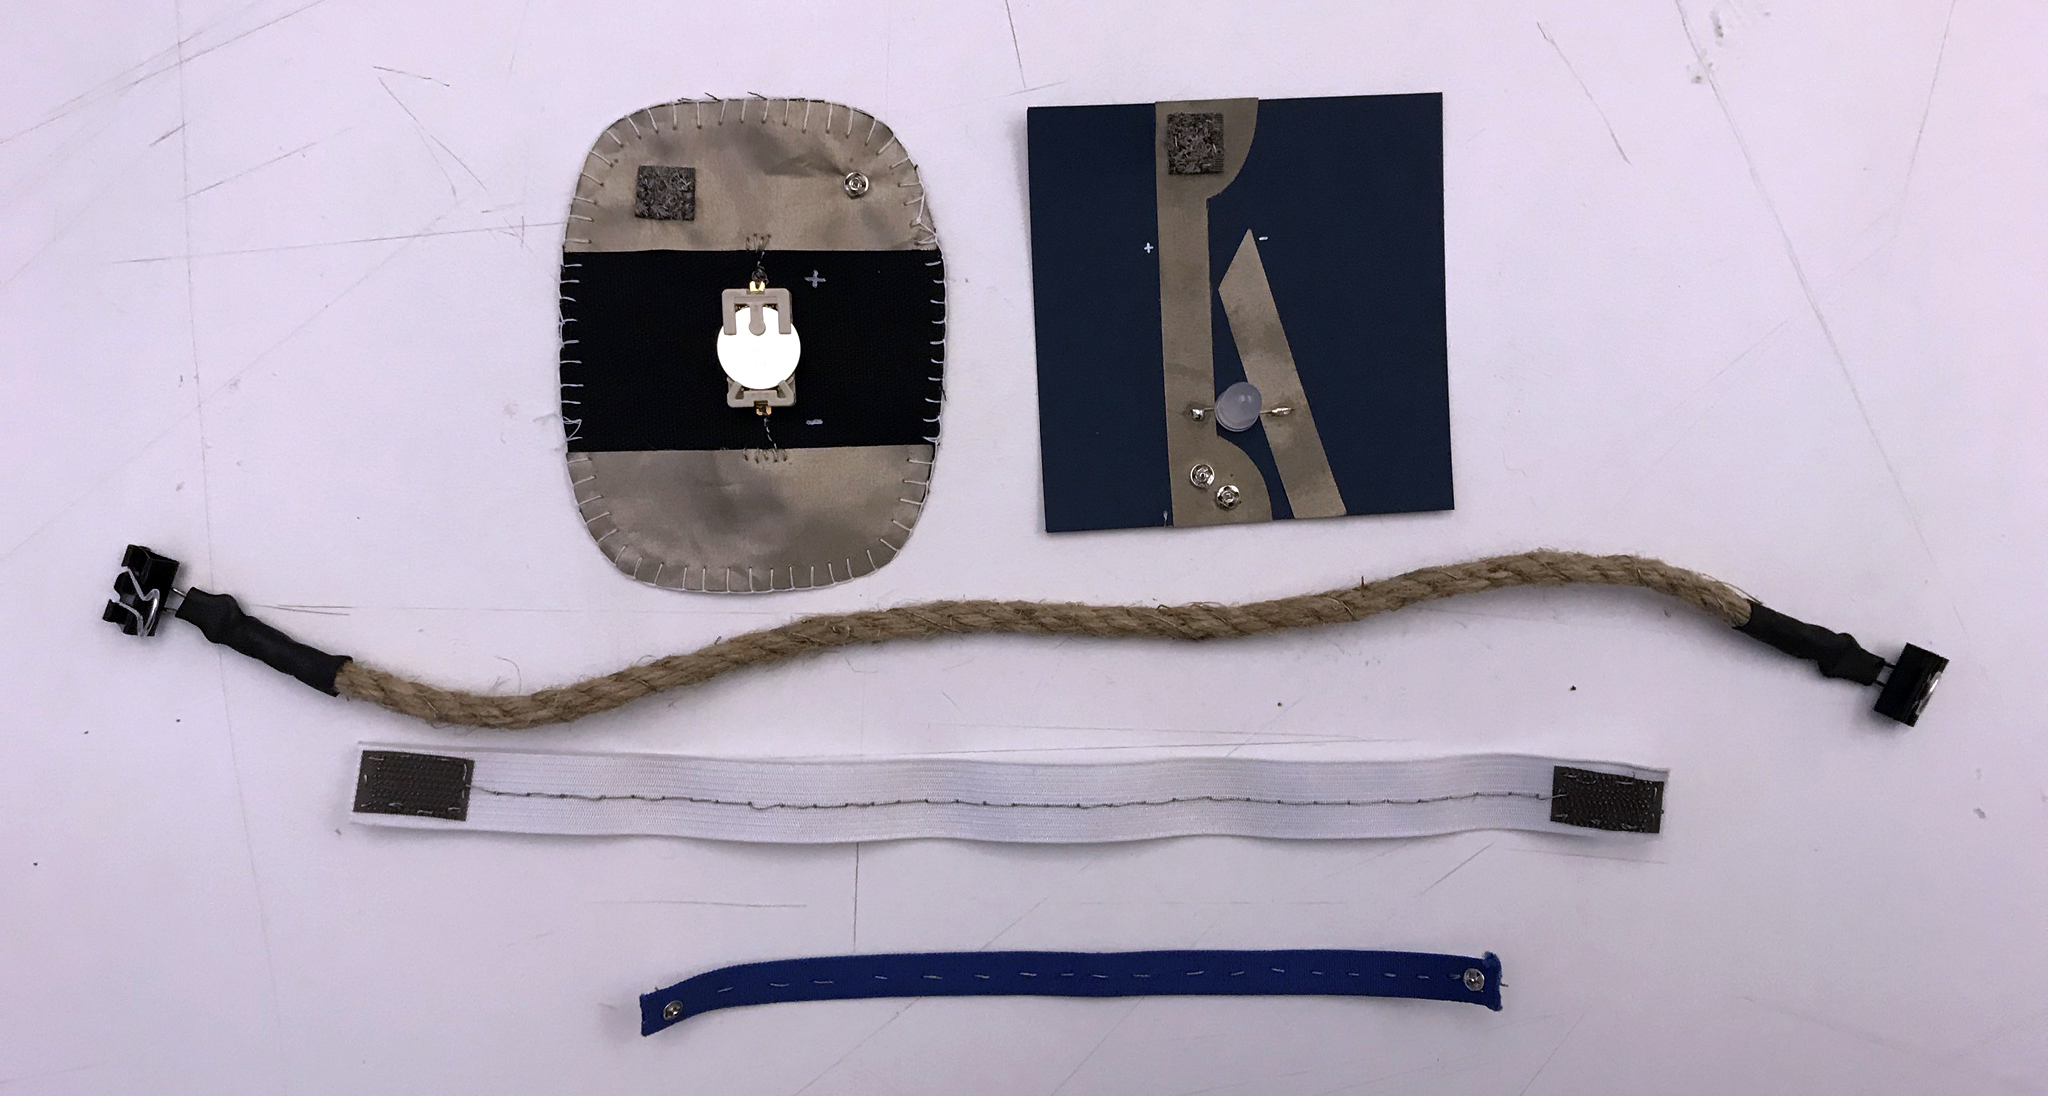
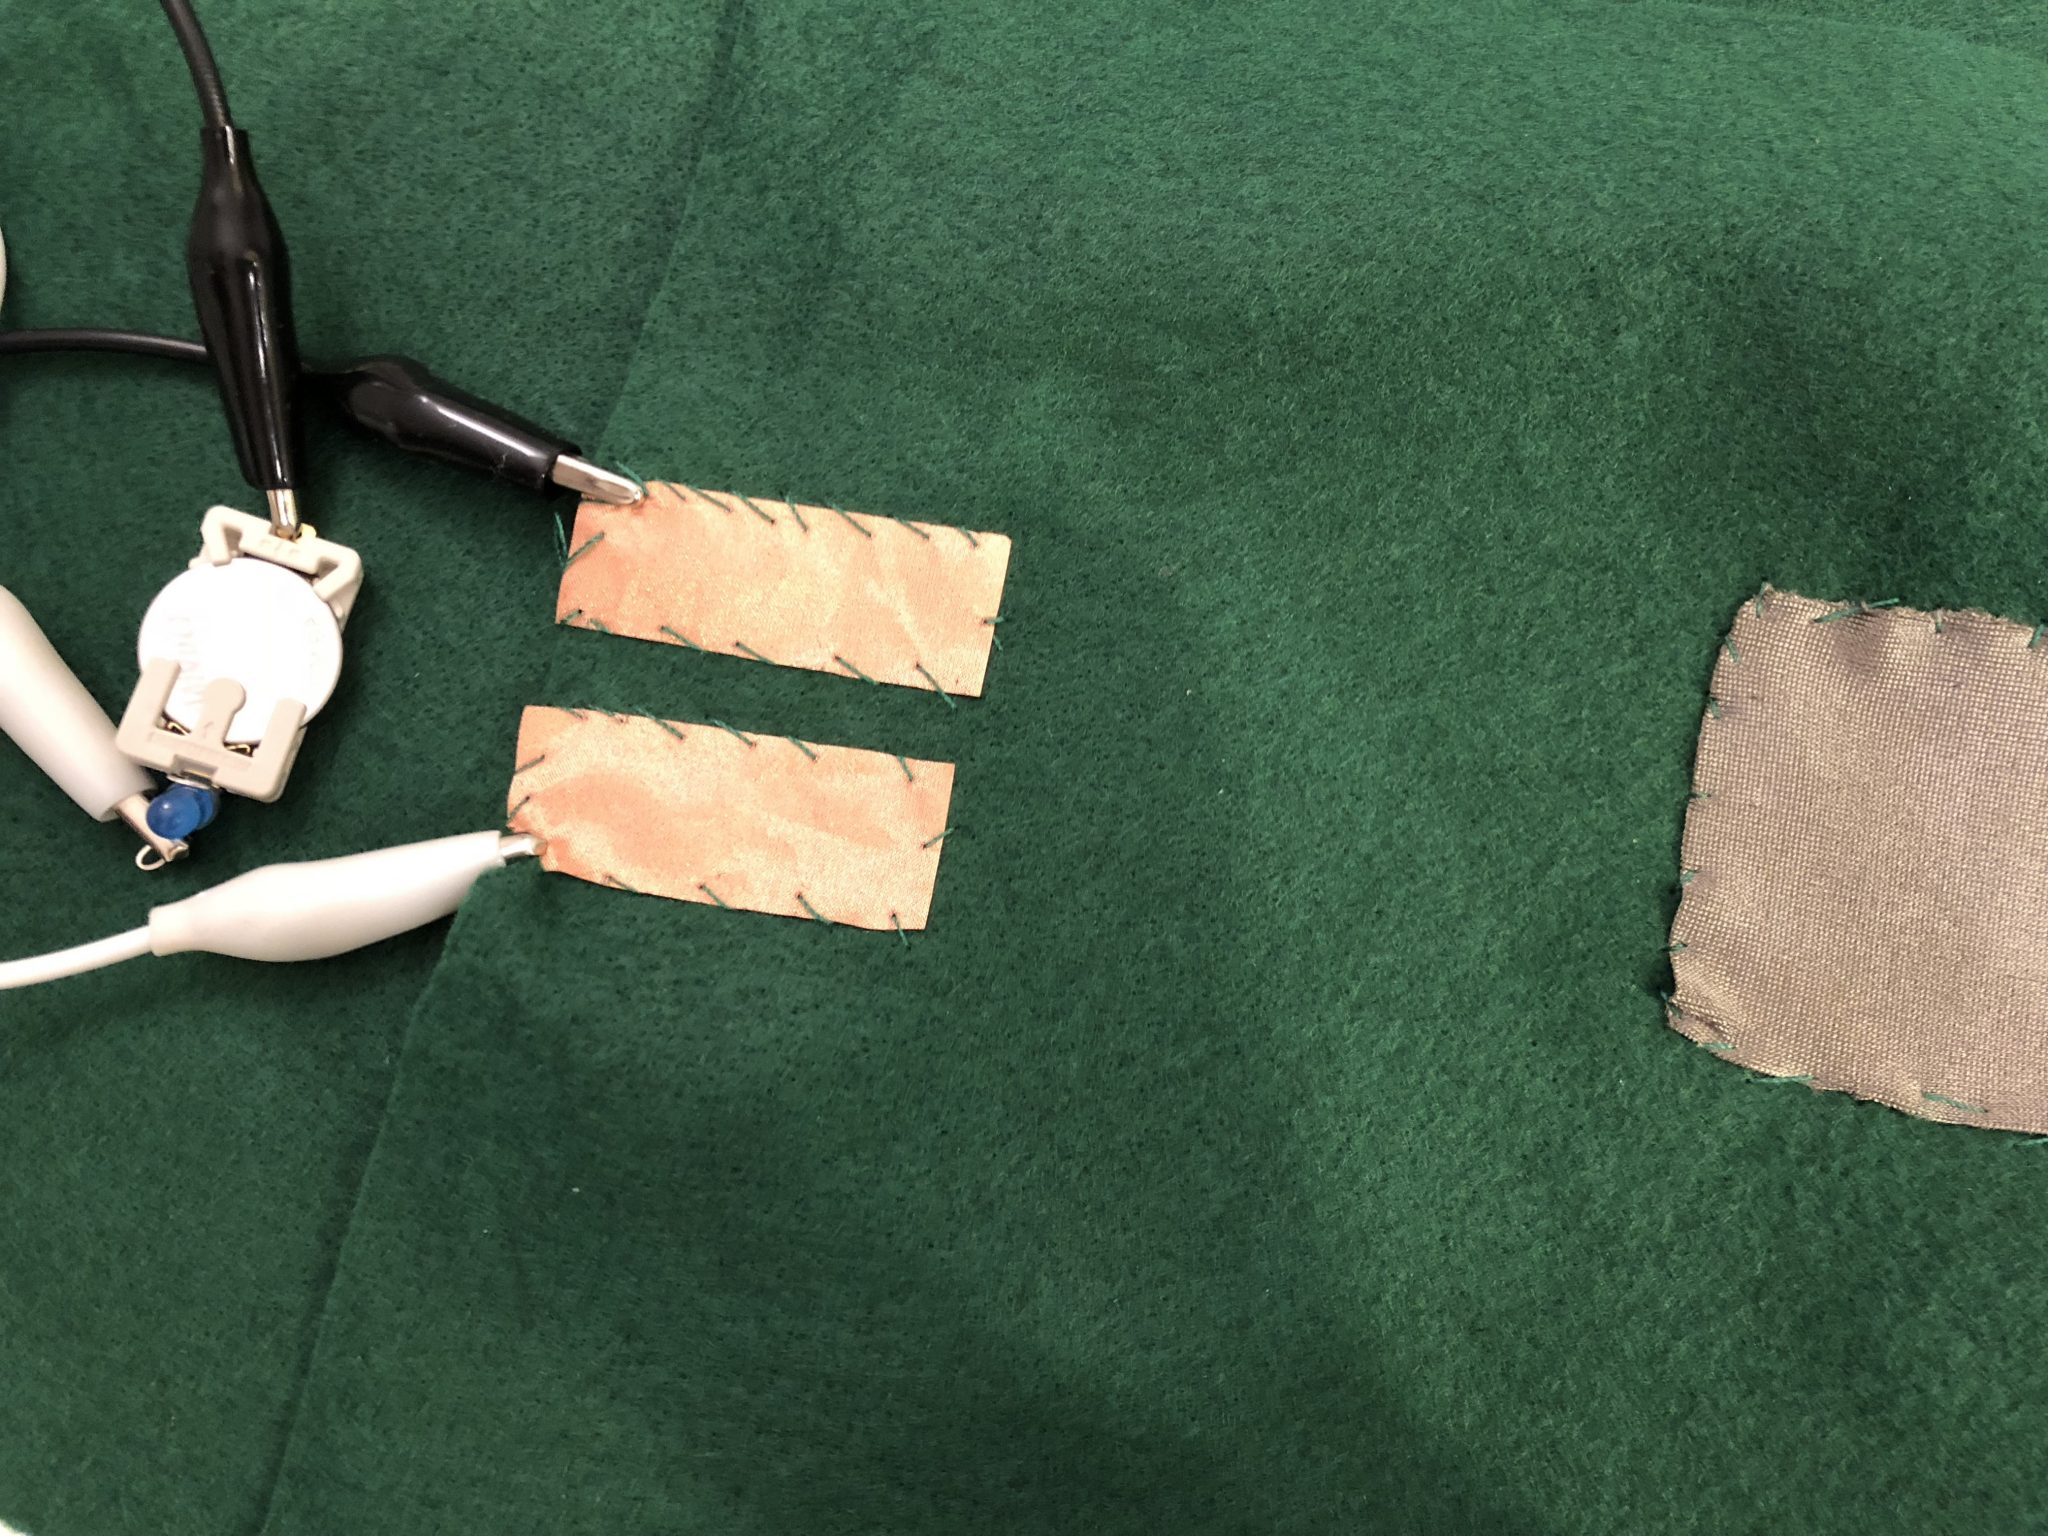
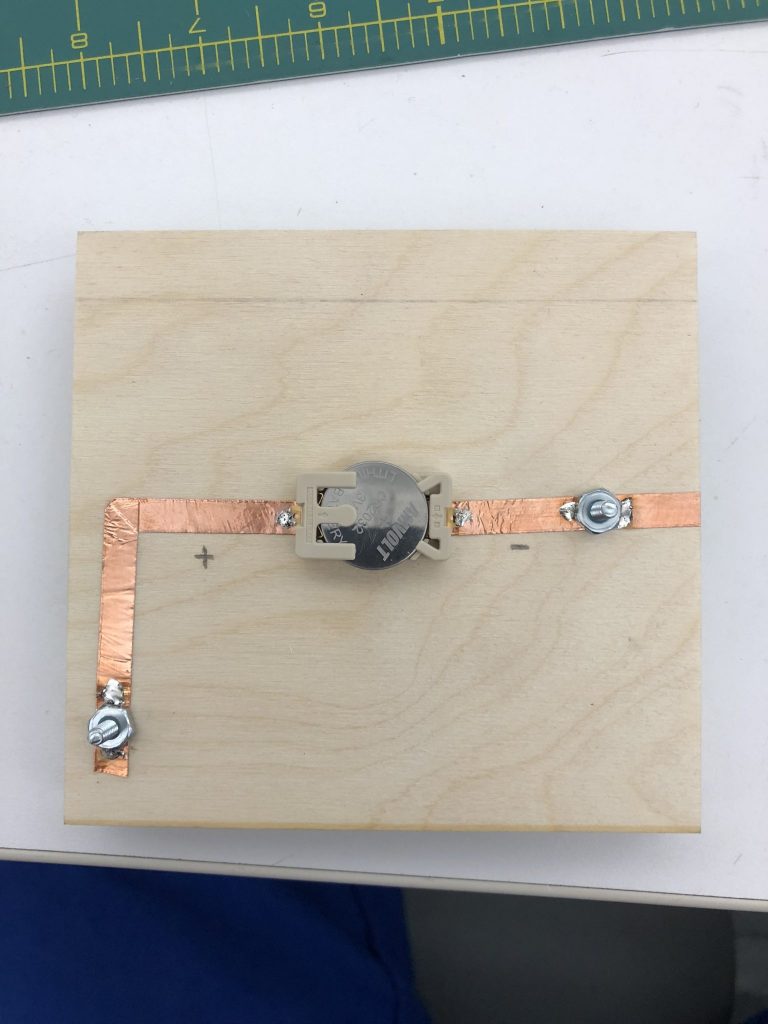
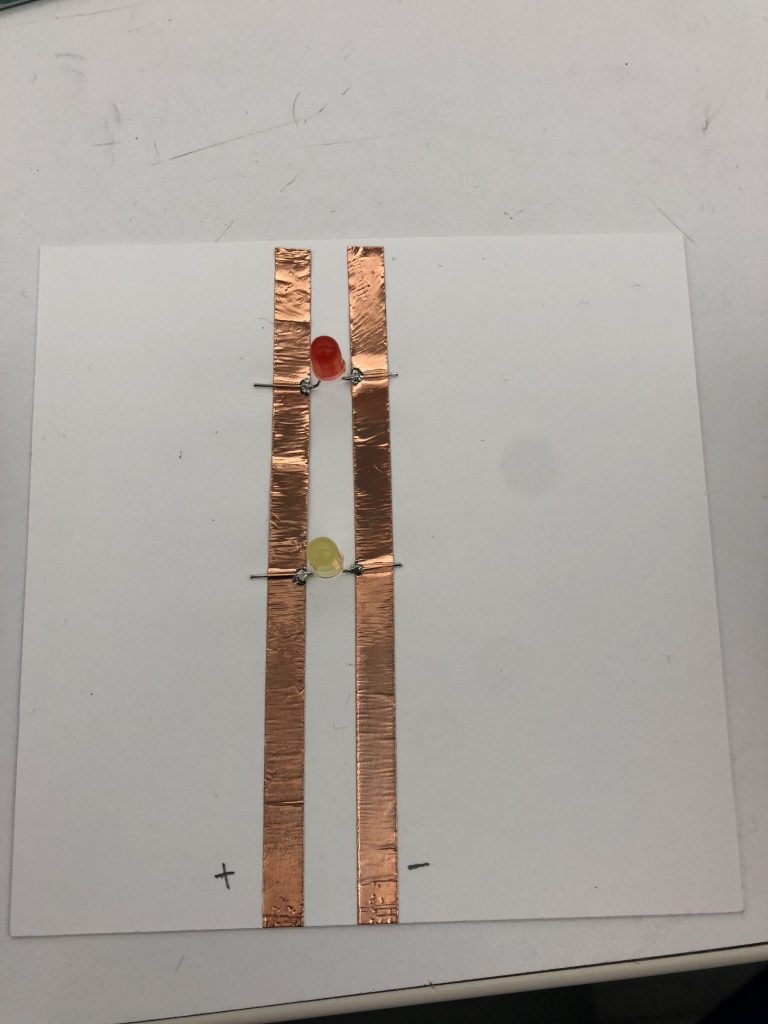
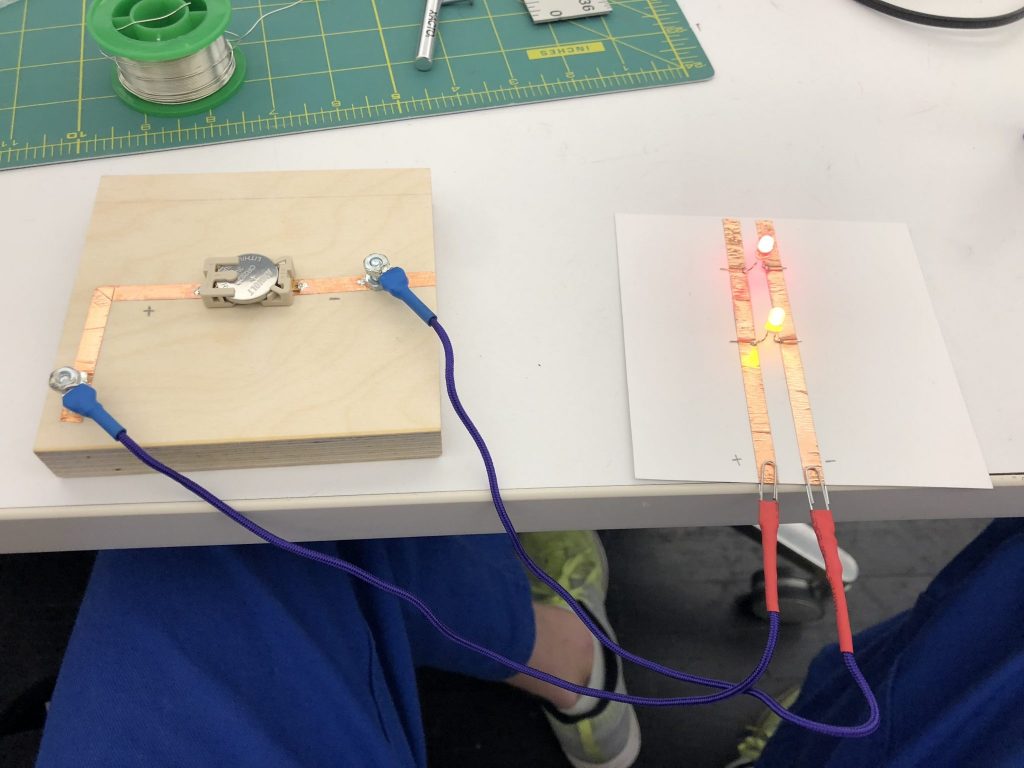
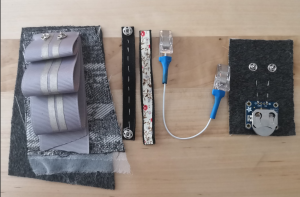
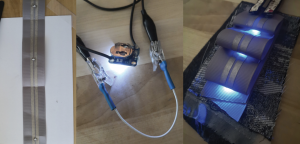
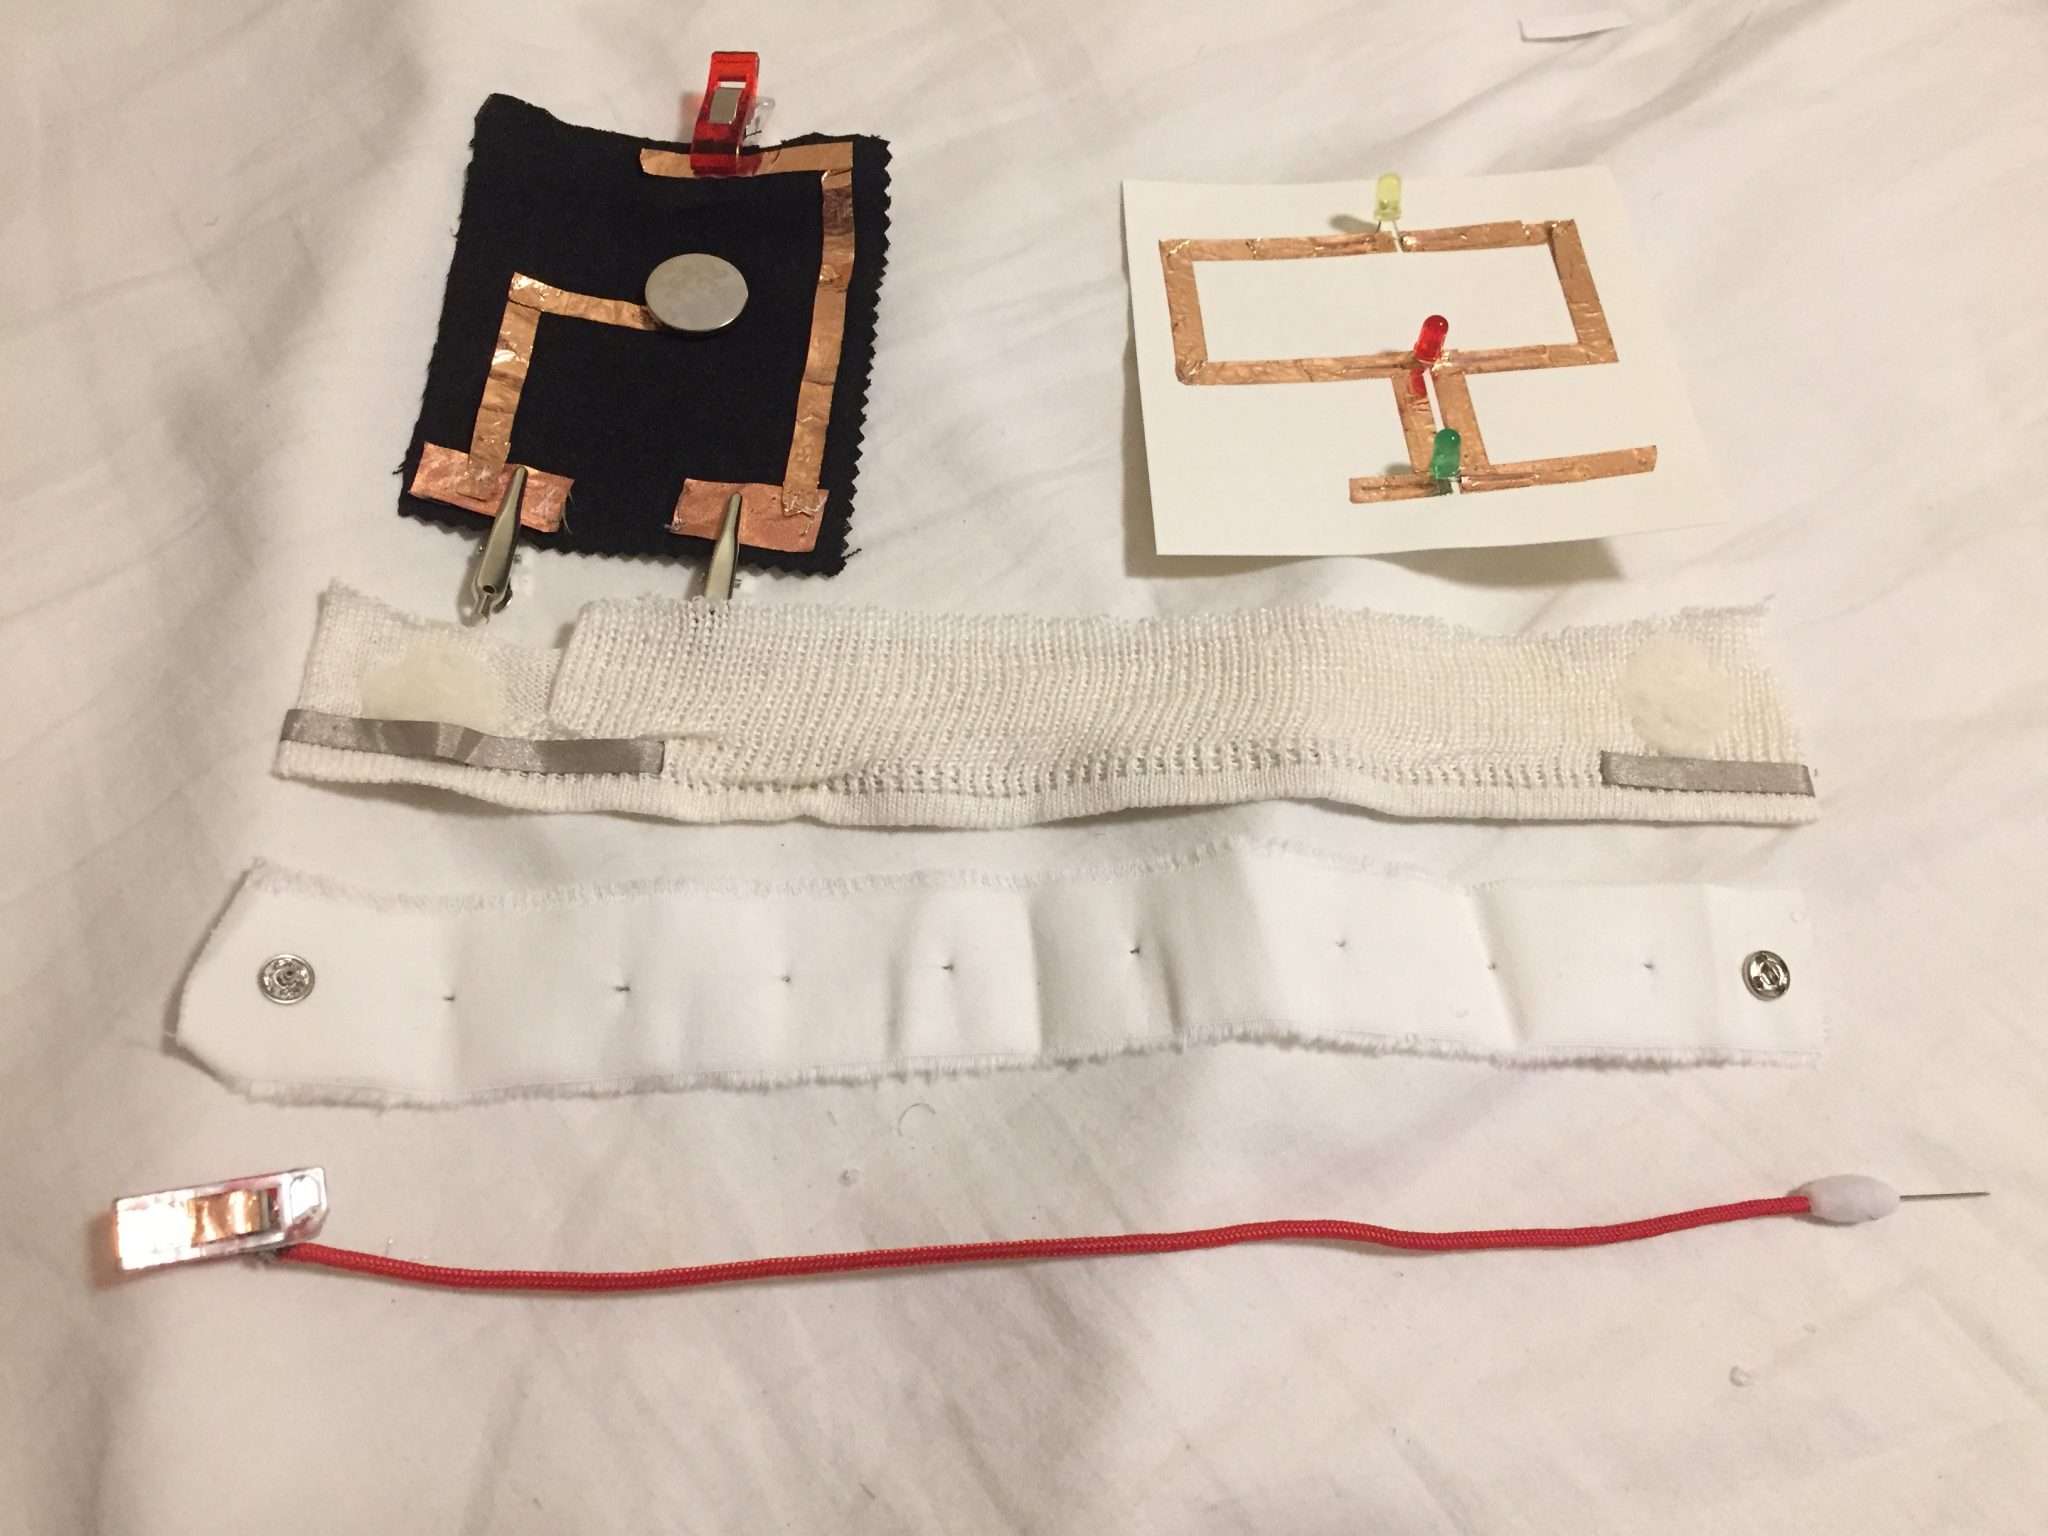
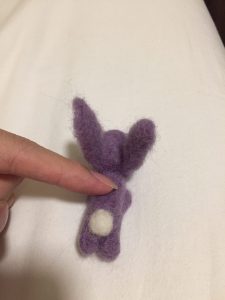
For this week I built 2 soft-circuits nodes made out of fabric and paper, as well as 3 connectors. These components explore the properties of different materials such as with woven conductive fabric, conductive Velcro, natural jute and sewable metal snaps.
Materials:
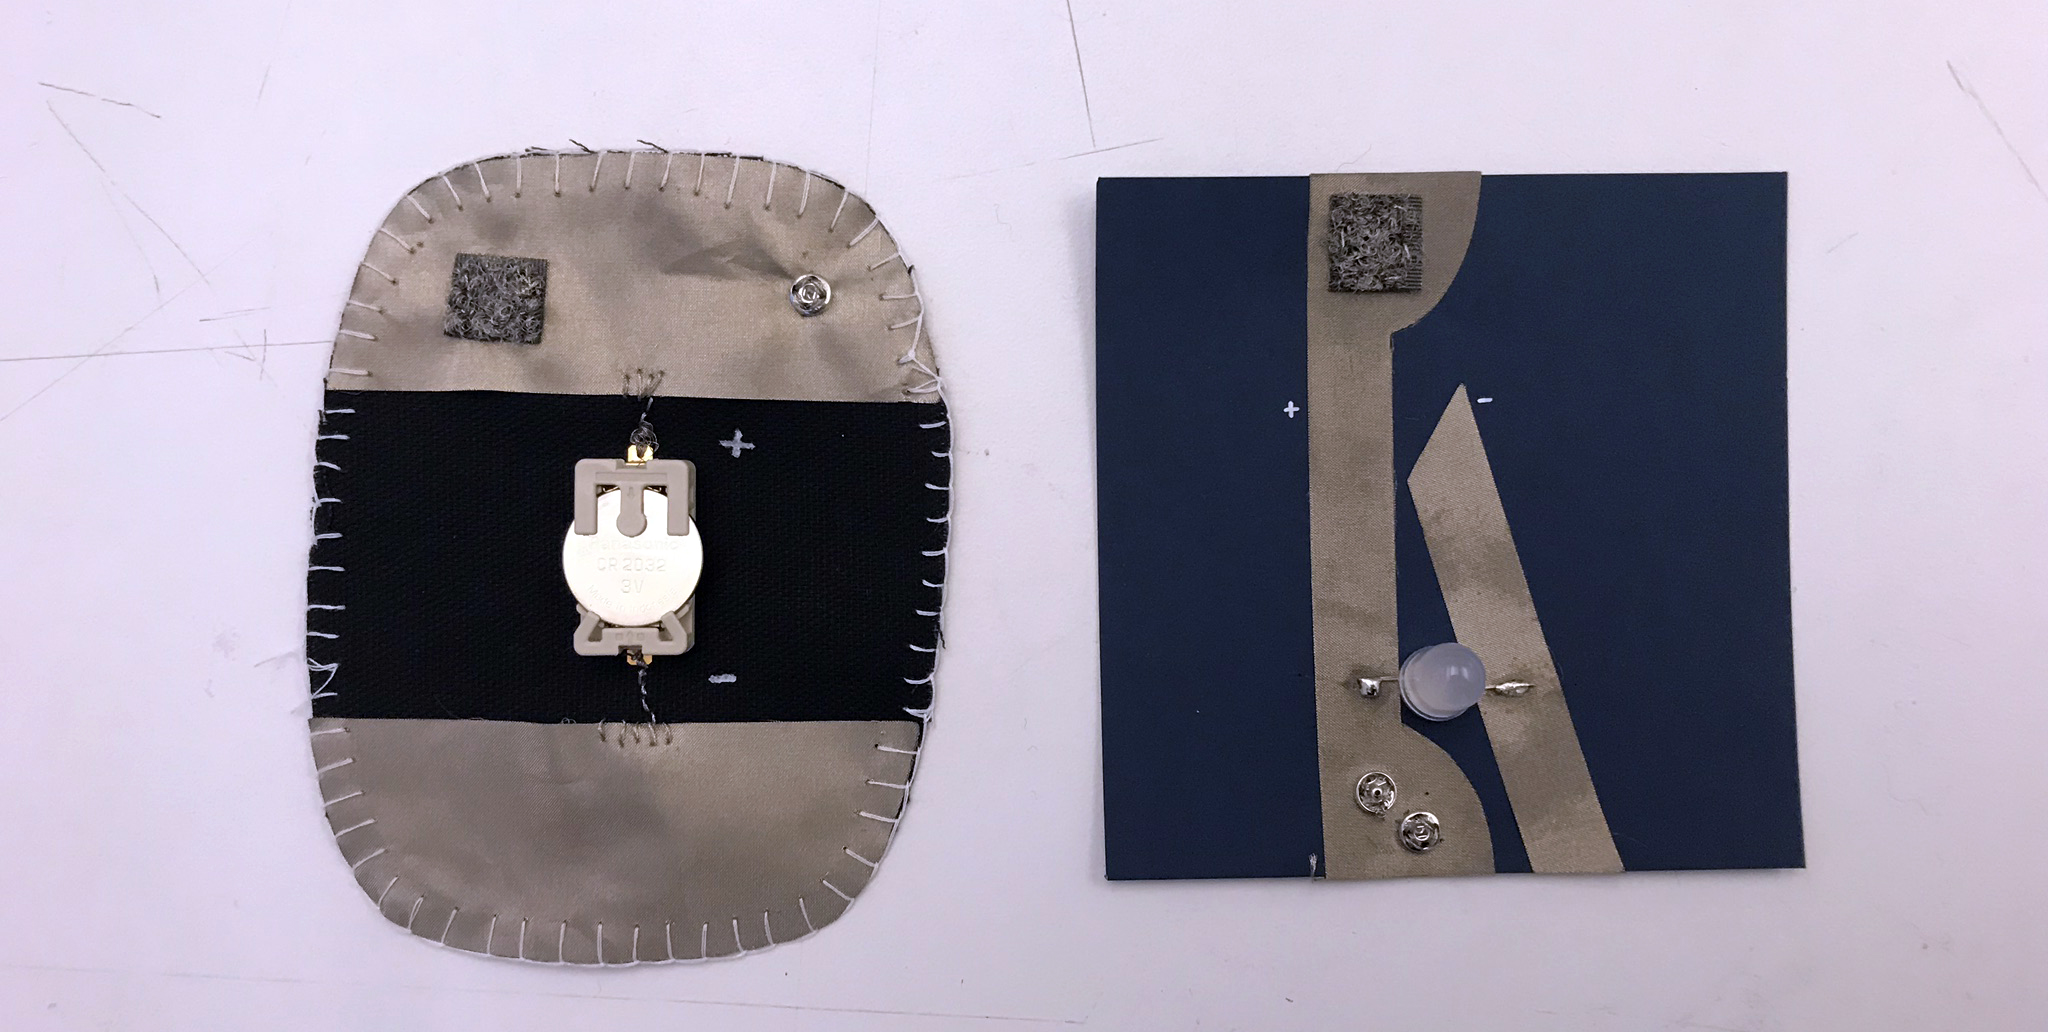
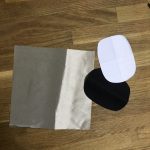
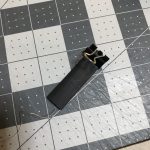
Fabric Node:
- Regular Fabric. Piece of around 3inx3in
- Woven Conductive Fabric
- Sewable Metal Snaps
- Conductive Velcro
- Battery Holder
- Conductive Thread
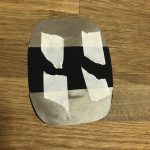
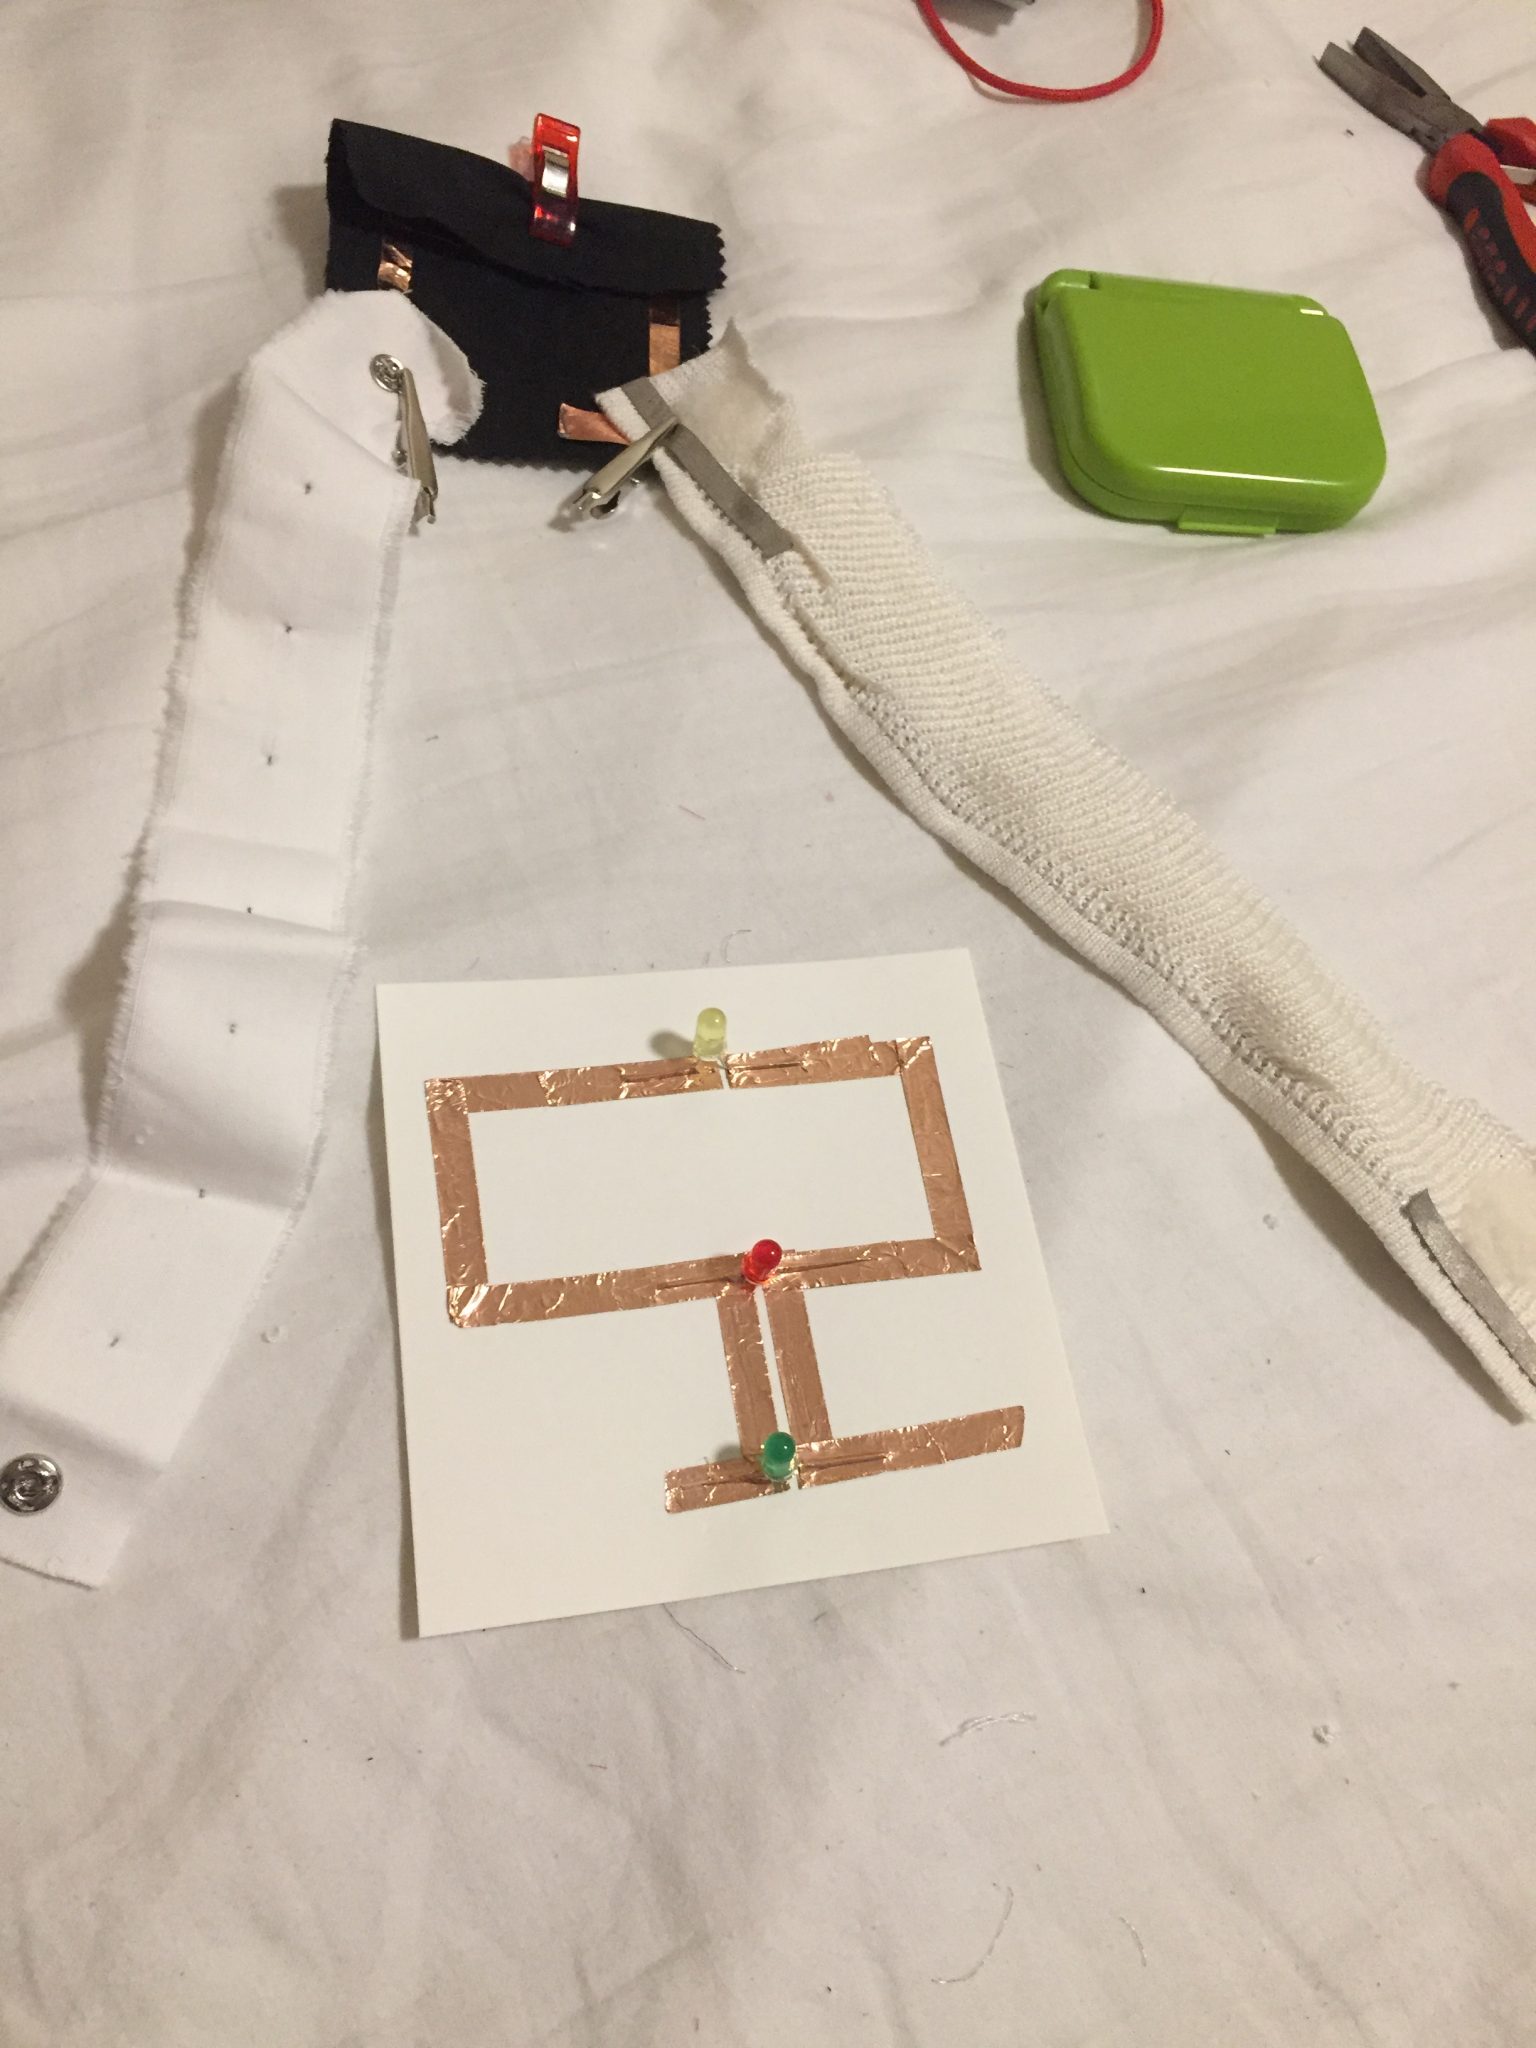
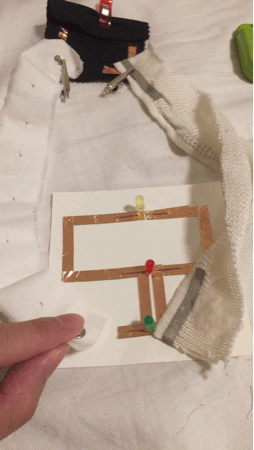
Paper Node:
- Paper Square 3inx3in
- Woven Conductive Fabric
- Sewable Metal Snaps
- Conductive Velcro
- LED
- Conductive Thread
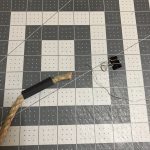
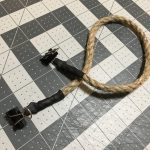
Connectors:
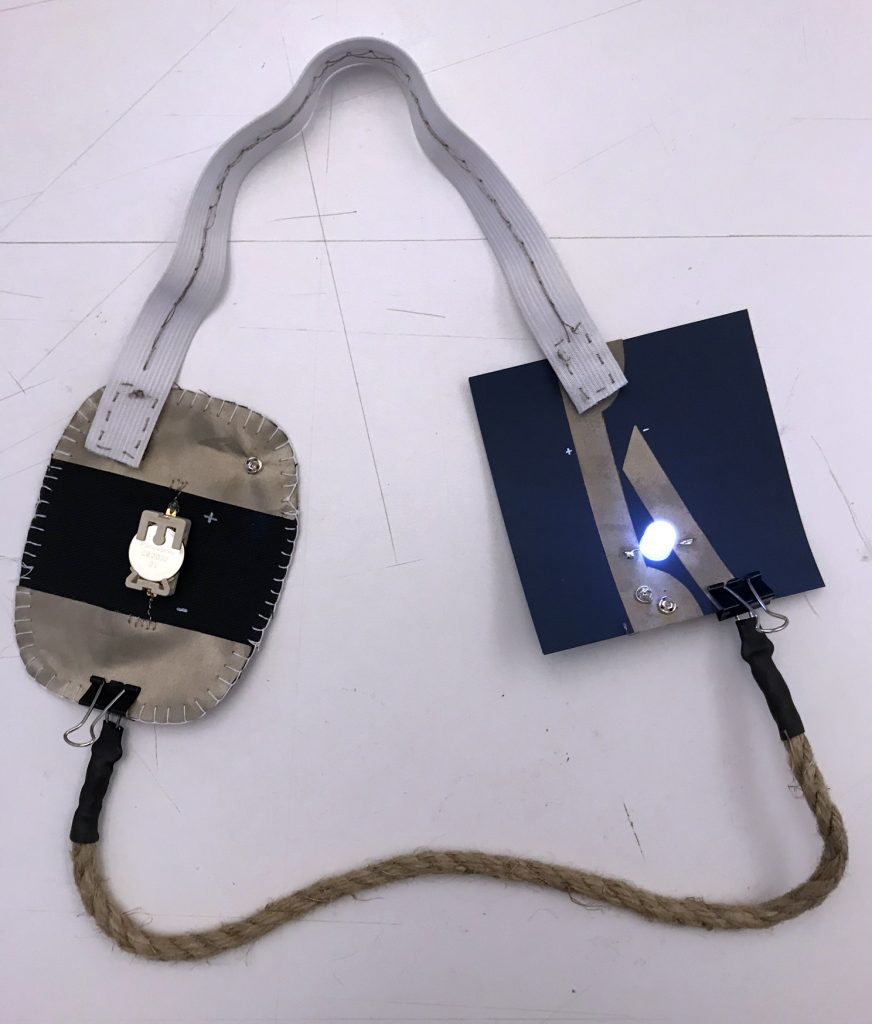
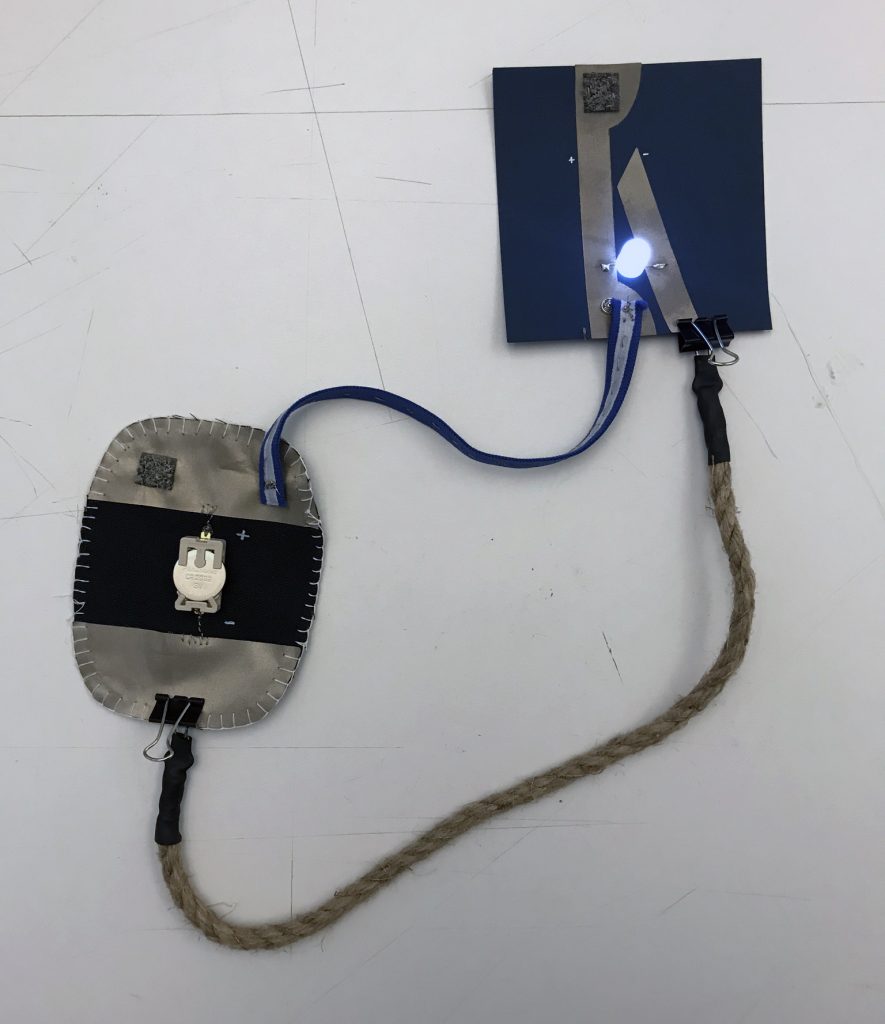
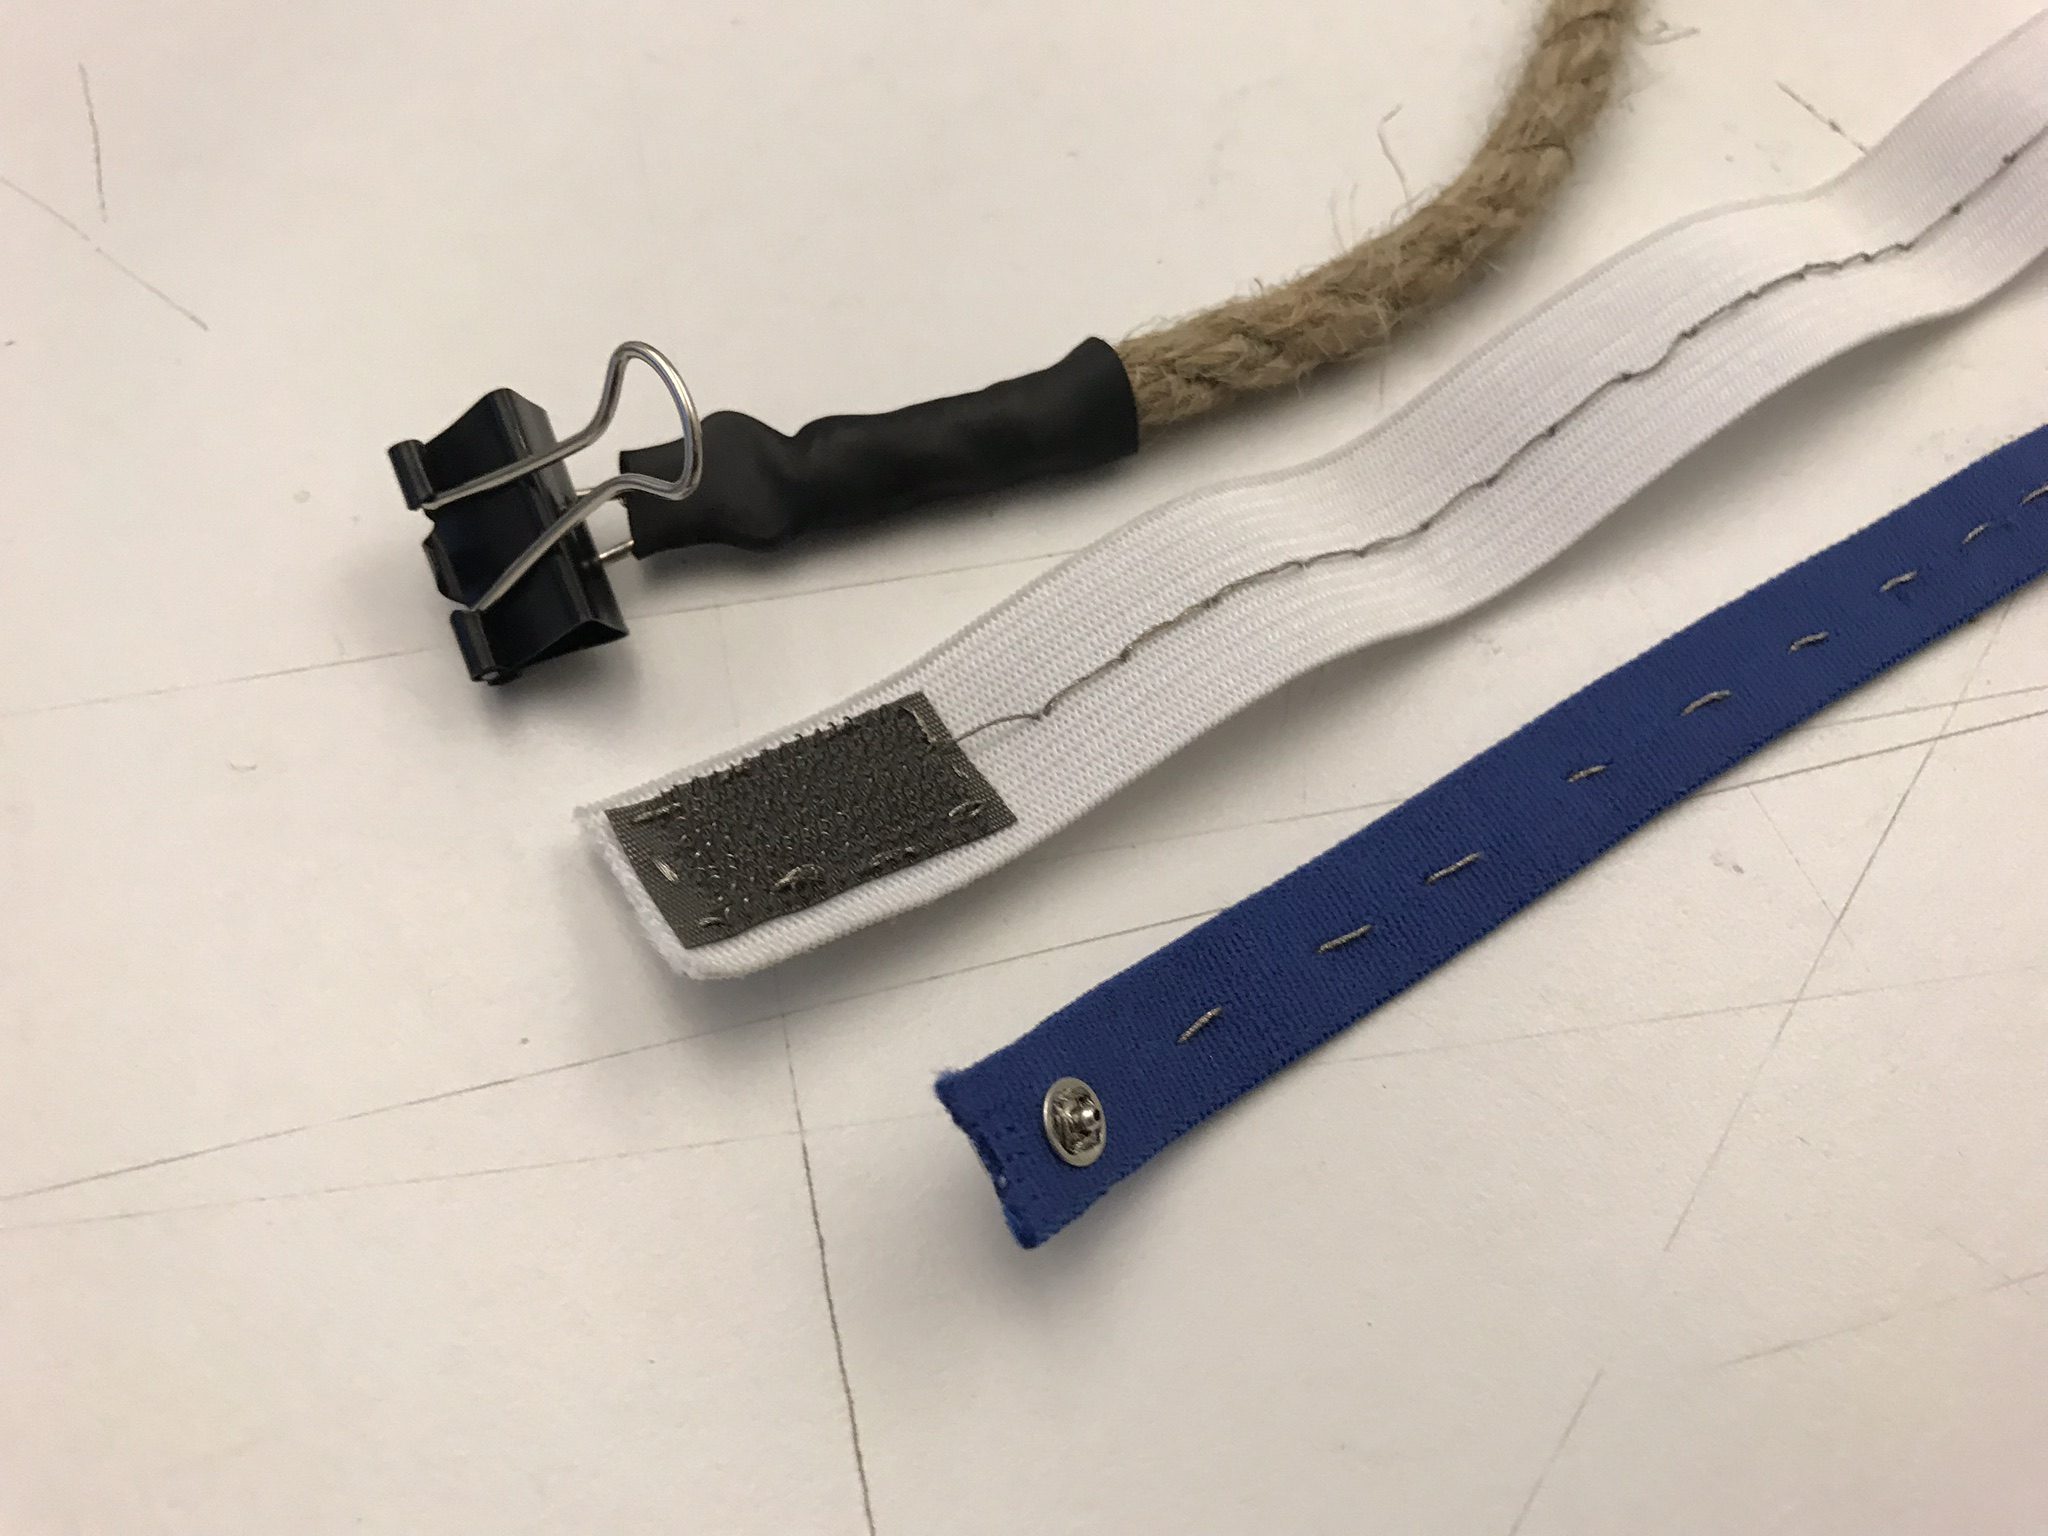
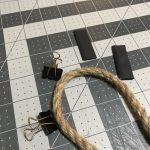
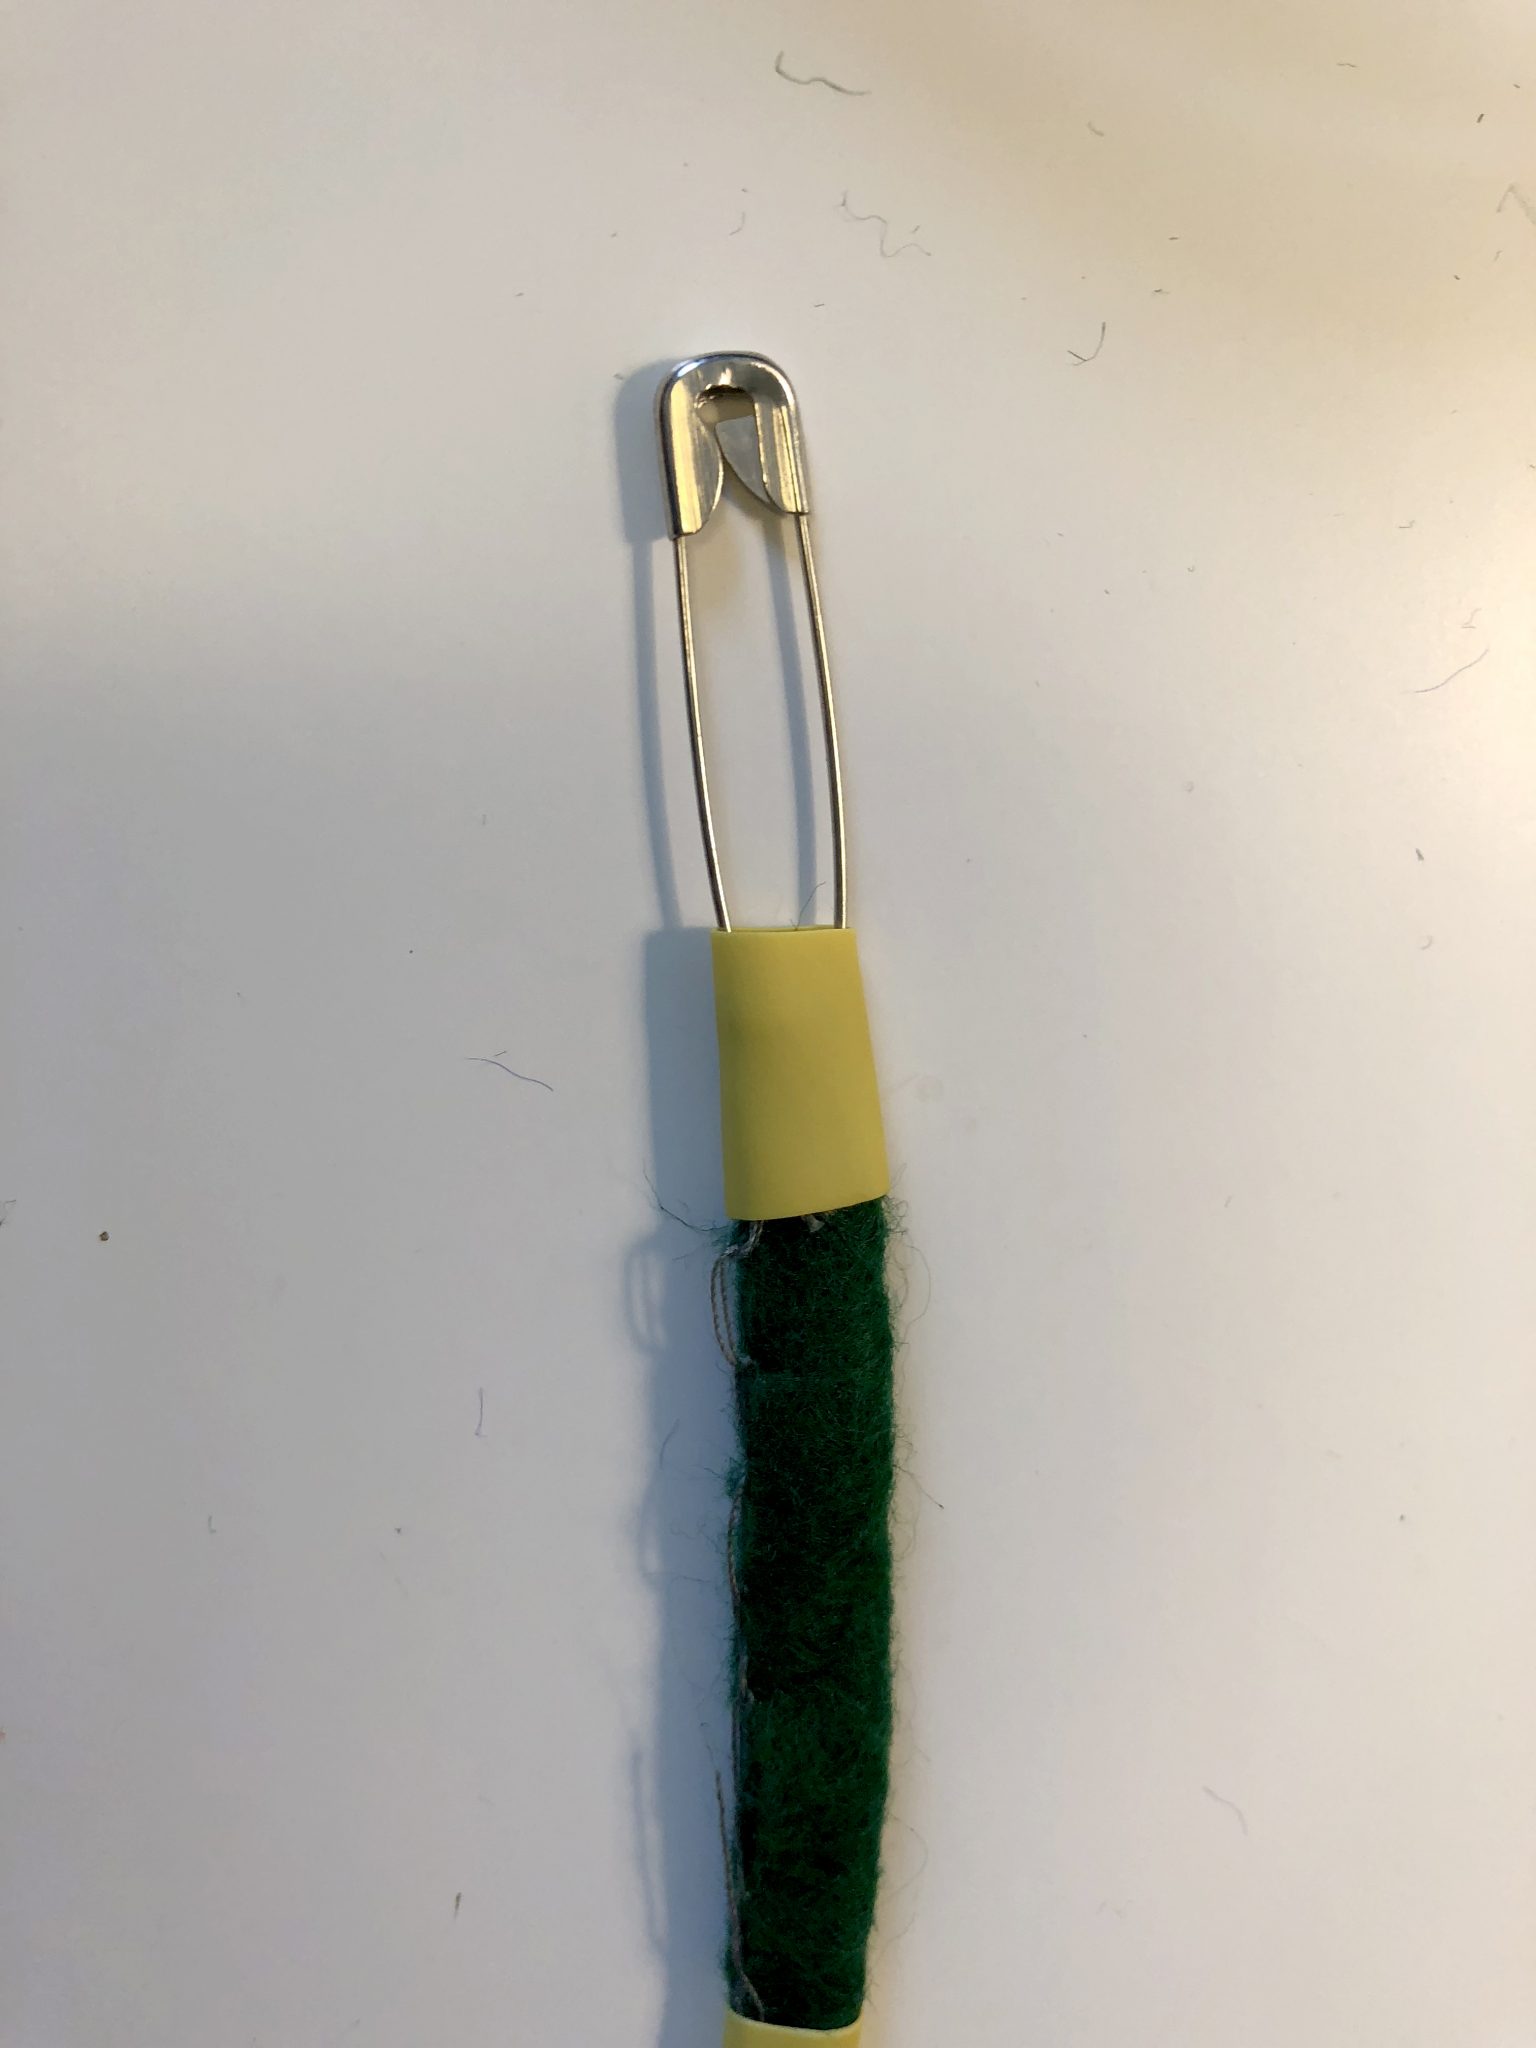
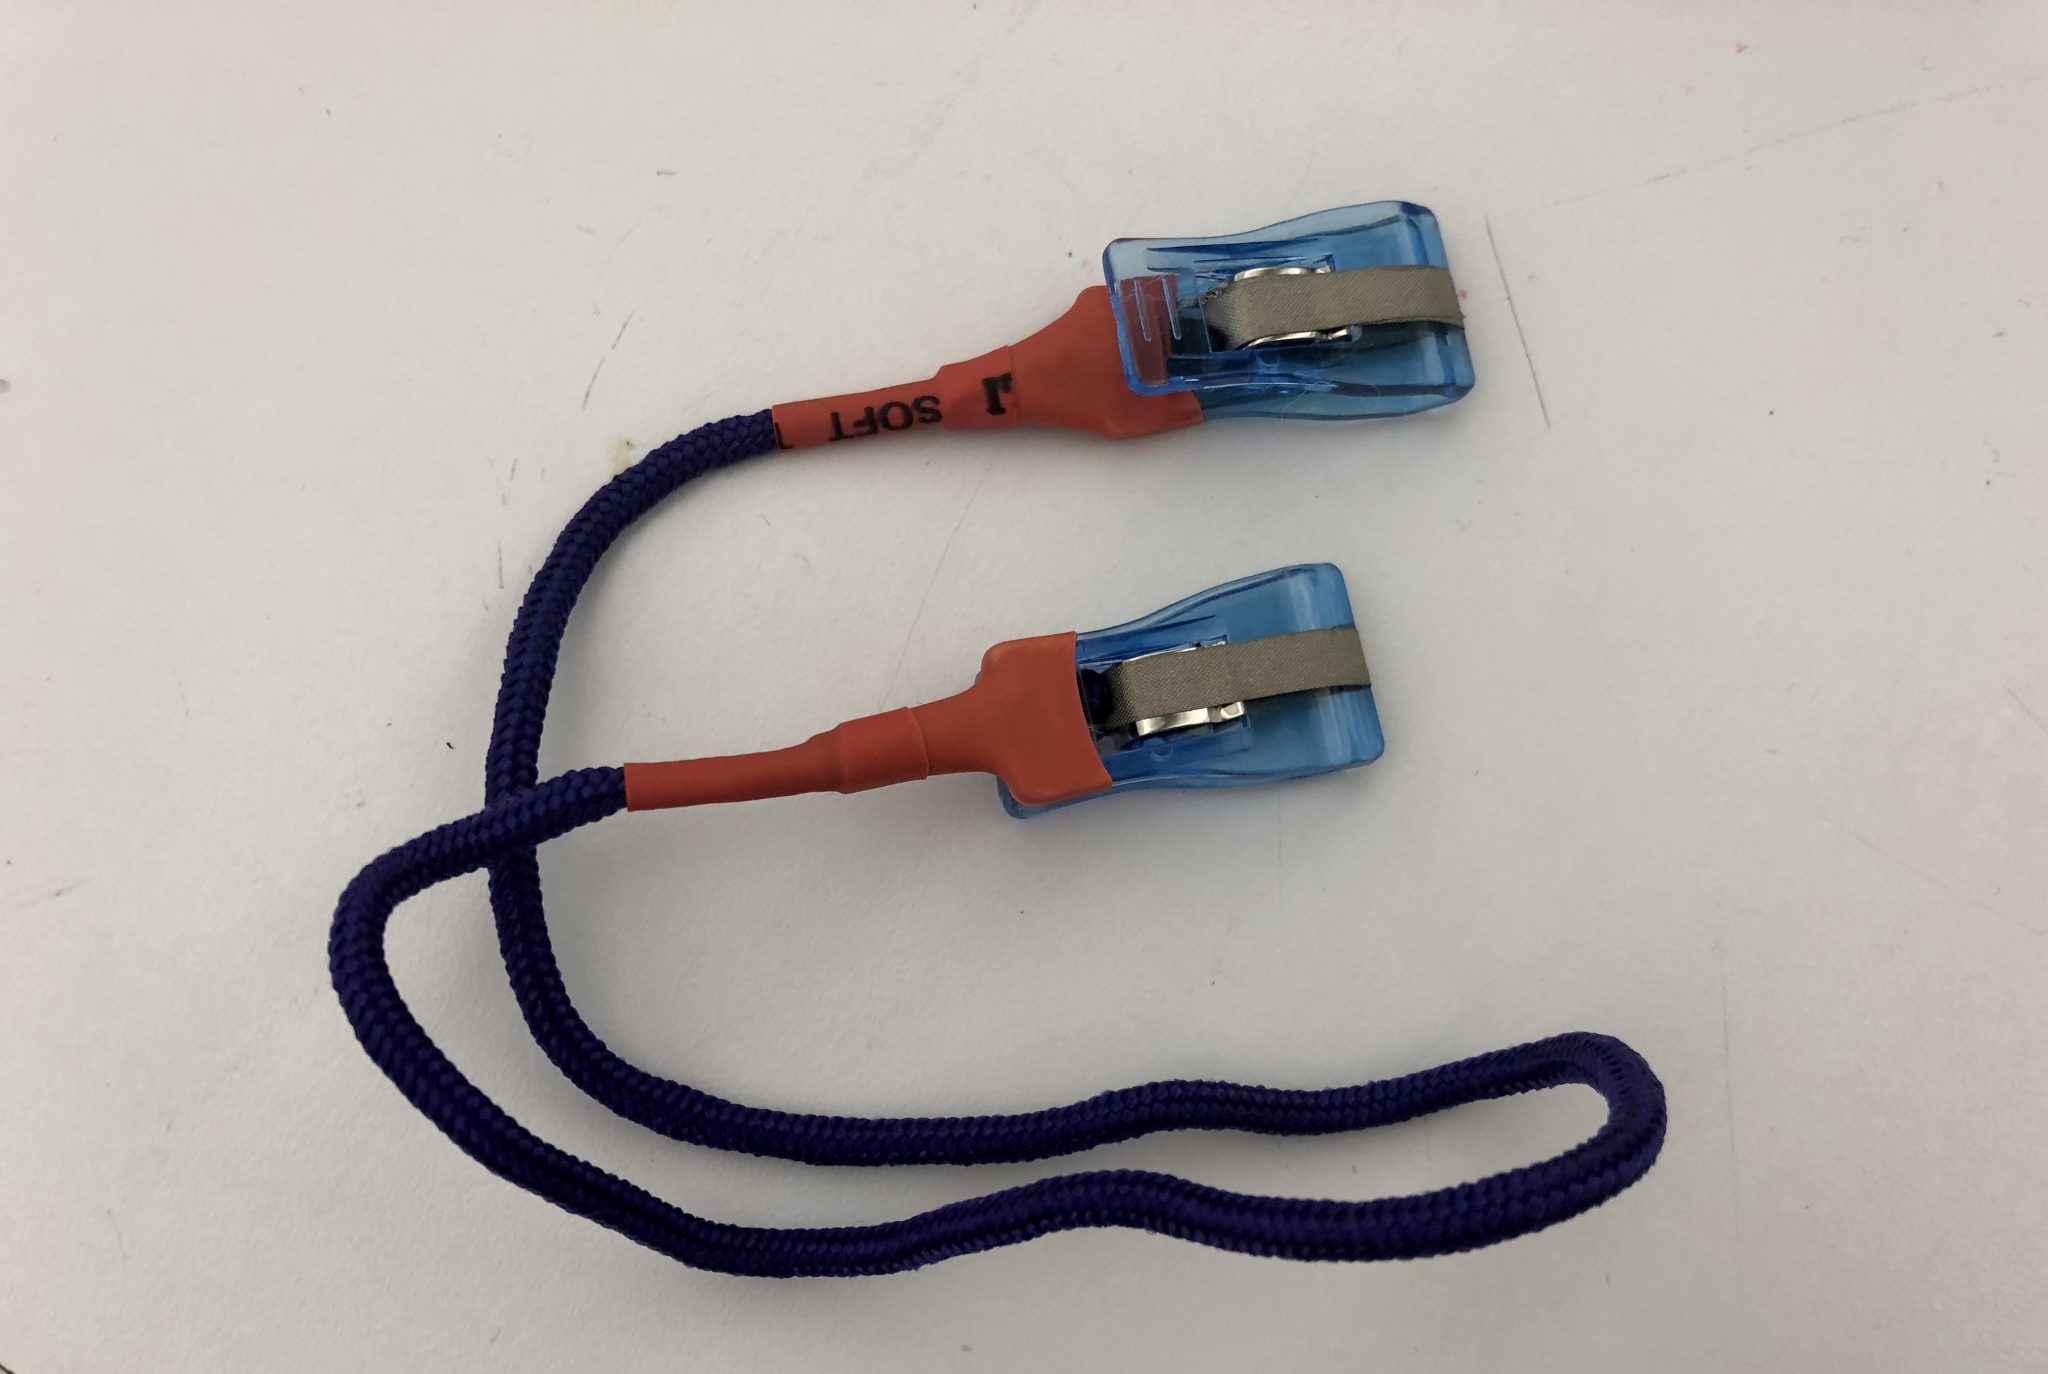
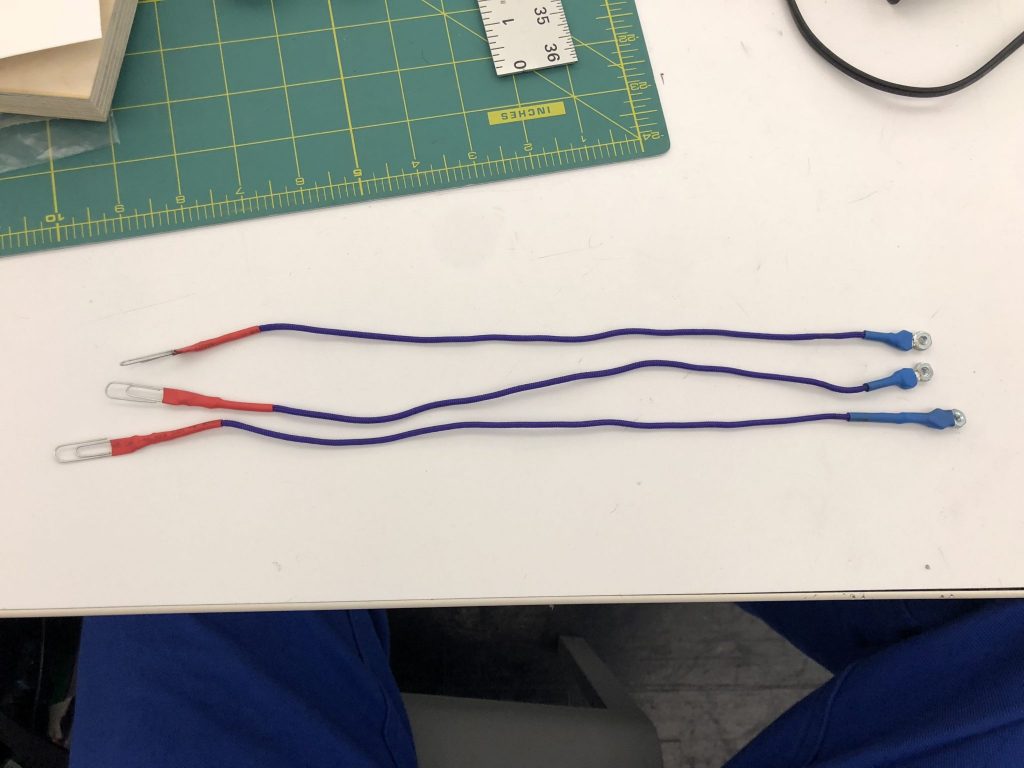
- Fabric Straps
- Natural Jute
- Conductive Thread
- Conductive Velcro
- Sewable Metal Snaps
Construction Process:
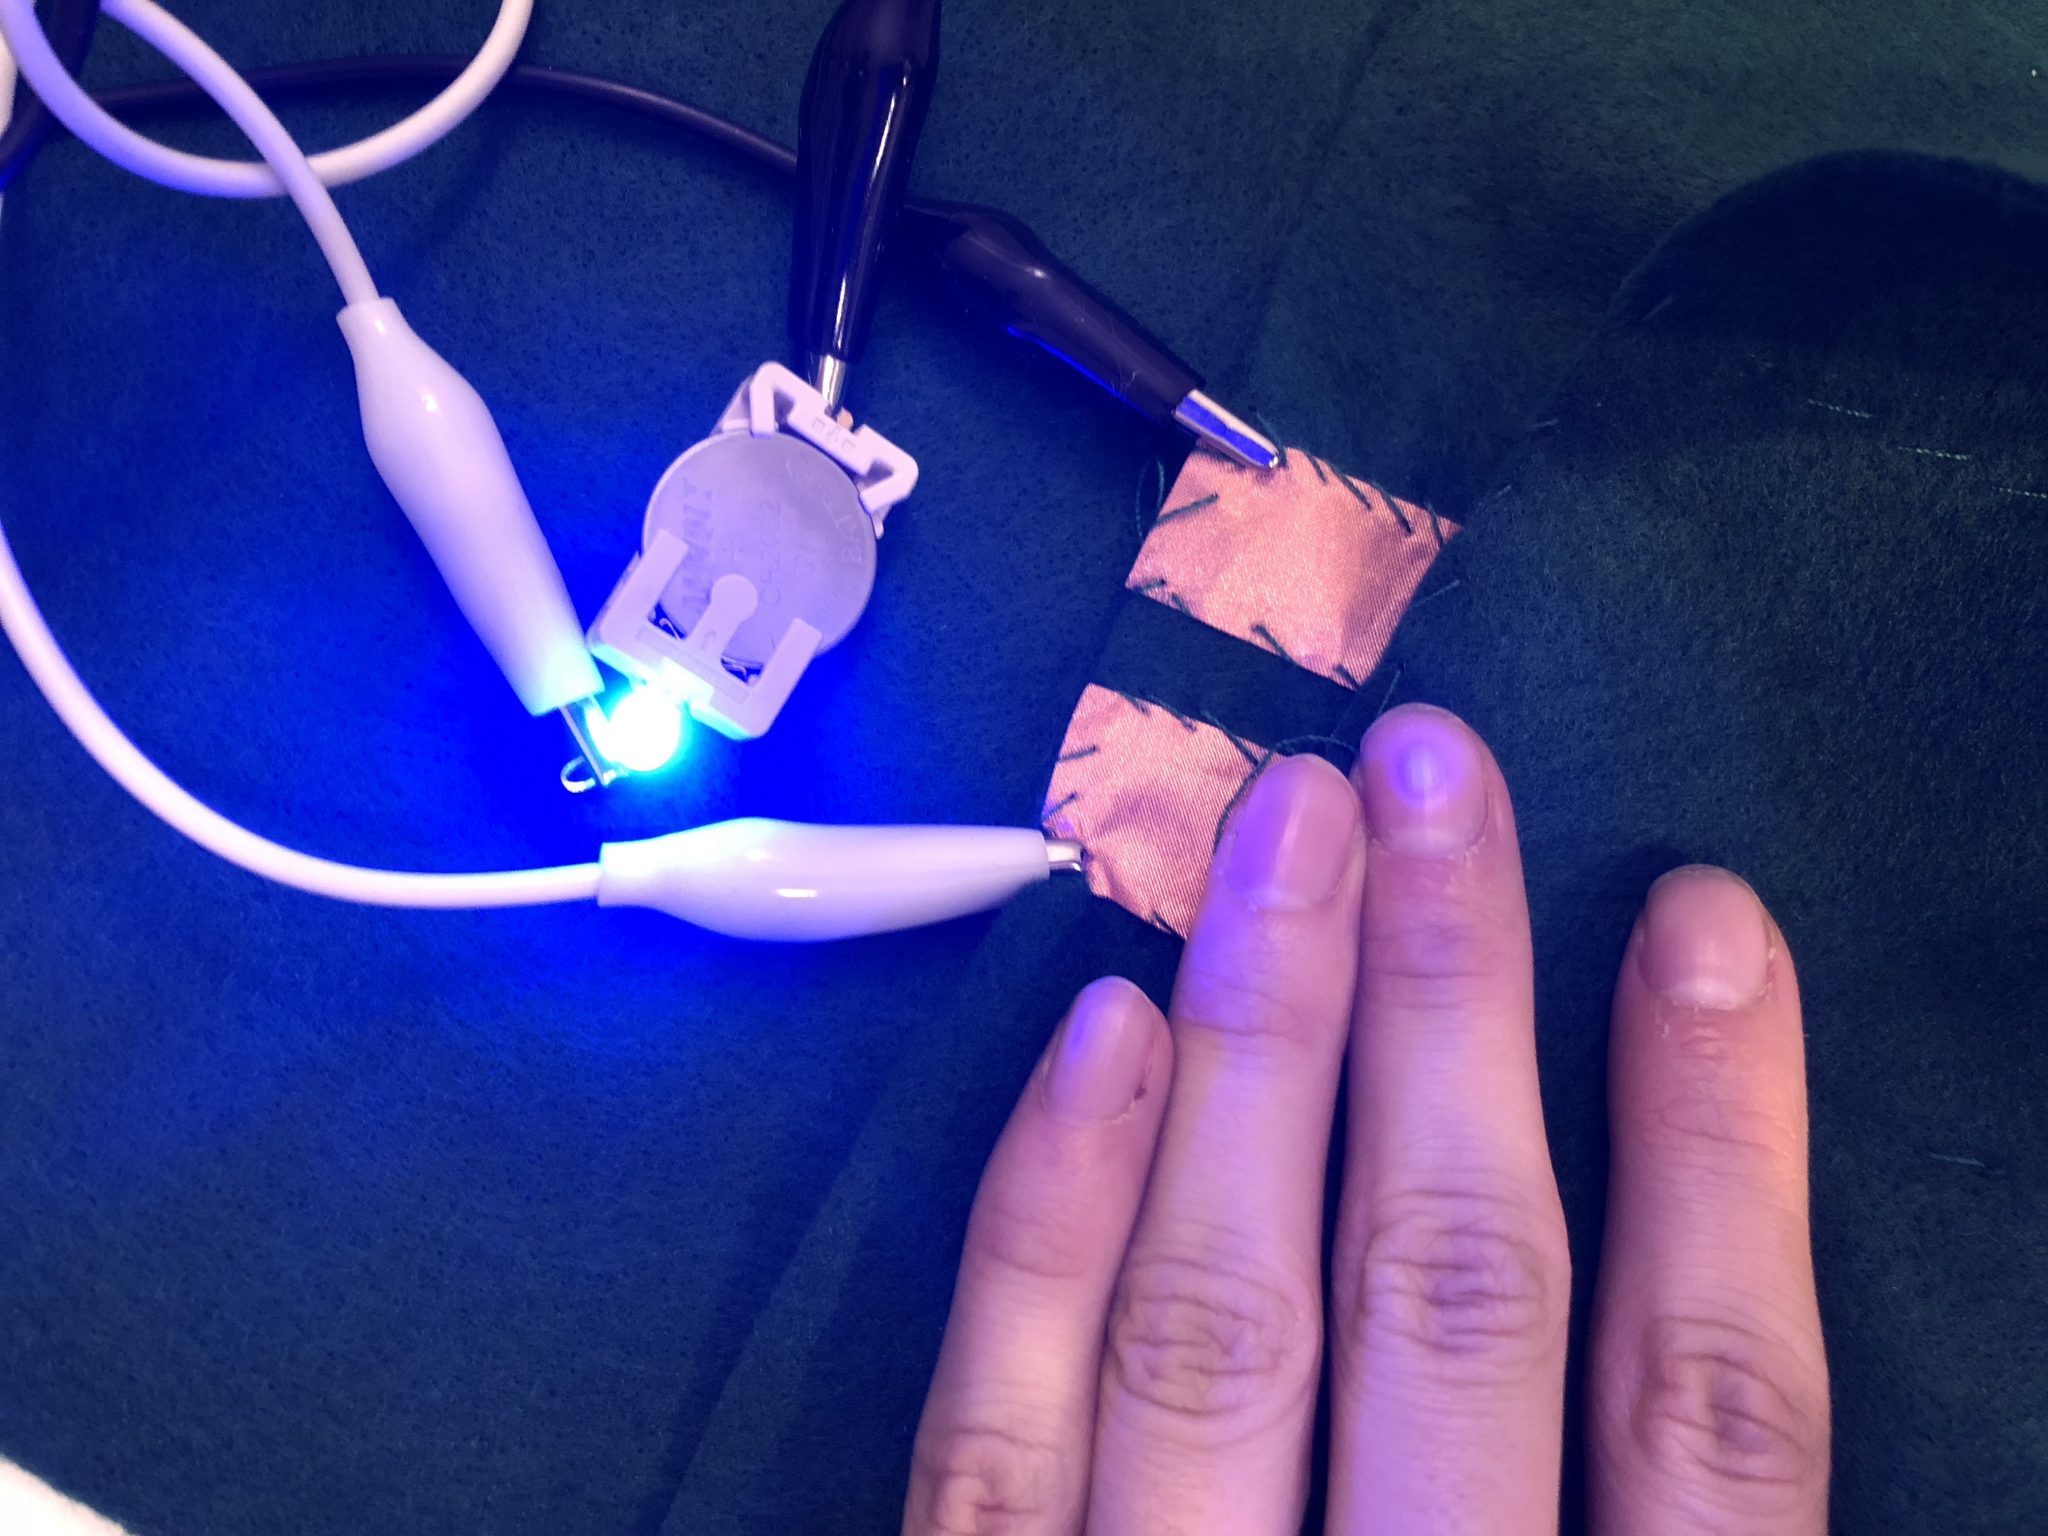
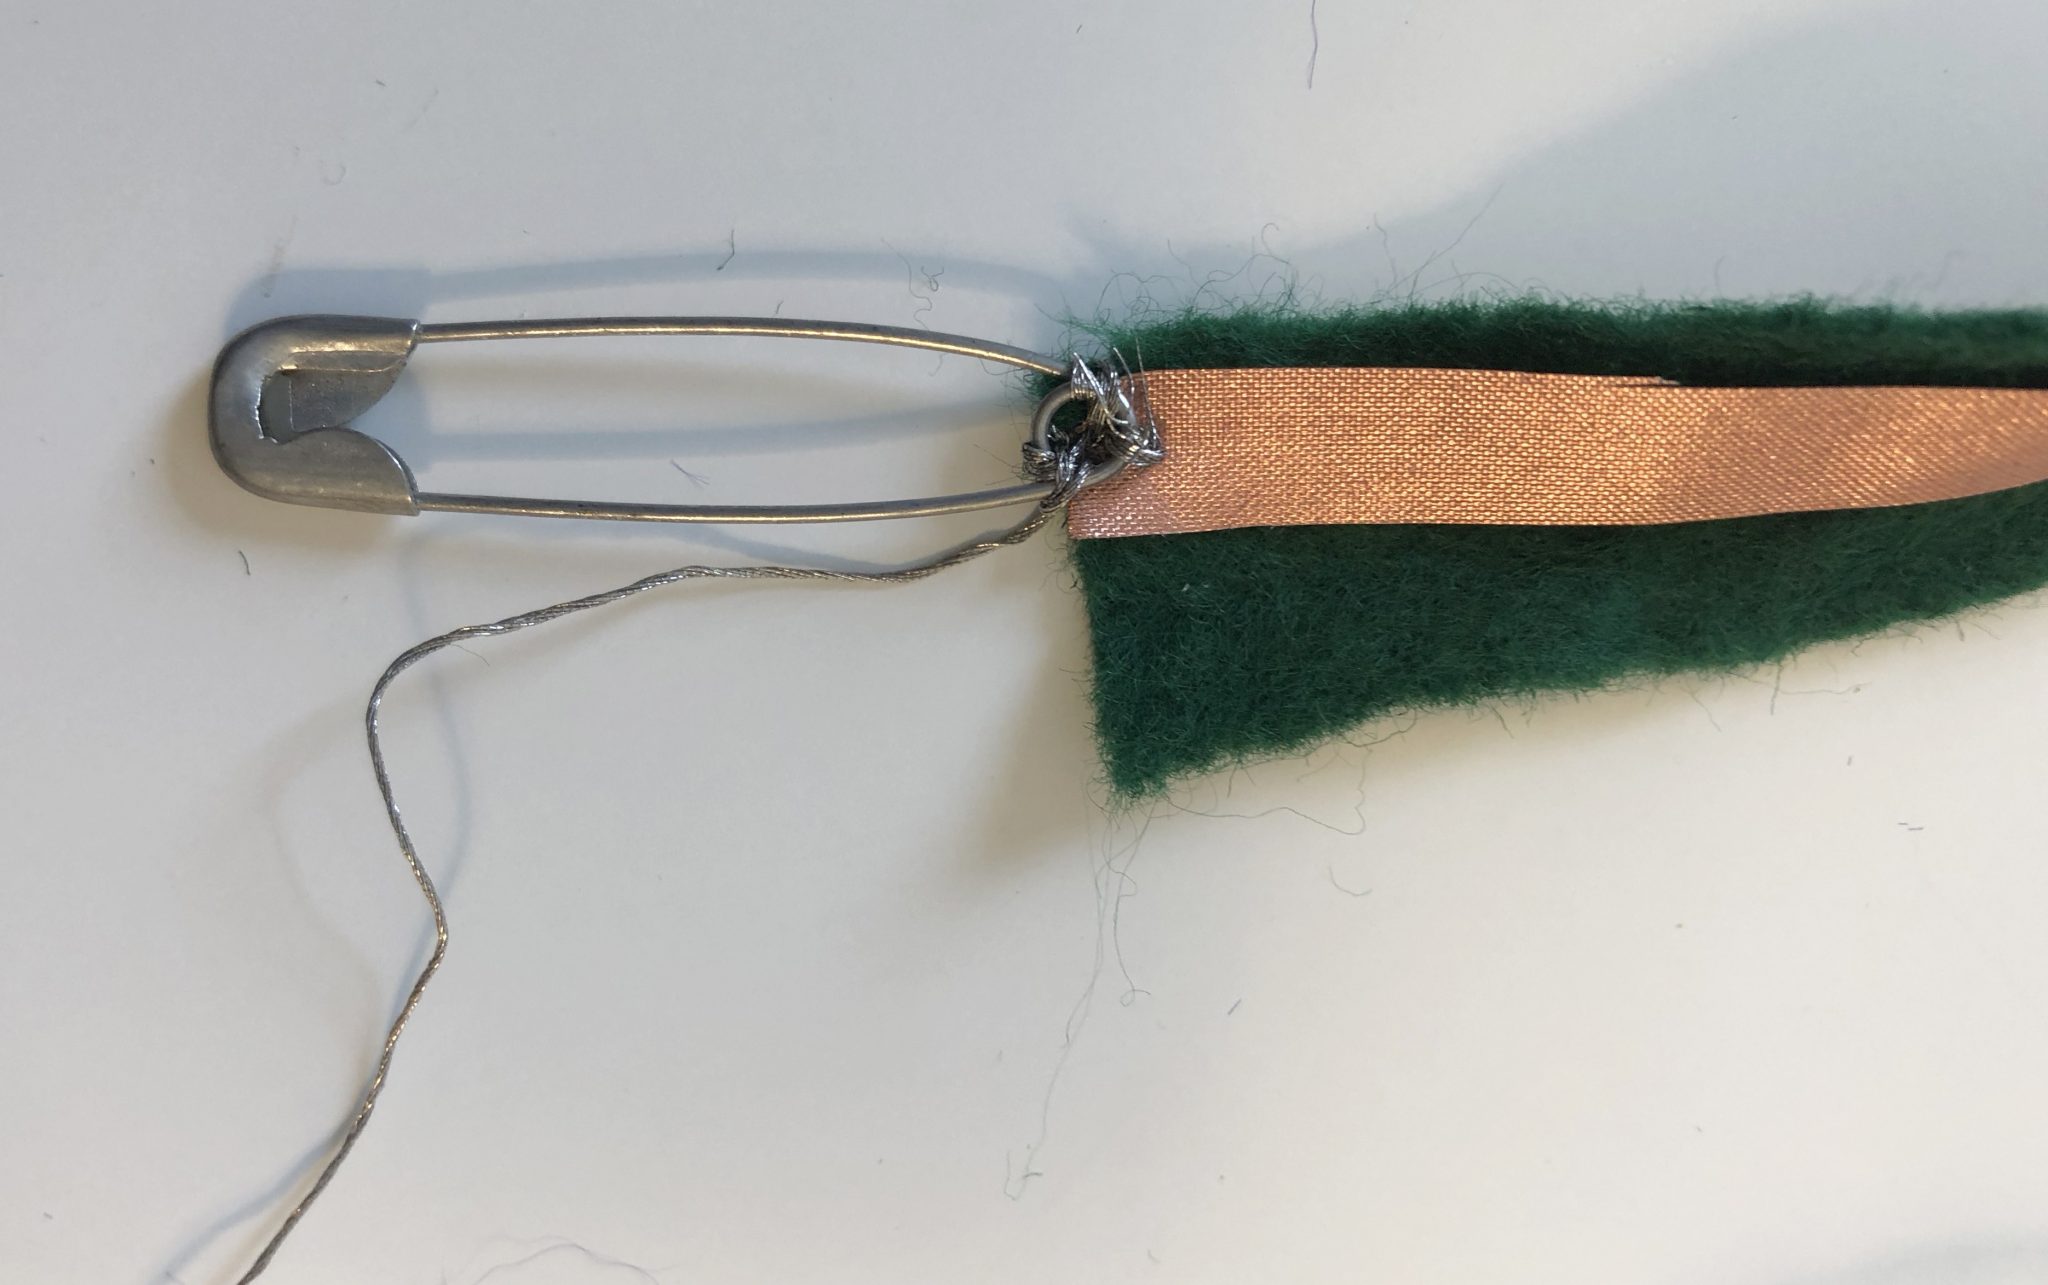
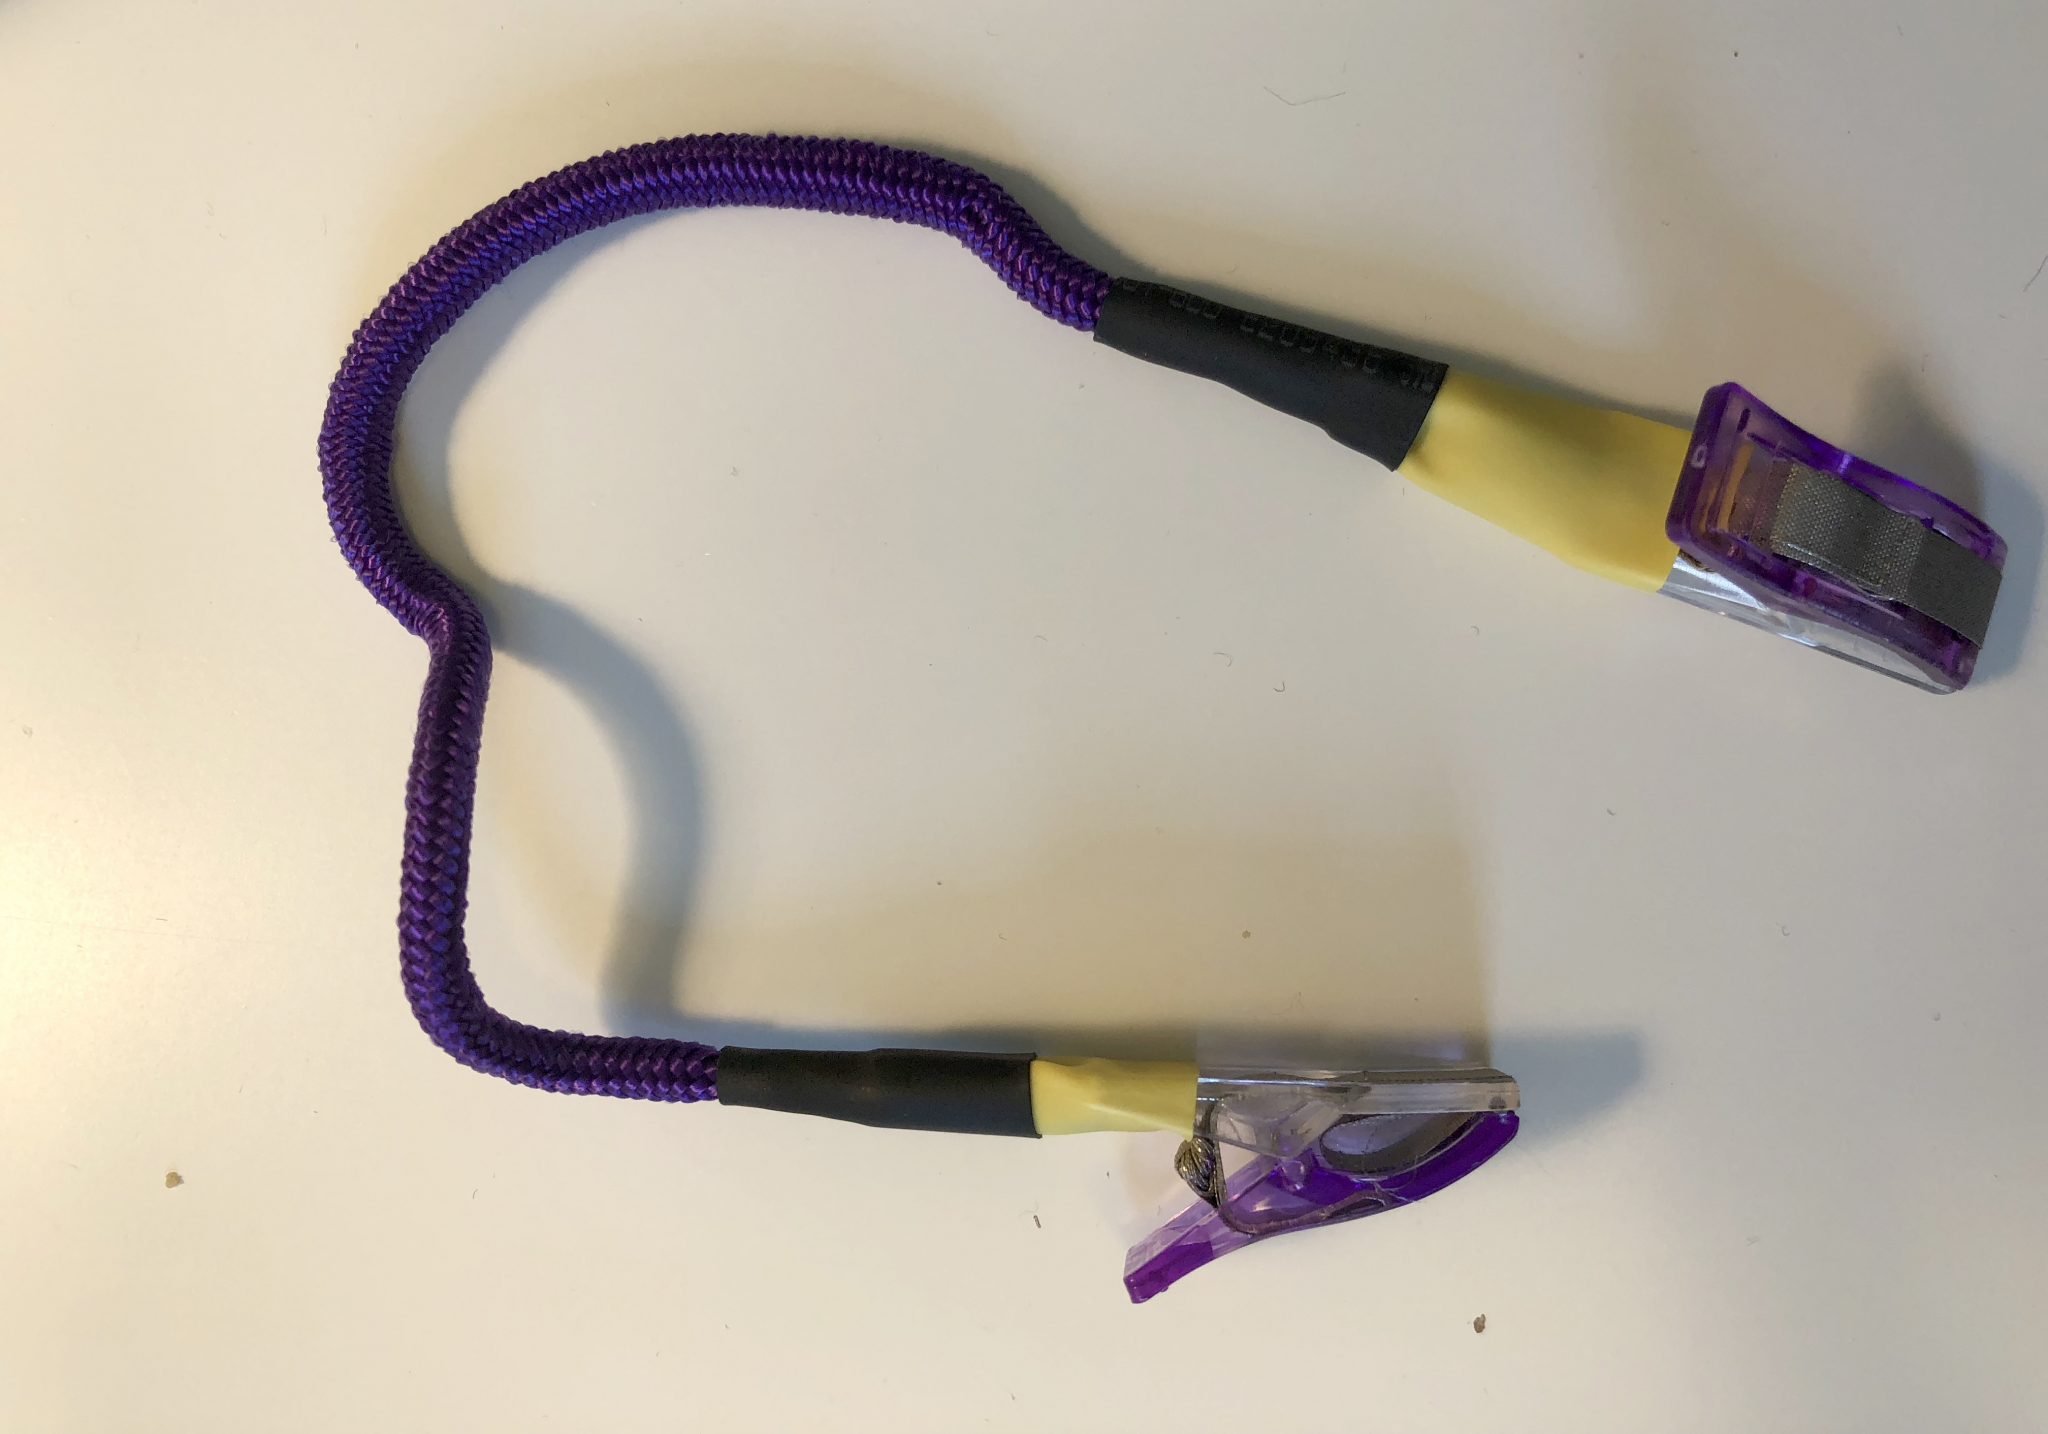
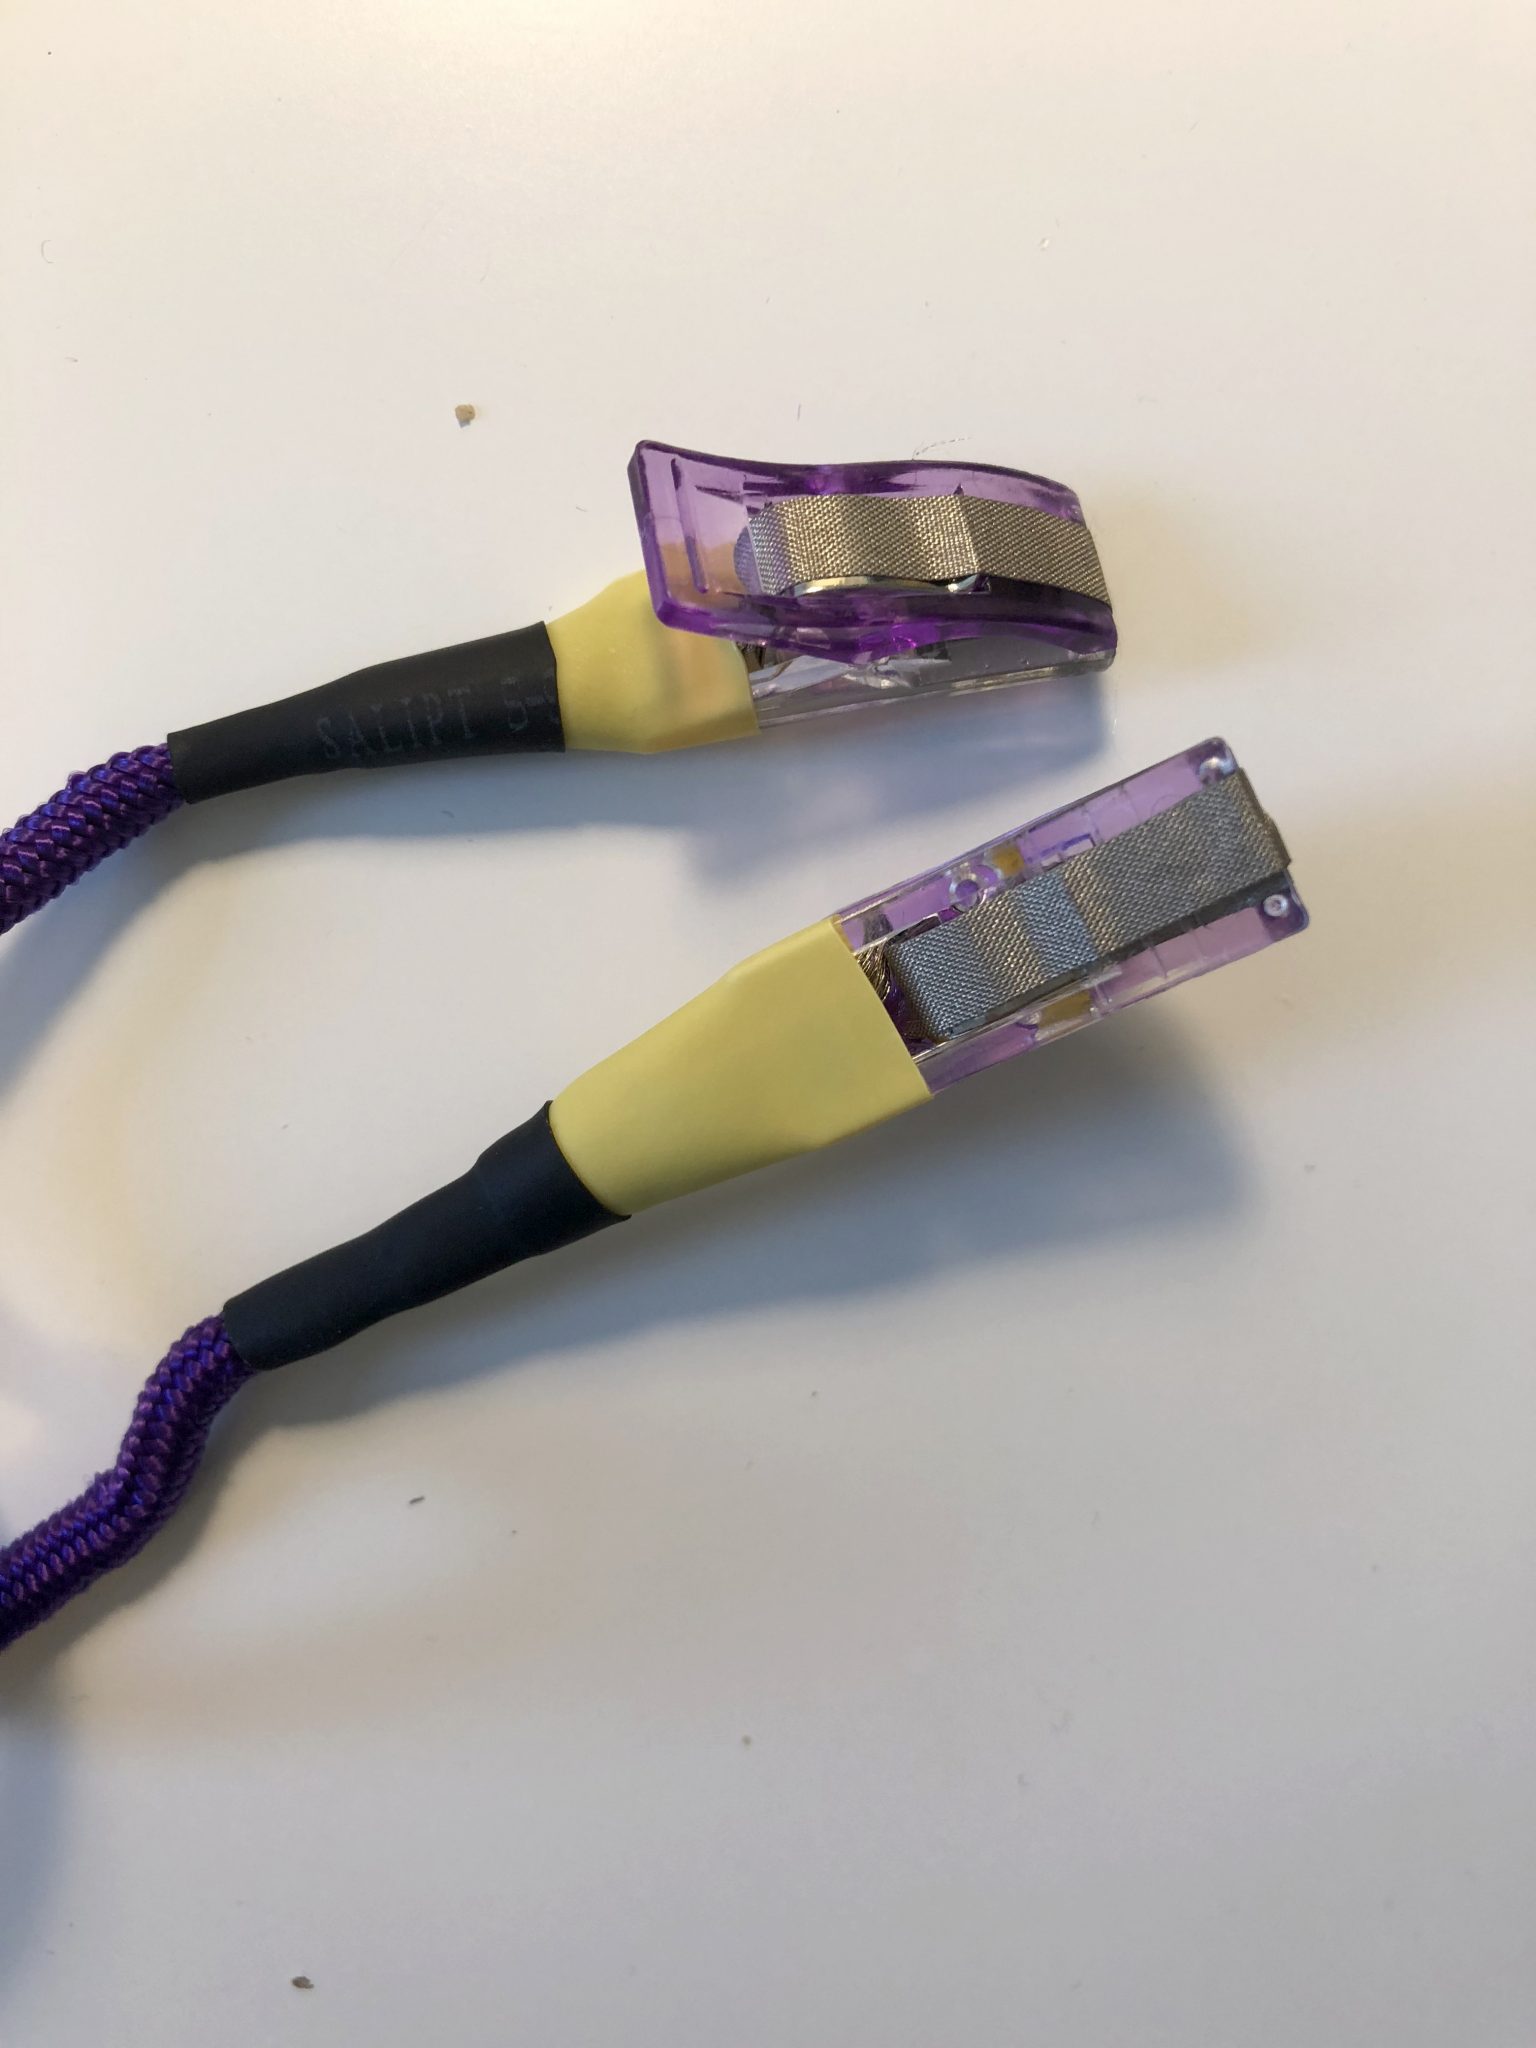
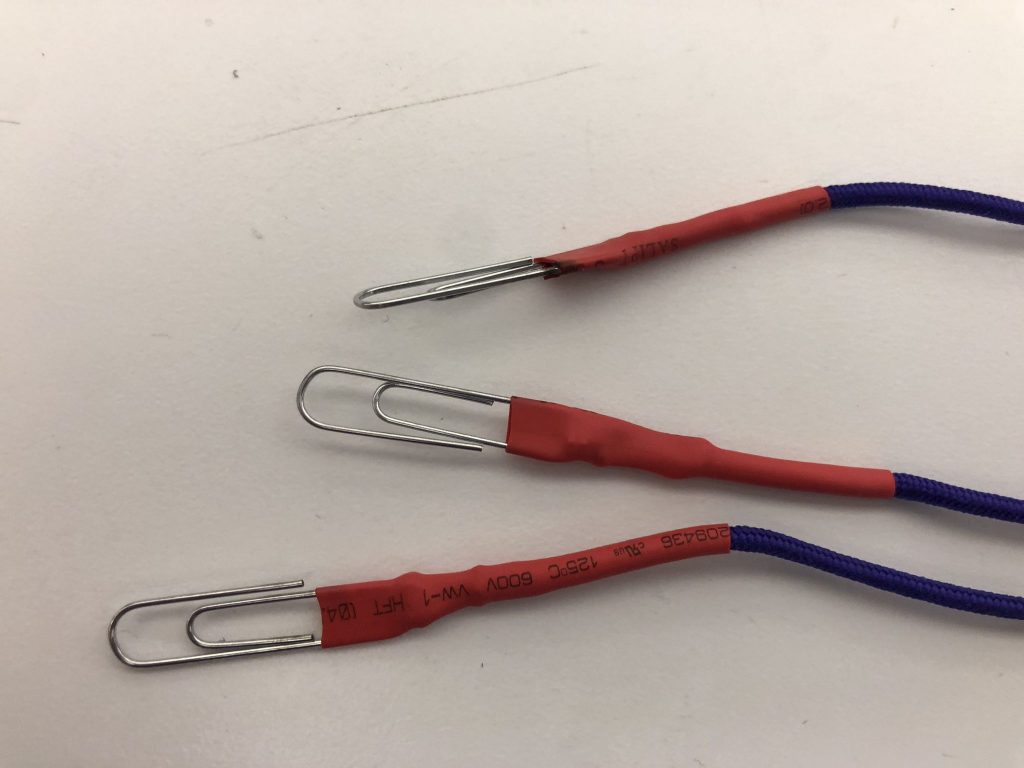
Sew all the components joining positive and ground nodes and areas, as well as the LED to the conductive fabric. The connectors were made by joining the snaps, the Velcro and the paper clip using conductive threat.
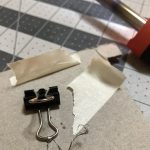
Important Note:
For the Paper Clip I connected the 2 silver components with conductive thread. The black part in the clip is NOT conductive.
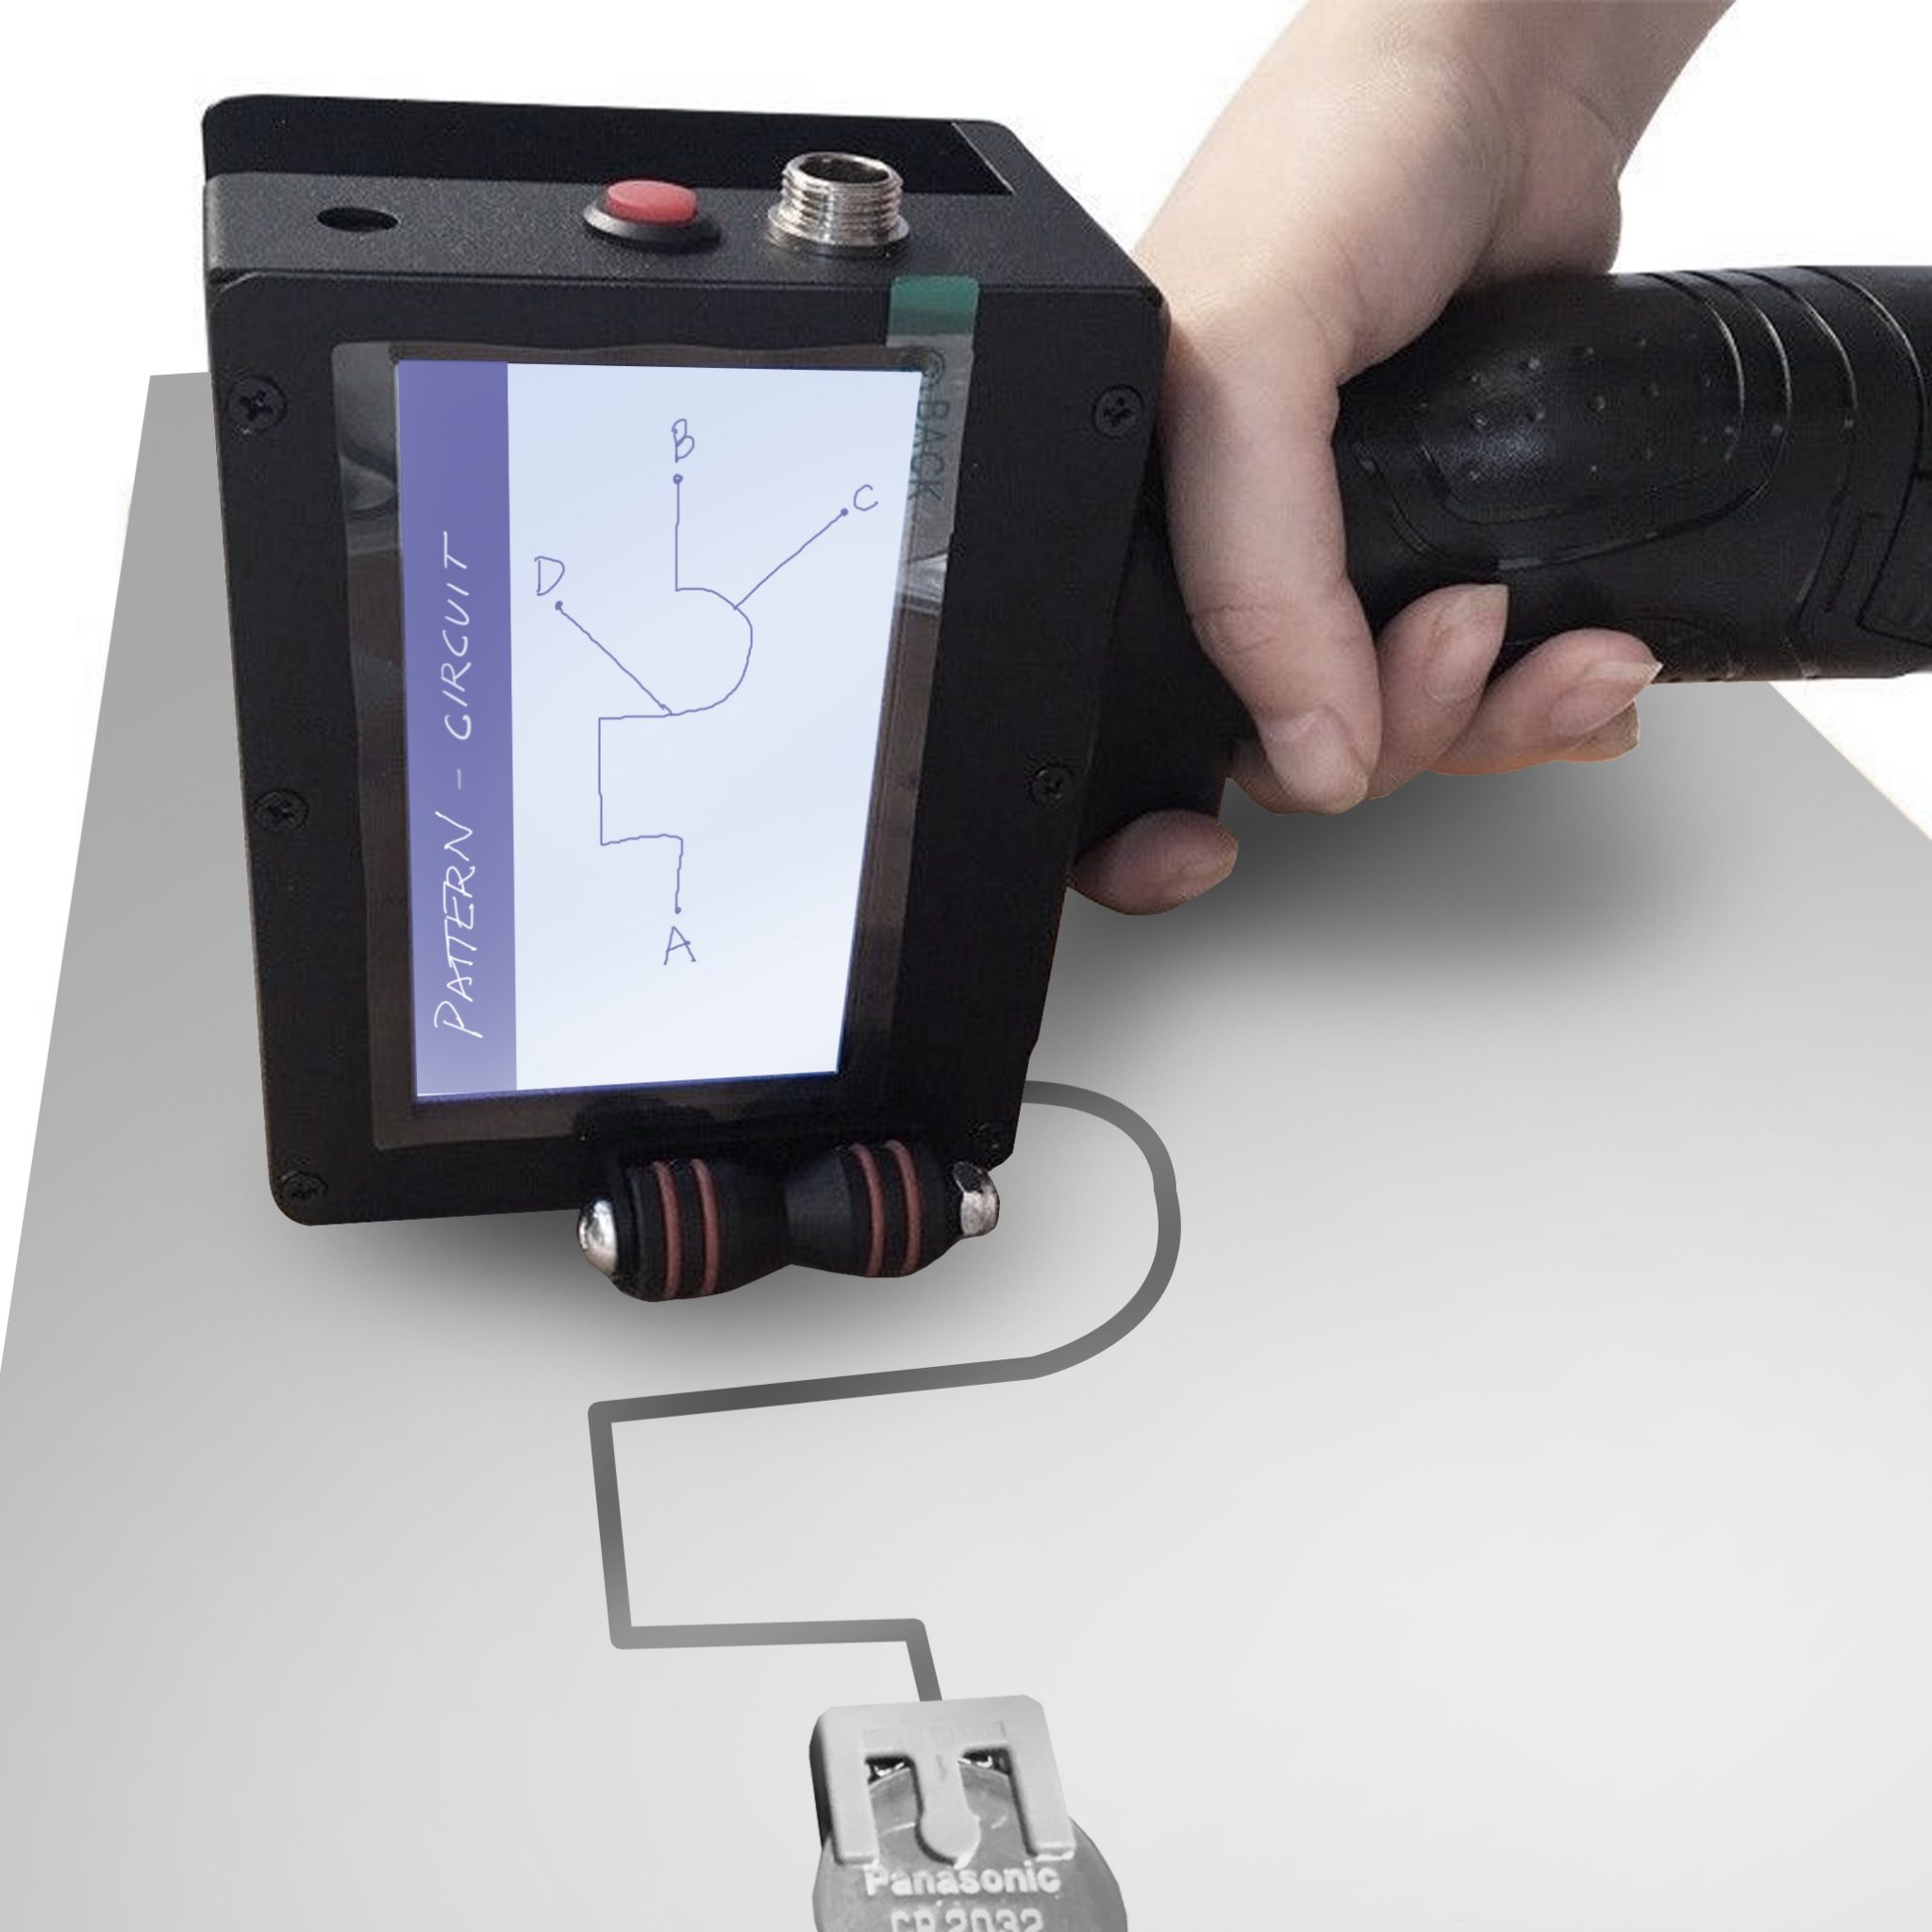
Idea of a Tool!
I’m thinking in a handheld printer (similar to the handheld inkjet printers), but where you can select the pattern (or upload your vector design, or predetermined lines, circles or geometric shapes), and this pattern can be printed on paper or fabric , generating conductive pathways.


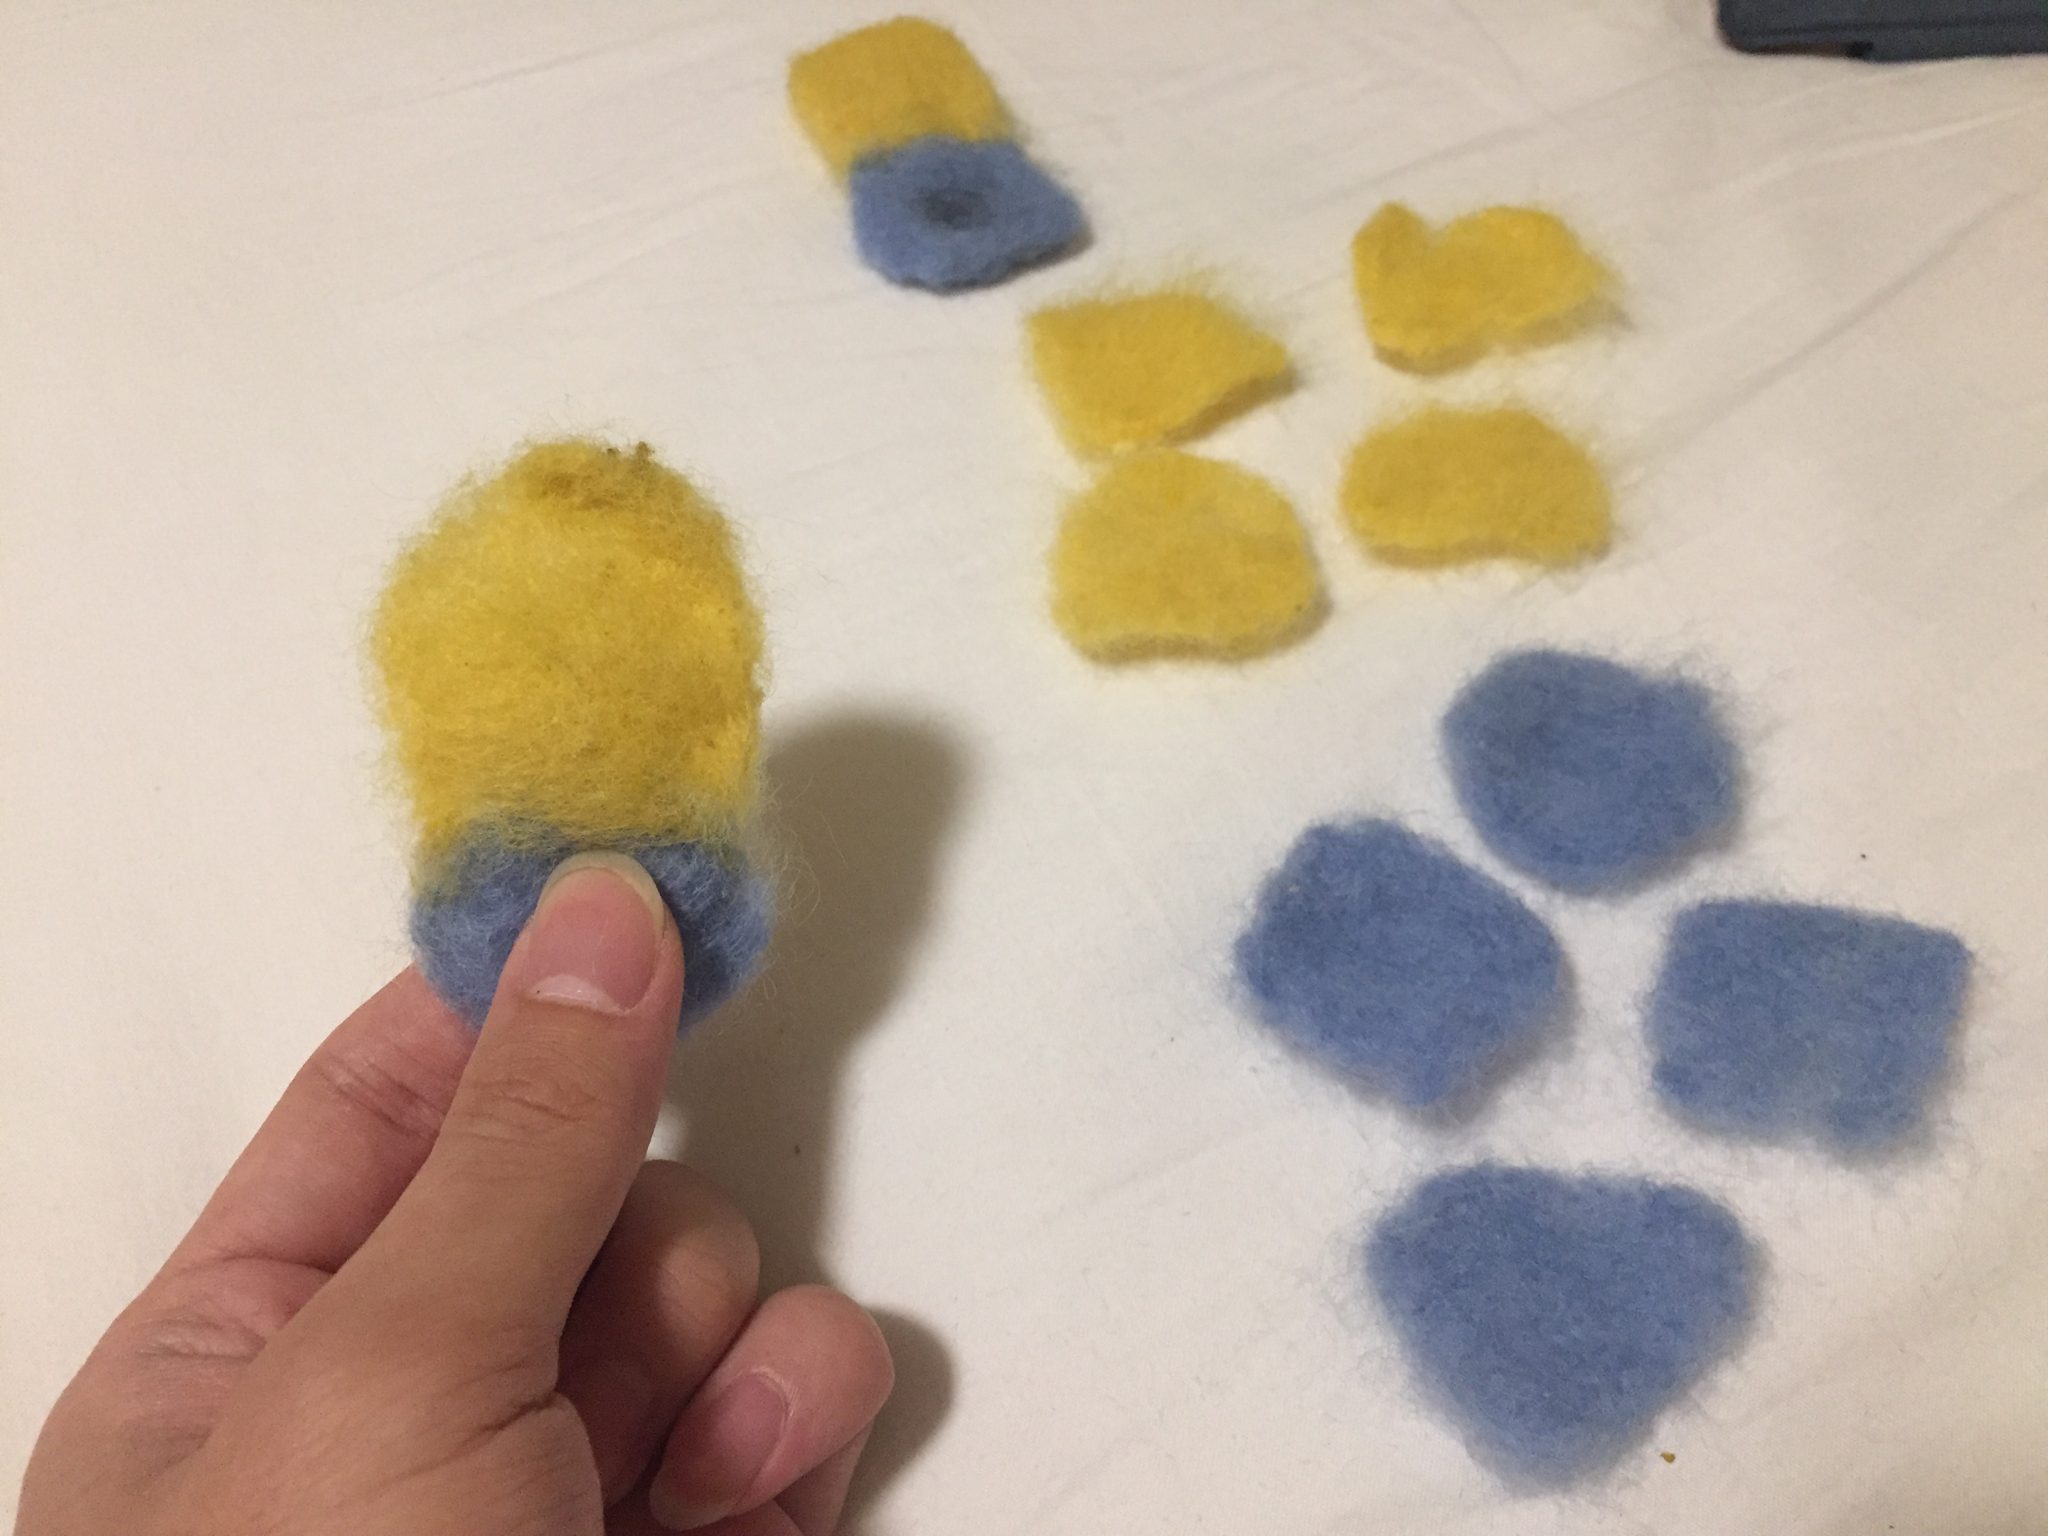
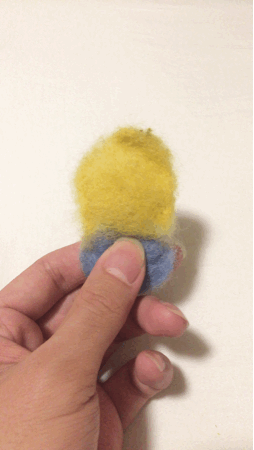
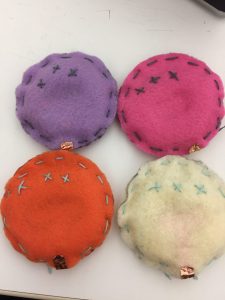
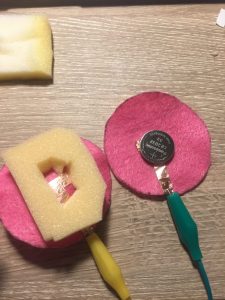
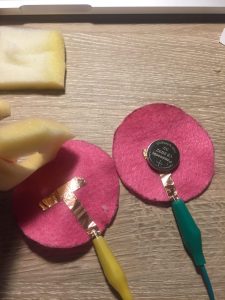
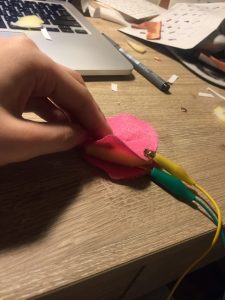
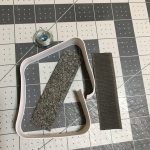
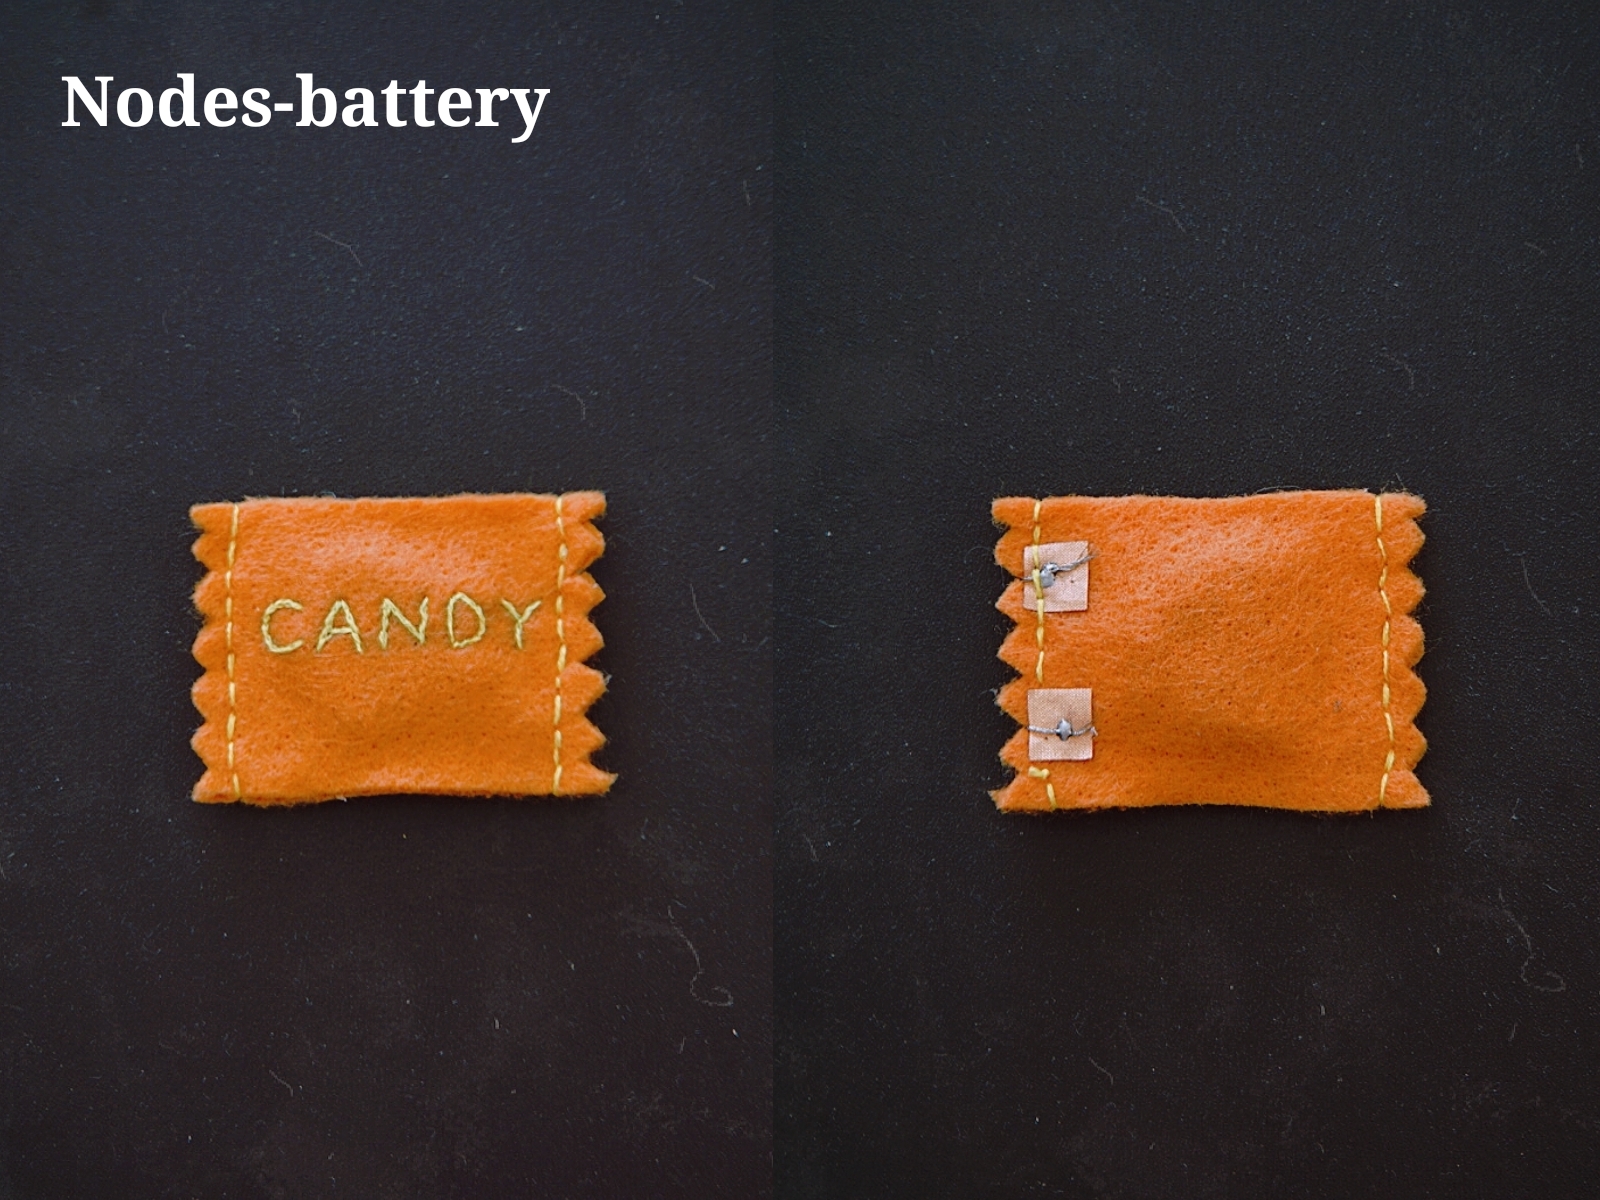 I used felt, conductive thread, and conductive fabric to make the battery node. The shape of this node originates from the candy wrappers.
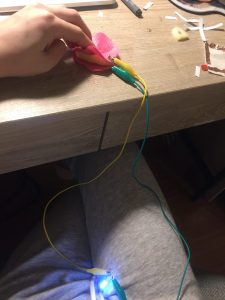
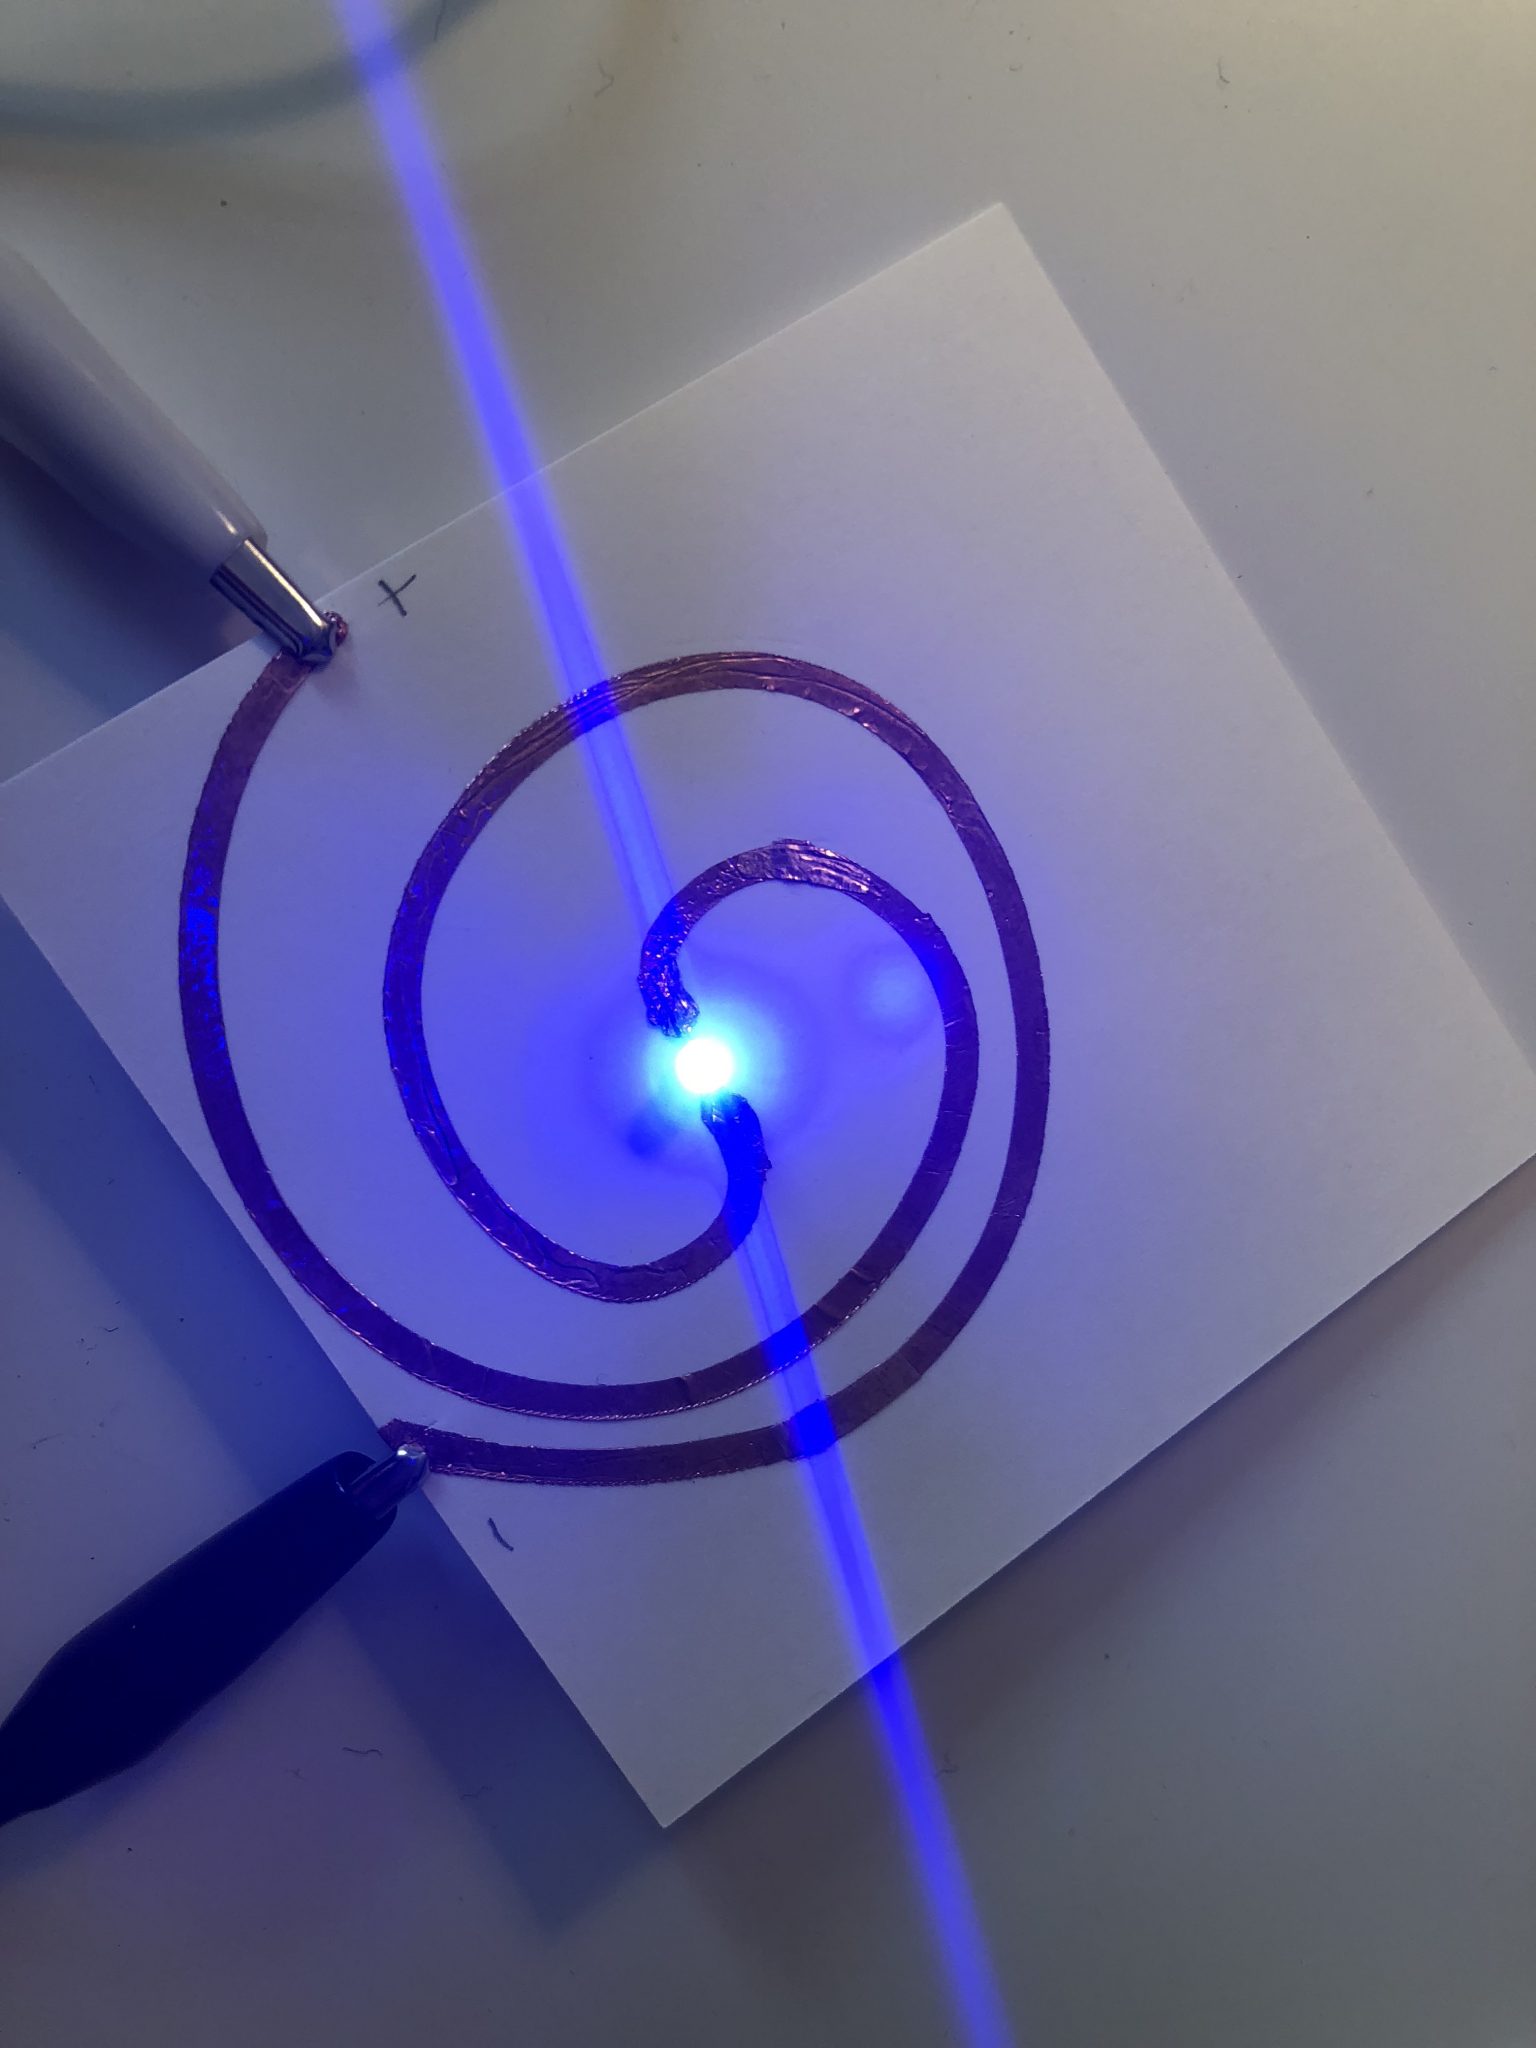
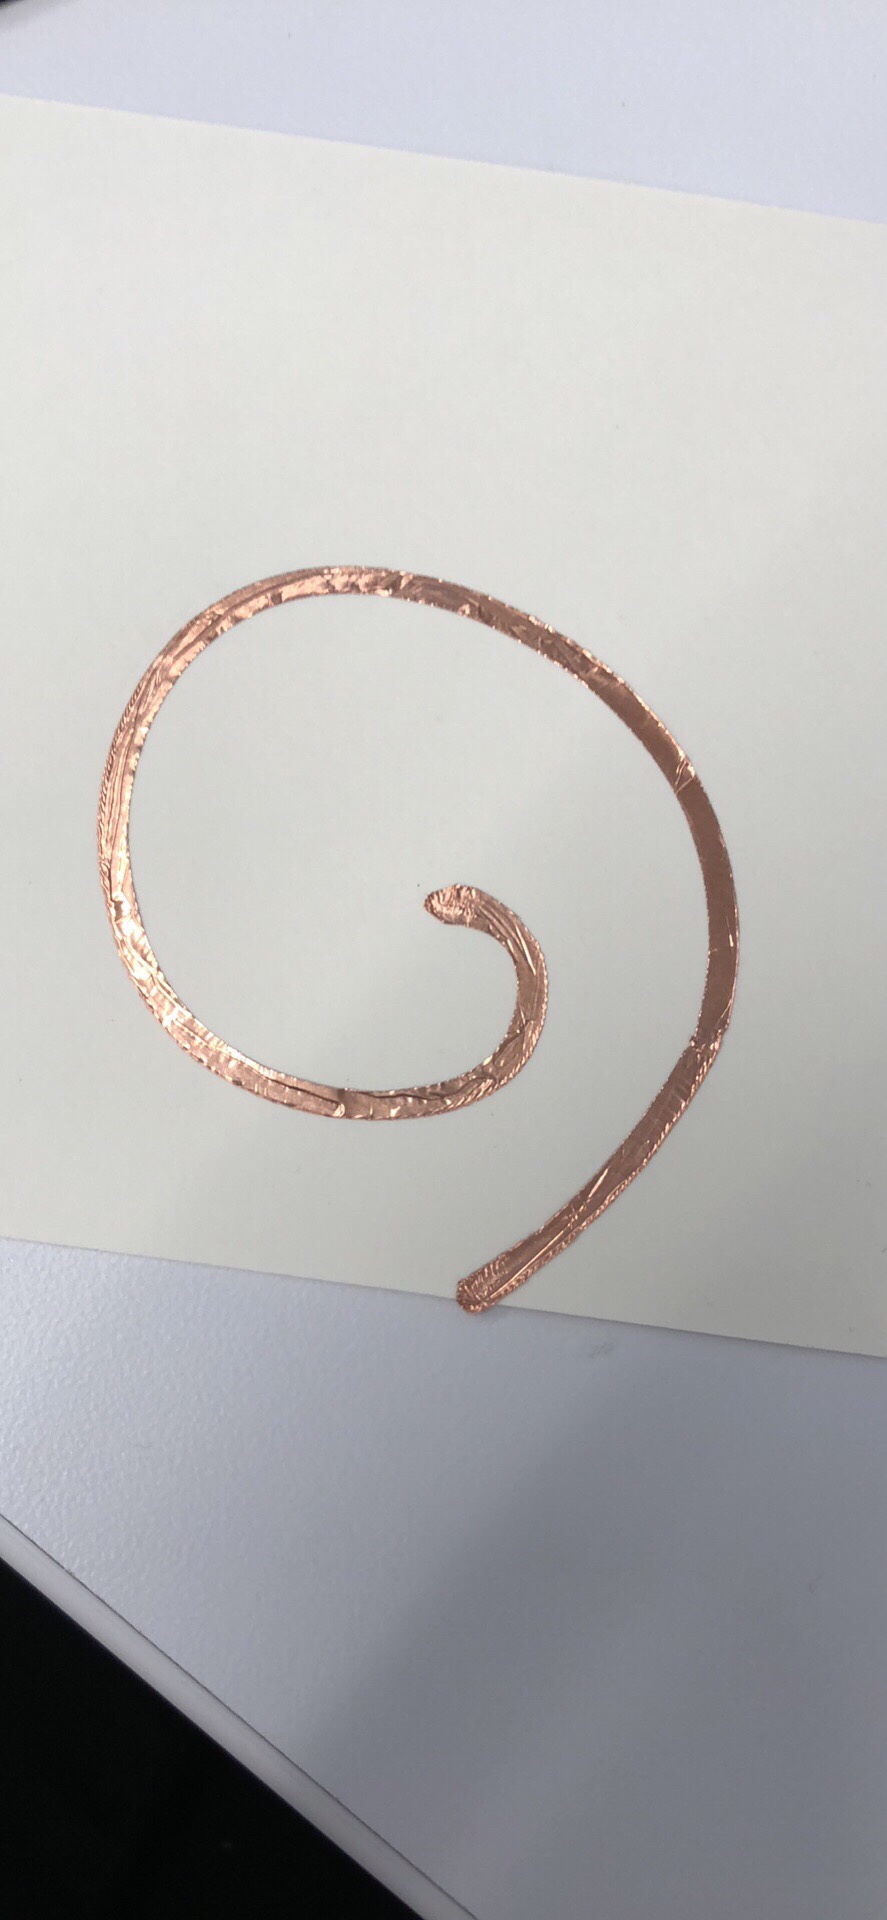
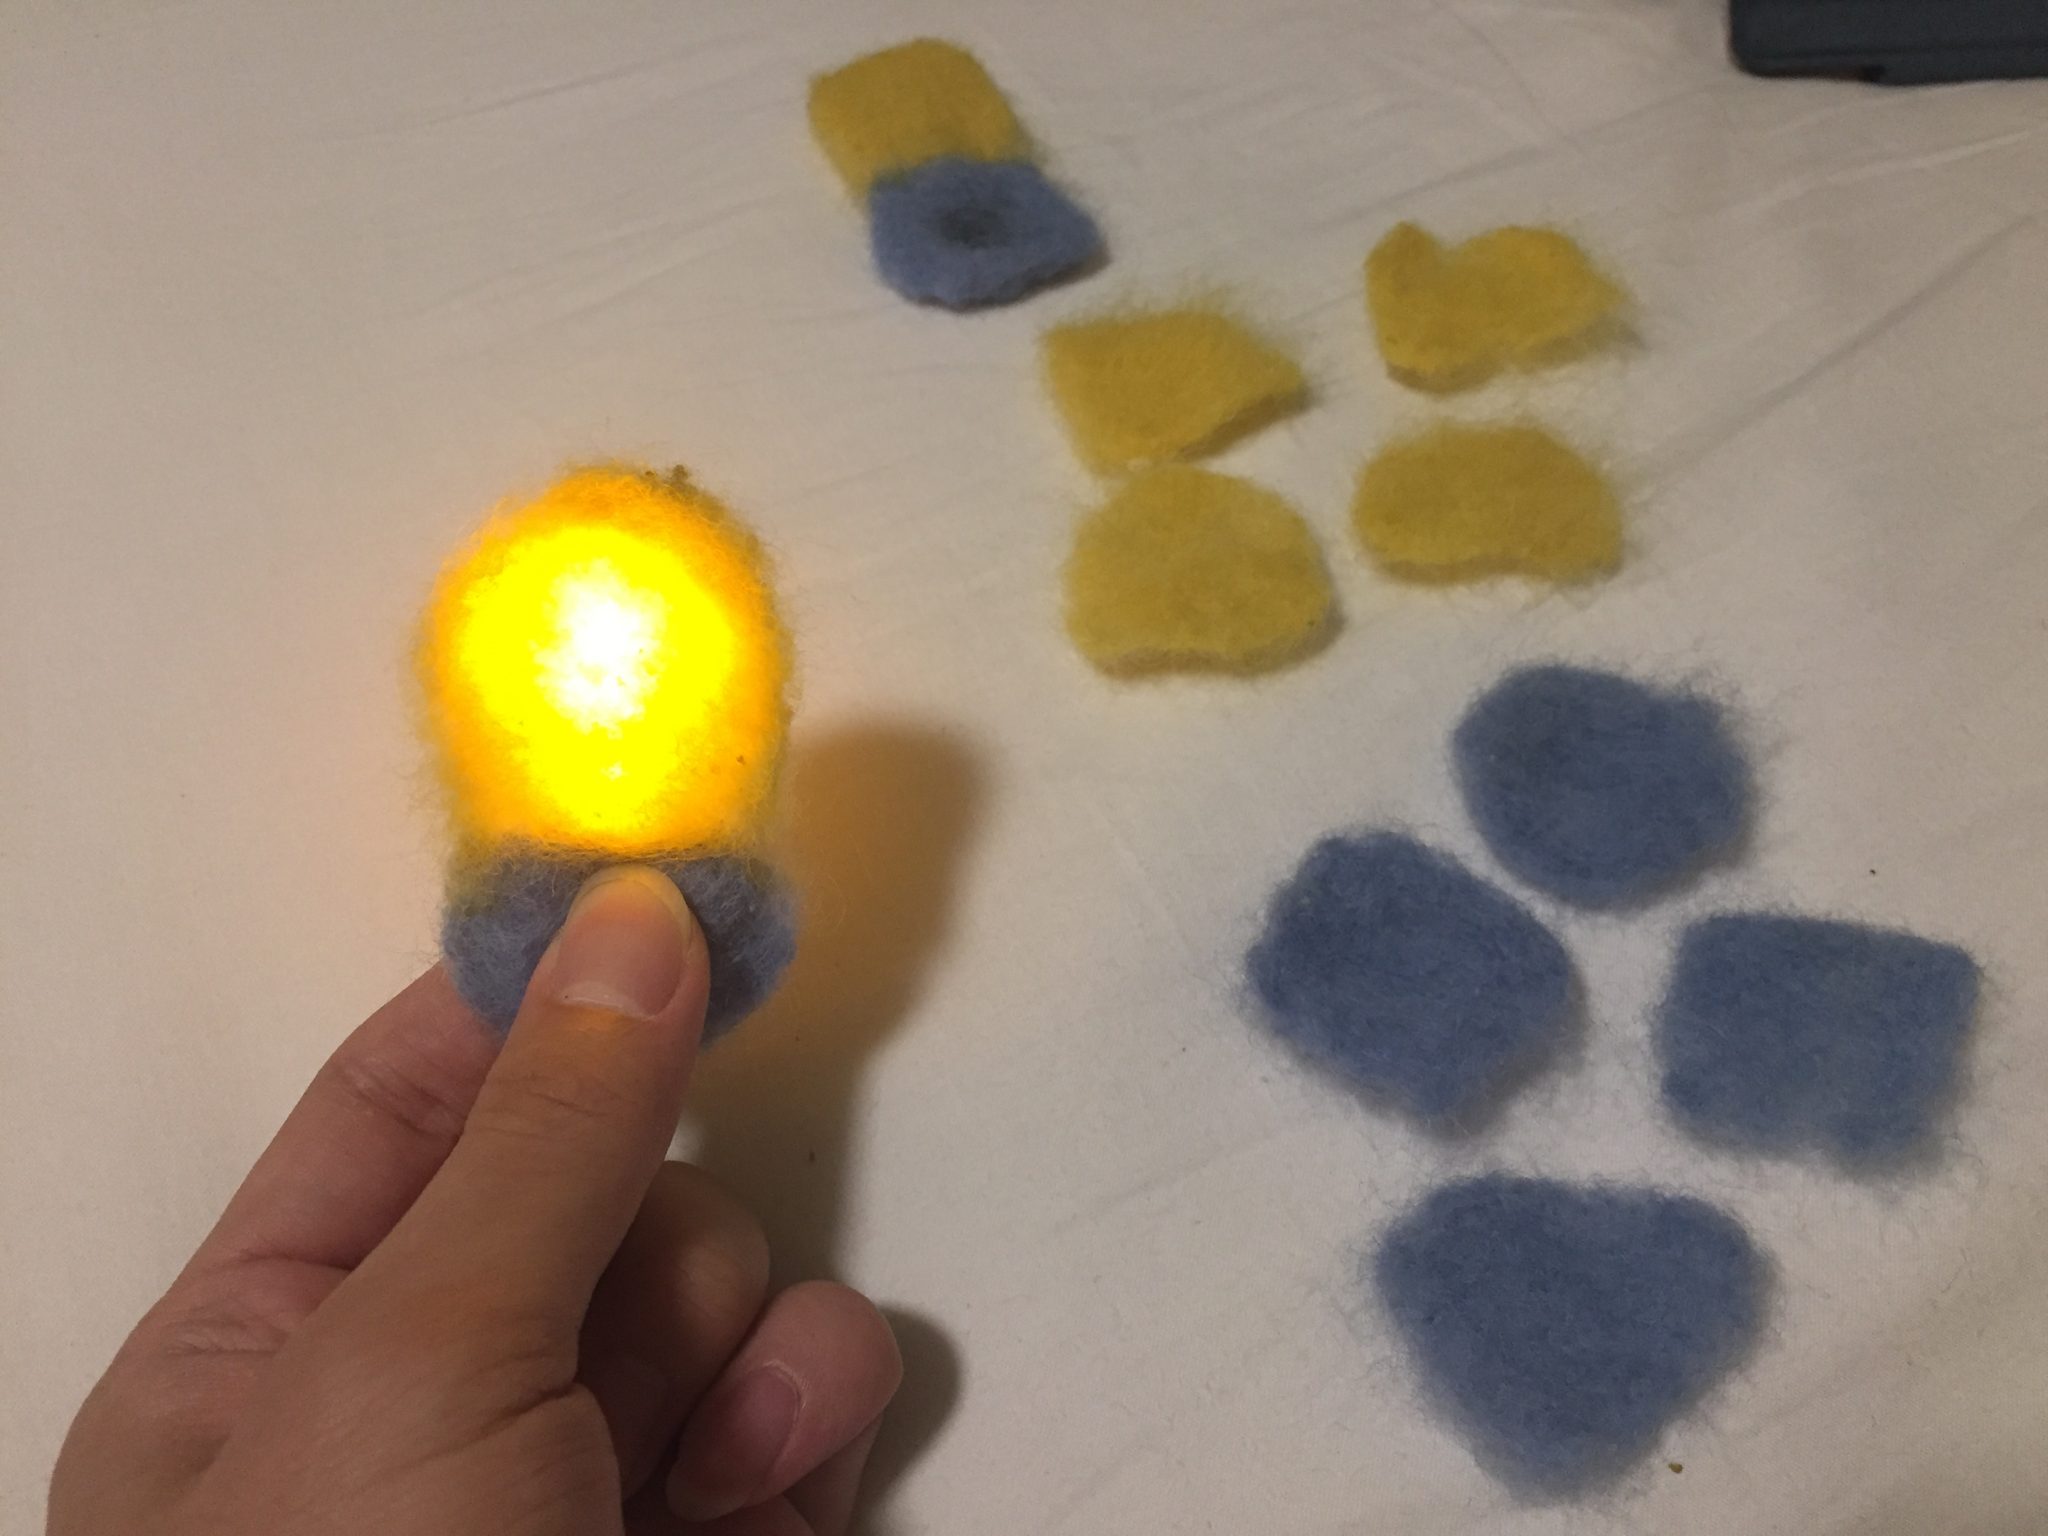
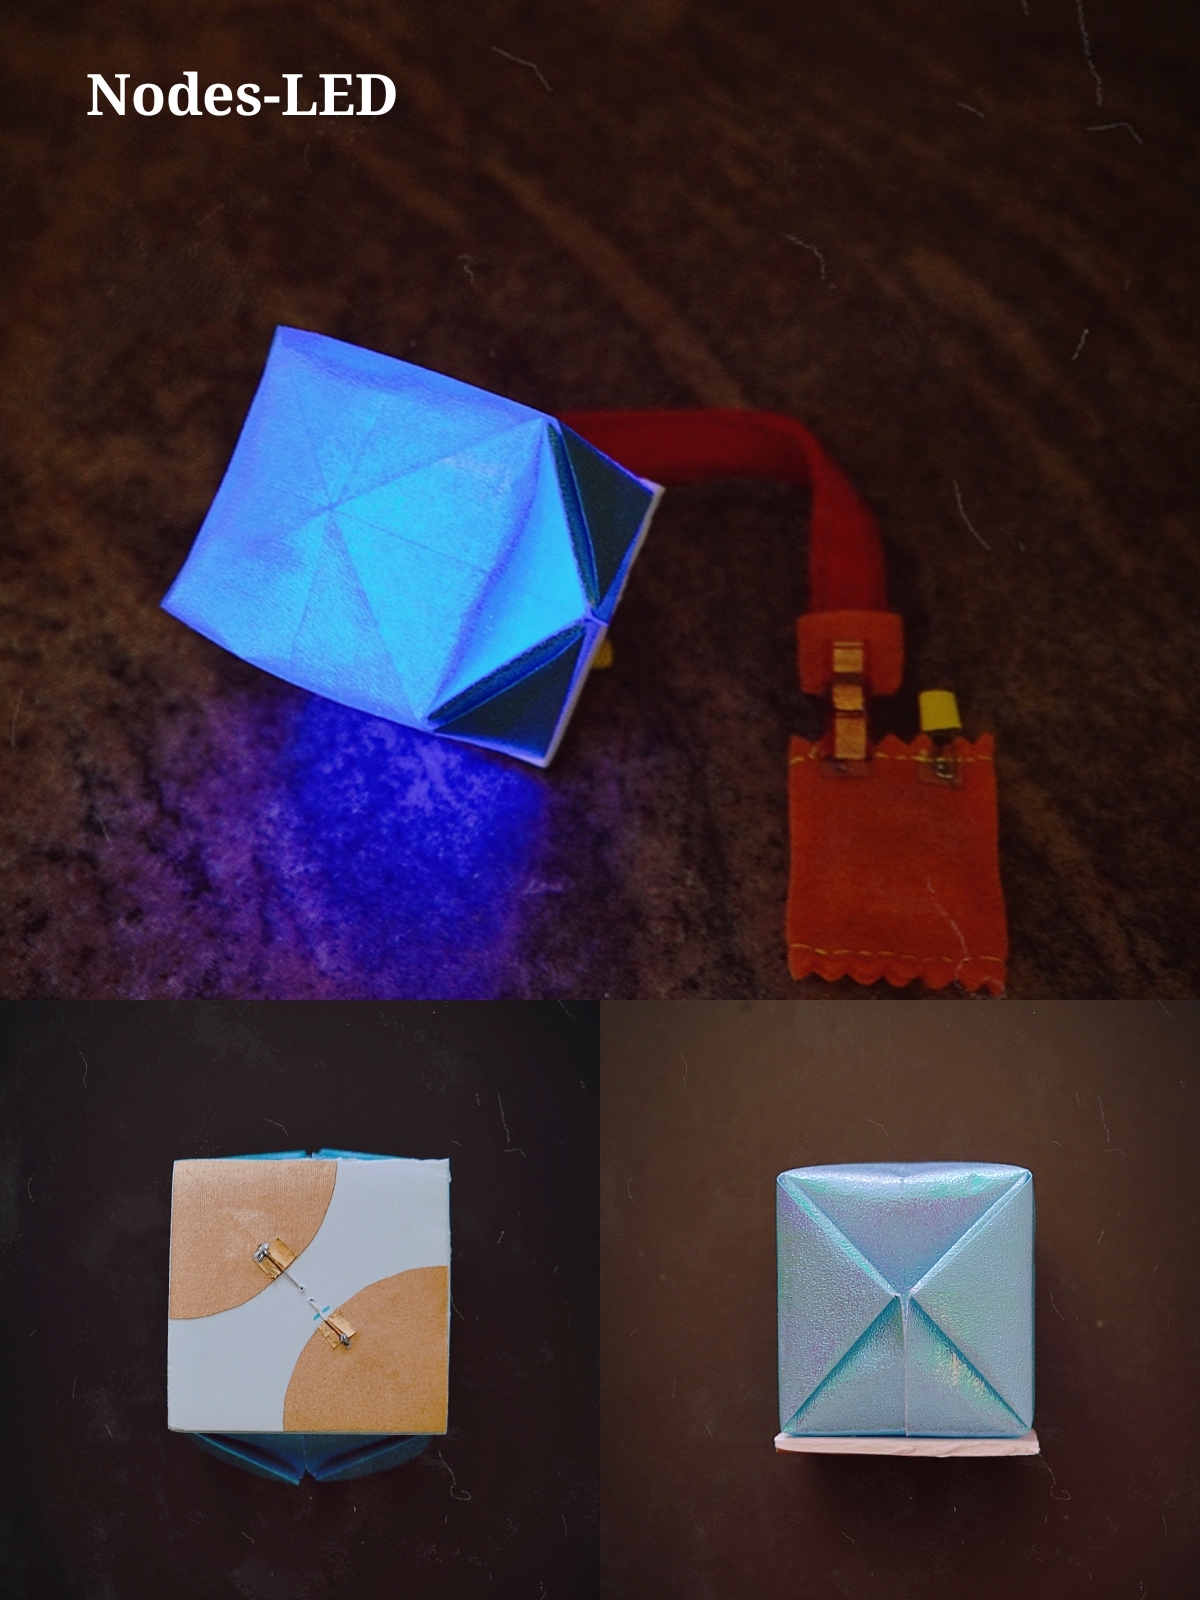 The LED node is made by paper, foam plastic and conductive fabric. Use clips to attach to the foundation of the lamp a battery will turn on the light.
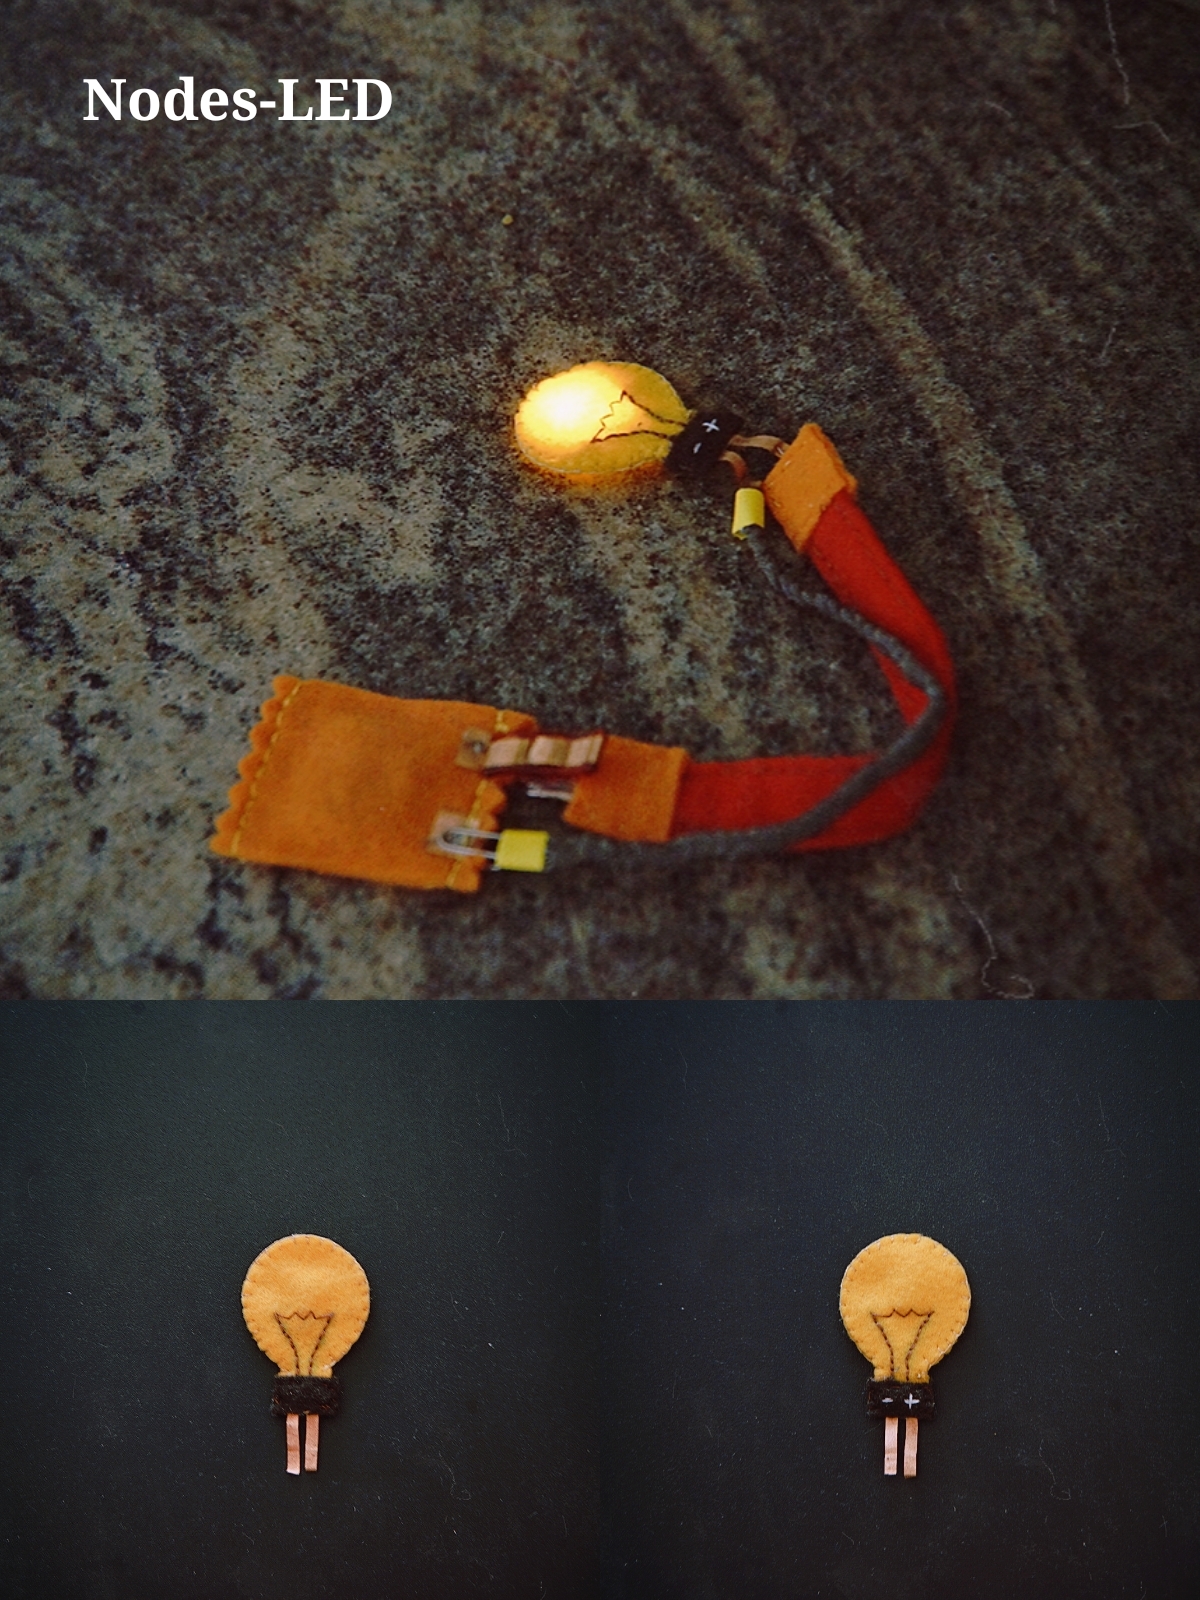 Another LED node is made by felt and conductive fabric.
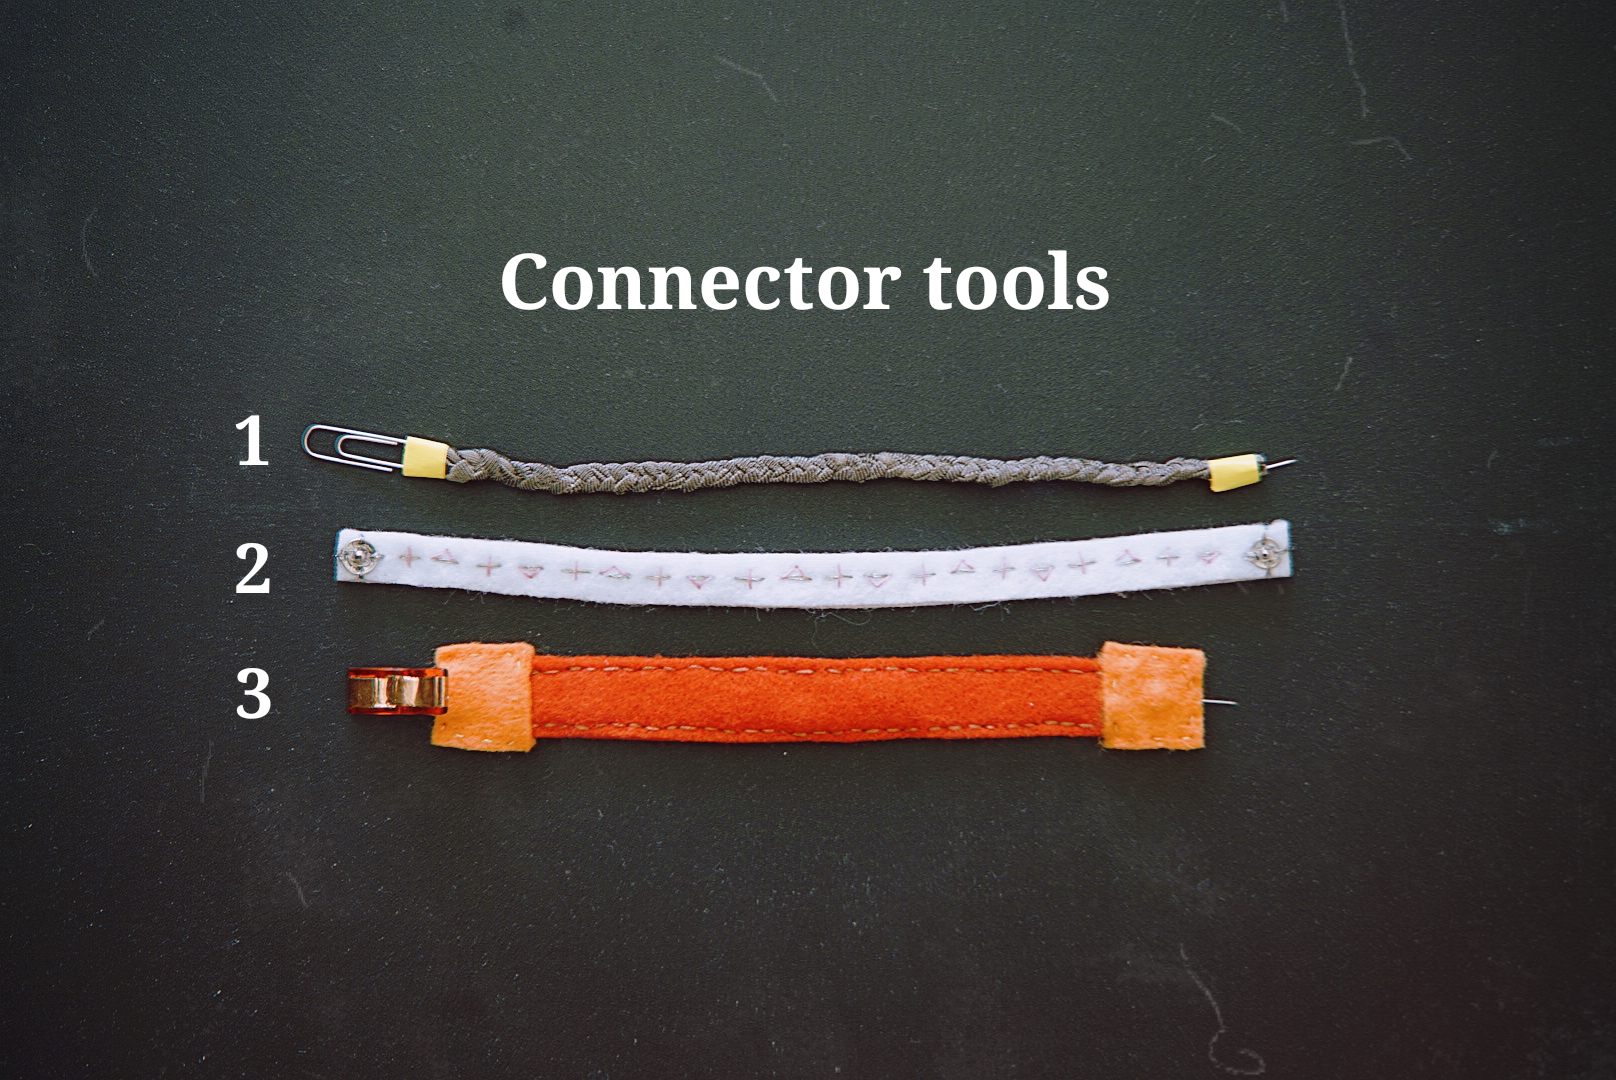 3 connector tools:
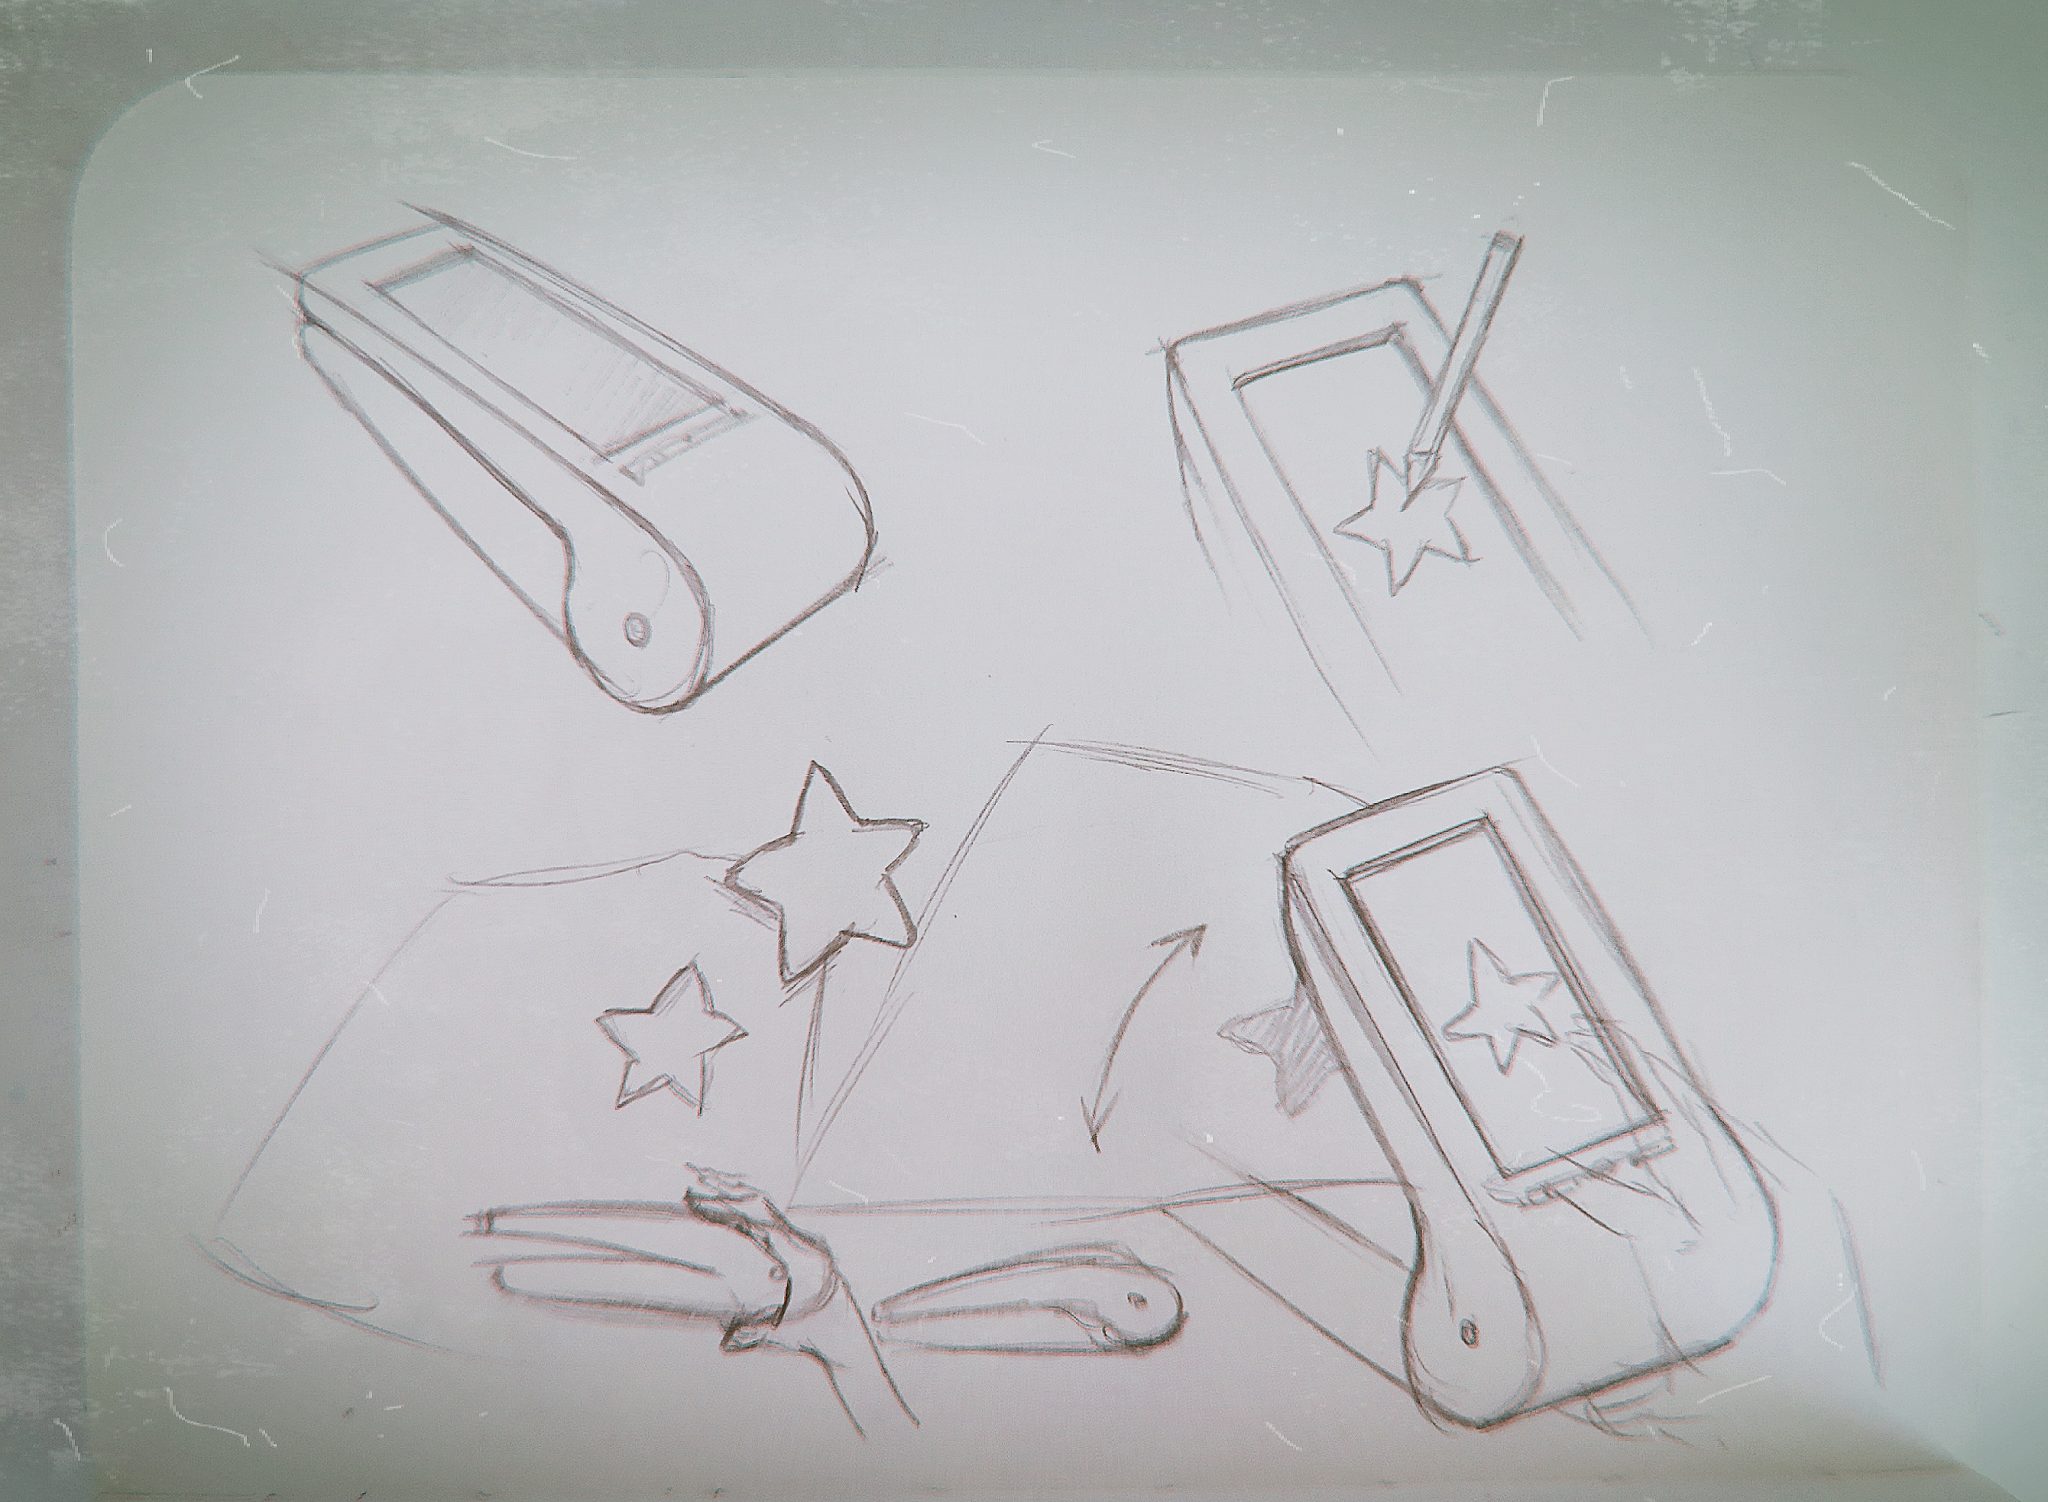 The tool I designed is for cutting patterns out of soft materials, such as paper, fabric, and foam plastic. It looks s like a stapler with a screen. Users are able to draw the pattern that they want to cut on the screen, and then put the material in the tool. Press the stapler to get the cutted pieces.