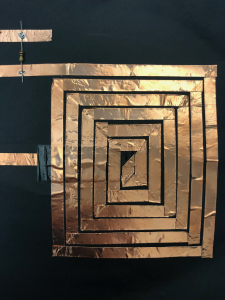
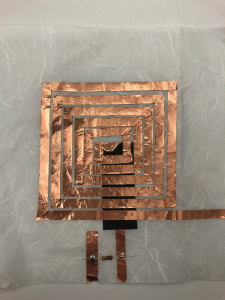
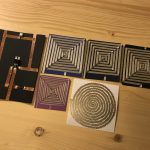
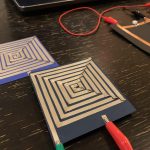
I made my swatches with square-spiral design and using:
- paper
- copper tape
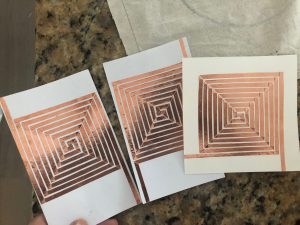
I made my swatches with square-spiral design and using:
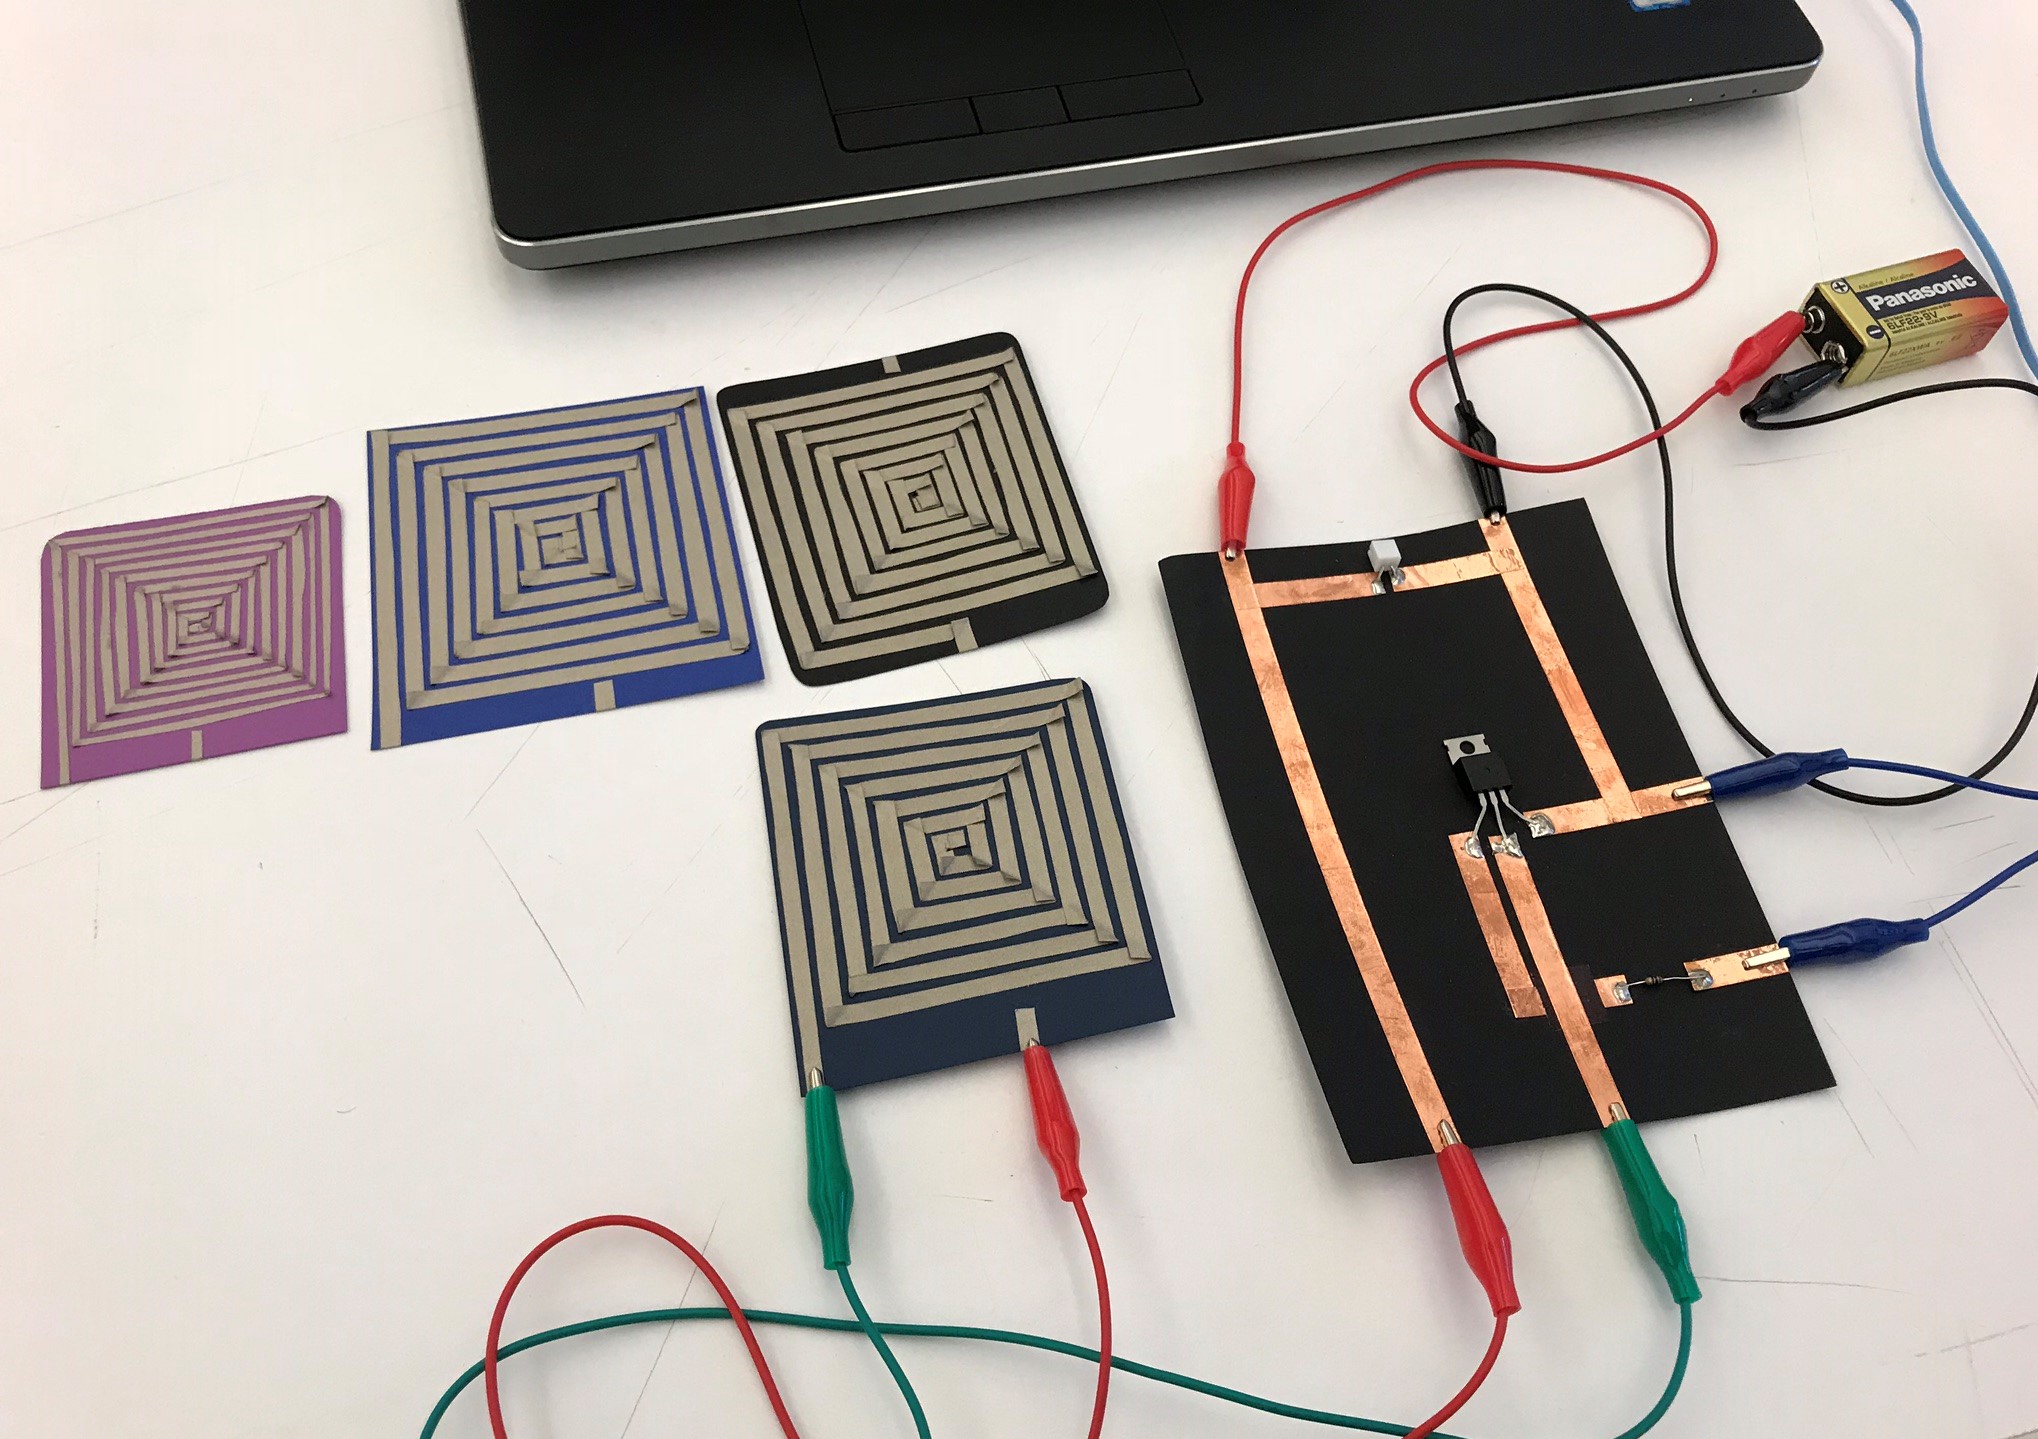
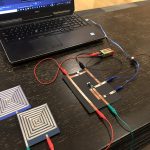
1) Finish your heating circuit
2) Construct at least 2 test heating elements.
3) Measure their resistance, then use Ohm’s law to determine the proper power source. Test them with your thermochromic swatches and heat circuit.
4) Construct a mini-project that reveals an embedded message, pattern, or behavior using thermochromic ink.
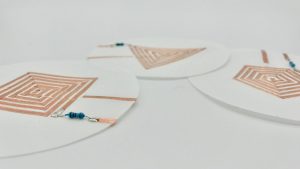
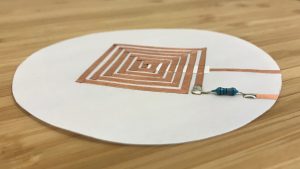
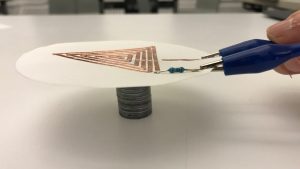
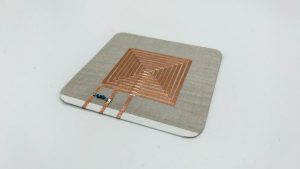
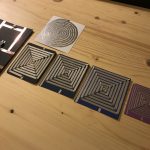
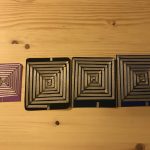
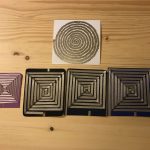
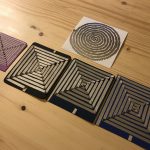
A trio of vellum speakers
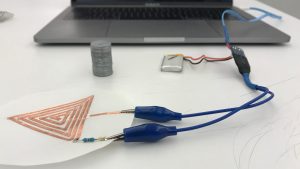
Each speaker in the set includes a copper tape coil and a 10 Ohm resistor on vellum. The coil shapes vary from triangle, to square, to pentagon. All emit intelligible sound.
Click to watch the speaker in action.
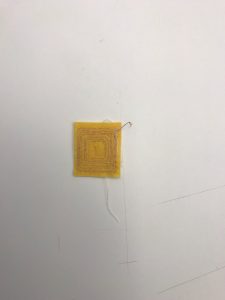
A fourth swatch made with a longer coil on .4mm birch plywood needs some debugging (no sound yet).
For this week’s assignment, I created two fabric speaks and one on vinyl. The two fabric speakers are of the same material. I changed the tightness of the coil to see how the sound will change accordingly.

For this week’s speaker assignment, I tried different combinations – conductive tape with cardstock paper, conductive tape with soft paper, and conductive thread with muslin fabric. It took me a while to figure out that I need to use the insulating tape to cover one end of the conductive tape. It was also harder than I thought to keep the tape as close as possible but not to touch each other. But the process was really fun.
Demo video IMG_1316
Speaker swatches

Paper Speakers
This week’s assignment consisted in making different swatches of speakers using soft materials. In my case, I used paper and conductive nylon. The test went pretty well and they work great! I also tested drawing shapes using conductive marker, but it didn’t work at all. Conductive marker is slightly unreliable when is used in long and complex shapes.
Materials:
Construction Process:
Resources
TIP vs Mosfet. A more in-depth discussion of differences.
In All Different Colors. Workshop by Kobakant.
FabTextiles
Beam’s Instructable
HairIO
Building a Heat Controlling Circuit
Heat Controlling Circuit. Note: I do not recommend TIP120s for this circuit. Use MOSFETs.
ITP High Current Loads
High-Power Control: Arduino + N-Channel MOSFET
MOSFET FQP30N06 Datasheet
You can use their Design Studio software or purchase an add-on that will allow you to print directly from Illustrator.
Here is a file of basic components for Design Studio including the ATtiny, 5mm LEDs, SMD LEDs, etc.
Continue reading
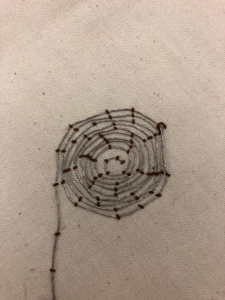
I chose to use conductive threads and sewing machine with the 3 swatches and picked a fabric that matches with the metallic conductive threads. Sewing the threads close to each other was harder than I thought, but it was good to get some practice.
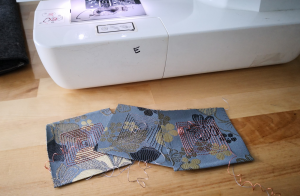
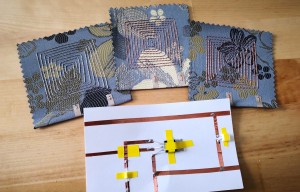
Here are my 3 speaker swatches:
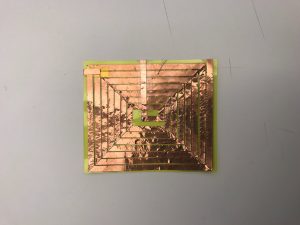
The first one is made of conductive threads and embroidery cloth. I tried to use sewing thread to fix the conductive material on the cloth. And for the second one, I wanted to use conductive tapes and wood to create a pattern different from the spiral. As for the third one, it is similar to the woven speaker. I wrapped the yarn on the embroidery frame first and then embedded the conductive thread in it.