Author Archives: kwakm135

Final Documentation

Title of this project

Storytelling Soundsystem of “Silence Breaker : One Survivor’s Story”

Presentation

https://docs.google.com/presentation/d/e/2PACX-1vS1Z4WoHKKeZttYAWRaZlF0HmT32XRFfxQtOlJhQp30_M3232goVM0RB9MDam6KEYw5Mc1xT9OmMIeu/pub?start=false&loop=false&delayms=3000

Concept

In the midst of current #metoo movement, I’d like to focus on domestic abuse particularly for this design project. We are facing significant moments of women’s right against sexual abuse in these current issues, and there are needs to bring about more positive effects to society than just mere attentions. I would like to bring up domestic abuse against women and children for my design project because sexual abuse in domestic area could be the most hidden, and deluded part.

One of a common myths associated with DA (Domestic Abuse) is that victims of DA are helpless, passive and fragile. However, survivors are often strong, and use a number of coping strategies to manage their situation. But society’s traditional approaches to survivors such as victim blaming, stigmatization, and pathologizing make obstacles to let them speak out. Also survivors are at risks such as retaliation from perpetrators and losing their life foundations. Through this design project, I’d like to call for a change to society to the level of acting out.
Continue reading

Next Iteration & Playtesting Plan (Week 12)

Making a fabric speaker

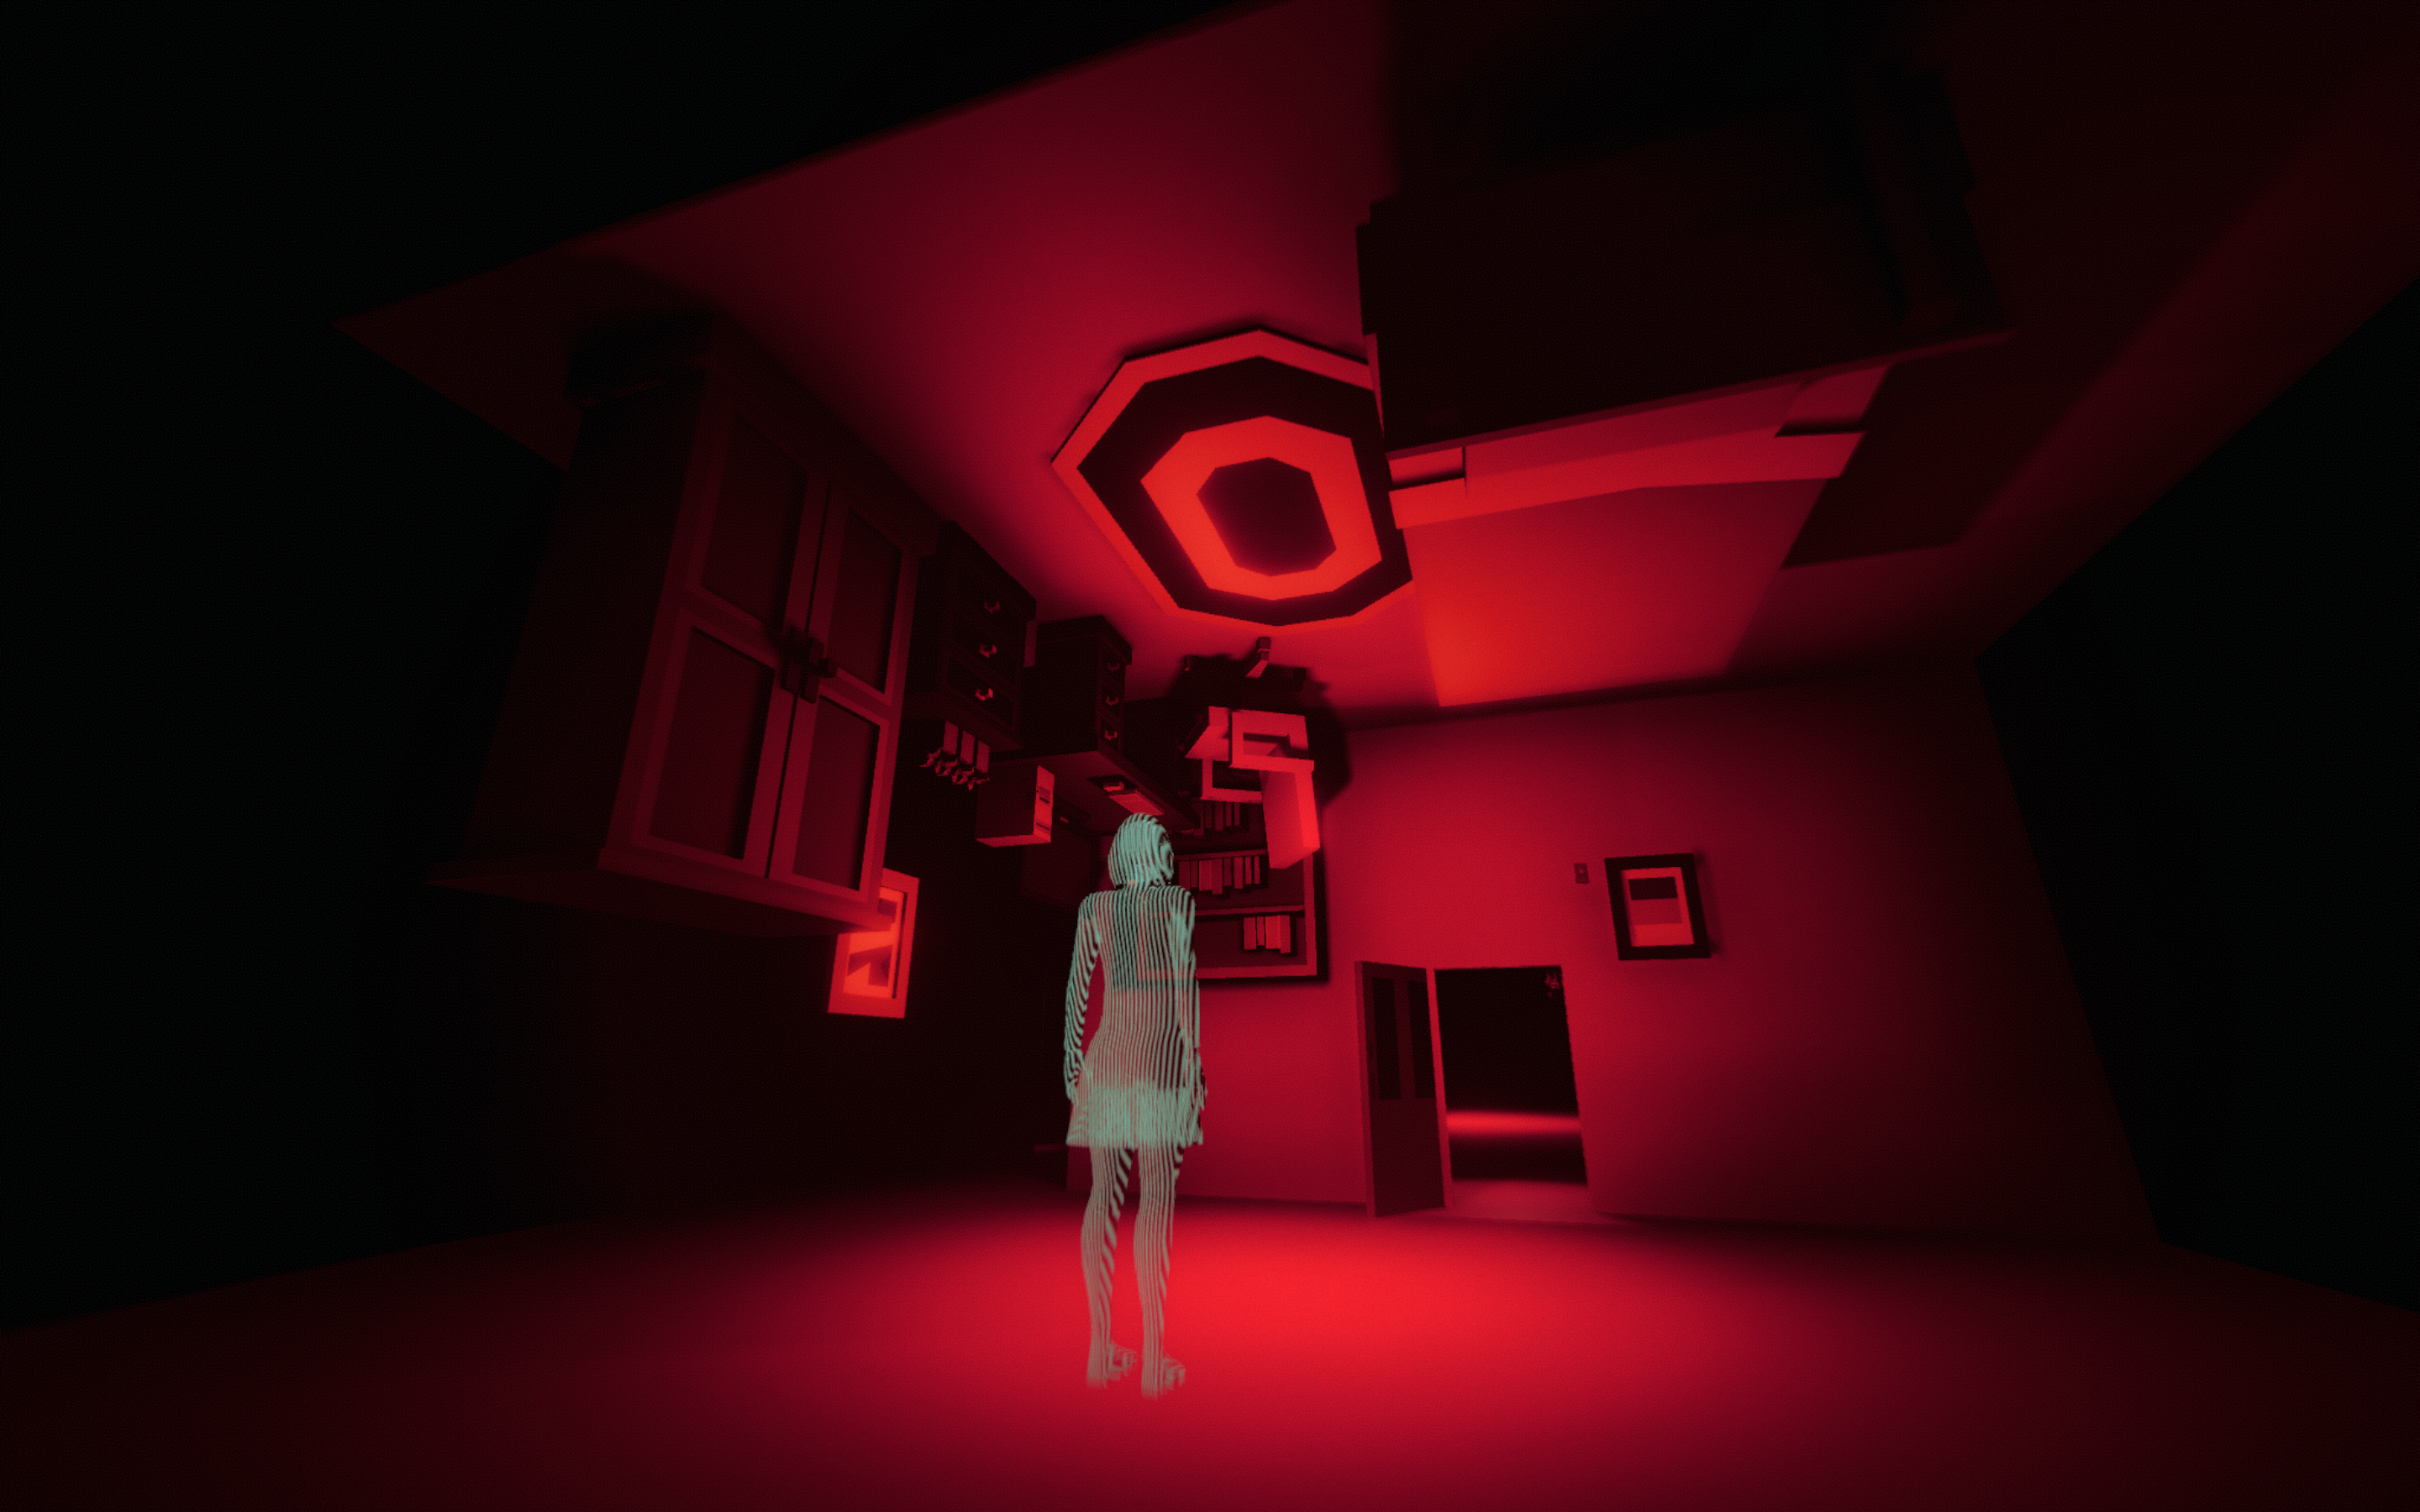
  • Background : After careful consideration of which will the best way to deliver this story of domestic abuse, I chose to build a sound system with virtual visualization. I created the survivor’s house and character with camera movement in Unity. I built 4 spaces of her house – her bedroom, living room, dining room, and a large room they used as a study. I put 4 soundtracks of her testimony in each space, along with other ordinary domestic sounds I recorded separately. After doing so, 4 video experiences were created. 

Continue reading

Final Project Prototyping (Week 11)

  1. Testing touch board
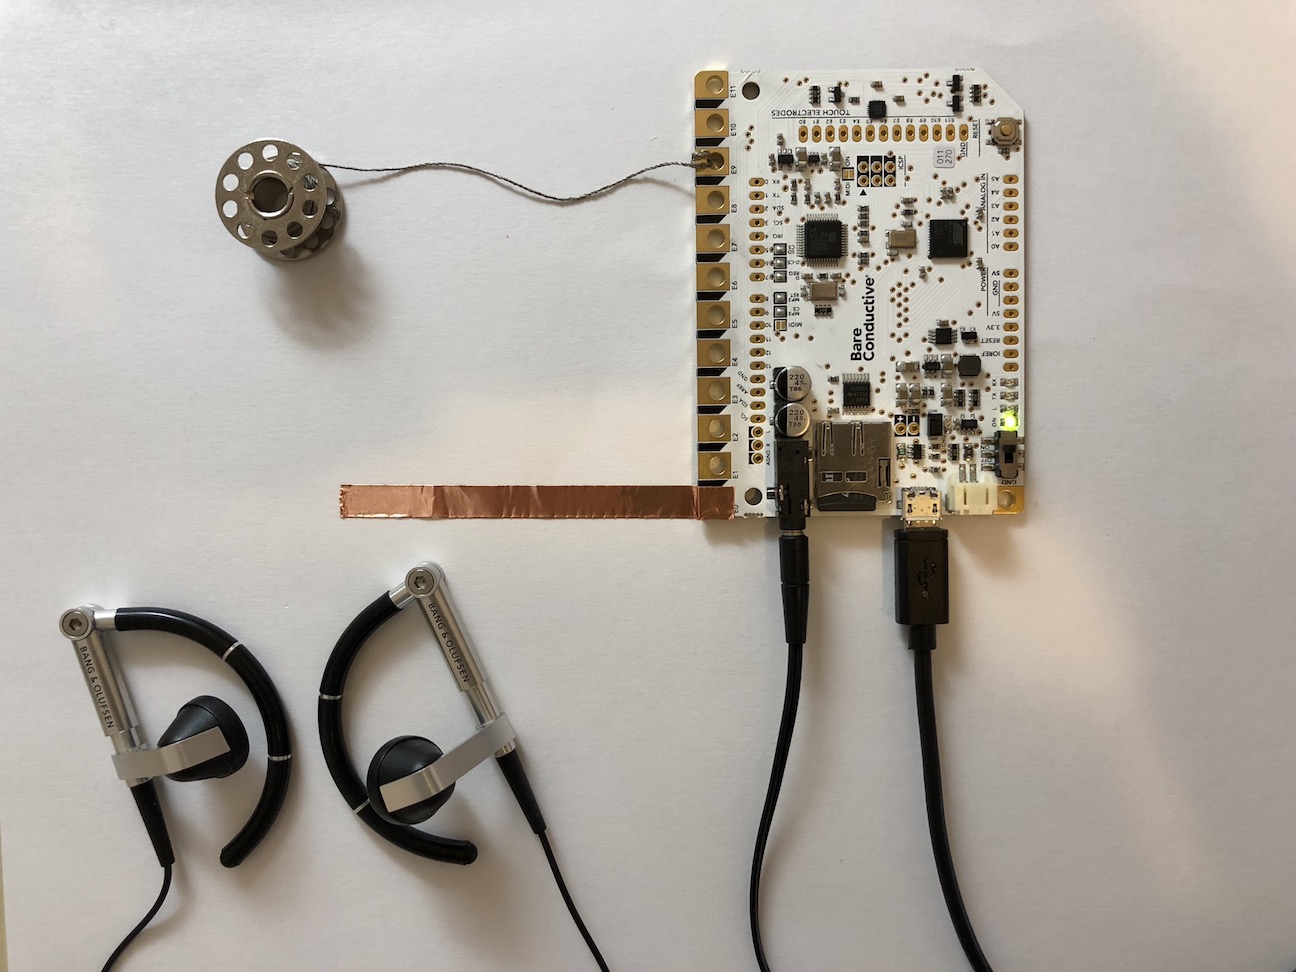
    1. General : I tested Bare conductive’s touch board. I put different 12 drum sounds into micro SD card chip inside the board, so that each 12 nodes of the board make assigned drum sounds. I plugged in headphone to the board, and I could hear loud and clear sound from the board.
    2. Finger with direct touch : Firstly I tried to touch directly with my finger to each node.
    3. Conductive materials : I tried two conductive materials – copper tape and conductive thread. They were all successful.
    4. Distant sense (proximity) : I tested if the touch board is reacting even if it is not actually touched. It was working, but the distance has to be closer than I expected. I adjusted the value of the proximity in the code, and the maximum distance value was about 5 cm.
    5. Volume of the sound : It was adjustable in the code.

Continue reading

Final Project Planning (Week 10)

Project Description

I am planning to make a sound installation that reveals the cruel reality of domestic abuse against women and children. This installation will be produced in order to encourage hidden survivors of DA (Domestic Abuse) to speak out publicly or privately so that they might receive appropriate support, and enlighten general citizens the reality and prevalence of sexual abuse in family and further, influence policy-makers to provide adequate measurements.

I know personally a woman who is a survivor of DA, and I am going to record her testimony directly. Based on this woman’s real voice and true story, the installation will illustrate the space where all these horrors happened, her room. In order to give satirical and reversing notion against traditional idea of family, I will create a miniature room – as a visually scary place using vivid red color material and weirdly distorted form by laser cut and 3D printing. The structure and objects of this miniature room will follow the real room of hers based on her testimony. The room will be upside down at the top of the installation, and lots of fragments and 3d shapes will be hanging from the room miniature like a waterfall. The fragments shapes are red when it is close to the room, but as it goes down, they will turn clear/white/mirror color. This symbolizes survivor’s eventual freedom and her current status to influence other people. 3 shapes are separately put on in front of the table and they contain touch/proximity sensor. Viewers are provided a headphone, and when they touch each objects, they can hear survivor’s story turn to turn. 

Diagram / Sketch

Continue reading

Controlling DC Motors – on/off, speed, and direction (week 8)

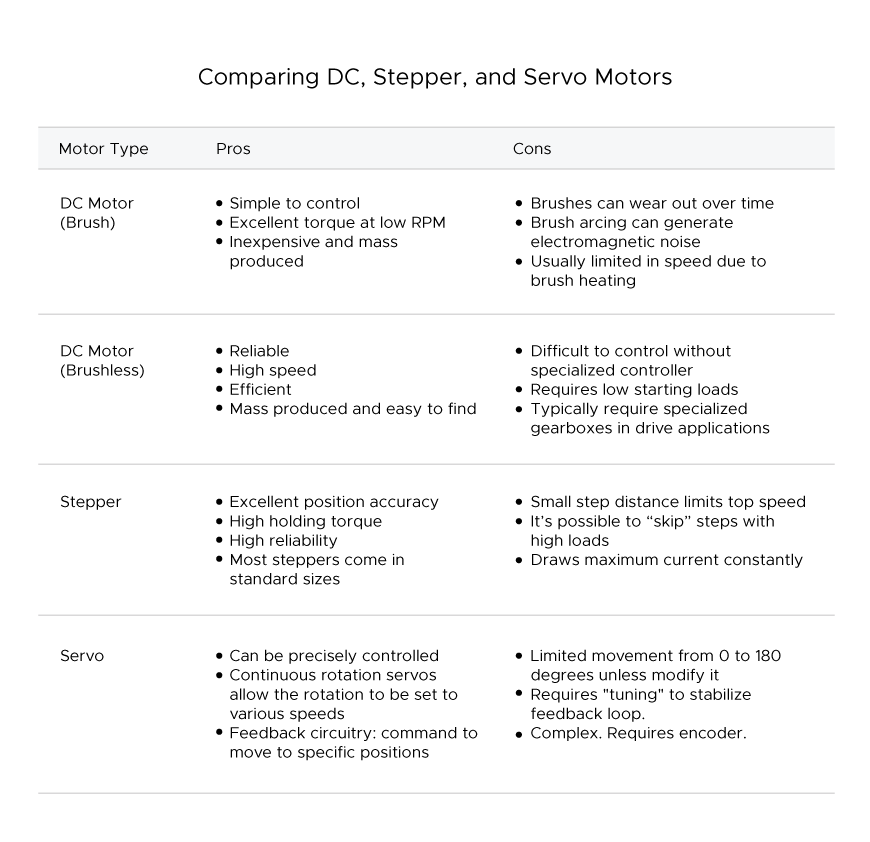
  • Goal of this project : I made a circuit that is controlling DC motor in 3 different ways – on/off, adjusting speed, and changing direction. In order to turn the motor on and off, I used button switch, and to change direction of the motor I used H-bridge and button. And by the “analog” value read from potentiometer, the speed is also adjustable.
  • Assembly description : To change direction of the DC motor I used H-bridge. The one I used is SN754410 and I found data sheet of that model through internet search.

Continue reading

IR remote controlling TV channels & volume (Week 7)

  • Goal of this project : I would like to make a sample version of TV’s display of indicating channels and volume and remote control. Using IR receiver module and remote control, it will enable users to control channels (number) and volume (up and down).
  • Assembly description : I made a circuit that IR receiver module and 7-segment display to be connected to the arduino uno. IR receiver module has three legs – one (G) is for ground, the other one (R) is for Vcc, and the last one (S) is for signal. I connected the signal pin to pin 11, and set an additional led in pin 13 so that user could know the signal is receiving or not (We could also know through the tiny light on IR receiver module). For 7-segment display, the each pin represents each different stroke that constitute a number (including period “.” to confirm the exact direction of numbers). It has total 10 pins, 8 of them representing strokes are connected to each different output pins, and two of them are connected to the ground.

Continue reading

UART protocol research (Week 6)

UART

Universal Asynchronous Receiver / Transmitter : One of serial communication standards that Arduino can do with other devices. Its principle is similar to the conversation between two people. In order to have conversation, we need ears to hear, and mouth to talk. What one person talks through mouth goes to the ears of the other person. In this context, we can compare ears to RX(Receiver), and mouth to TX(Transmitter). The point is this: the data coming out of one side of TX(mouth) goes to other side of RX(ears), not TX(mouth). Which means, between different devices, RX and TX should be cross-linked.

In addition to RX and TX, electronic devices need to be linked ground to ground. Because each device has its own electric potential, unless one device’s ground is connected to another device’s ground, the data transmitted cannot be received correctly.

Continue reading

Sensor Combination (Week 5)

  • Goal of this project : I made a circuit enables RGB LED to be on/off and change the light color corresponding to both sensor – ultrasonic sensor and photoresistor. I used RGB LED to change its color according to the distance detected by ultrasonic sensor, and also it will be on/off according to the light of space detected by photoresistor.
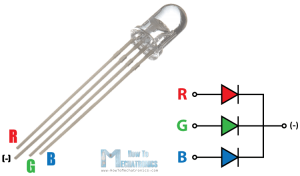
  • Circuit and components : Arduino, RGB LED, Ultrasonic sensor, photoresistor, 3 x 220ohm resistors(for RGB LED), 1 x 1K ohm resistor(for photoresistor), jumper wires          * RGB LED has 4 legs – three legs are for red, green, blue output color, and one long leg is for ground.

Continue reading

Combination Lock (Week 4)

  1. Goal of the project : By utilizing a sequence of button presses, make multiple leds to radiate. Like a concept of lock, each led represents whether it is locked / unlocked.
  2. Core components : 4 buttons, 4 x 10K ohms resistors, yellow and blue leds, 2 x 220 ohms resistors, breadboard, arduino board, jumper wires
  3. How it works : I made a circuit that enables a certain rule of button press to make each led shine. When button 1 and button 3 are pressed at the same time, yellow led emits, and if button 2 and button 4 are pressed at the same time, blue led emits.
  4. Problems encountered : A little confusion with making a circuit for multiple buttons – where to the power and output connections go – but I figured out with reminding the basic mechanism of buttons.

Continue reading