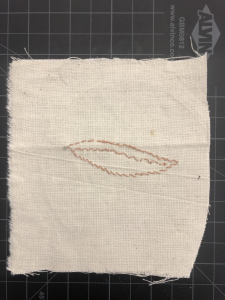
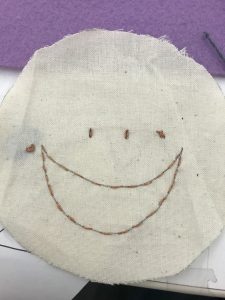
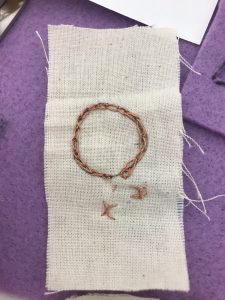
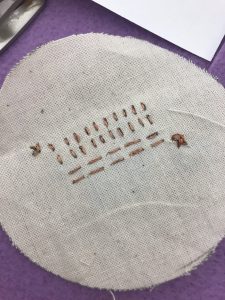
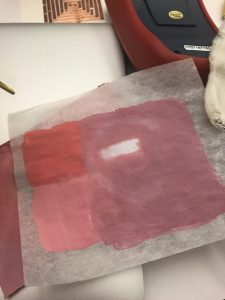
For this week’s Thermochromic ink assignment, I created one swatch with a message which is the smiley face where I wanted to bring forth the importance of smiling and staying positive. The other two swatches I just tried with different sewing techniques to see if there is a difference between the speed of ink change.
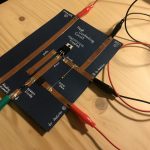
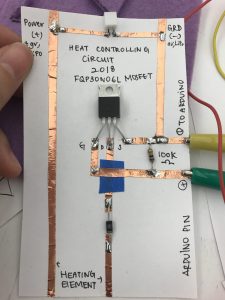
For this week’s speaker assignment, I decided to use paper and fabric to build my speakers. I wish I had the patience to spend more time to make the fabric speaker closer so it plays louder. The paper speaker did not work and I’m not sure if it is because of some parts not being soldered properly. Nonetheless, it was very fun to make. Below is the heat controlling circuit for the speaker.
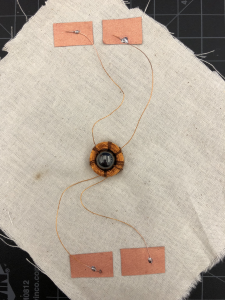
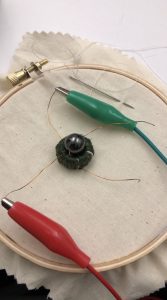
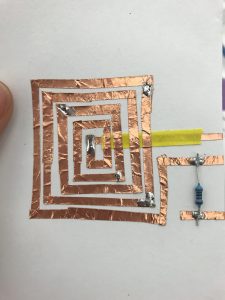
The flip dot project was very fun to make since the winding process was meditative. I used a AA battery instead of a 9v and it worked fine. I also added a sticker on the bead so we can see the motion easier.
In this week’s exercise, I tried adding flexinol into a felt fox’s tail. When the flexinol is heated, the tail will be slightly folded as if the felt fox is moving the tail. In the beginning, the flexinol is inserted into the felt. However, as wool is easily flammable, I moved the flexinol out and only connect it with both ends of the tail. Since I am using 9v battery directly, I also used a 10ohm resistor and a 4.7ohm resistor to control the heat and the folding time.
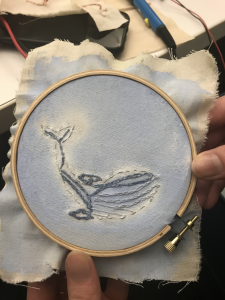
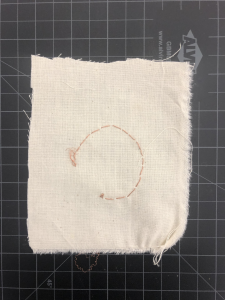
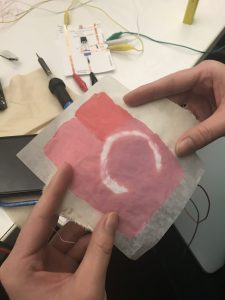
In this mini project, I used thermochromic ink to reveal the shape of a baby whale in the sea. I used blue and grey embroidery threads to outline the whale body. When the conductive thread is connected with the heating circuit and the power source, the pigments around the thread will turn from blue to white like a splash of water.
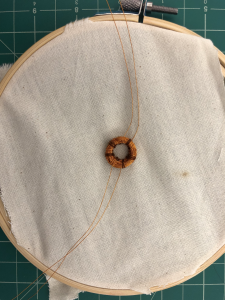
As we sped into Thanksgiving break gaining a much need respite before we were hit with the maelstrom of finals we created the final piece of structured homework for Computational Craft. Flip dots! I used an embroidery hoop, insulated copper wire, and a magnetic hematite bead to create the flip dot itself. To create magnetism within the wire, thereby inducing the bead to flip, I used a 9 volt battery. I connected with battery to the copper wire with alligator clips. Here is a picture of the finished piece and a video of it in action.
This week’s exercise focused on experiencing the properties of Flexinol, as a material with memory that changes its physical properties when it’s affected by heat.
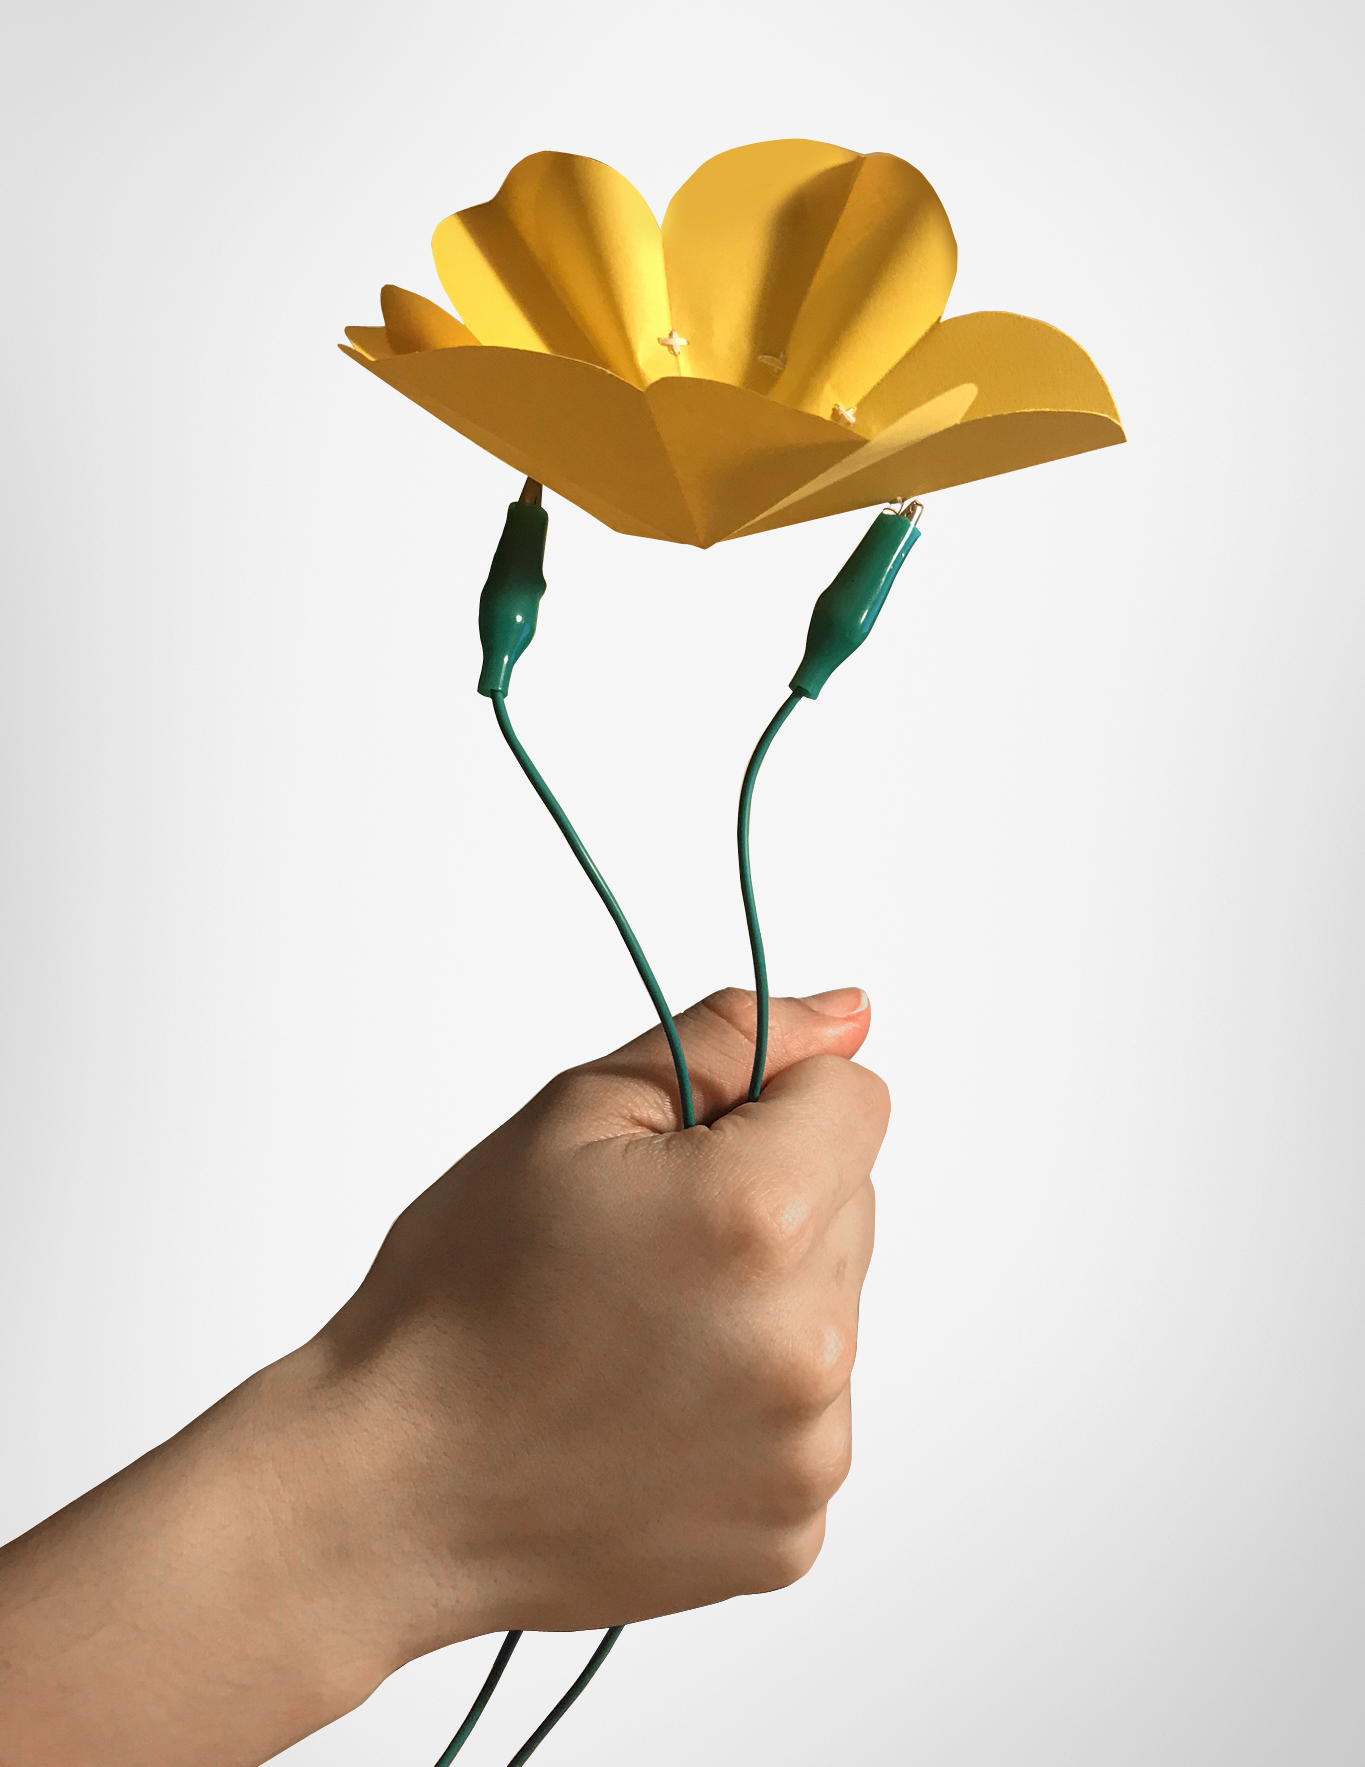
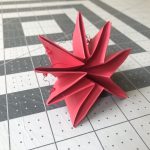
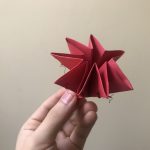
I decided to play with the concept of open/closed through the making of a paper flower. The first iteration (red flower) was not so successful since it was made using a very thick paper, as well as the geometries from origami generated a lot of resistance to the alloy.
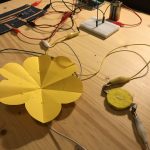
The second iteration (yellow flower) worked perfectly; the paper was much thinner, and the folds help the Flexinol to change shape easily.
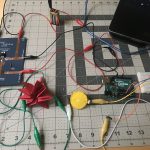
The Arduino code also allows to connect the pressure sensor and to control the moment in which Flexinol changes shape.
For this week’s assignment, at first I was trying to sew the SMA as a thread to see how it works. But soon it got tangled and started breaking. After that I took the SMA out and sewed it on to a kind of fabric which will have a nice wrap while being pulled. In the beginning I used to much thread to sew the SMA onto the fabric that when it is heated it didn’t have enough space to move. Then I cut out some thread, it started working. I used a pressure sensor which is connected to the analog input on Arduino and mapped the analog output according to that.

 .
.