Shenyue’s Final Project

Here is my link for final project on Instructables: https://www.instructables.com/id/Flip-Dots-Simpson/

In this project, I mainly focus on using flip dots. At the beginning, Im was ambitious that I intended to create a painting of a sunflower, with the central part full of flip dots, and flexinol on the edge of the petals. When talking to Liza about this idea, she told me that it is not easy to incorporate all of them. Thus, I decided to start with the flip dots since it is the one that I am most interested in.

After I started, I figured that the flip dots are not easy to deal with as what I expected before.

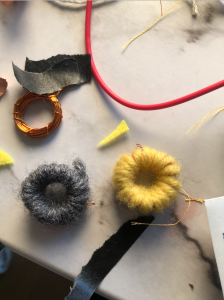
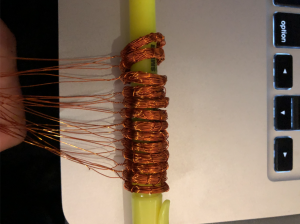
The first step I have done is to wrap the coil. I wrapped each coil around 50 times and I did almost 12 of them.

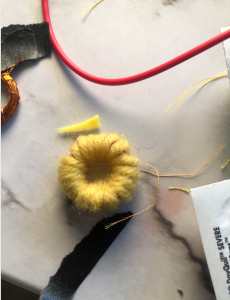
Next I wrapped all of them as double coils using yellow and grey yarns.


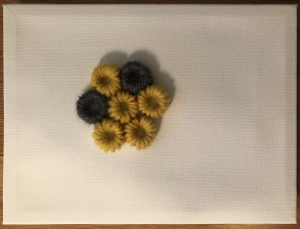
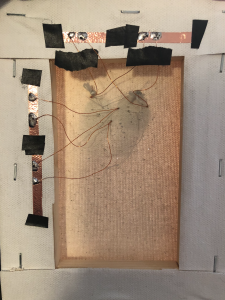
Then, I put them on the canvas like the picture below.

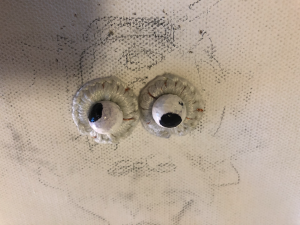
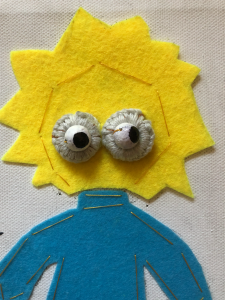
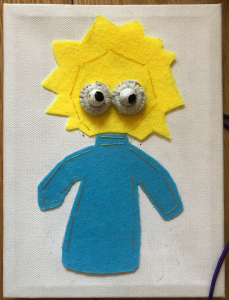
But after I put all the flip dots on it and connected it to the battery, I didn’t work at all. I guessed the problem was that there were too much current needed but I only have two battery to provide power. Then I started to deduct it to be more simple. I started with two coil and thinking about a way to make them interesting. Then, I used two flip dots to represent eyes as the dots flip over, it can be seen as the eyes are moving around. I was inspired by my Simpson toy and started to draw an outline of the shape.

I used white yarn to wrap the coil this time and the material is more smooth. Also, to make the flip dots like eyes, I painted the dots using gesso as the base and marker to draw the circle as the eyeballs. Then, I found that the surface was not very smooth so that I used my clear nail polish to cover the surface to make it more smooth.

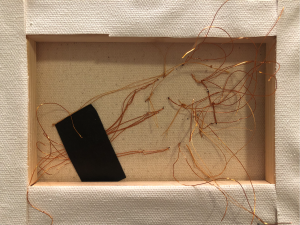
Then I connected all the conductive thread at the back and solder the parts that need to be soldered. For some reasons, I checked that it is only work for either one of the coils but not for both.

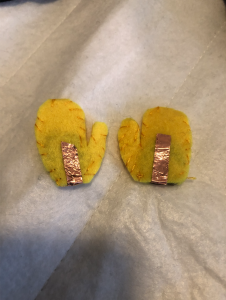
Thus, the little gloves that I prepared as the switches for the double coil has not been used in this case.

IMG_6227

Above are the pictures and video of the final piece. I really enjoyed the making process. The most important thing I learnt in making this is that there is always something that we didn’t expected at the beginning. We should learn from what we failed before and become more familiar with the materials or the process. Overall, I am satisfied in what I created.
Week 12_Yixun

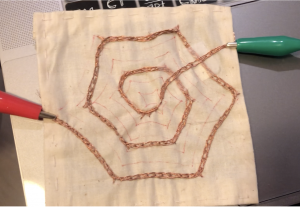
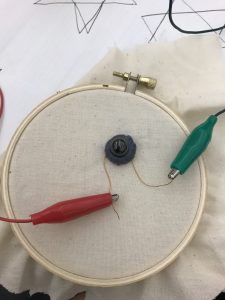
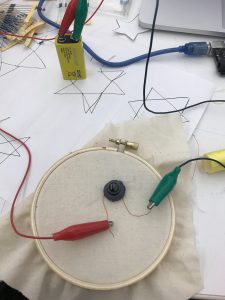
In this motion assignment, I used threads and embroidery frame to create the shape of the dream catcher. At the first, the circuit didn’t work because I used sandpaper to remove the paint, which was not helpful. But after I burned the conductive thread, it worked well.

Week 1 – Xu Han

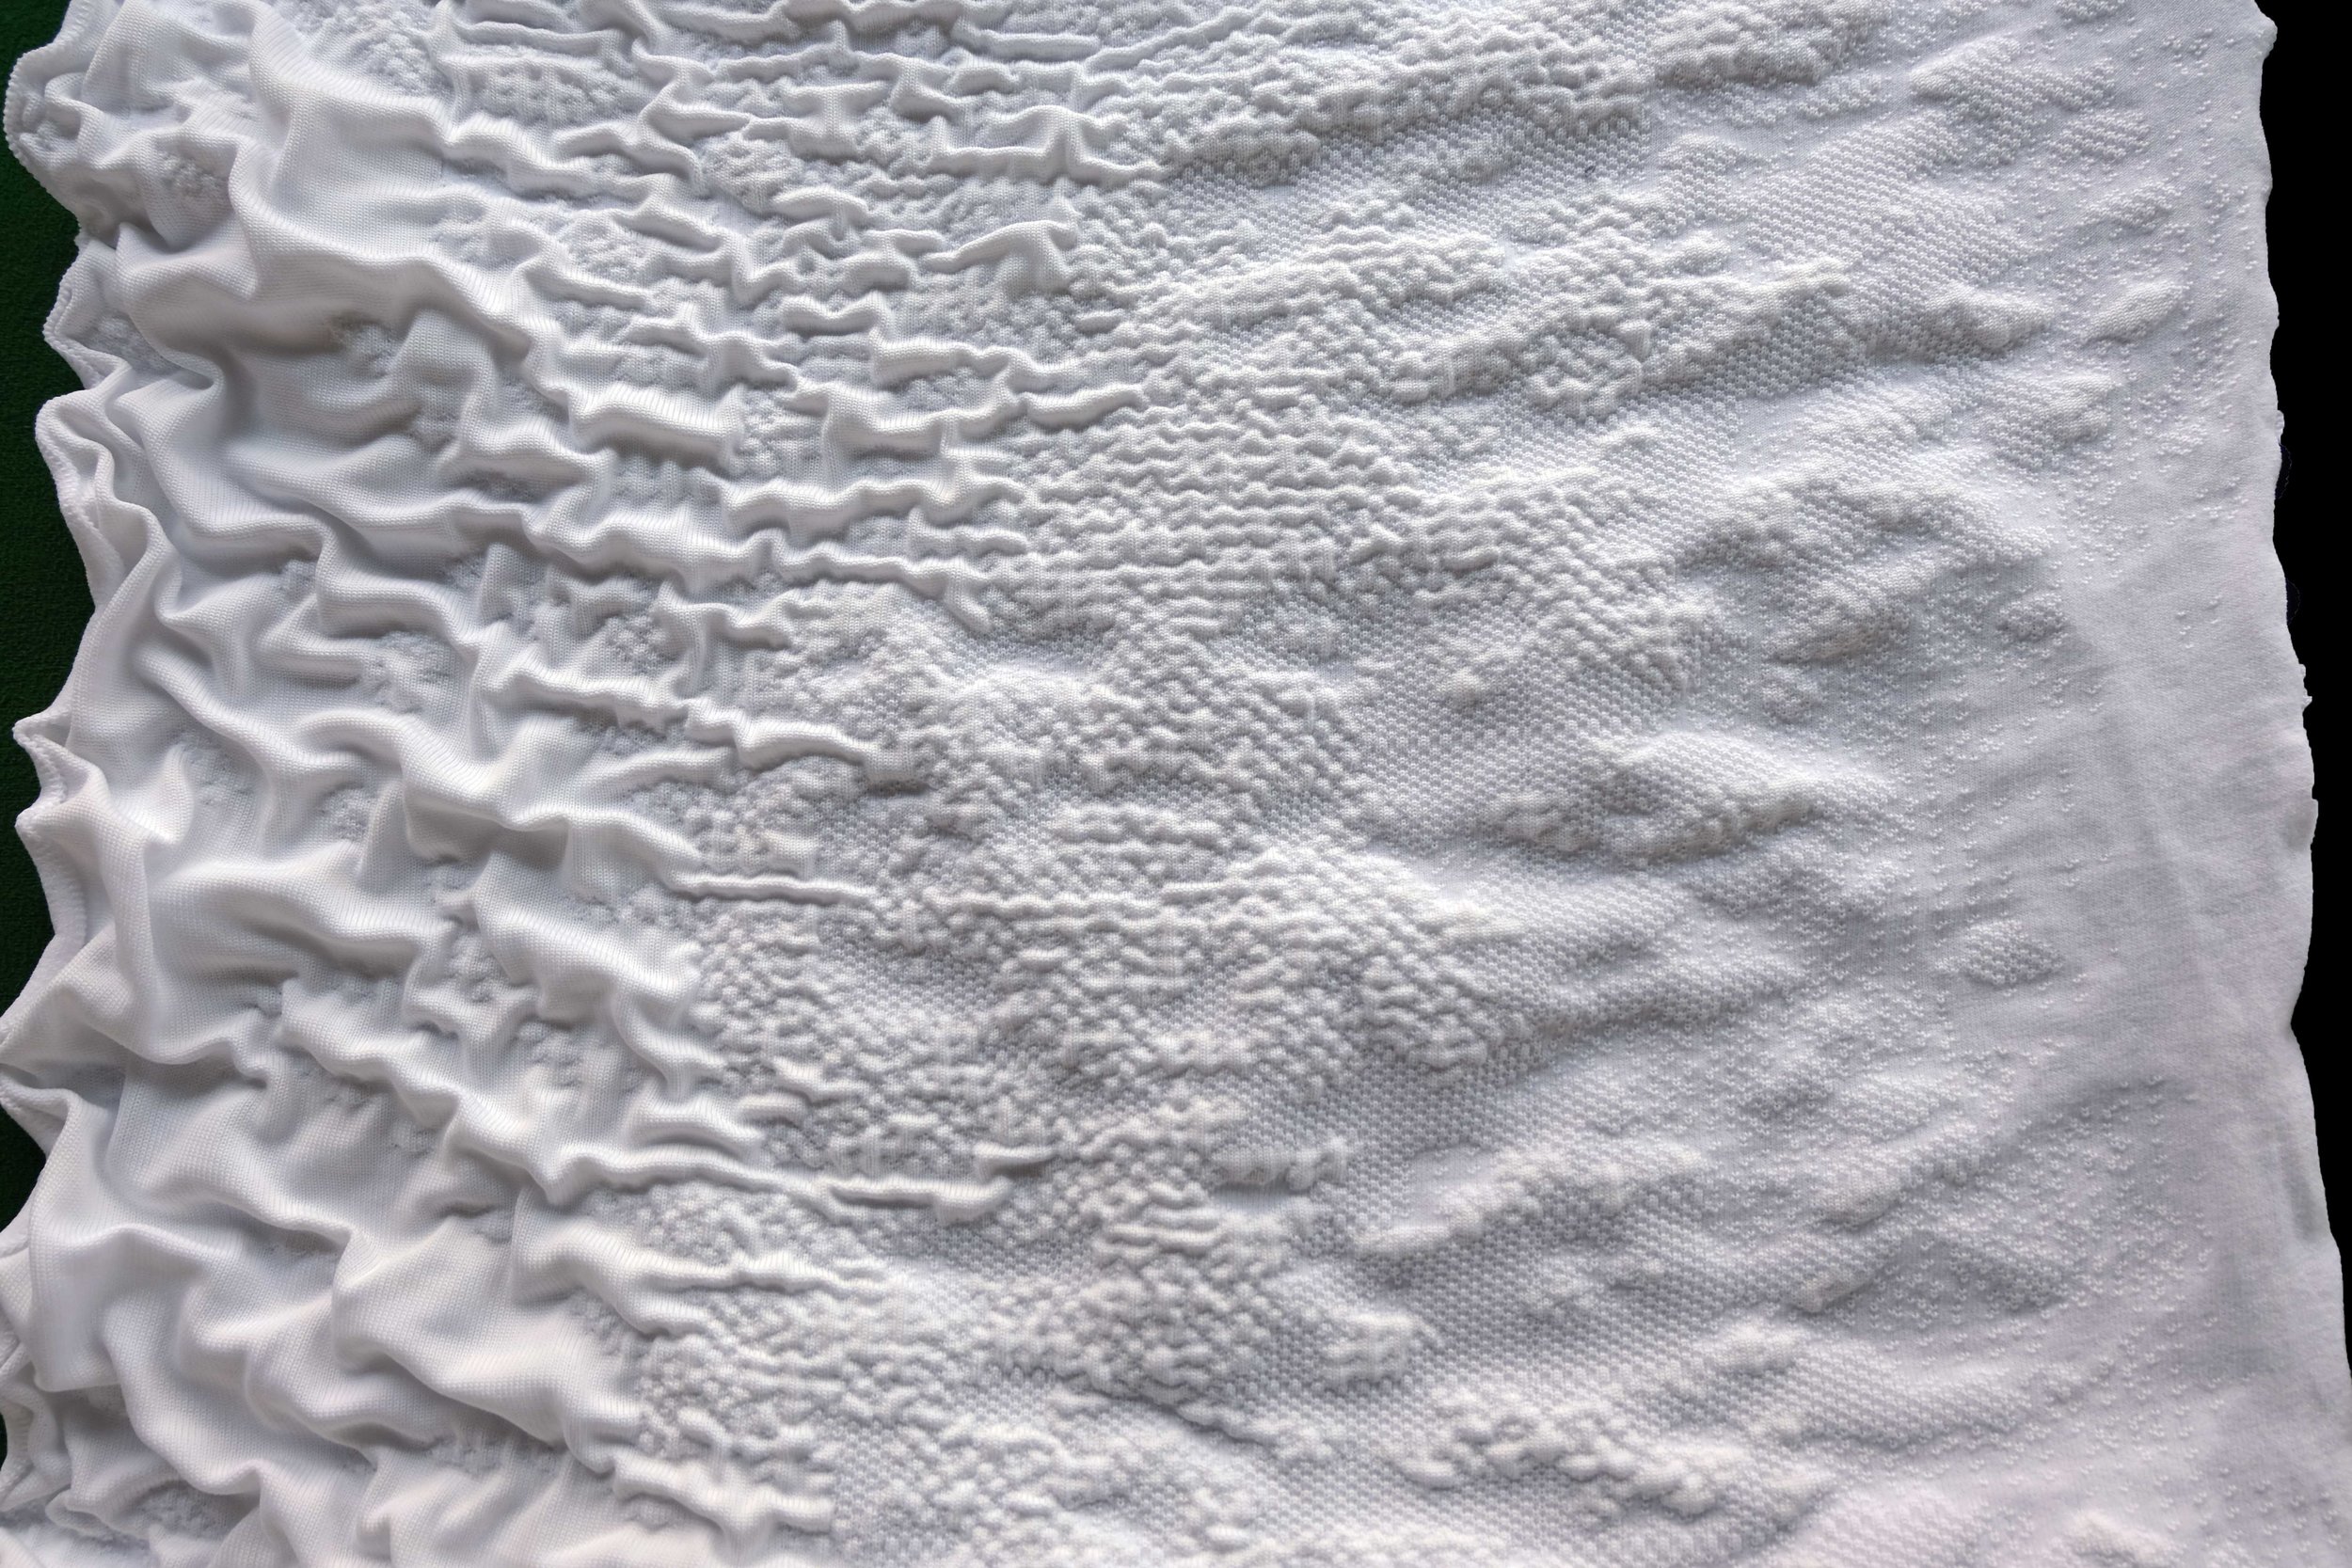
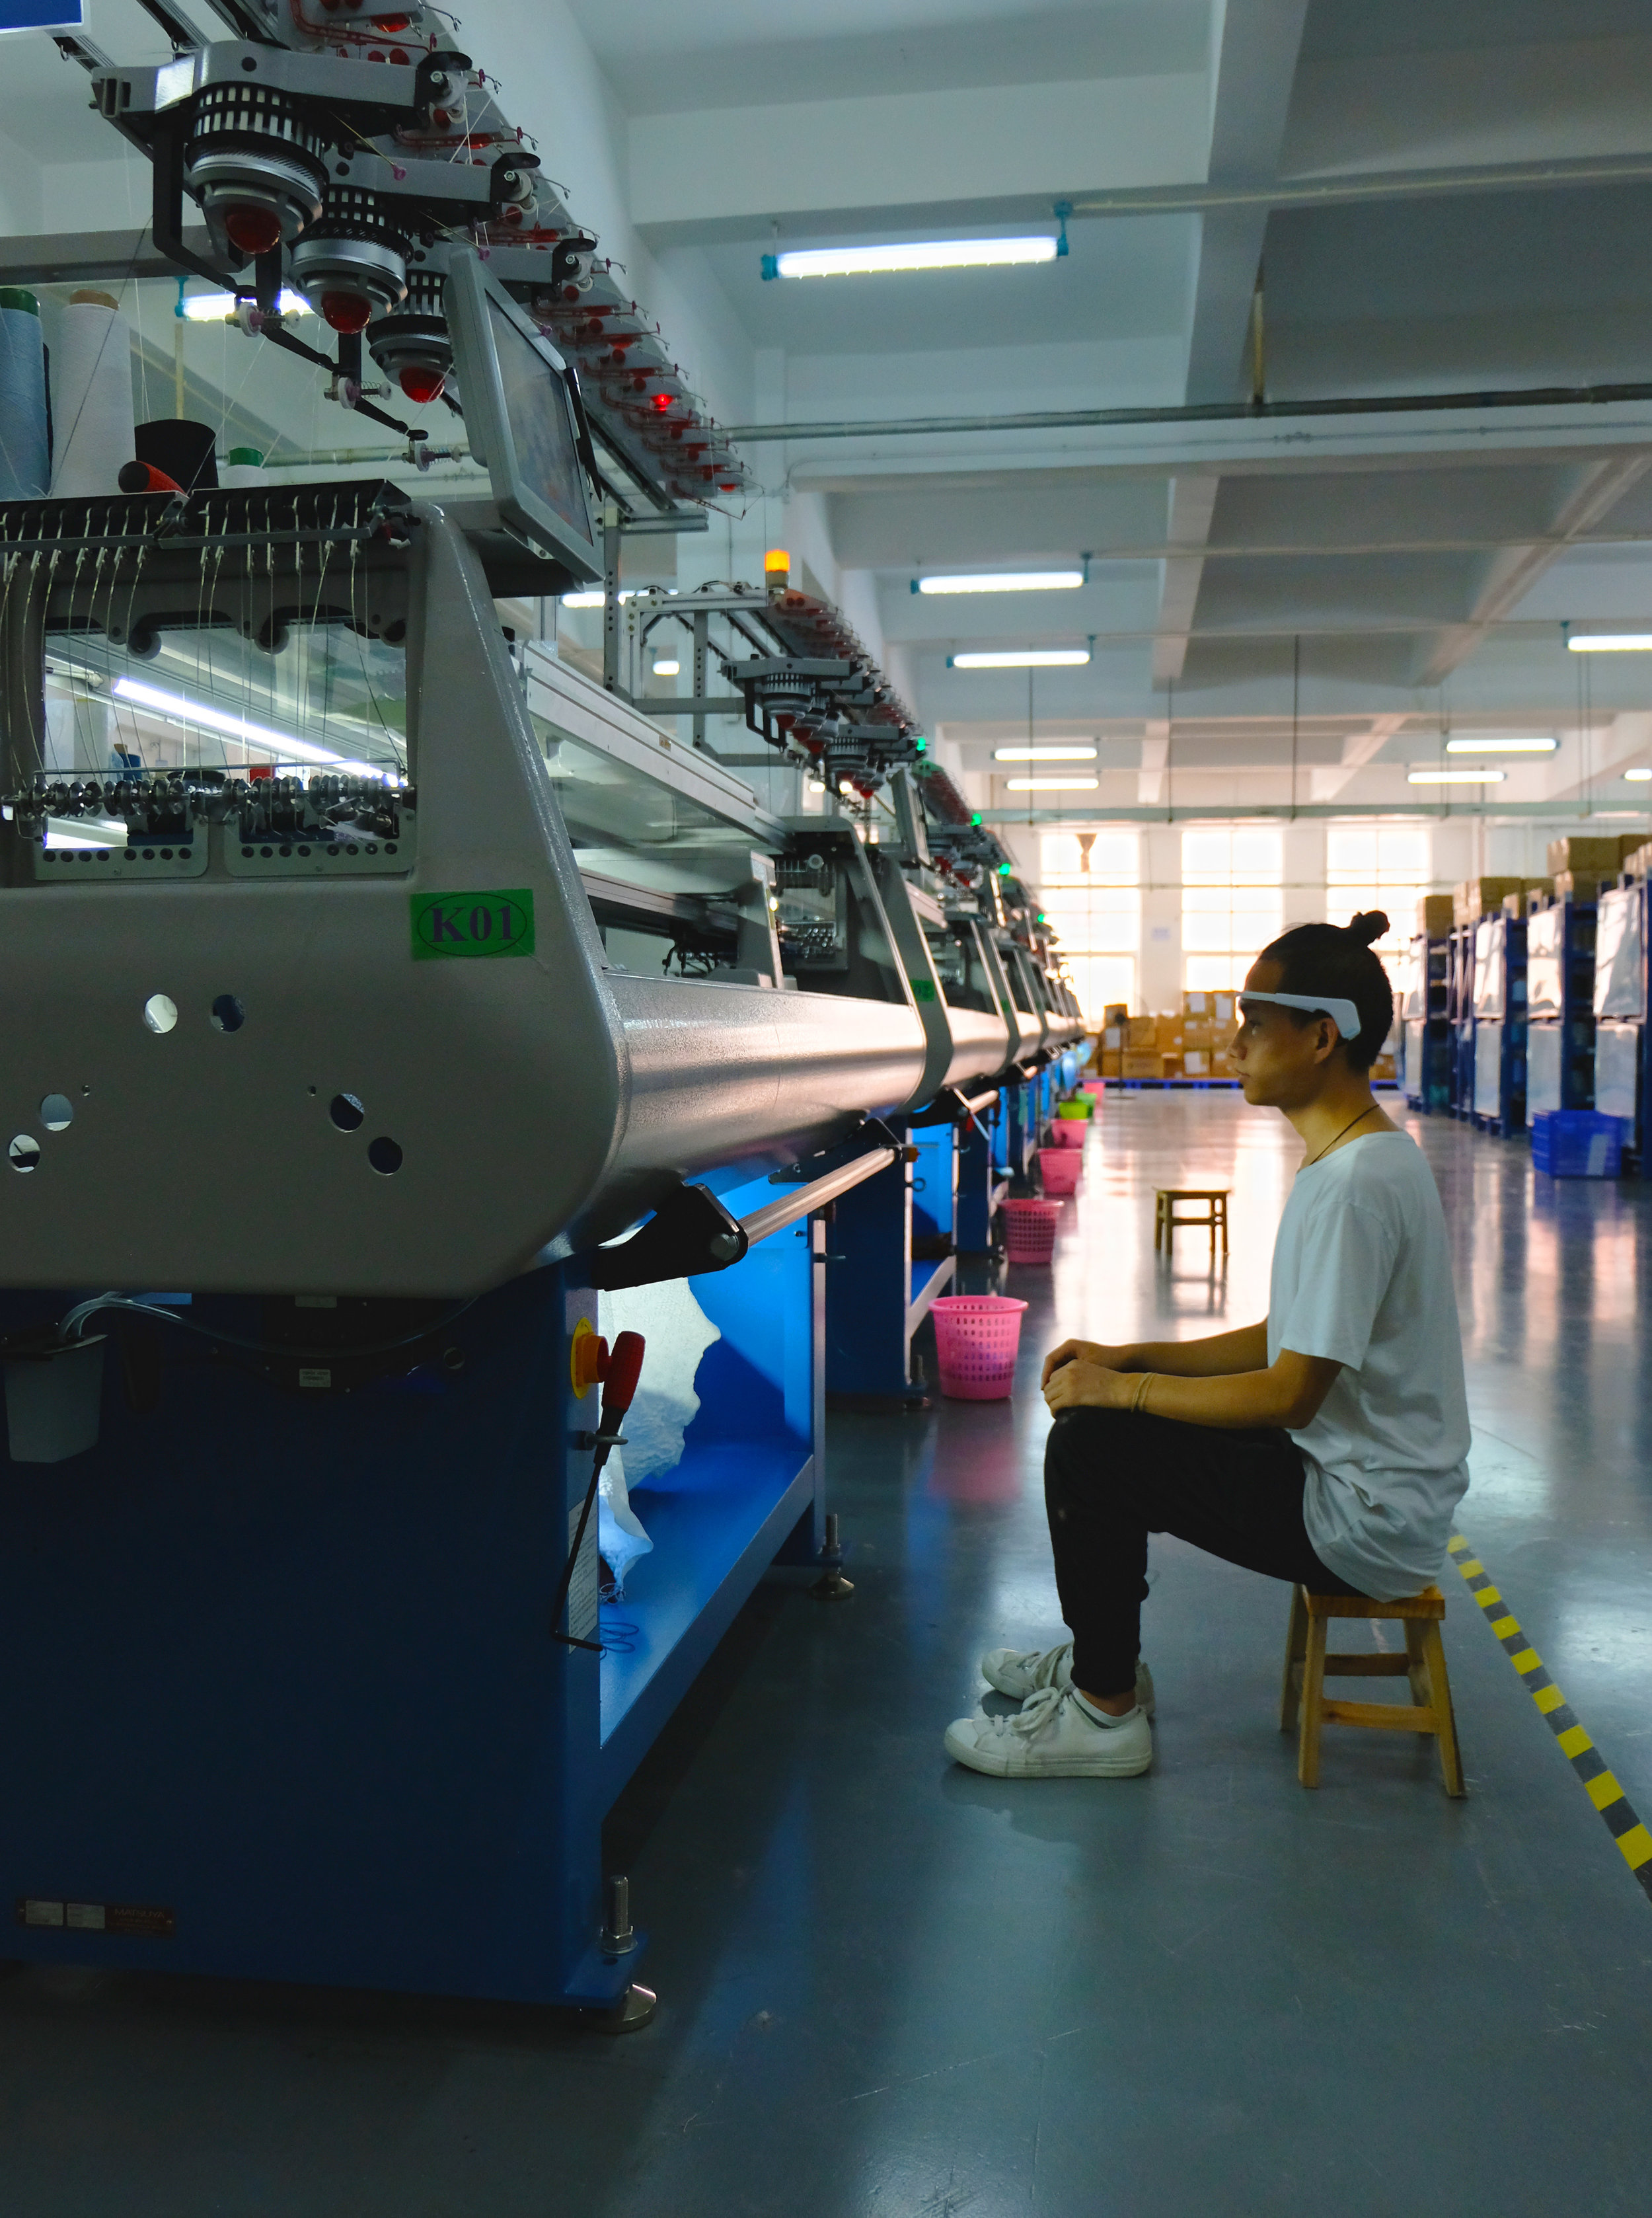
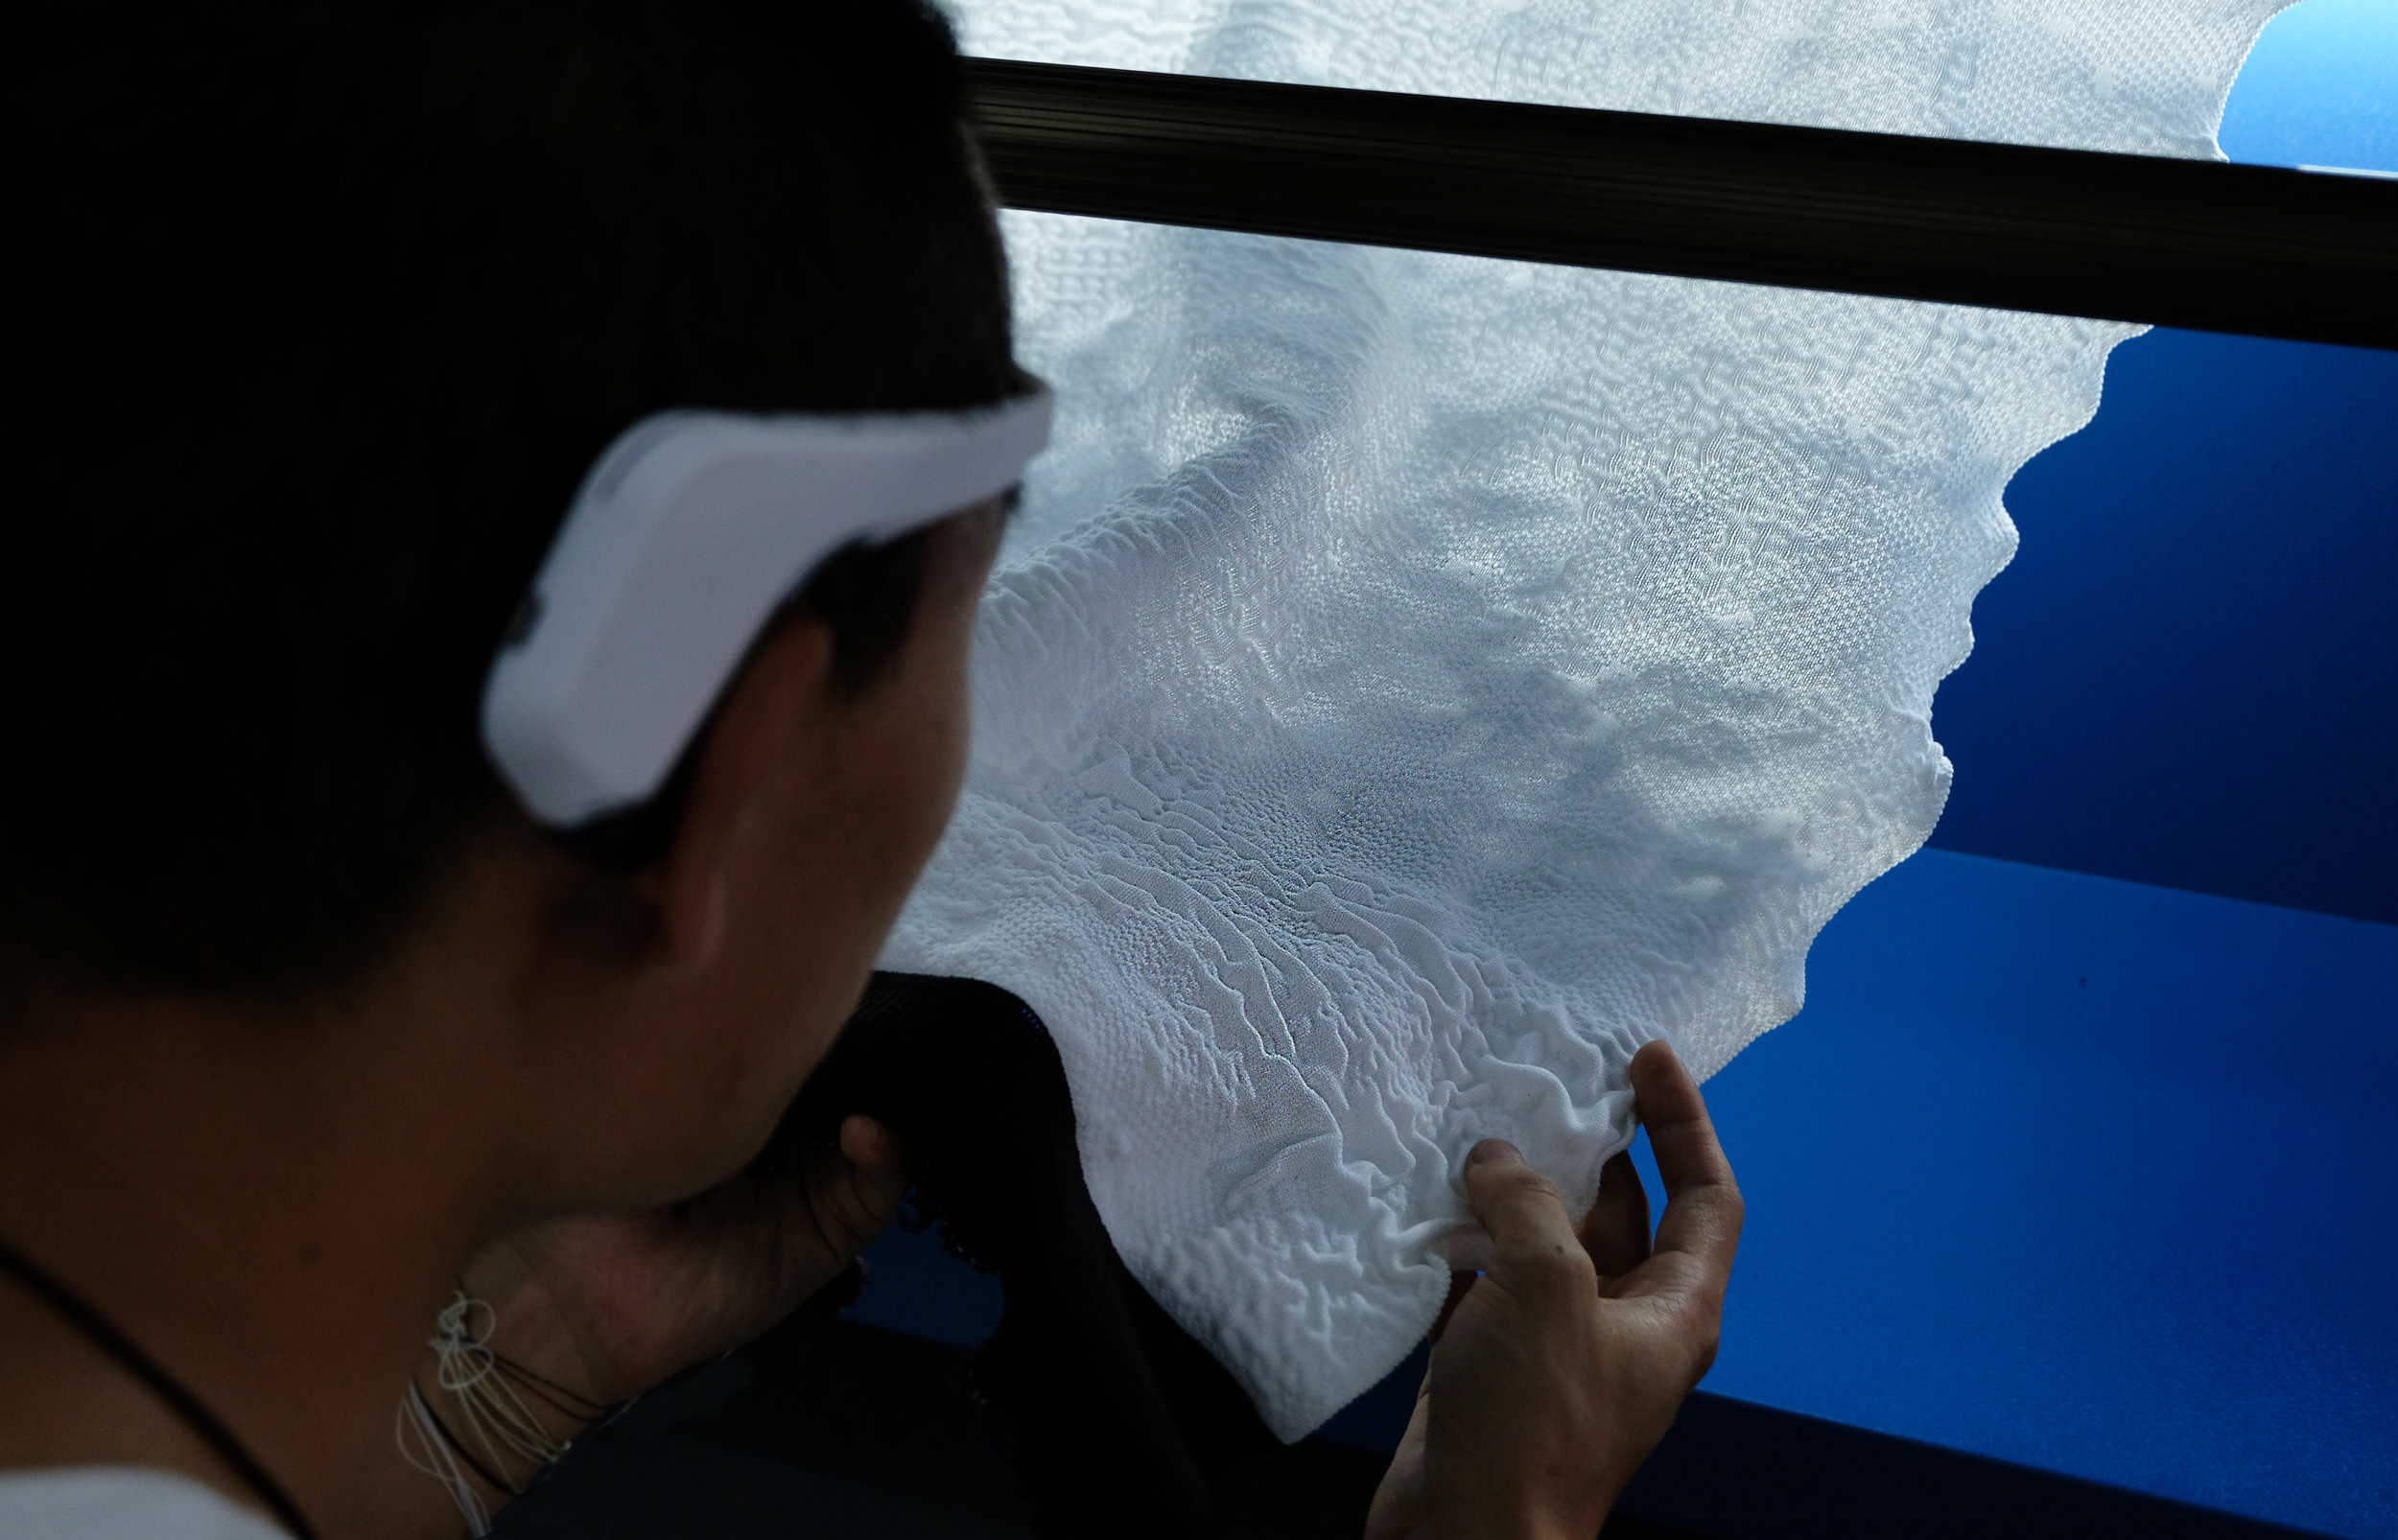
I saw a project that translates brain-wave EEG signals into the textile which is called “Mind in the Machine: Psyche in the Age of Mechanical Production” made by artist: Ani Liu. I think it is very cool to save our mind activities into a static visualizing way and combine with knitting. She illustrated her work here:

“This project stitches a portrait of the factory worker, through their fluctuating mental states throughout the day- capturing moments of frustration, focus, and meditative workflow. The resulting fabrics tell a story, and each one is unique to the worker and particular moment in time.”

finished_sleep_small.jpg

jifei_infactory.jpg

jifei_look_close.jpg

 Data was captured from a period of work in the factory. From the spectrogram you can see going from top to bottom the changes of brain activity over time, and from left to right, the range of frequencies captured, from Theta to Gamma. Red indicates high activity, green medium, blue, lowest. Delta and Theta waves towards the left are associated with sleeping, dreaming, and meditative states. Alpha in the 7-15 Hz range is associated with relaxed states. Beta in the 13-30 Hz range is associated with Attention, and focus. Gamma- 30 and above, are associated with hyper Alertness.

Check this work here: https://ani-liu.com/mind-in-machine

Week 12- Dancing dot – Carla Molins

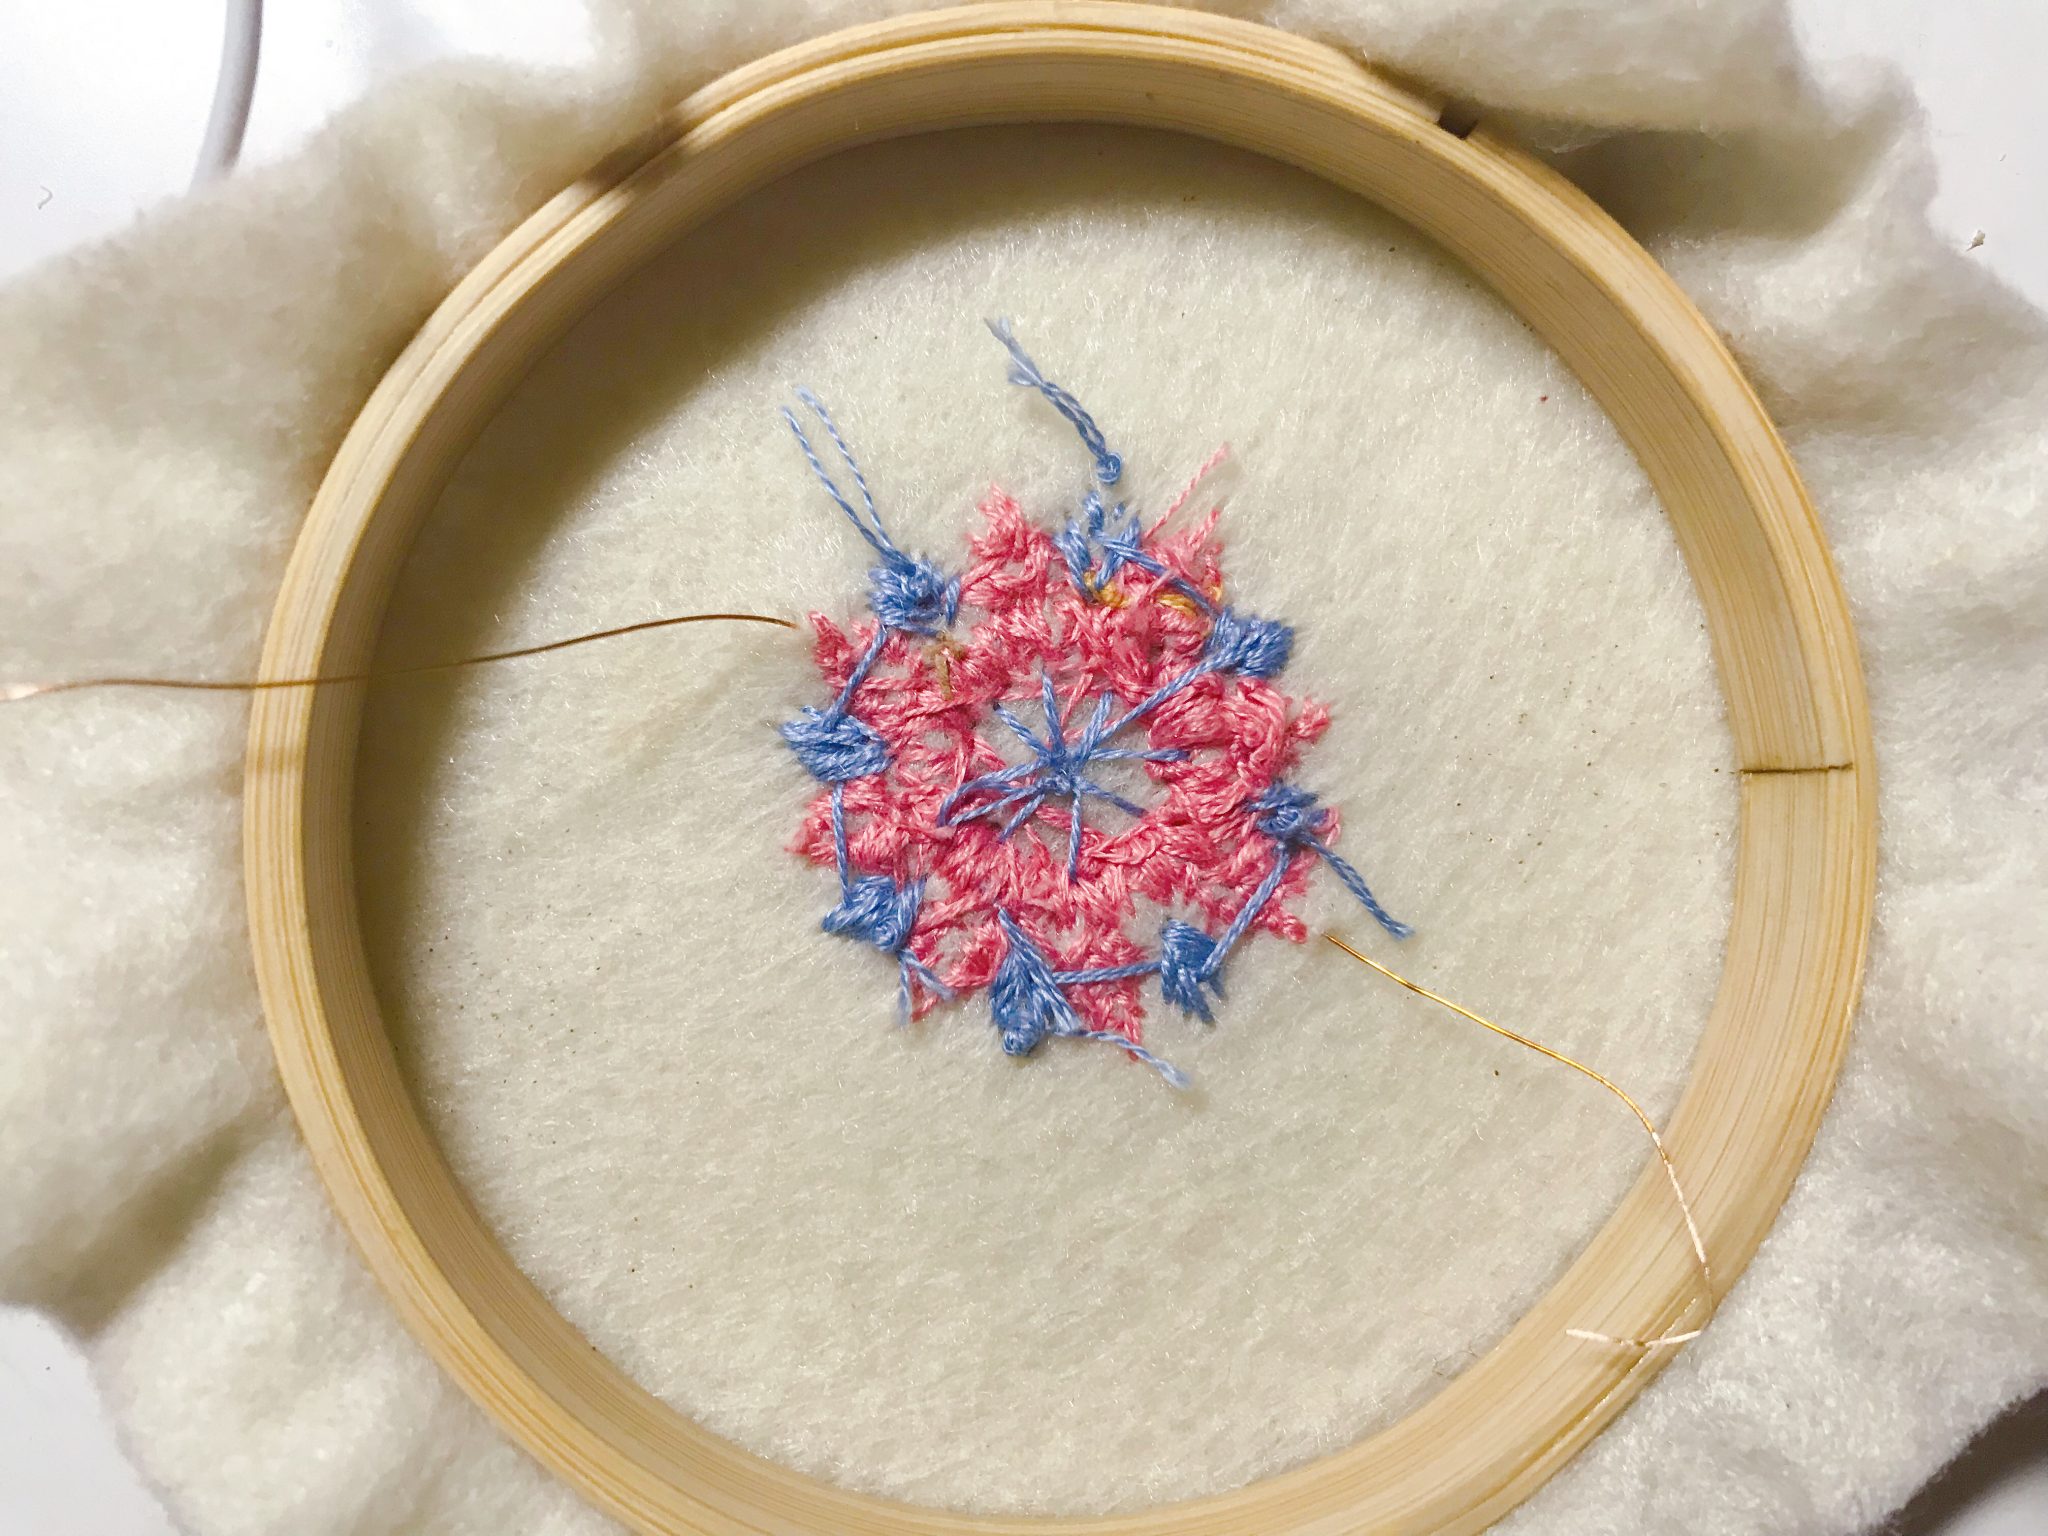
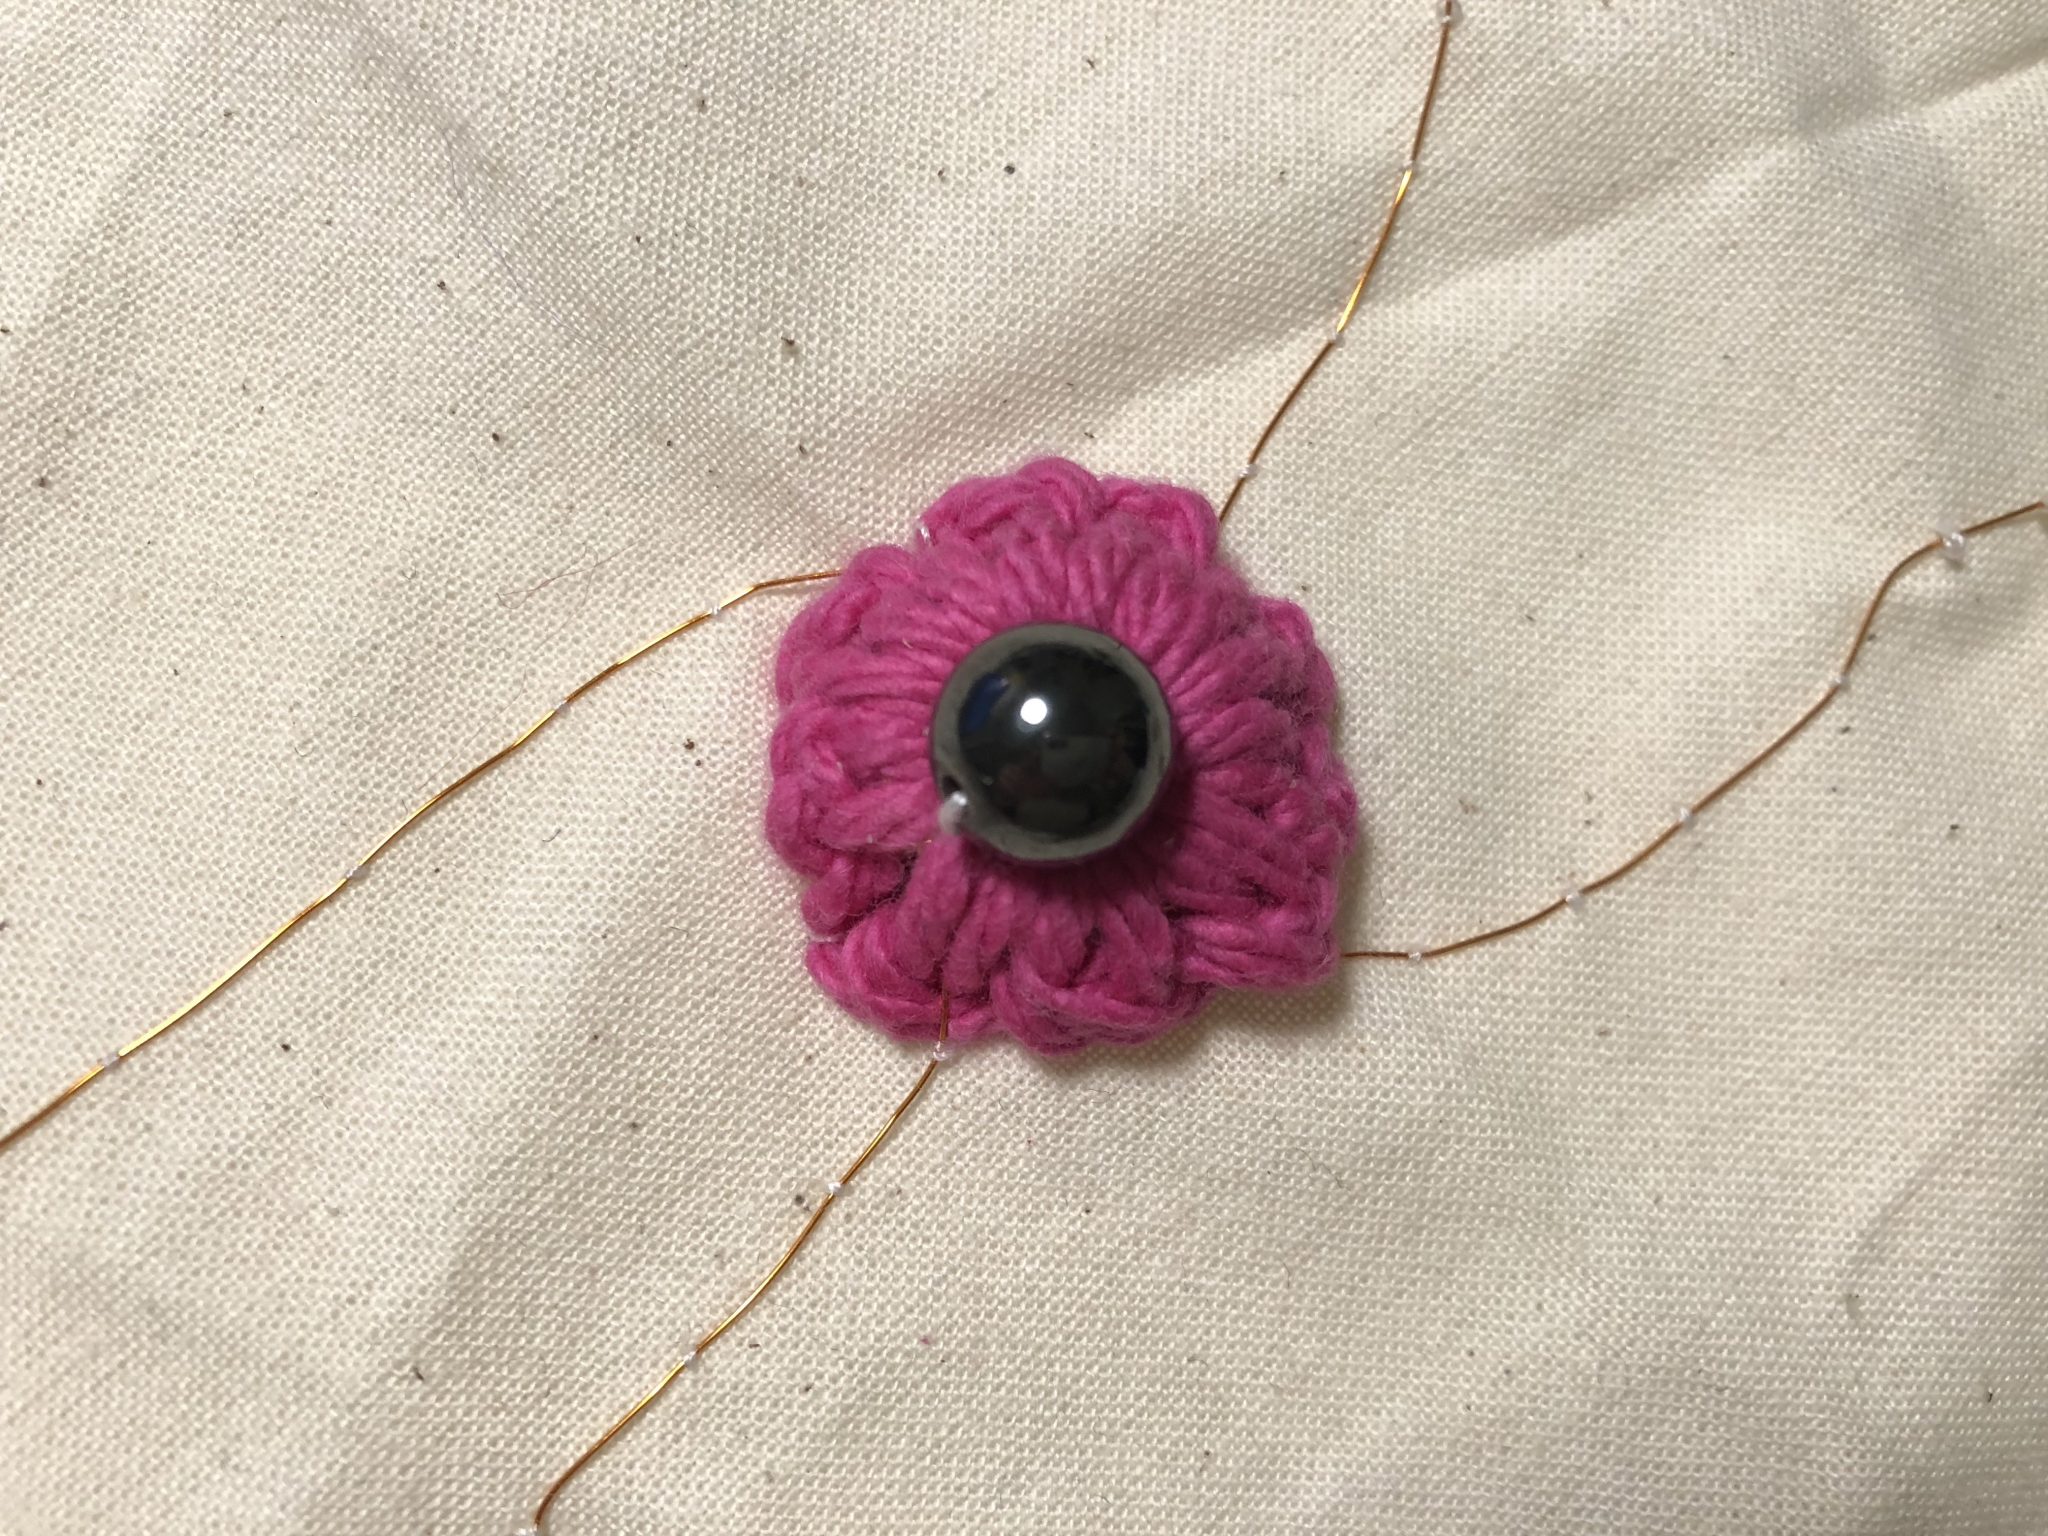
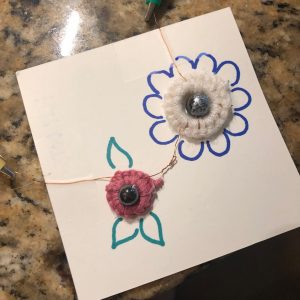
My flip dot aimed to resemble a dancing small flower. The crochet technique used to cover the coil helps to visualize small petals made of yarn and the flower core made by the bead.

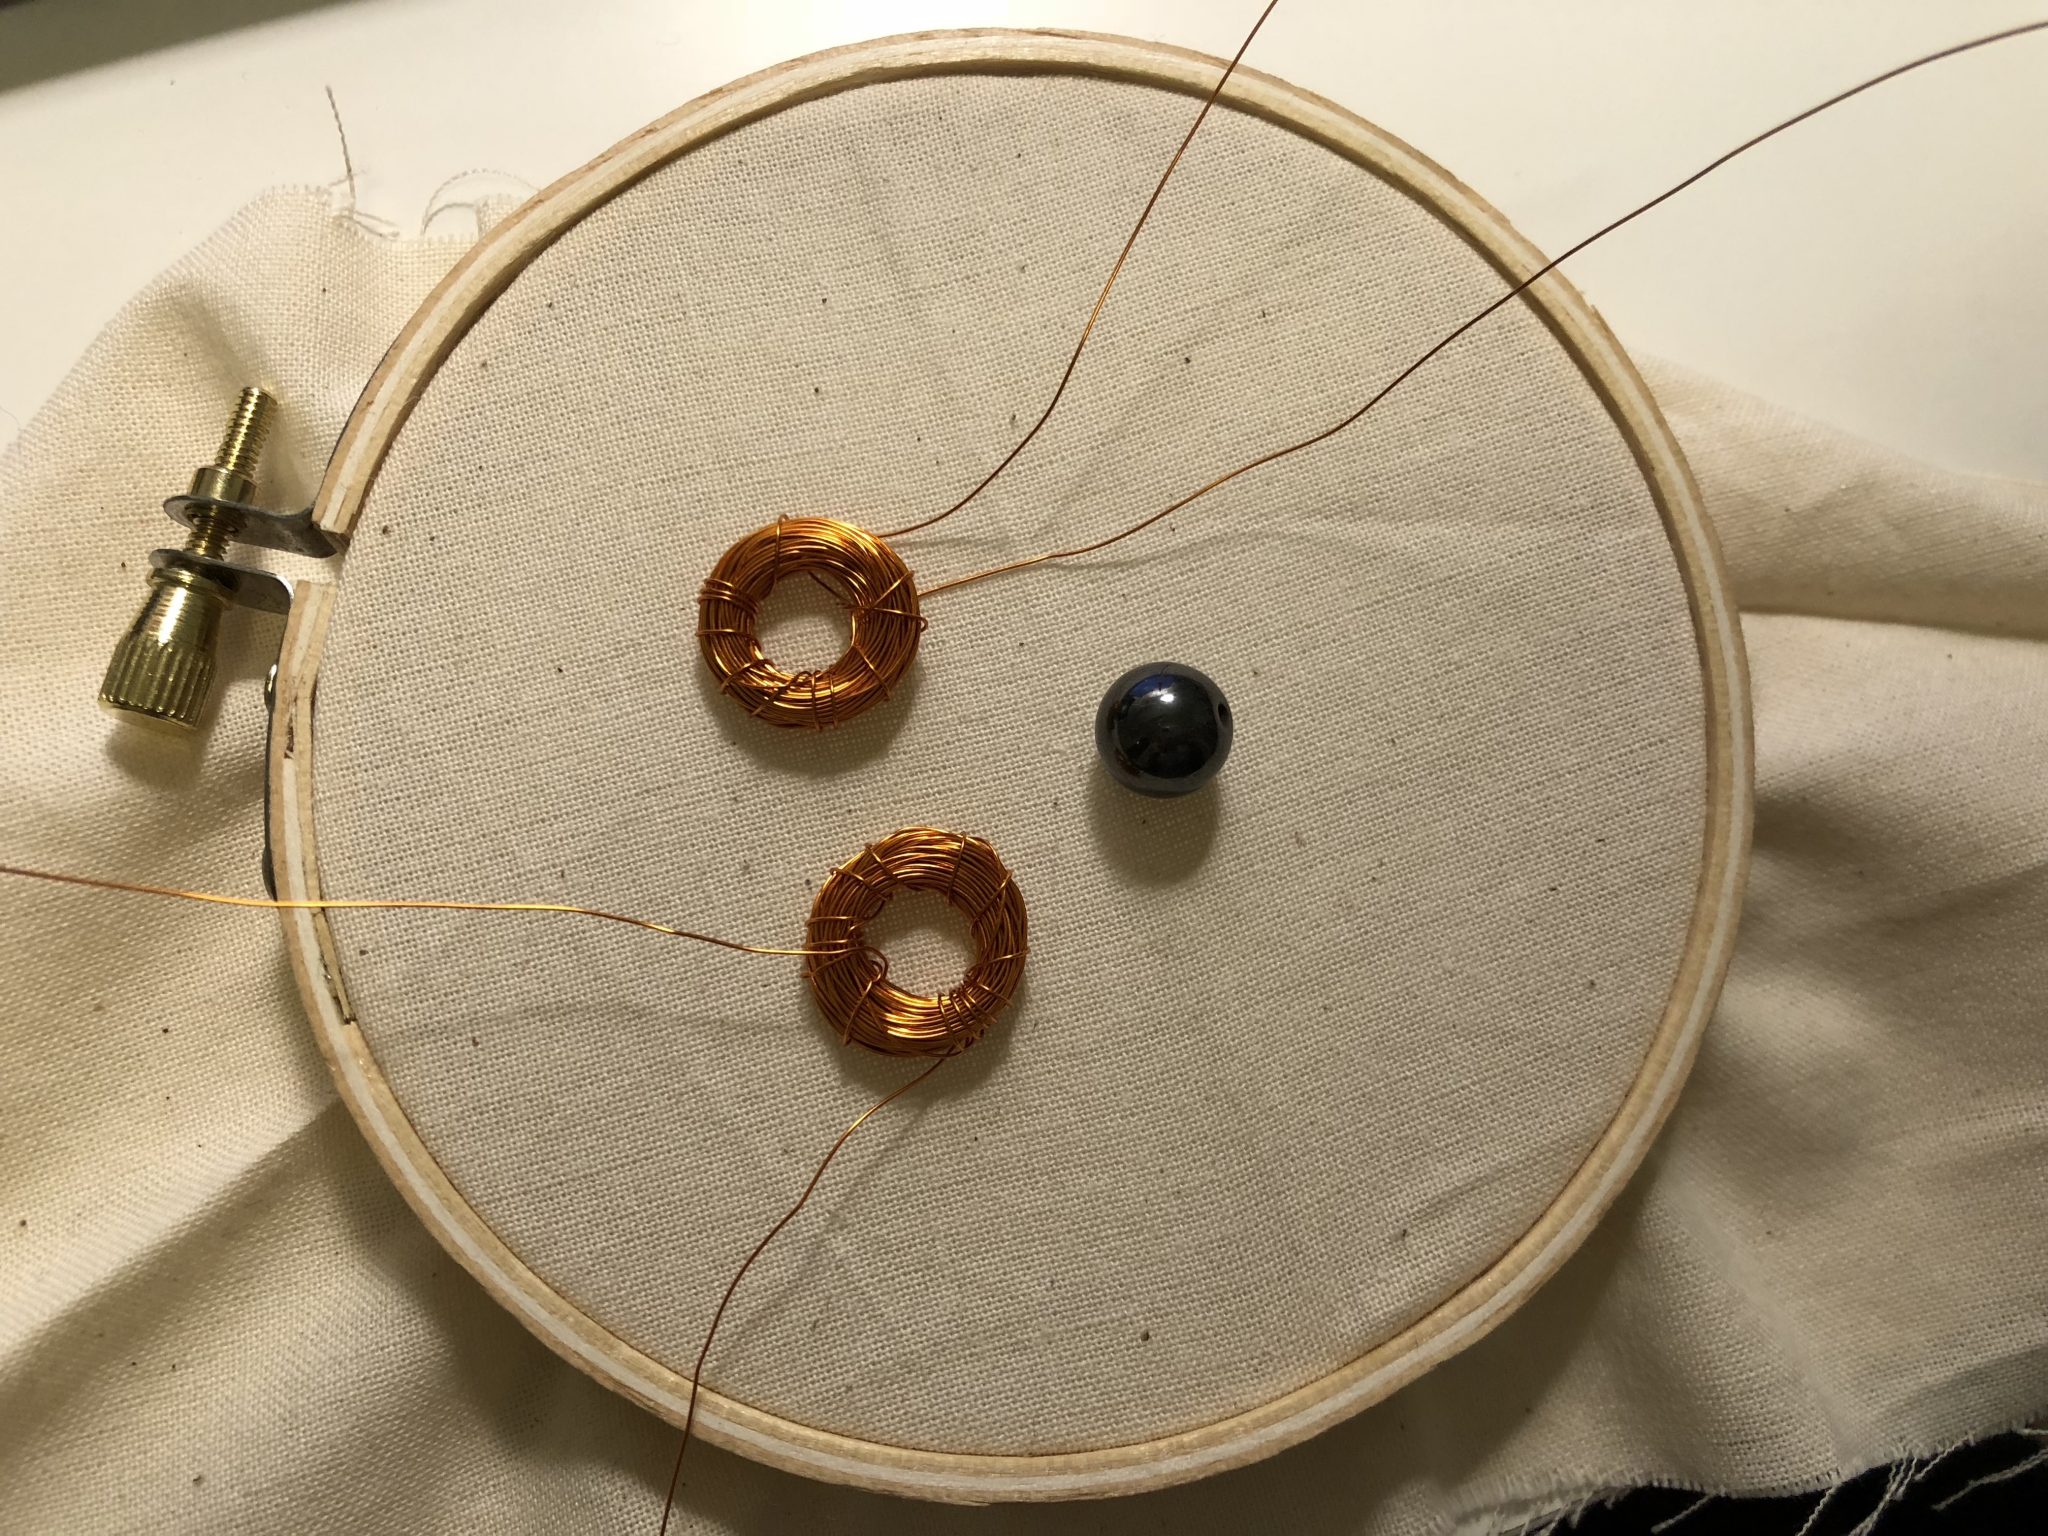
  1. For my circuit, I used a double coil made by more than 100 turns each.

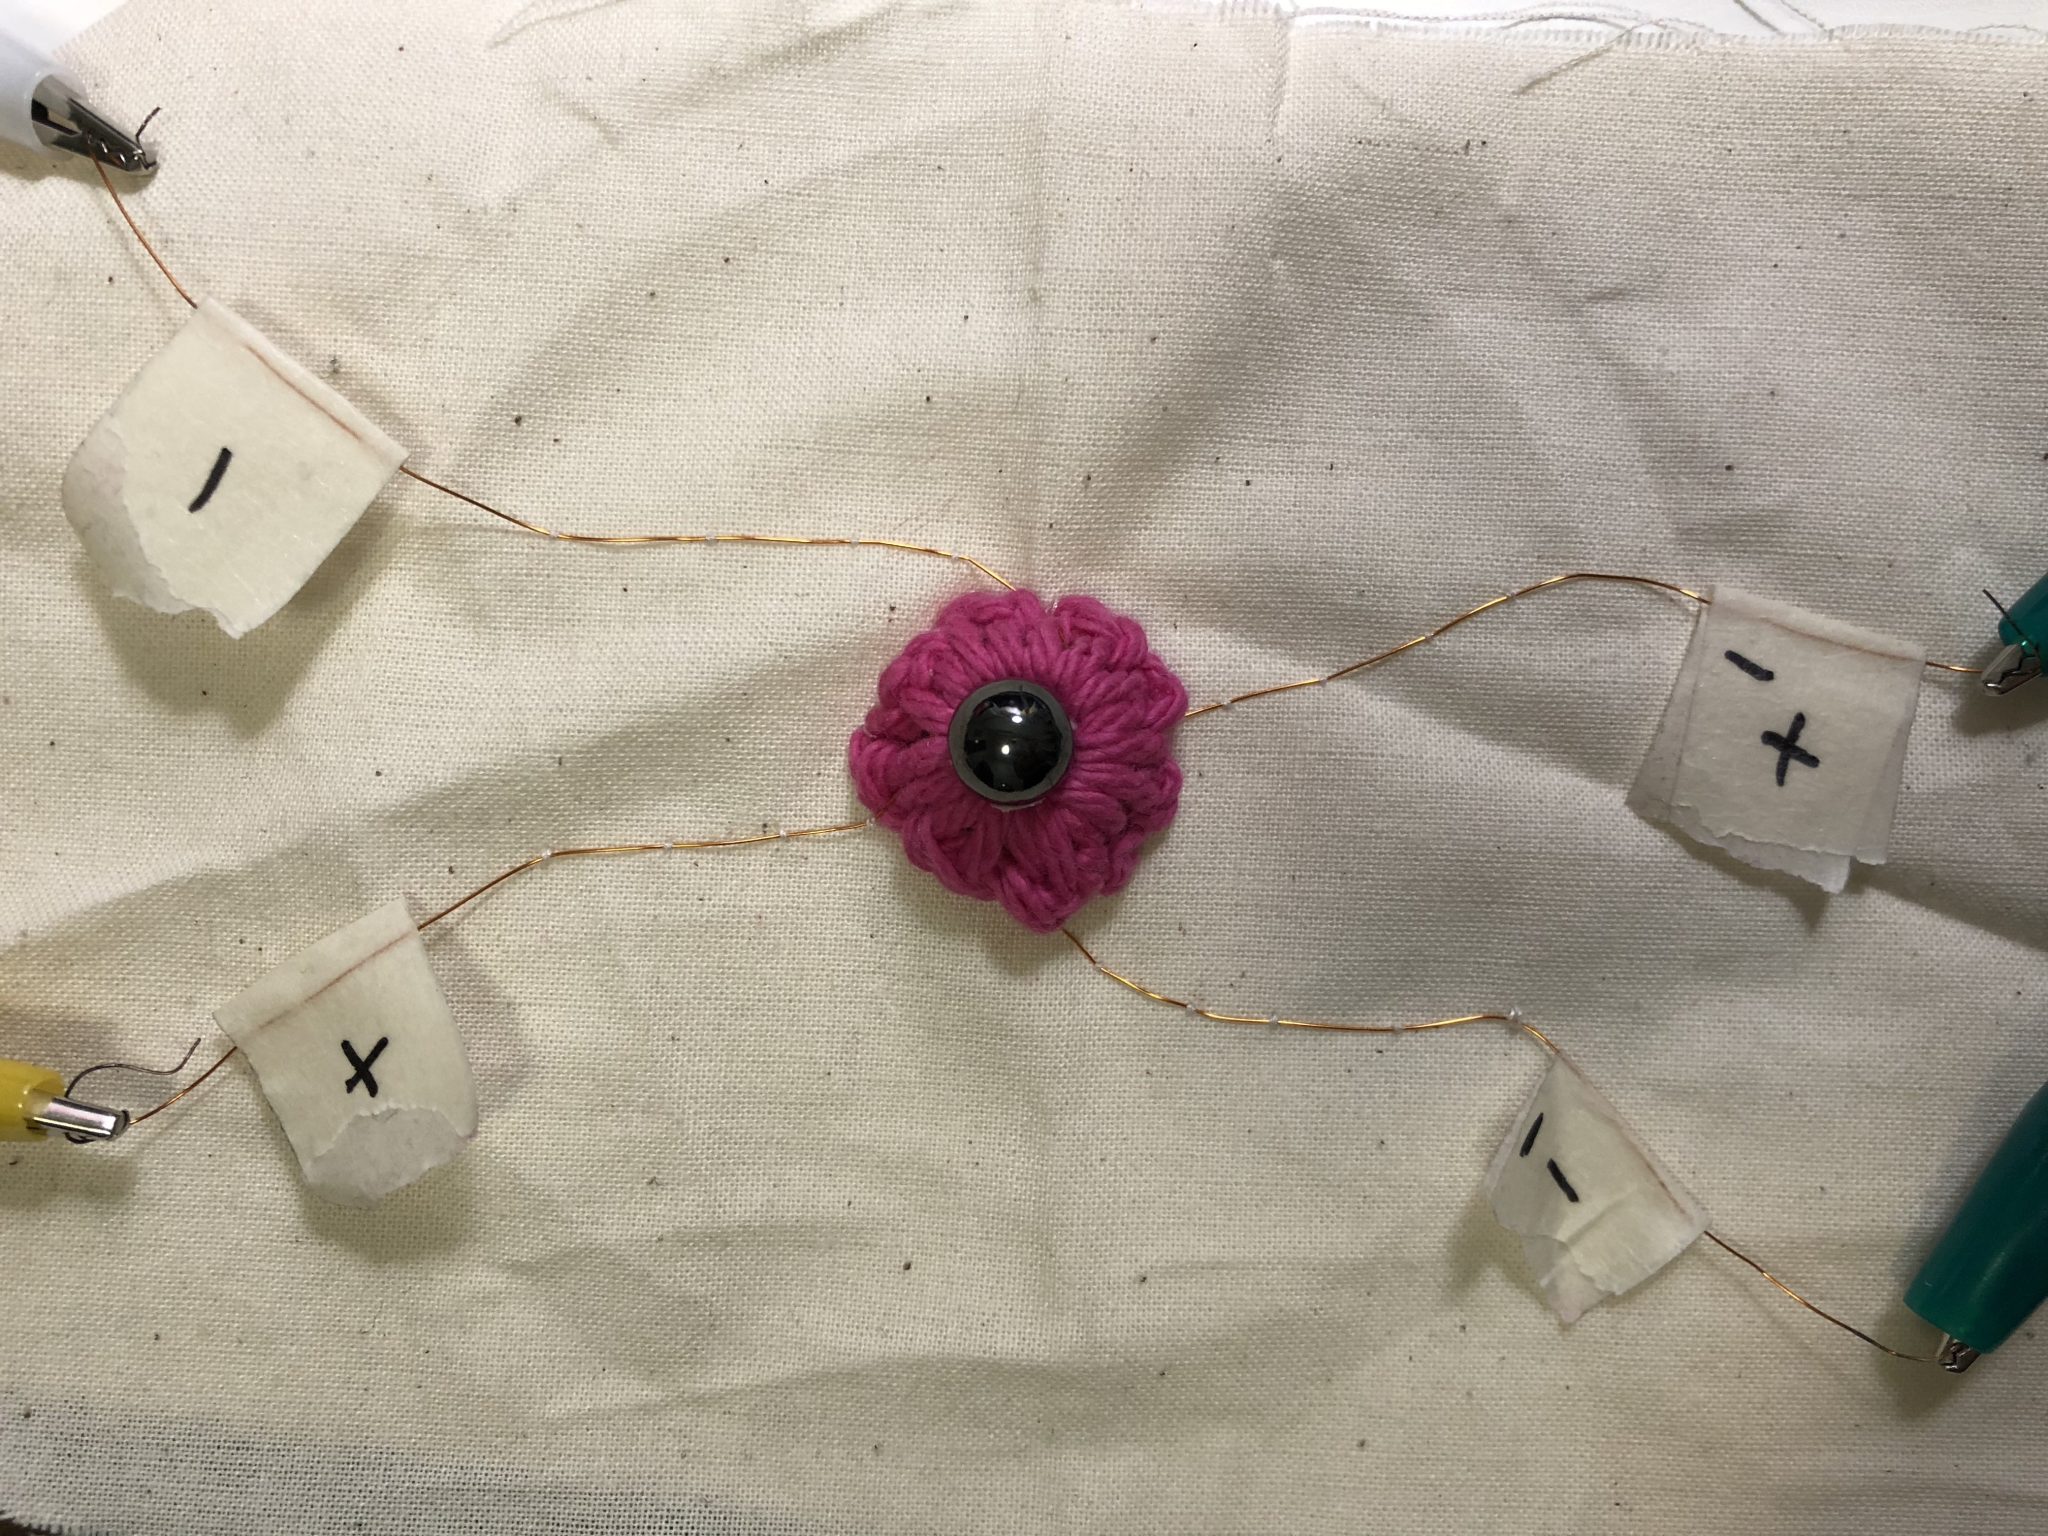
2. Before crocheting the cover I labeled the wires to be able to, later on, connect it to the batteries to add the current and consequently motion.

Here a close-up of my flower core. I sewed the wires as well as the coil and the bead. very carefully.

Here a clear shoot changing the polarity from one coil to the other making the bead go back and froth.

Takeaways, it was worth it to add so much detail to the coil because it moved very smooth and at the same time very fast.

week10_Sungmin Ashley Ro

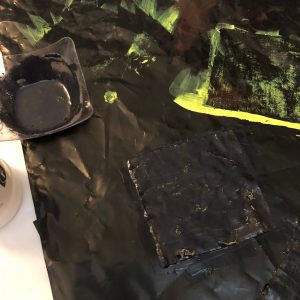
For this assignment, I used regular paints to fill up the bottom layer and used black color thermochromic pigment mixed with a clear acrylic base to fill the top layer.

Video link of the thermochromic reacting to my circuit:


Colors on each layers progress:

Heating element:

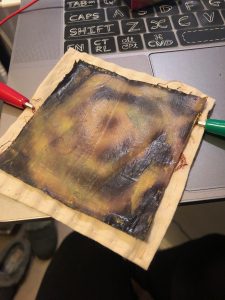
Thermochromic reacting to the heat:

Materials I’ve used in this assignemnt:
– thermochromic pigment
– a clear acrylic
– regular acrylic colors
– conductive thread
– arduino blink function
– heating circuit with 9V battery


Shenyue’s Assignment 7 – ATTiny

I created this attiny circuit using paper, 3V battery, copper tape, 10k resistor and LED lights. As the result, the light should be turned on when I touch the two ends by hand. The first time after I upload the code into ATTiny, it did not work. I checked it using bread board first and uploaded the code again. One of the lights in my circuit worked, which means my ATtiny worked fine and there was a problem with my circuit. I have to check the connection in my circuit.

attiny

Week12_Sungmin Ro_Flip Dots

Week 12: Flip dot!

For flip dot assignment, I remade it connecting a small bead and a bigger bead together to make them work together when I connect their ends to 9V battery.

video of them working:


Materials used in this project:
– 9V battery
– 2 magnetic beads
– yarn
– thread
– conductive thread

Week 12 – Lisa Ho

For this week’s project, I made my flip dot with 1 circuit. It took me a long time to embroider the circle/ring part of the circuit to the fabric. I wanted the circuit to be completely hidden. It is really satisfying to see the dot flip as you connect to the battery.

Materials used-

  • Fabric
  • Conductive thread
  • Embroidery thread,
  • Magnetic Bead
  • 9v battery

Video of the bead flipping –

https://youtu.be/Q6W-RdFmVhA

Week 11 – Lisa Ho

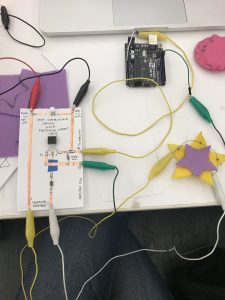
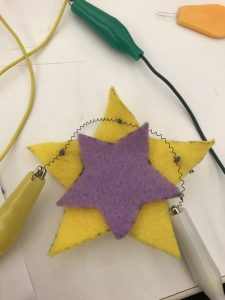
In this week’s assignment, I tried to put the flexinol into a start to mimic how it glitters and sparkles in the sky. I think the effect is not what I expected. It is a little bit slow. But I love stars so I still love the little star I made.

Materials – felt, flexinol, jumper wires, 9-volt battery, and resistor

I used one of the soft buttons I build and made my start sparkle.