Here are my 3 speaker swatches:
The first one is made of conductive threads and embroidery cloth. I tried to use sewing thread to fix the conductive material on the cloth. And for the second one, I wanted to use conductive tapes and wood to create a pattern different from the spiral. As for the third one, it is similar to the woven speaker. I wrapped the yarn on the embroidery frame first and then embedded the conductive thread in it.
For this absolutely magical assignment I made my speakers in three different sizes, small, medium, and large. While I was working on this assignment on D12 people were various curious. Once I had finished making the speakers my classmates had so much fun listening to them!
link to Instructable website: https://www.instructables.com/id/Light-Hanger-1/
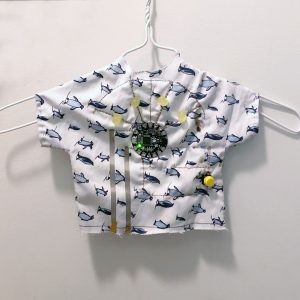
I often thought that I needed a separate light just for a closet. There were some situations when I did not want to turn on my room light to grab something out of closet.. especially not to wake up my roommate and pets. So I thought about creating a moveable light on a hanger.
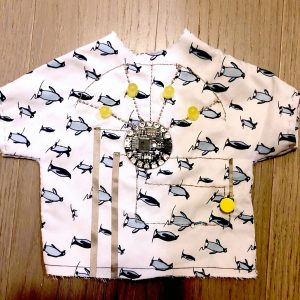
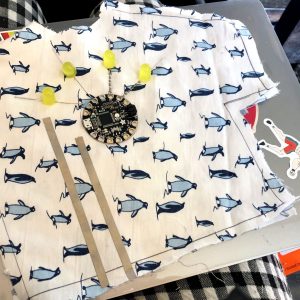
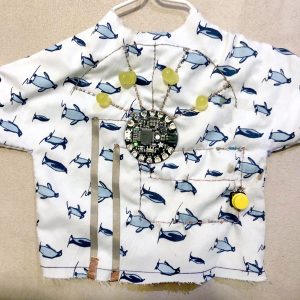
I planned to make the circuit directly onto one of my shirts, however, it did not quite work out because the shirt was too stretchy. Instead, I used pillow case fabric to make a mini shirt that can be hung on a hanger.
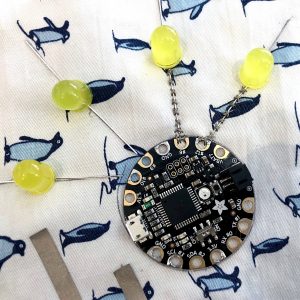
I created a circuit using Flora, LED lights, and a button that controls turning on/off the lights. When Flora is connected to a battery, a button is activated to control the lights.
Materials used:
Pillow cover
LED lights * yellow
Flora (arduino)
A button
Conductive thread
Conductive fabric
Copper thread
Future iteration:
make more than one state for lights. (ex: blinking, lights partially on, etc)
make both side of the shirt work (add more lights on the other side of the shirt)
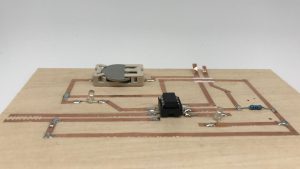
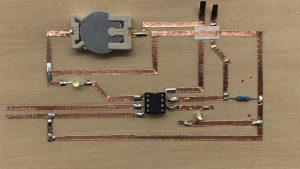
I created a coaster that uses an existing interaction (putting a glass on a coaster) to close a circuit and complete the lamp. My original hope was that when different glasses/drinks were placed on the coaster, different colors and shapes of light would be illuminated– a modular lamp of sorts.
The circuit works as hoped: the lights shine when (and only when) a glass is on the coaster. But if I were to do it again, I’d use brighter lights and/or a more transparent surface for the lights to shine through. As is, it’s a little dim.
I was inspired by the breathing rhythm from the fading effect. So I made this bird nest style lamp that can help people medidate when they feel really stressed.
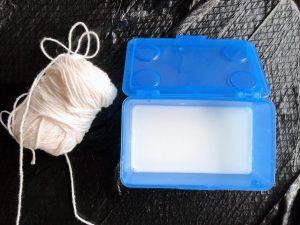
I started the process with making the yarn globe:
Soak the yarn into school glue
Wrap the yarn around a balloon
The code part is a combination of the ATtiny exercise (link) and the fading example.
Testing the ATtiny touch sensor
The yarn pom-pom is being used as a touch sensor. When holding it, the LEDs will be lit up with the fading effect. I only soldered two LEDs, therefore, it is not bright enough. For the future iteration, I am planning to use a brighter set of LEDs and also consider making several of them with different rhythms.
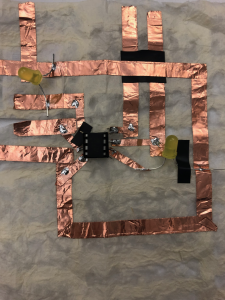
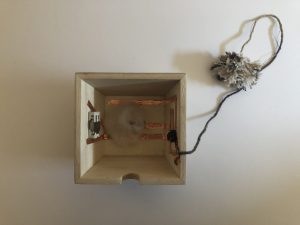
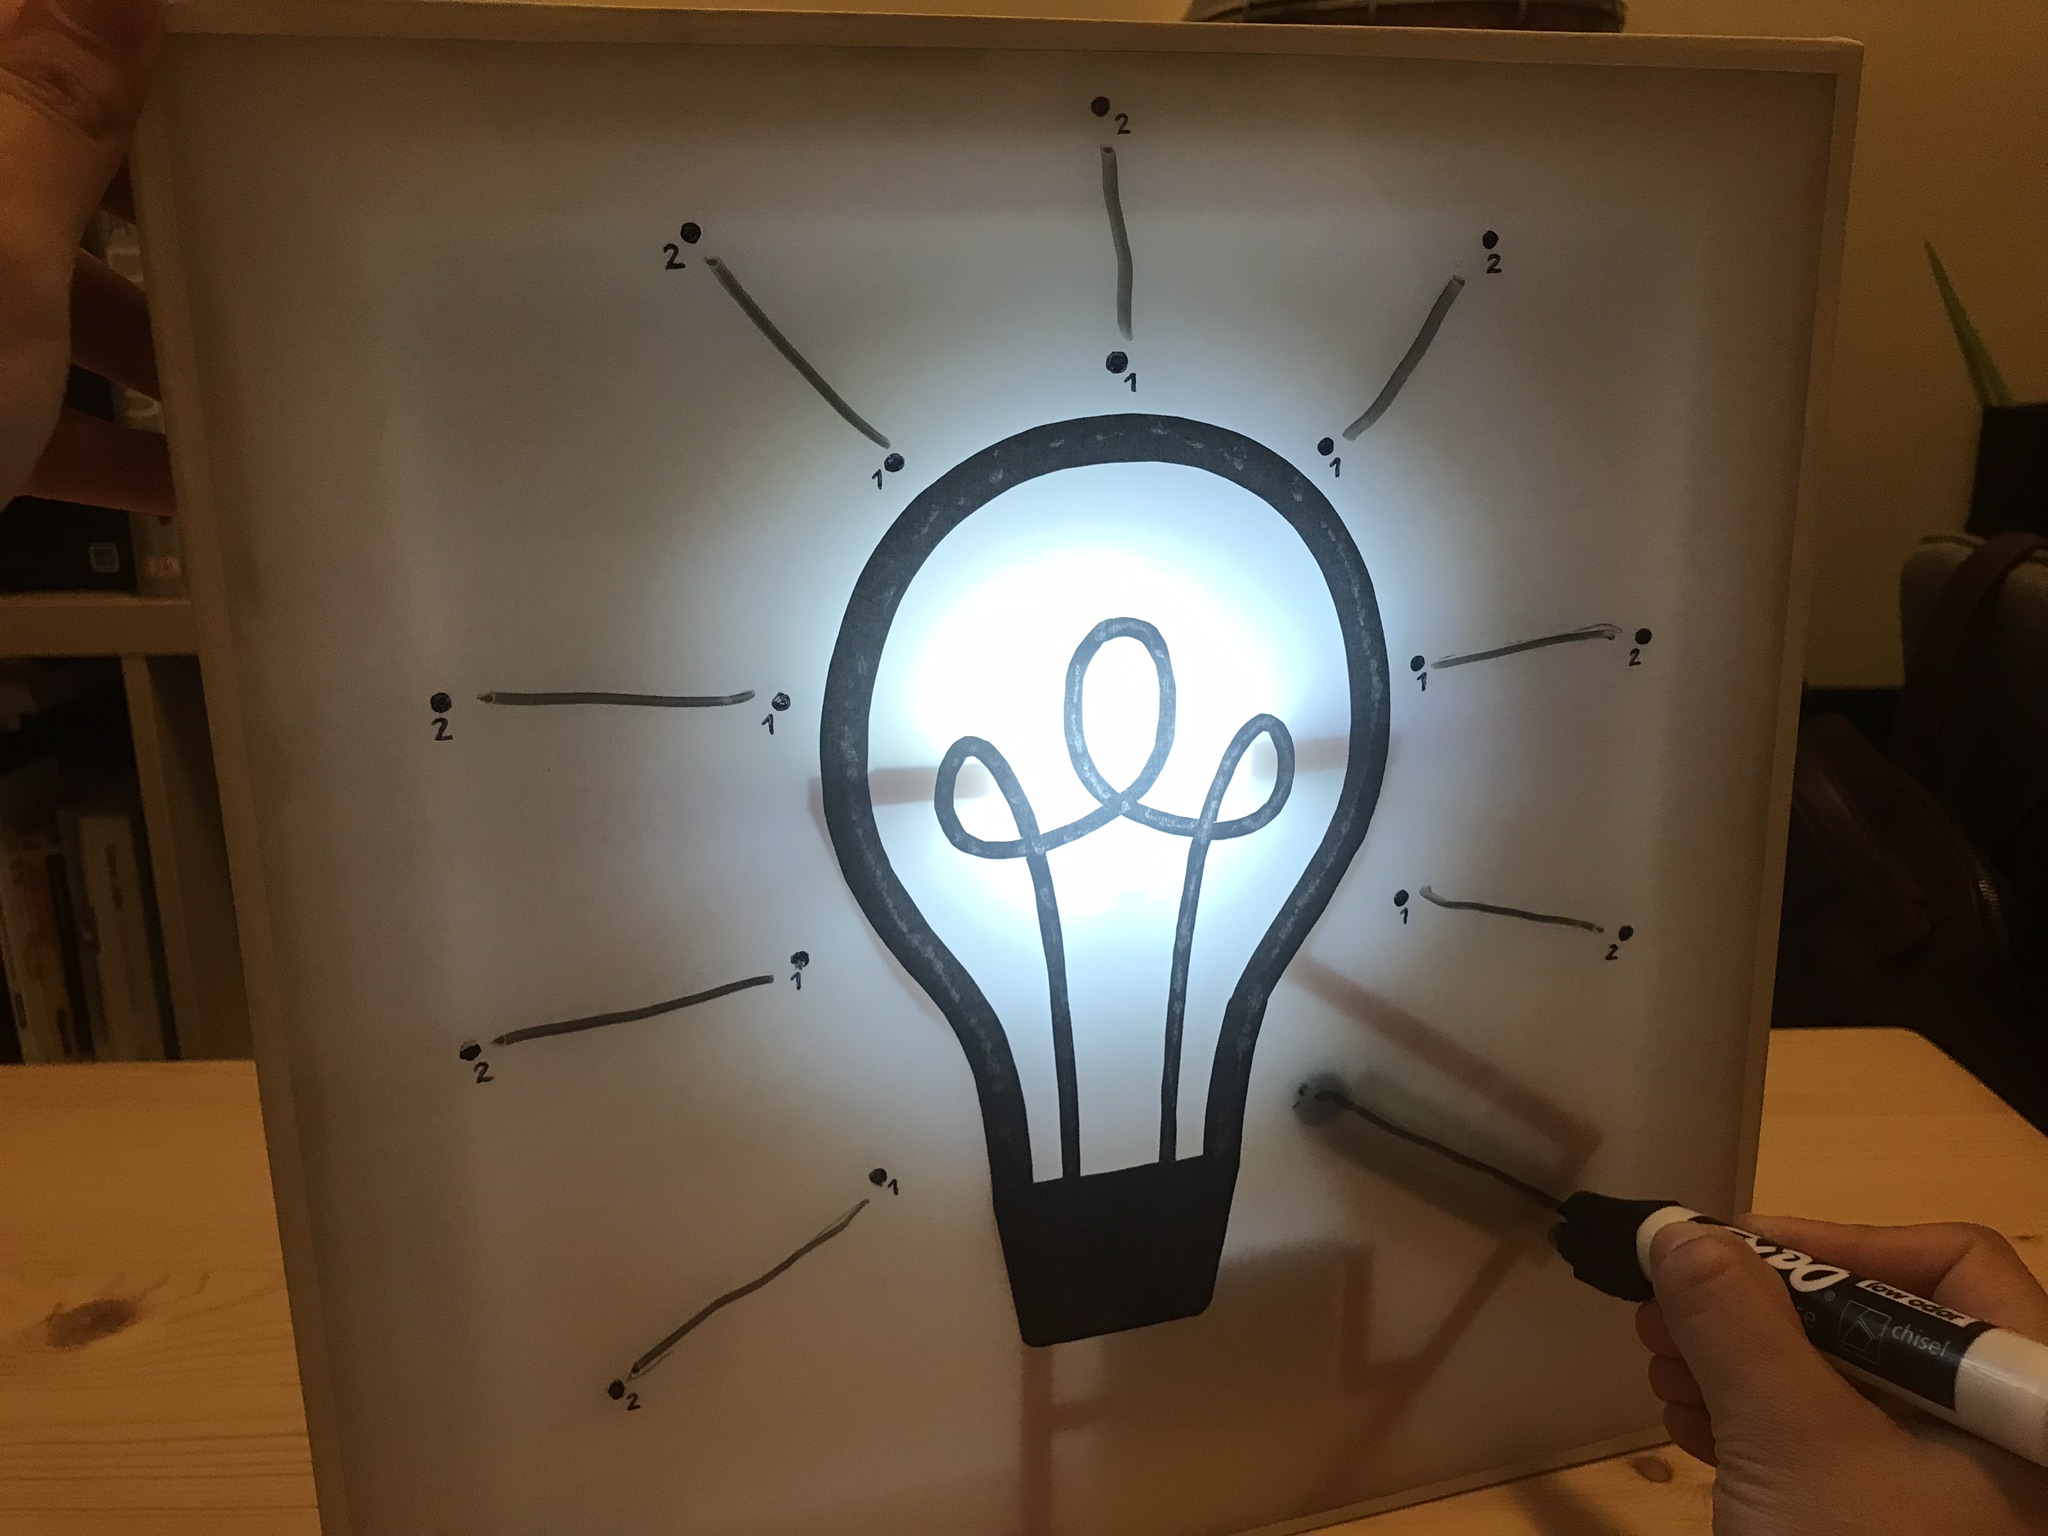
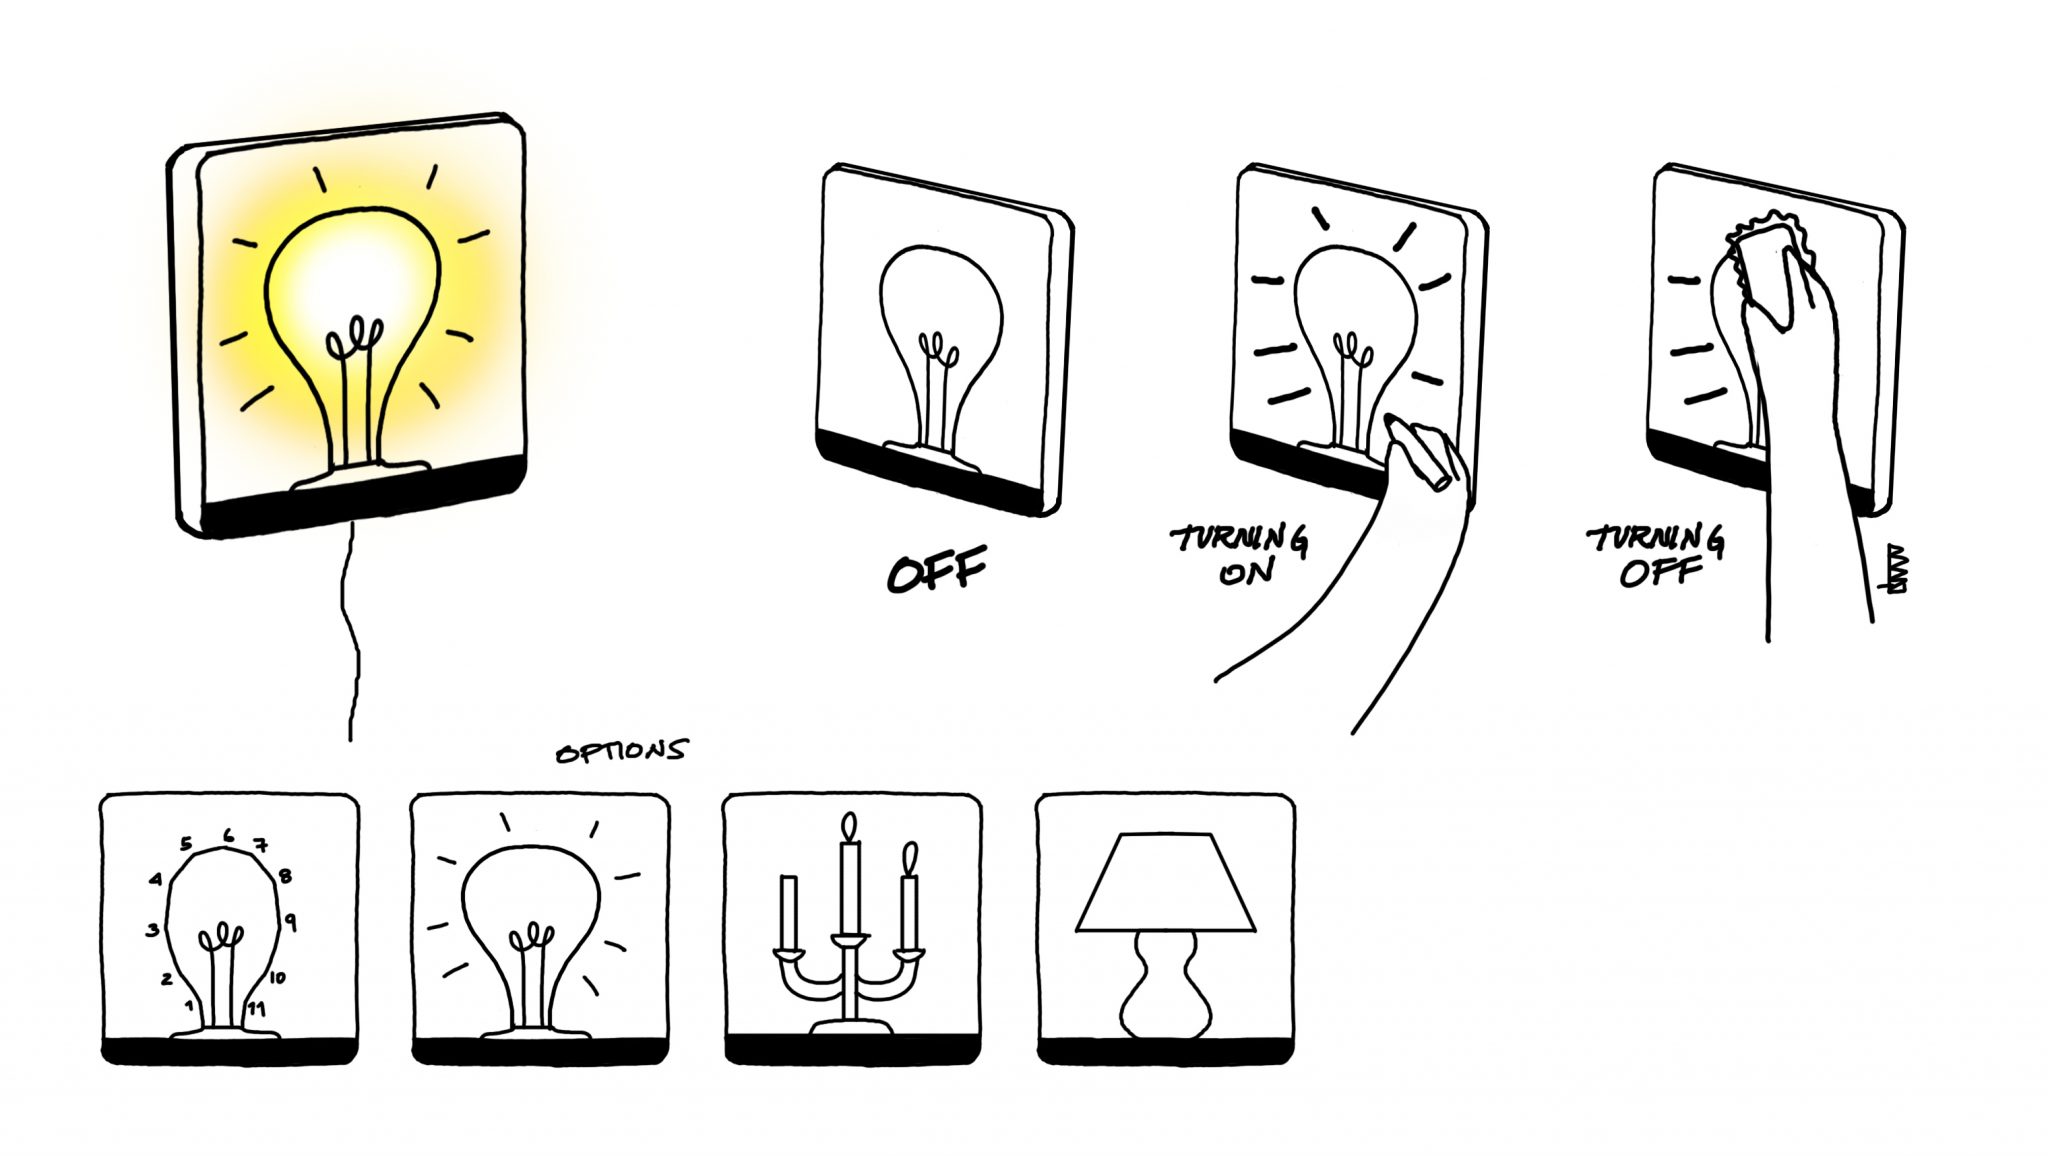
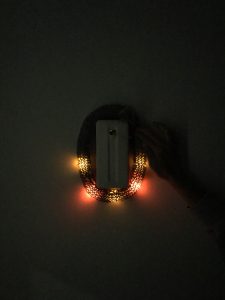
For this lamp I found inspiration by the drawings created by connecting a sequence of dots, as a playful way to interact with materials and to create icons and symbols. The idea is grounded under some questions: Can you draw your own lamp? Can you activate the lamp by drawing it? Can you control the light by doing doodles? I’m also extremely interested in how icons such as the light bulb with dash lines that represent light, or a lamp, or a candelabra, can powerfully serve as elements for creating memorable interactions. In this case, as you draw the icons, the circuit closes, and therefore turns on. If the drawing is erased, the circuit opens, and the lamp turns off.
This idea can be scaled to other icons and images such as candlesticks, other type of light bulbs, lamps, etc…
The idea was born when I learnt about the technology with erasable conductive markers. Although this technology can’t be used in this case due to the limitations in terms of material and the fact that the object will be linked to a specific marker, in this proposal I’m using magnets to close the circuit. Of course, there should be other interesting ways to do it! Think about this project as a working prototype. I will keep continue exploring this concept with other mediums and technologies.
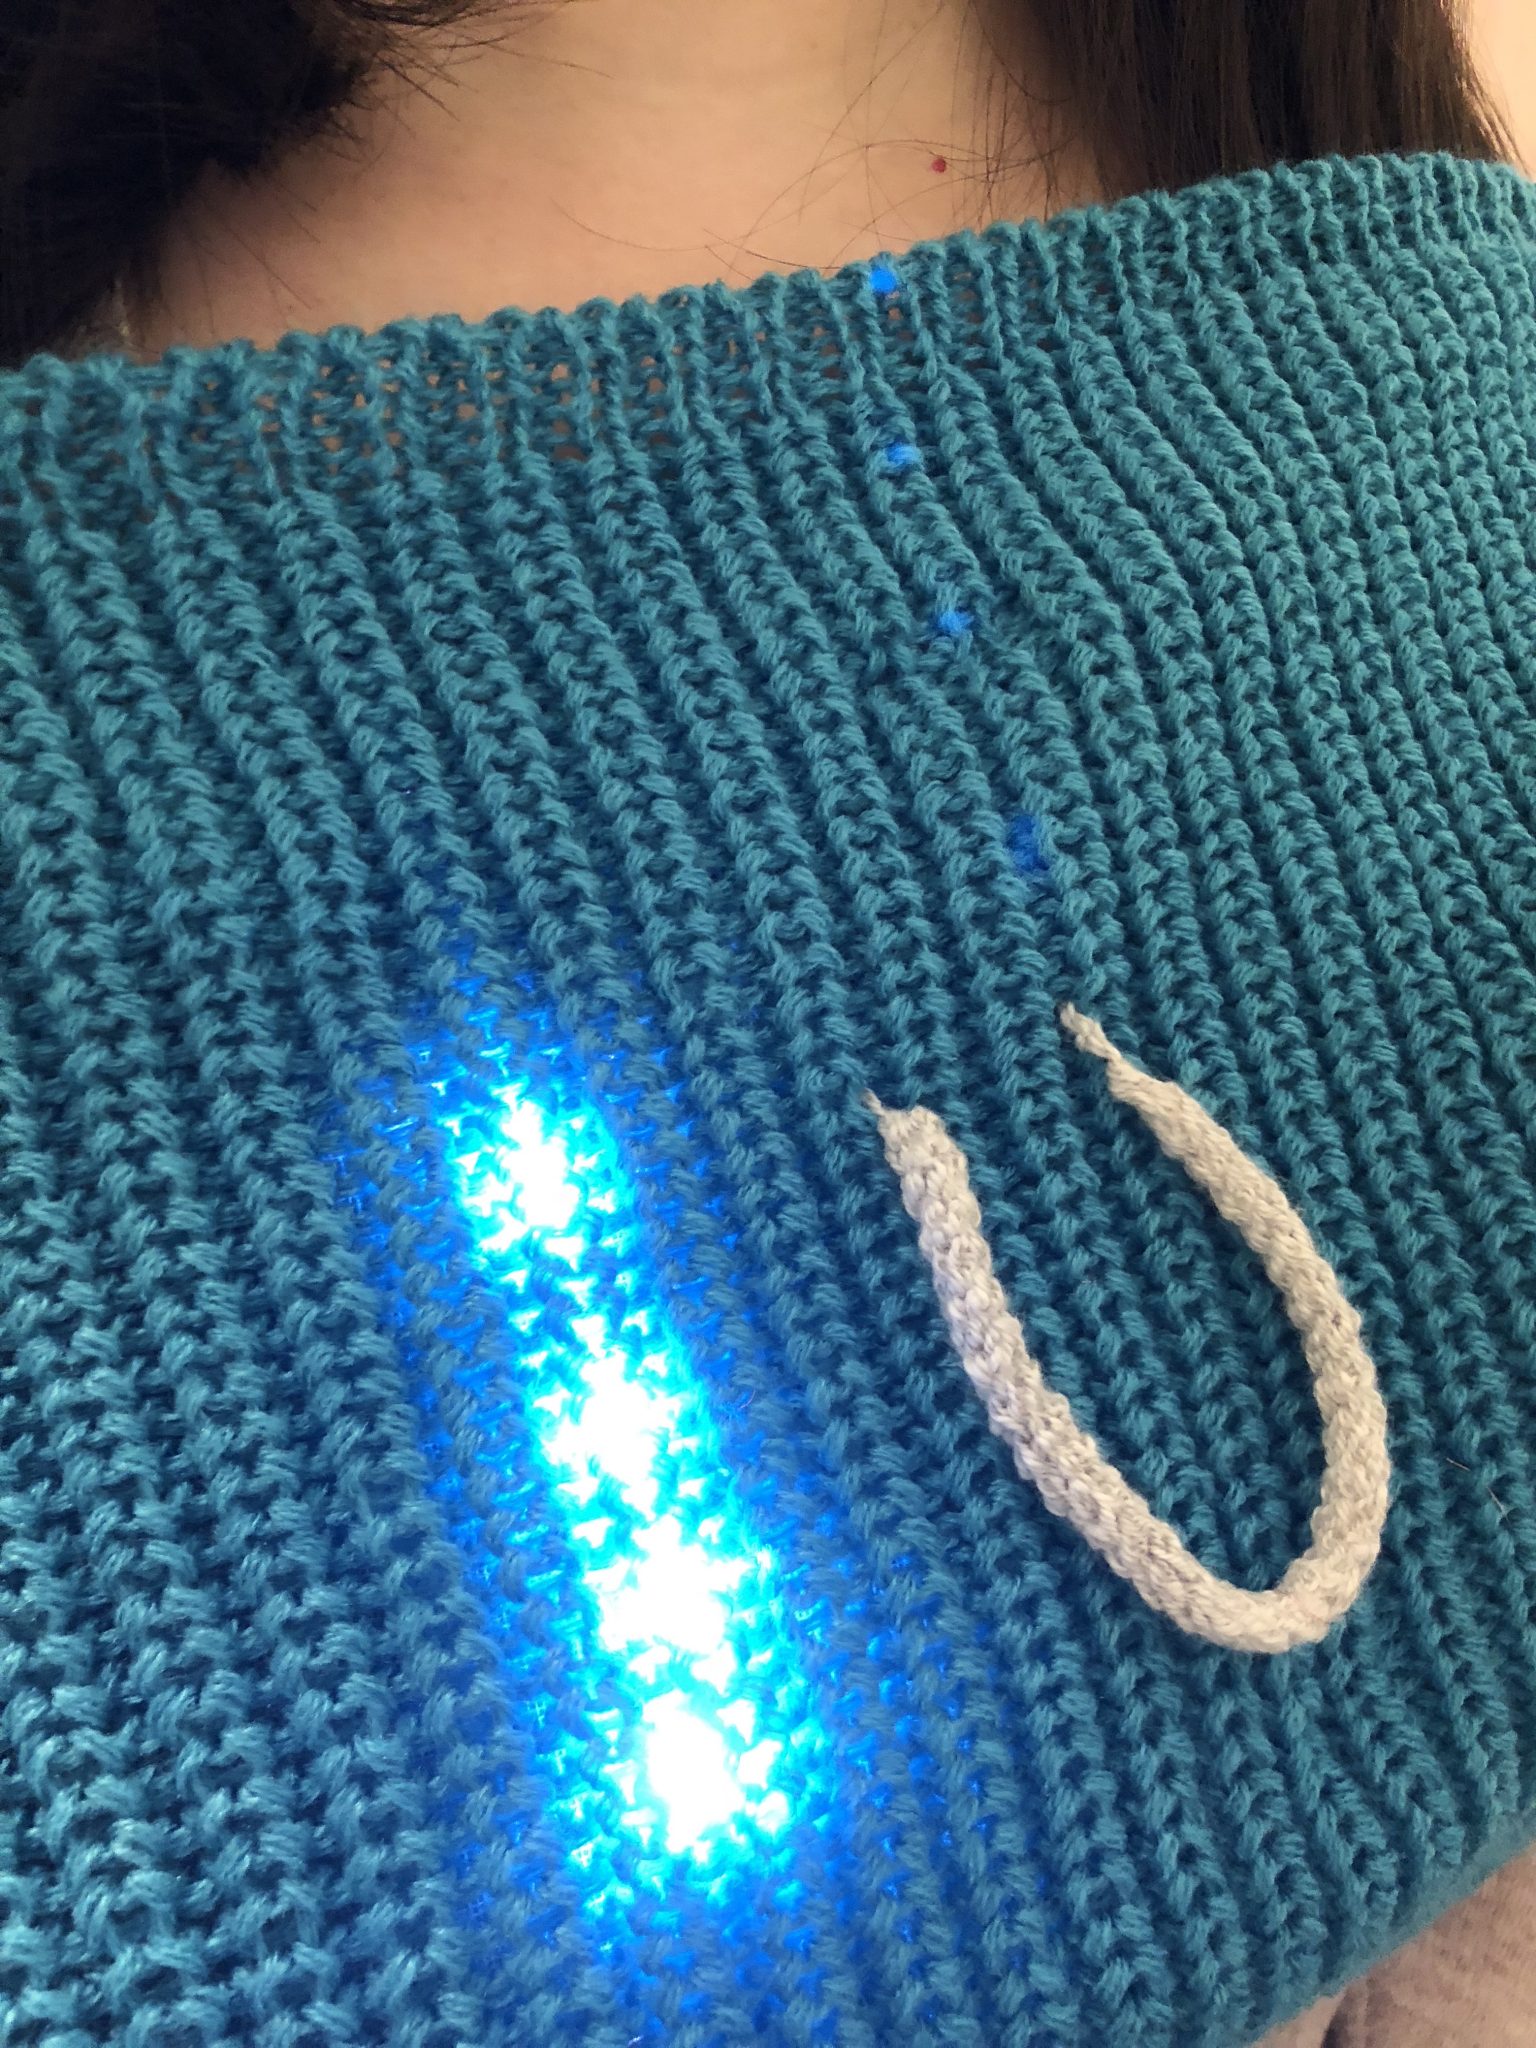
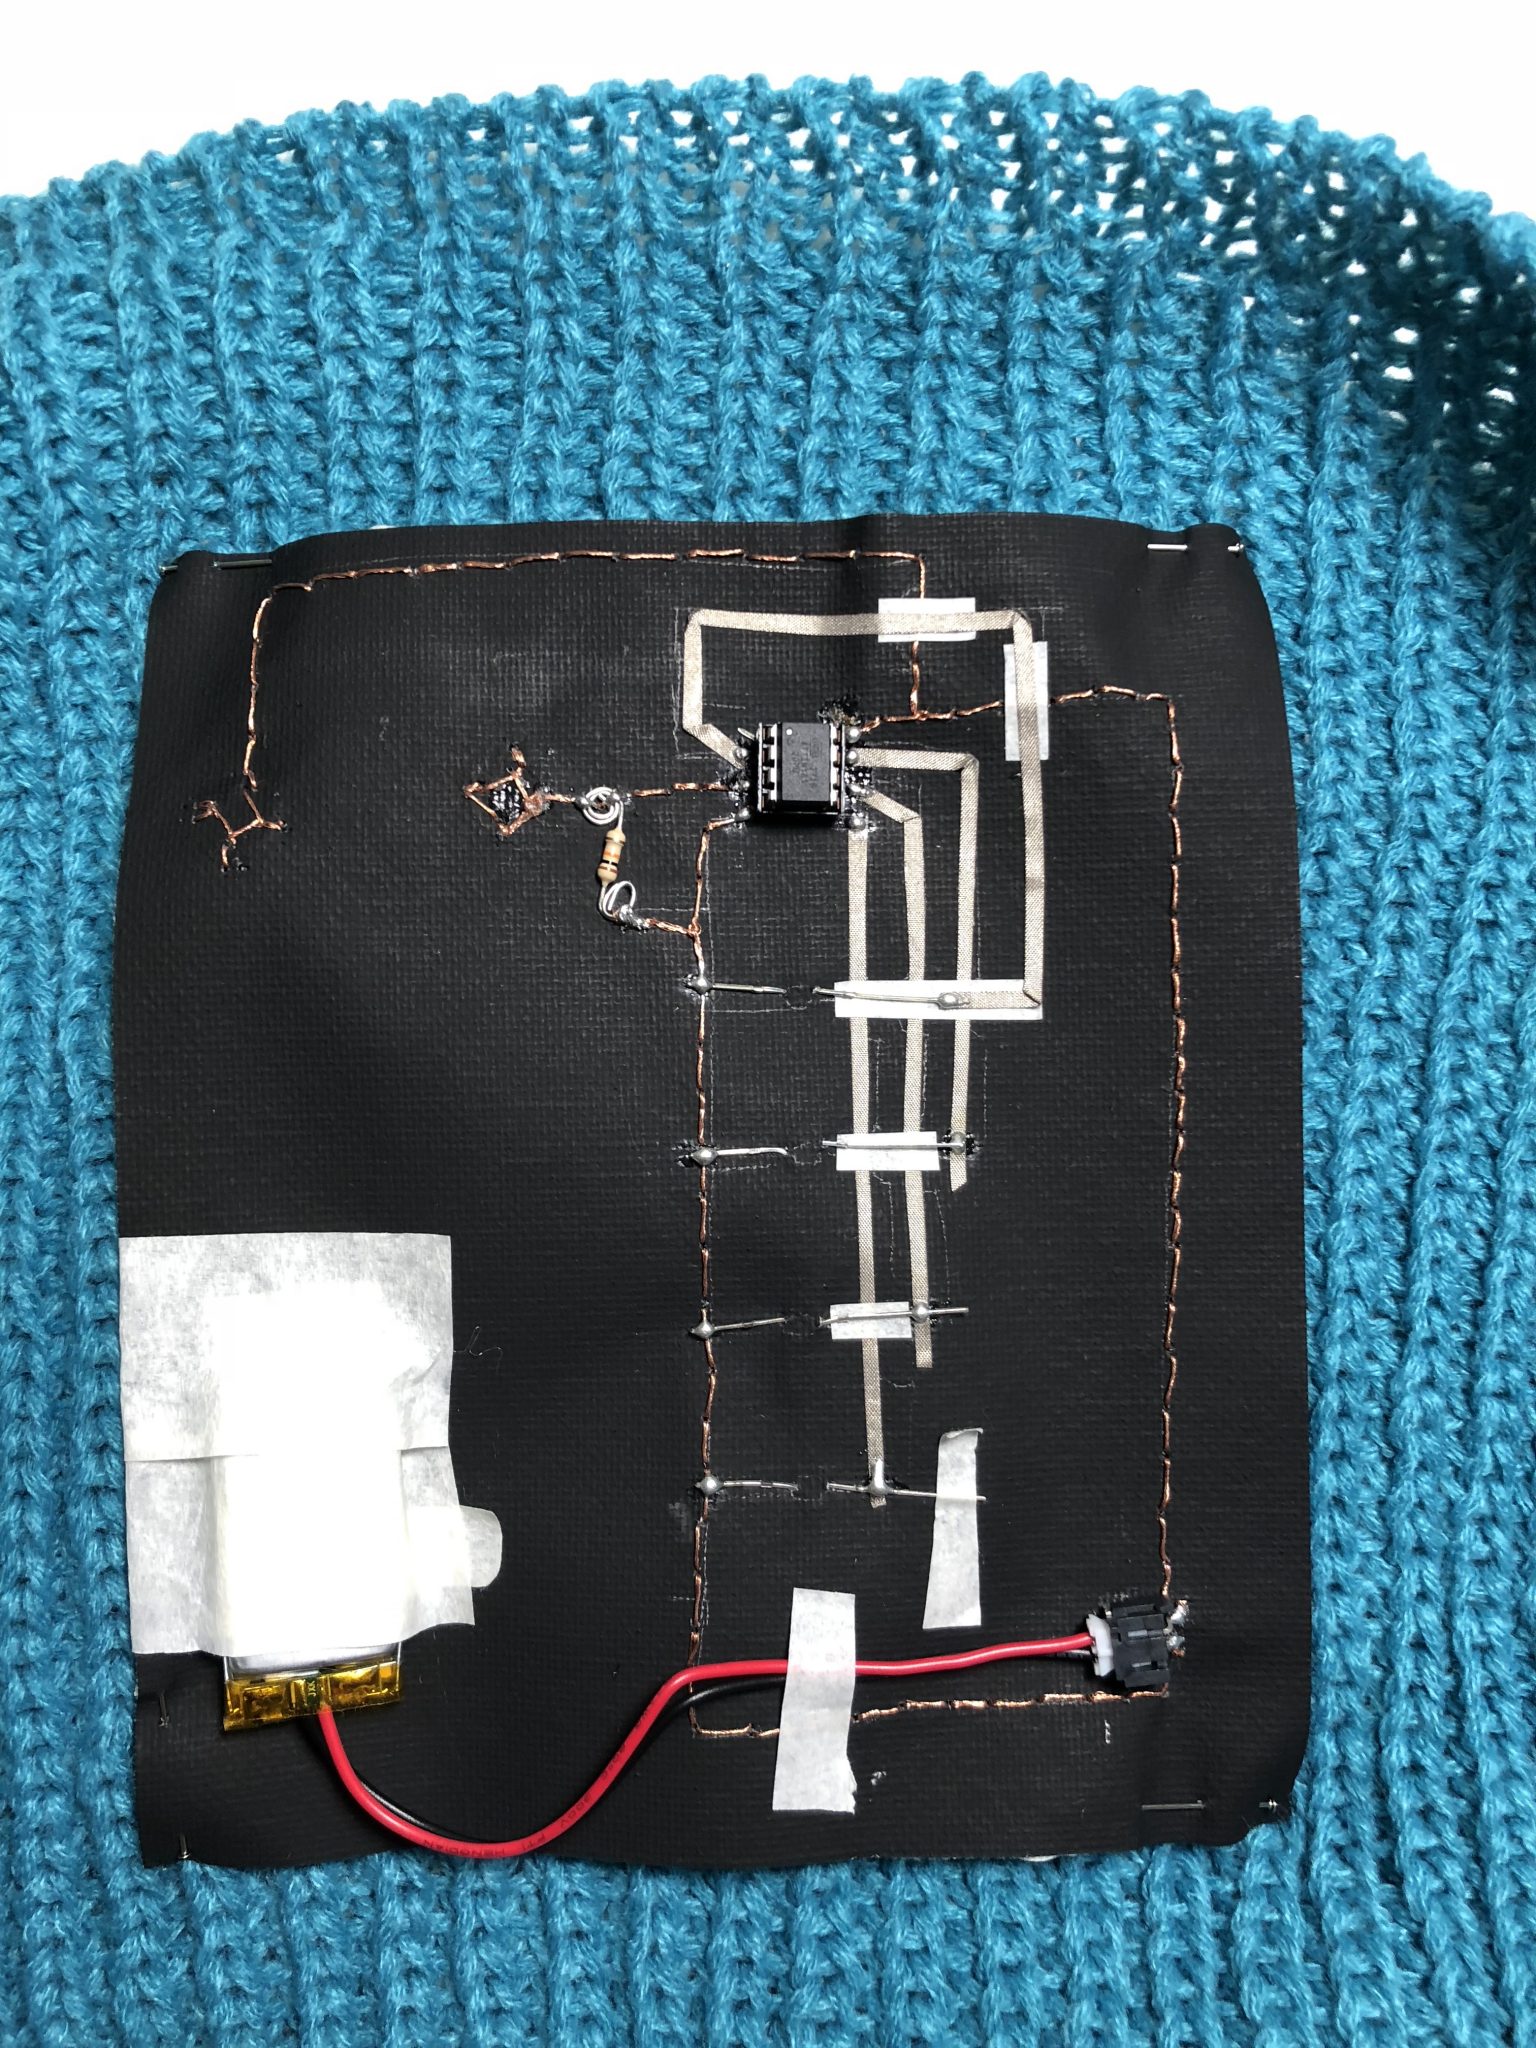
This project comes aims to quantify and visualize the mood, more specifically how eager I am to interact with other people at that precise moment. Ranging from 0 to 4, embedded LEDs show the value on the front of the person’s torso. The user has a stretchy knitted knob that can be used to change the value of the social value just by pulling.
User testing
Demo
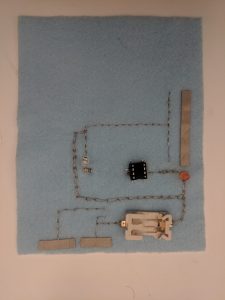
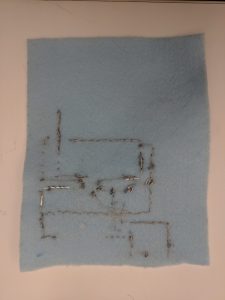
On the final iteration of the project, I used a scarf, some black canvas that provided some structure to the soft circuit, copper thread, conductive tape, conductive yarn, AT-tiny85, socket, resistor, Lipo Battery and battery socket.
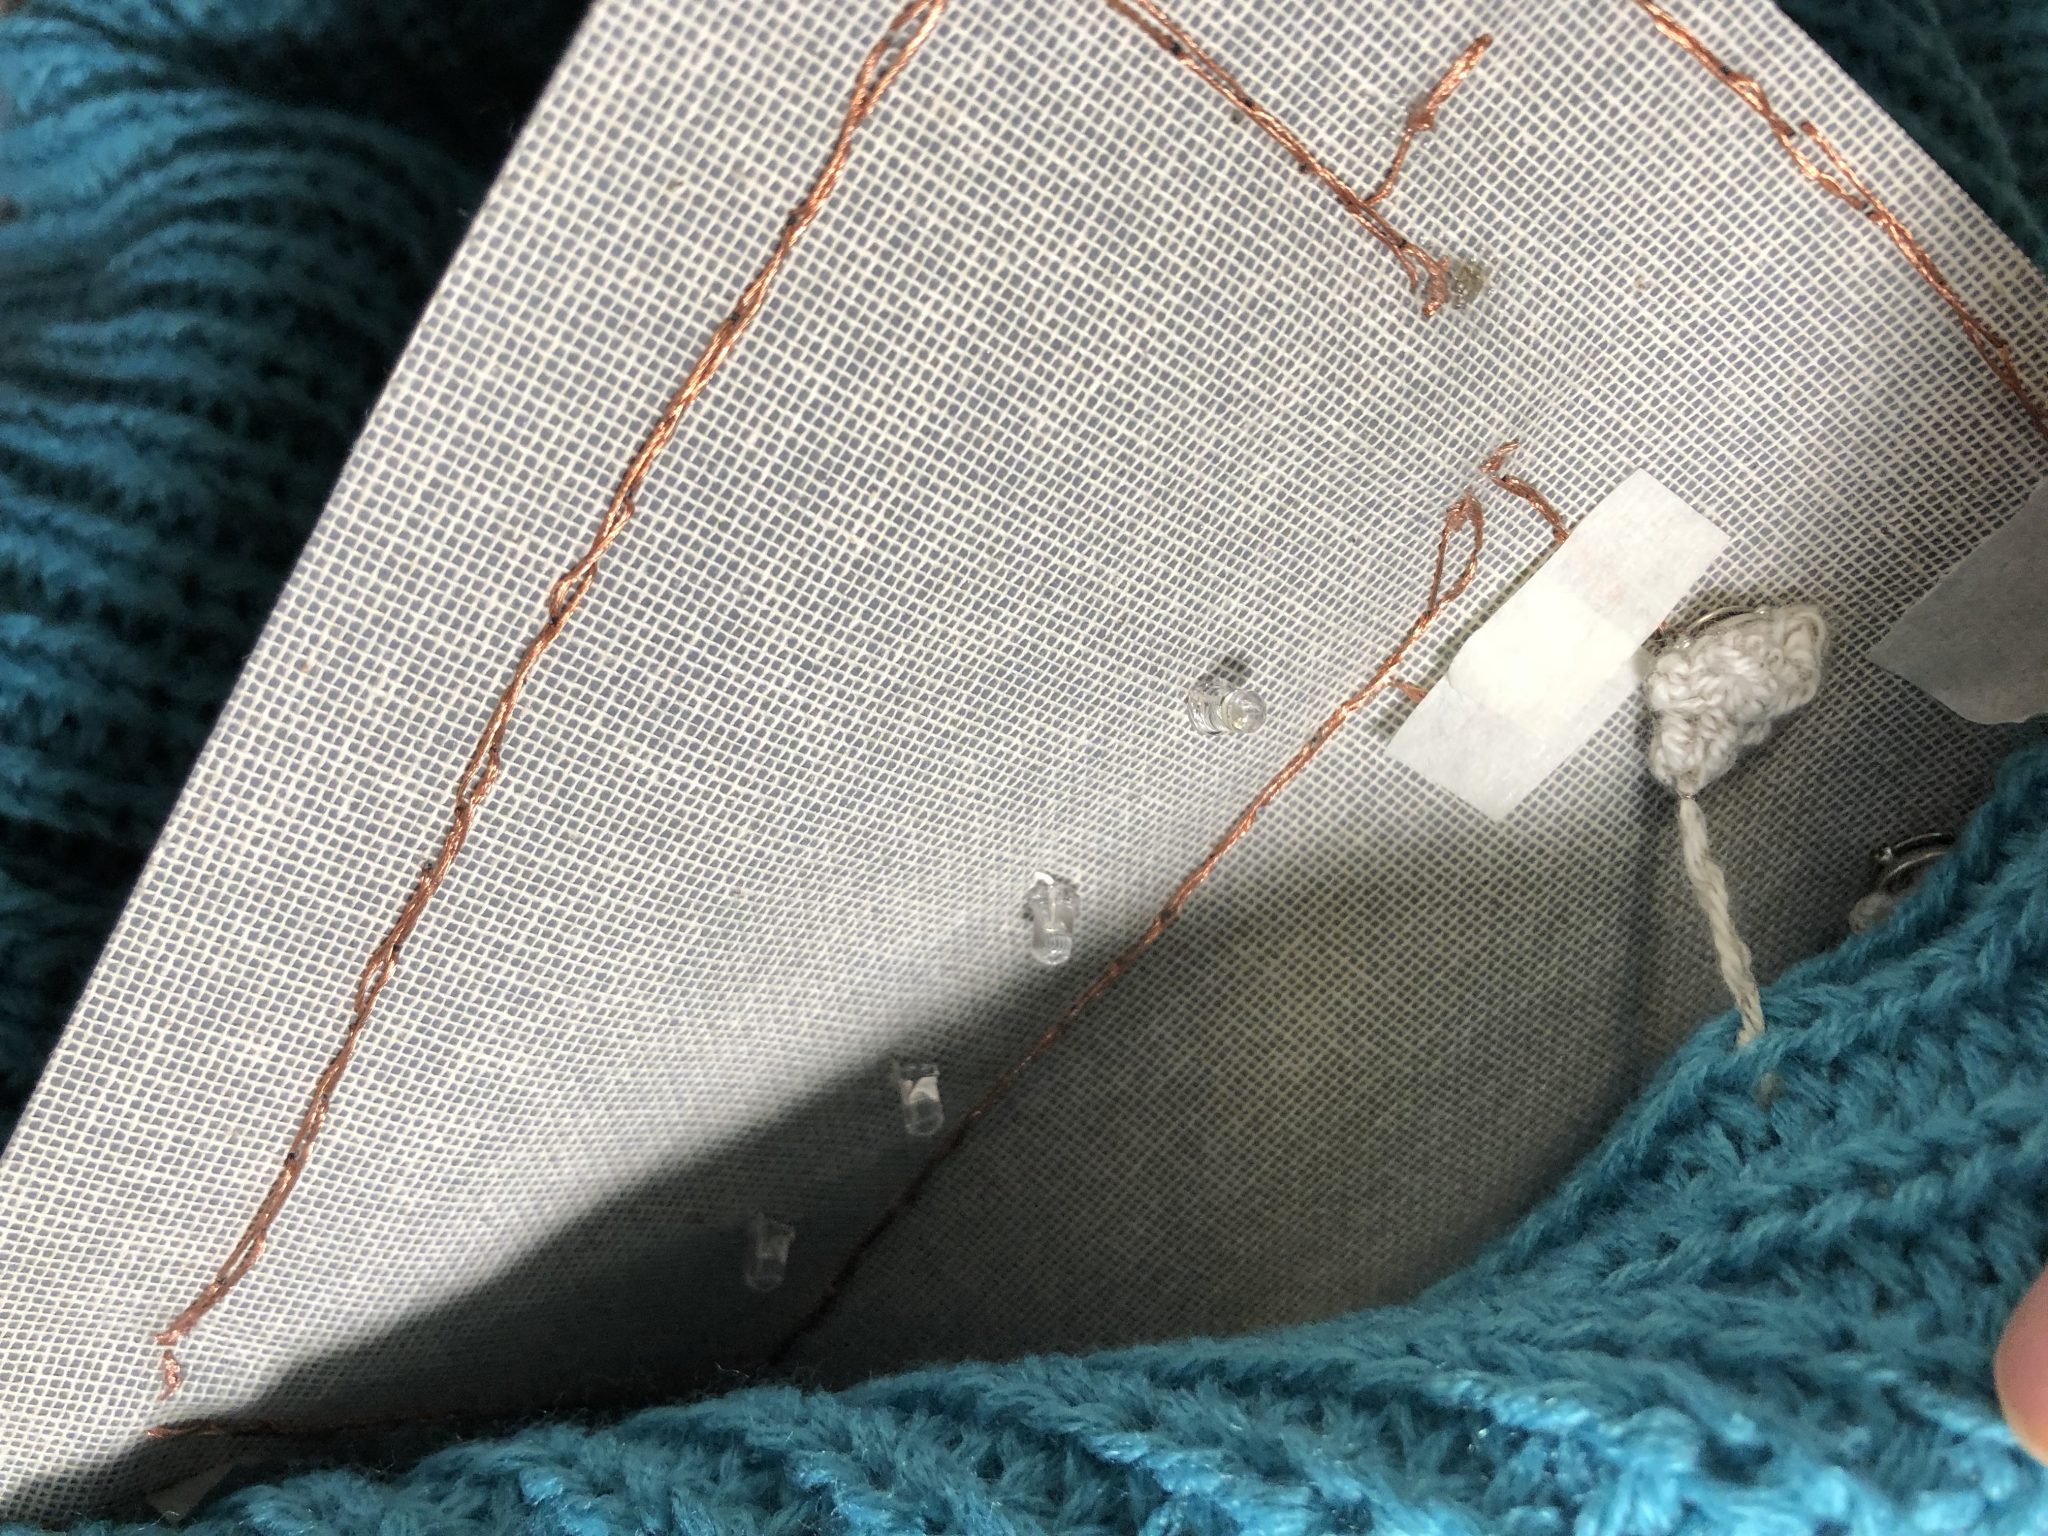
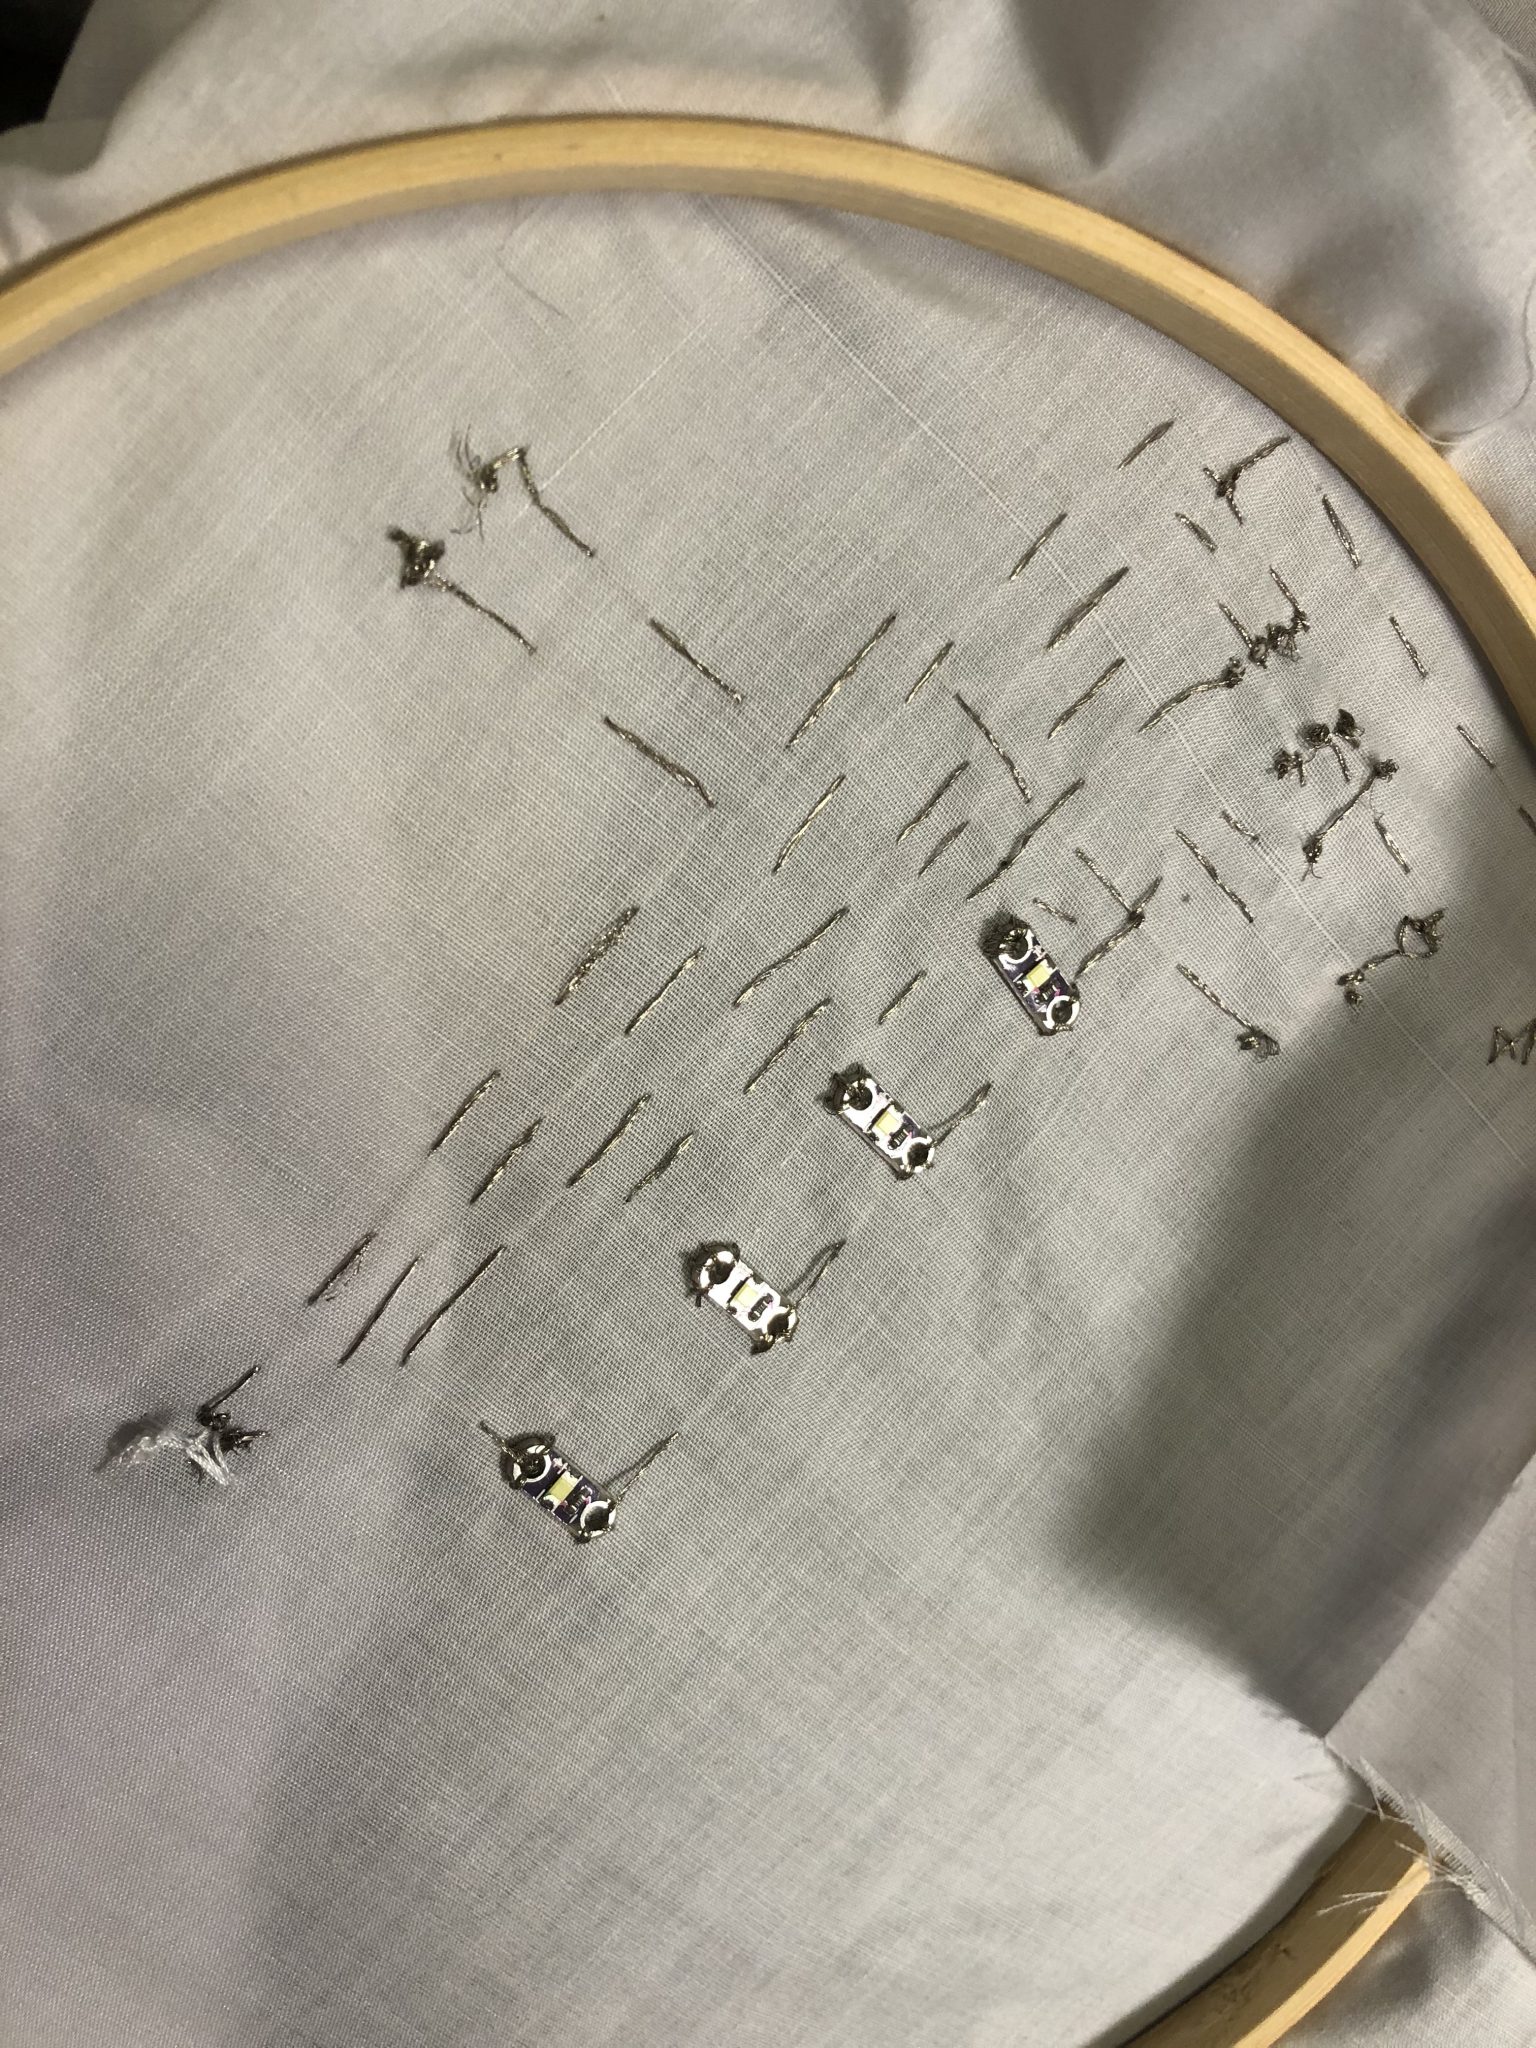
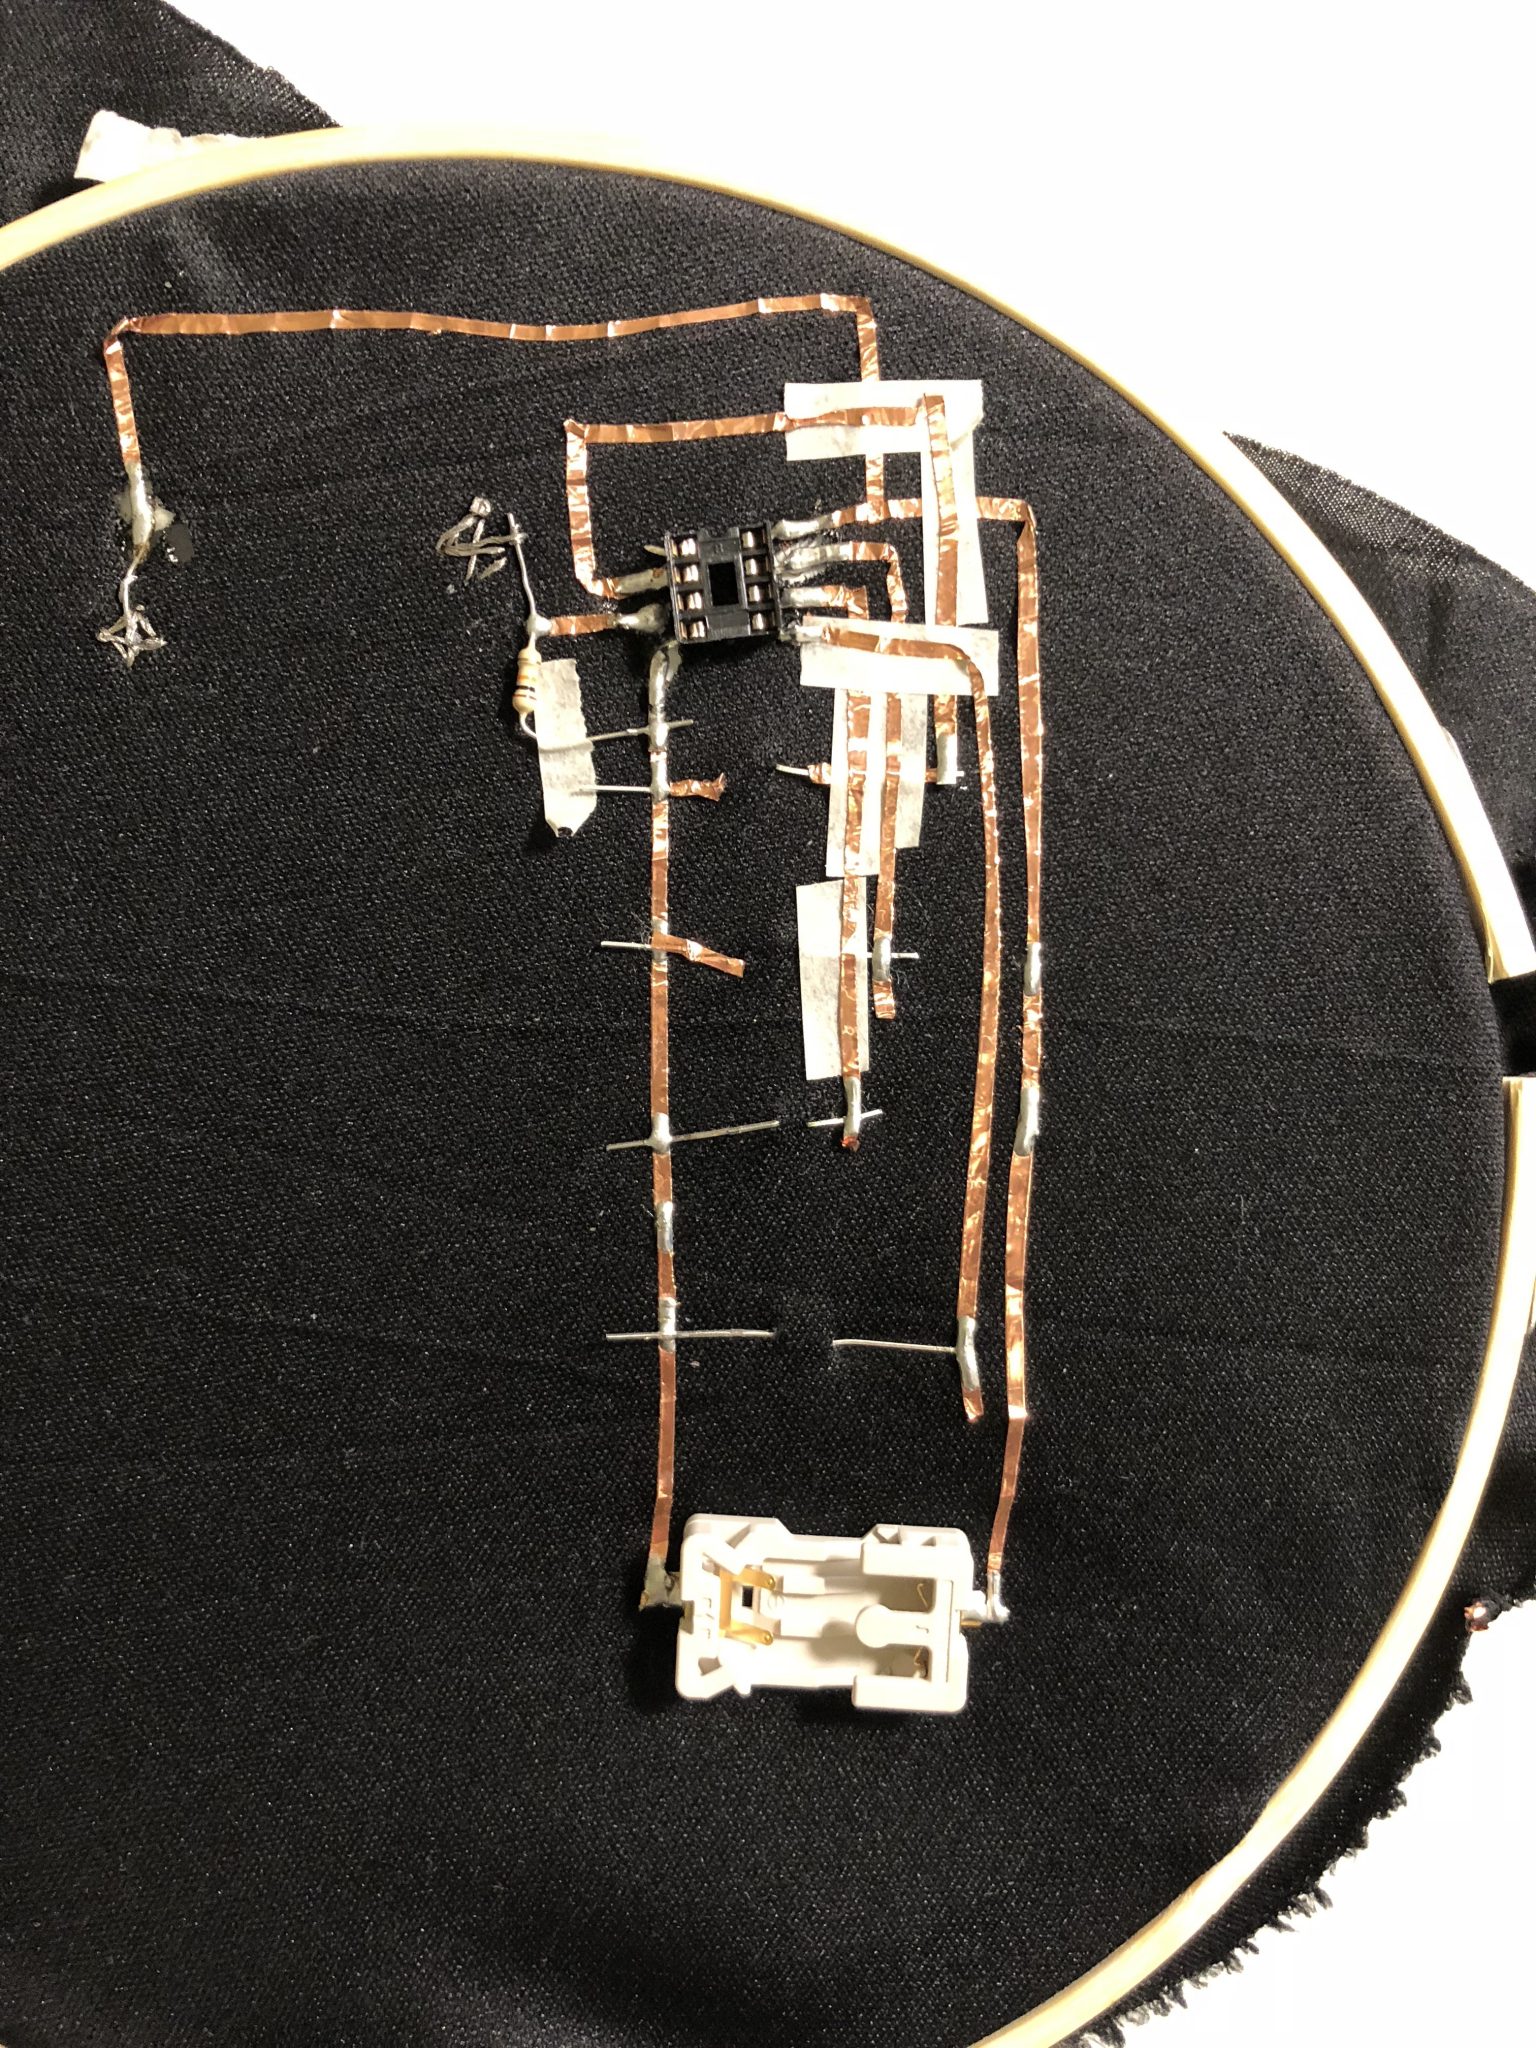
This project had 3 past iterations that didn’t work as expected. This circuit was very tricky. All version below had some kind of shortcircuit even though they follow the same circuitry than the final version. During the process, I improved no only my technique but also my decision making towards circuits.
Here the first prototype that work using ATtiny and breadboard.
Find here the code used. There is a threshold for the sensor that I defined first using Arduino UNO and taking advantage of the serial port. After that, I’ve adjusted blindly any time I needed.