Link of Instructable: https://www.instructables.com/id/Step-1-Preparation/
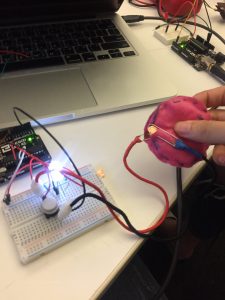
I connected one of the soft switches I made to your Arduino. I used it to light up an LED. So when I pressed on the switch, the LED will LED up.
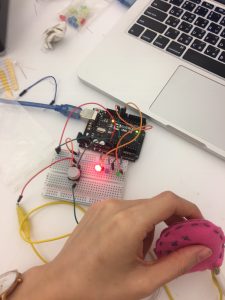
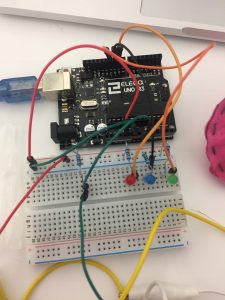
Then, I built a circuit with the switch and 3 LEDs. I light up the LED by using different pressure. When the sensor goes greater and equal than 100 but less than 200, the red LED will turn on. When the sensor goes greater or equal to 200, the blue LED will turn on and else the green LED will turn on.
Sadly, I lost the video I filmed. But I have the code which I will post below.

The materials used include Arduino, LEDs, soft switch I made out of felt and sponge, jumper wires, breadboard.
For Midterm
I love constellations. I am thinking of doing an embroidery and incorporating light into the embroidery so it lights up whenever I touch it. I’m thinking this could be an art that hangs up by my wall.
I build the AT Tiny circuit with conductive thread on fabric.
Midterm Idea:
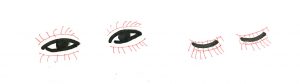 The switch of my lamp will be a fake eyelash. if eyes open, the lamp will be light up and if eyes close, the lamb will shut down. I want to build speculative eyelashes to control the light that we may use in our daily life.
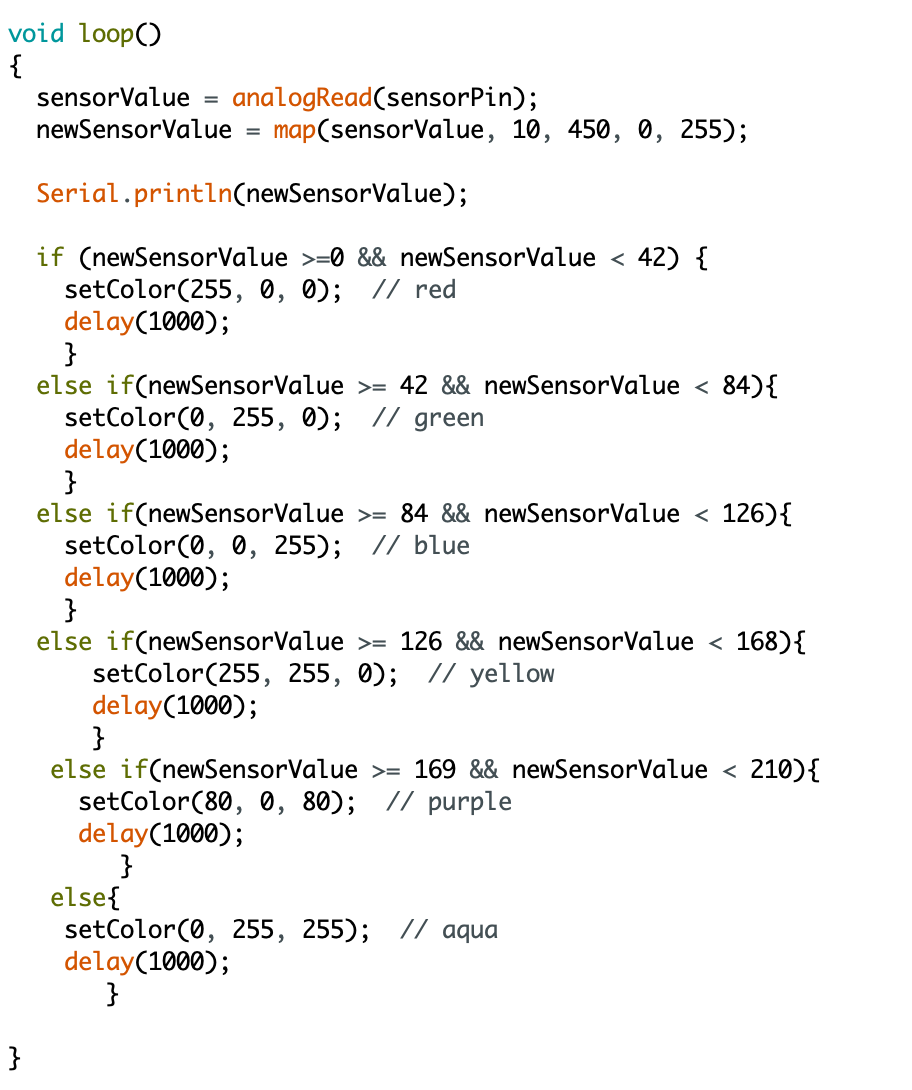
I attached my pressure sensor into my Arduino circuit. As a result, the led light bulb will turn on when pressed hard. The pressure put on the sensor determine the brightness of the light bulb.
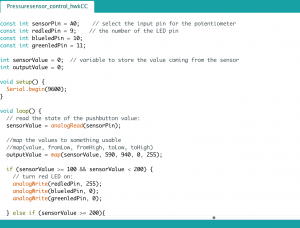
Then I used RGB light bulb and pressure sensor. The RGB light bulb will change its color by the pressure, from red to purple. I spent a lot of time working on the map function, trying to specify the range of sensor value and finally I worked it out.


For the midterm project, I intend to do a lamp that can be triggered by the sound, using fabric as decoration. Thus, whenever there is people around, it will light up.
I used a switch to turn on/off a LED.
2. Sensor for Arduino:
I created a pressure sensor to dim up/down the LED connected.
And here is the code for the sensor:

3. Midterm idea:
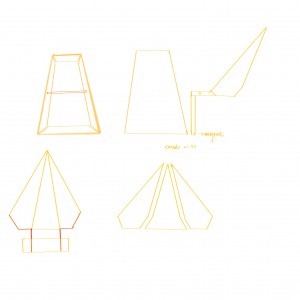
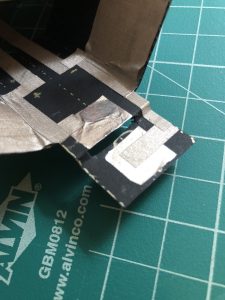
For my final project, I want to create a 3D paper bird lamp, so when you pull its tail up, the light would turn on, and then when the tail is down, the light will turn off.

Here is a paper prototype of it without a tail. And here is the design plan for the tail and how it is going to integrate with the circuit:
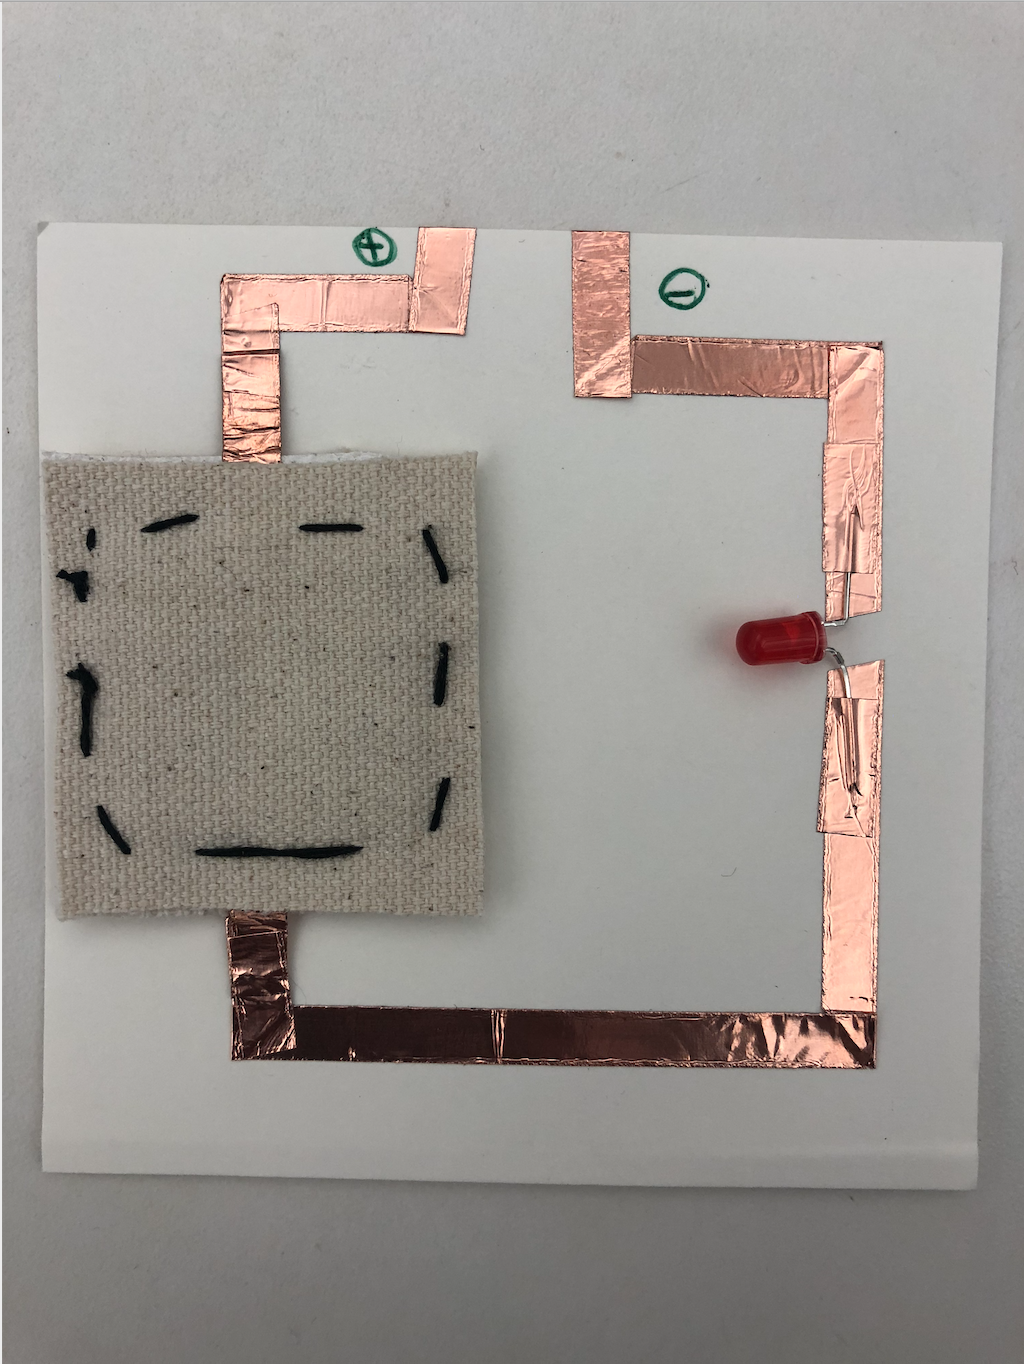
I did two nodes: One is led one is for battery.
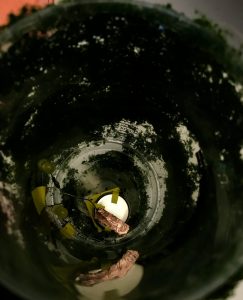
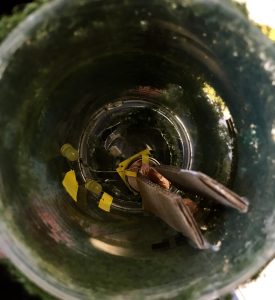
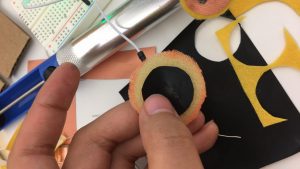
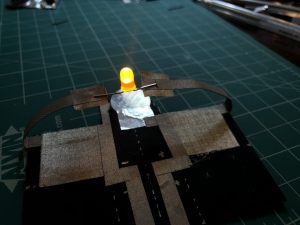
For the Led one, I always interested in taking the node into a more 3D form (jump out of plane paper/ fabric! ) In favor of wood and stick, this idea just came into my mind: A Led Fake Candle!
This idea excites me! I love the combination of this little toy:
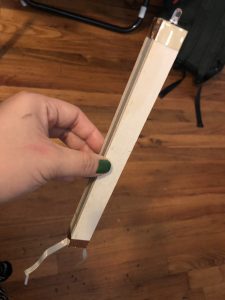 My “candle” ?
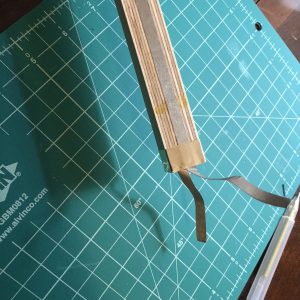
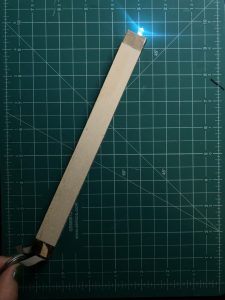
at the end side of my ‘candle’ leaves two string easy connect to battery;
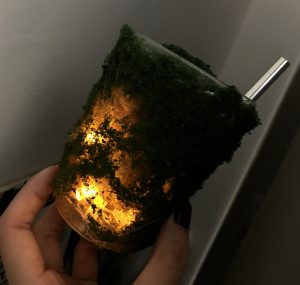
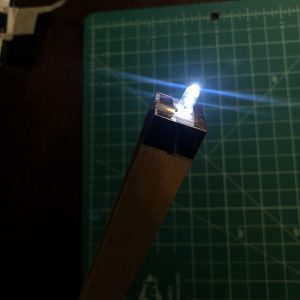
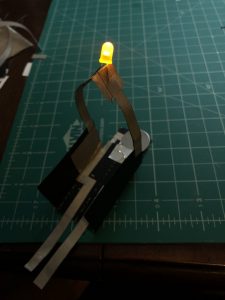
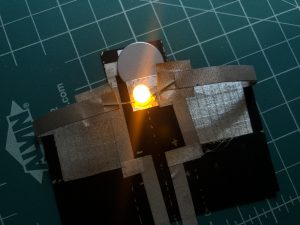
Light it upppp!!!!
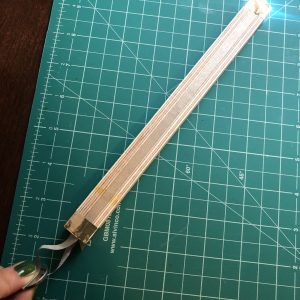
My ‘flame’ :))))))))))
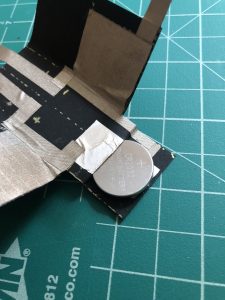
For the battery node also the tool I designed as a battery connector:
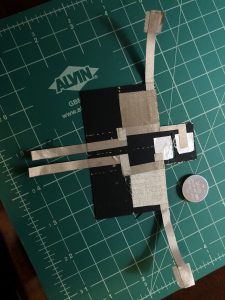
It’s all started with the idea: Sometimes when we are inserting led into a project and two legs of the led is stretched into a 2D surface which it’s not convenient to test with a battery in quick prototypes —— since the negative and positive side of the battery naturally form a 3D space!
So this idea came into my mind: I want to design a tool to hold the battery, but also has different way of connecting the power into different length, dimension, sizes; It can be plane, so when you stretched out the two legs of the led you can just simply put it onto the plane touching different the conductive area of negative and positive, then you can easily test the led;
Or when your led with two legs downward standing, you can easily manipulate the ‘arms’ of the tool which also connect to the battery, to place it with the led legs, leave plenty of connection forms and ways, makes quick circuit test much more accessible!

Also it looks like a cute guy with head (where the battery is); two arms (long distance connection point); two legs (close surface connection point). Cute
Process:
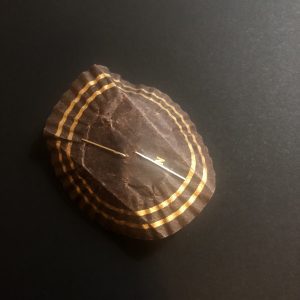
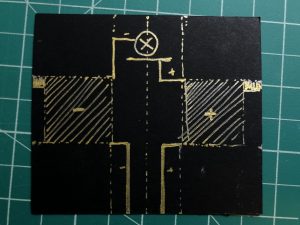
Circuit Diagrams; All golden parts indicate conductive area;
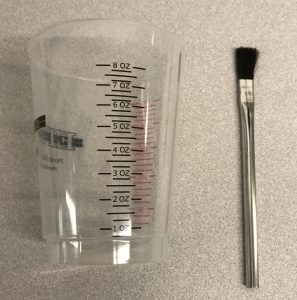
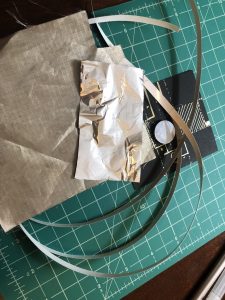
Material preparation;
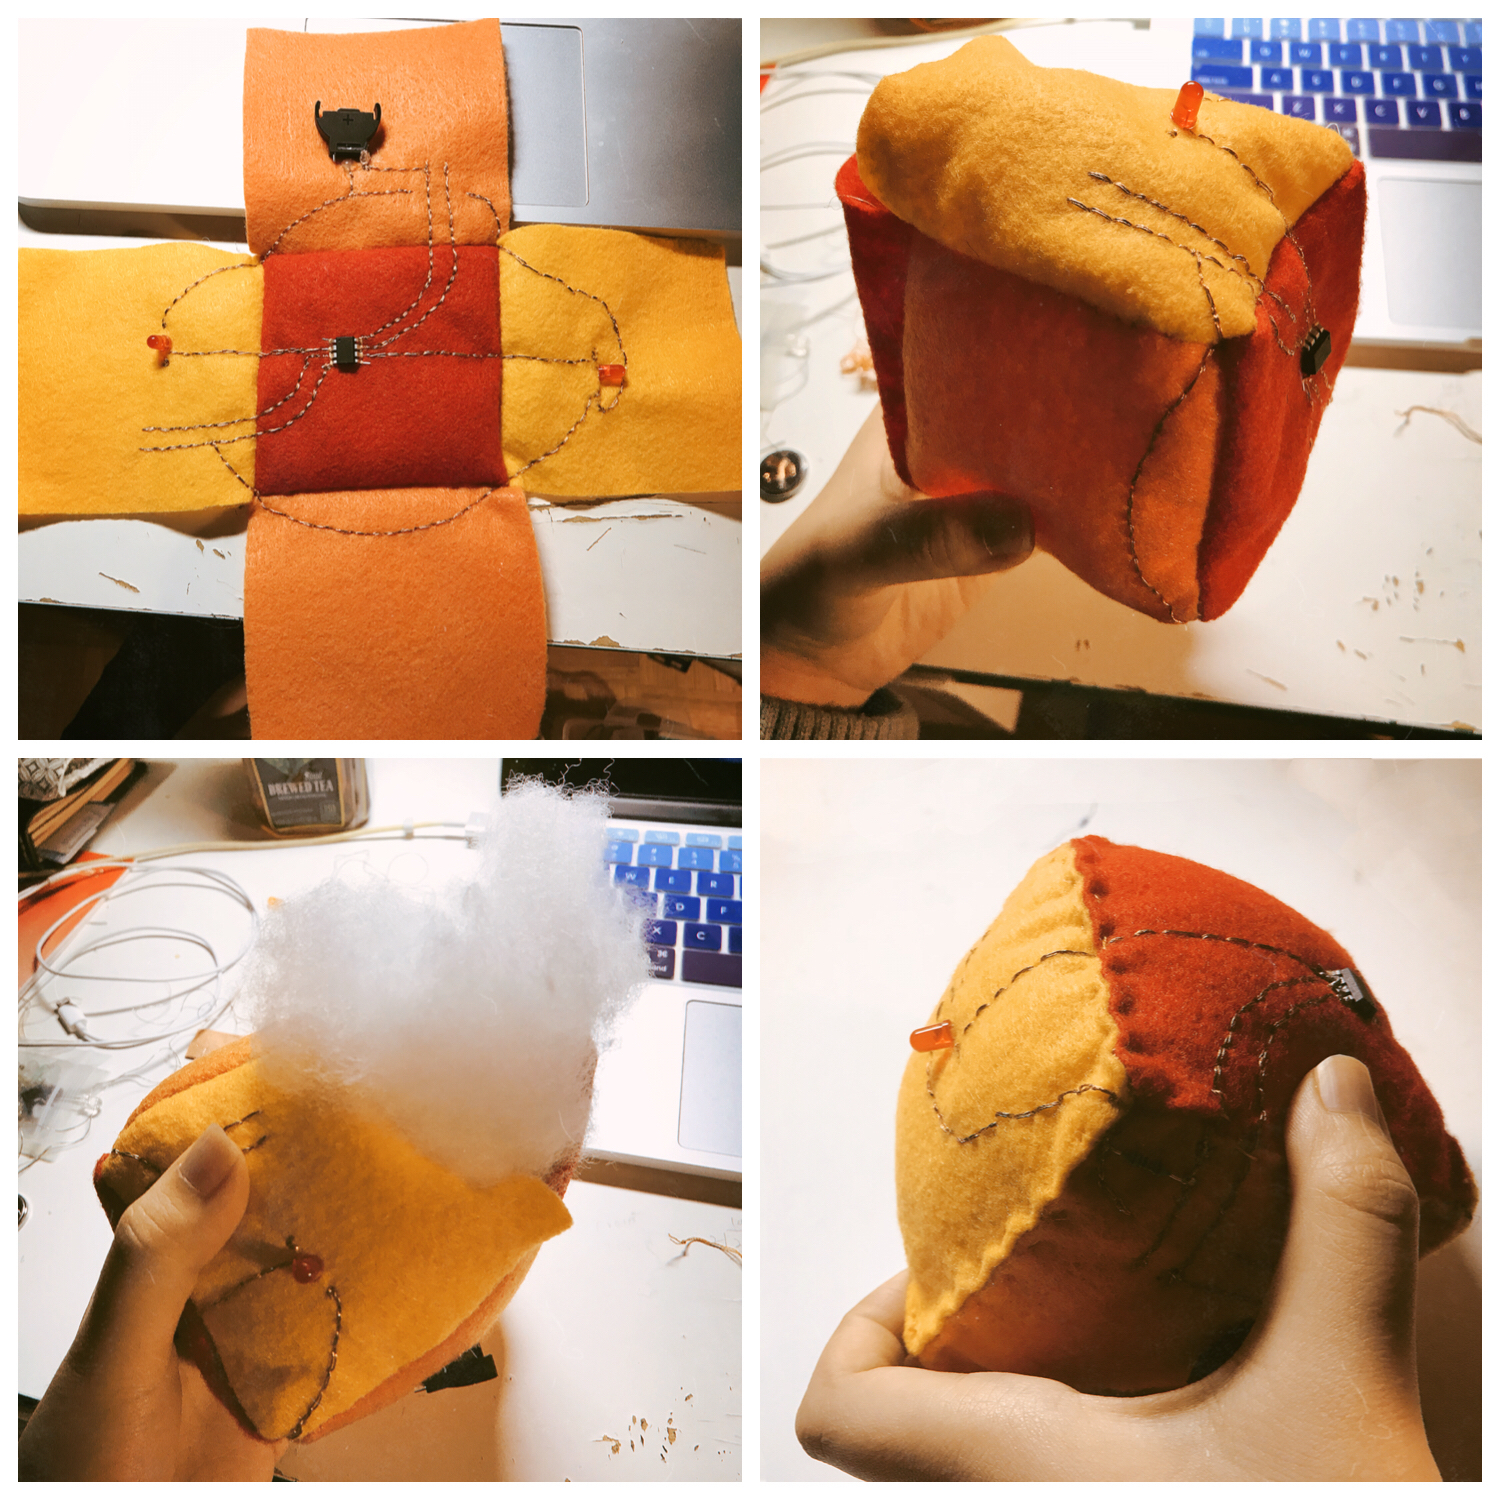
The close-up of how the battery part works:
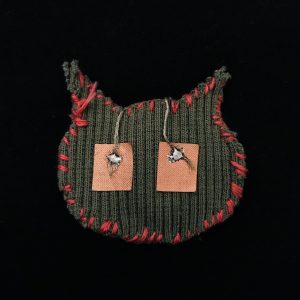
You can easily insert the battery into the ‘head’ of the guy; So you don’t need to worry how to fix a battery, and the replacement becomes very flexible and convenient;
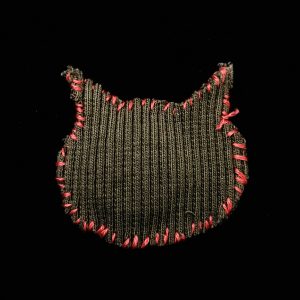
Node-battery materials: Conductive thread to connect the inside battery and outside conductive fabric, the usual fabric which from my useless hoodie and sewing the shape by the usual needle. The shape of node-battery is a cat pattern since I really miss my cat and I’ve never seen him for nearly two years. When I stay with him, I could feel the energy from him.
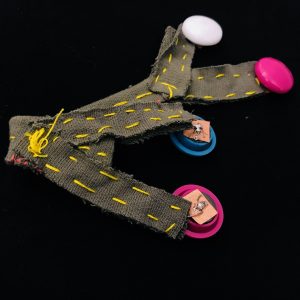
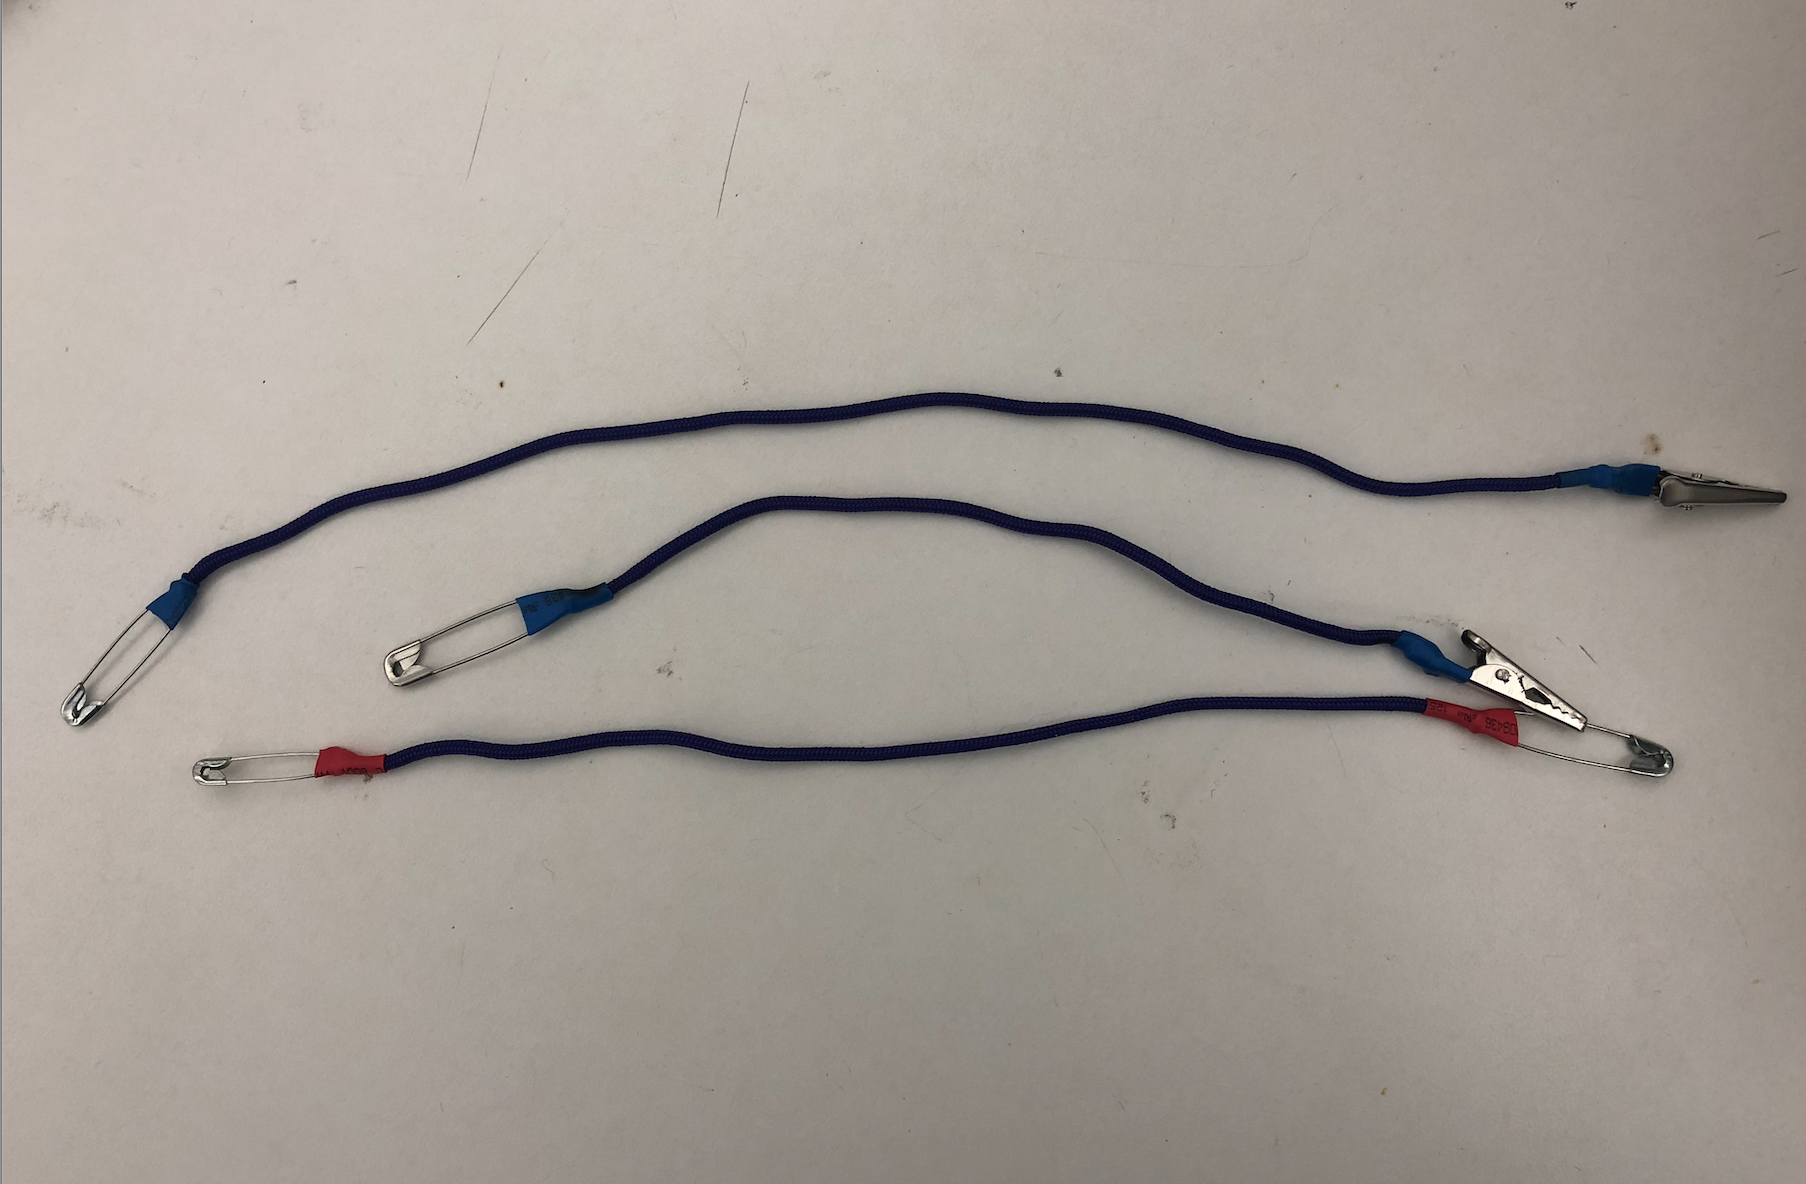
Connector tool materials: conductive thread inside the fabric and separate into positive and negative. Four ferromagnetic soldering with thread and conductive fabric.
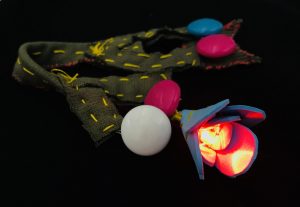
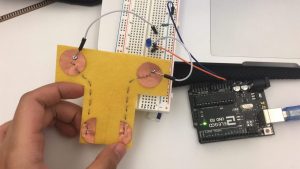
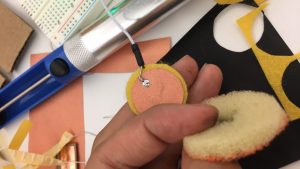
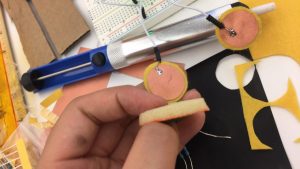
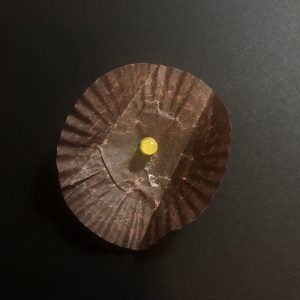
LED materials: the flower LED is made by WonderFoam. Cut a couple shape of petals and stick around the LED then sewing them stable.
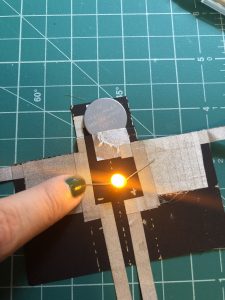
The first node I created is a circuit in series with red, green and yellow LED light.
For the second one I incorporated the switch I did for the last assignment that allow us to control the red light.
The tool I want to create is a punch for sewing that can be used for punching a straight line of little holes. It would be easier when we sew in a way that we don’t have to push very hard to pierce the fabric and it should be helpful to keep the sewing straight.
![]()
![]()