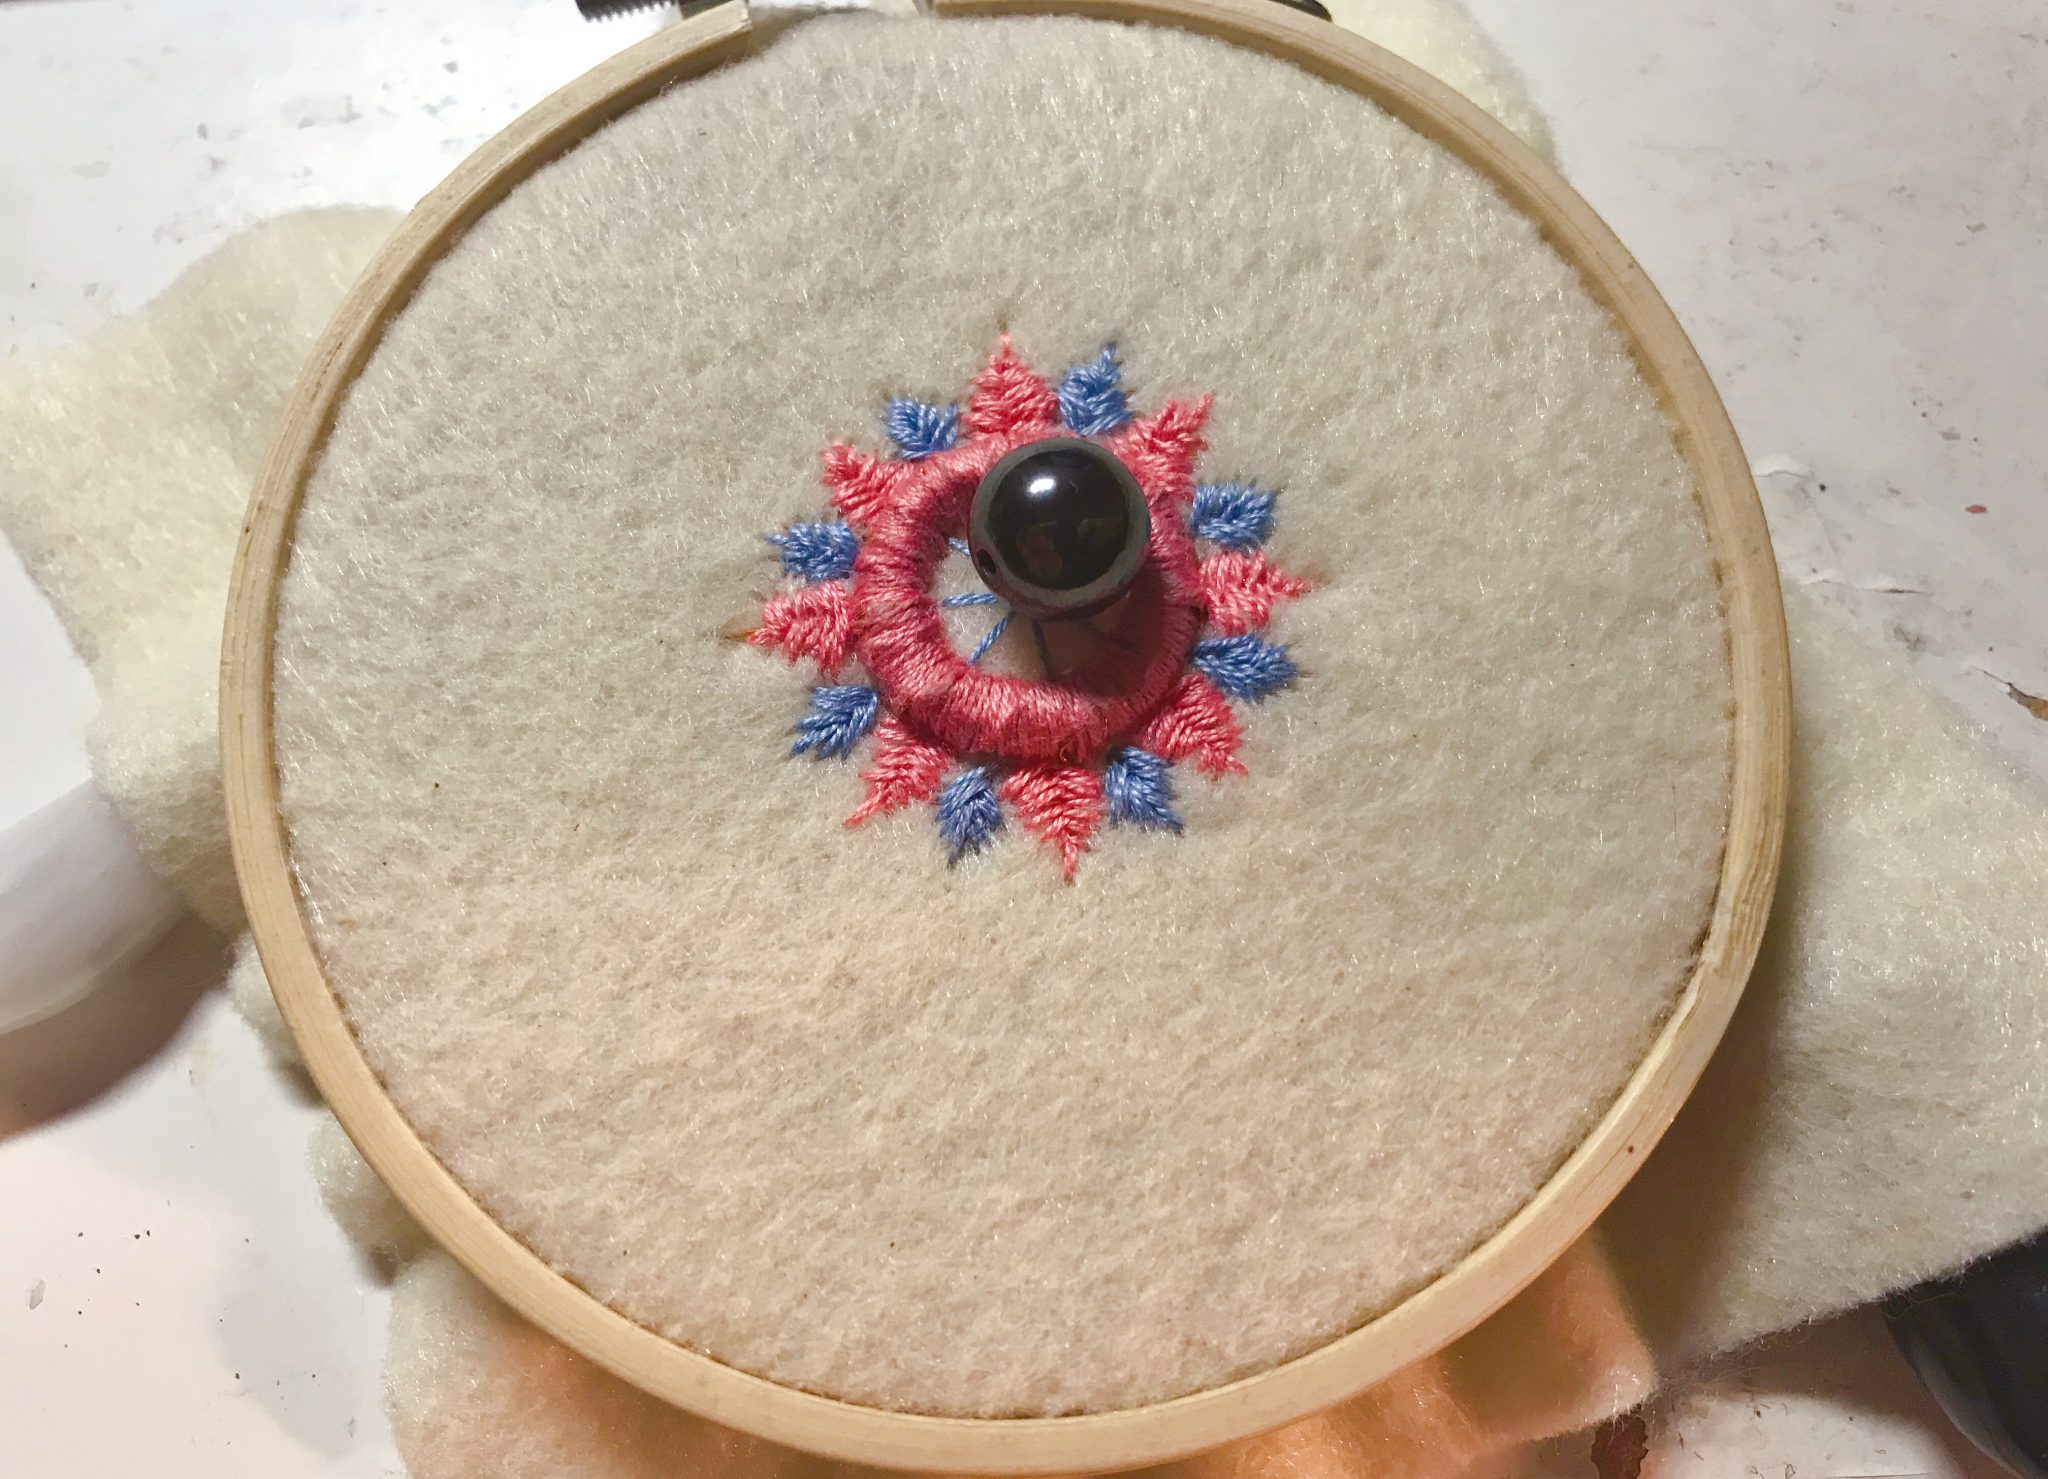
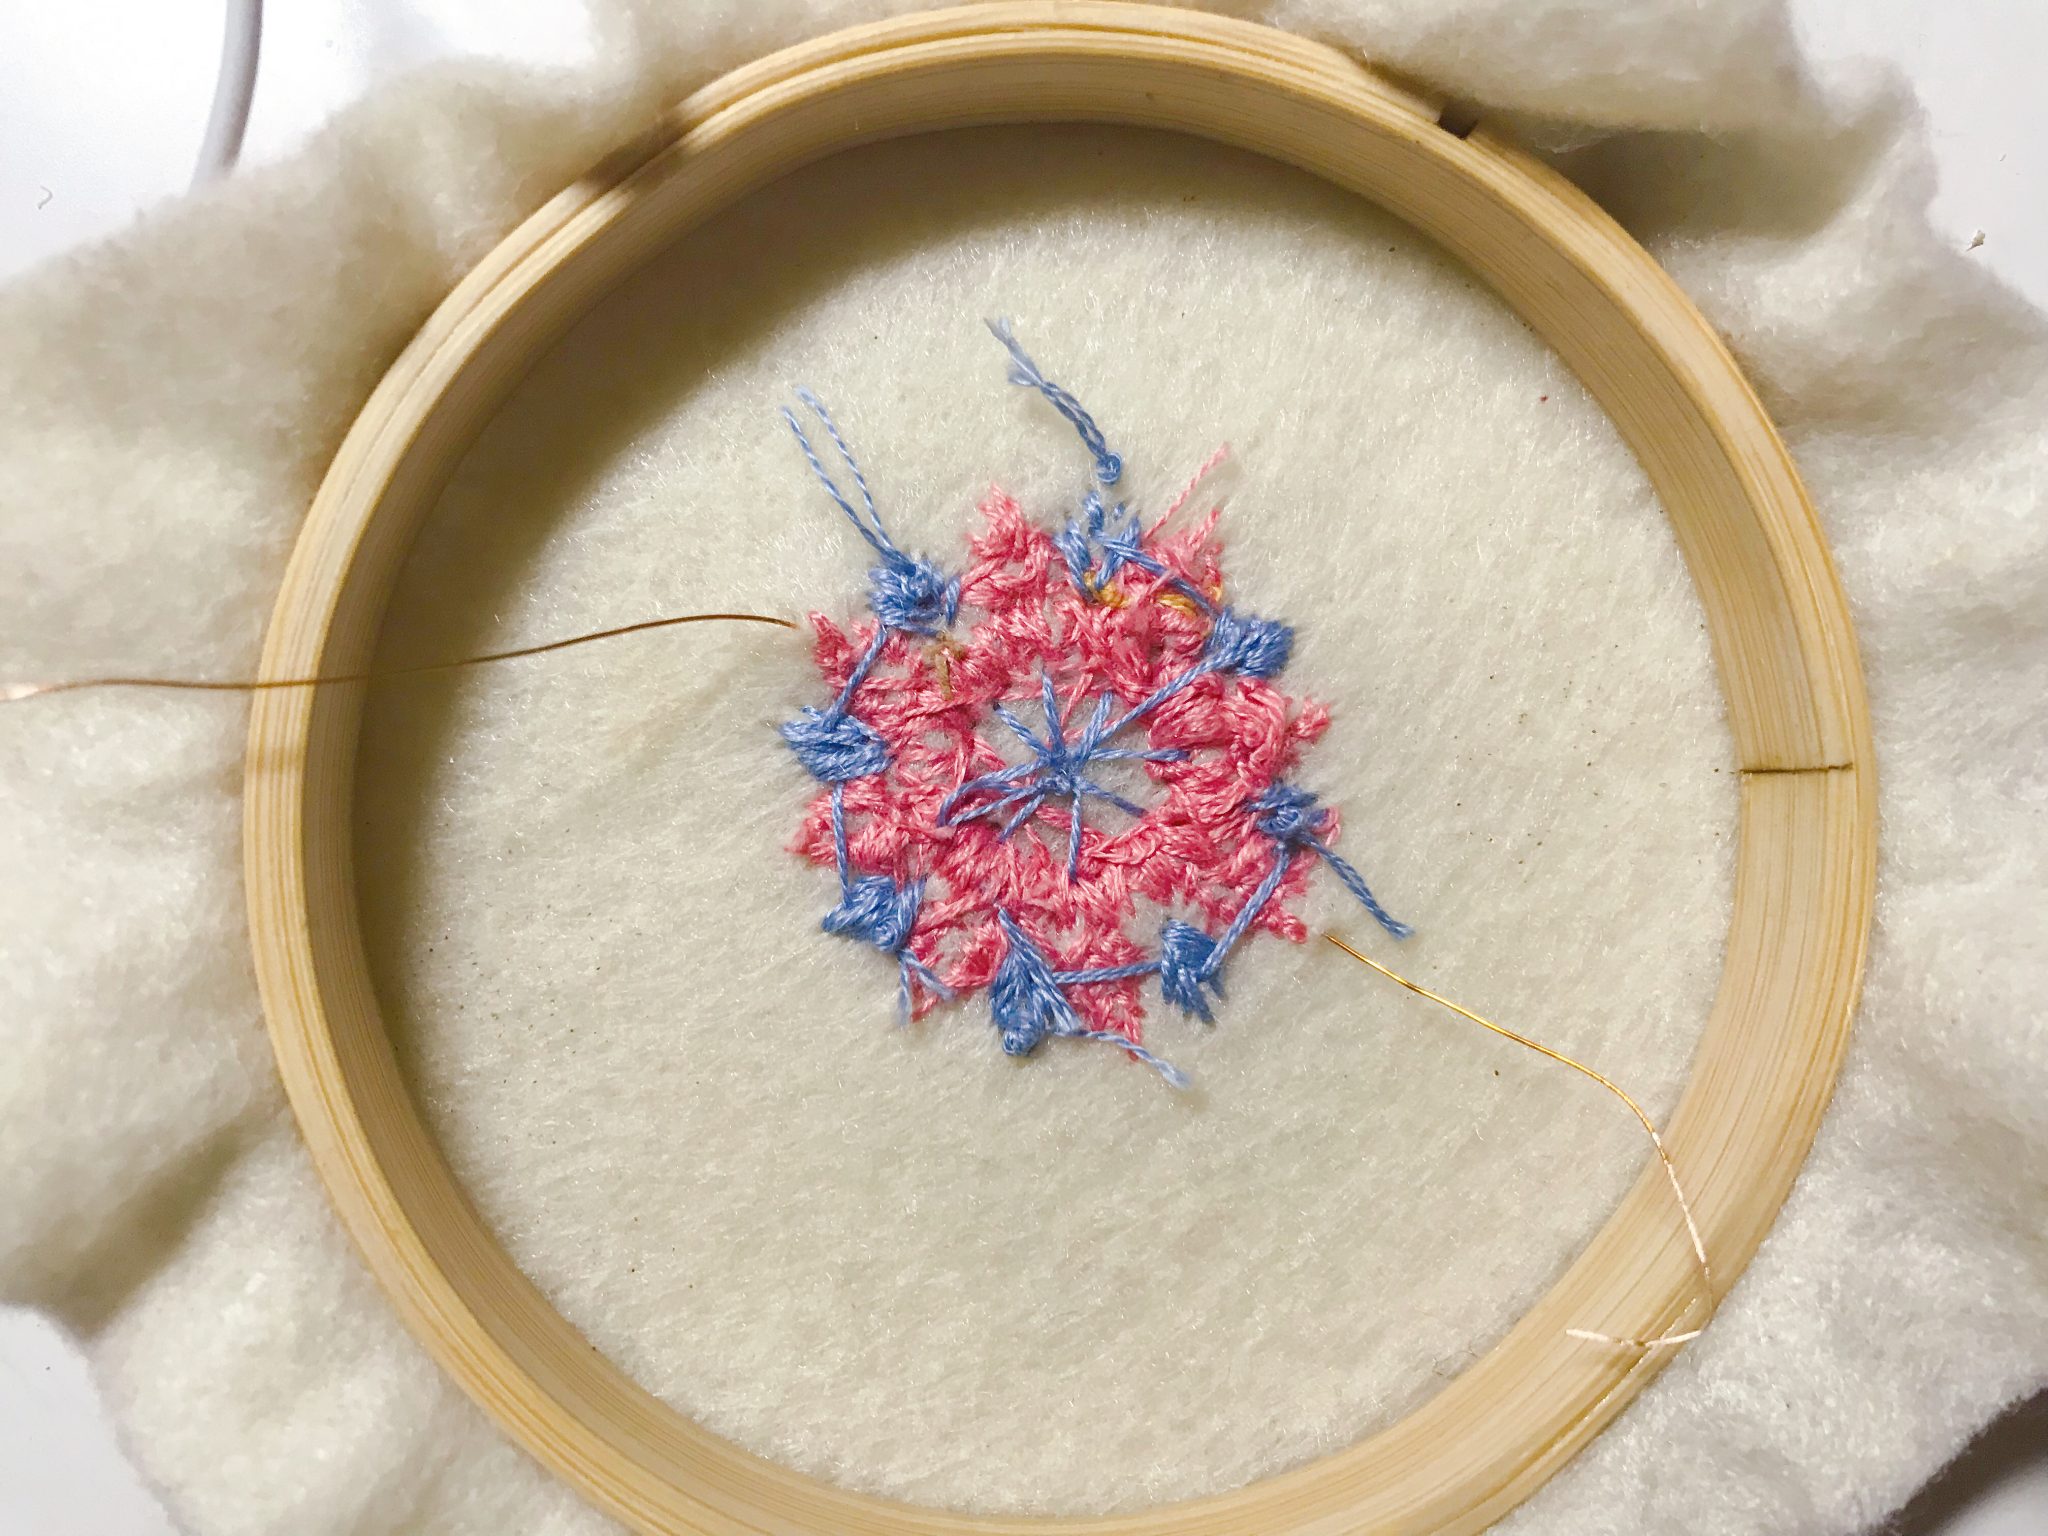
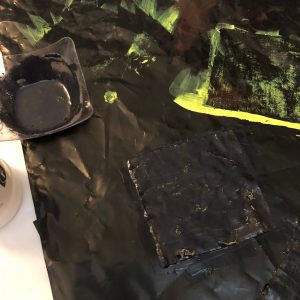
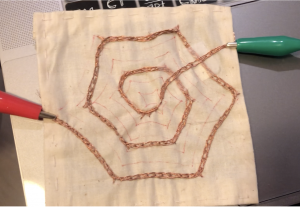
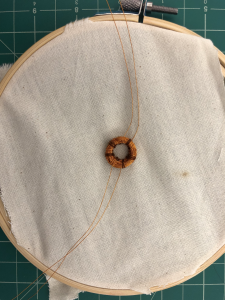
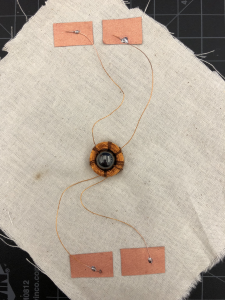
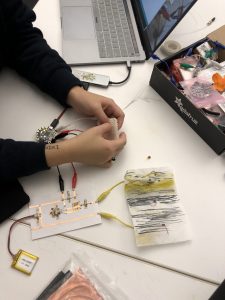
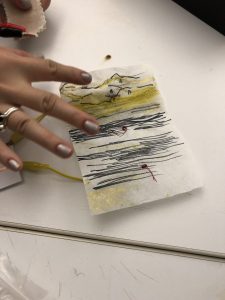
In this motion assignment, I used threads and embroidery frame to create the shape of the dream catcher. At the first, the circuit didn’t work because I used sandpaper to remove the paint, which was not helpful. But after I burned the conductive thread, it worked well.
Category Archives: Uncategorized
Week 1 – Xu Han
I saw a project that translates brain-wave EEG signals into the textile which is called “Mind in the Machine: Psyche in the Age of Mechanical Production” made by artist: Ani Liu. I think it is very cool to save our mind activities into a static visualizing way and combine with knitting. She illustrated her work here:
“This project stitches a portrait of the factory worker, through their fluctuating mental states throughout the day- capturing moments of frustration, focus, and meditative workflow. The resulting fabrics tell a story, and each one is unique to the worker and particular moment in time.”
Check this work here: https://ani-liu.com/mind-in-machine
week10_Sungmin Ashley Ro
For this assignment, I used regular paints to fill up the bottom layer and used black color thermochromic pigment mixed with a clear acrylic base to fill the top layer.
Video link of the thermochromic reacting to my circuit:
Colors on each layers progress:
Thermochromic reacting to the heat:
Materials I’ve used in this assignemnt:
– thermochromic pigment
– a clear acrylic
– regular acrylic colors
– conductive thread
– arduino blink function
– heating circuit with 9V battery
Shenyue’s Assignment 7 – ATTiny
I created this attiny circuit using paper, 3V battery, copper tape, 10k resistor and LED lights. As the result, the light should be turned on when I touch the two ends by hand. The first time after I upload the code into ATTiny, it did not work. I checked it using bread board first and uploaded the code again. One of the lights in my circuit worked, which means my ATtiny worked fine and there was a problem with my circuit. I have to check the connection in my circuit.
Week 12 – Erica
The flip dot project was very fun to make since the winding process was meditative. I used a AA battery instead of a 9v and it worked fine. I also added a sticker on the bead so we can see the motion easier.
Shenyue’s Assignment 12
I constructed the flip dot using copper tape, yarn on my painting canvas. The process was very fun!!! Thinking about using this in my final project.
Week 12 – Youchun Zhang
For this week I made the flip dot with two circuits. When different circuits are completed, the bead will turn to different directions.
Materials- Fabric, conductive thread, embroidery thread, magnetic bead, copper fabric, solder, 9v battery
Process-
Week 11 – Youchun Zhang
In this week’s exercise, I tried adding flexinol into a felt fox’s tail. When the flexinol is heated, the tail will be slightly folded as if the felt fox is moving the tail. In the beginning, the flexinol is inserted into the felt. However, as wool is easily flammable, I moved the flexinol out and only connect it with both ends of the tail. Since I am using 9v battery directly, I also used a 10ohm resistor and a 4.7ohm resistor to control the heat and the folding time.
Materials – Felt, felting needle, resistor, flexinol, 9v battery
Week 11 – Zhenyuan Shi
For this week’s assignment, at first I was trying to sew the SMA as a thread to see how it works. But soon it got tangled and started breaking. After that I took the SMA out and sewed it on to a kind of fabric which will have a nice wrap while being pulled. In the beginning I used to much thread to sew the SMA onto the fabric that when it is heated it didn’t have enough space to move. Then I cut out some thread, it started working. I used a pressure sensor which is connected to the analog input on Arduino and mapped the analog output according to that.
Motion 1 HW – Lavonne Sun
I made a paper painting and the view on it will be distorted when press the pressure sensor.
Video here:~