Category Archives: Uncategorized

Midterm Lavonne

I designed a special wish/blessing/gift card.

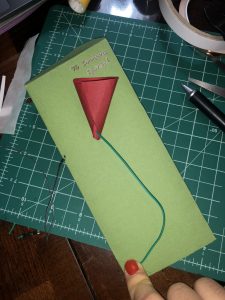
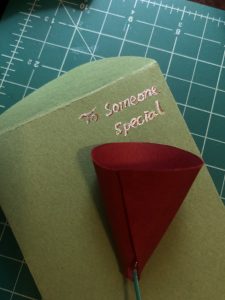
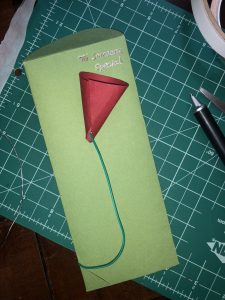
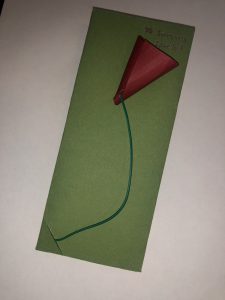
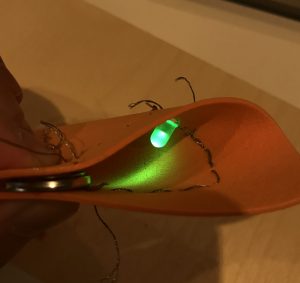
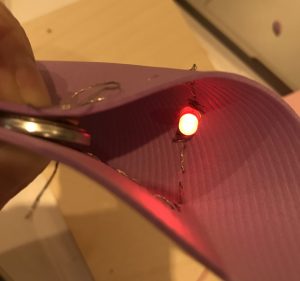
There is a rose on the front of the envelope; and when you place the stem of the flower into the down left corner of the envelope where there is a gap, mimic the process of “putting the stem and root into the pot/mud ” then the rose will light up, lighting up the wishing message written on the top right: “To Some Special”.


Material:

  • Green craft paper;
  • Red craft paper;
  • Green wires;
  • Red LED;
  • Soldering tools;
  • X-acto knife;
  • Double face tape;
  • Copper Tape;
  • Silver Pen; (Optional for writing wishes);
  • 3V battery;


Process:

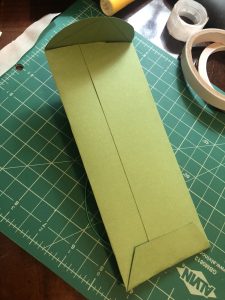
  1. Measure the paper and draw the lines for constructing an envelope;
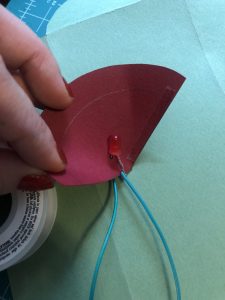
  2. Creating the red rose petal;
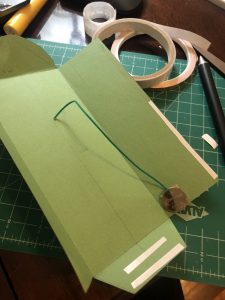
  3. Dig a hole on the envelop and the pedal where one of the wire (stem) will go through to connect to the battery inside of the envelop;

Done:

Video Documentation:

Instructable link:

https://www.instructables.com/id/Greeting-Rose/


Final Project – Zhenyuan Shi

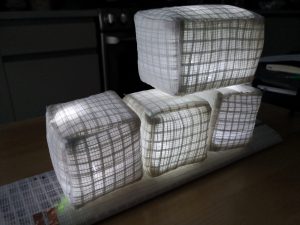
For my final, I decided to explore projection mapping, and link it with the soft circuit that I learned in this class.

For future iterations, I want to improve the interface and make it fit better with the paper structure. I also want to make the paper structure into a bigger scale so the installation will be more immersive.

Link to my instructable:  https://www.instructables.com/id/Triangle-Projection/

Week 3&4 – Lavonne

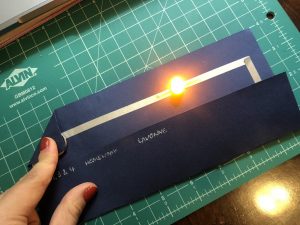
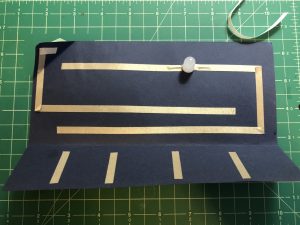
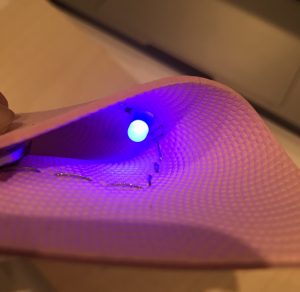
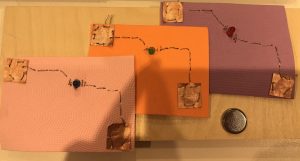
For this assignment I created a soft switch to play with the on and off of the LED.

Get inspired by Jie Qi’s soft circuit construction. I am really interested in the connection of the motion of smooth your finger back and forth to trigger the LED light up.

I played with the aesthetics of the circuit. Silver color conductive tape chosen for the simplicity of elegance contrast to the dark navy blue background.

The trick of the circuit is that only when you pressed and the circuit will be completed and the LED will light up. It turns the whole piece of area to be a magical pad when people are pressing back and force, it creates a satisfying loop (at least to me). The potential of this circuit can be scale up and more complex to make a puzzle of switch to let people explore where to press to trigger the LED.

Video Here :IMG_9612


Week 11-Yao

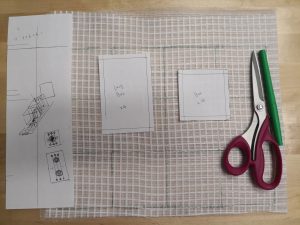
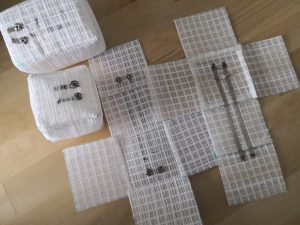
For week 11 exercise, I use the napkin to represent a kid’s heart which like a white paper that without any stain. I use red thread to sewing the flexinol on the napkin to represent that it is easy to give scar to a kid.

Since I failed to upload it for a couple of times, so I put my video on Vimeo.

Link for the video: https://vimeo.com/306477003


Shenyue’s Final Project

Here is my link for final project on Instructables: https://www.instructables.com/id/Flip-Dots-Simpson/

In this project, I mainly focus on using flip dots. At the beginning, Im was ambitious that I intended to create a painting of a sunflower, with the central part full of flip dots, and flexinol on the edge of the petals. When talking to Liza about this idea, she told me that it is not easy to incorporate all of them. Thus, I decided to start with the flip dots since it is the one that I am most interested in.

After I started, I figured that the flip dots are not easy to deal with as what I expected before.

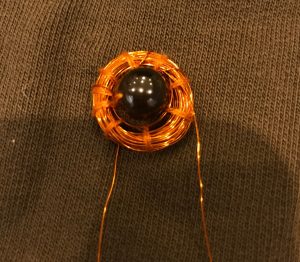
The first step I have done is to wrap the coil. I wrapped each coil around 50 times and I did almost 12 of them.
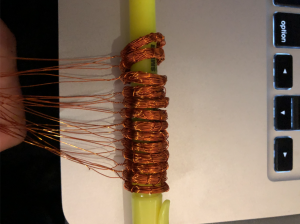
Next I wrapped all of them as double coils using yellow and grey yarns.
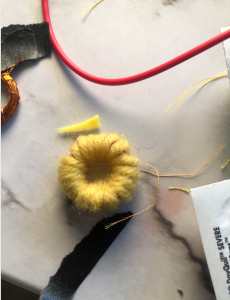
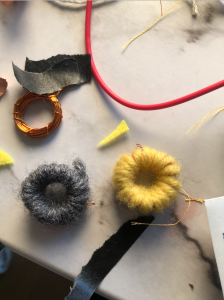
 

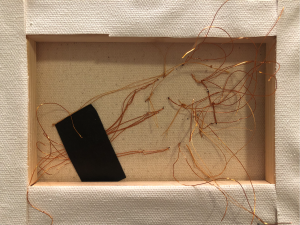
Then, I put them on the canvas like the picture below.
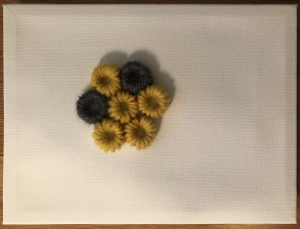
But after I put all the flip dots on it and connected it to the battery, I didn’t work at all. I guessed the problem was that there were too much current needed but I only have two battery to provide power. Then I started to deduct it to be more simple. I started with two coil and thinking about a way to make them interesting. Then, I used two flip dots to represent eyes as the dots flip over, it can be seen as the eyes are moving around. I was inspired by my Simpson toy and started to draw an outline of the shape.
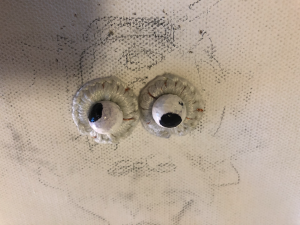
I used white yarn to wrap the coil this time and the material is more smooth. Also, to make the flip dots like eyes, I painted the dots using gesso as the base and marker to draw the circle as the eyeballs. Then, I found that the surface was not very smooth so that I used my clear nail polish to cover the surface to make it more smooth.
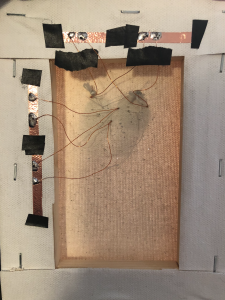
Then I connected all the conductive thread at the back and solder the parts that need to be soldered. For some reasons, I checked that it is only work for either one of the coils but not for both.
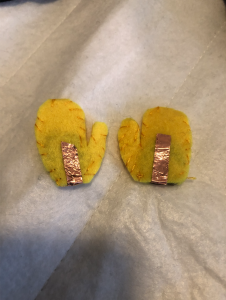
Thus, the little gloves that I prepared as the switches for the double coil has not been used in this case.

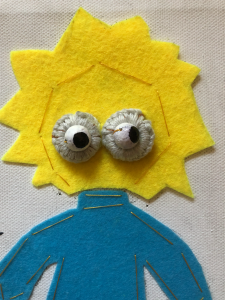
IMG_6227
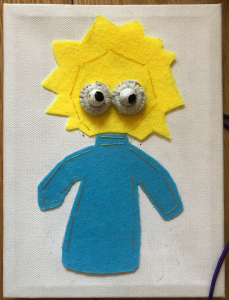
Above are the pictures and video of the final piece. I really enjoyed the making process. The most important thing I learnt in making this is that there is always something that we didn’t expected at the beginning. We should learn from what we failed before and become more familiar with the materials or the process. Overall, I am satisfied in what I created.