Pulse Sensor
Hyungee Koo, Julie Lee, Norihito Yuki

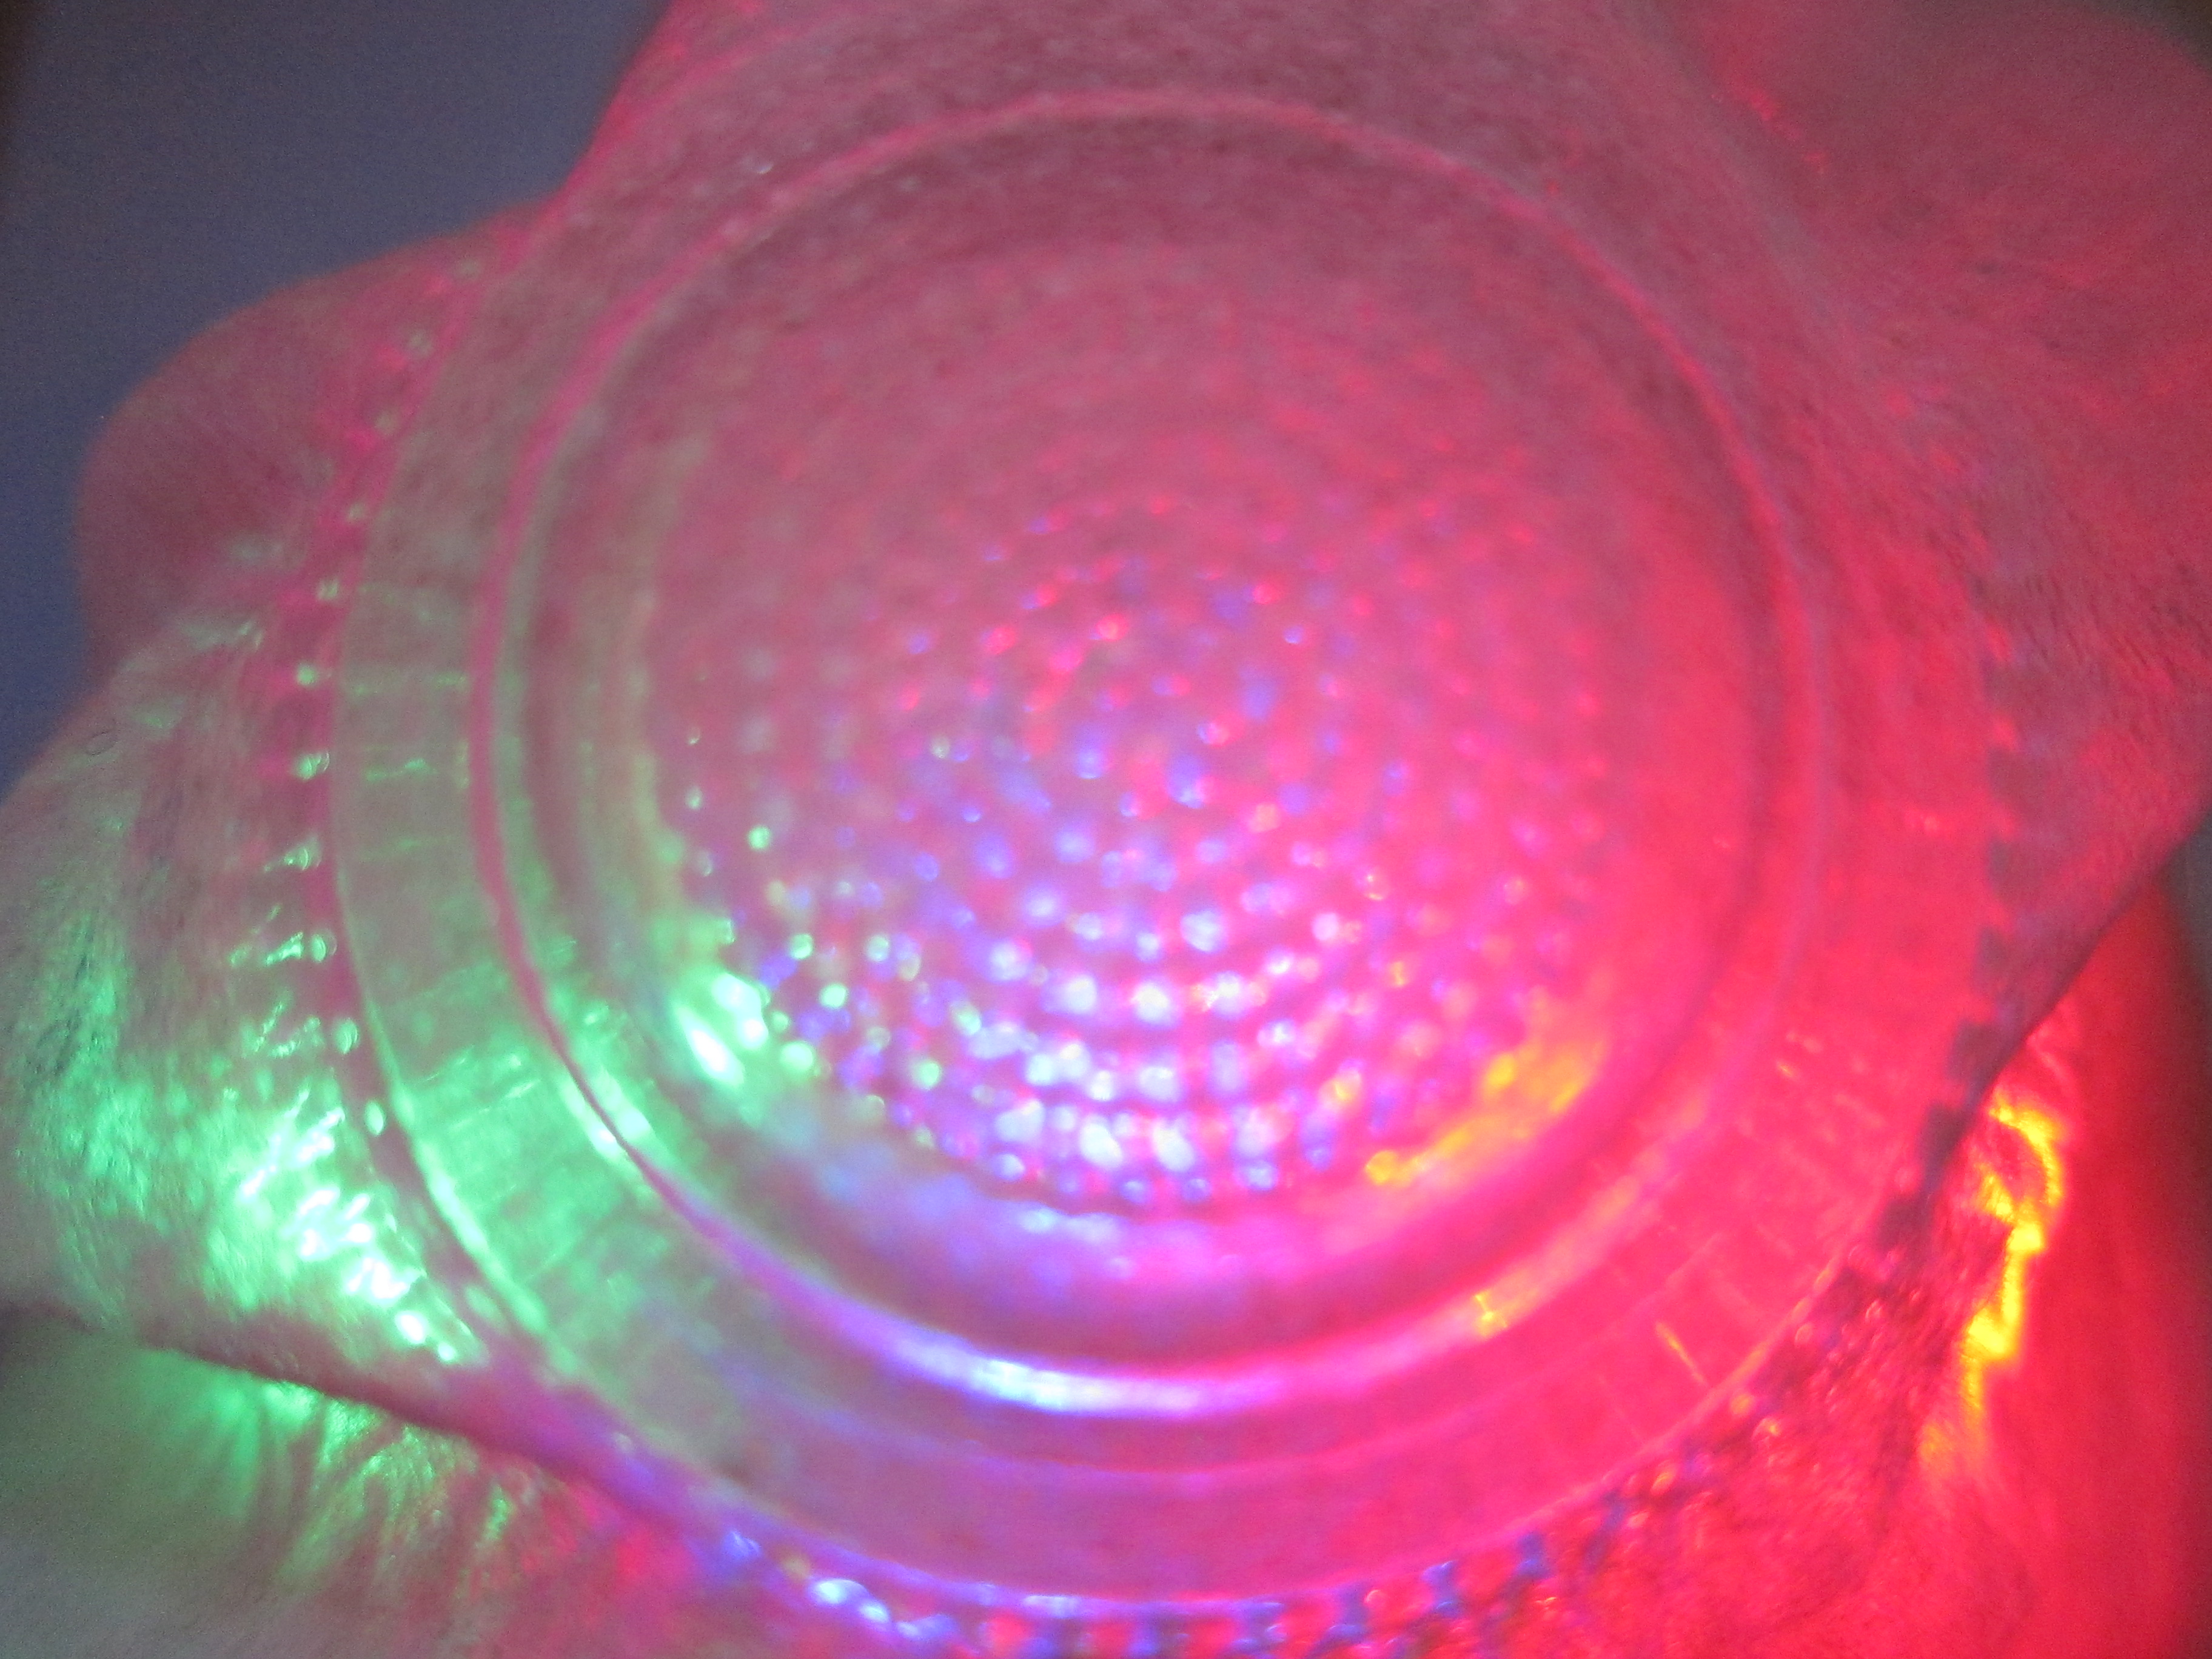
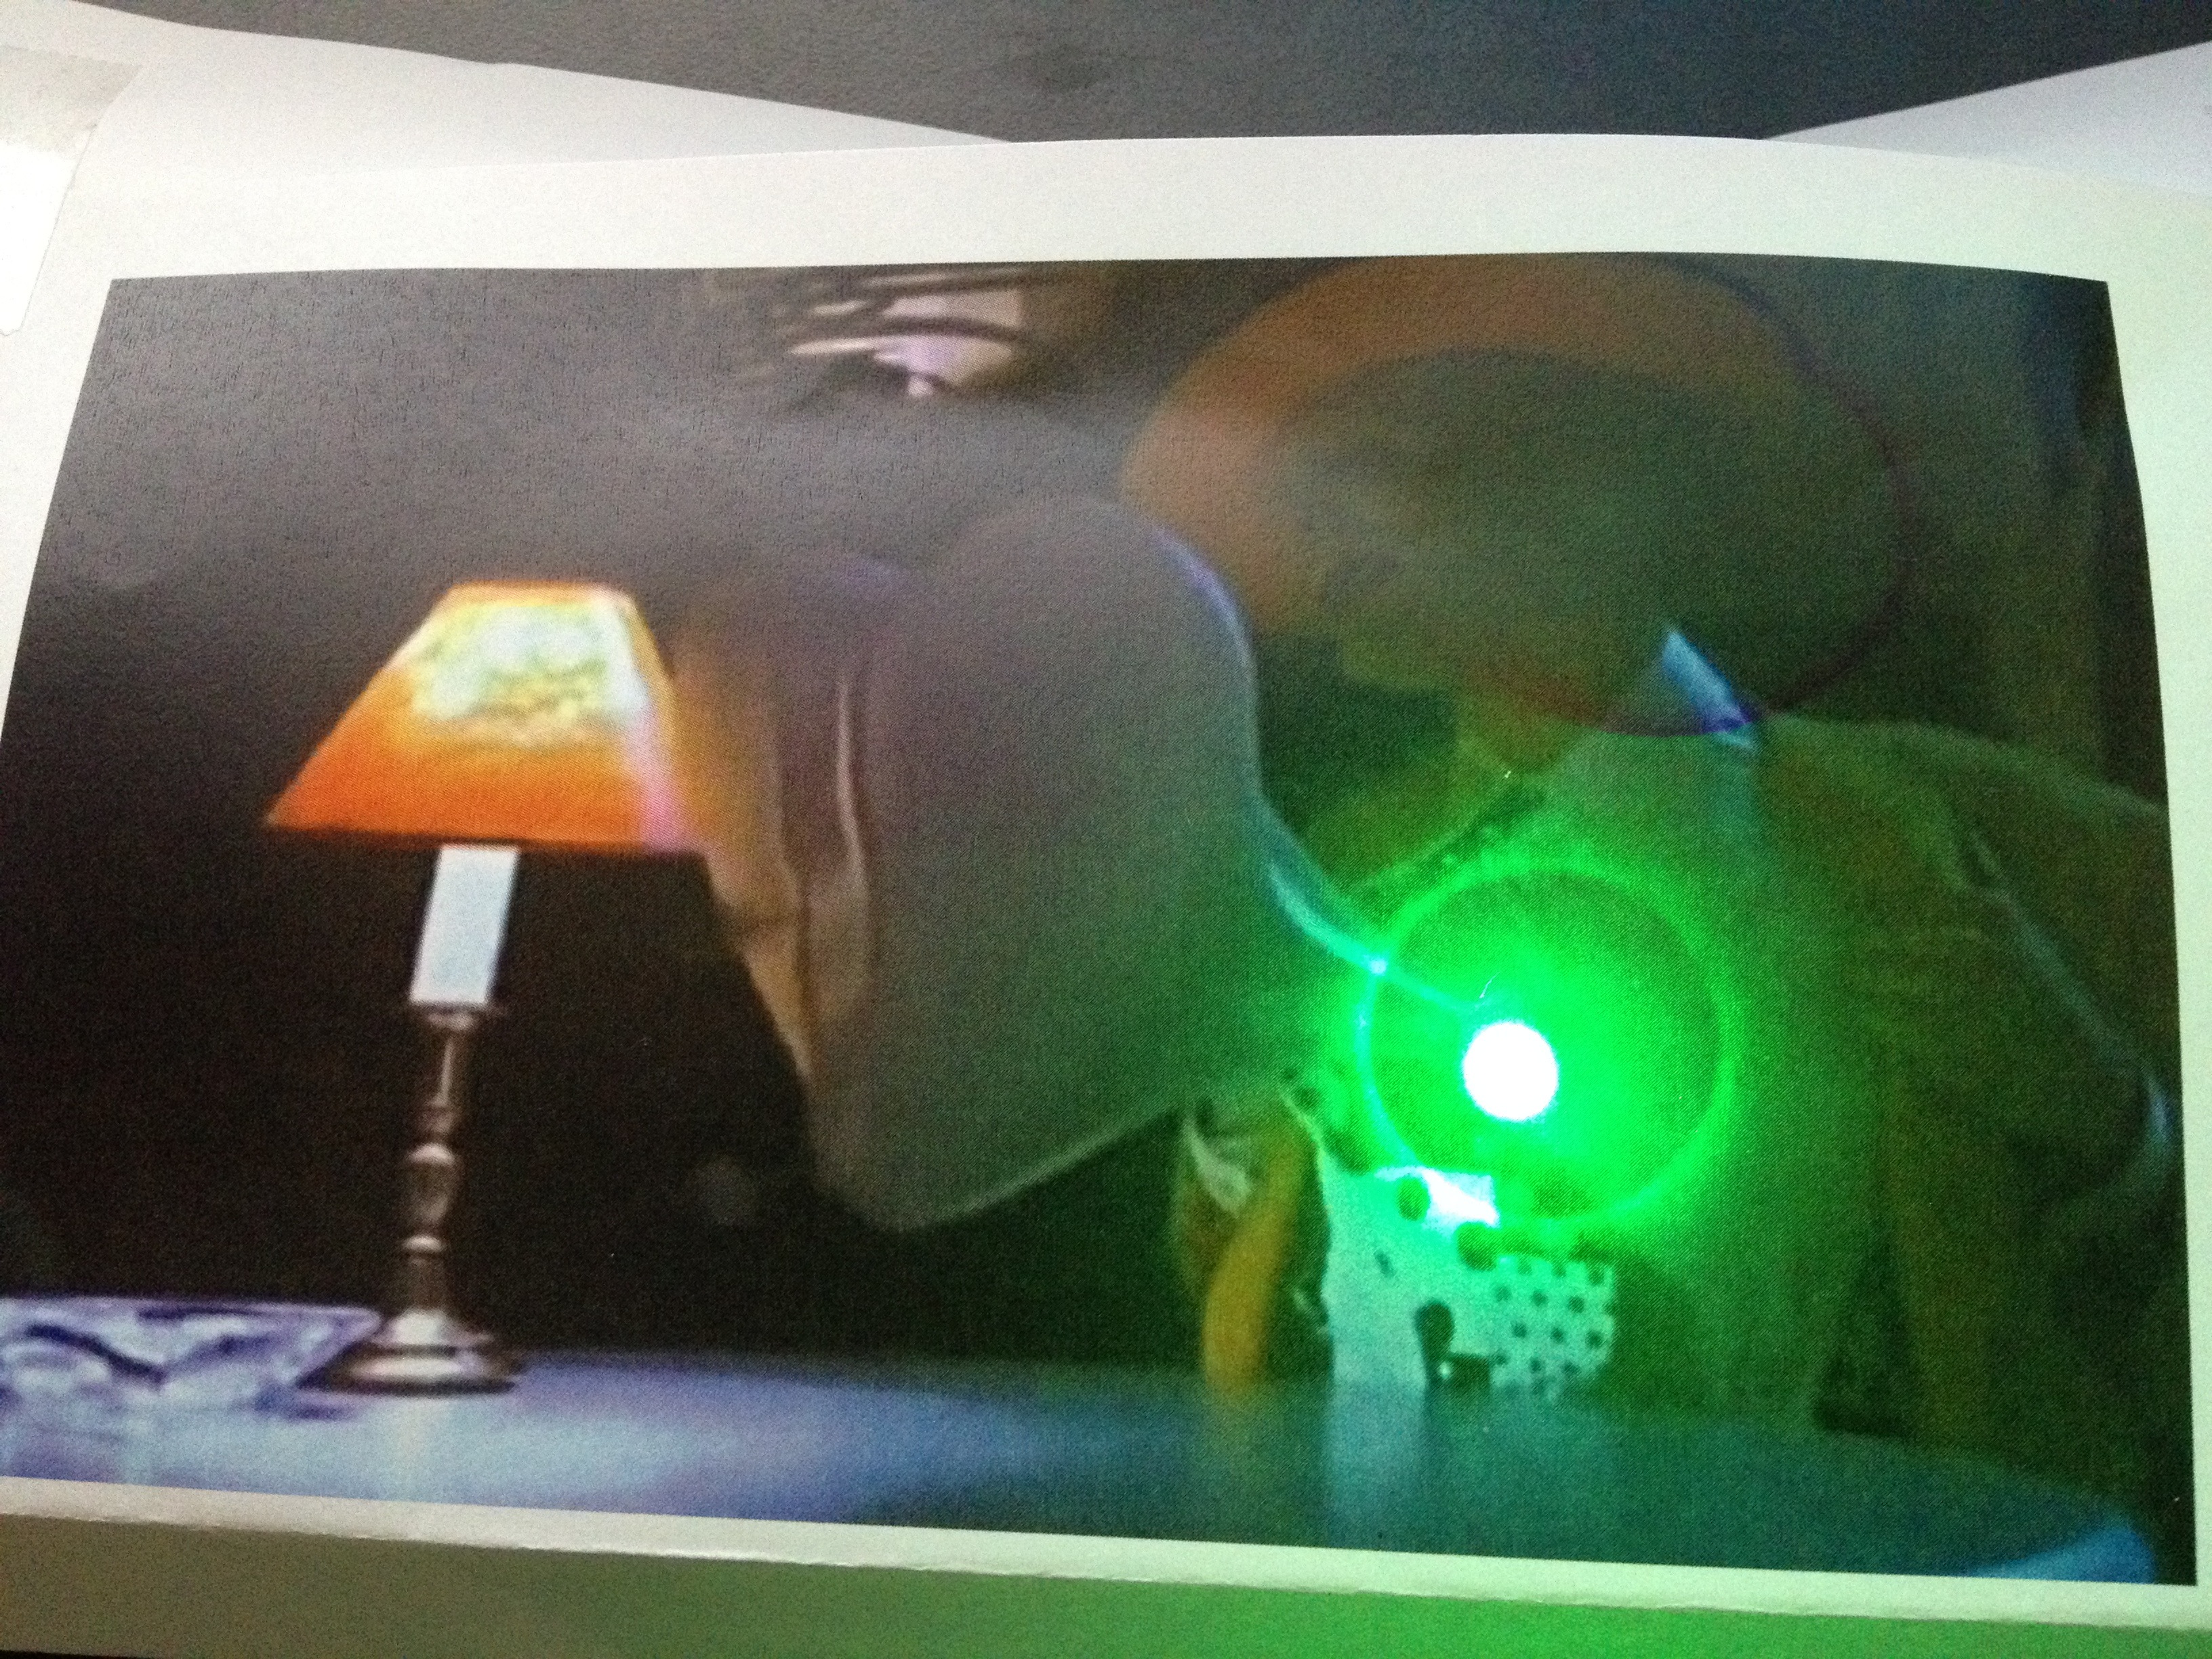
We used a pulse sensor Julie bought at Maker Fair. Pulse sensor consists of a led and a photocell as a detector. You can see how a pulse sensor works from this site.
We applied these sample codes. We downloaded “P_PulseSensor_06.zip” and PulseSensorAmpd_Arduino_01.zip .