Jennifer Presto

and… the Final Project

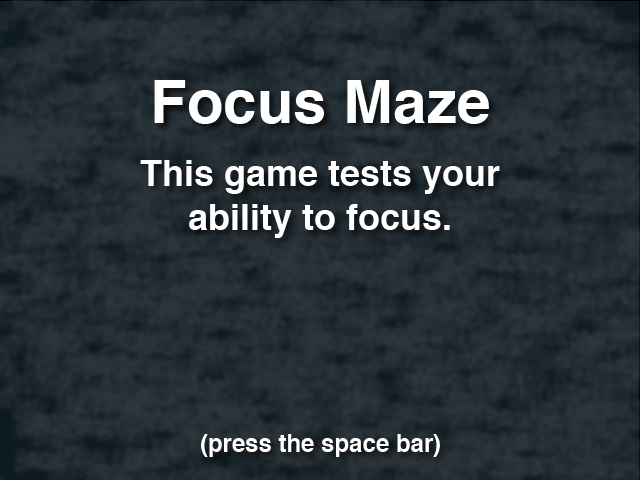
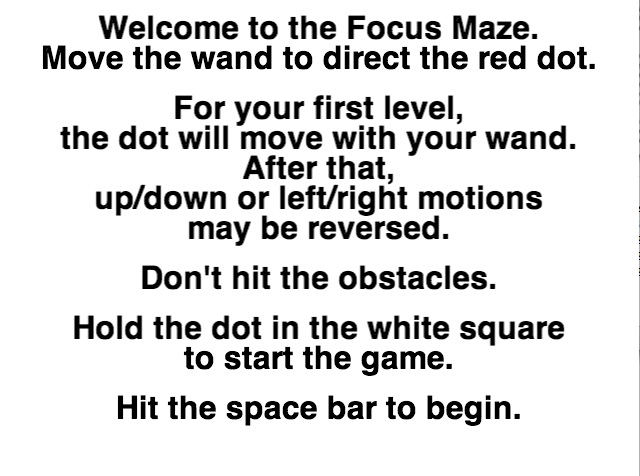
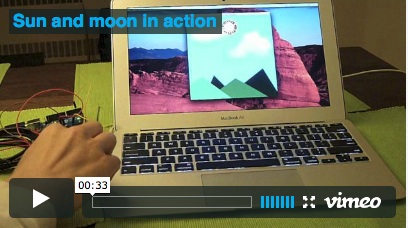
And here’s the documentation for my final project. Far better aesthetically, I think, plus it adds the exciting Twitter feed as a distraction. The levels are also better-designed, and the first two levels are controlled. (You start with the easiest level and normal movement, then you repeat that level with reversed movement. Only then do the levels and movement get randomly chosen).

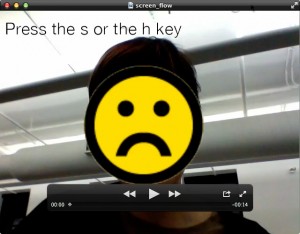
Here is the link to the code on Github. I’ve also included a copy of my in-class presentation, in case you want to re-live the magic. Finally, here is a link to a video showing the gameplay.

Midterm project

Hi, all,

Here’s a little post about my midterm project, mostly as an exciting, anticipation-building lead-up to the post about my final. Here are a few screenshots from the midterm, along with a link to the code on Github. This maze includes the weather scroll, but no other distractions, and the levels and movement are randomly chosen immediately after round one.

In case you really want to see them, here are the in-class presentation and a link to a screenflow video.

openFrameworks – yowza

Here’s my assignment using an add-on and a class. I am still really struggling with openFrameworks, and this turned out to be much more complicated than I expected. When I finally found an add-on that I could get working ok—openCV is one of the add-ons that comes with openFrameworks—it took a long time to figure out what I could manipulate and how. One obstacle was getting the update() function in the class (which I eventually abandoned). Originally I was hoping to have the update field in the class itself respond to the user to change the face from happy to sad and back, but I wound up having to put that in the main testApp file, so that it could use global variables. The movement is very herky-jerky, but I’m not sure of the best way to make it smoother. I also wasn’t able to get the happy/sad change to respond to a mouse-click. The non-working, commented-out code is included.

Code is on Github here, and the video is here:

Bouncing balls in openFrameworks

Hi, all,

My original intention was to be more ambitious and translate a recent Processing sketch to openFrameworks. As I spent more time digging around in the openFrameworks resources, however, that ambition faded pretty quickly. The result: I have translated an early array of bouncing balls from Bootcamp, along with its flawed collision detection. But the balls DO change color when you hit a key—whee!

I found the available online resources to be much more difficult to use than for Processing; in fact, it took me a very long time just to figure out how to use HSB color (rather than RGB), and how to display plain text in the application window. I’m sure (at least, I hope) that this will improve over time as I get more used to it, but the examples I found on the oF website were very unclear on HOW to implement the various functions, especially as the file structure of openFrameworks makes everything far more complicated.

Here is the processing sketch on OpenProcessing. And here is the openFrameworks code on GitHub.

Finally, here is the link to the screenflow video on Vimeo.

Sun and Moon—data visualization

Hi, there,

What better to do than build circuits when there’s a hurricane raging outside?

I built a circuit using a photocell and a button. Interestingly enough, the initial sketch I did just to see the data coming off the photocell showed six lines of data coming off the sensor, only one of which actually seemed to react to the change in light. Here’s a screen capture of that sketch, which shows the changing data as I bob my hand up and down over the photocell.

As a result, I eventually created a sketch that would save a designated number of the last signals sent from the Arduino, and then average them. When that array had 600 elements, the movement was very delayed from the changes in light, but was very smooth and I liked the effect.

When I re-wrote the sketches to allow for two sensors, I no longer got the noisy data from the photocell, and I’m not sure why. The final sketch therefore still uses the averaging method to smooth the animation, but I used only 50 bytes of data from the Arduino, rather than 600.

In the final sketch, the animation reacts to the light coming into the photocell. If the button is not pressed, then it shows a day scene, with the sun rising and setting with more and less light, and the sky color changing accordingly. If the button is pressed, then it switches to a night view, and the moon does the opposite.

Here is a movie showing the sketch in action:

Finally, here’s the video of my computer and the circuit setup:

The code is in my github repository here. If you’re dying to see earlier renditions of this, you can see them in this folder, which I uploaded before I changed the name.

Rube Goldberg Machine

Hi,

Here is a video showing my Rube Goldberg machine. The button triggers a light, which is read by a photosensor, which triggers a motor, which knocks over dominoes, which triggers a motion sensor, which lights the final light. Hooray!

Video.

Code is on Github here.

Electronic Animal

I made an electronic animal for my project. I decided to make a gentle creature that falls asleep and starts to snore. The LEDs slowly fade to simulate falling asleep, and then blink awake when the animal first wakes up. I also wanted to make the snoring sound very soft and sweet, so I included a whistling sound on the exhale. It’s enclosed in a dust mop, which is soft and purple. Hopefully all these things together create a feelings of mildness and tenderness.

There were a few design challenges. I used a sound library so that I could record the sound onto the Arduino’s flash memory, rather than using an external WAV shield (although I think those might be fun and I may pick one up very shortly).

I found out through some initial errors that the sound function I used takes up two of the Arduino’s three timers, and therefore breaks the PWM function in pin 3, which is where I originally attached the LEDs. As a result, after the first time the animal fell asleep, the LEDs would no longer fade; they simply switched off. When I re-read the documentation on the library, plus the link here, I realized the mistake I’d made and changed the LEDs pin to 5, which still had the ability to fade out.

I also had to use trial and error to figure out how to make the photocell responsive. This tutorial on the Adafruit site helped a lot.

My code (along with a few iterations) is on my Github account here.

The video is here.

LEDs

Hi, ya’ll,

Here are the links to my videos, plus my schematic and calculations.

I think this will be fun—I have zero experience with this, and I’m looking forward to learning all about it. I have some questions that came up while doing this assignment, and I’d love to talk about them in class, if others want to, too:

  • I built a circuit—not posted—that used two LEDs, each of which had a forward voltage of 3.0v, in a series. Why did they light up at all? Why didn’t the 6.0v total between the LEDs eat up the entire voltage coming from the power supply (5v)? Likewise, I posted a picture of a three-LED series circuit using LEDs with a forward voltage of 1.8, and I’m not sure why that lit up.
  • I’d like to talk more about the calculations in a series. Say you put four LEDs in a series with no resistor. There shouldn’t be enough voltage to light them. Are they effectively acting as resistors, or is it possible to not have enough voltage to light them, but still to have enough current to blow them out?
  • What is the Vin pin in the Arduino?
  • Where do watts come in to all this? What does it mean to have a 1/4 or 1/6 watt resistor?

Here is a video of three LEDs in parallel. Here are two in series. And here are three in series. The last ones are very dim, so the demonstration is in the dark.

Finally, here is the schematic with the calculations (voltage is 5v total and resistance is 200 ohms on all)—note: I updated this picture to show correct labeling of the circuits:

The text of this post (minus the links) is also on github.

Looking forward to tomorrow’s class!

Jennifer