Visualizing Sensor Data
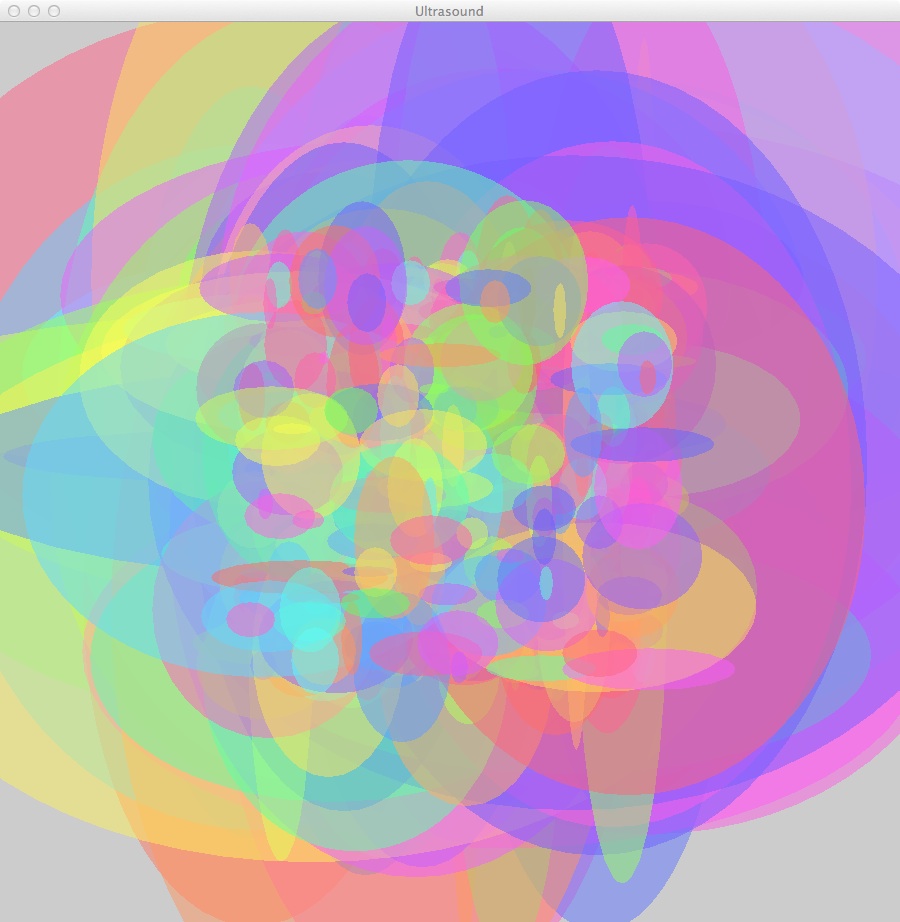
I visualized data from an Ultrasonic Distance Sensor. Video1 Video2.
The diameters of the ripple like colorful ellipses become larger according to the distance that the ultrasonic sensor detects. I referred to this site.
Nori
I visualized data from an Ultrasonic Distance Sensor. Video1 Video2.
The diameters of the ripple like colorful ellipses become larger according to the distance that the ultrasonic sensor detects. I referred to this site.
Nori
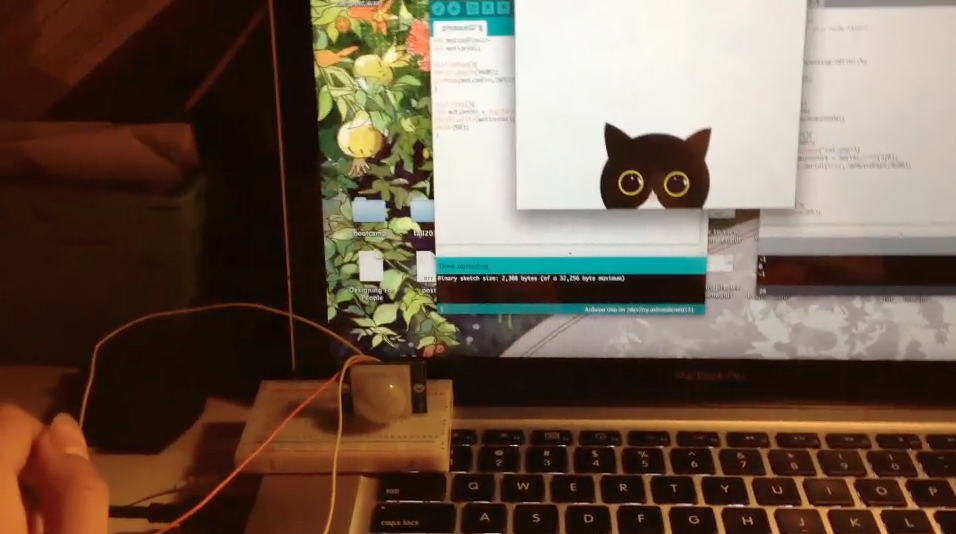
I made a jump button for Hip Hop Hero!
Pretty much just followed the tutorial at the ITP blog. One problem: holding the button down for too long crashes the USB port. I’m going to try adding a 10k ohm pull-up resistor to see if it helps.
Related, I saw that Sparkfun has some cool arcade buttons for sale. And a PS2-like joystick.
(Nerdy, middle school me just let out a high-pitched squeal of delight.)
For this project, I tried to connect with arduino and processing. Running with processing was hard because flower shape has for loop.
I used AN with range finder. first I checked sensor value and divide by 4 drawing.
Each one draws different shape.
<Video>


hope you all are safe!!
The hardest part for me in this assignment was to find my port so that processing would read my output.
I choose to use the values from the potentiometer to size a box in a sphere, for aestetic purposes I found it funny to se the two dimensions change in and out of each other.
I also wanted to add two potentiometers to controle both figurs, the even trough I made two floats and assigned two different values as output for the println, I couldn’t figure out how to have processing read seperat the two values?
Had fun doing it, here is a link to my processing code:
https://github.com/Sussesj/CC-LAB/blob/master/spherWithPotentiometer01.pde
Here is a link to a video of it in action:
https://github.com/Sussesj/CC-LAB/blob/master/sphere.mov
Hi guys,
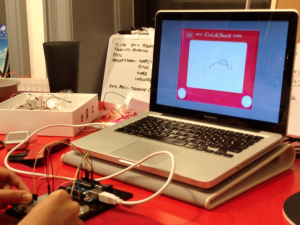
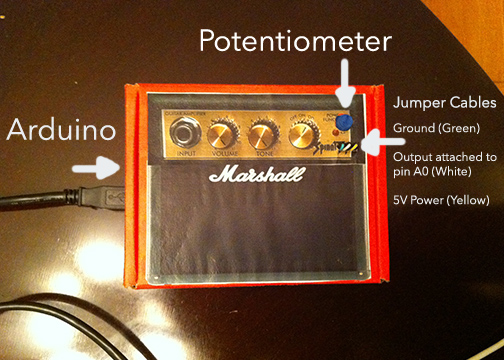
Here’s my serial communication assignment. I made an amp that makes Nigel Tufnel’s (from Spinal Tap) head grow as you turn it up and shrink as you turn it down. When you turn the potentiometer all the way up, his head turns into something else!
Here’s a pic of the controller:
Here’s a link to the repo.
And here’s a link to the video:
Thanks guys!
A
Hi, there,
What better to do than build circuits when there’s a hurricane raging outside?
I built a circuit using a photocell and a button. Interestingly enough, the initial sketch I did just to see the data coming off the photocell showed six lines of data coming off the sensor, only one of which actually seemed to react to the change in light. Here’s a screen capture of that sketch, which shows the changing data as I bob my hand up and down over the photocell.
As a result, I eventually created a sketch that would save a designated number of the last signals sent from the Arduino, and then average them. When that array had 600 elements, the movement was very delayed from the changes in light, but was very smooth and I liked the effect.
When I re-wrote the sketches to allow for two sensors, I no longer got the noisy data from the photocell, and I’m not sure why. The final sketch therefore still uses the averaging method to smooth the animation, but I used only 50 bytes of data from the Arduino, rather than 600.
In the final sketch, the animation reacts to the light coming into the photocell. If the button is not pressed, then it shows a day scene, with the sun rising and setting with more and less light, and the sky color changing accordingly. If the button is pressed, then it switches to a night view, and the moon does the opposite.
Here is a movie showing the sketch in action:

Finally, here’s the video of my computer and the circuit setup:
The code is in my github repository here. If you’re dying to see earlier renditions of this, you can see them in this folder, which I uploaded before I changed the name.

Bobby and I worked on a Rube Goldberg Machine that followed the following path:
A vibrating motor with a cardboard arm taped on > a flex sesnor > an LED > a photocell (with a small cardboard hut over the led and photocell) > another LED > another photocell (with another cardboard hut over the two) > a speaker that played Twinkle Twinkle Little Star.
We chose each input and output because we were playing with the idea of an alarm clock.
We ran into a couple issues with the flex sensor being ultra sensitive, so maybe next time we could use a pressure sensor.
Unfortunately, we forgot to take a picture or a video – but hopefully you saw it in class!