Concept
I am creating an electronic pop-up book for kids while the parents to play along with them, evoking the feeling of companionship through interactions with physical objects in the context of my narrative.
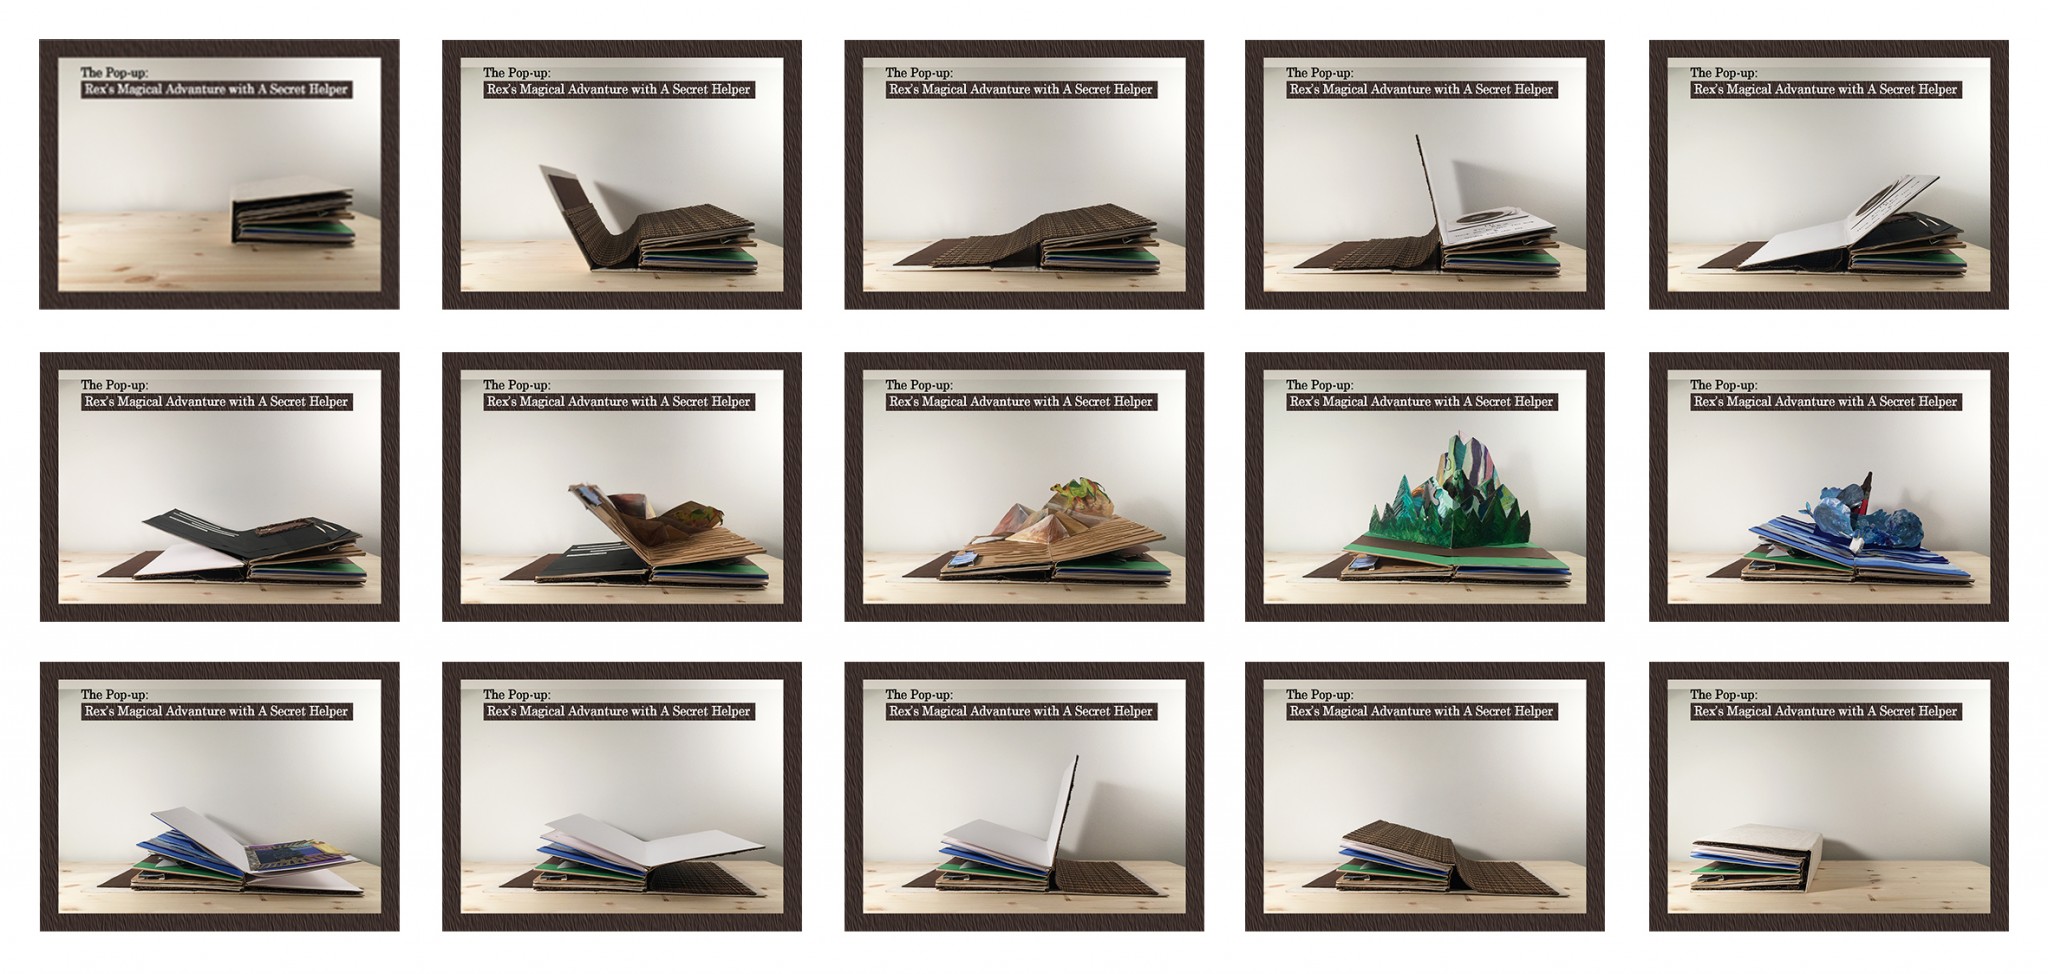
Rex’s Magic Adventures with a secret helper
- Page 1 Meet Rex! [My main character]
Hi,
I’m REX.
Thank you for opening this book
and spending time with me.
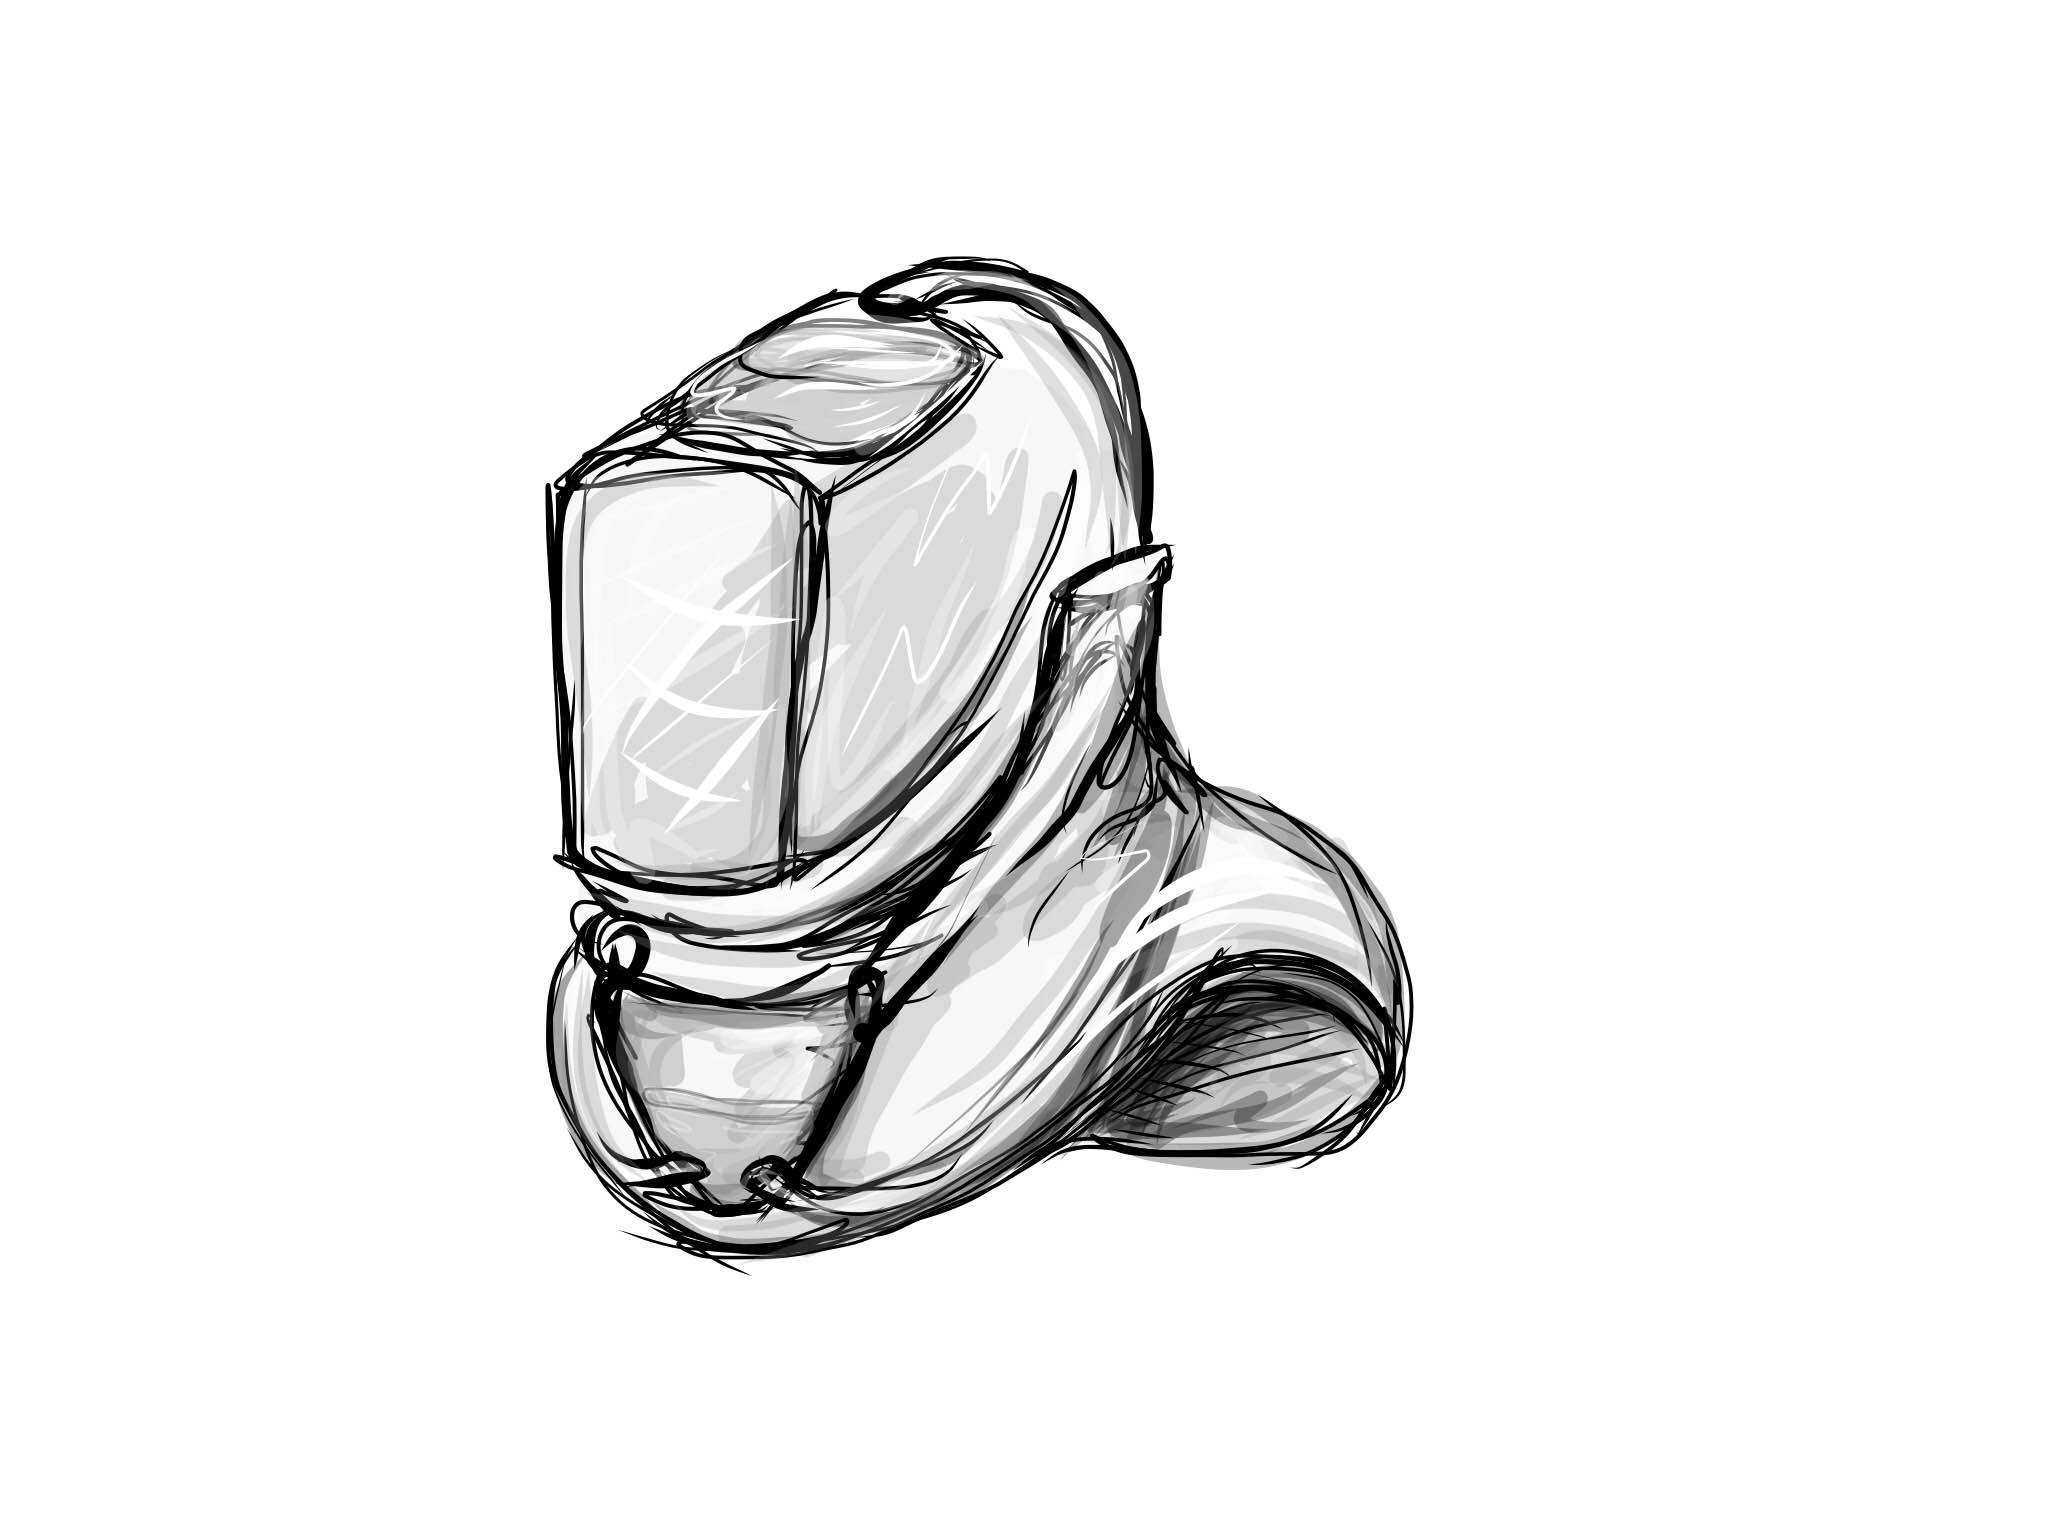
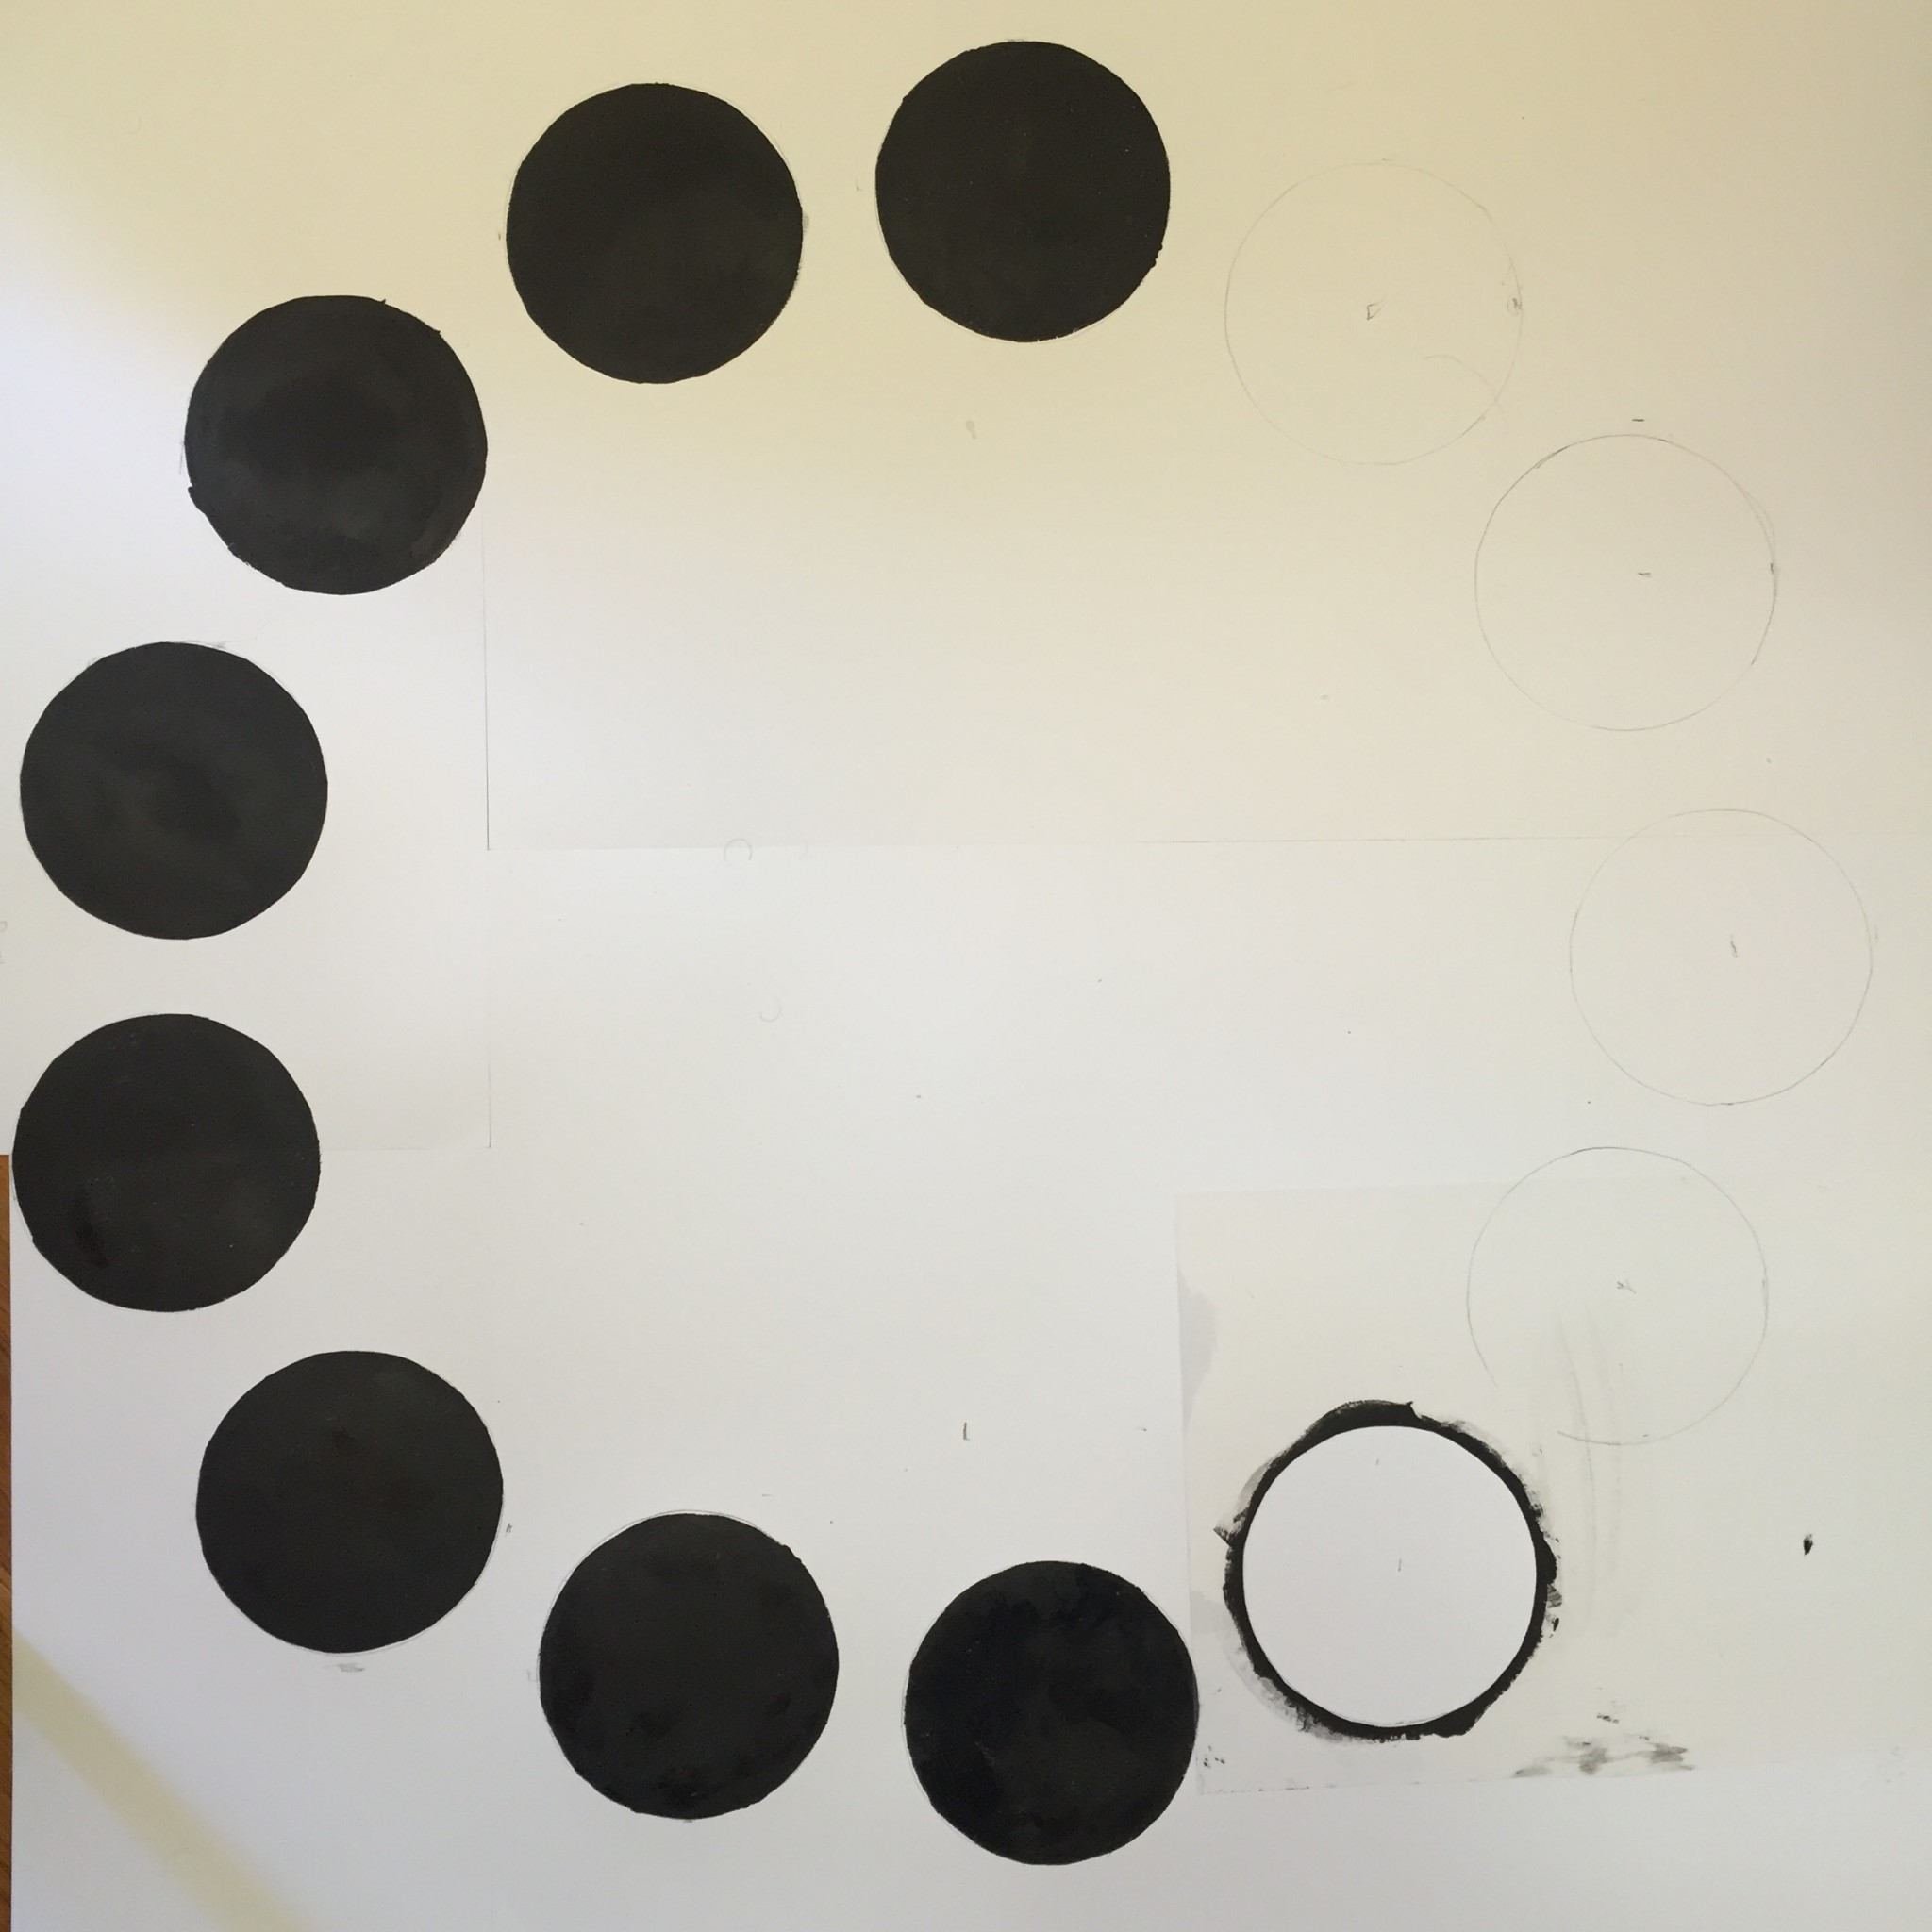
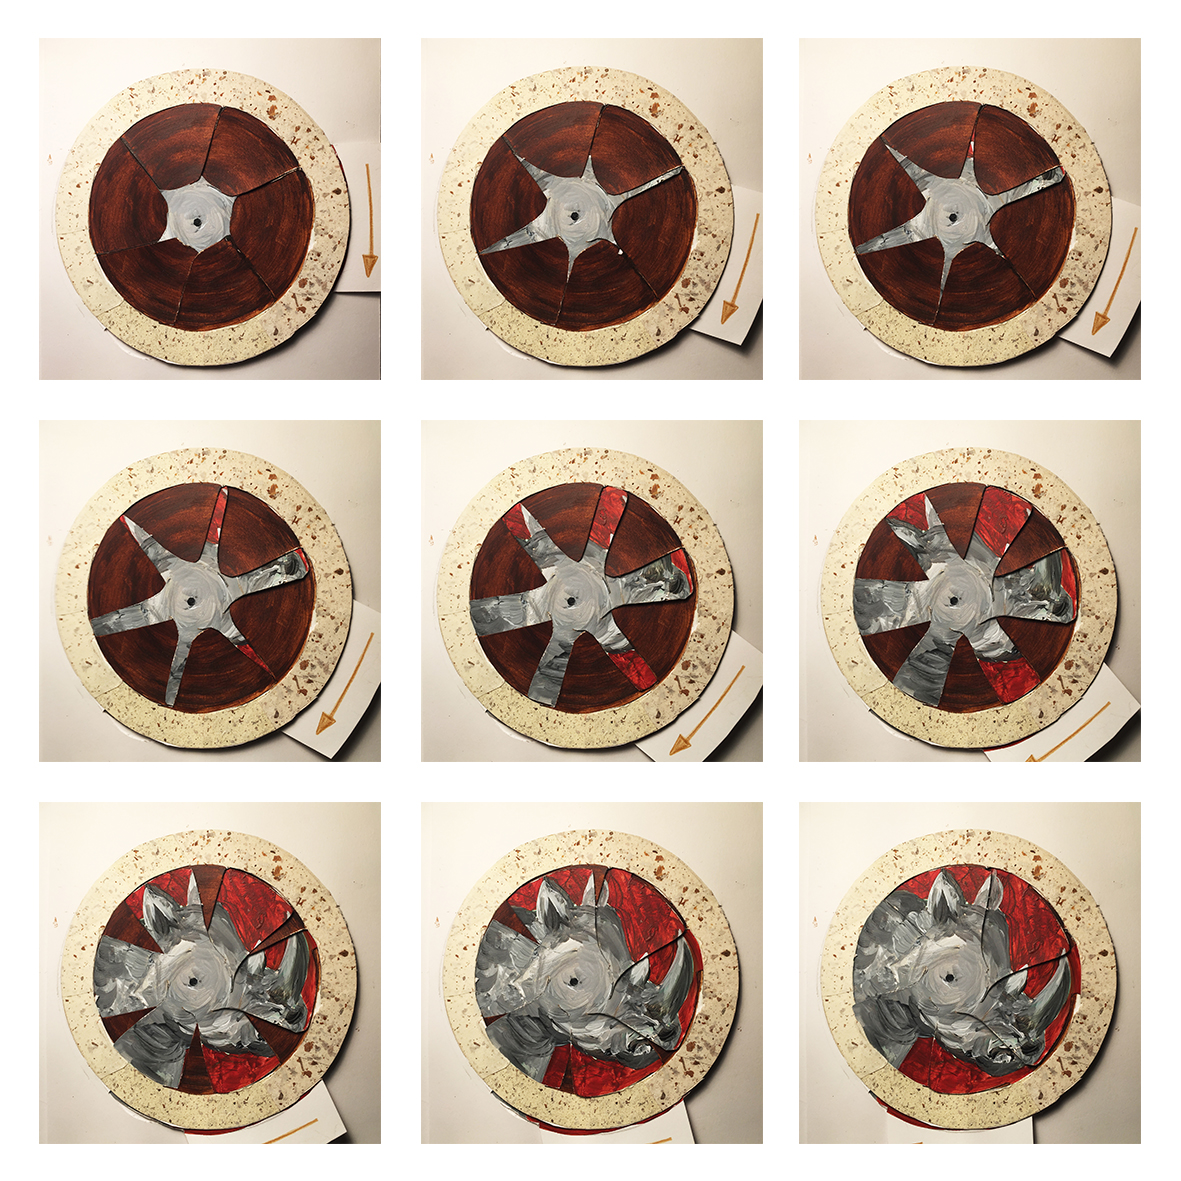
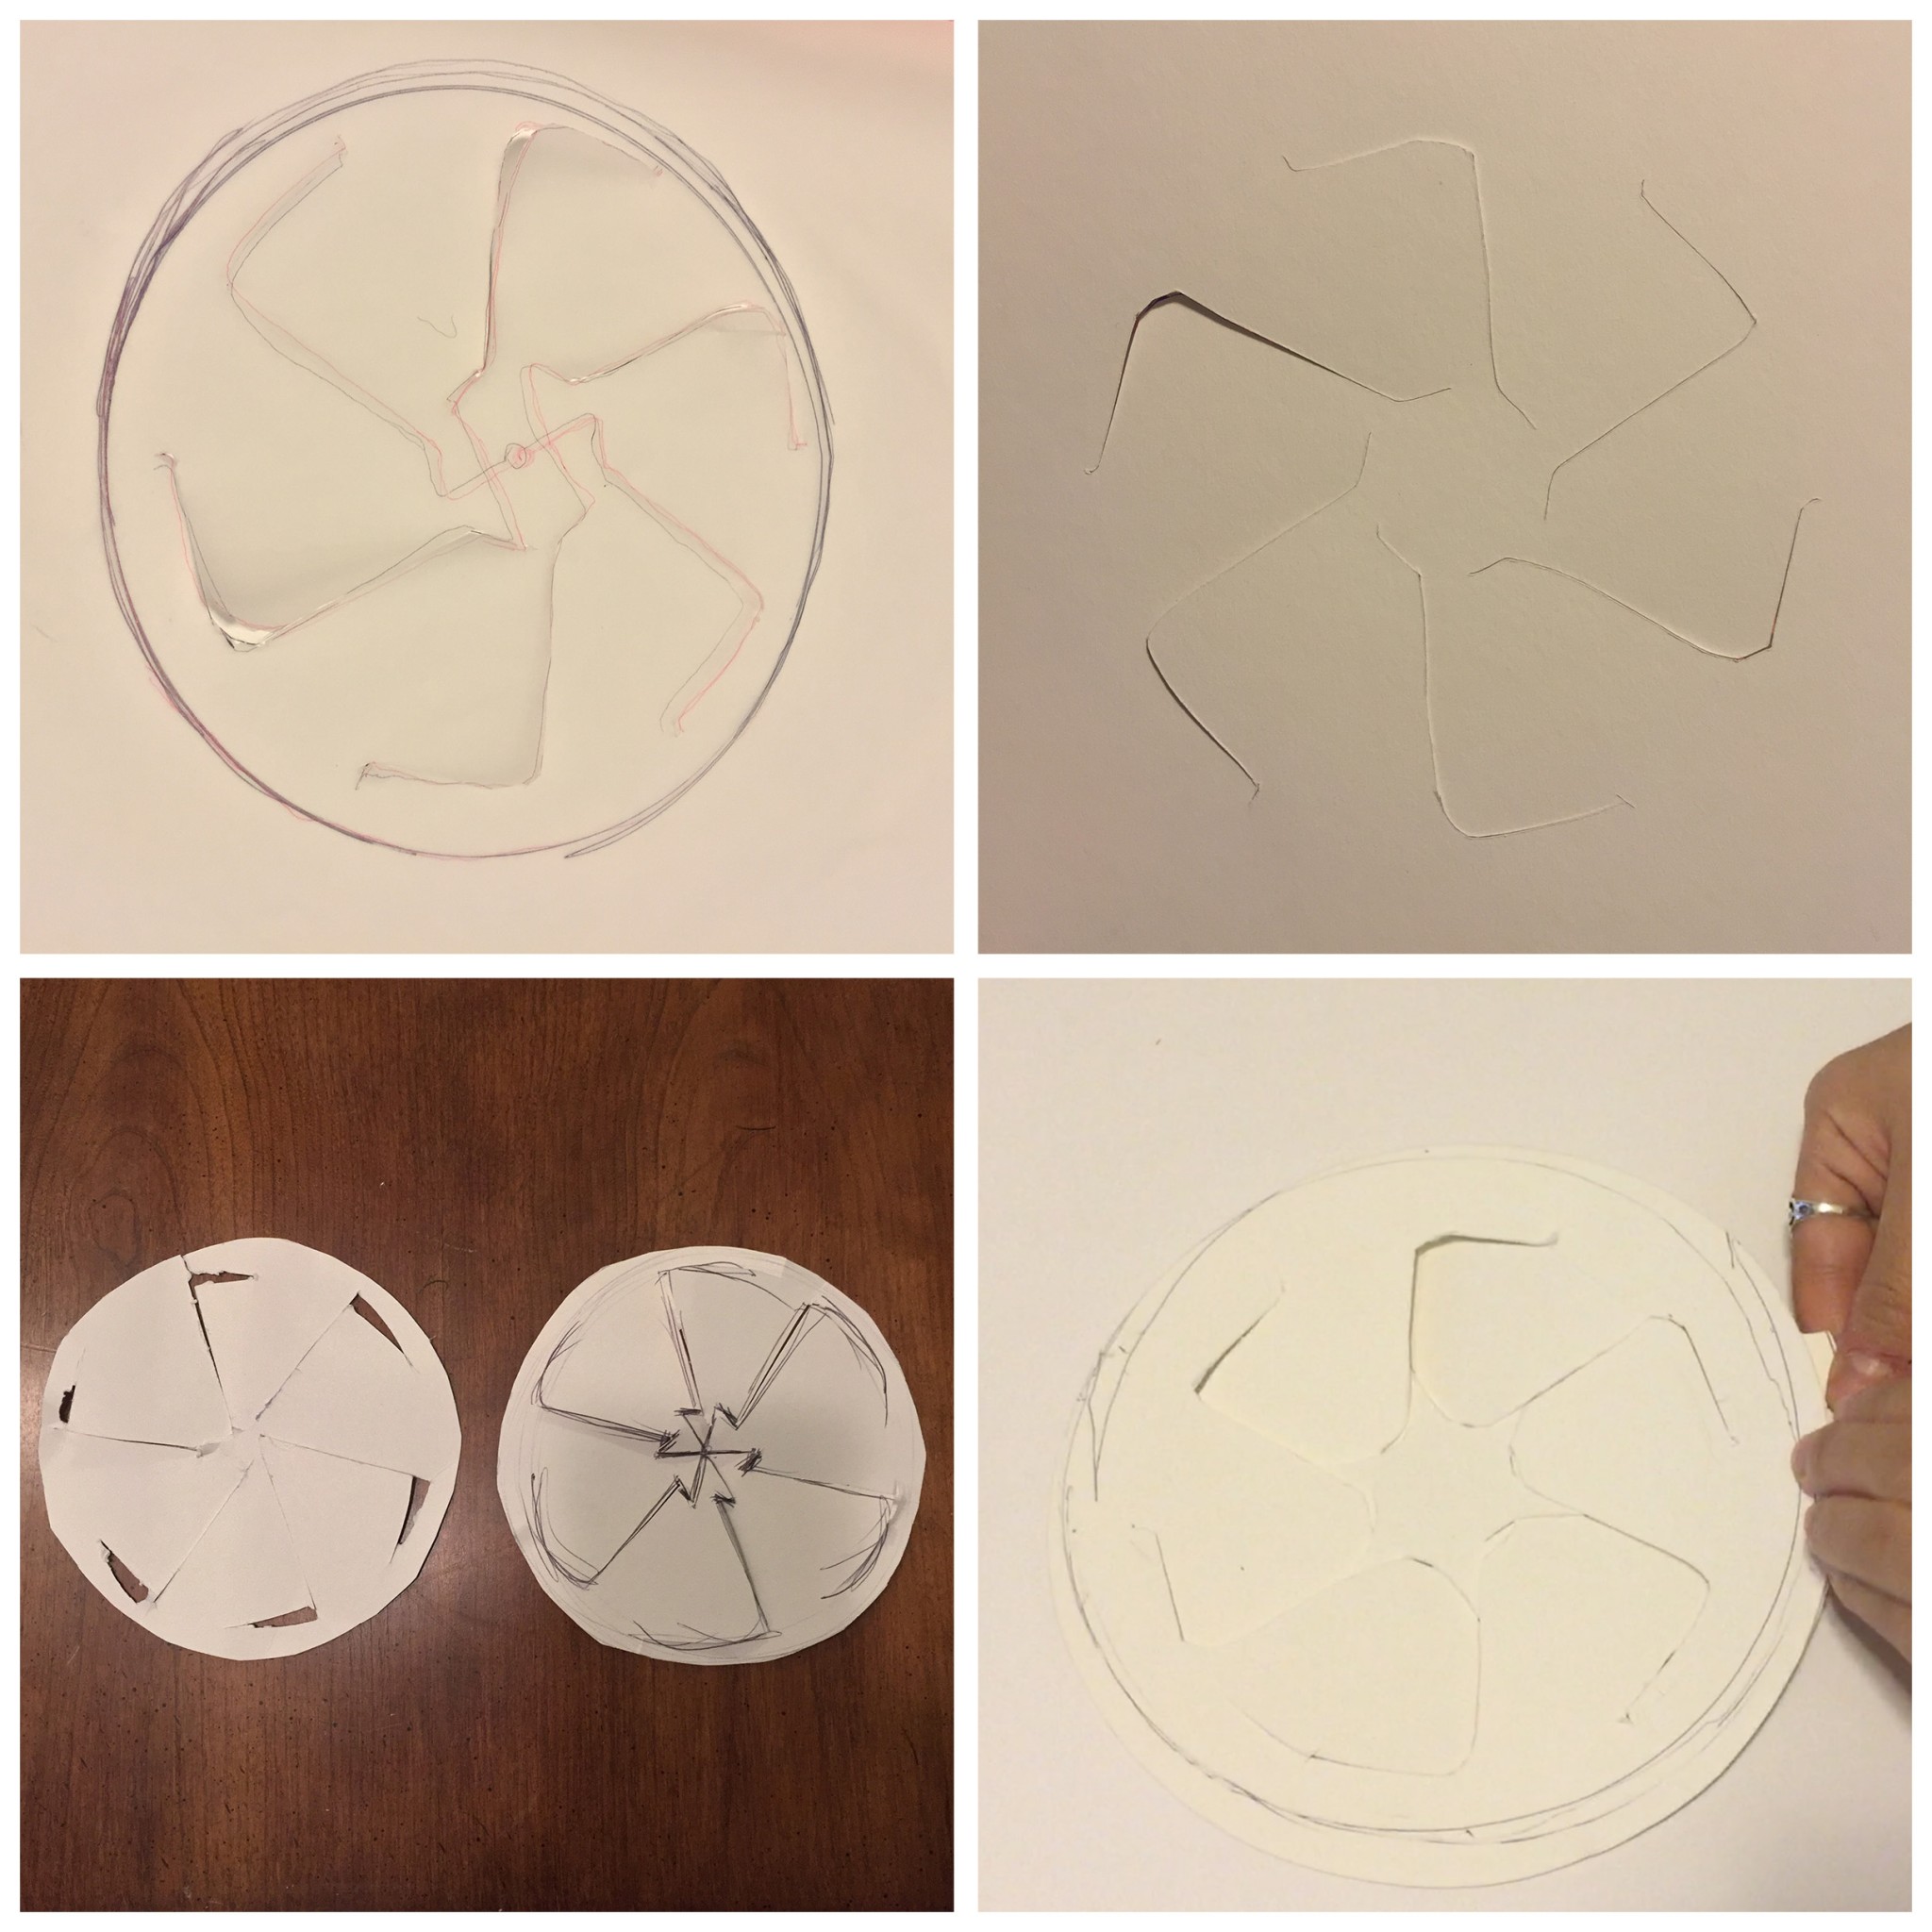
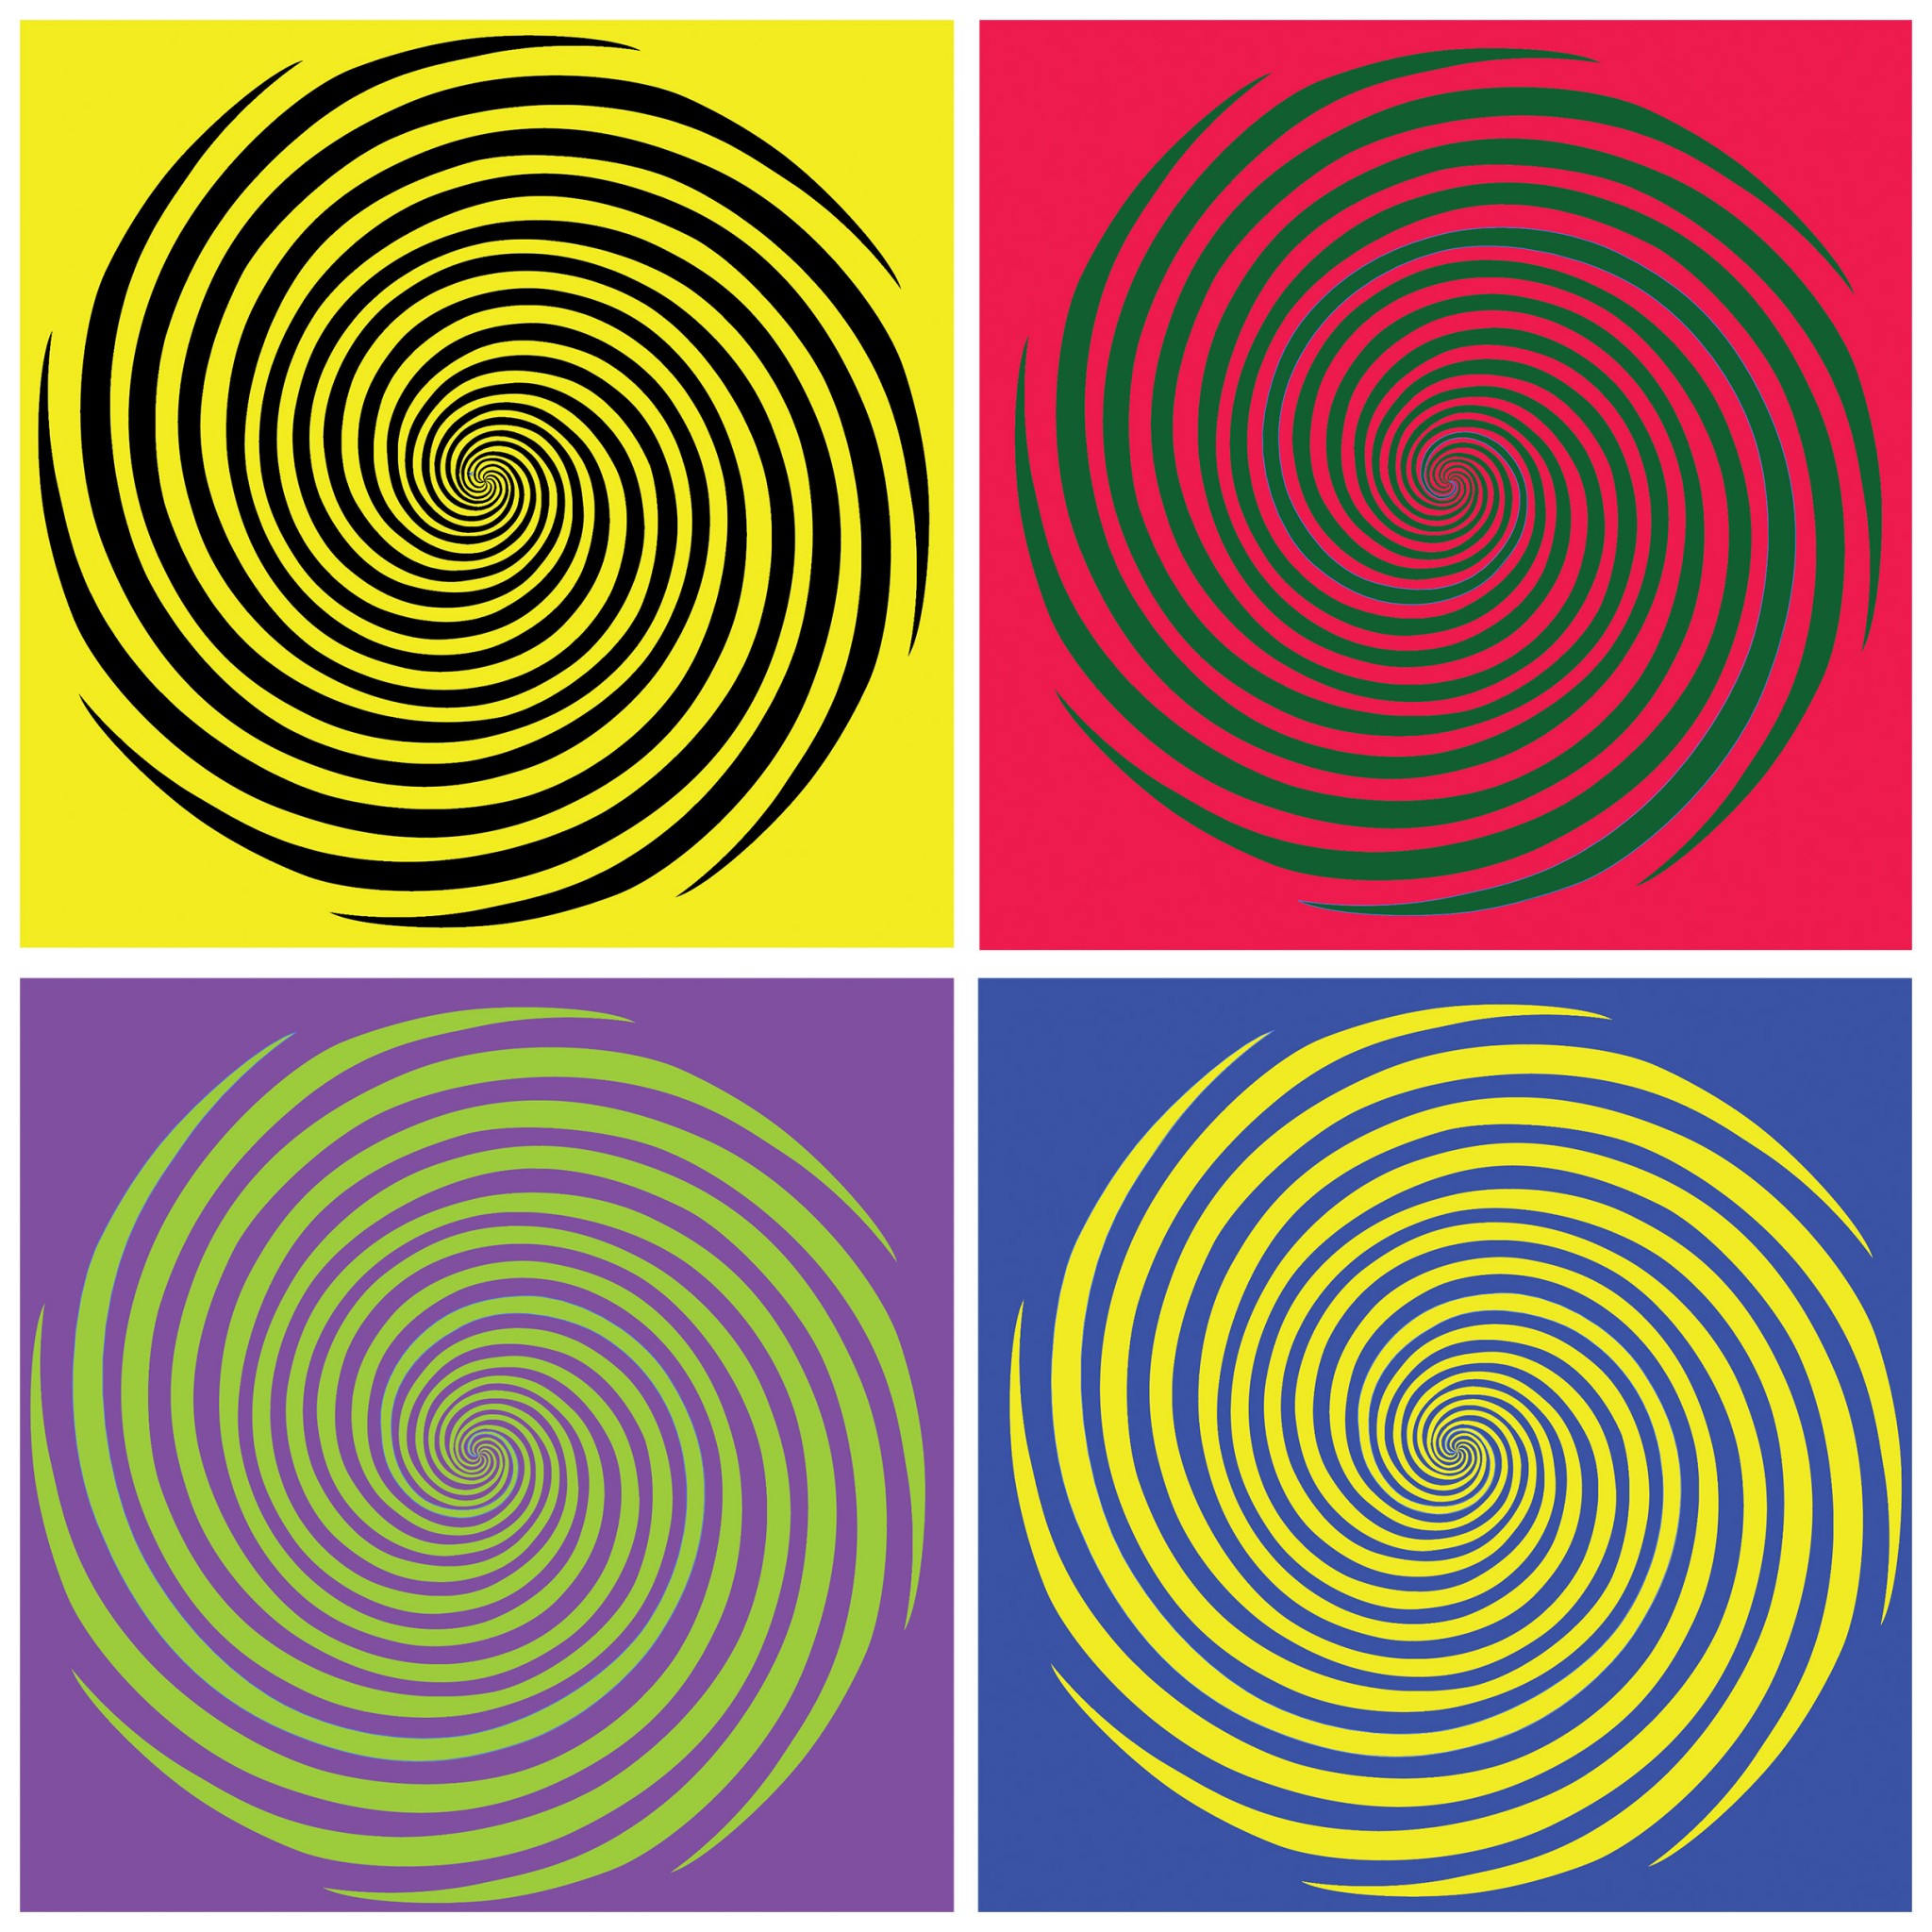
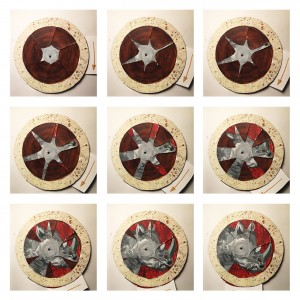
(volvelles, rotating paper disks. 13 century)

I recently lost my eyesight,
and I’ve been feeling very lonely.
Having you here really brightens up my day.
I am enjoying your company so much it makes me want to tell you about my past.
I was quite adventurous in my day, but would never have gotten through it all without my secret little helper.
- Page 3 – Rex in the Desert – verb: squeeze
Rex is learning how to cross the desert. Got thirsty, Reader helps him find lake by squeezing the water bottle.
I like to make friends.
I met Cameron.
I asked him to show me his home.
So he took me to the desert.
At first, it was lovely, we were talking and laughing.
But as we walked deep into the desert,
I ran out of my water supply
and the thirst was killing me.
Luckily, I was saved by my secret helper.
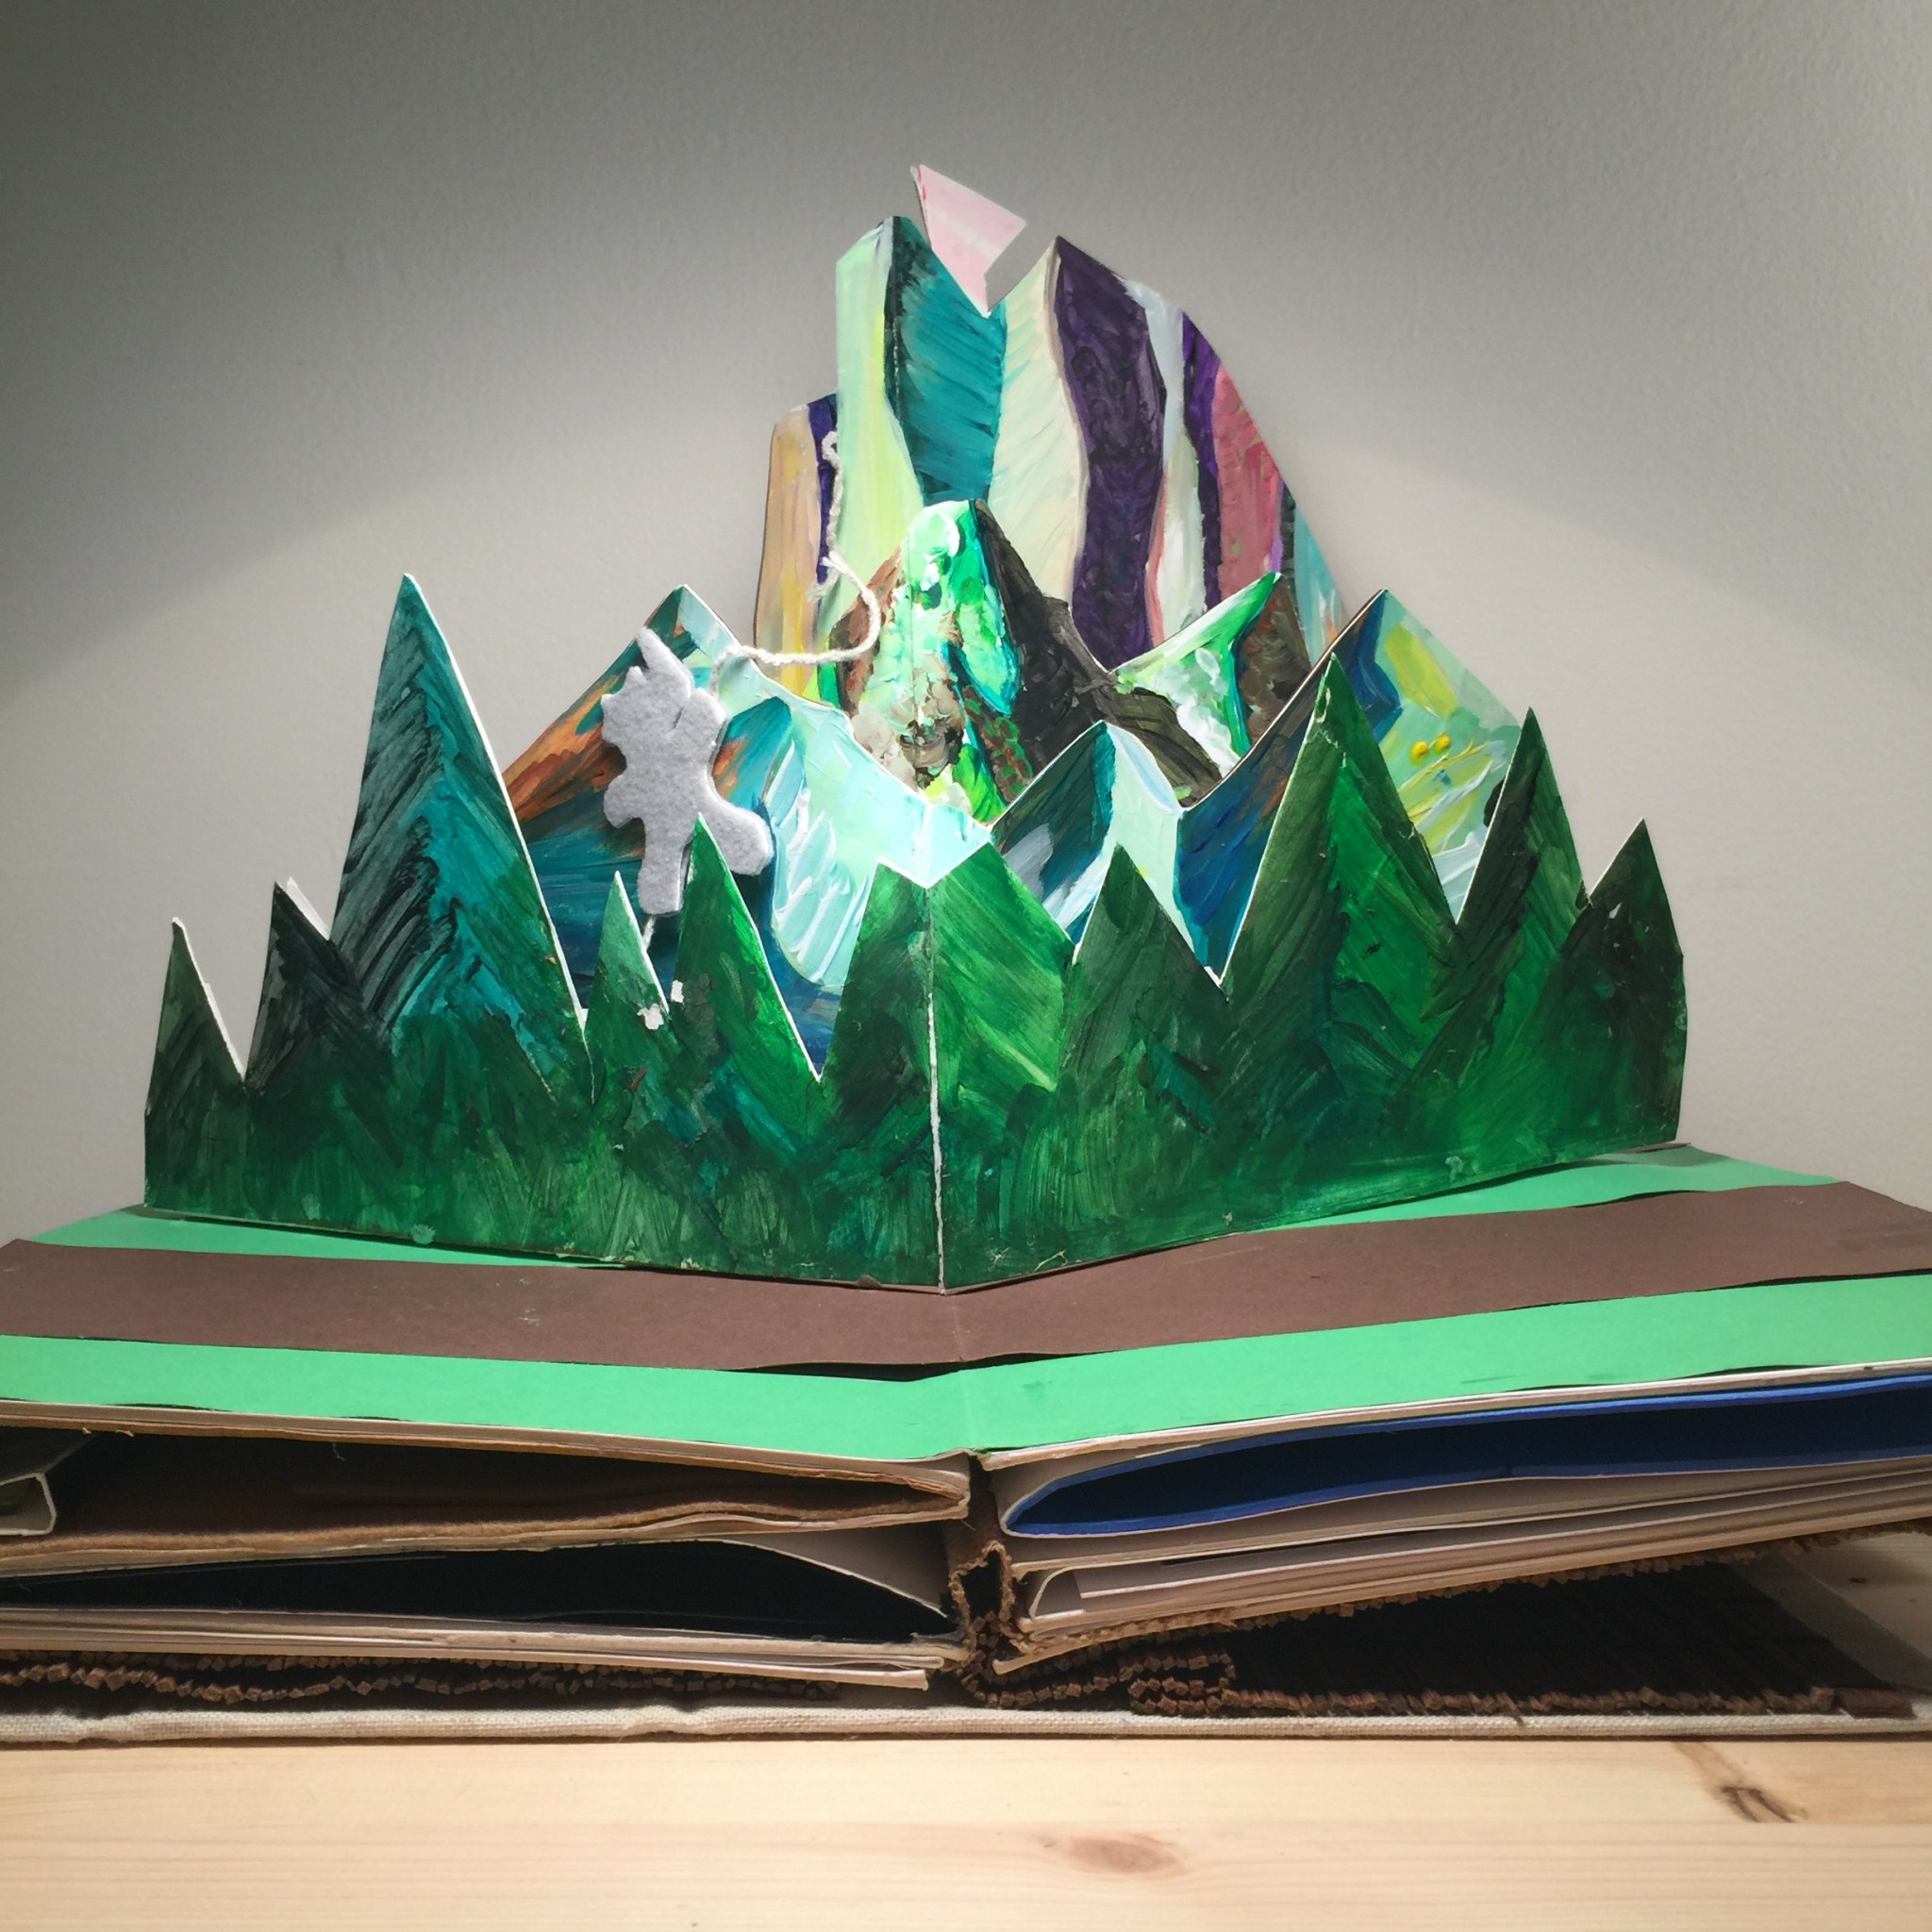
- Page 4 – Rex climbing mountains – verb: tie
Rex is learning how to climb mountain, the rope broke, reader helps him tie the rope.

When I got out of the desert,
I met Max.
I asked her to teach me how to climb mountains.
She offered me one end of a rope
and climbed swiftly to the top the mountian
then tied the other end on a pole.
As I was in the middle of my climb, the rope broke,
I was falling,
Again, my secret helper saved me.
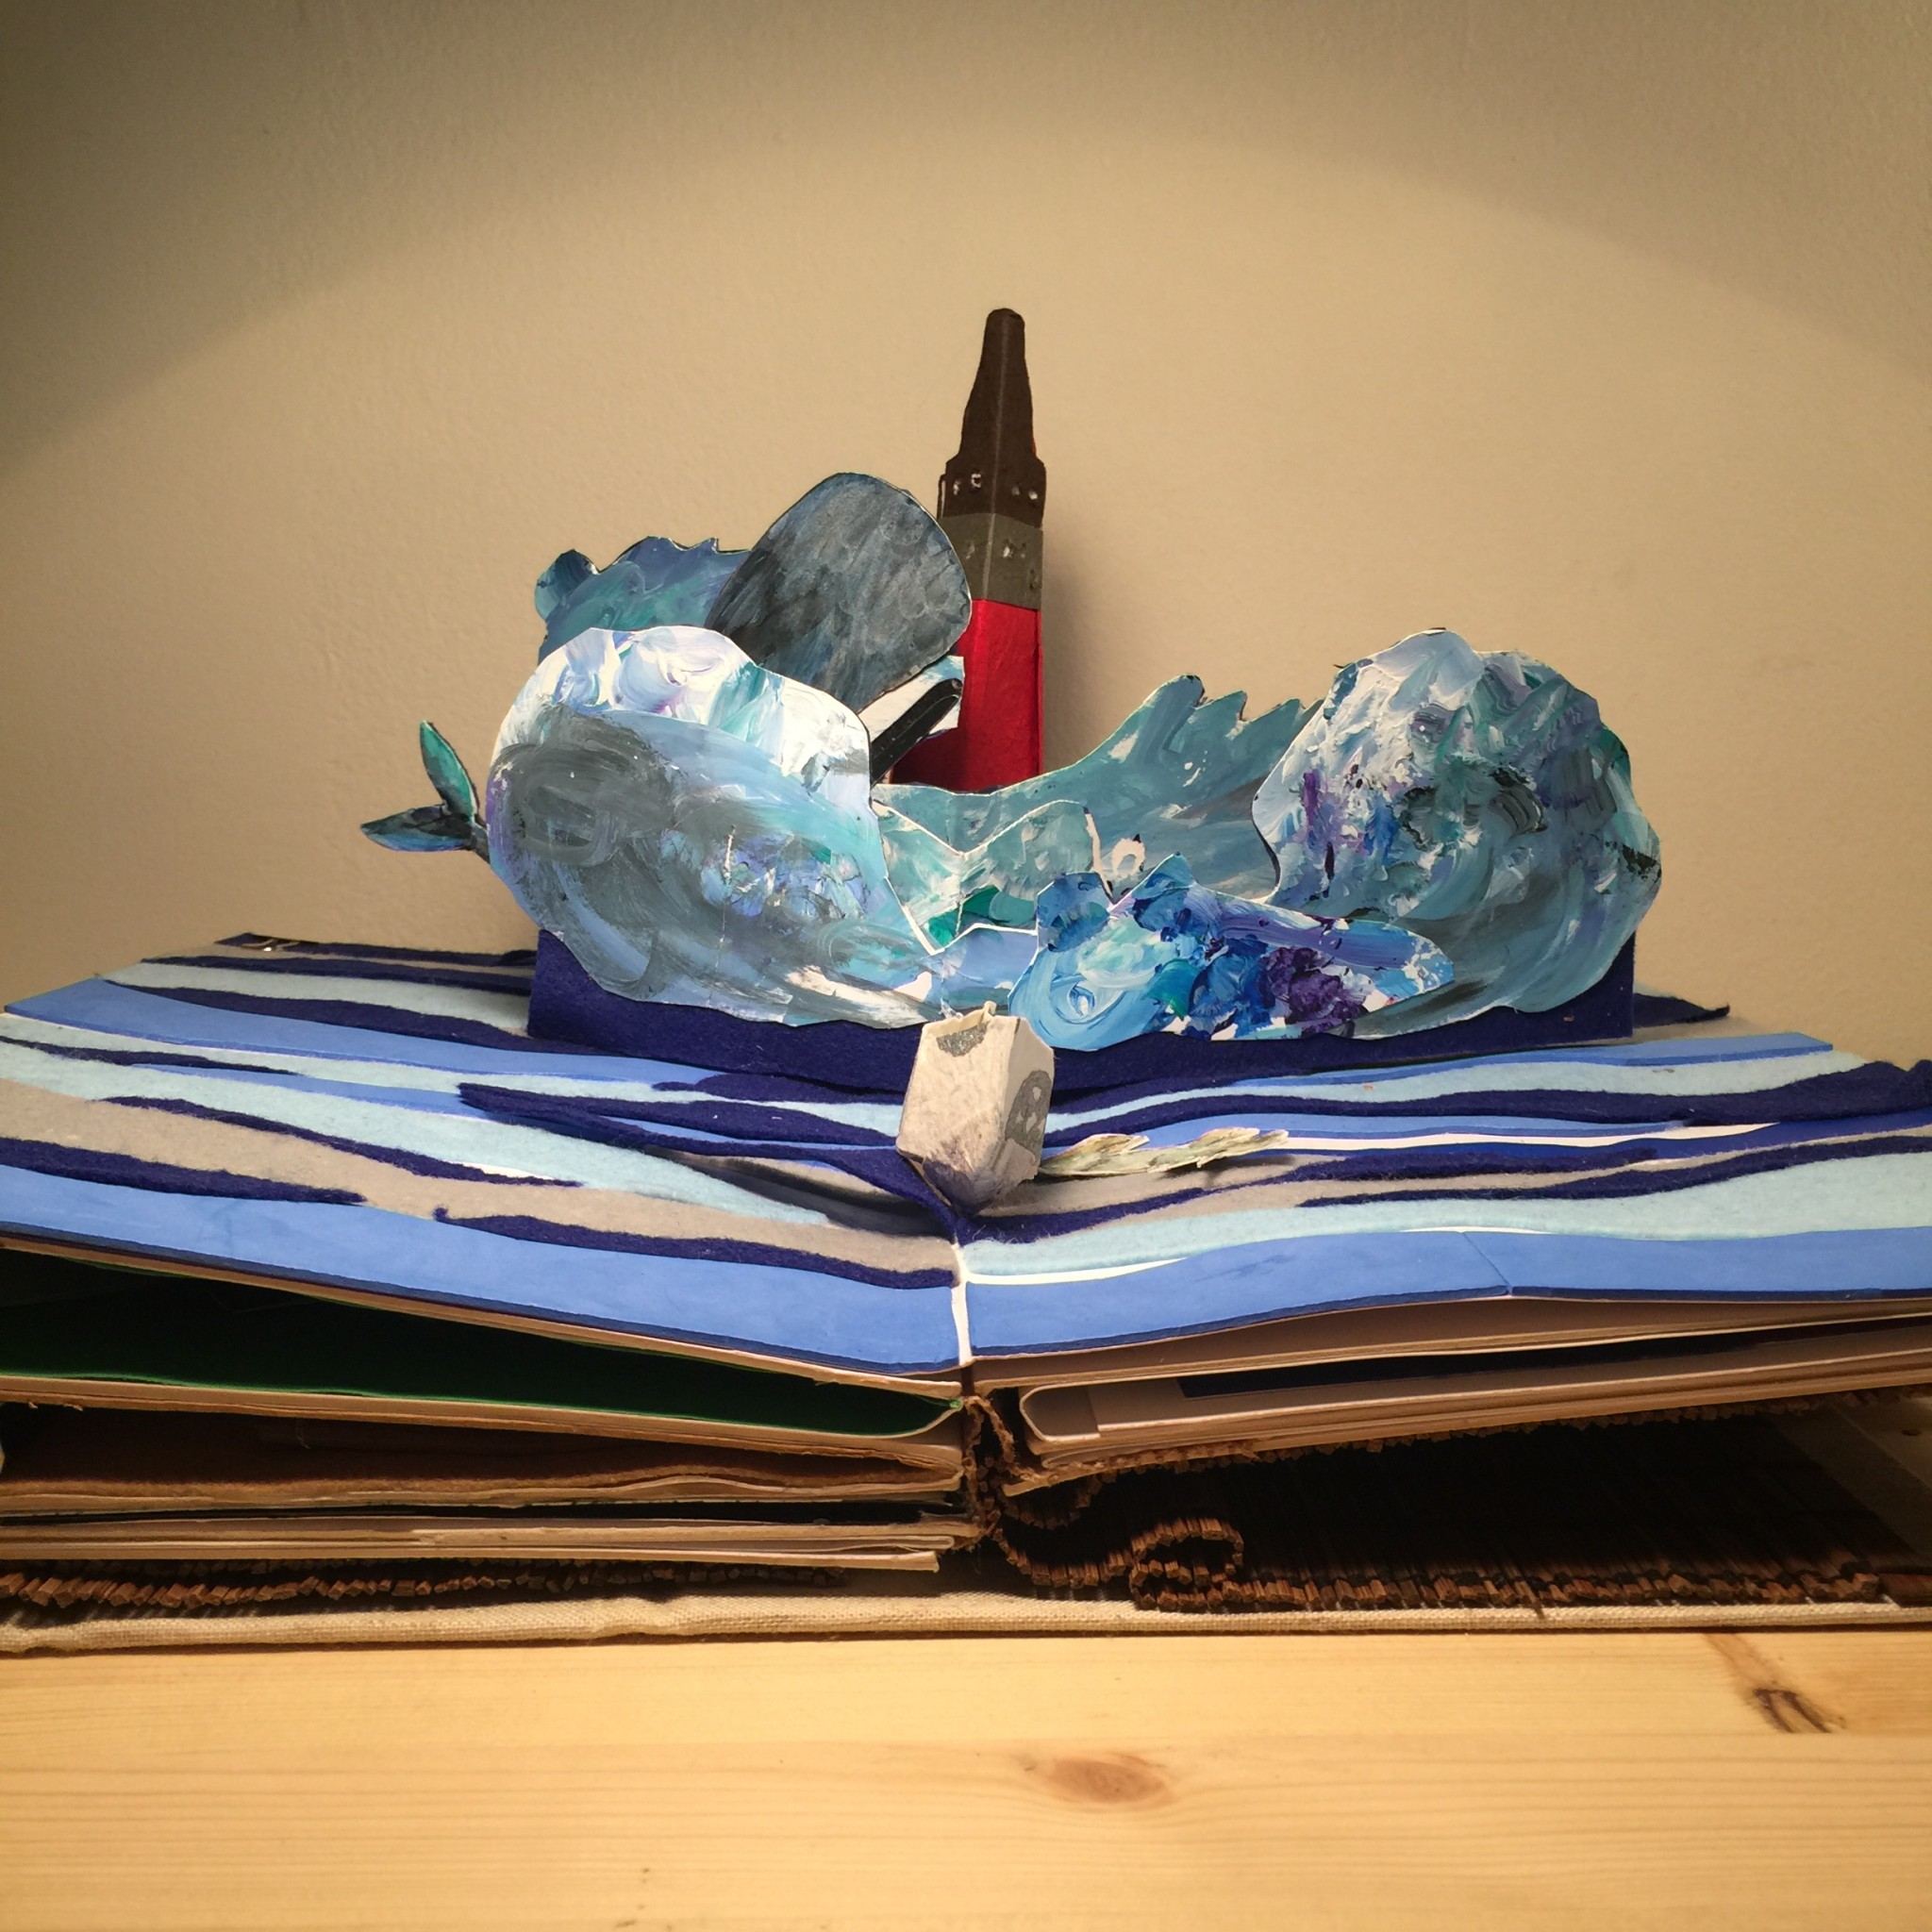
- Page 5 – Rex sailing the sea – verb: put in
Rex is learning sailing, got through out of the boat, reader help put him back in the boat.
After saying goodbye to Max, I wondered to the seashore, where I met Lady W.
I asked if she could teach me how to sail the sea.
She agreed. So I built a boat and followed her into the heart of sea
One day, a heavy storm hit us, and I was thrown out my boat.
I was about to drown, it was my secret helper that picked me out of the ocean and put back into my boat.
And that’s when I saw a lighthouse, and I was saved.

inspired by one version of <the wizard of oz> pop up book
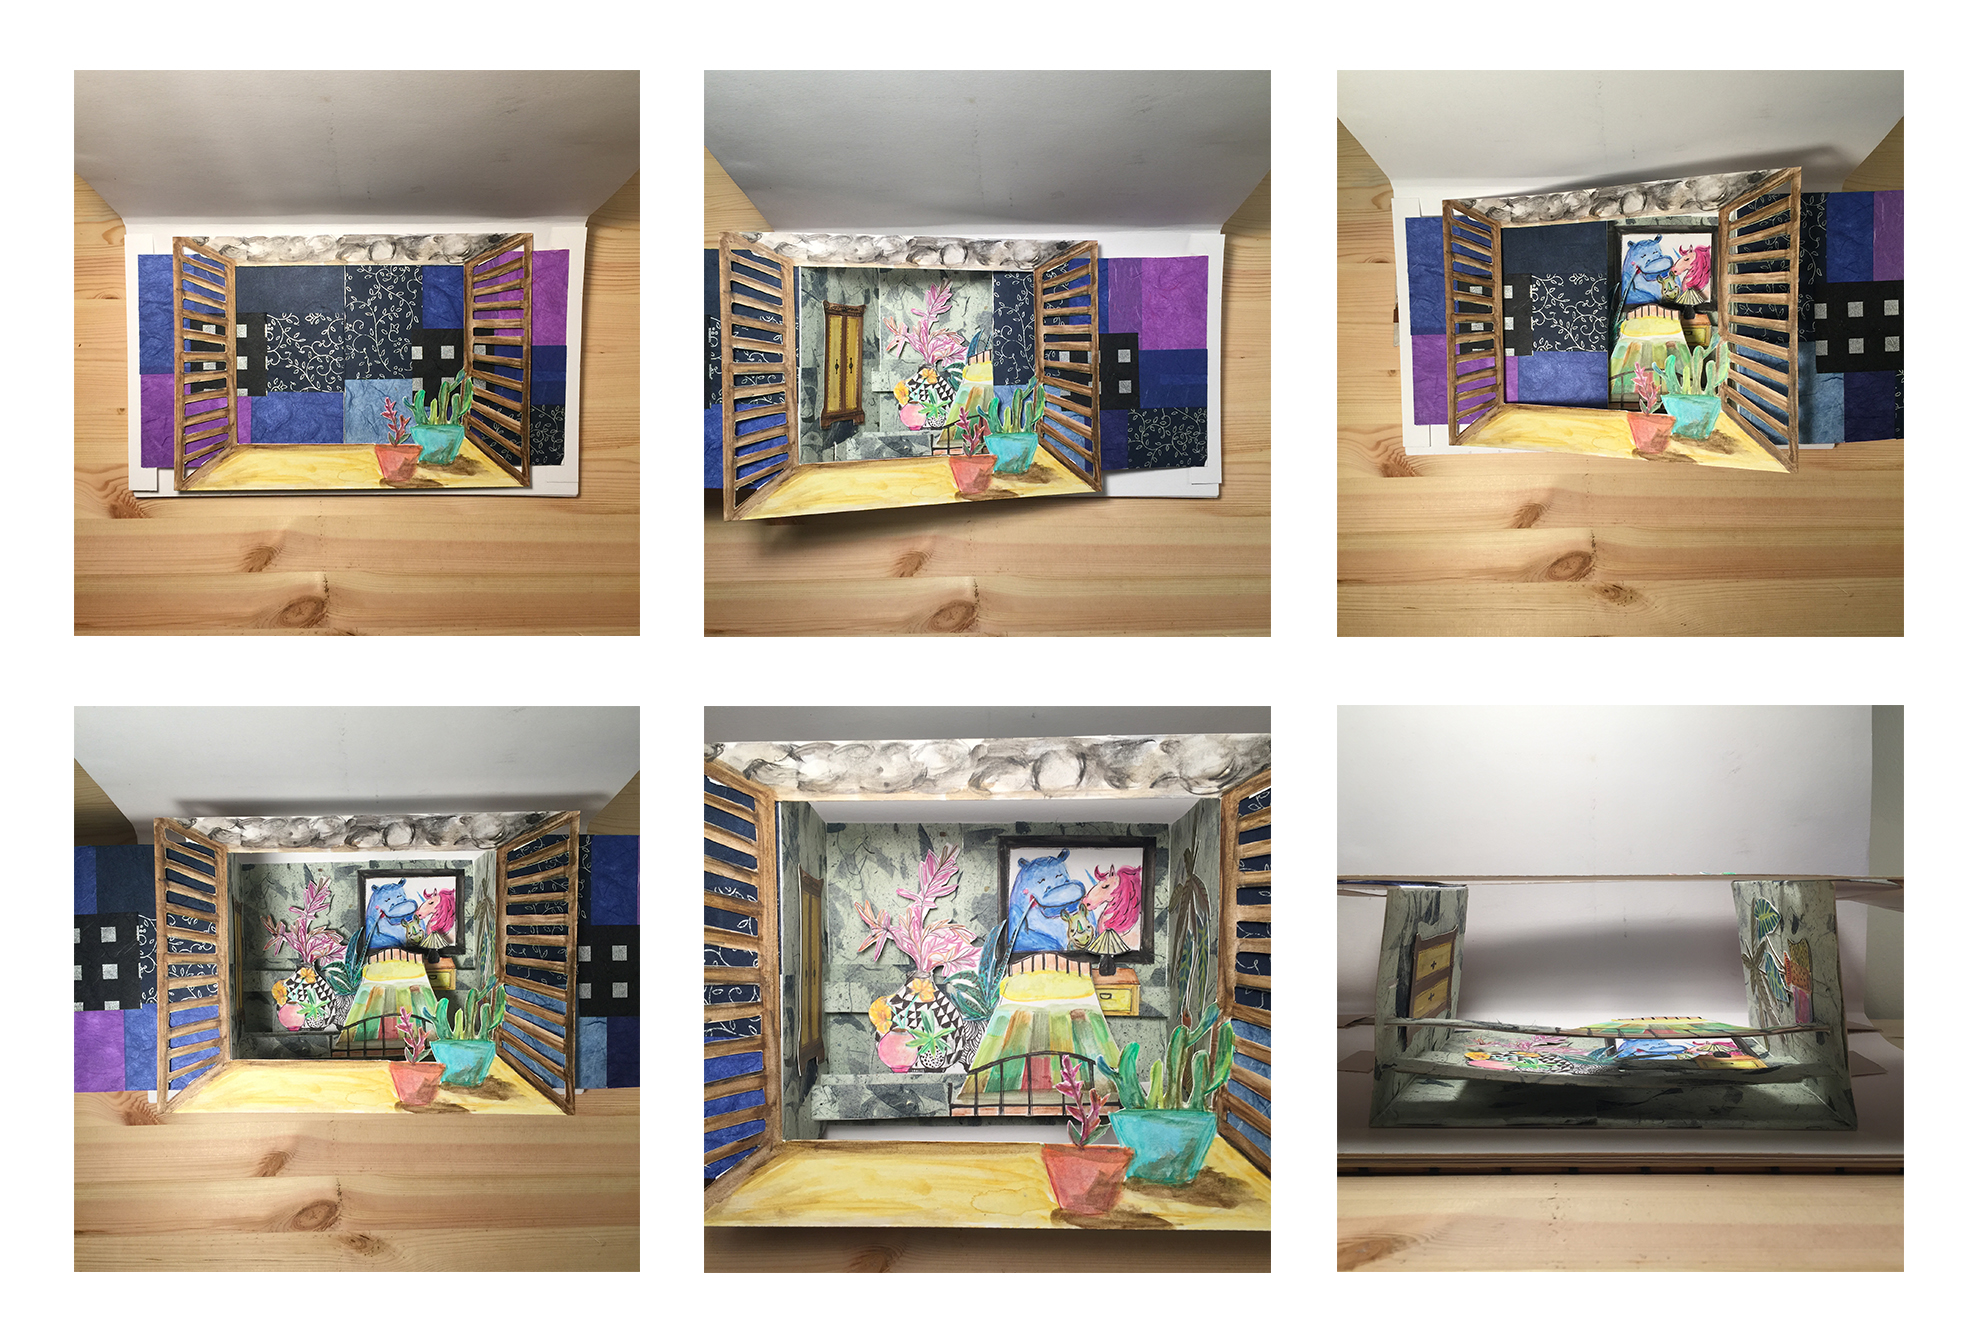
Thank you for listening to my stories.
I’m tired now, going to rest.
Please take a look around my room,
make yourself at home.
Good night.
Talk to you soon.
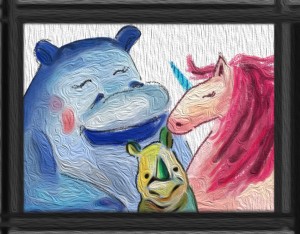
He’s the son of a Hippo and a Unicorn
Do you still remember your childhood? Remember the things you love to play with? The feeling of being absorbed in this little world you created for yourself? Where you are in full charge of rearranging things and ordering that world to act in new ways that pleases you better? When you looked at the drawings you did when you were little, do you ever wondered where on earth you got your imaginations from back then?
Childhood is the most important period time of one’s life. In one life span, a happy childhood can make all the difference in the world. It is very important that we don’t let reality from the adult world to stifle children’s first traces of imaginative activity. Early education is very important. And the most joyful way for achieving that is through play. As Freud puts it, “The child’s best-loved and most absorbing occupation is play.” My particular interest for my future design endeavor is in adapting cutting edge technologies for children to play with. As we see in Barthes’ Toys, children think in a completely different way and in fact have a complete world of knowledge and representation that adults cannot share with them.
In my perspective, designing the right toy for kids to play with is essential. For my final project, in order to engage with a whole generation of people who not only are versed in technological media but know how to navigate between technology and the material world.
I am creating a electronic pop-up book for kids, while the parents to play along with them, evoking the feeling of companionship through interactions with physical objects in the context of my narrative.
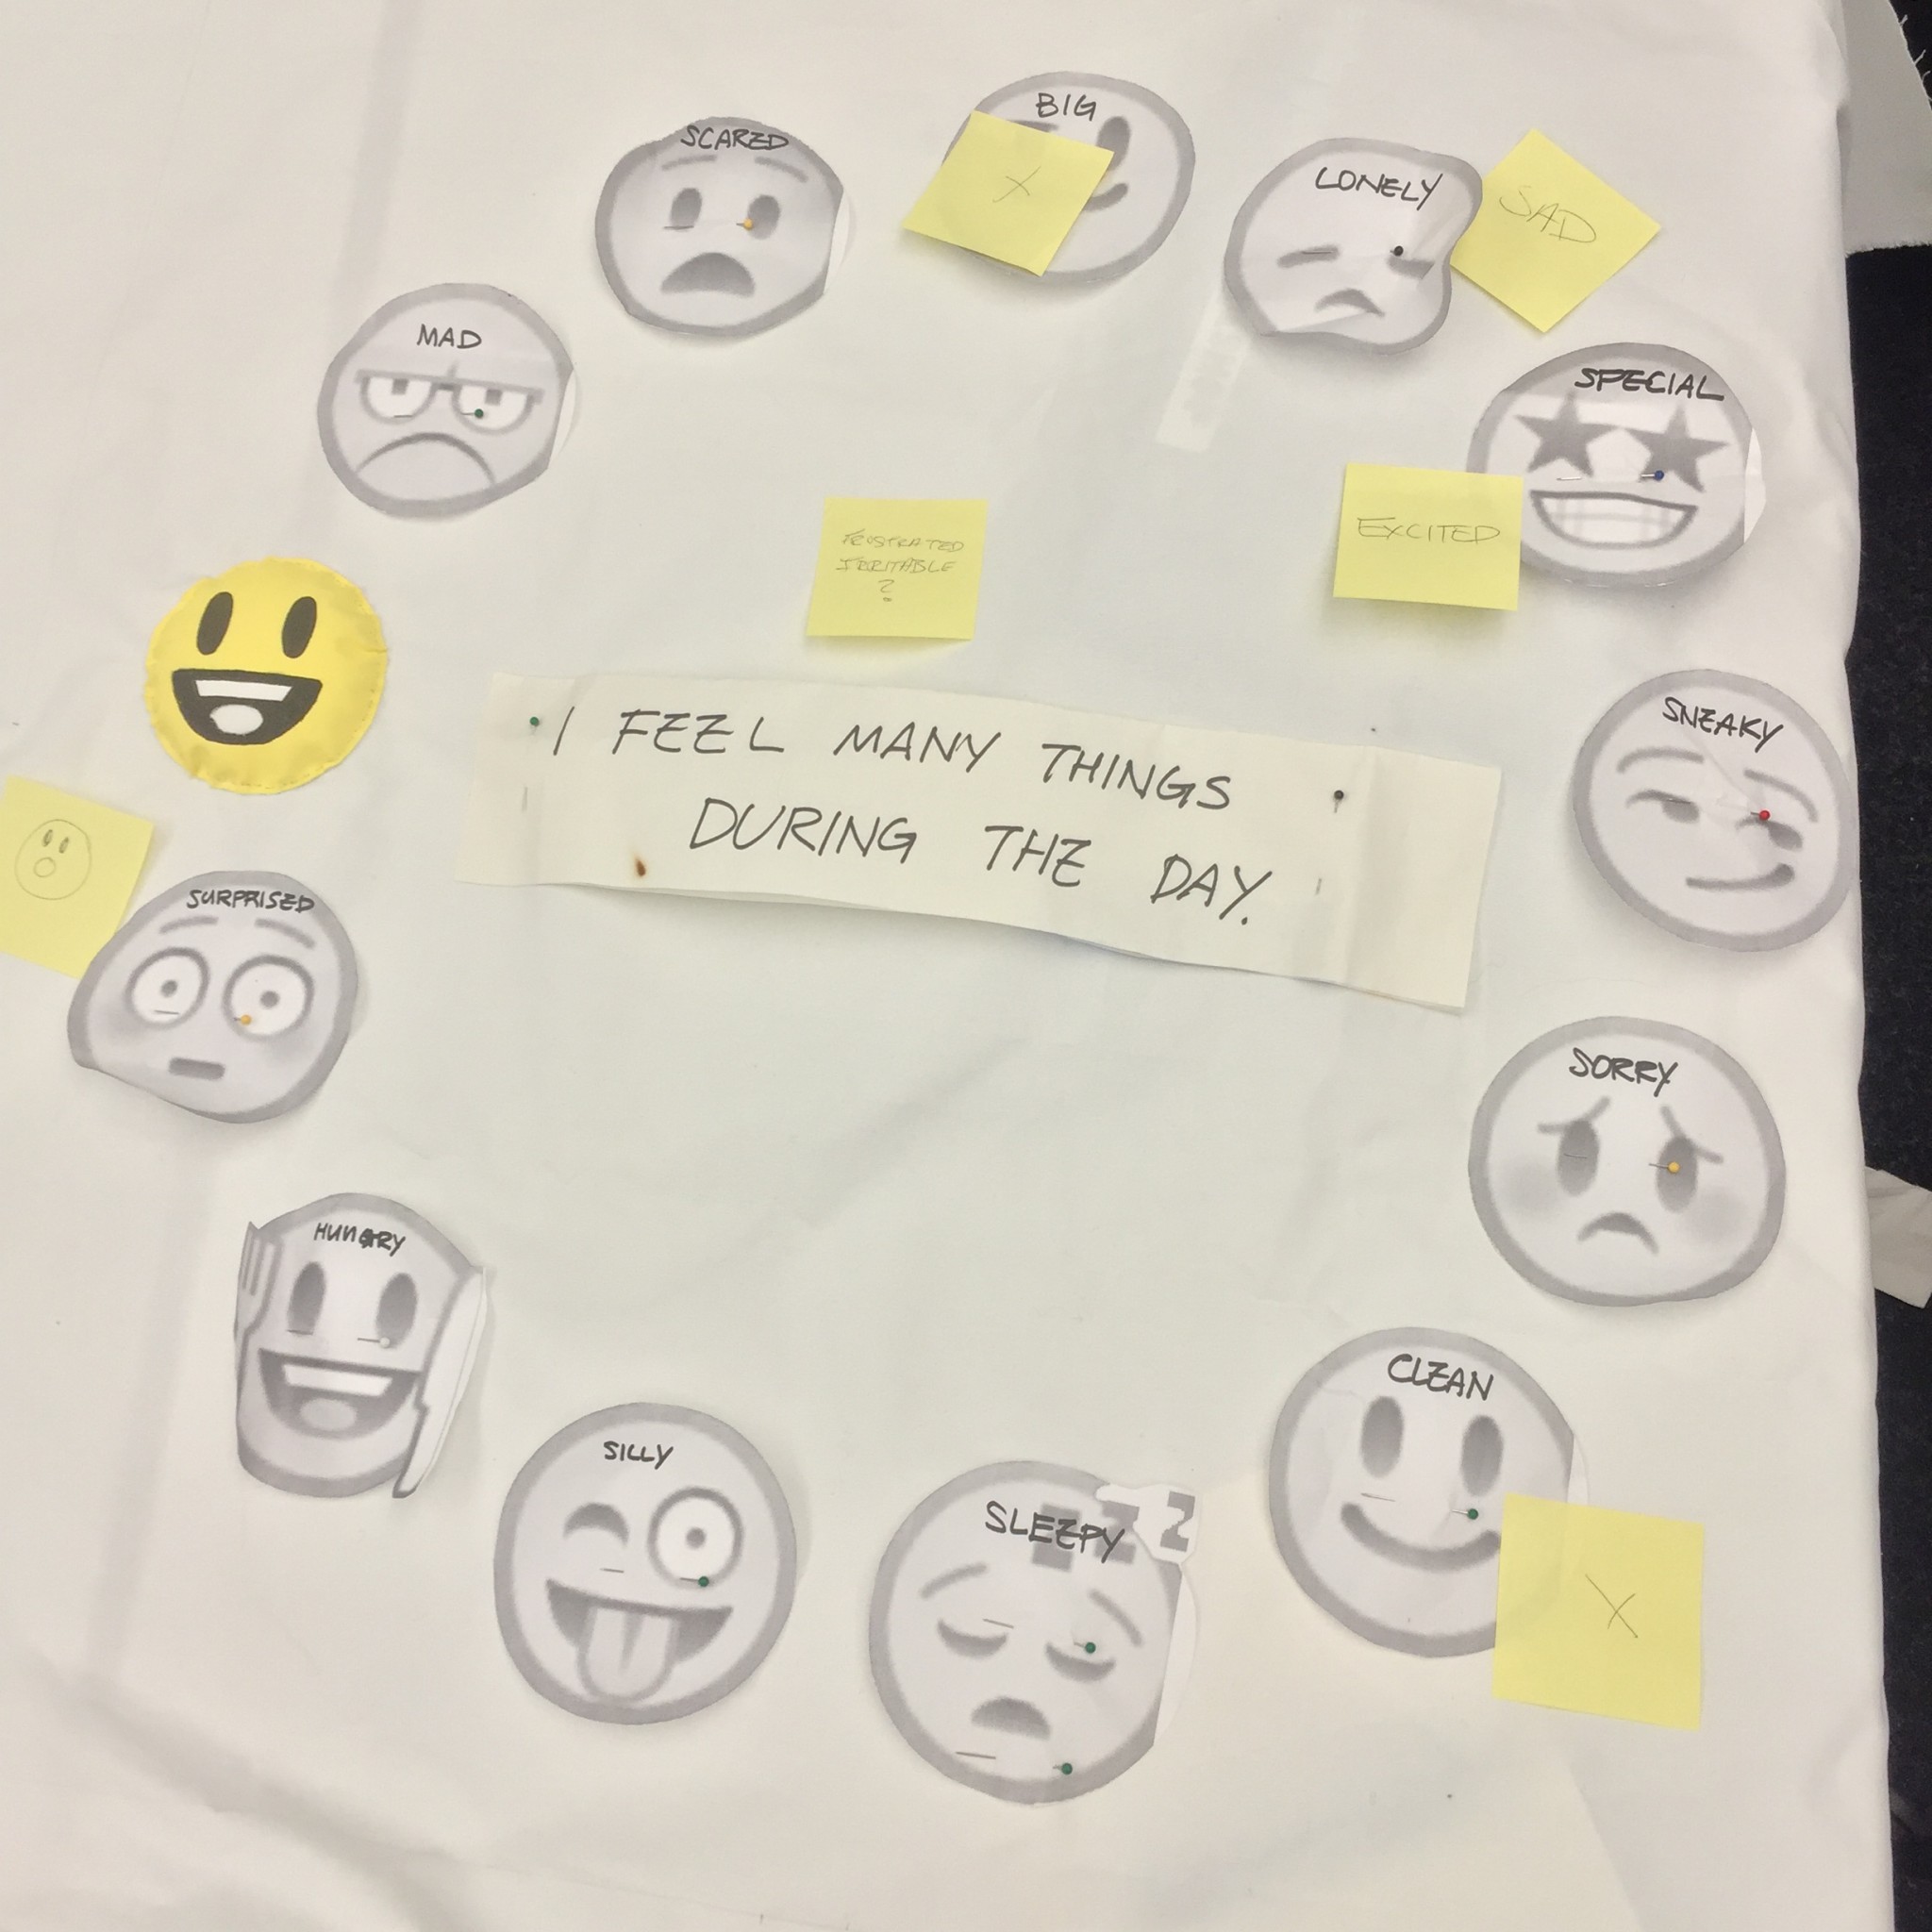
While the book is interactive because of the technology, but what actually brings the book alive is its narrative. The main questions I’m attempting to answer in my prototypes are how different technical interactions can be linked to specific verbs, which in turn links to different scenes on different pages.
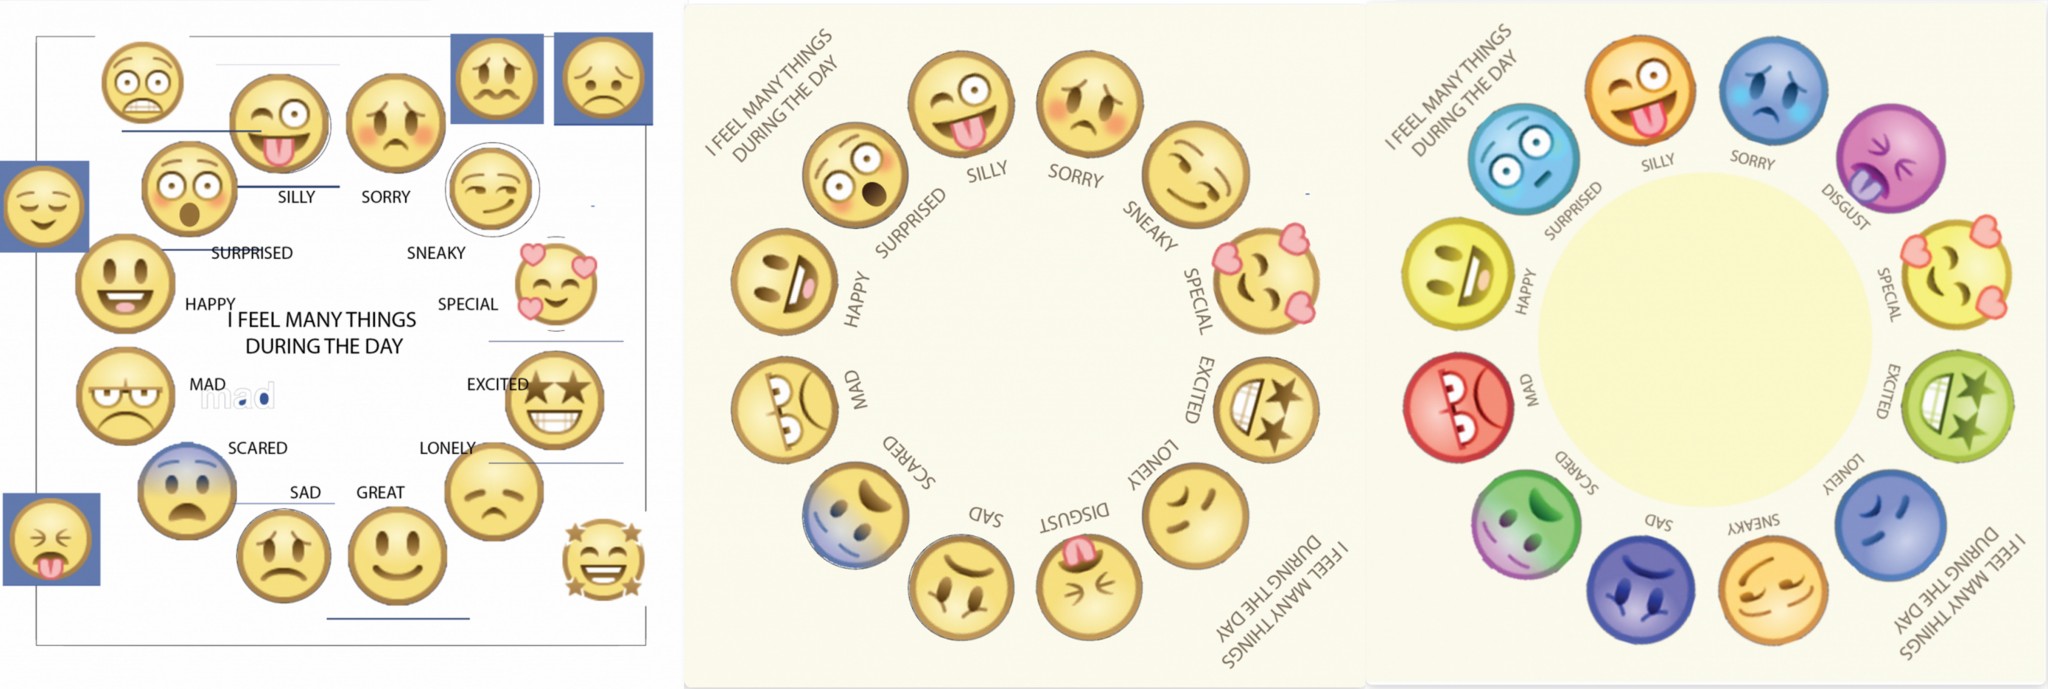
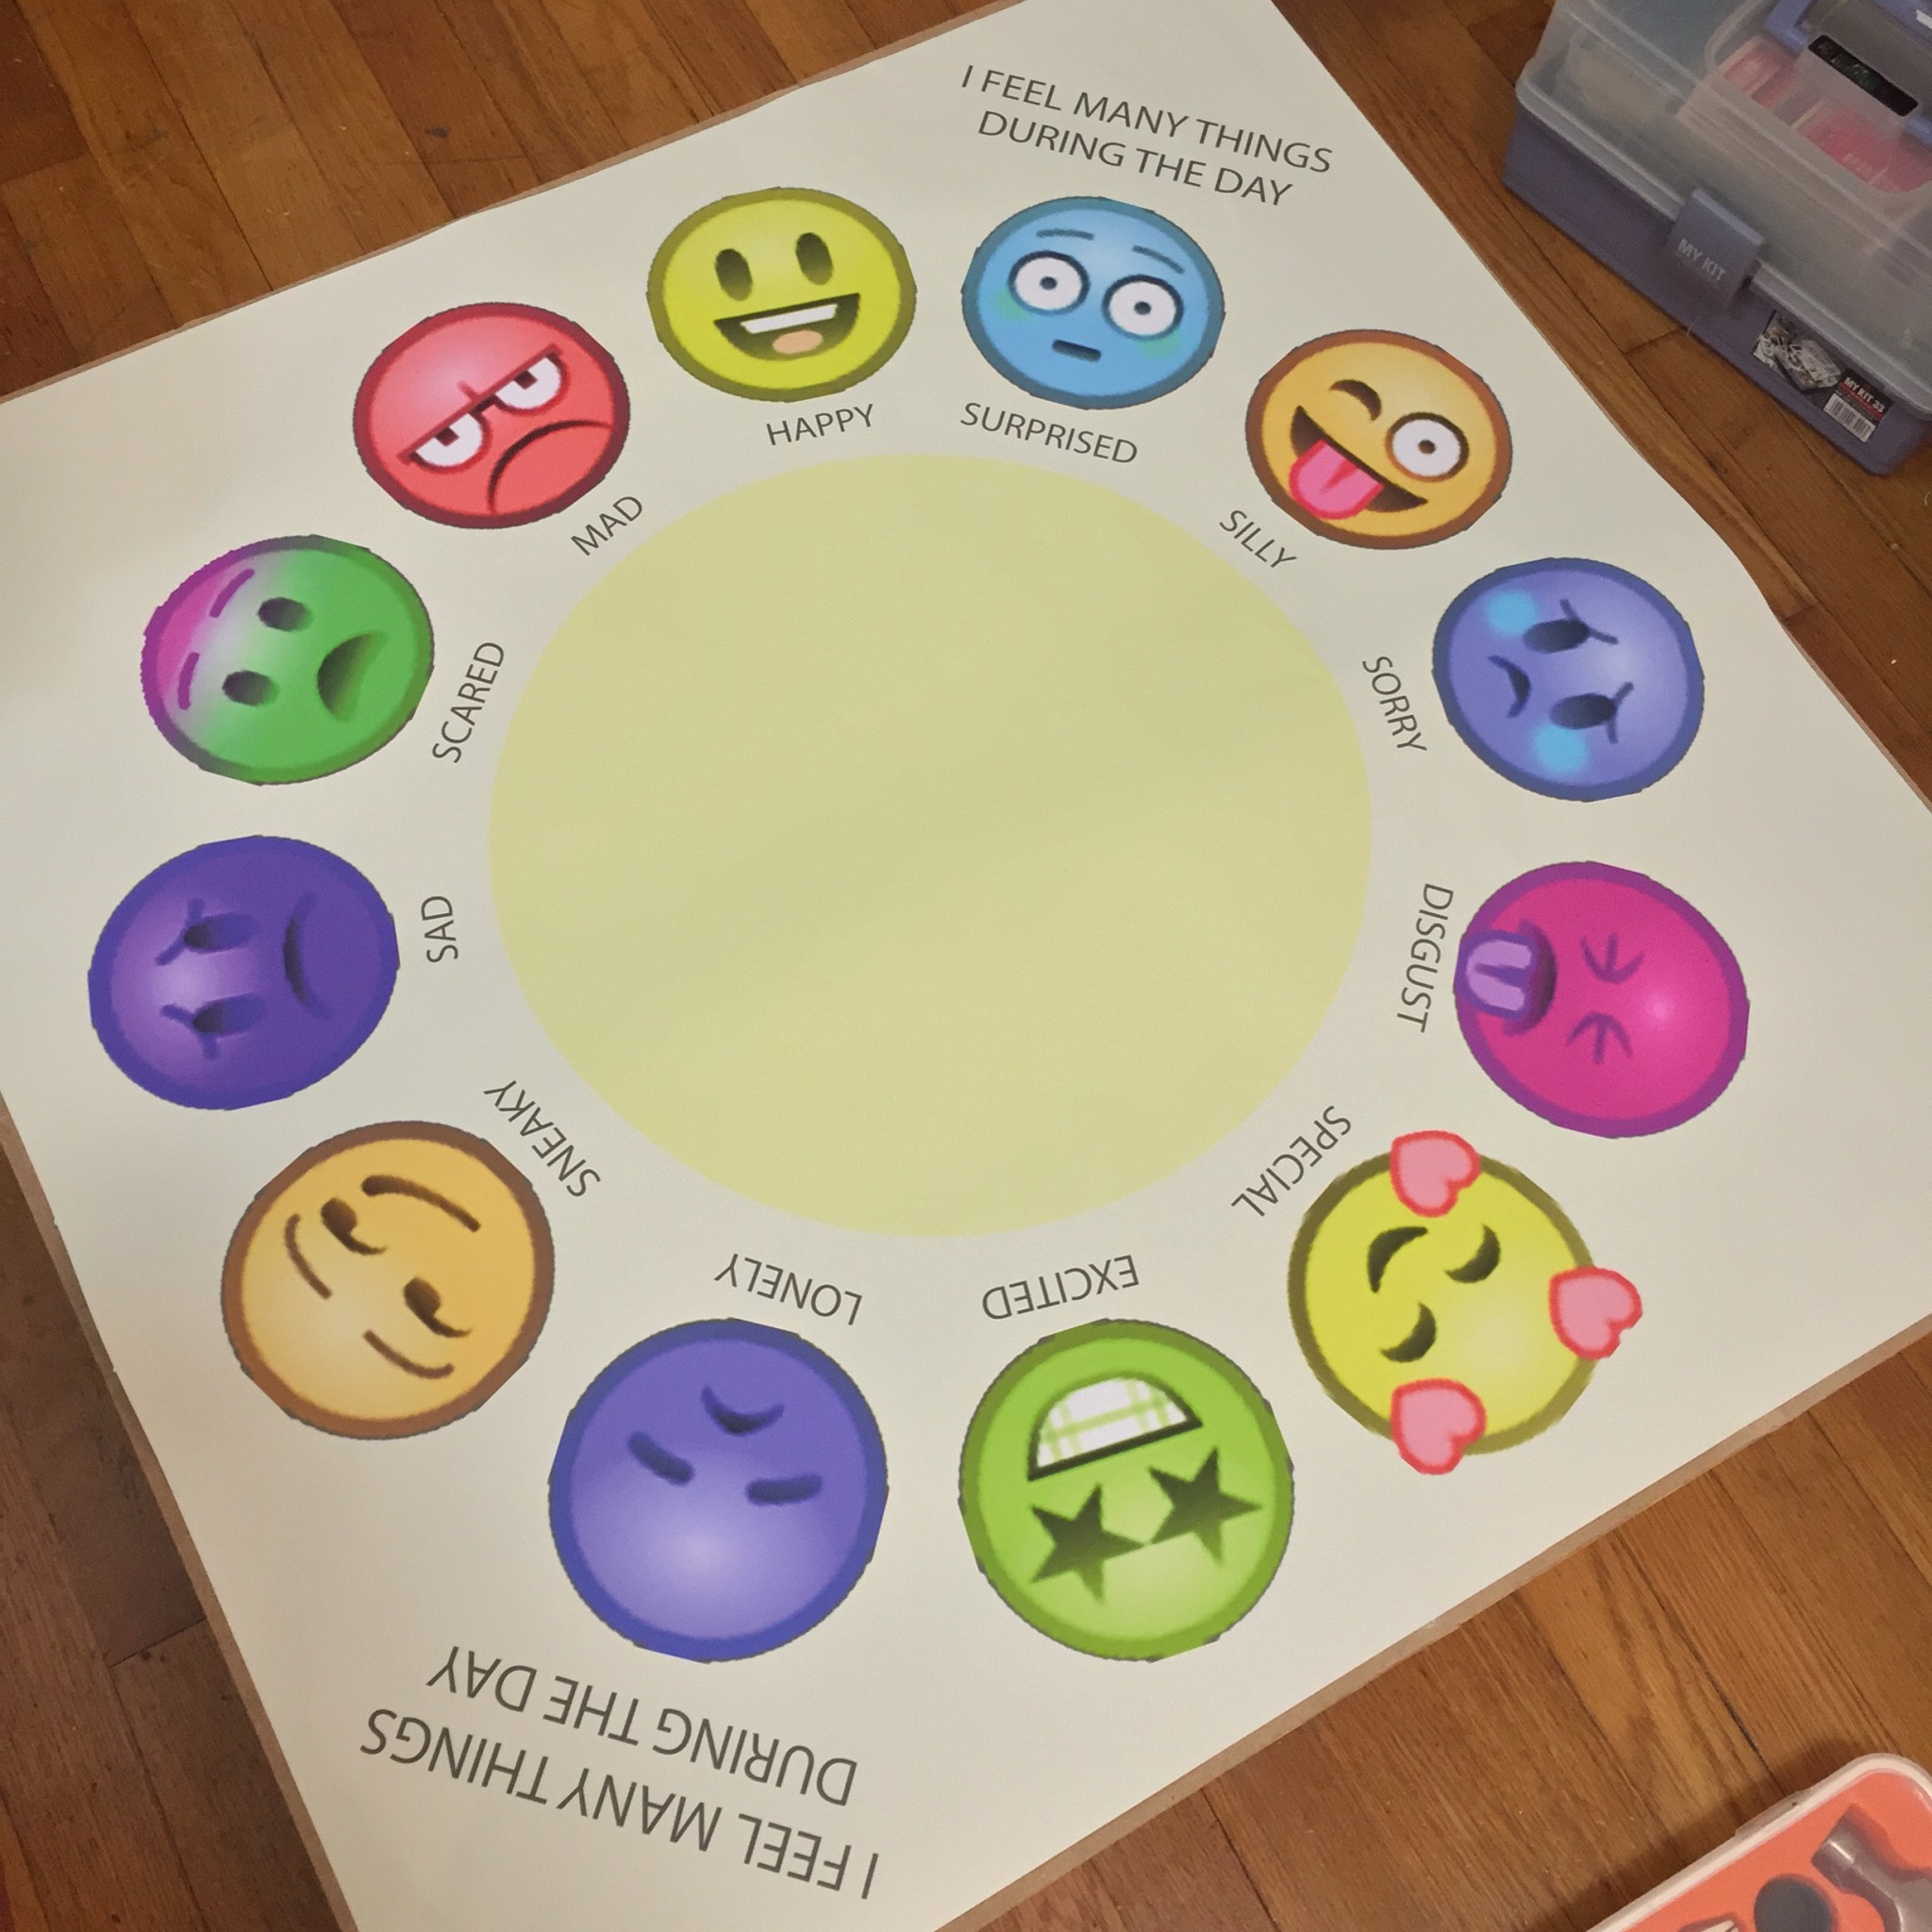
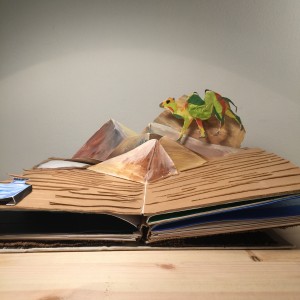
The name of the book is called <Rex’s Magic Adventures with a secret helper>. The main character of the book is a 40-year-old Rhino name Rex who recently lost his eyesight. His whole world has turned black. He’s lost the will to carry on. But luckily, the reader opened this book, bringing light into his life again by spending time with him. As the reader turns the page, Rex started to reflect back in his life of certain moments where he’s survived particular difficulties with the help of a secret helper. By following the instructions on the page, the parents will guide the kids to complete certain action required to help young Rex. At the end of the book, there is a letter, addressed to the reader, telling him/her “thank you for being my secret helper”. Rex signs the letter.
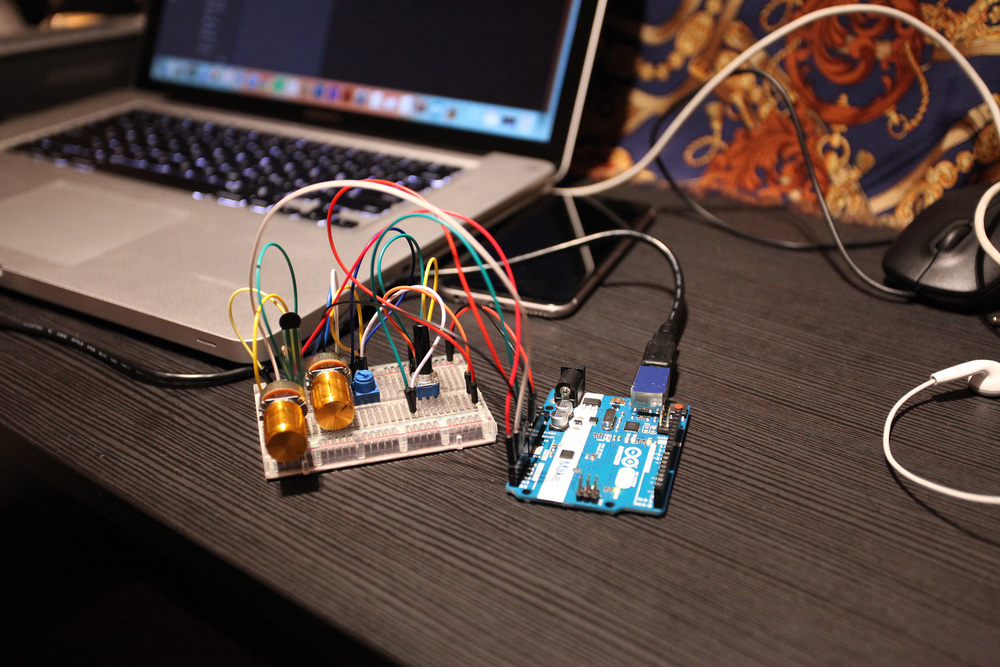
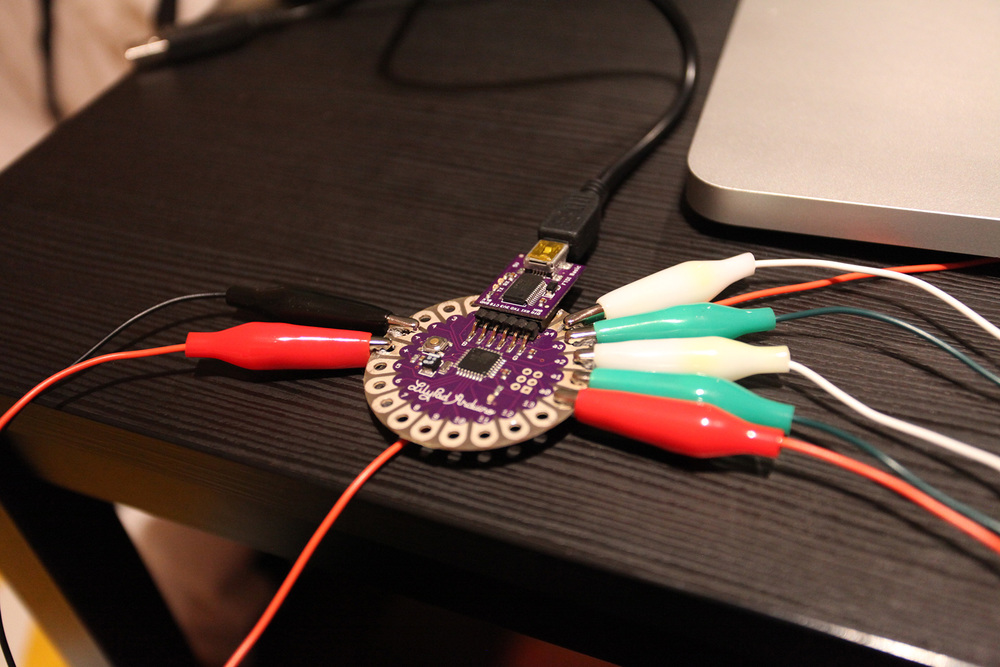
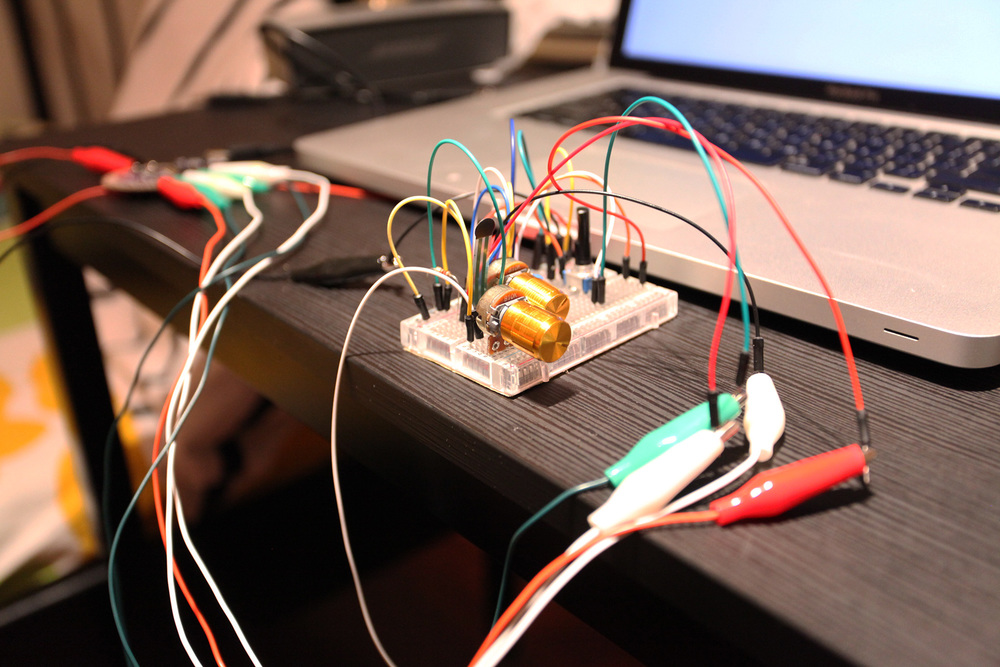
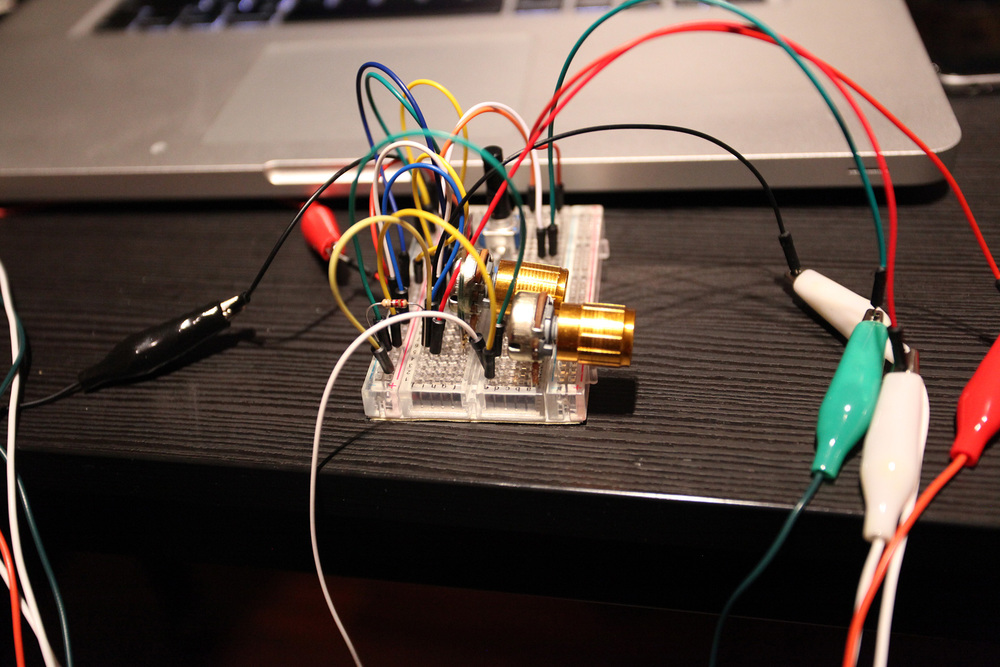
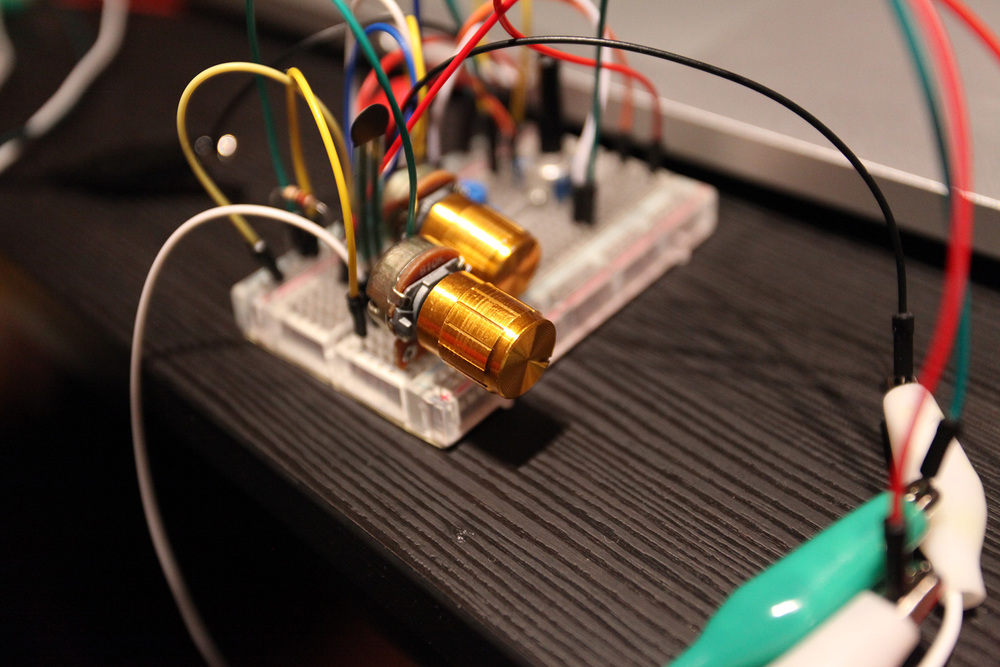
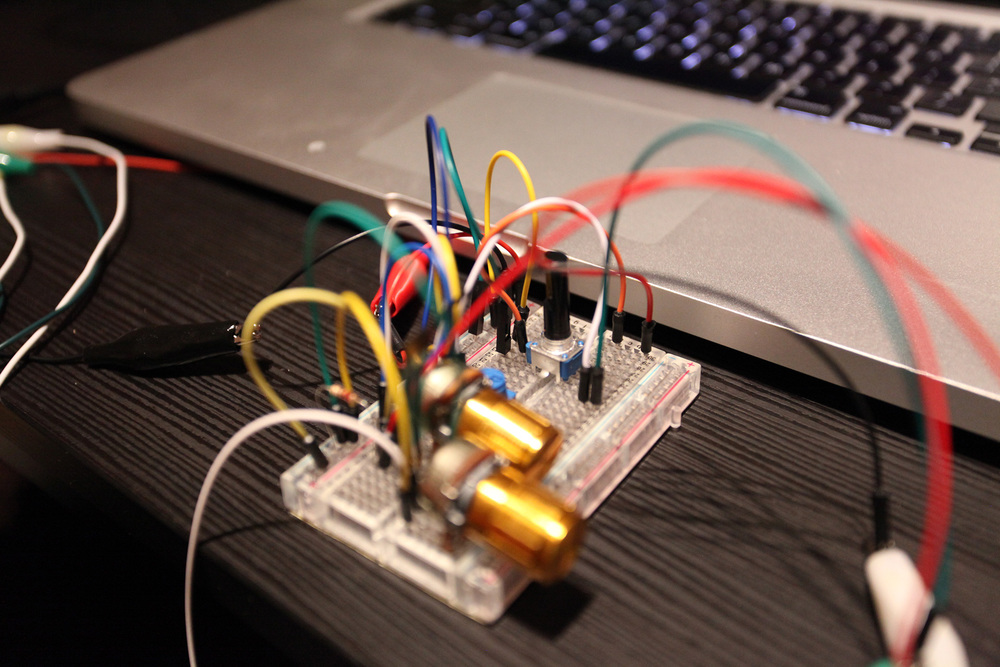
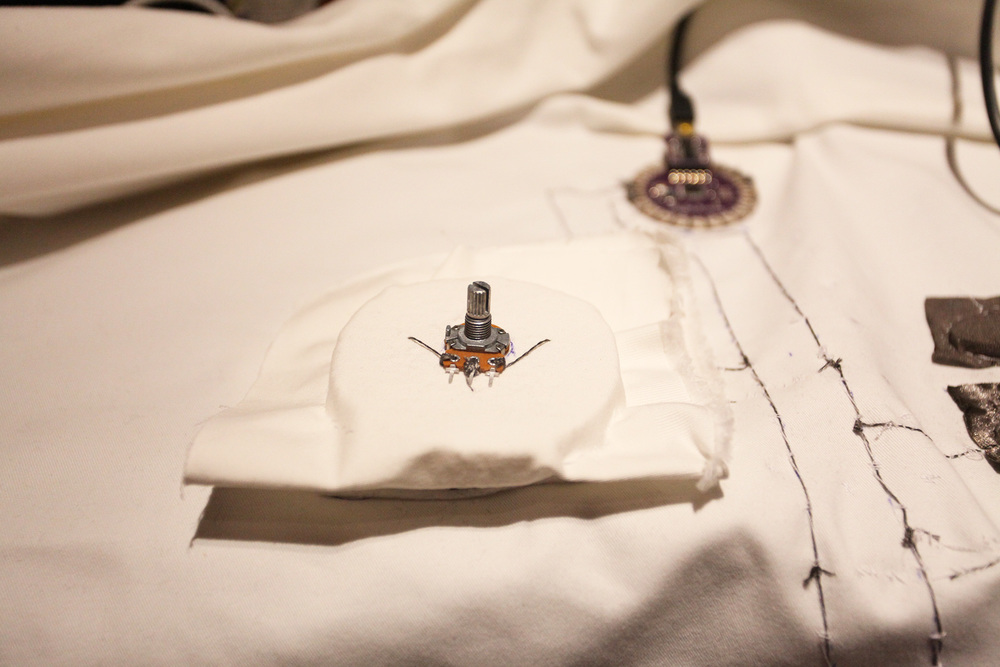
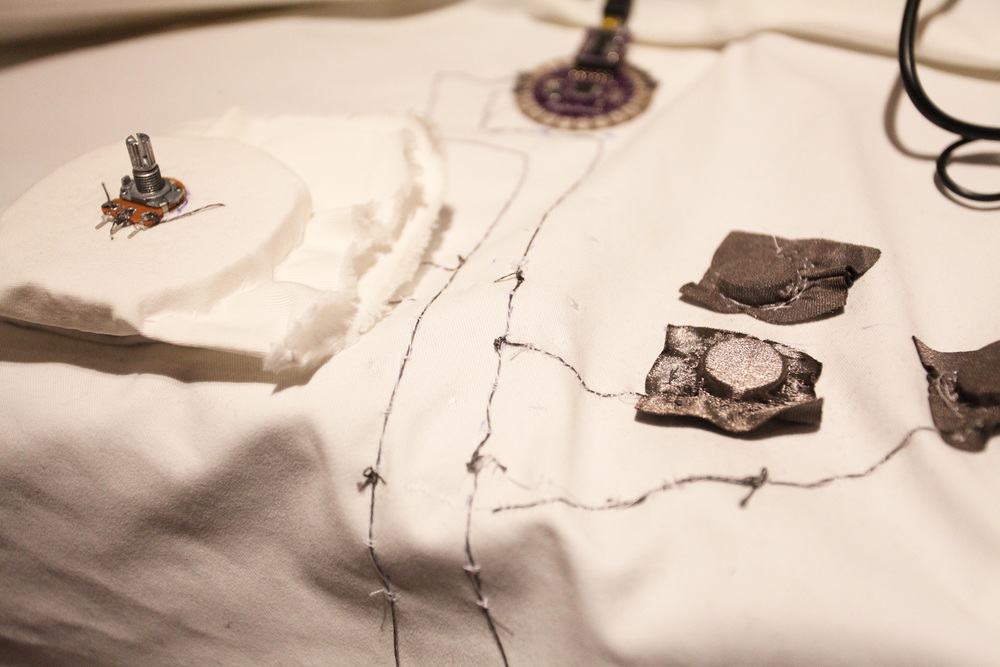
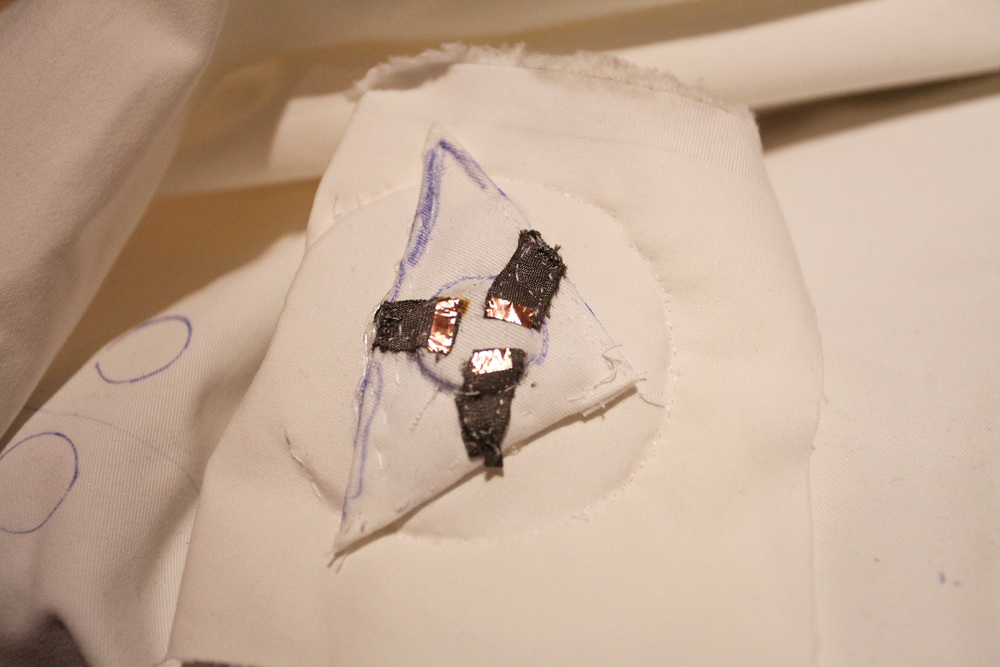
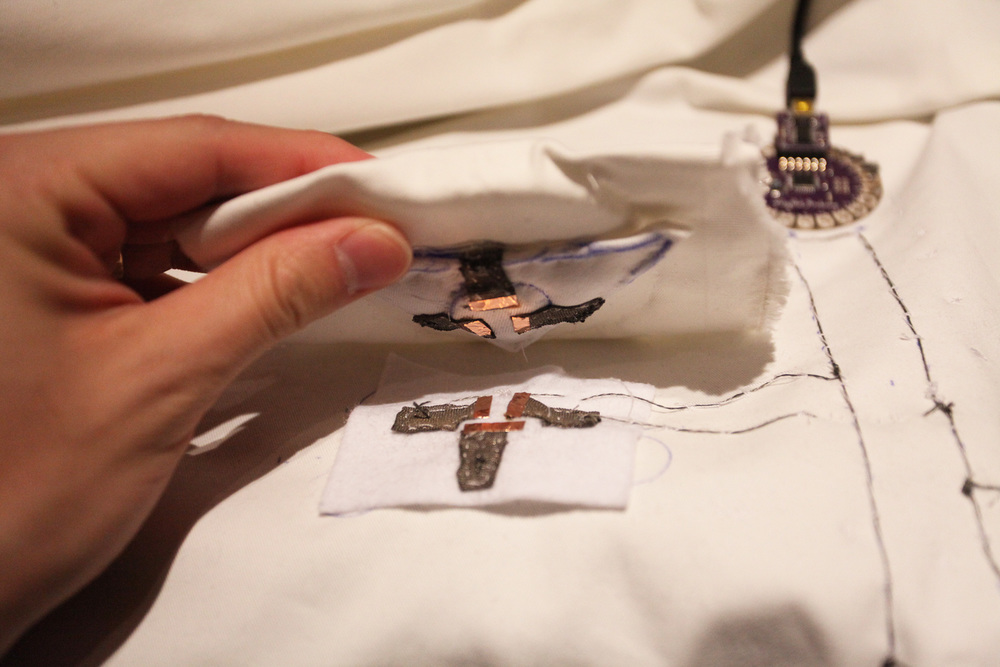
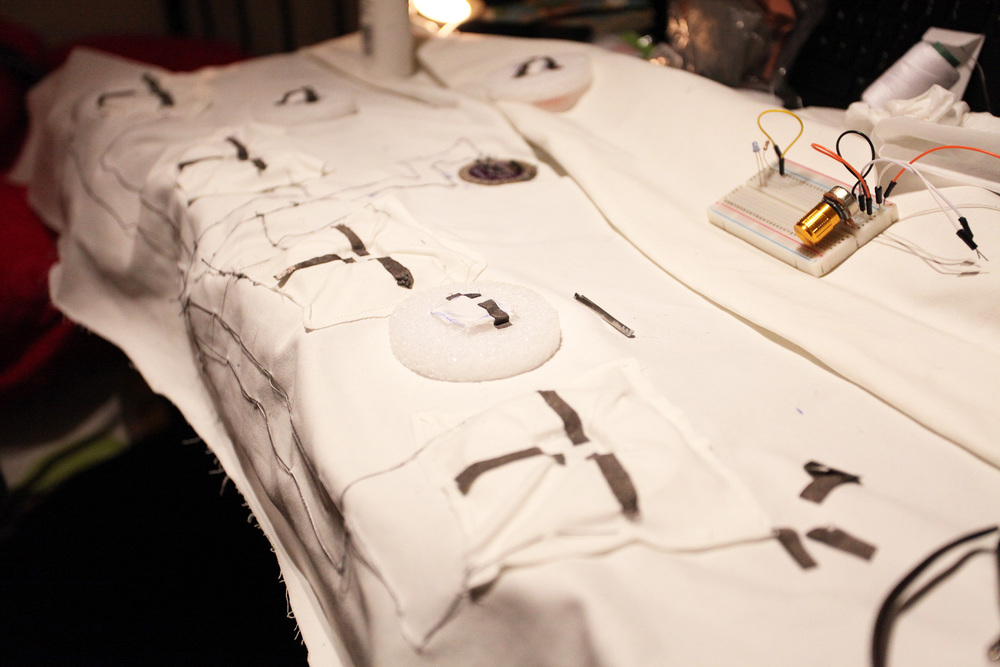
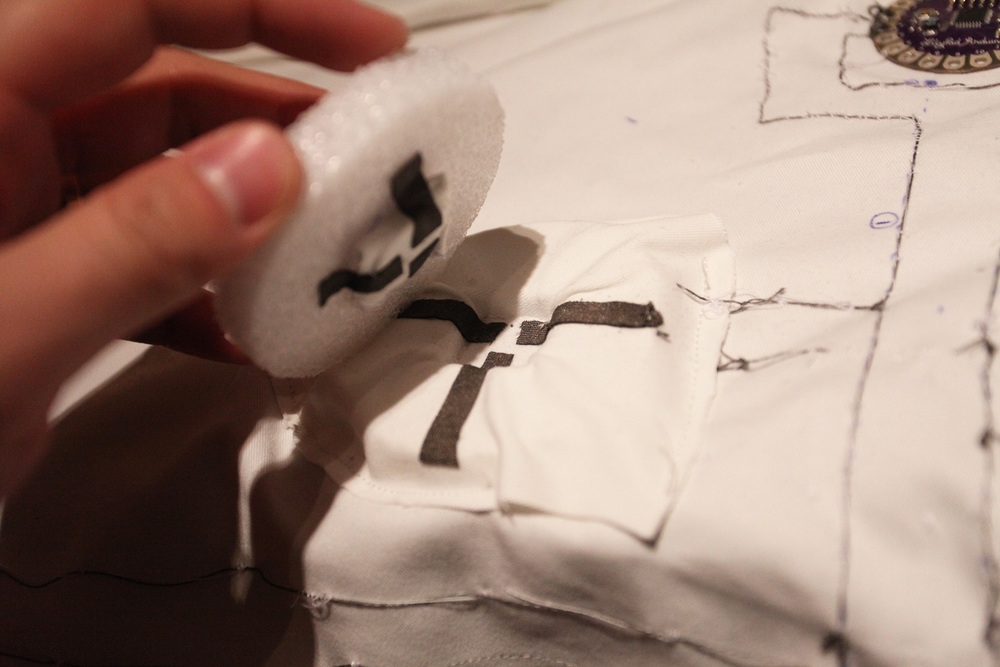
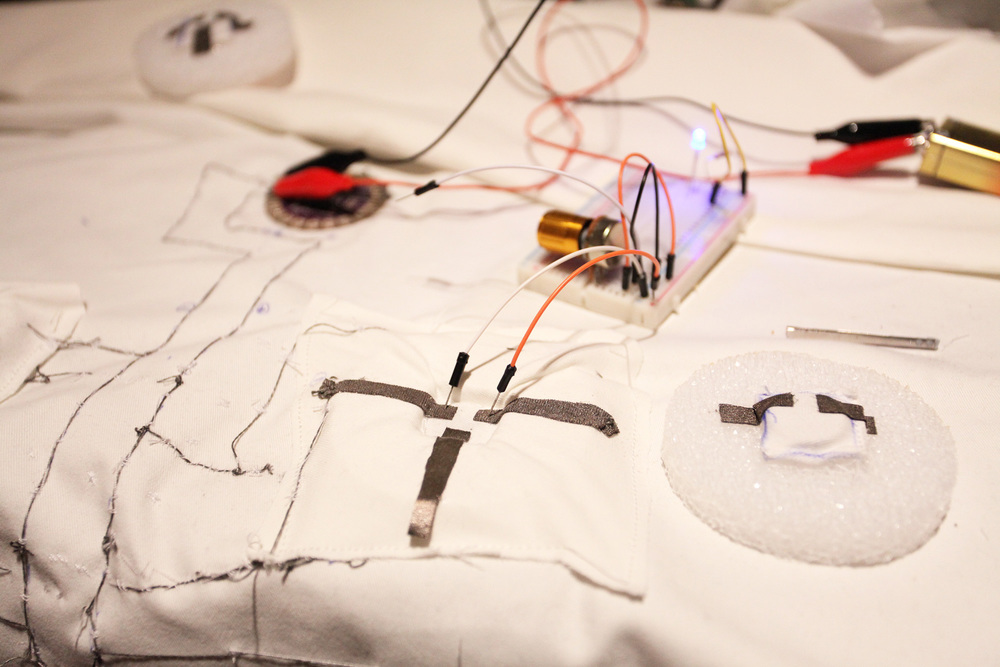
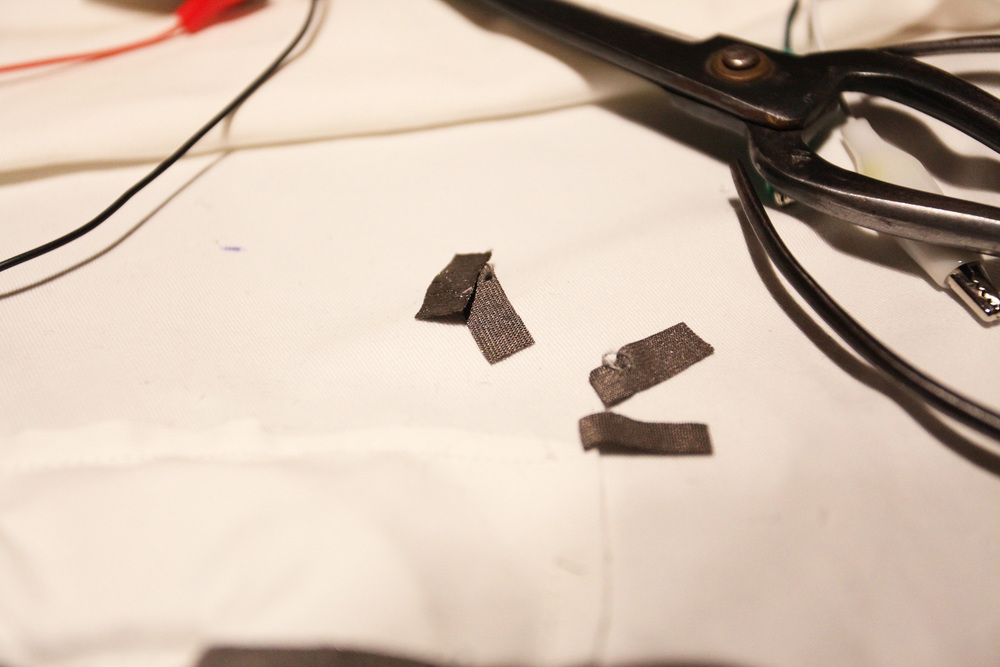
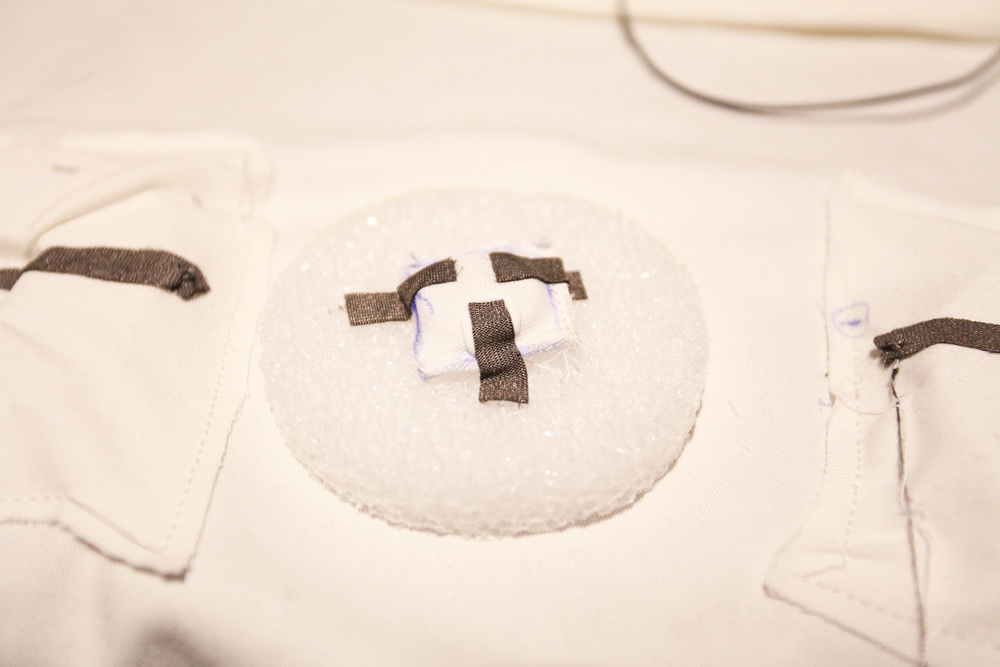
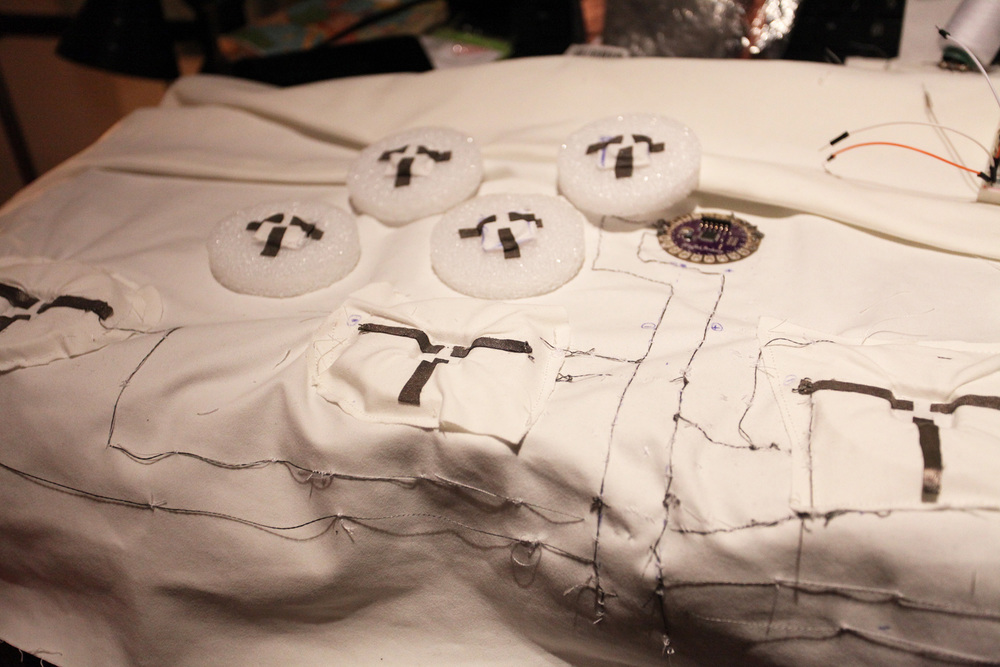
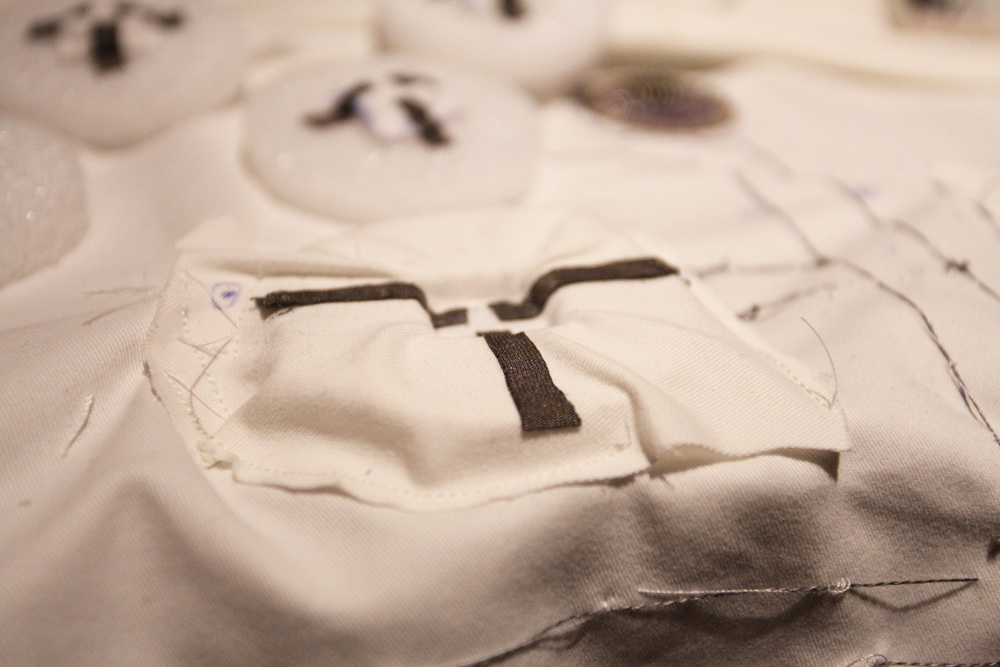
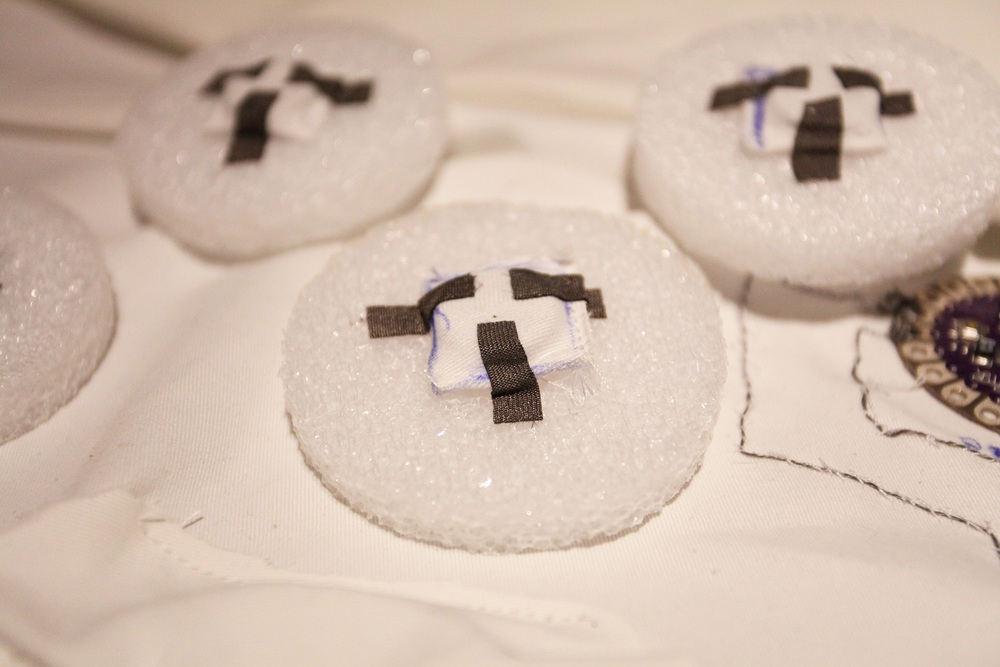
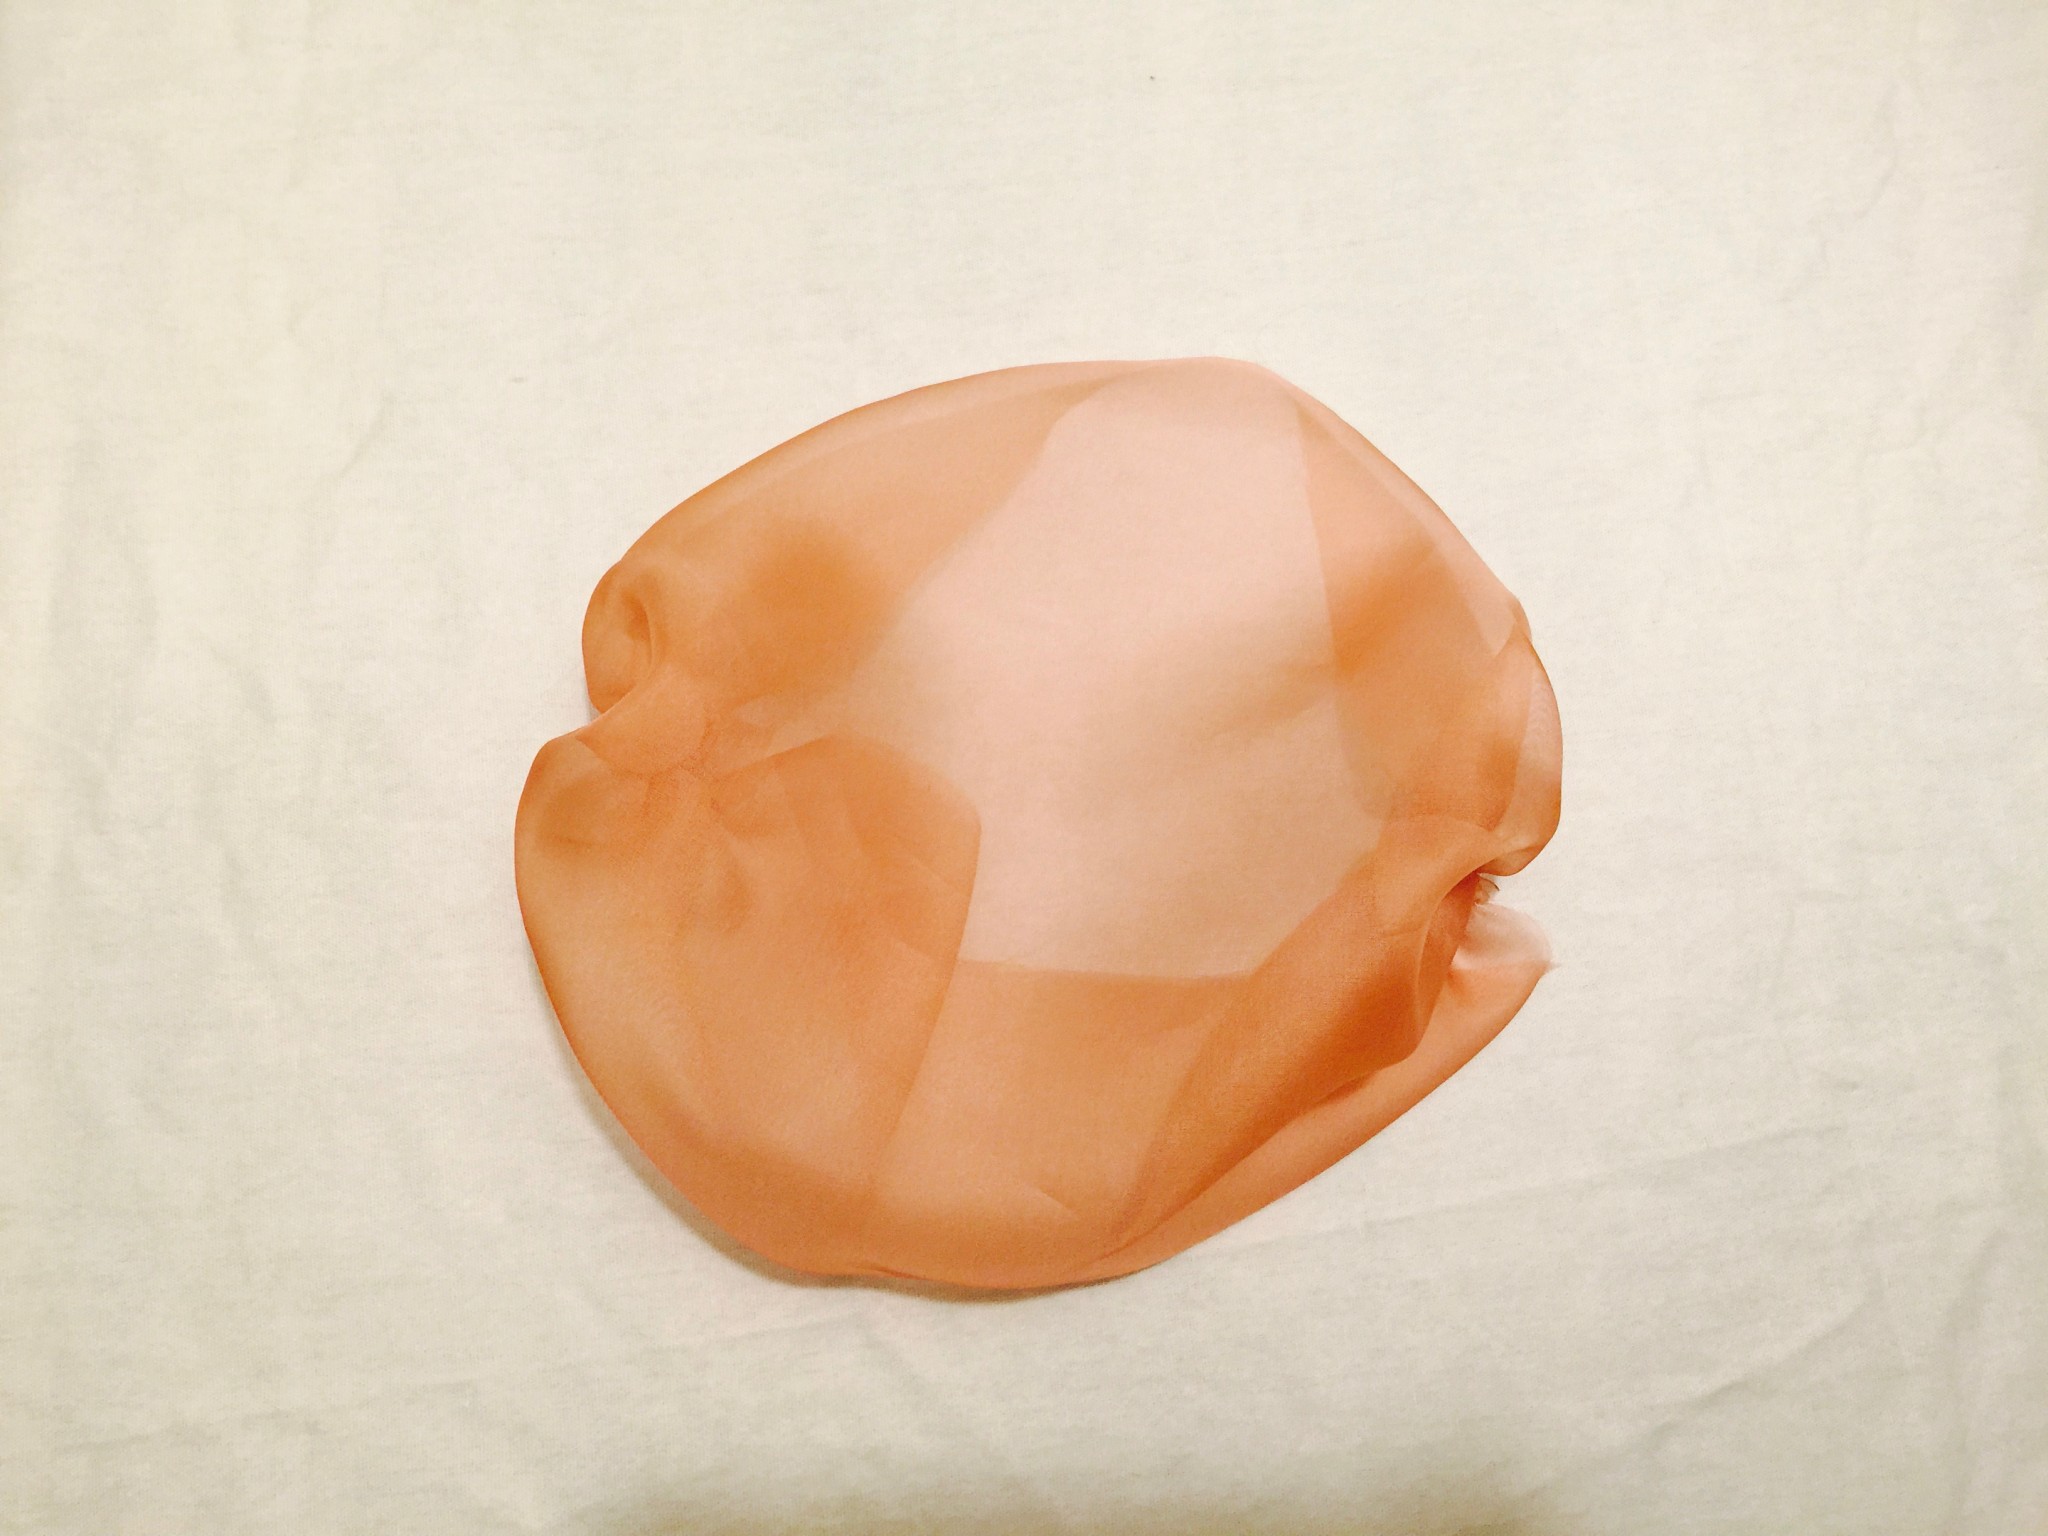
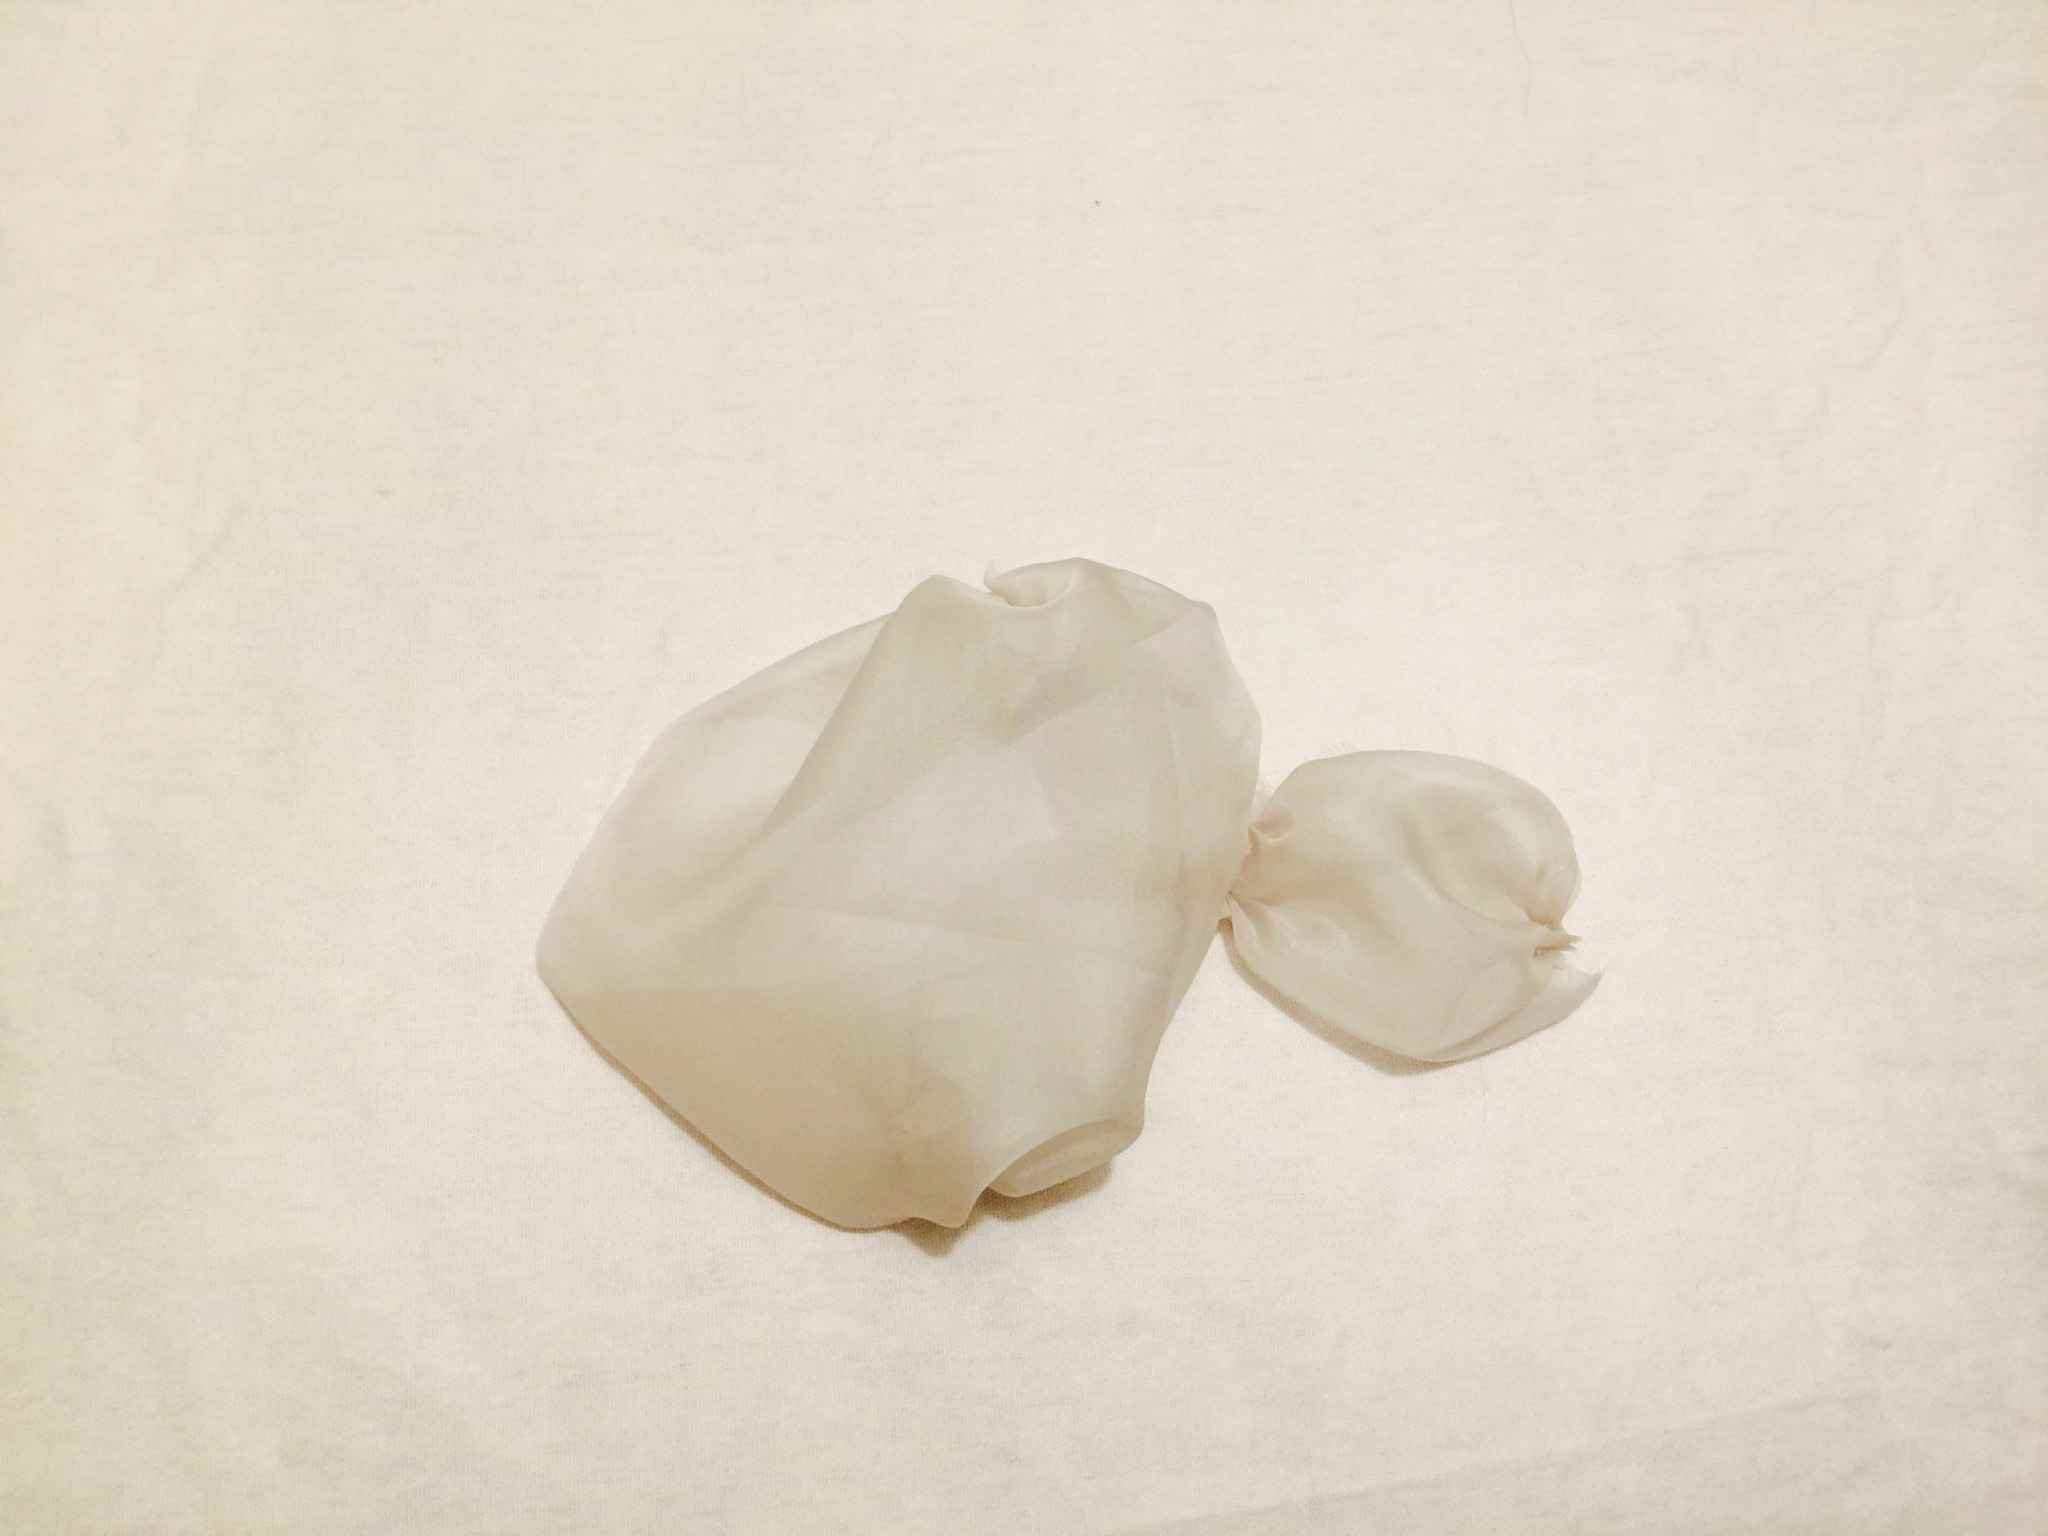
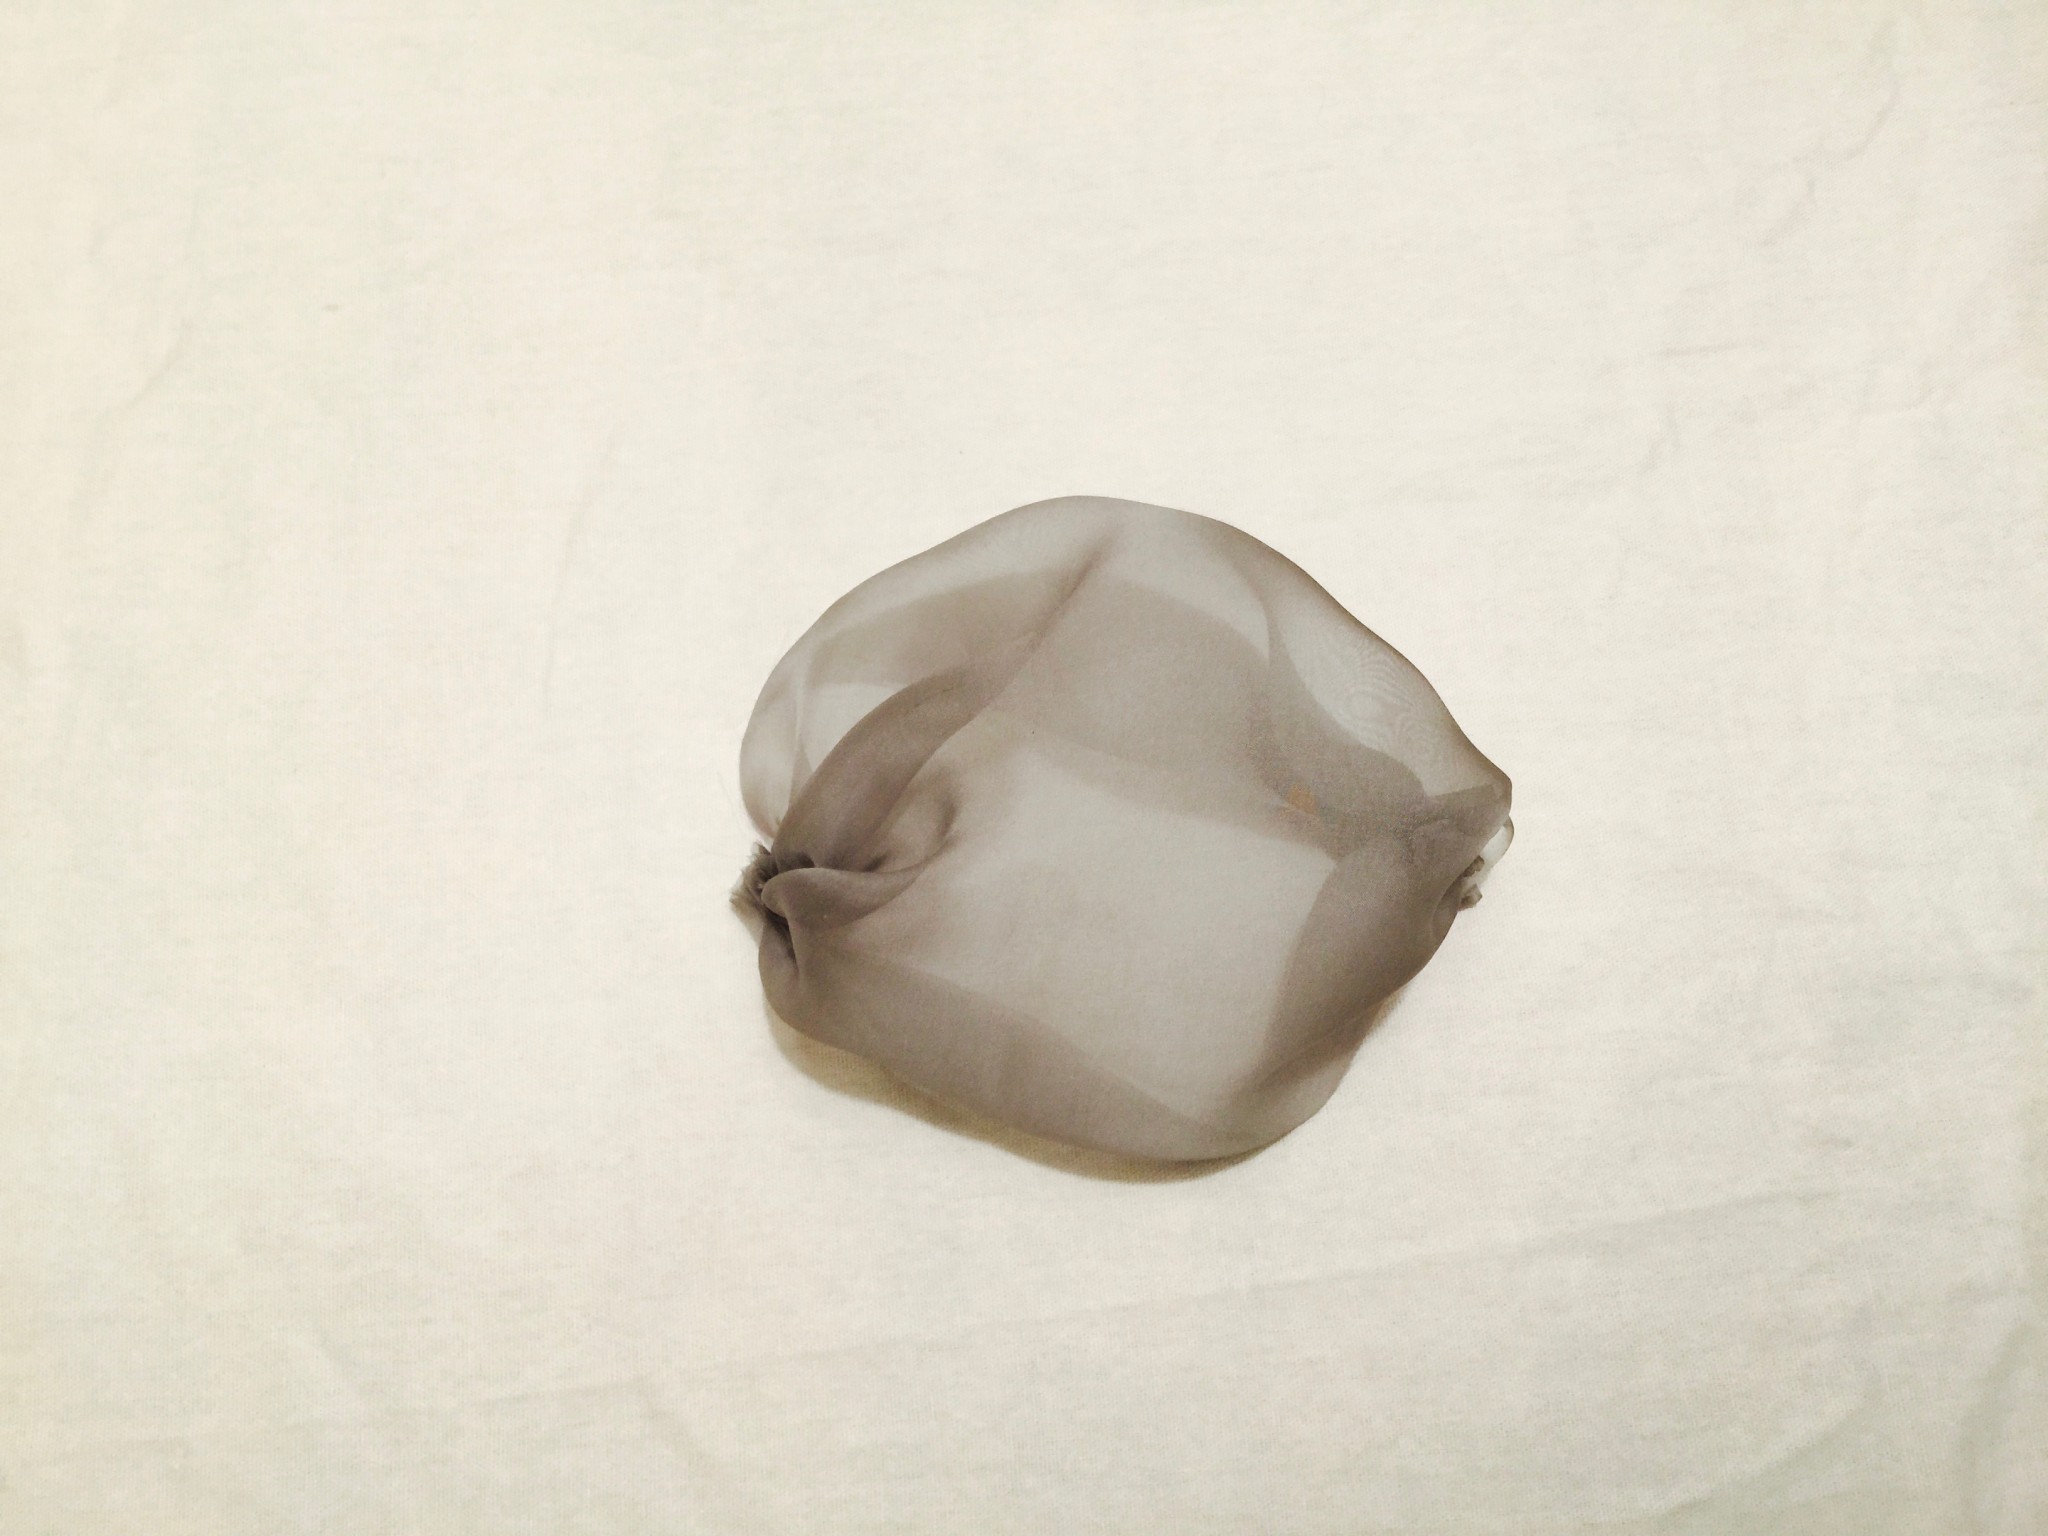
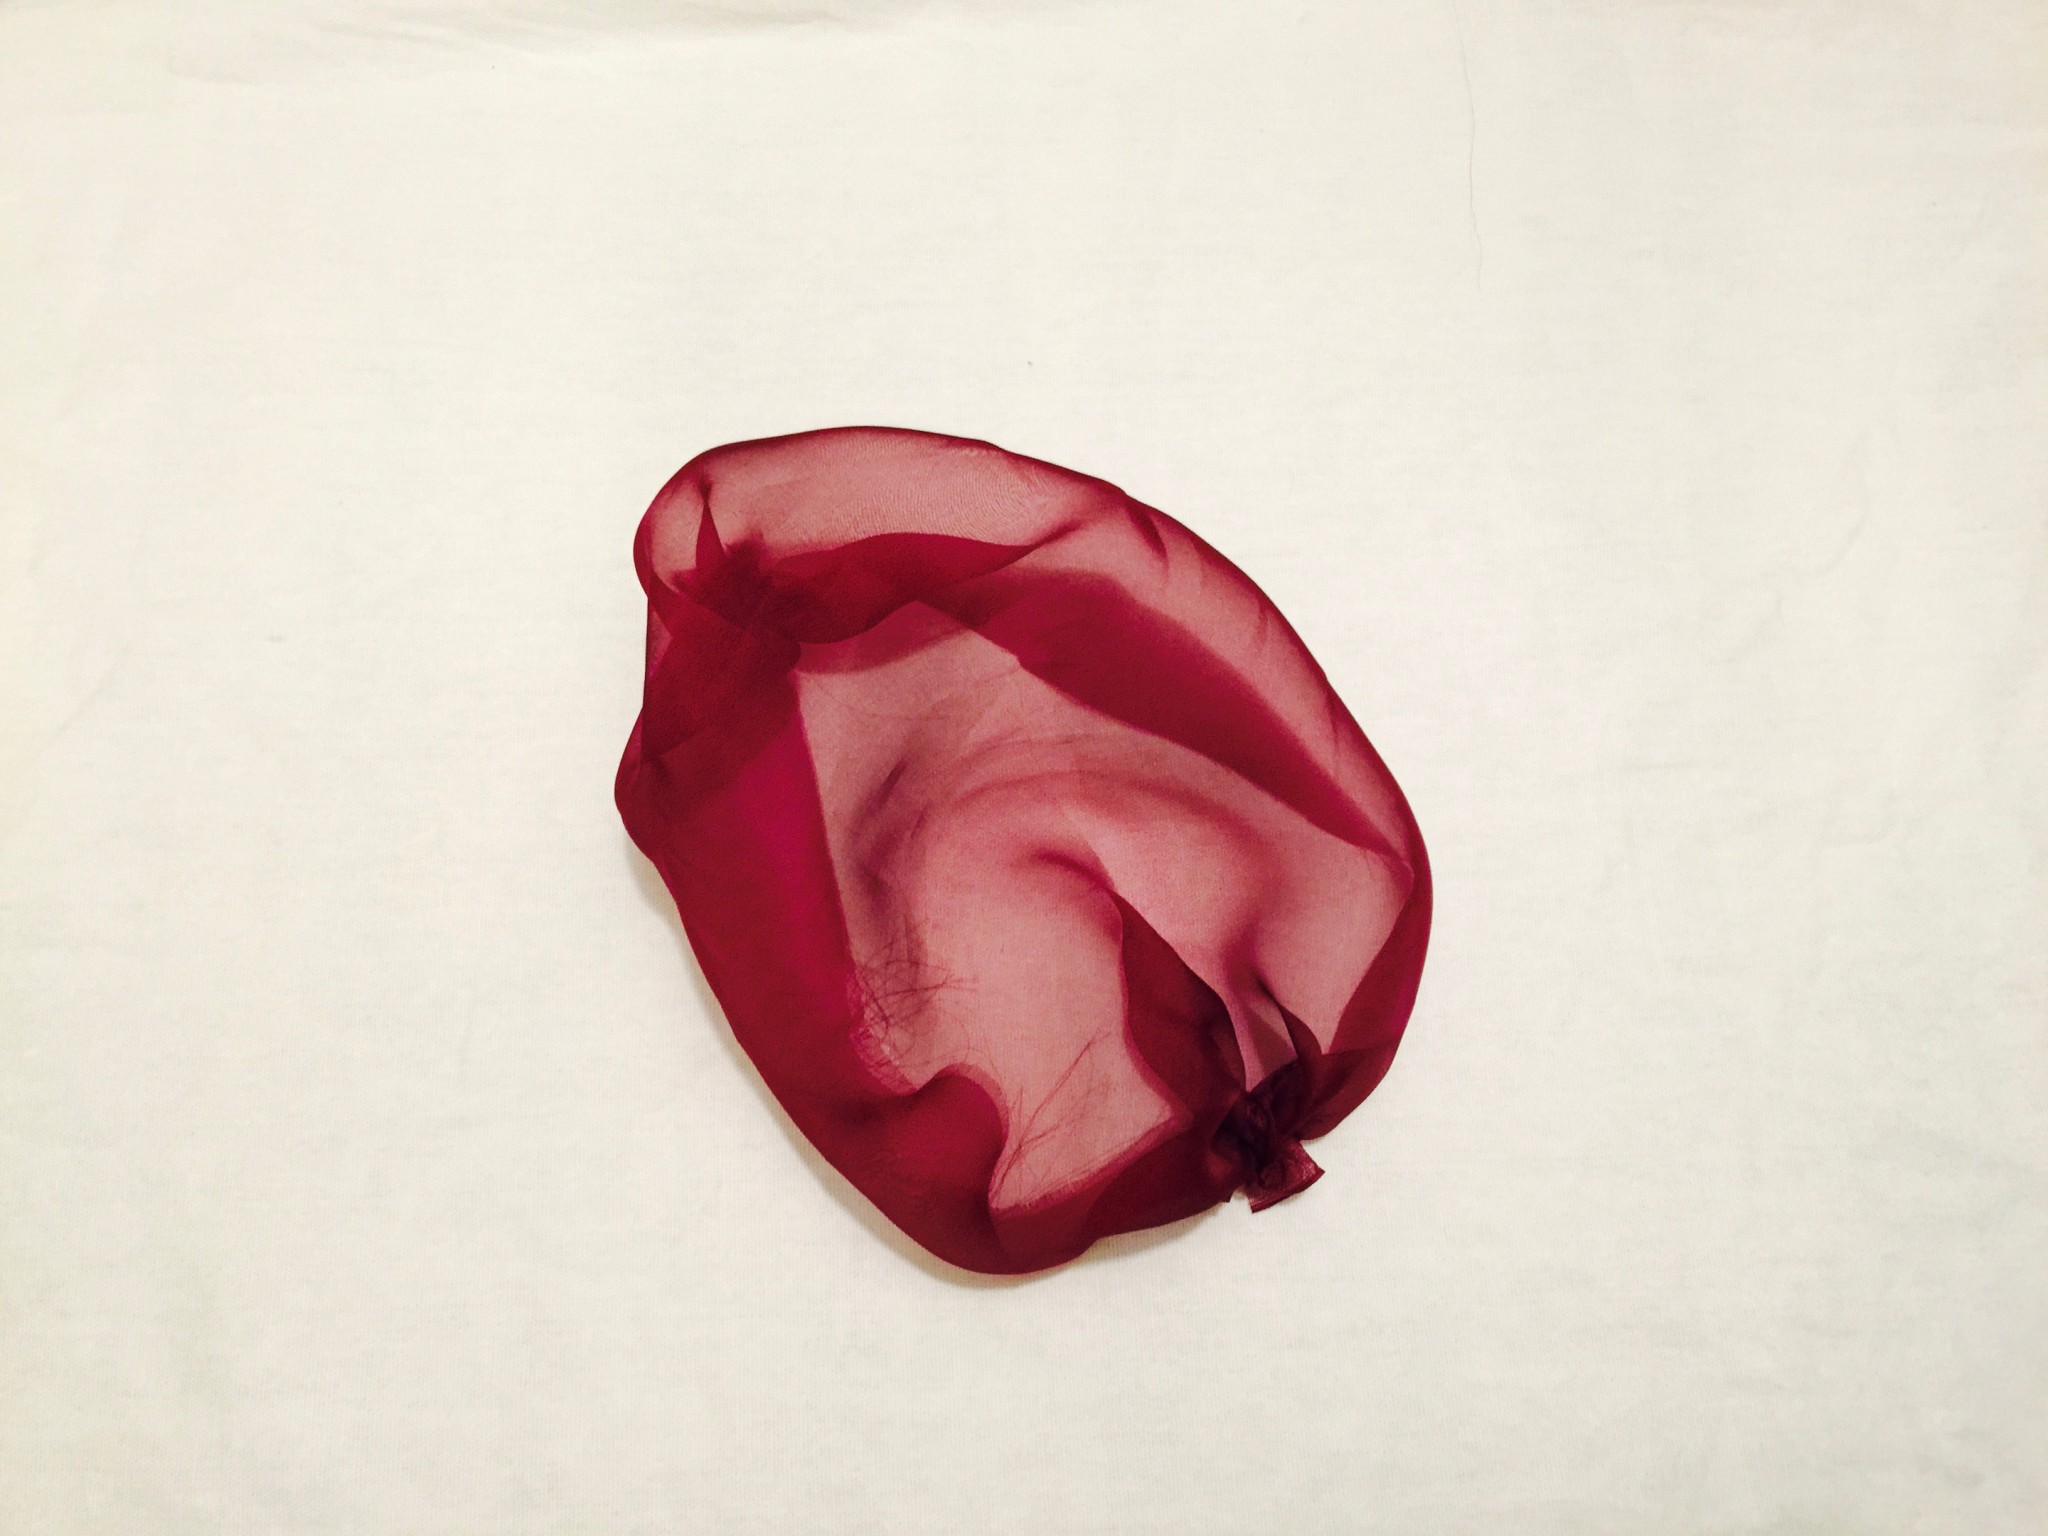
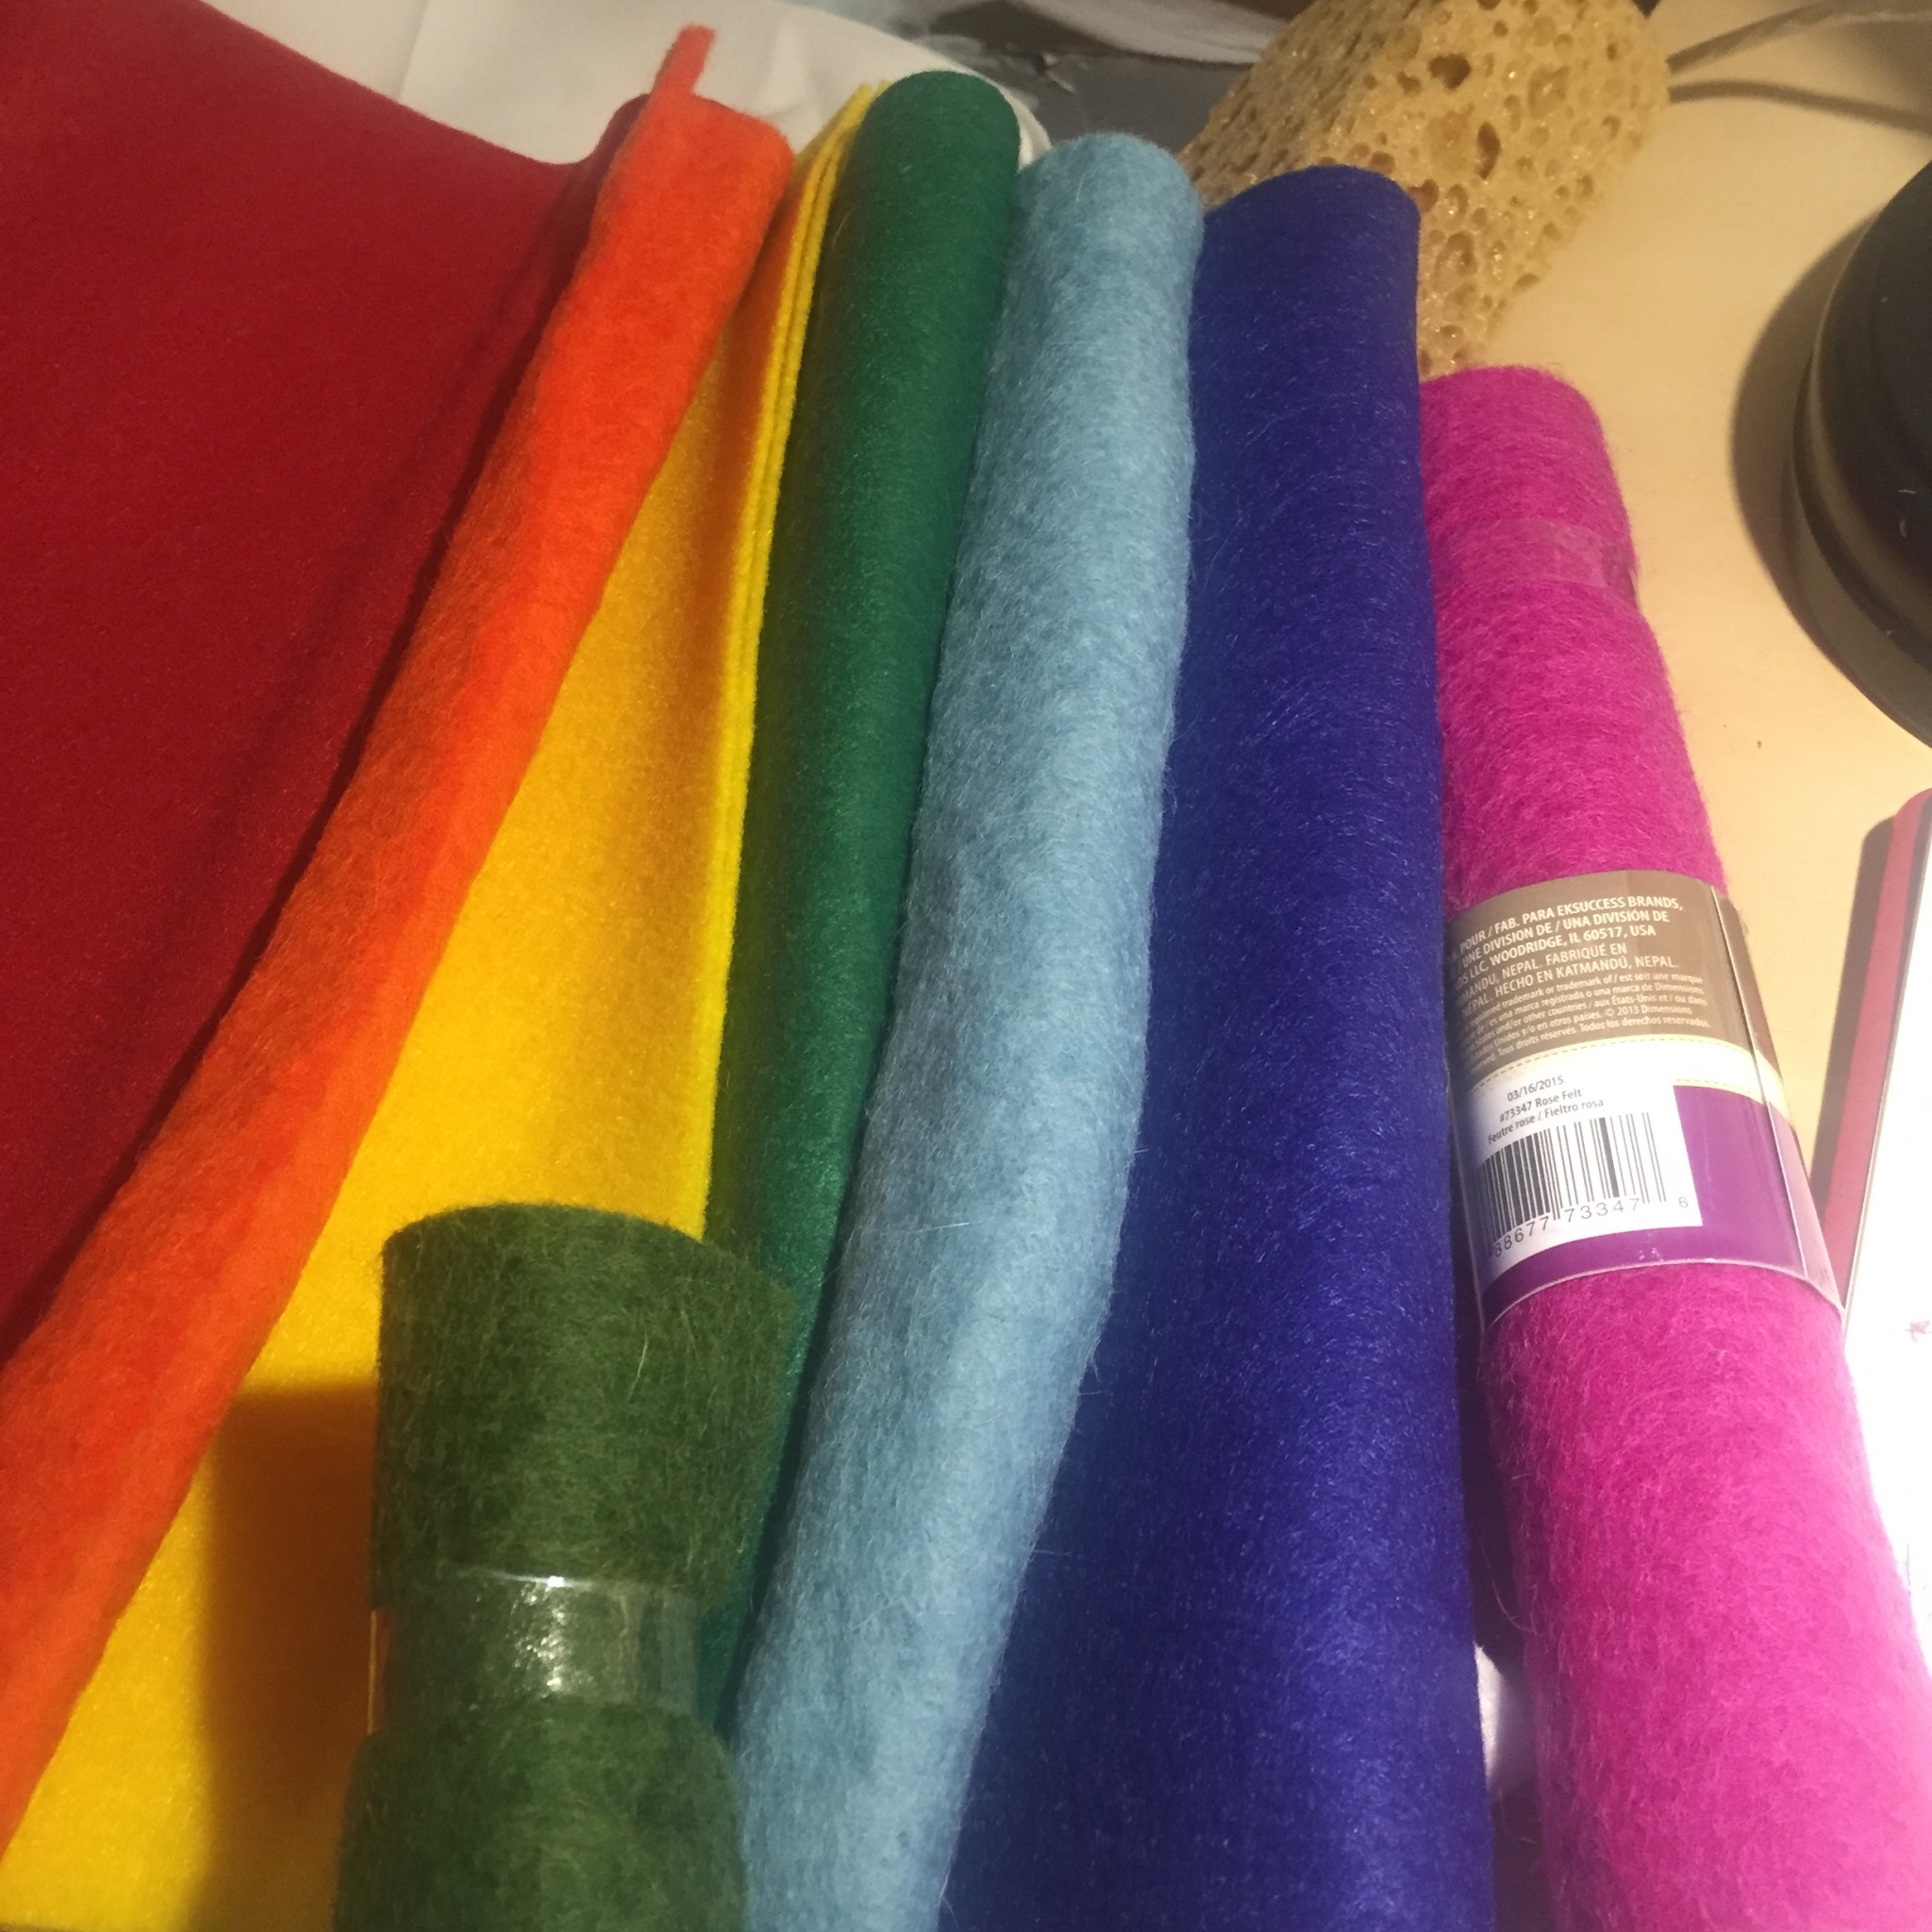
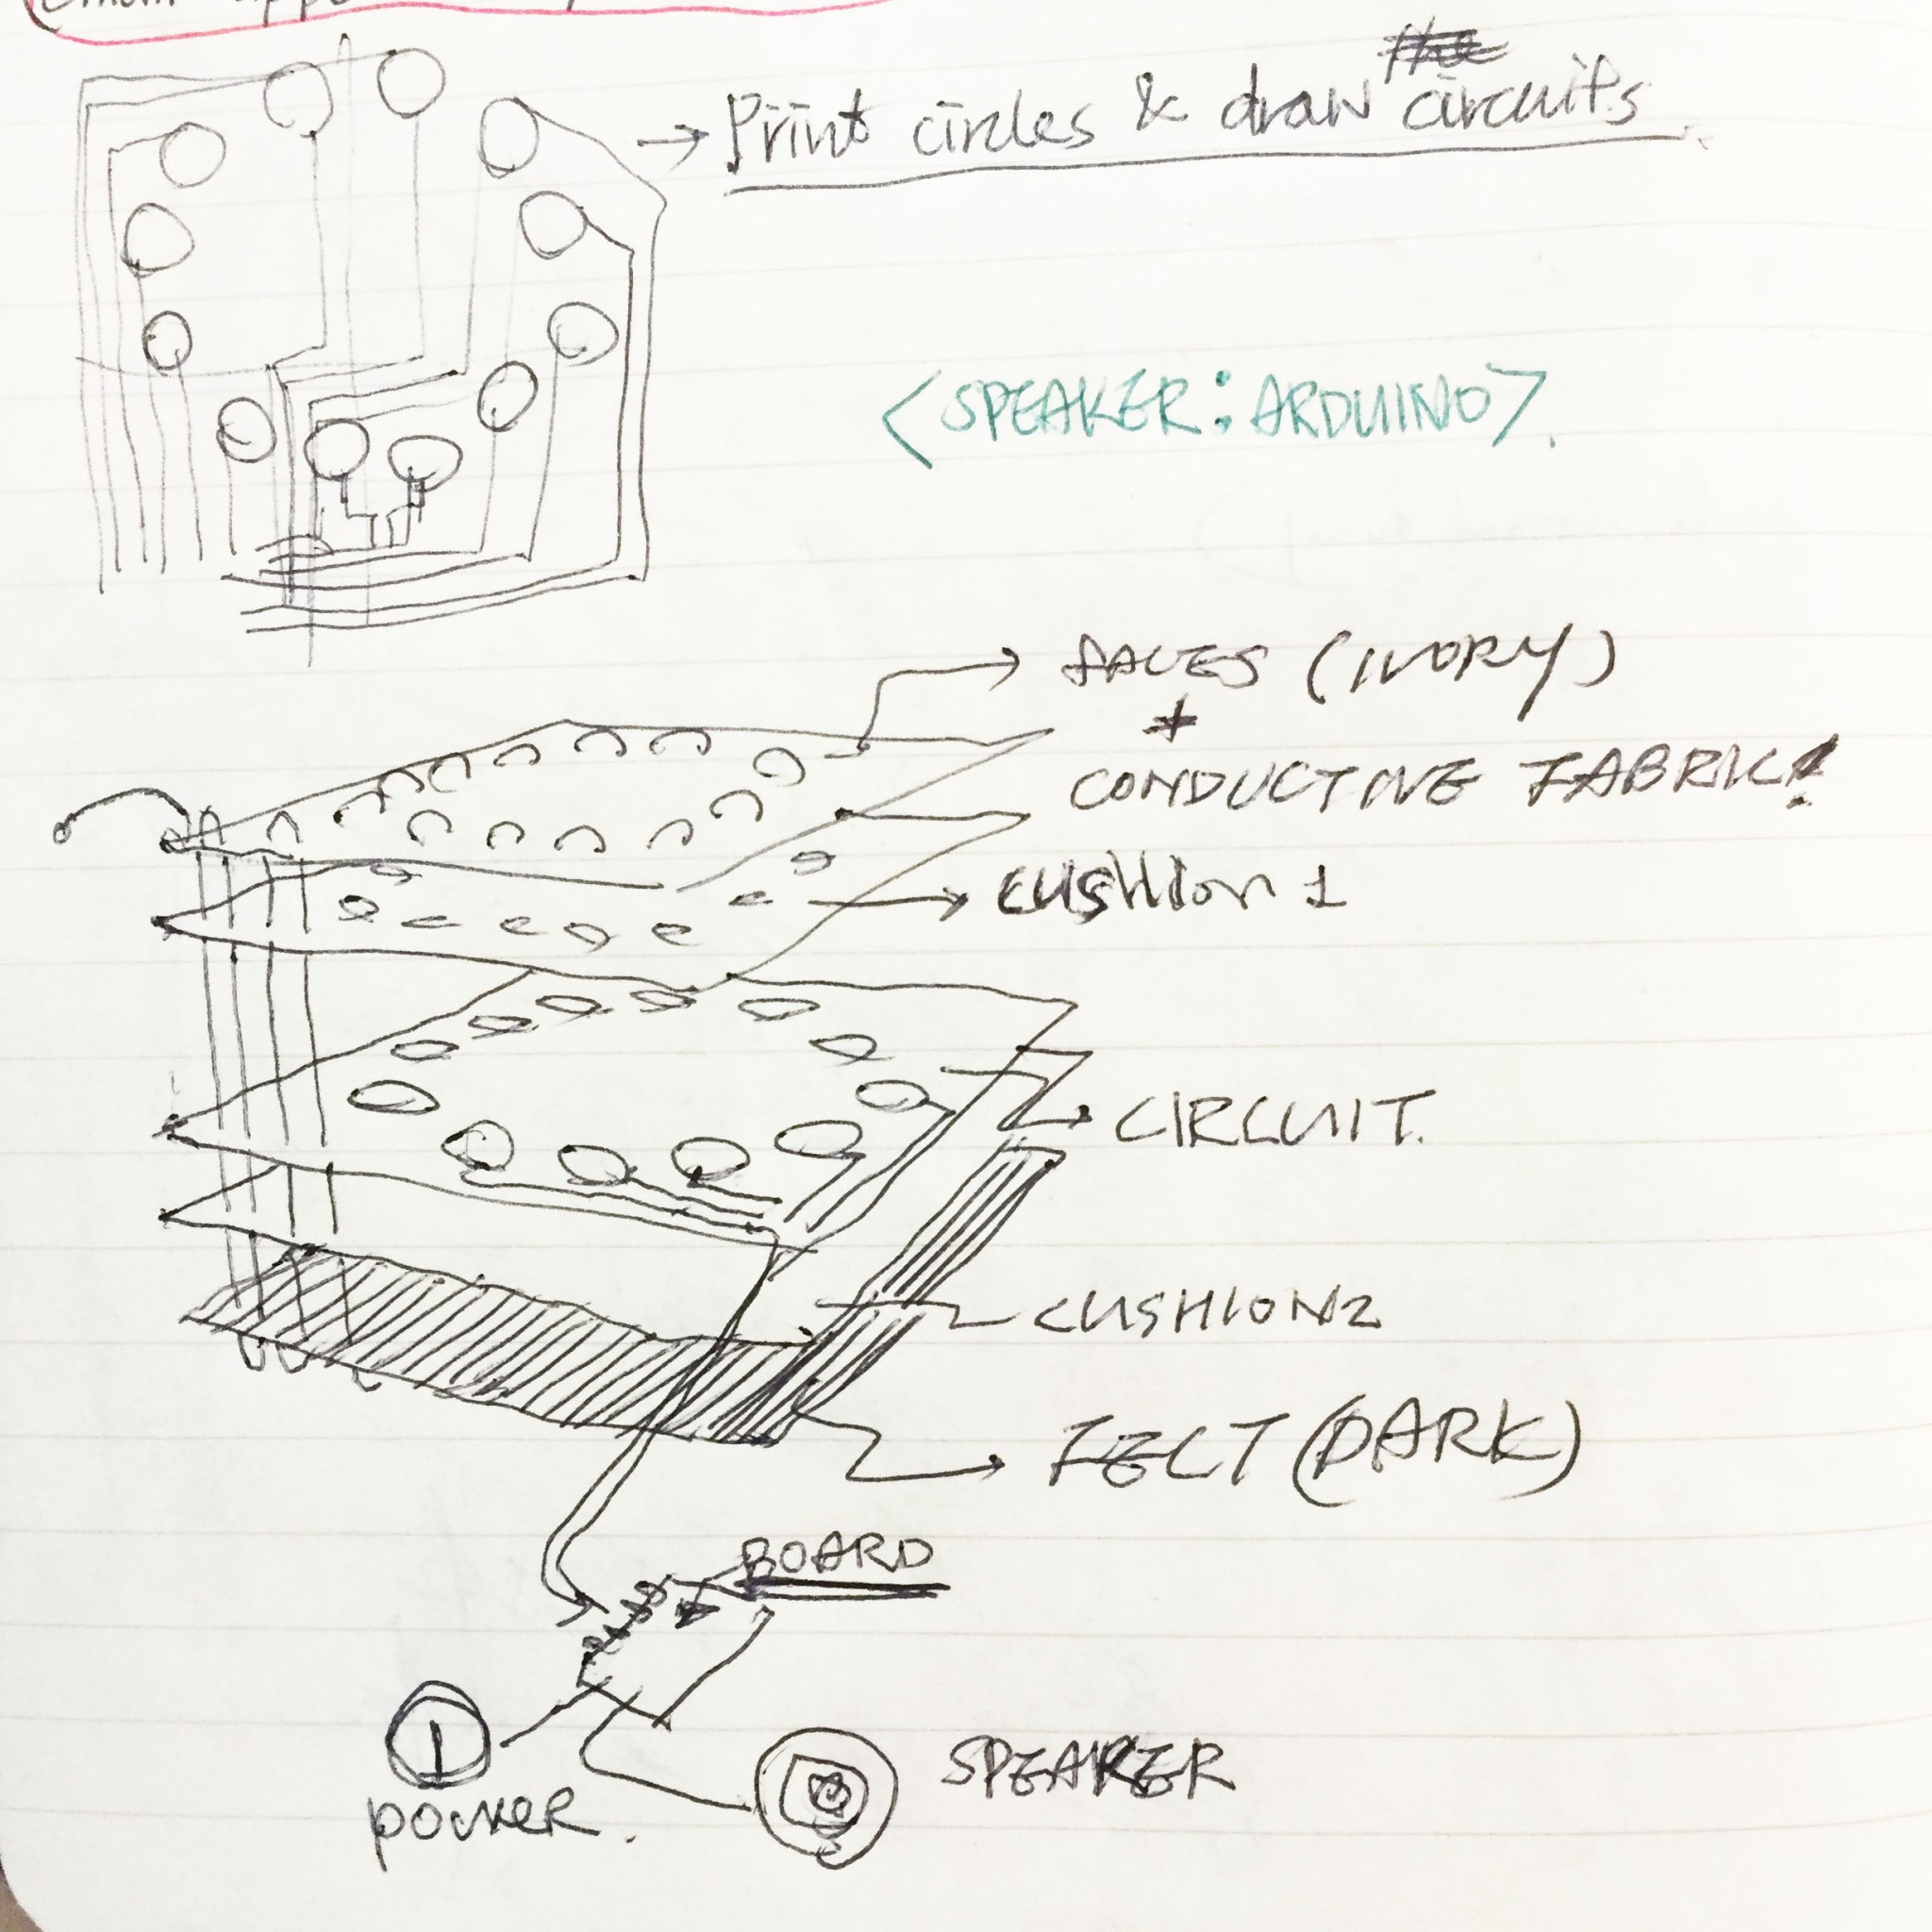
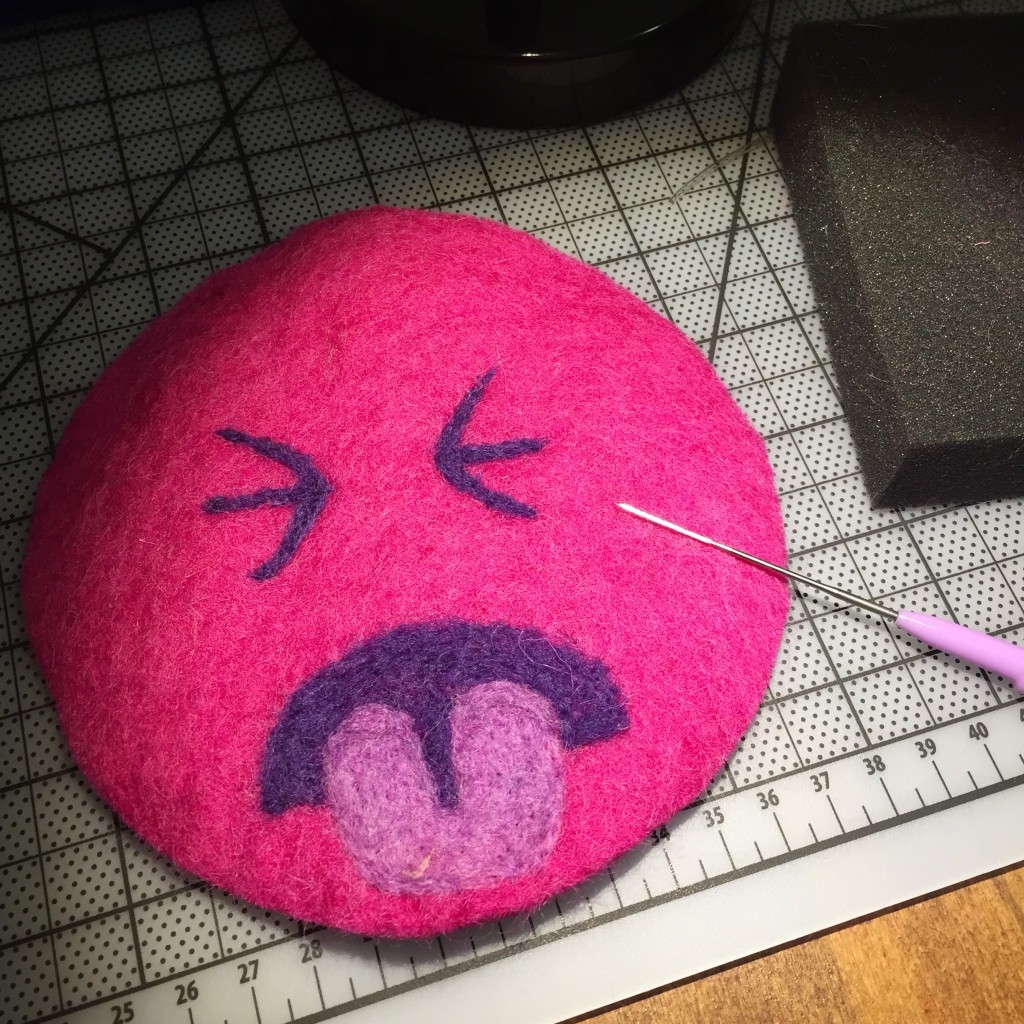
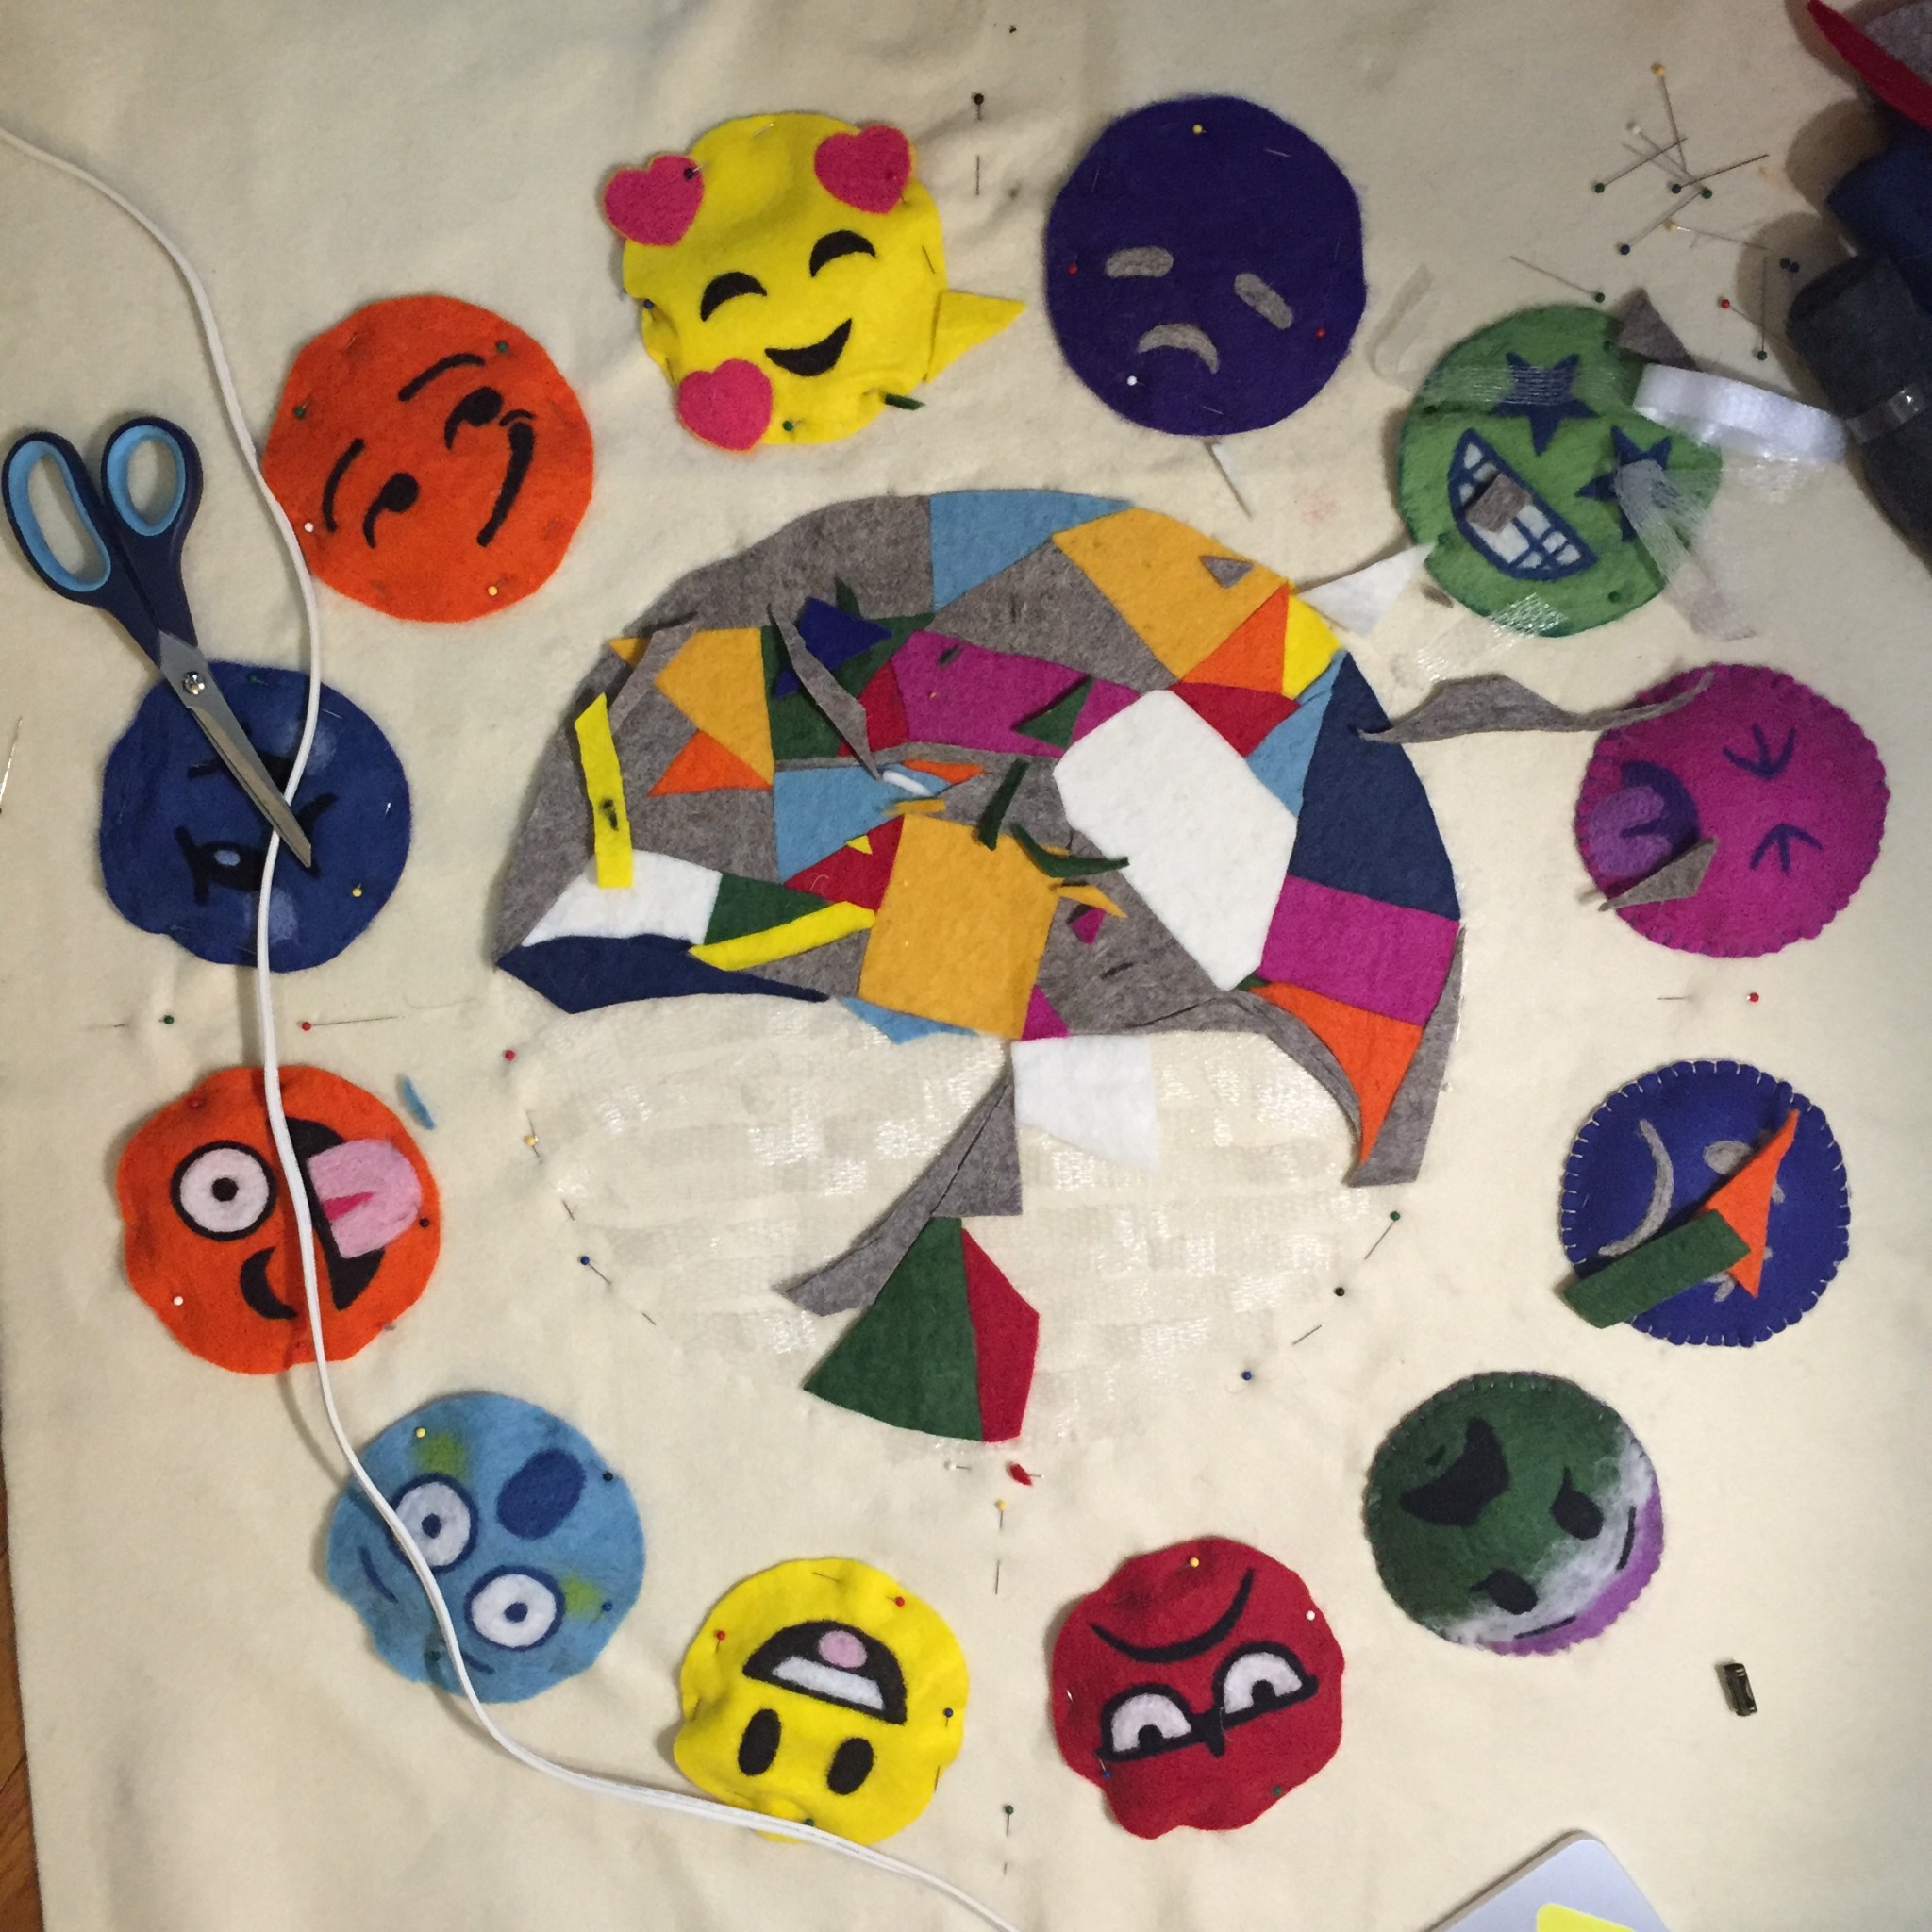
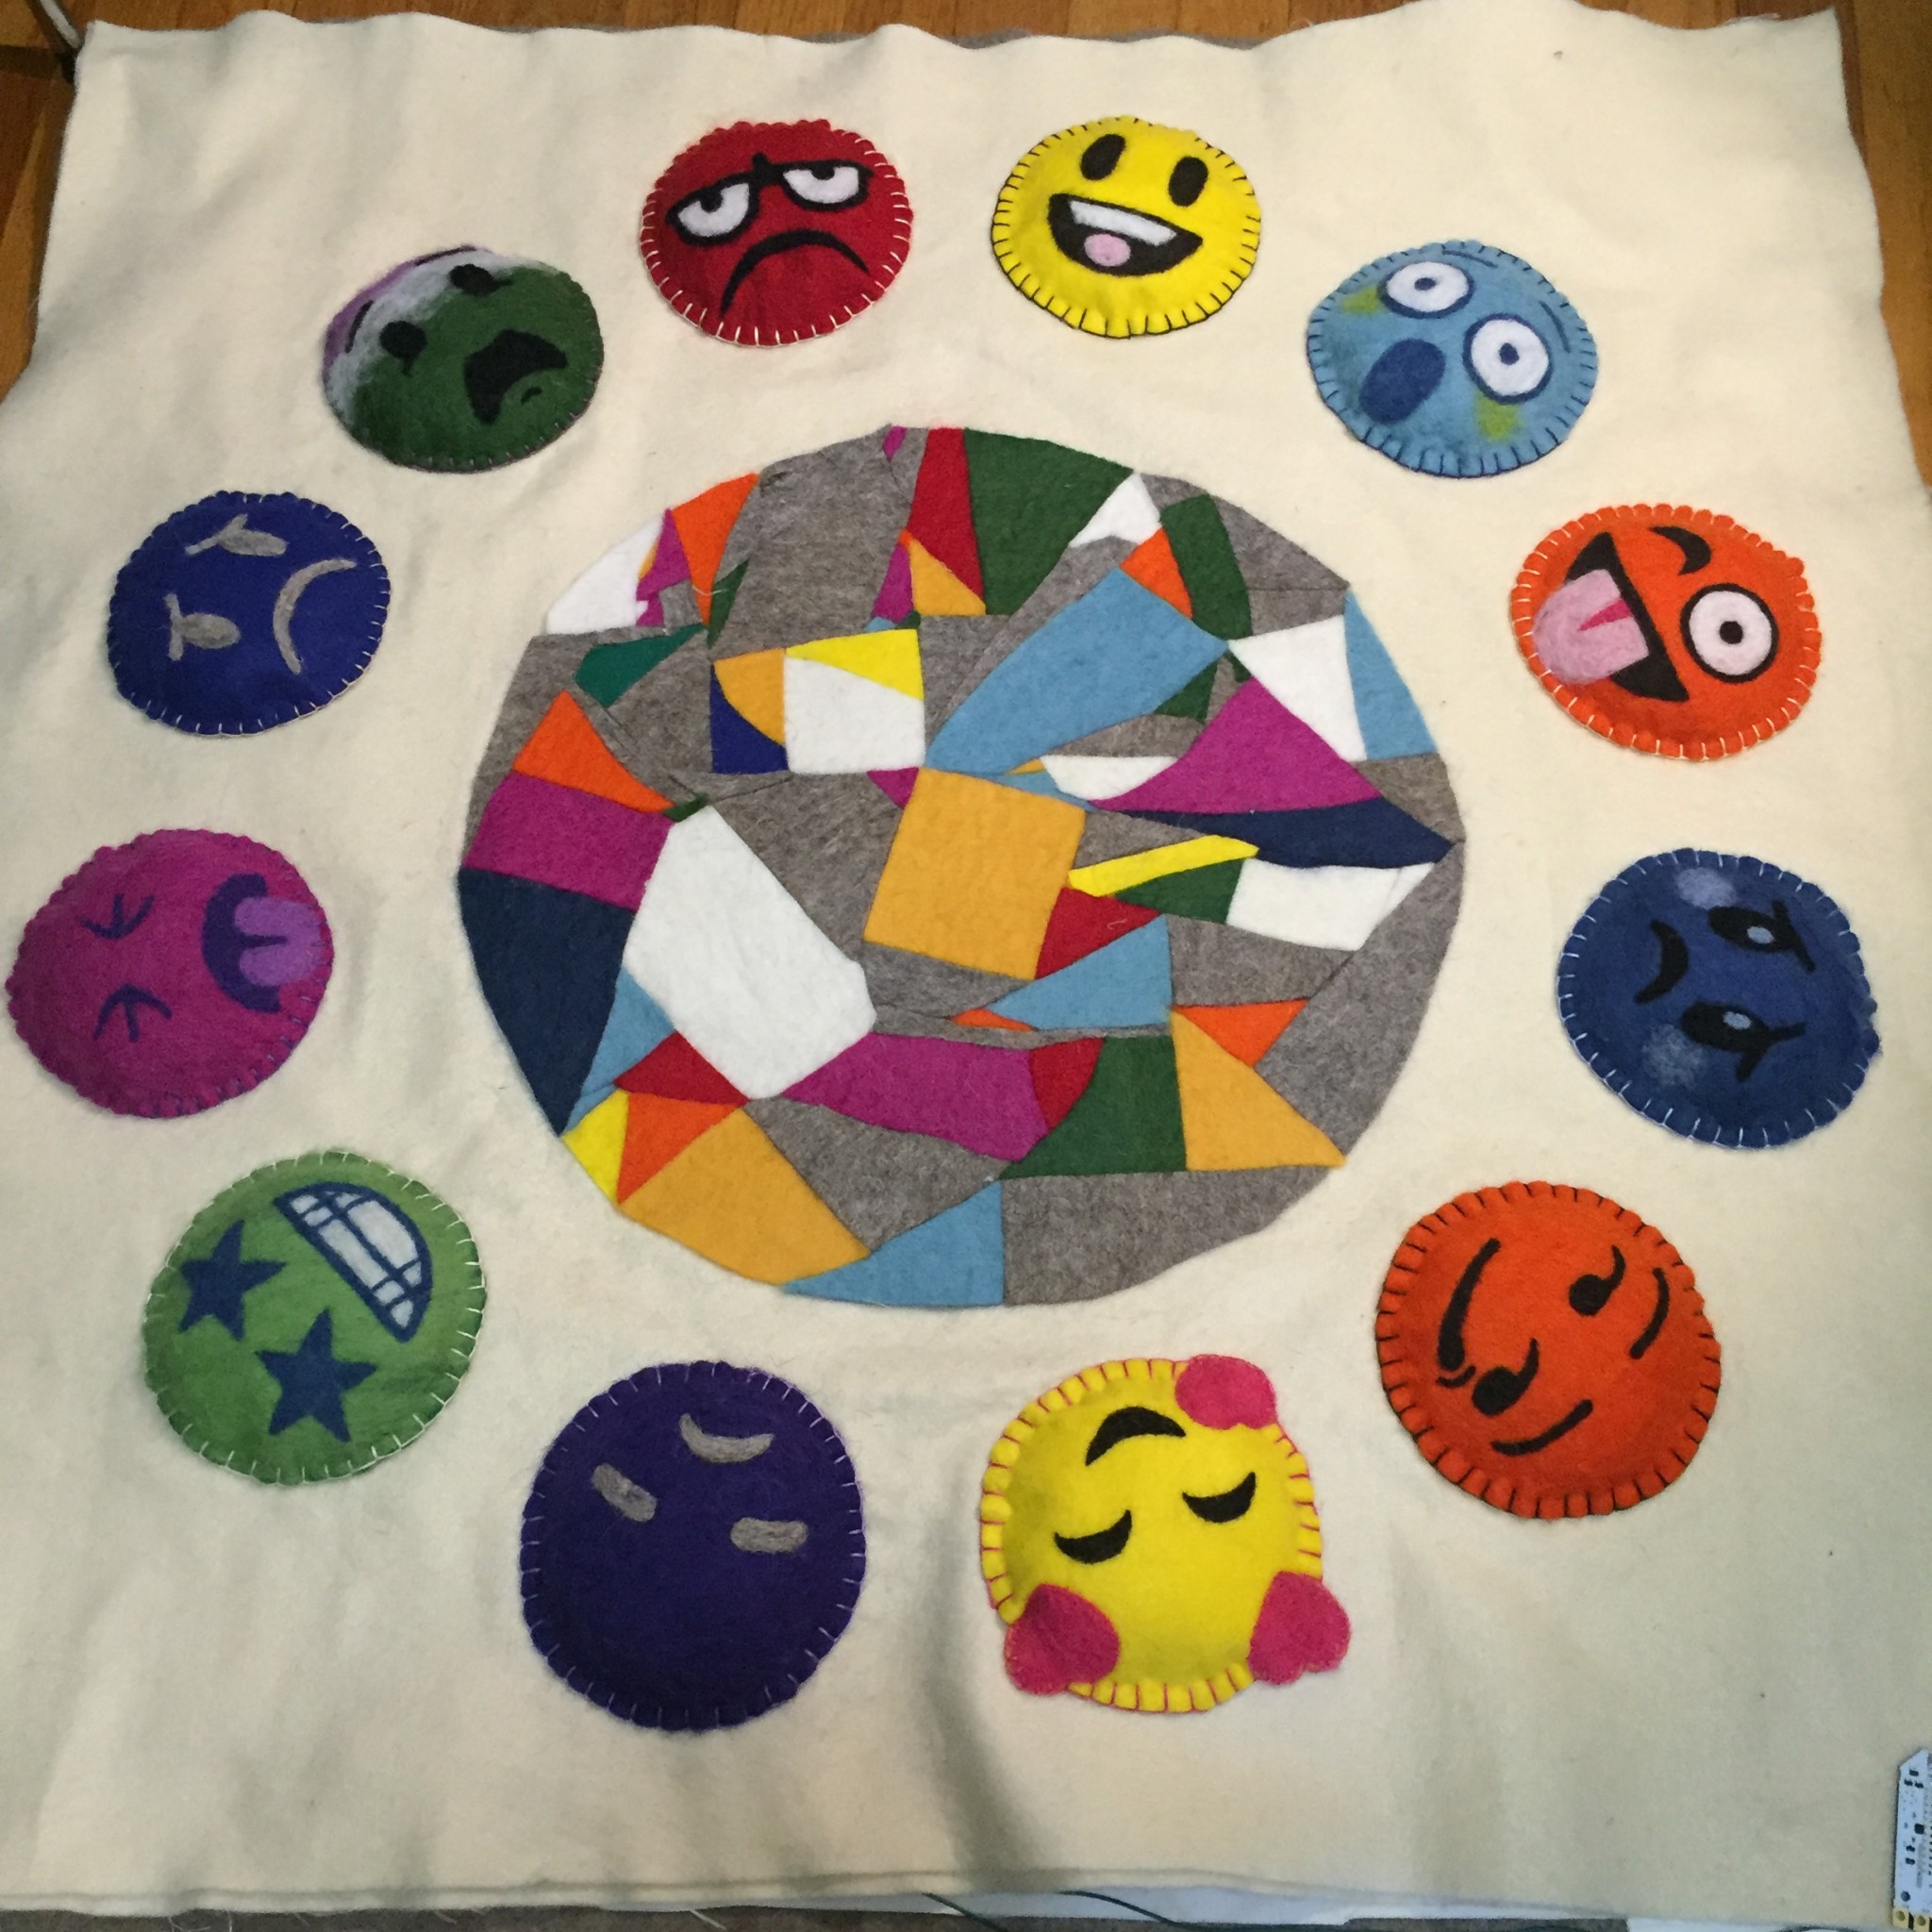
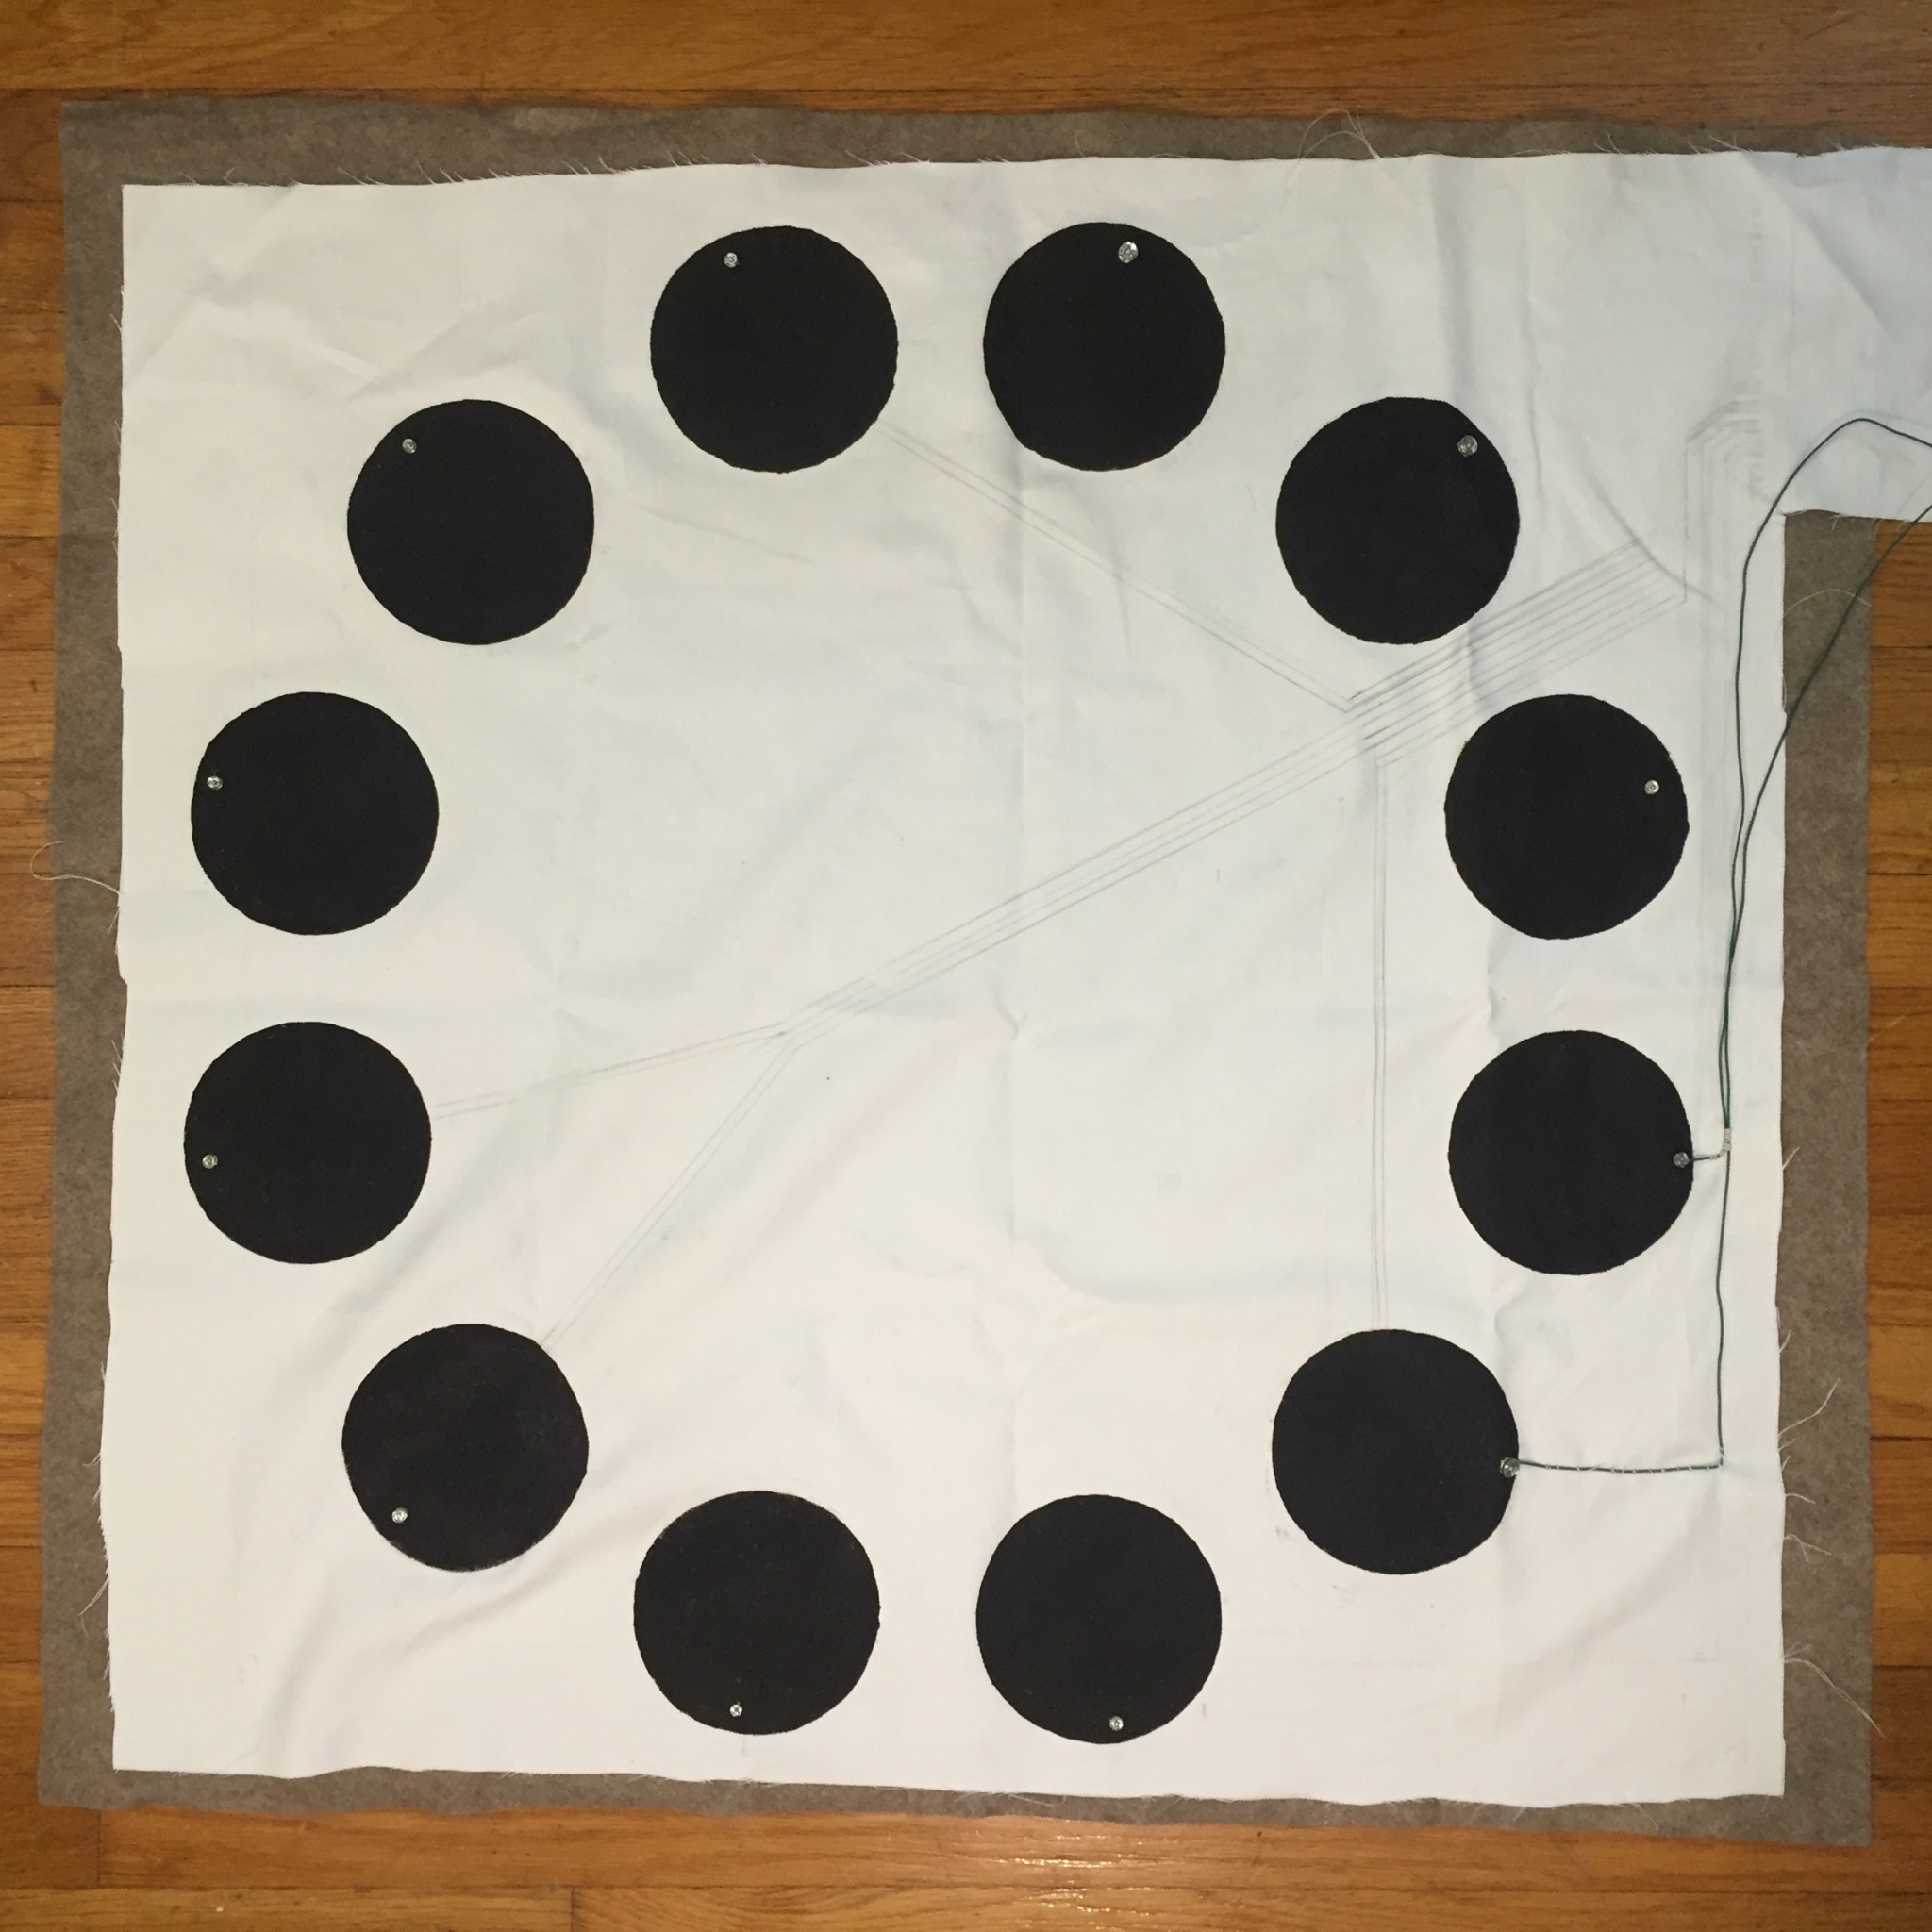
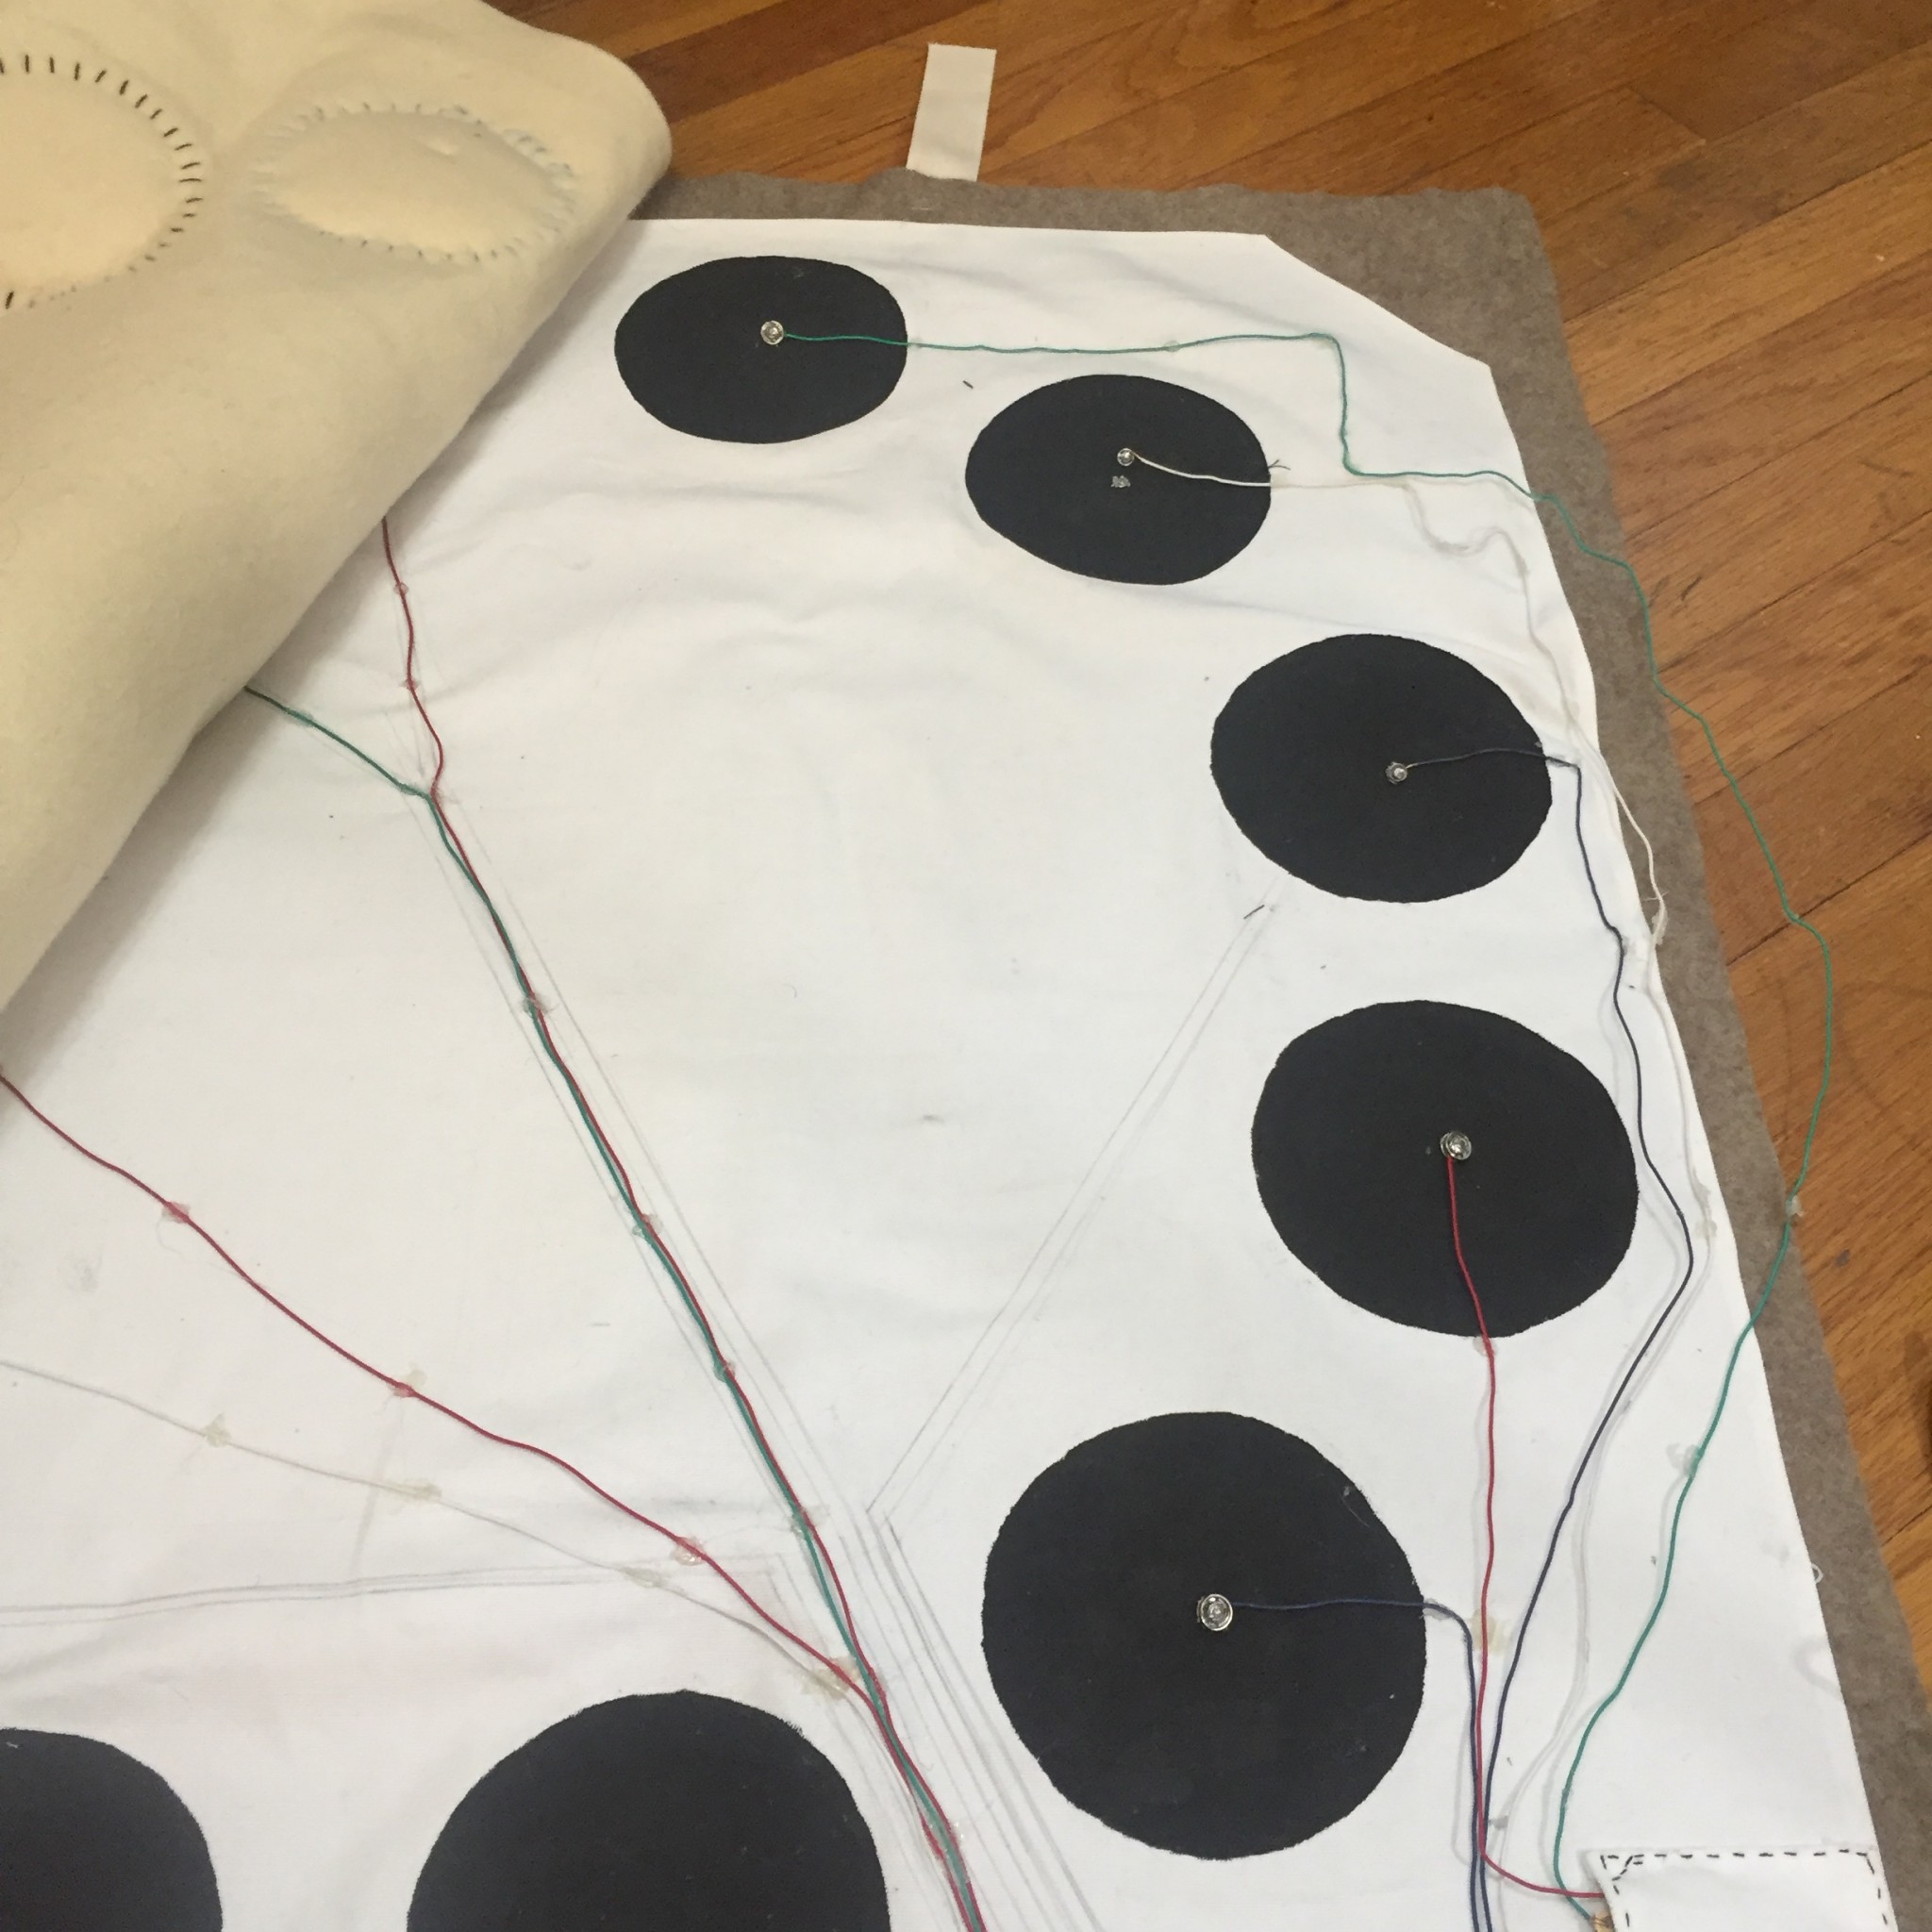
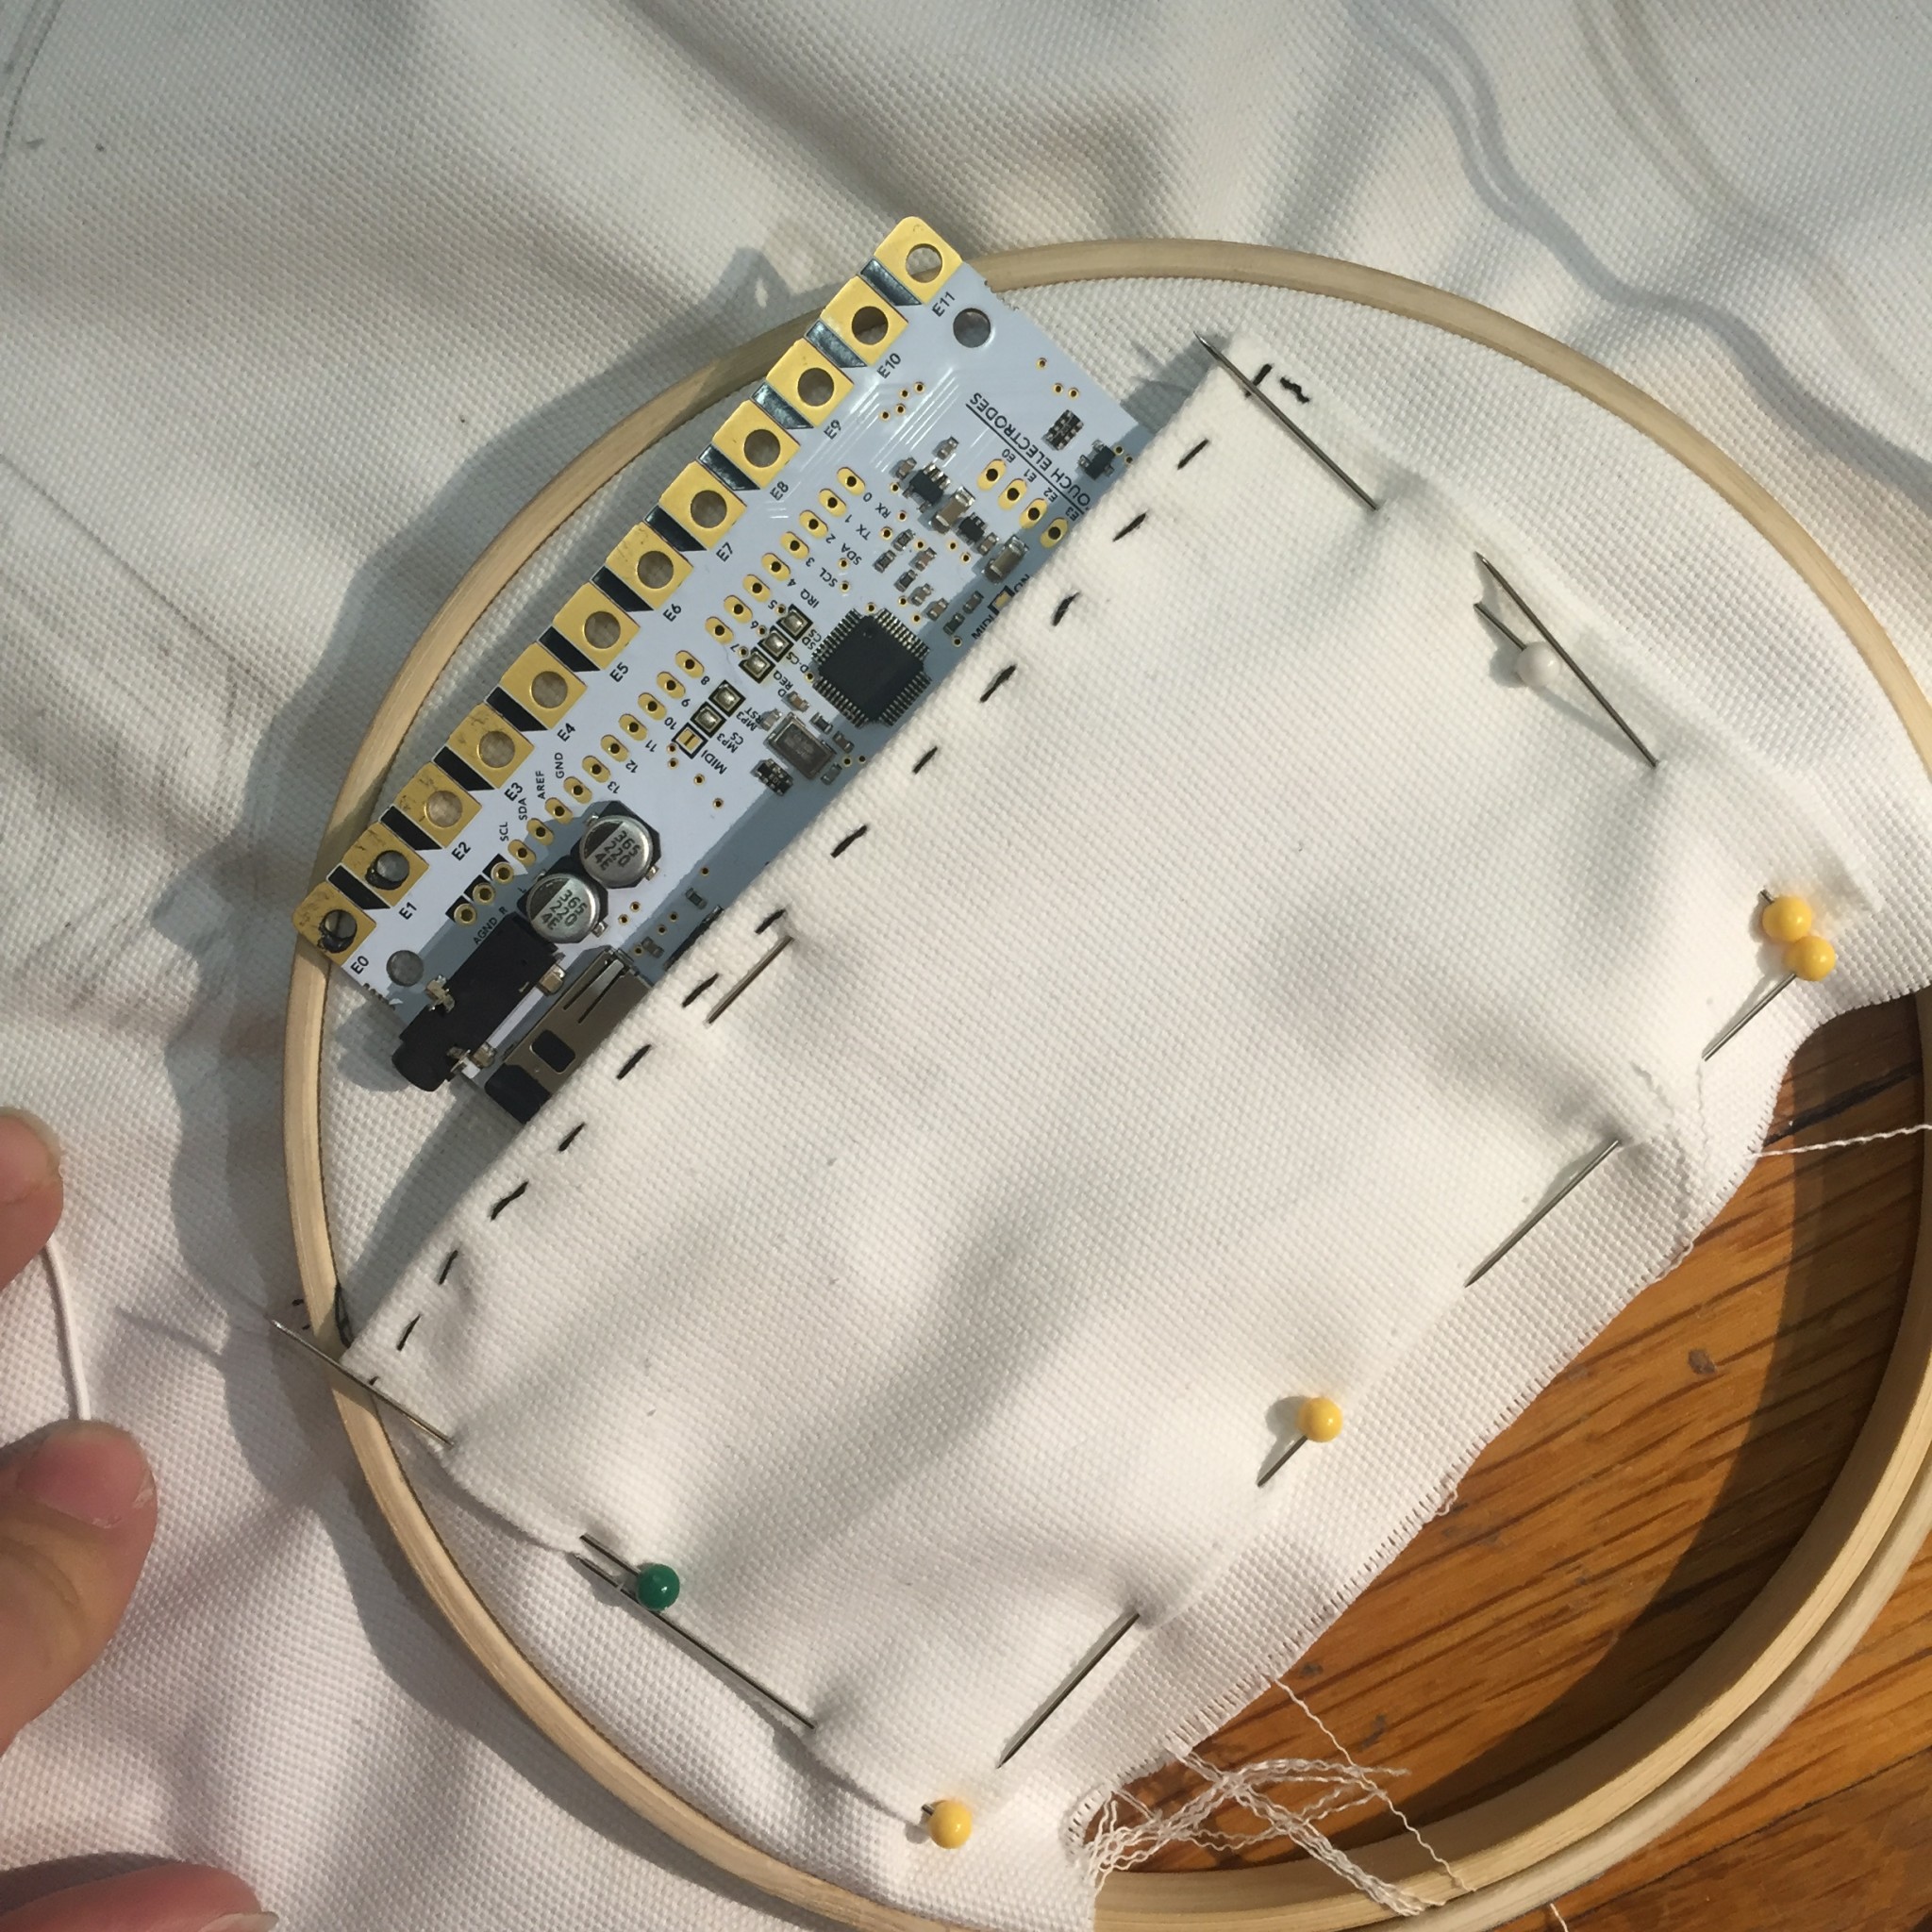
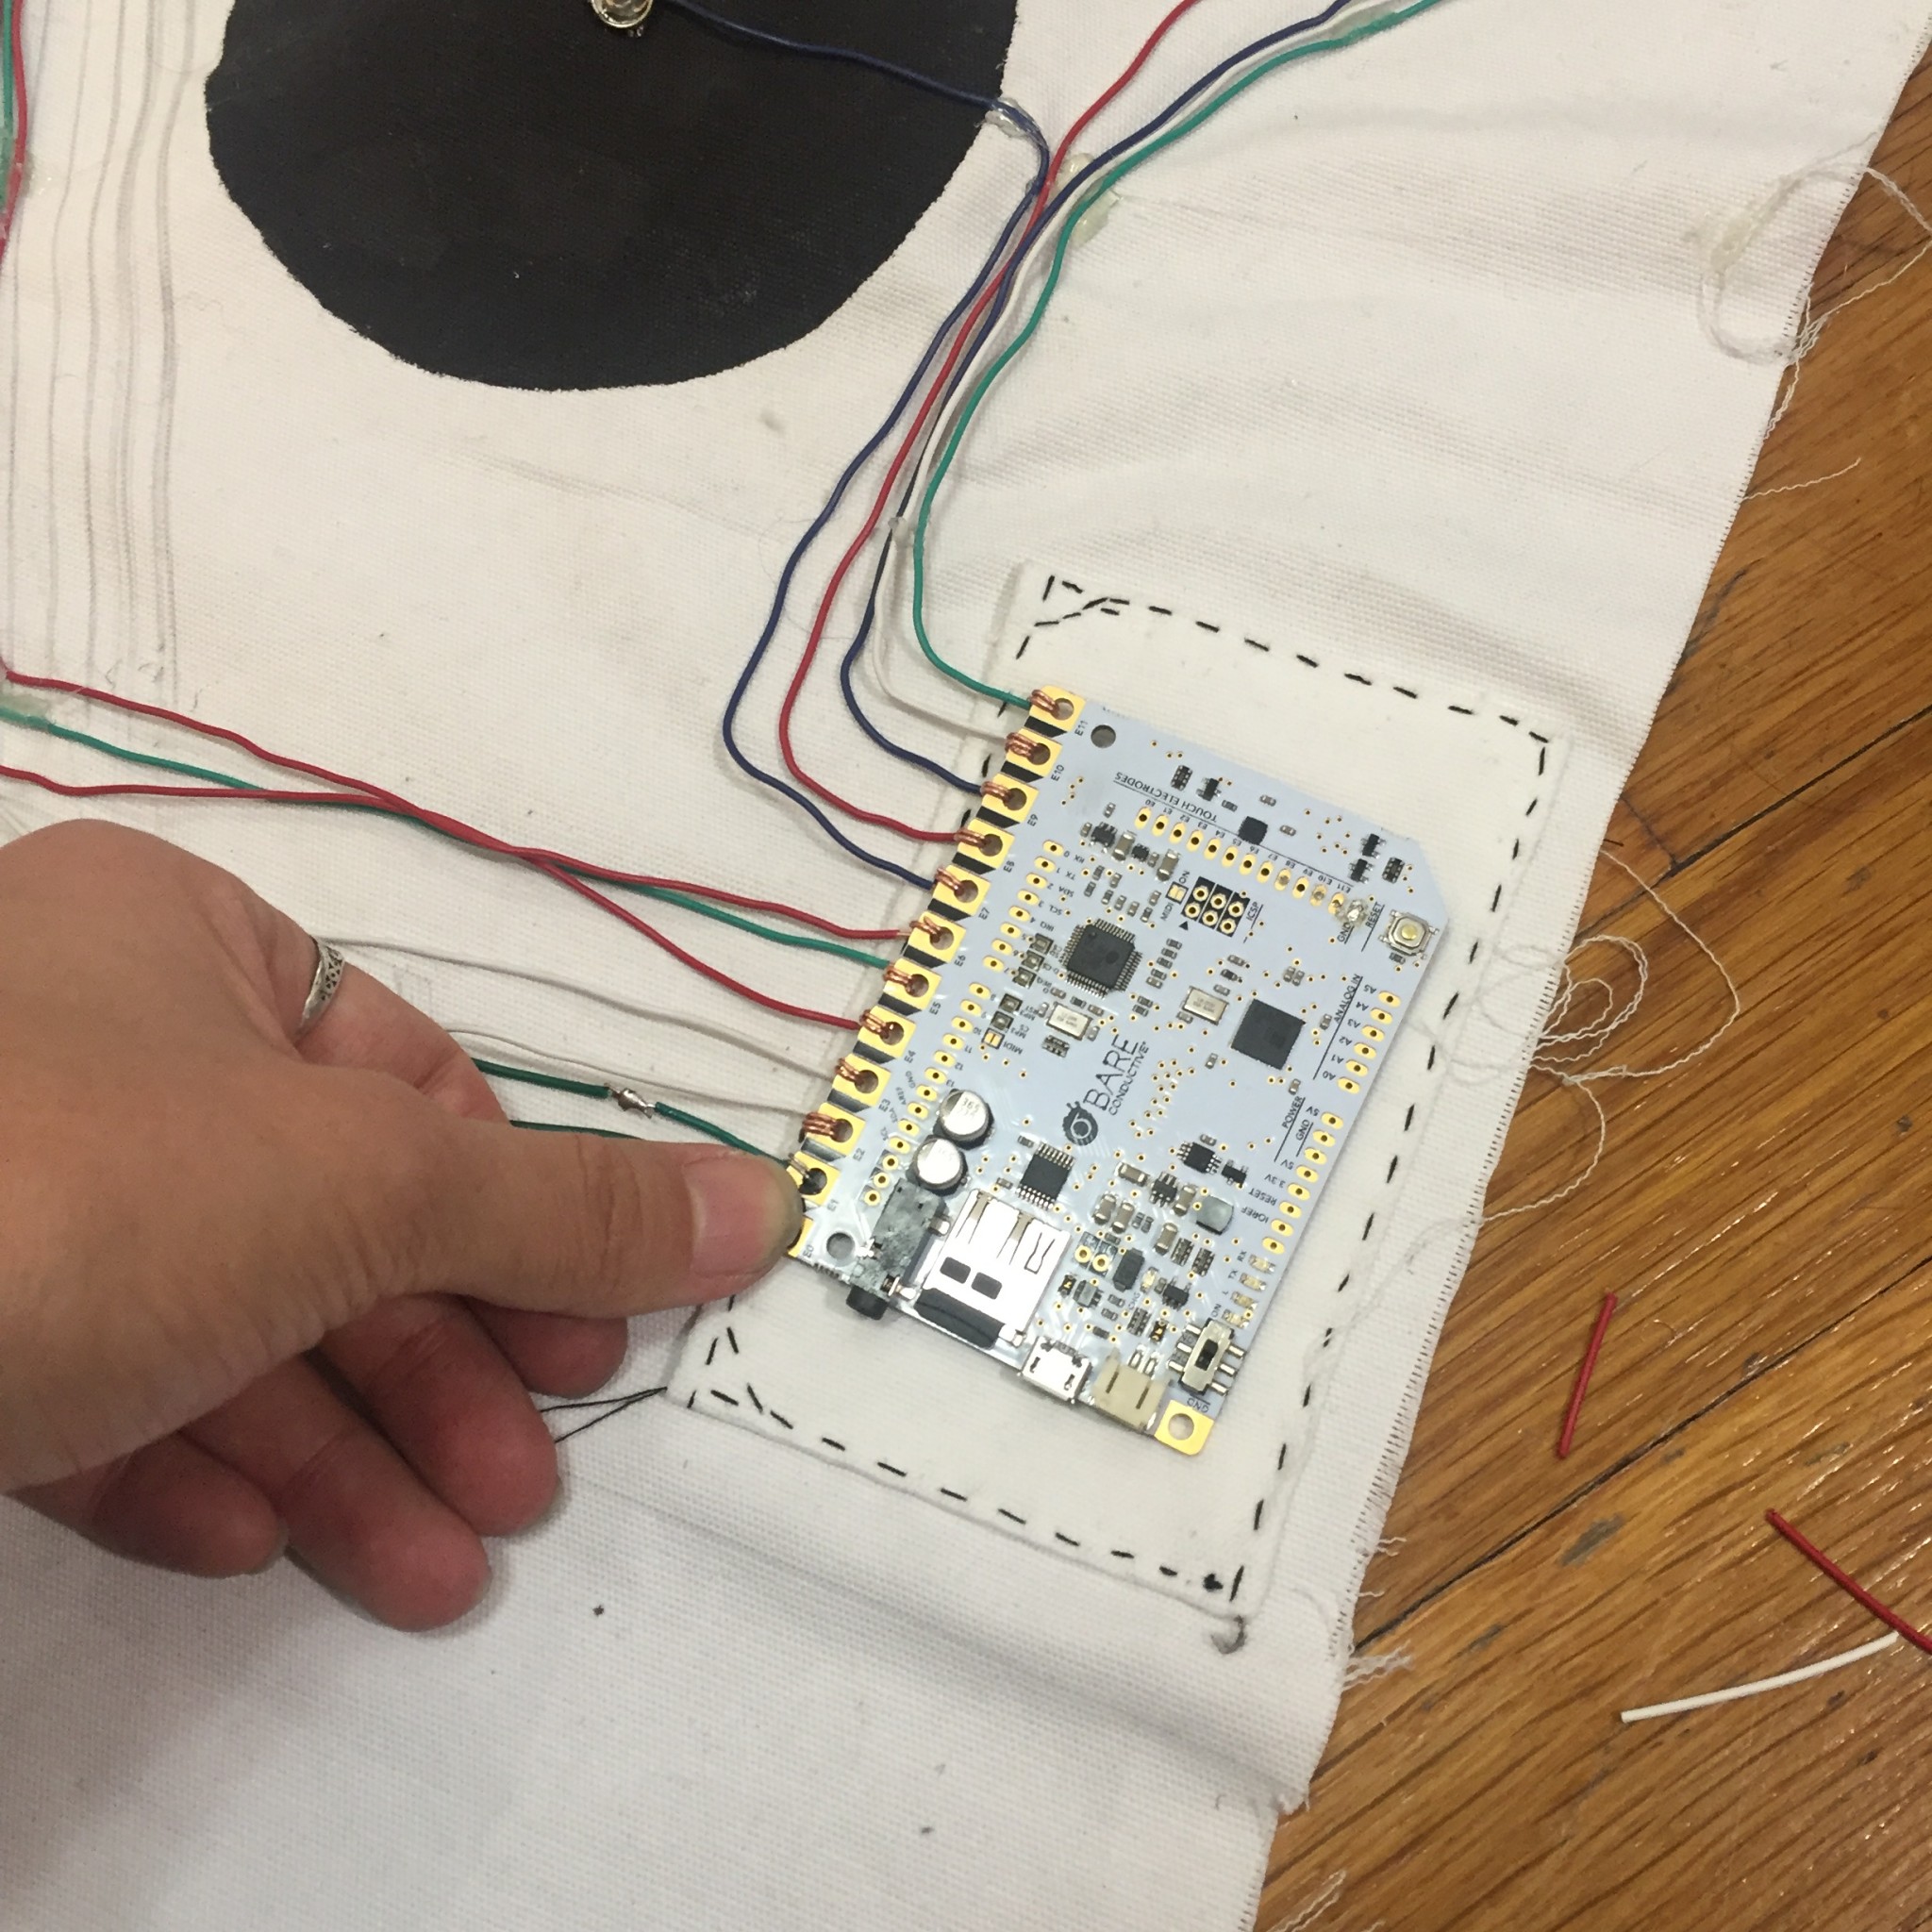
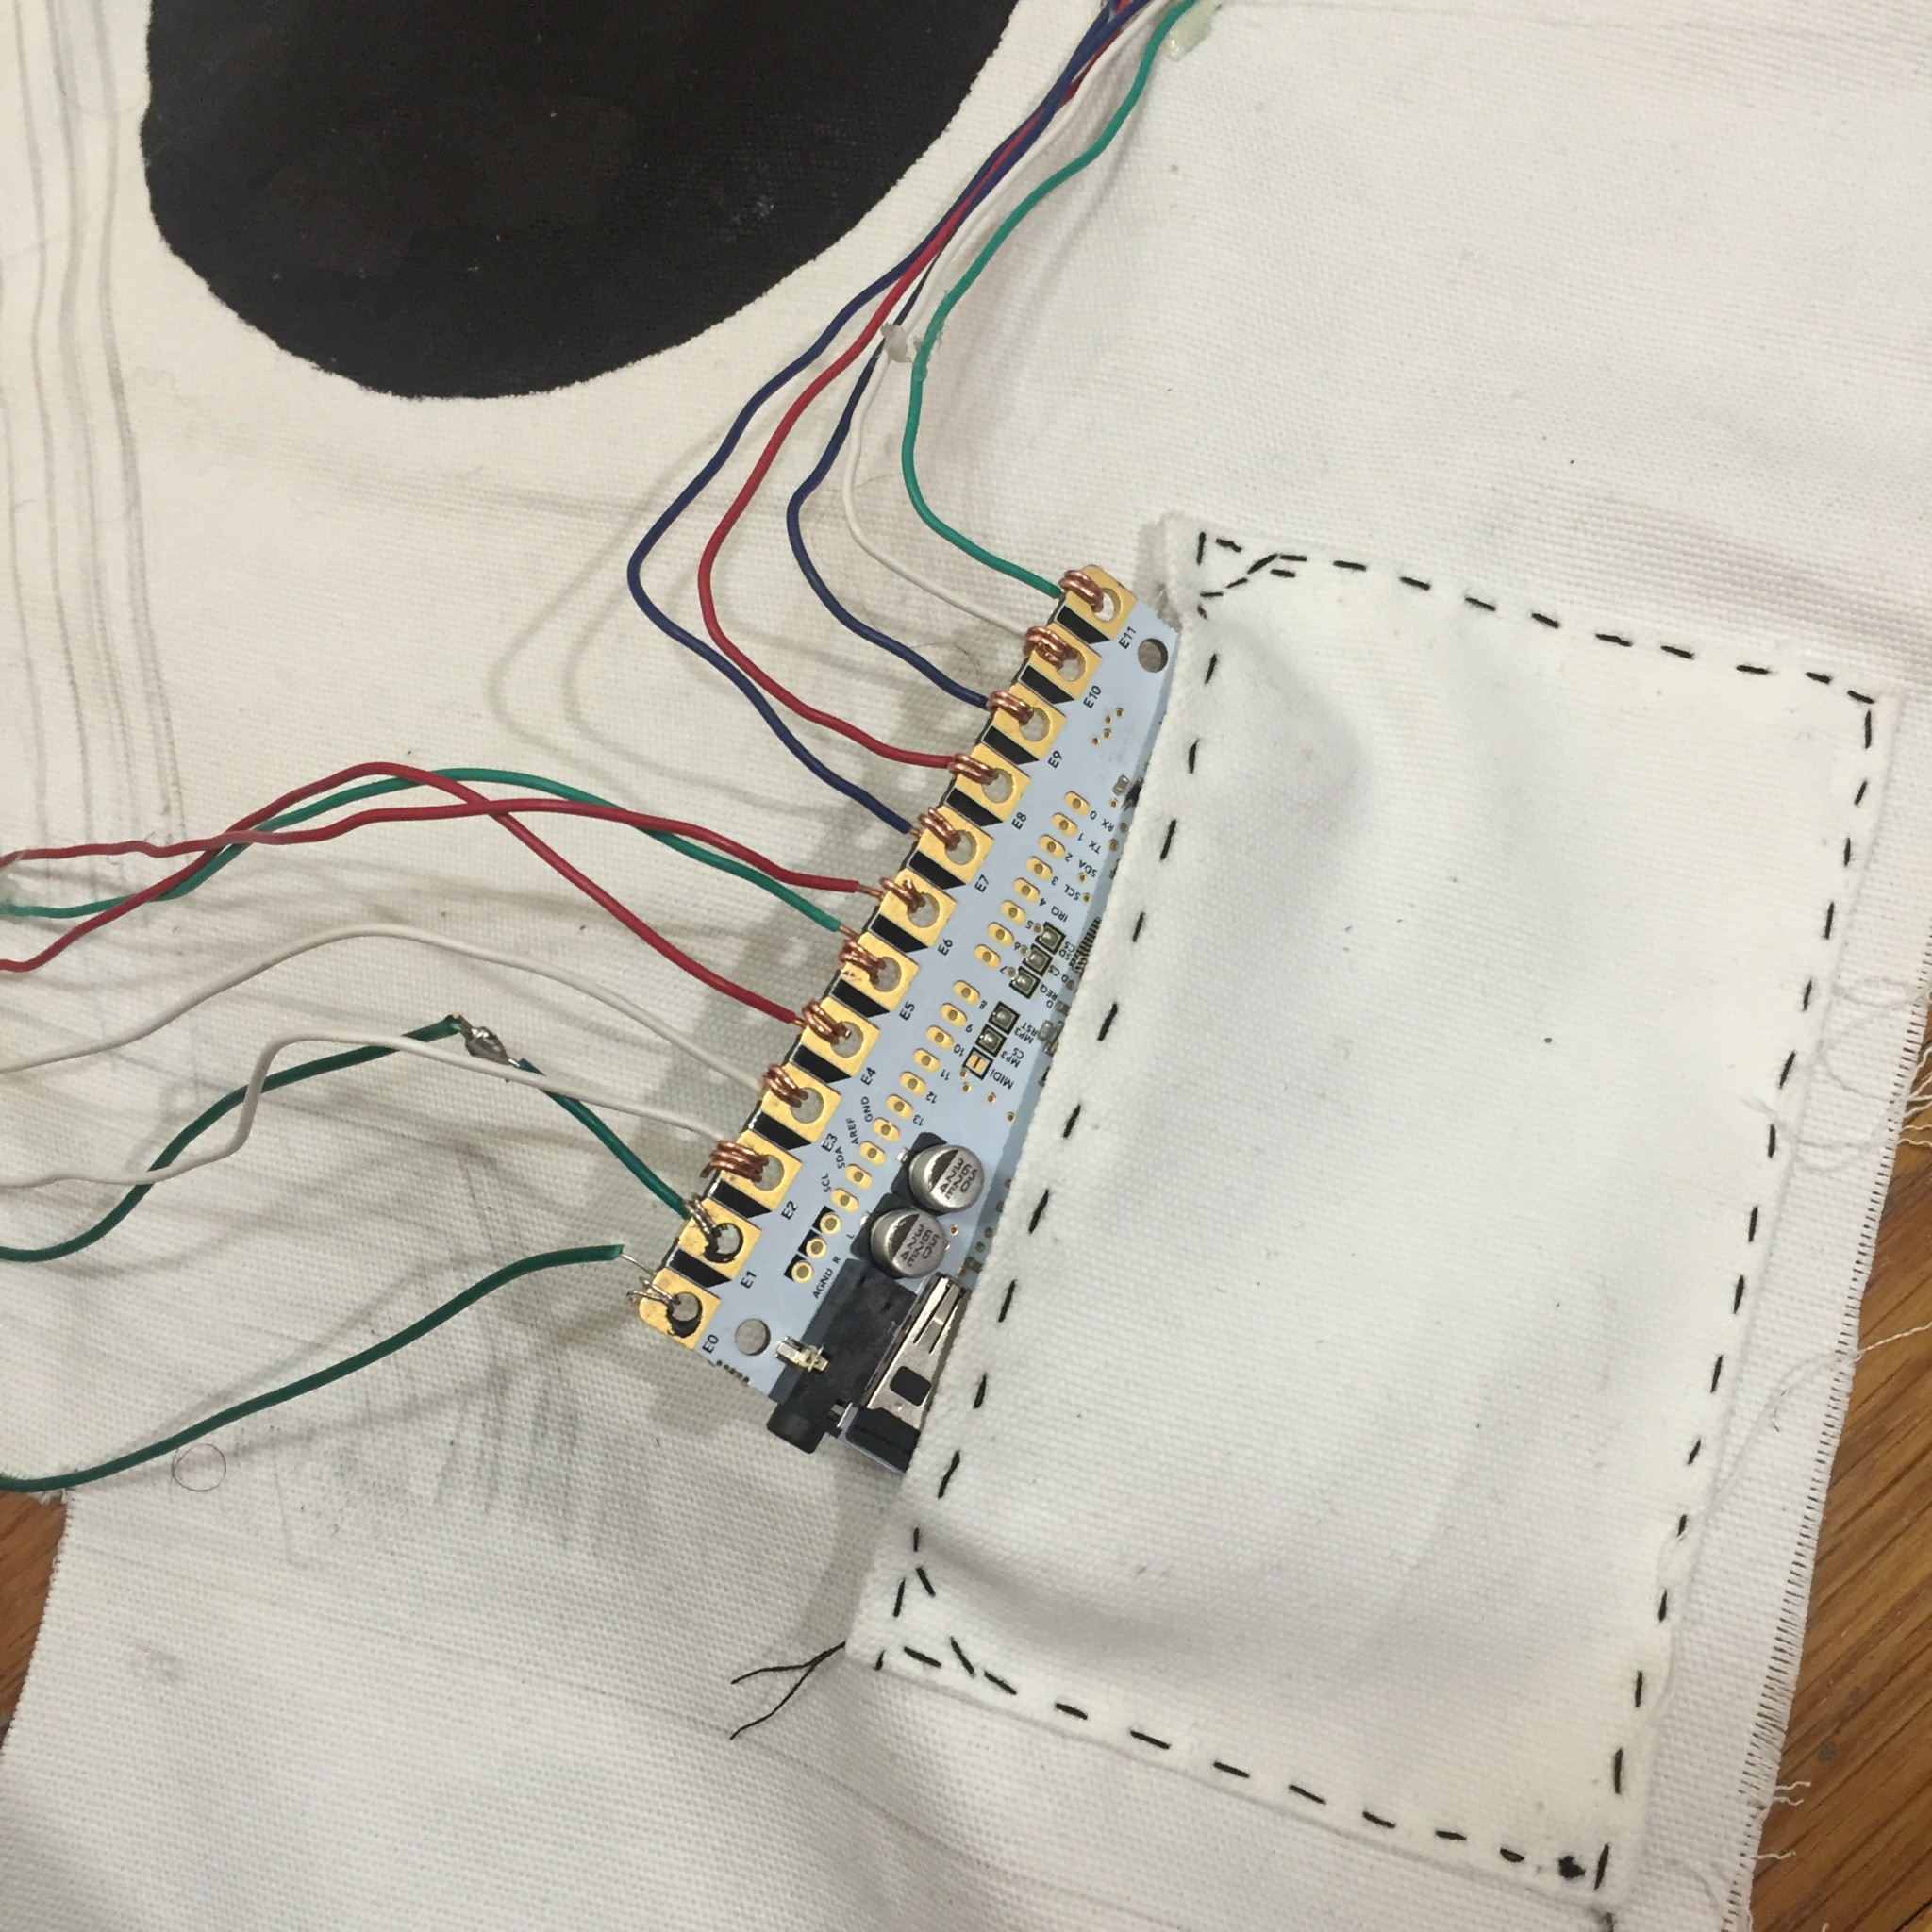
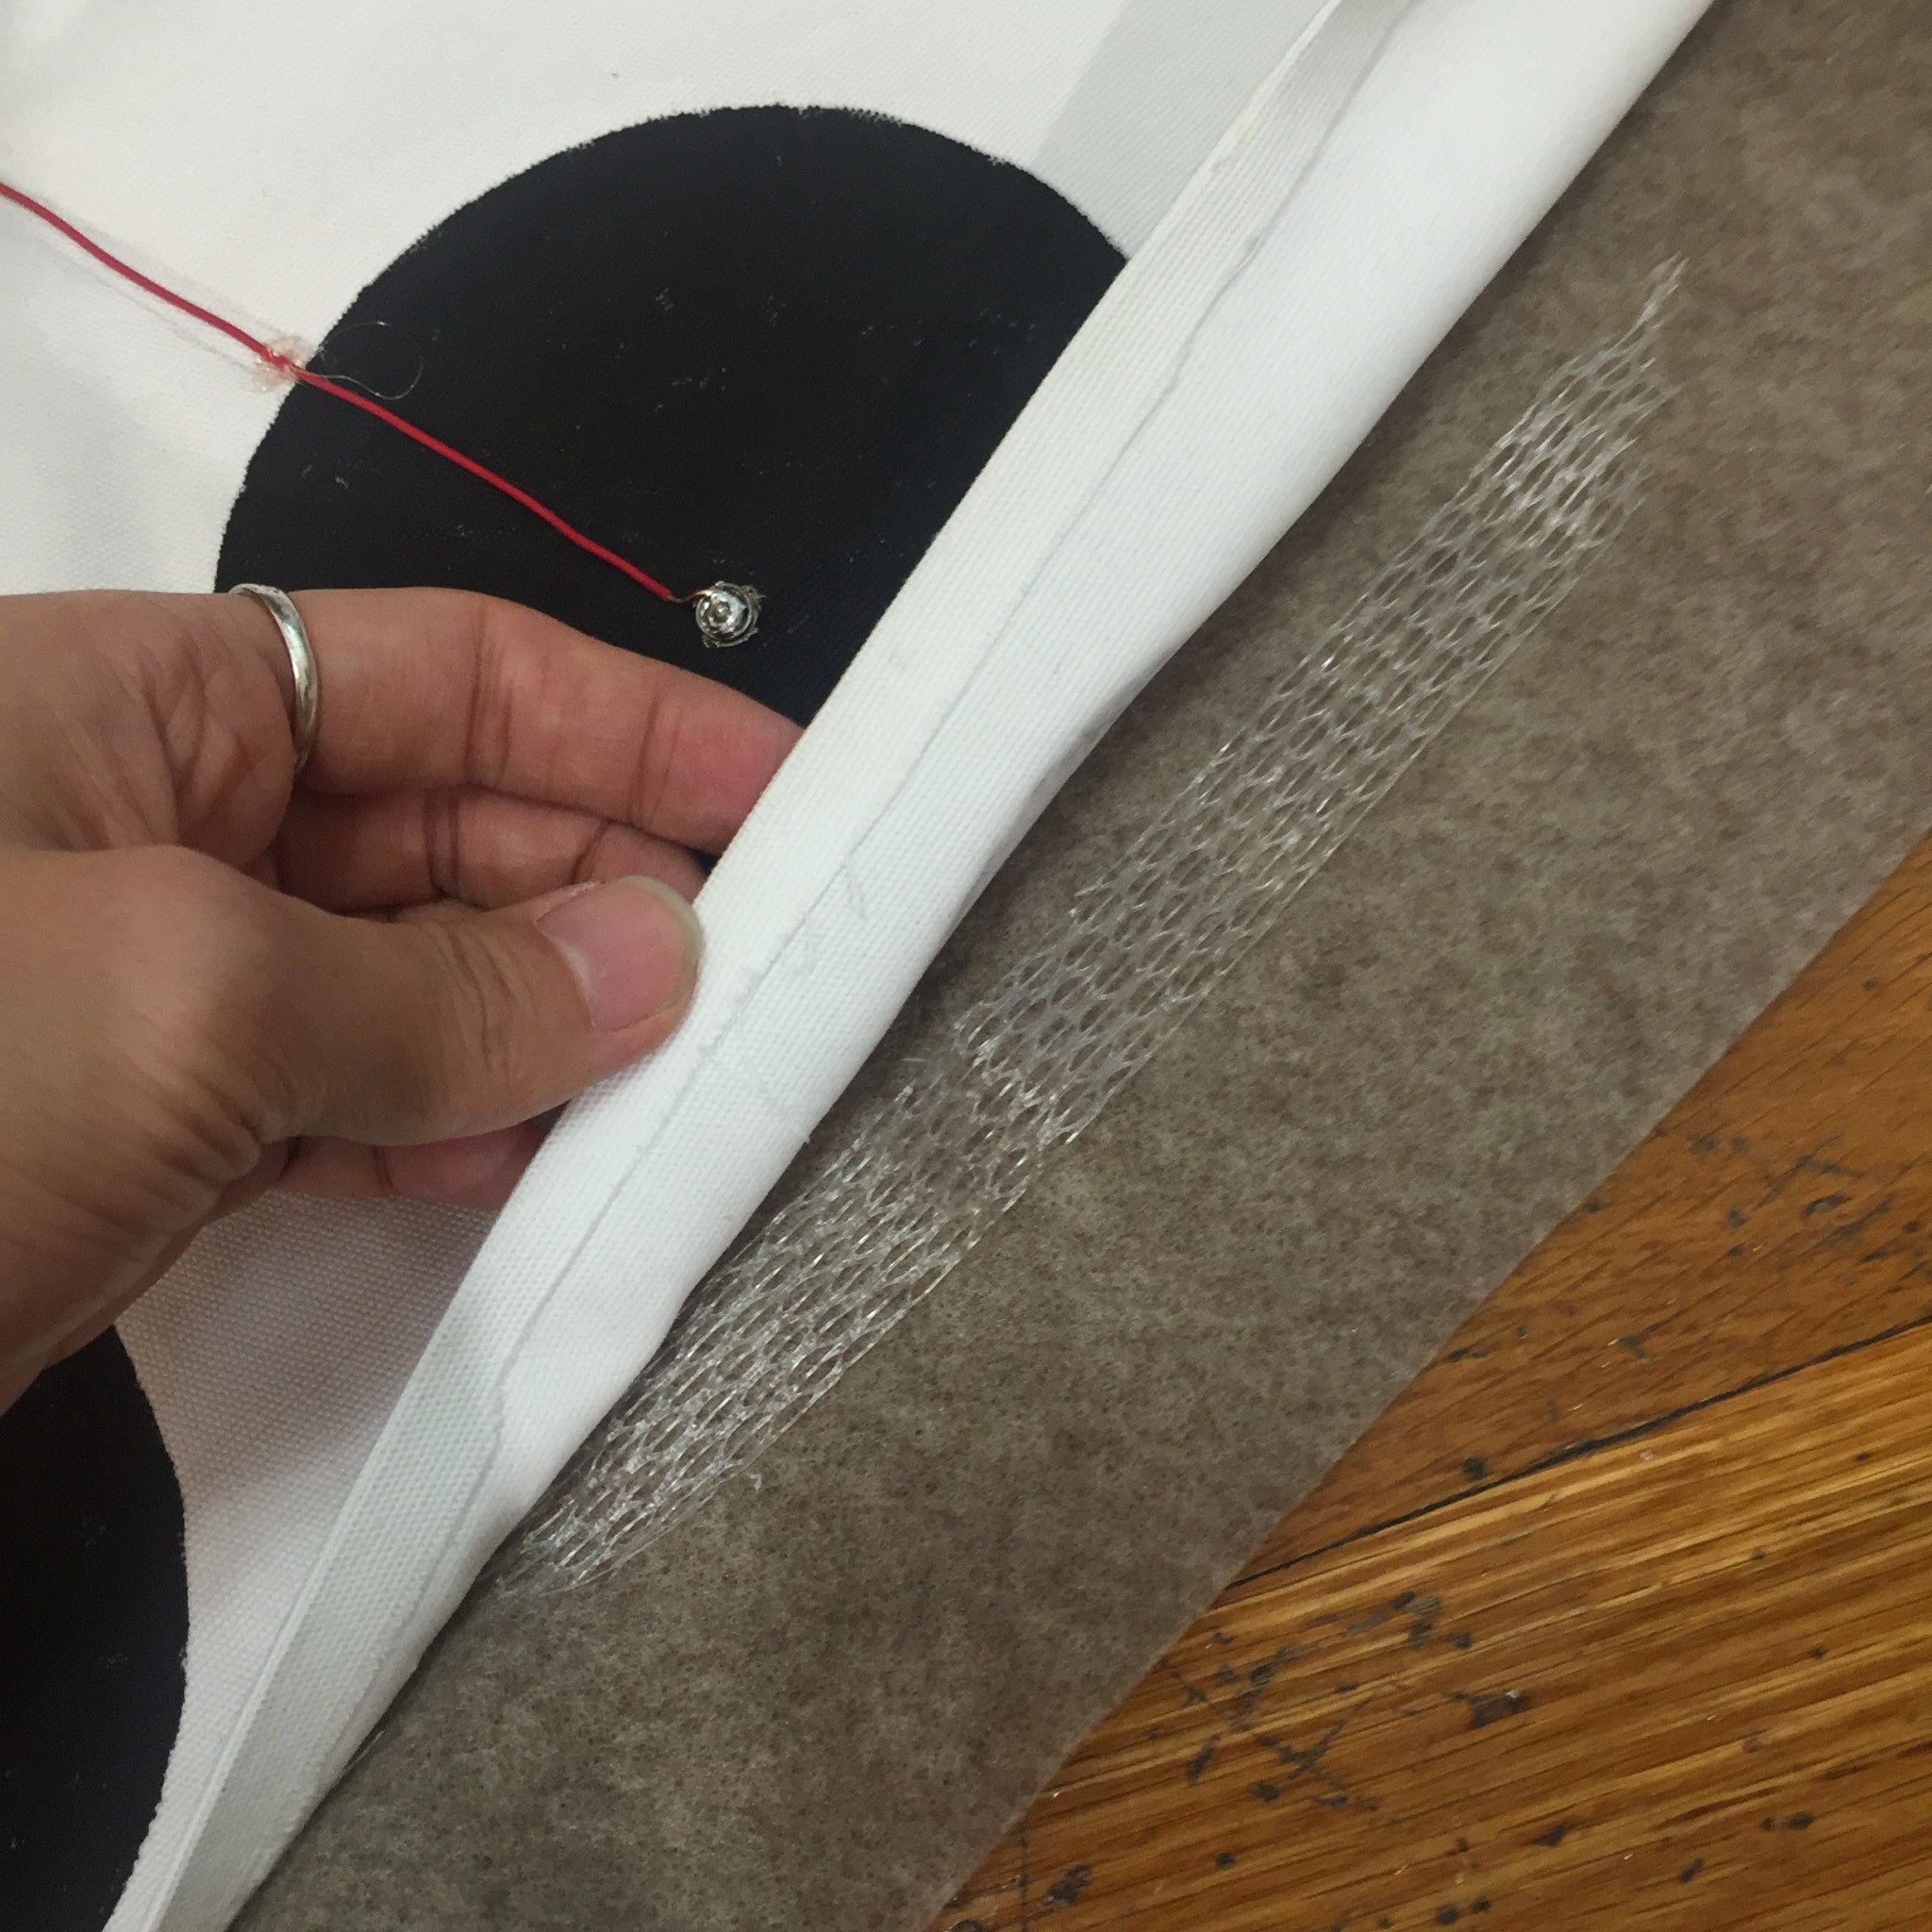
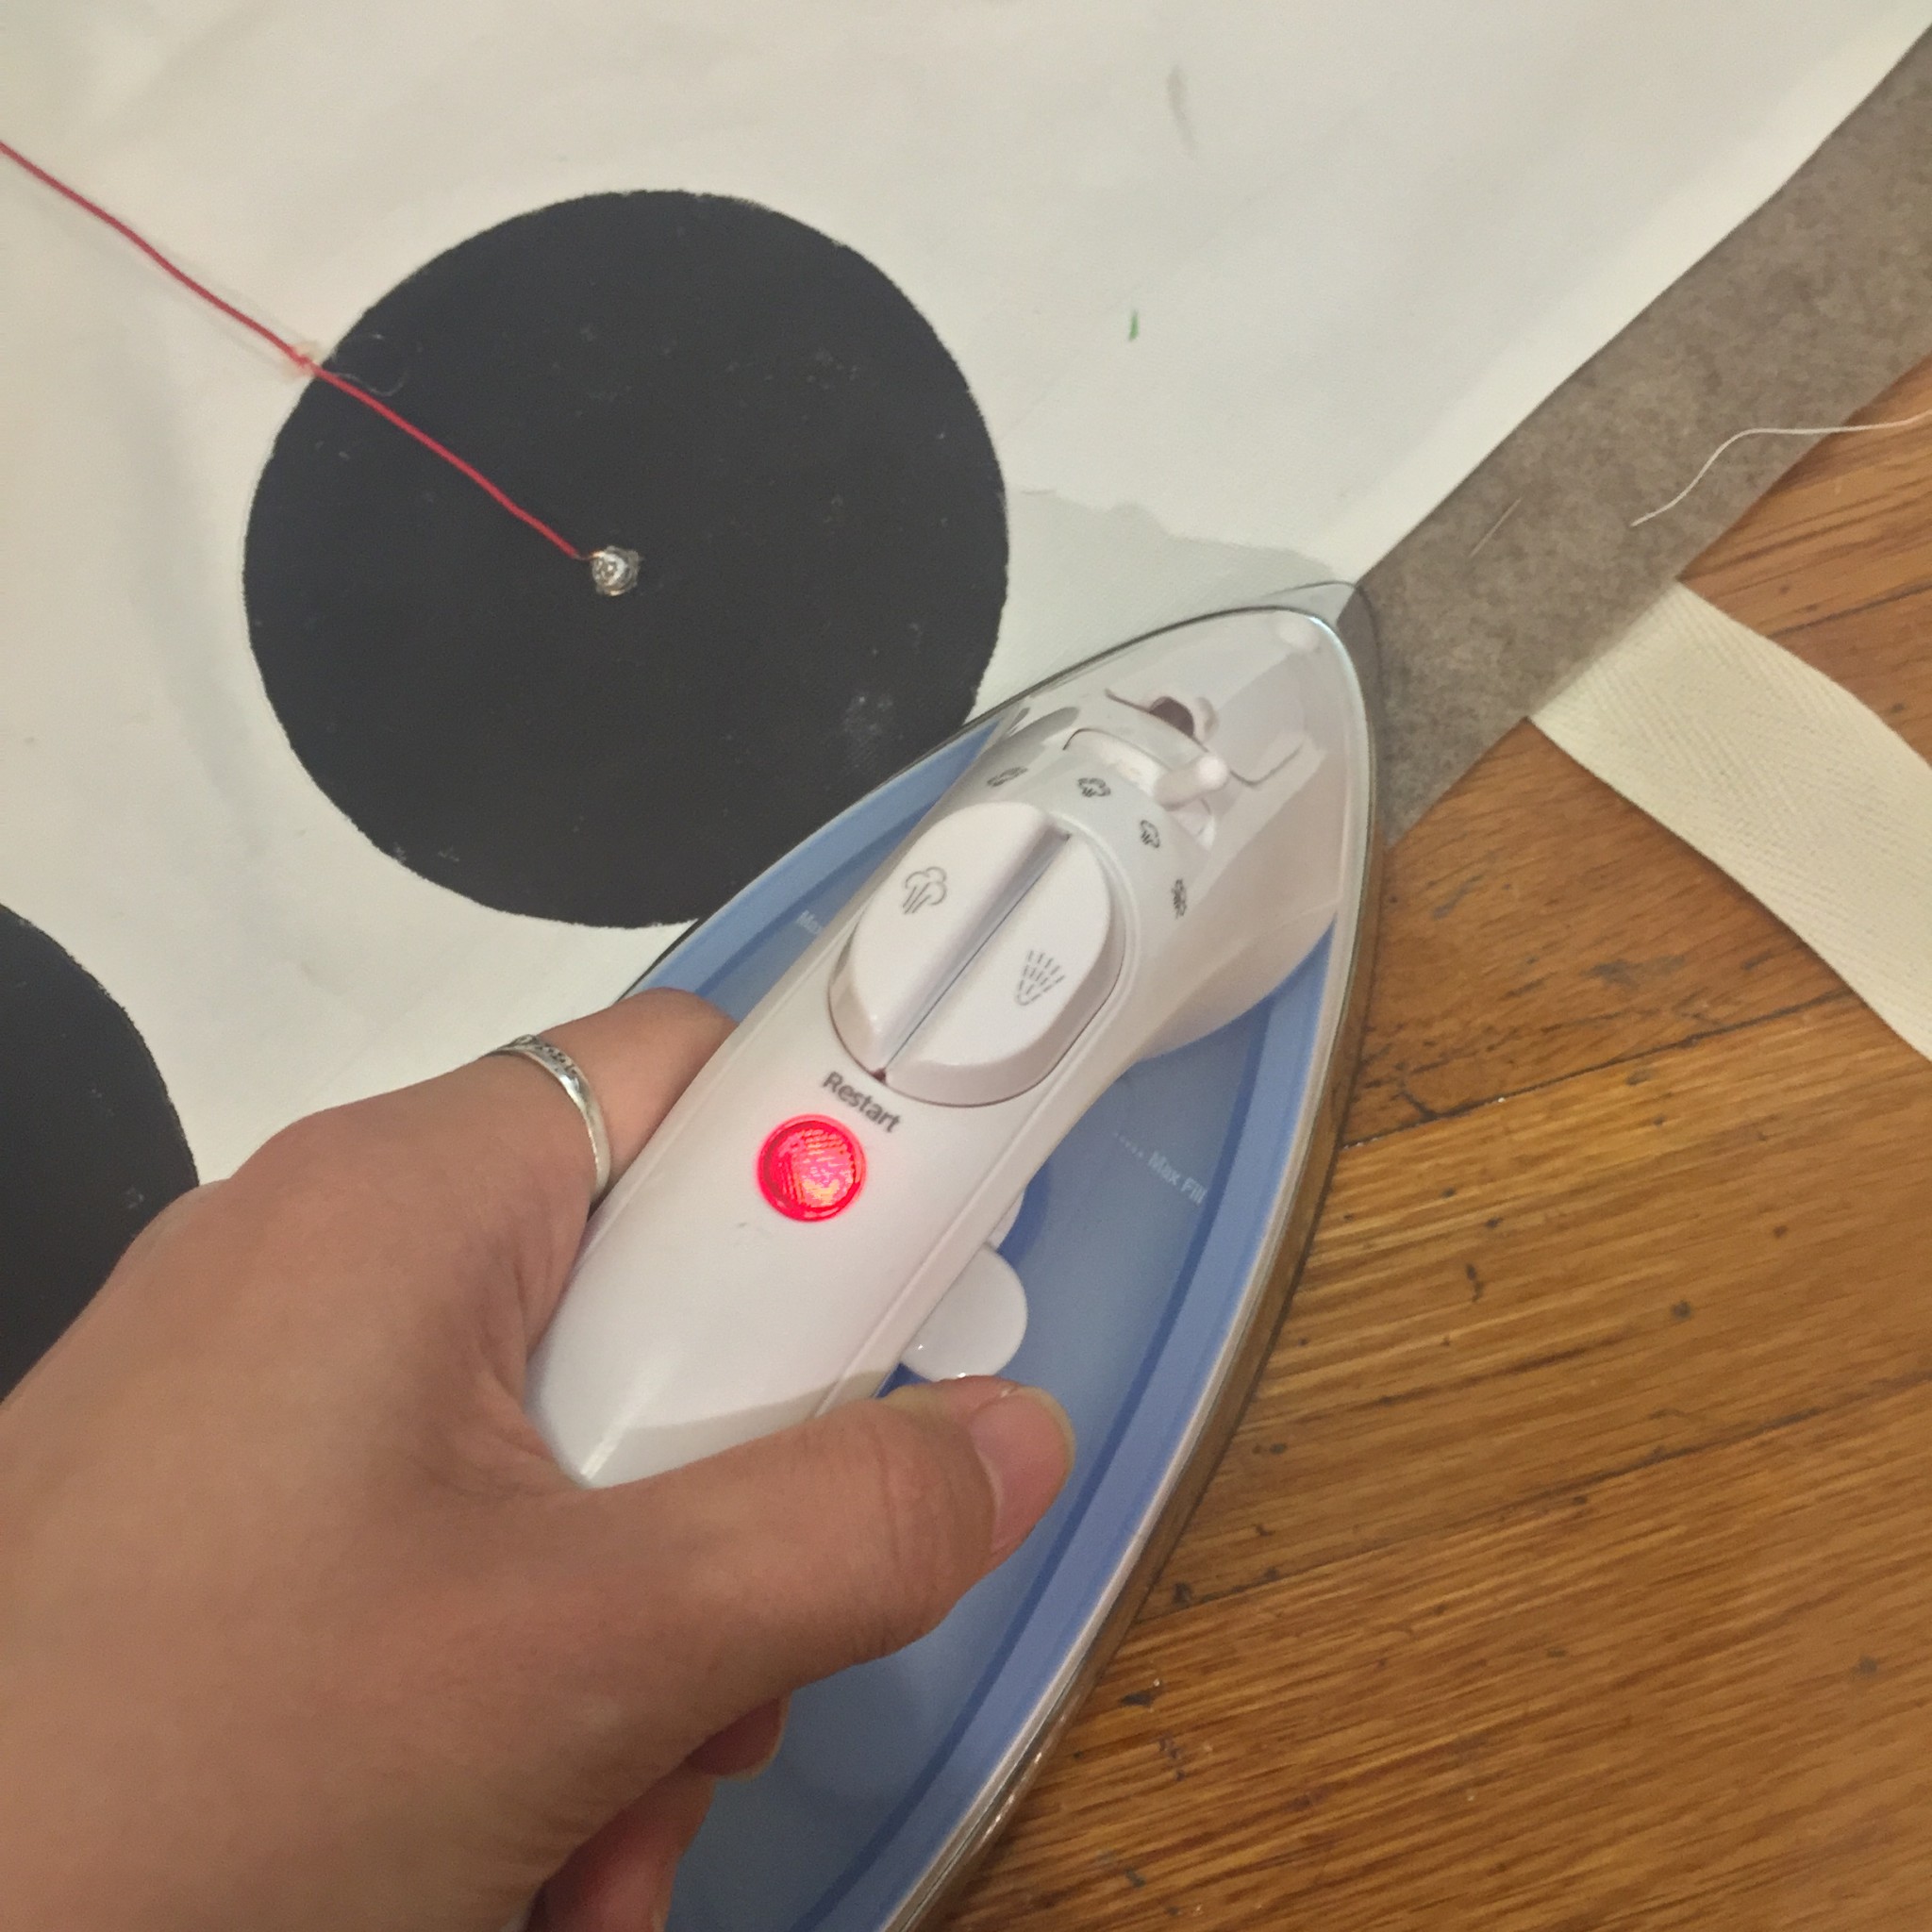
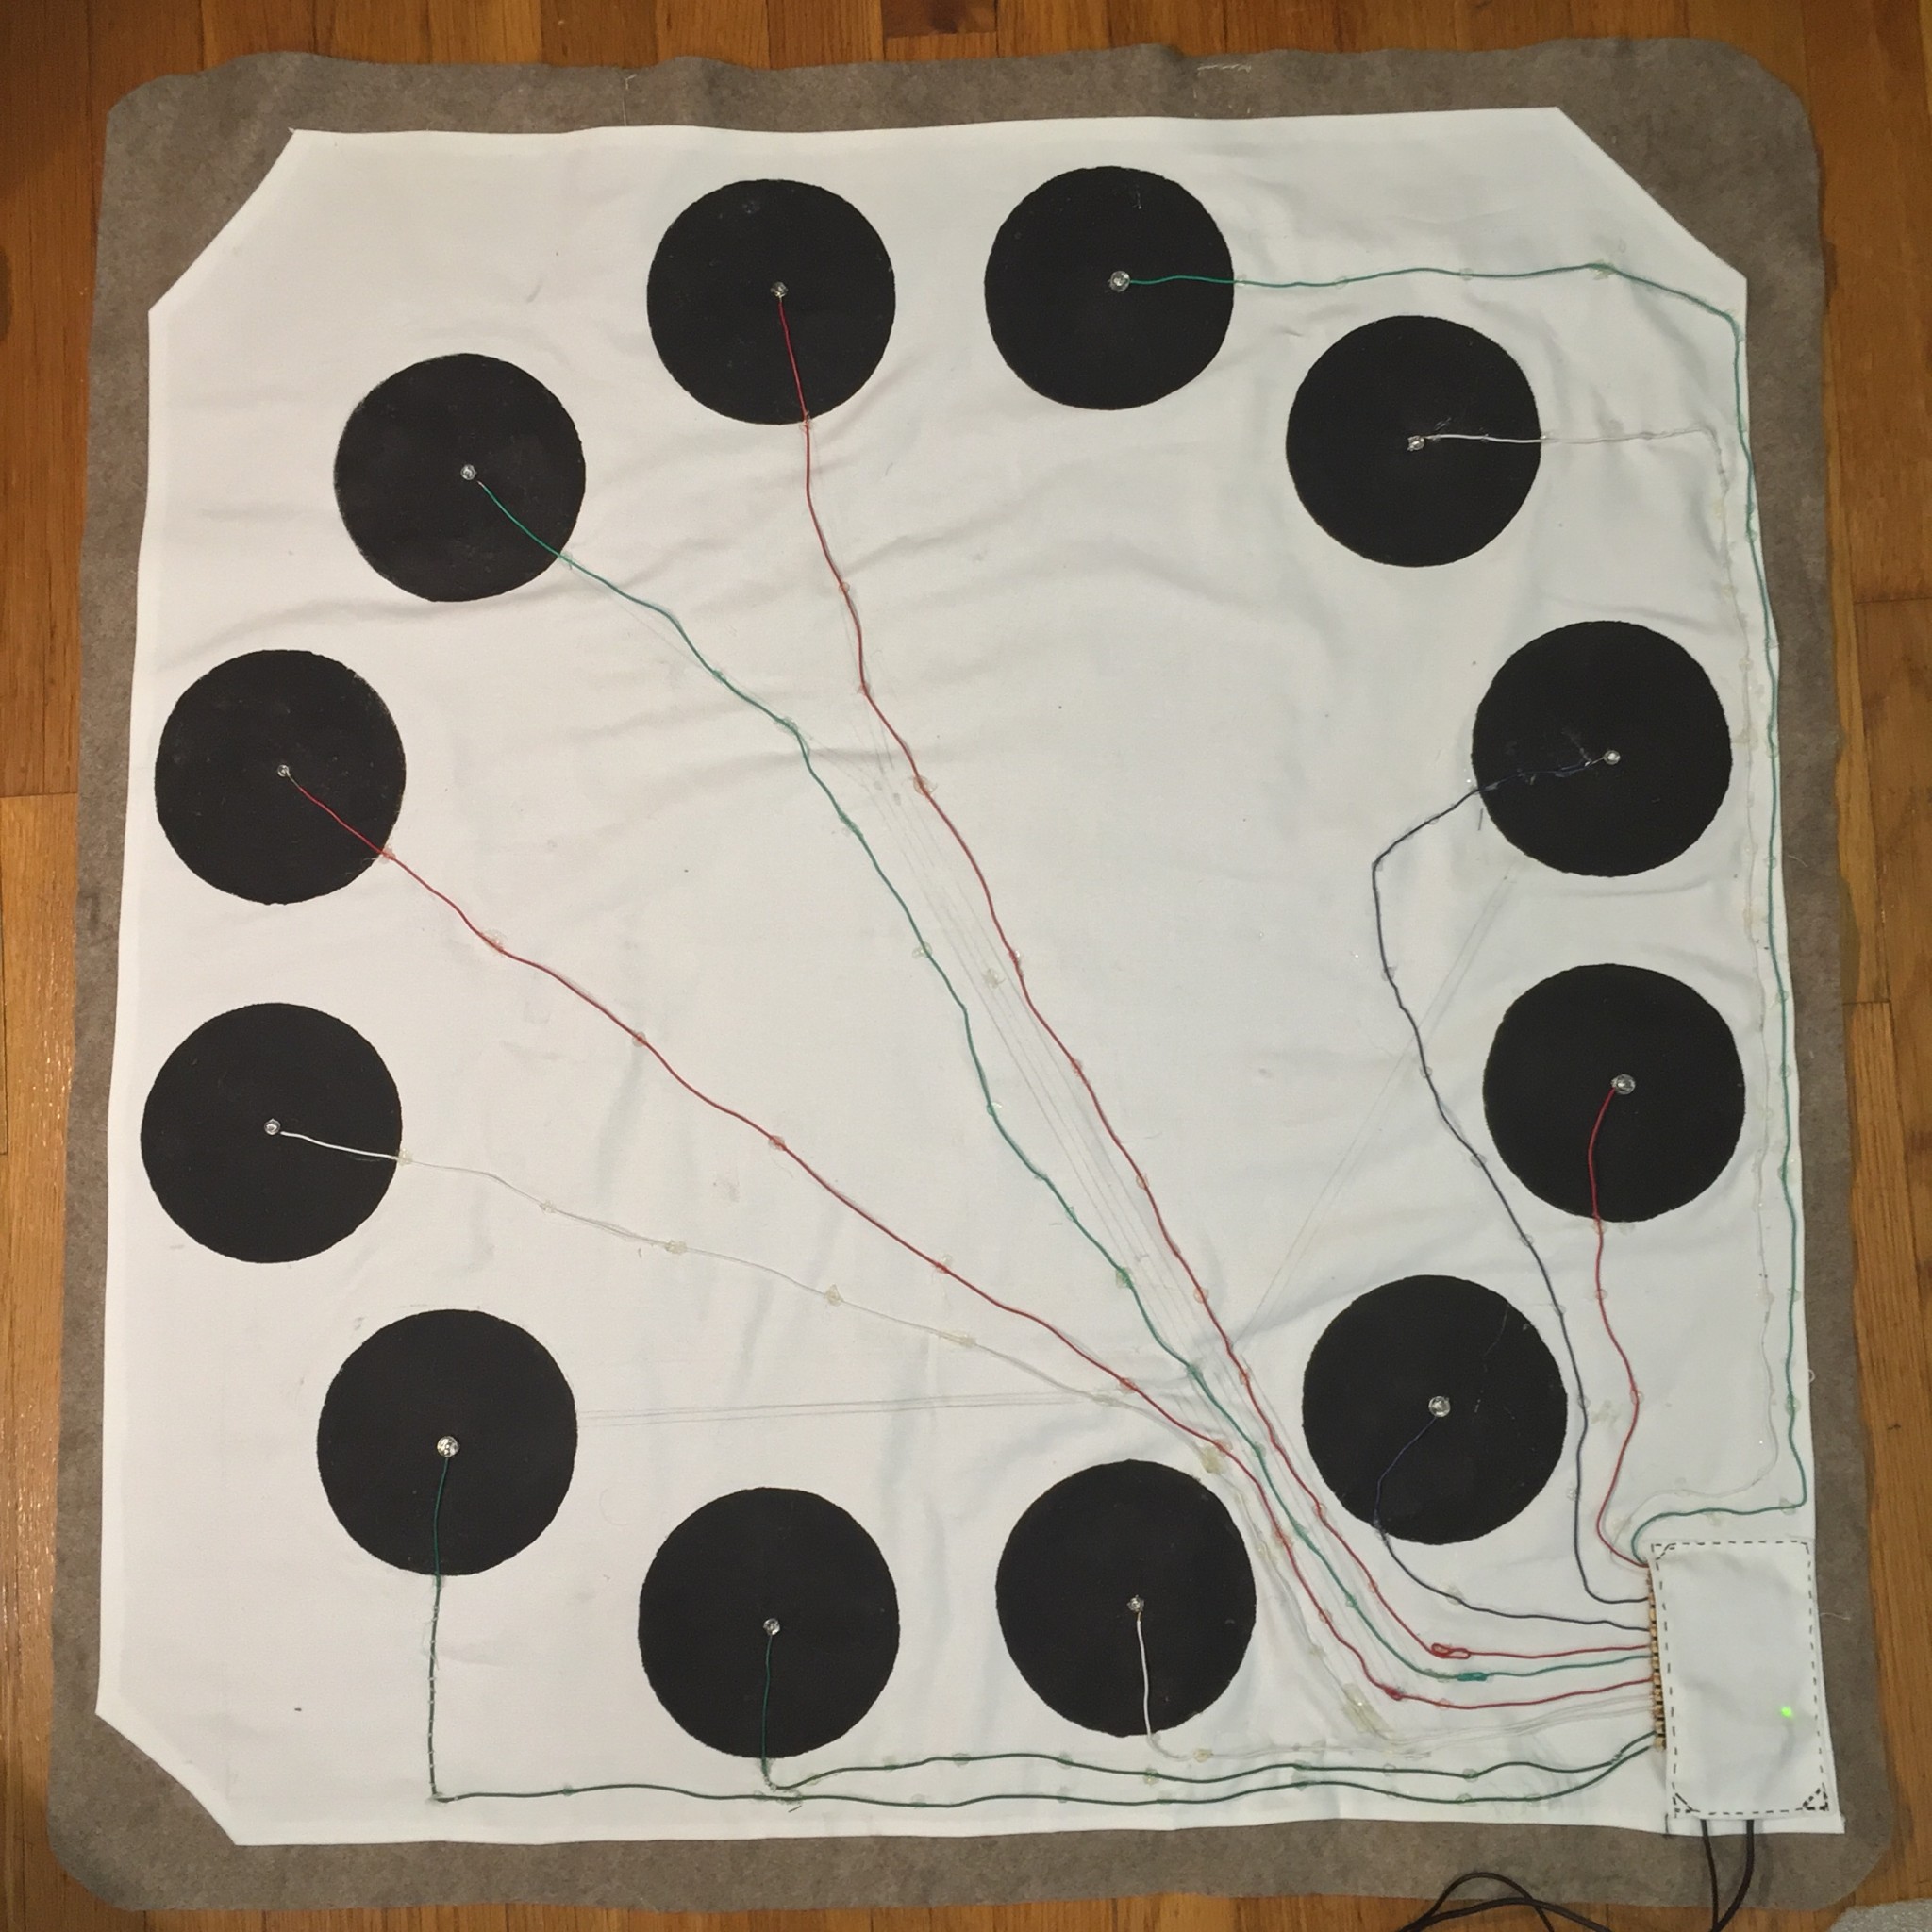
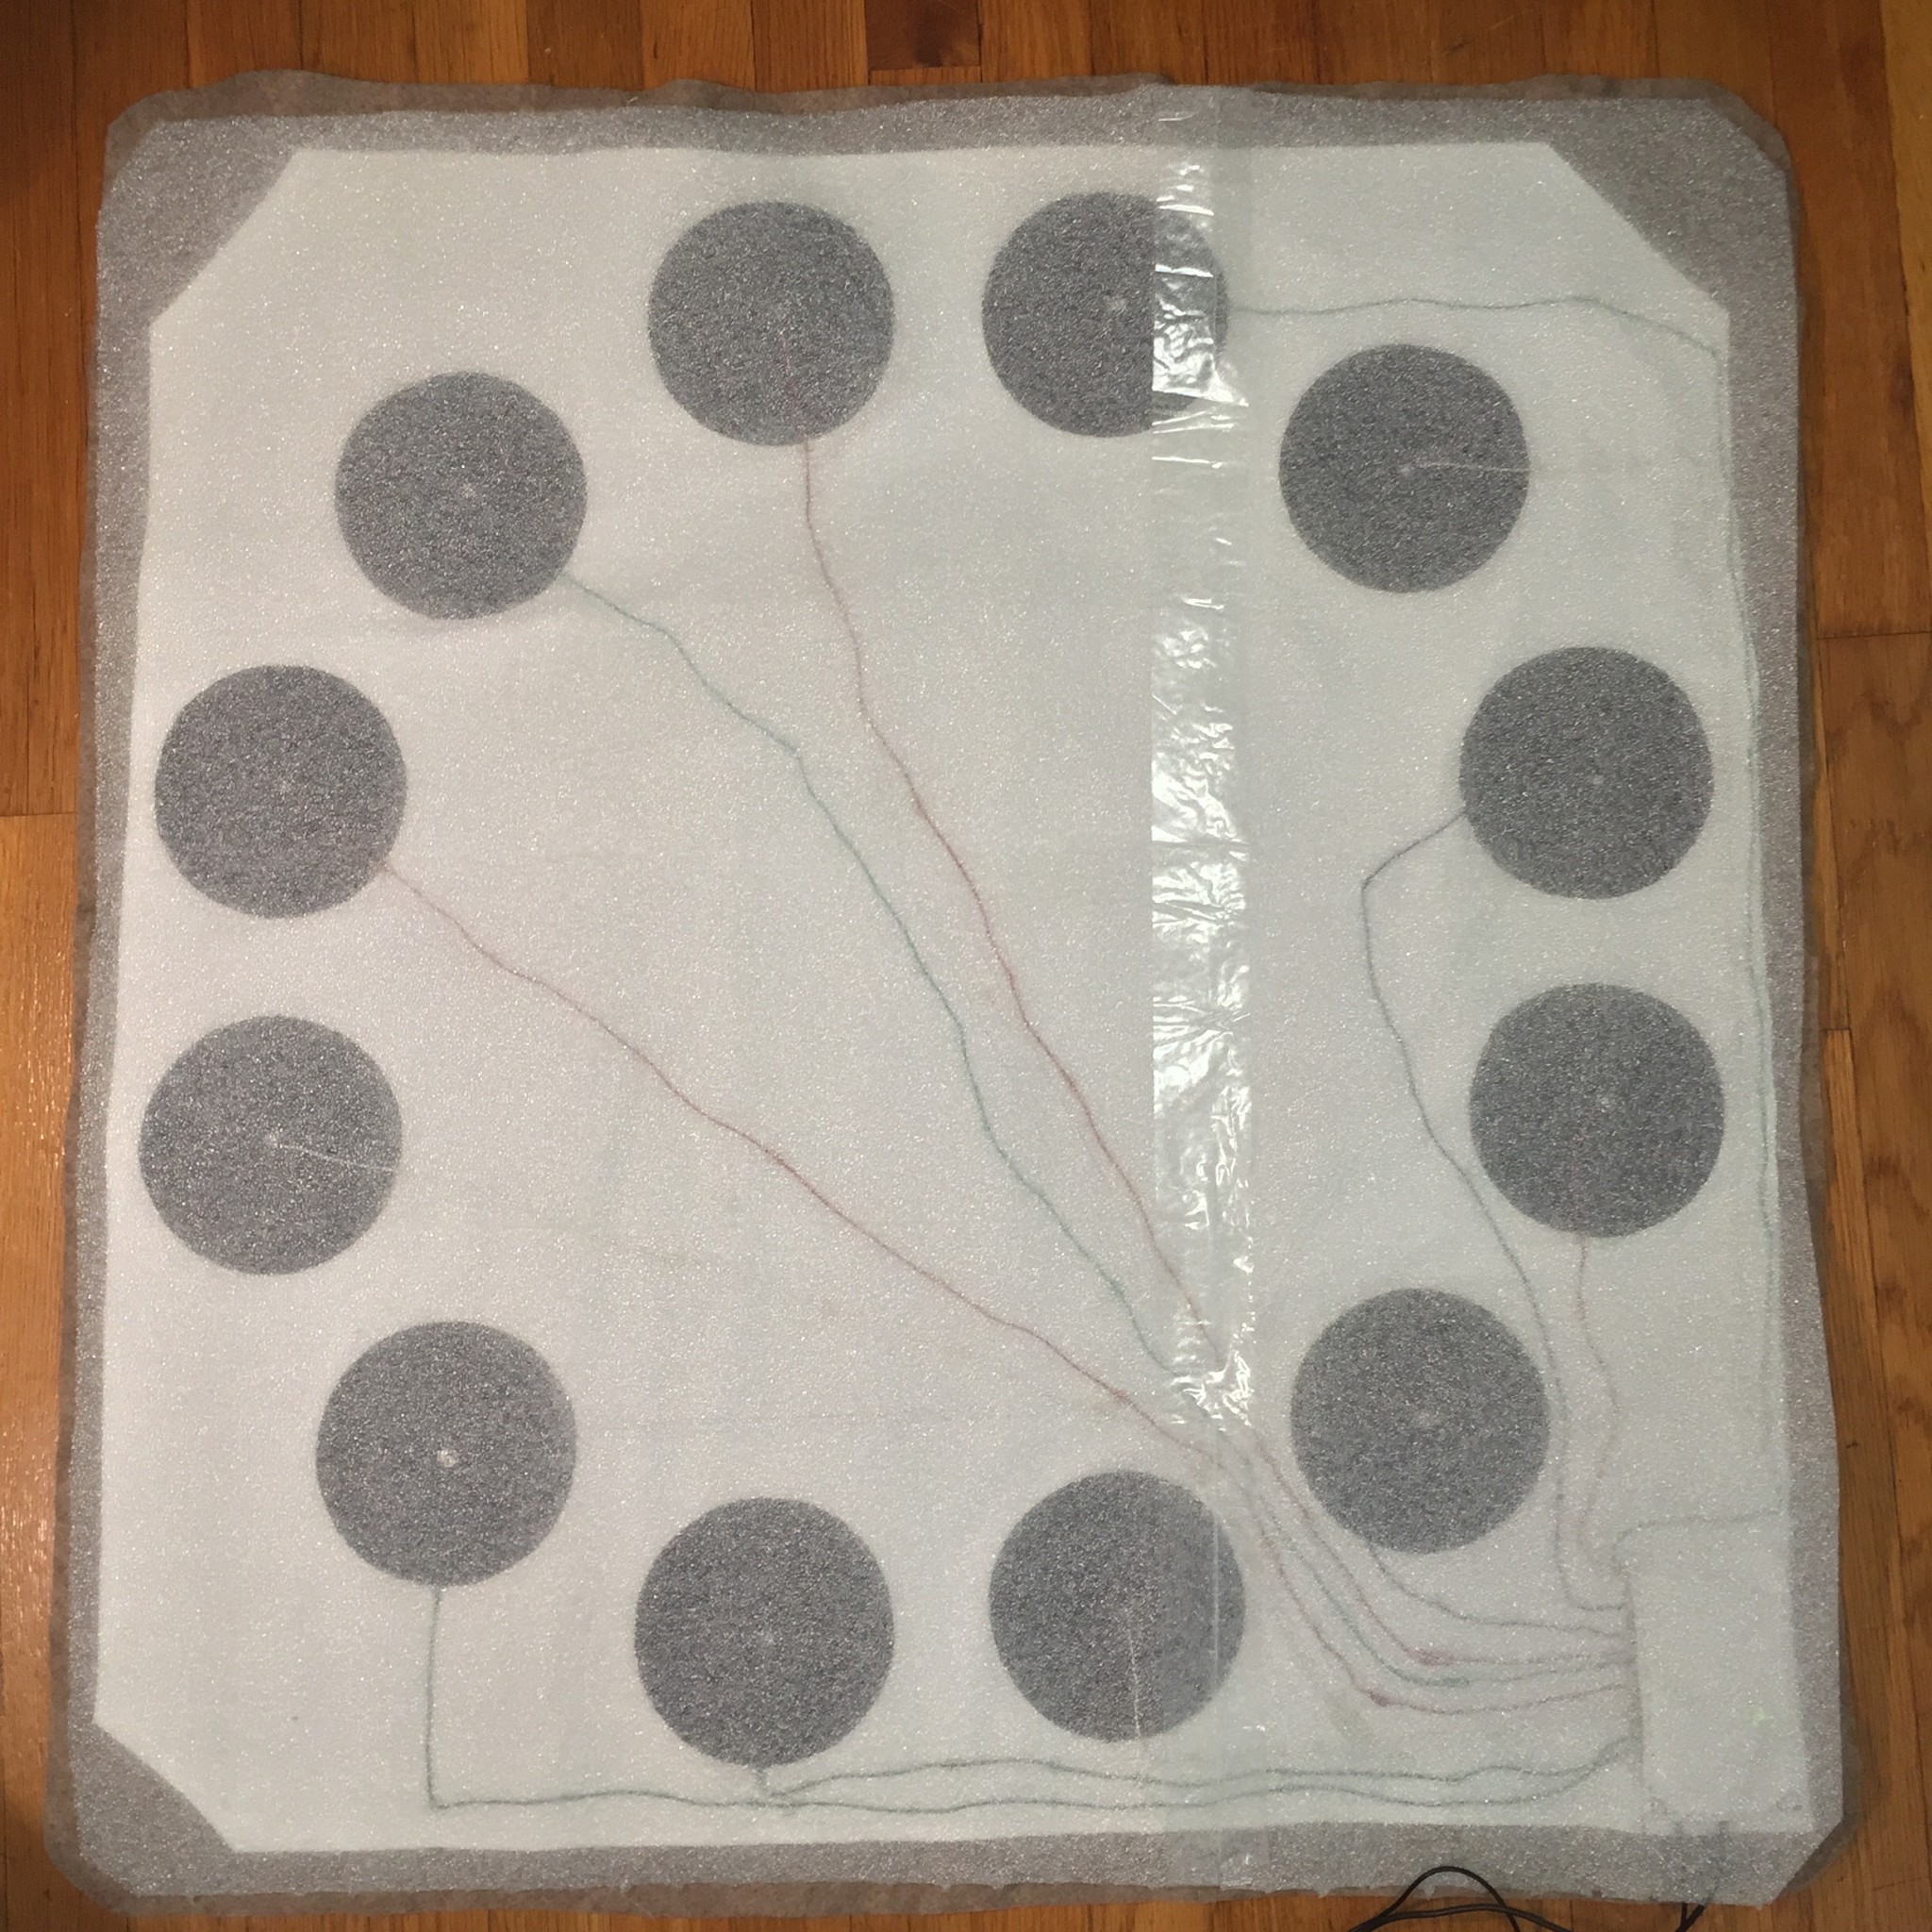
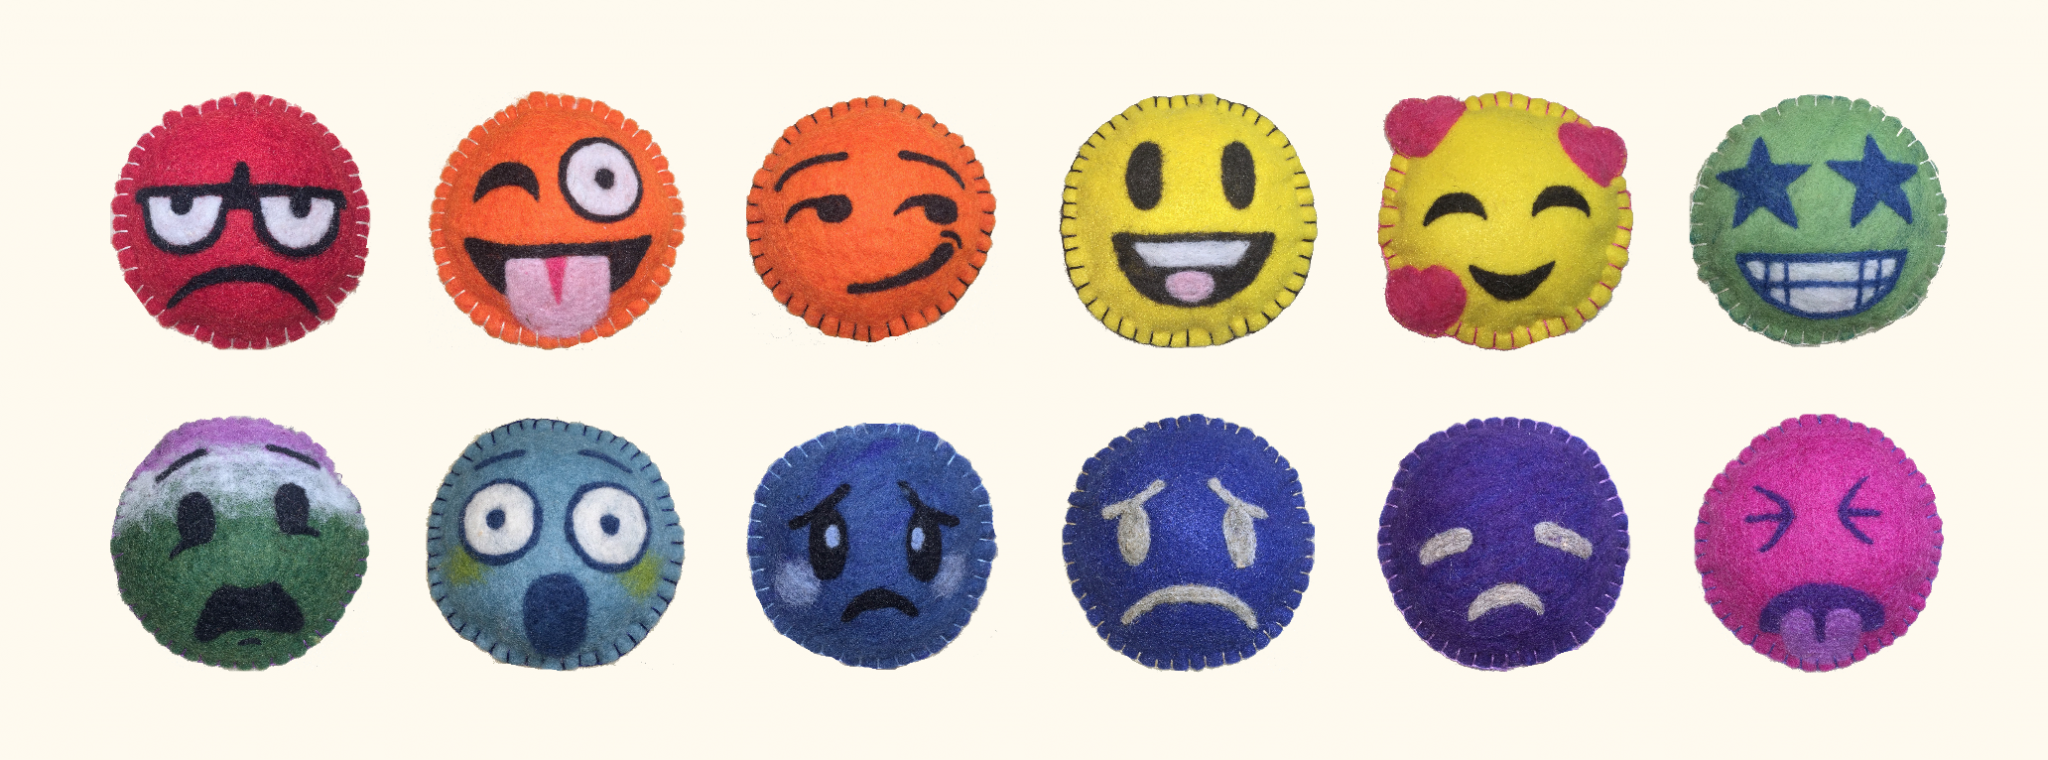
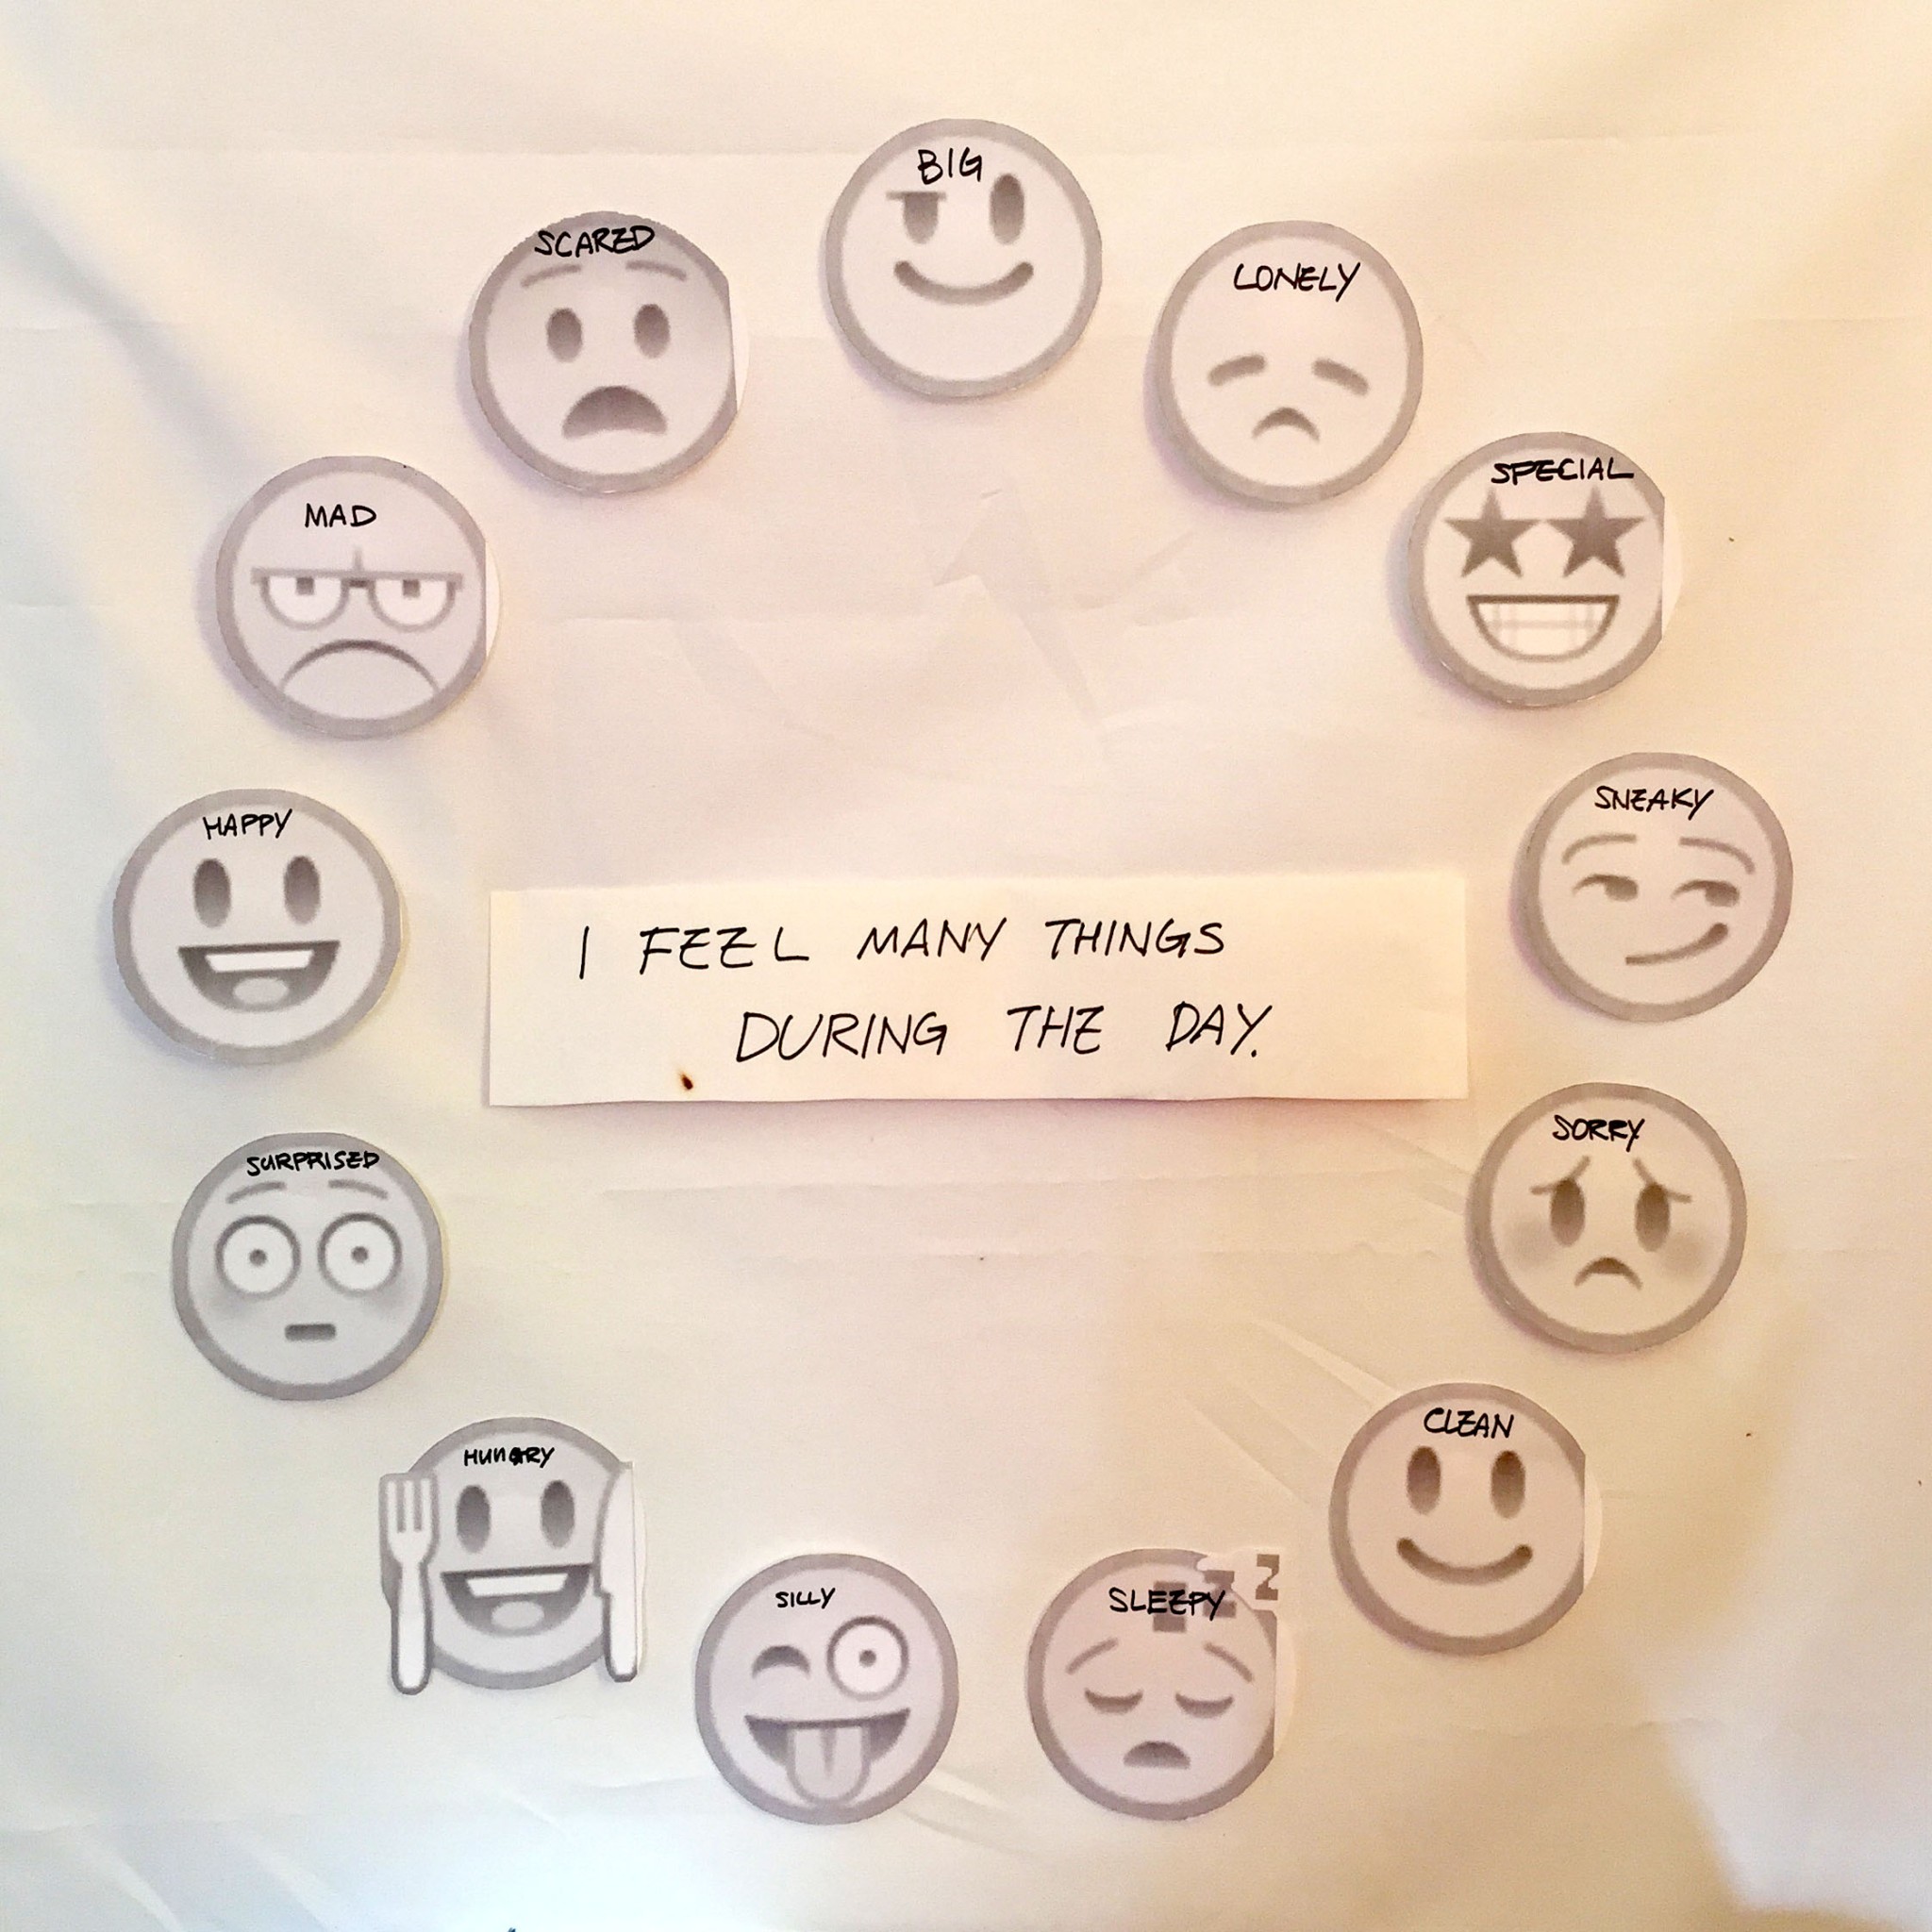
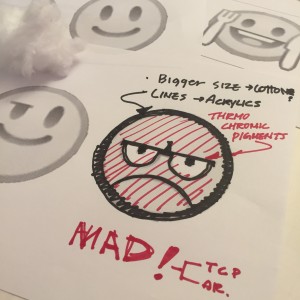
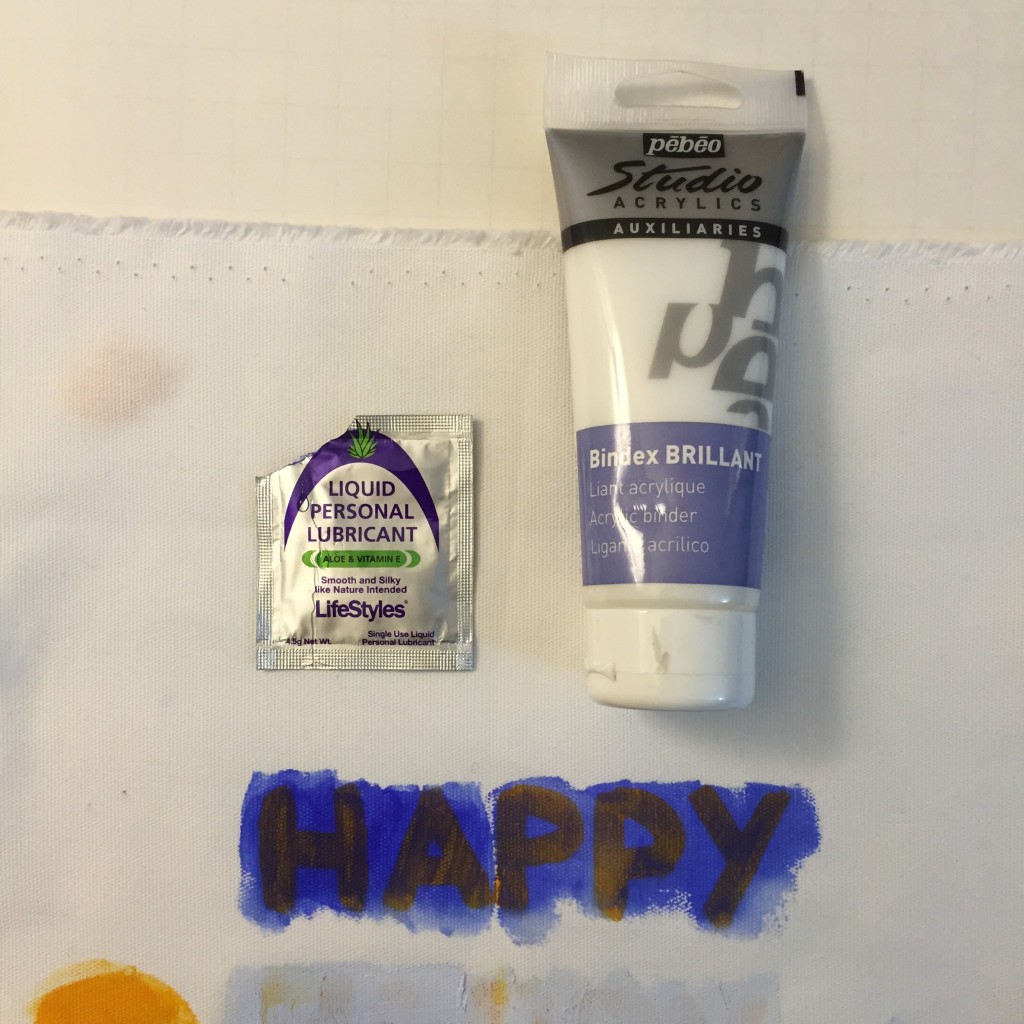
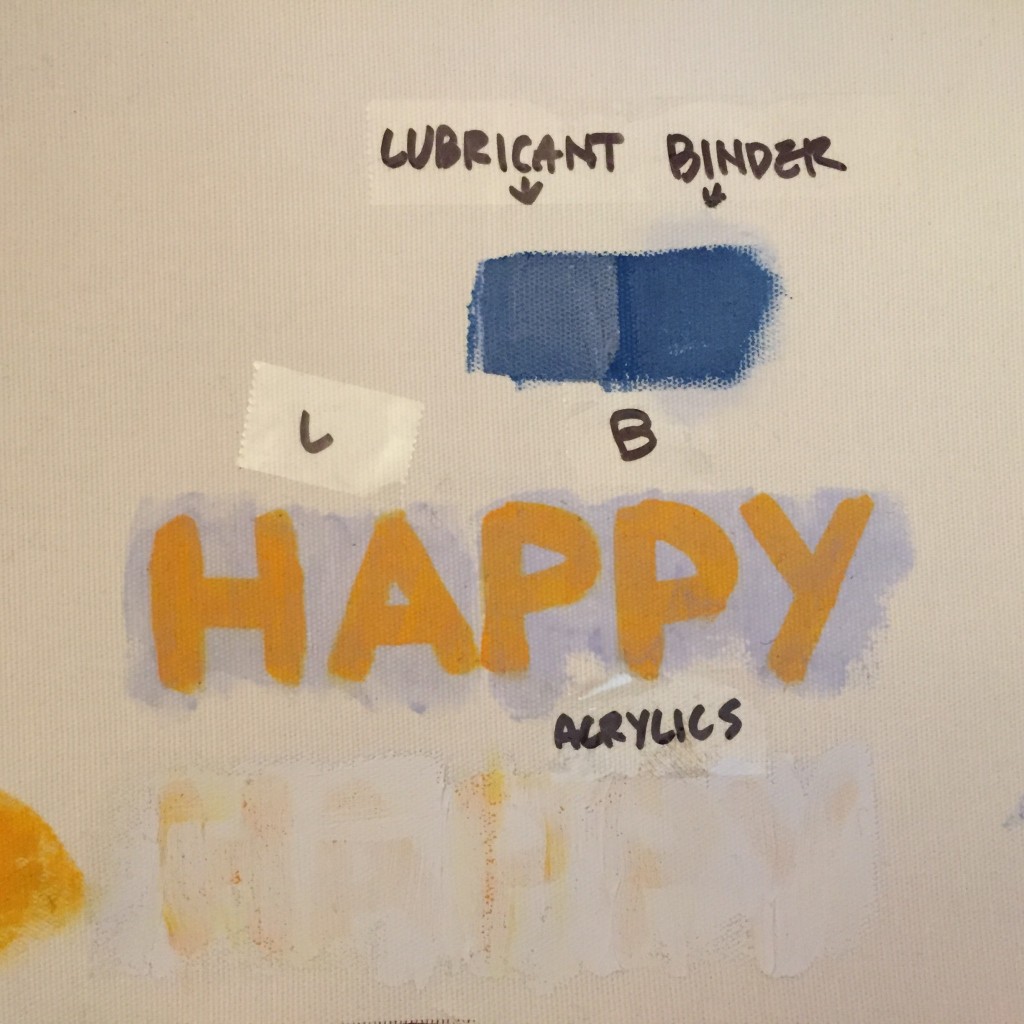
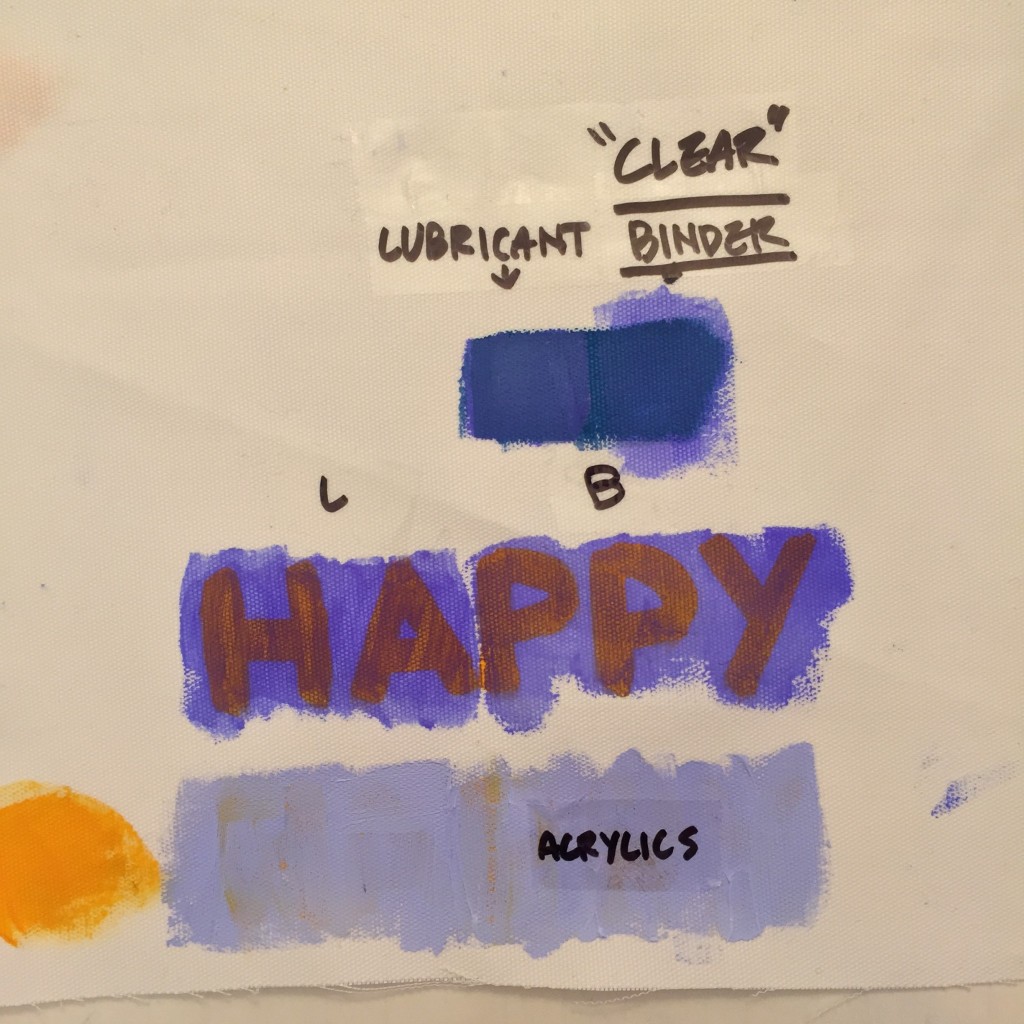
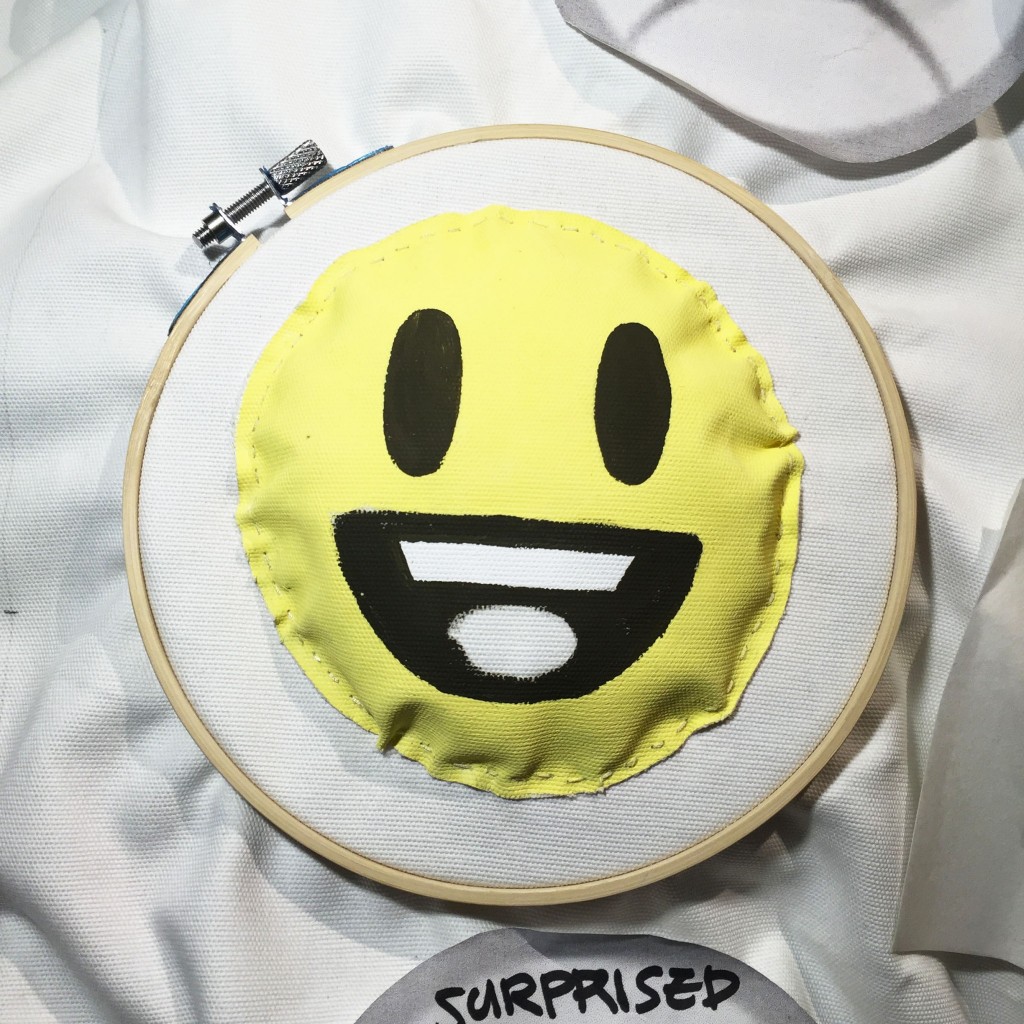
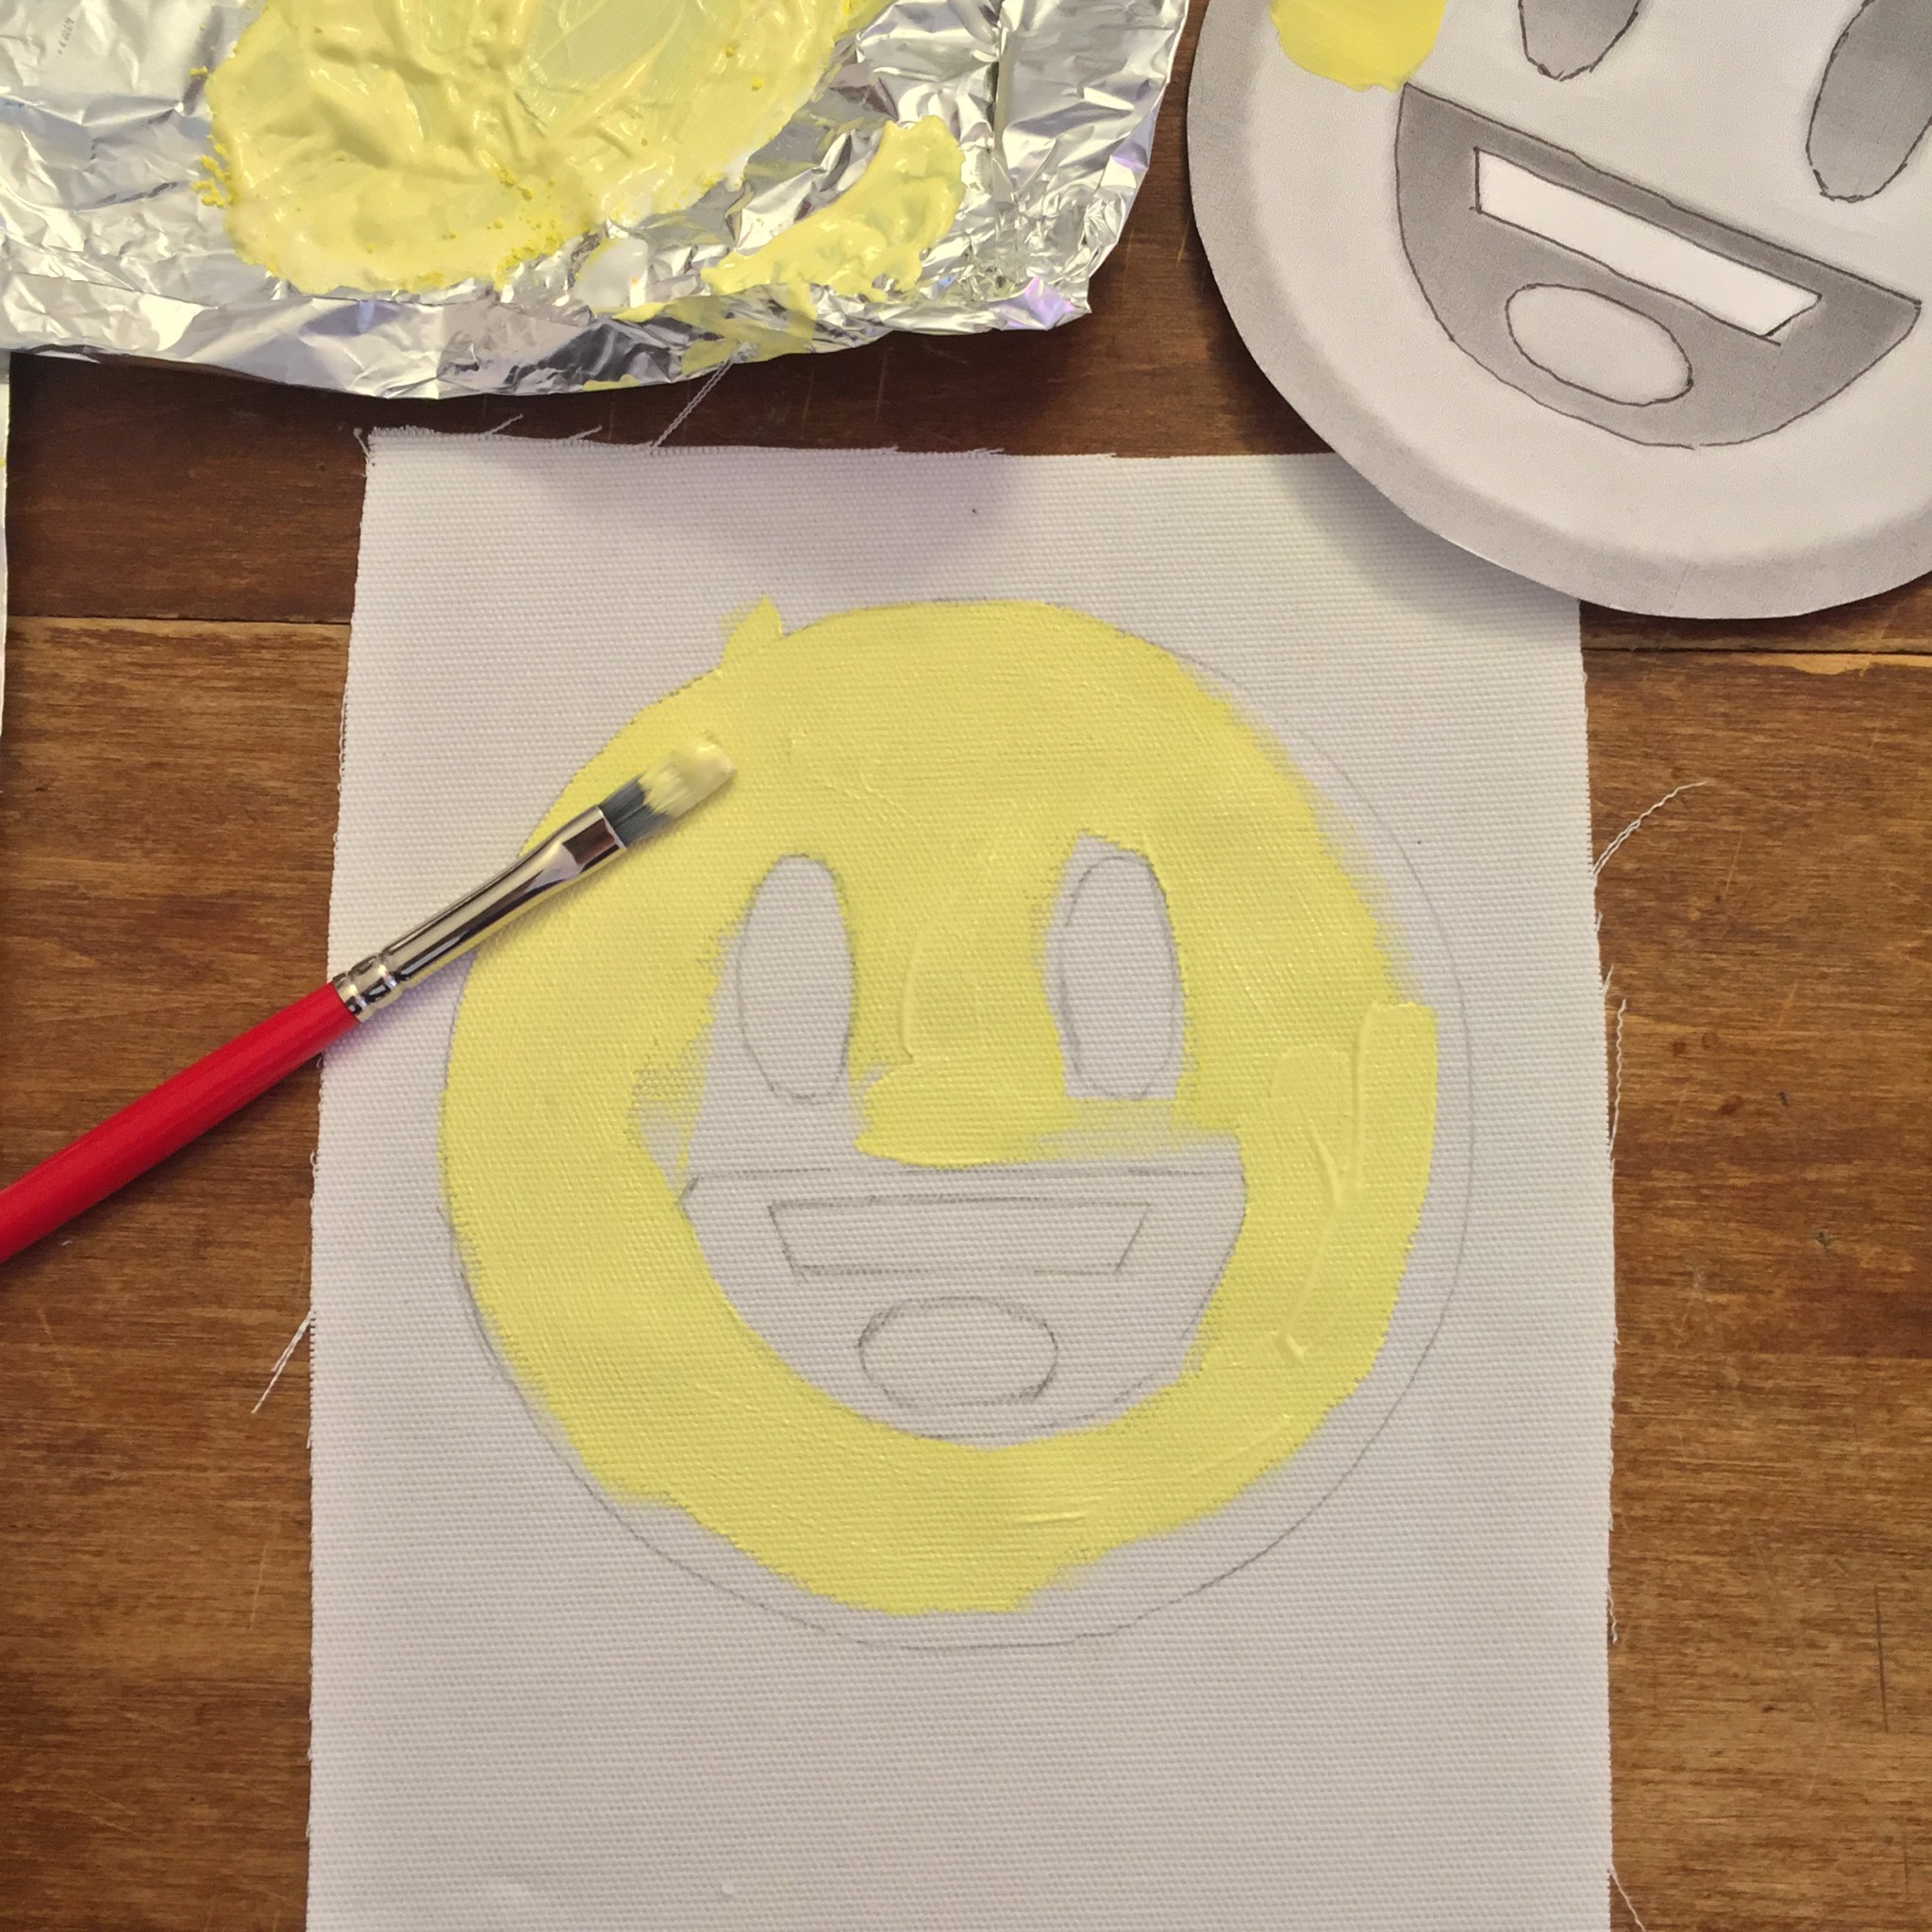
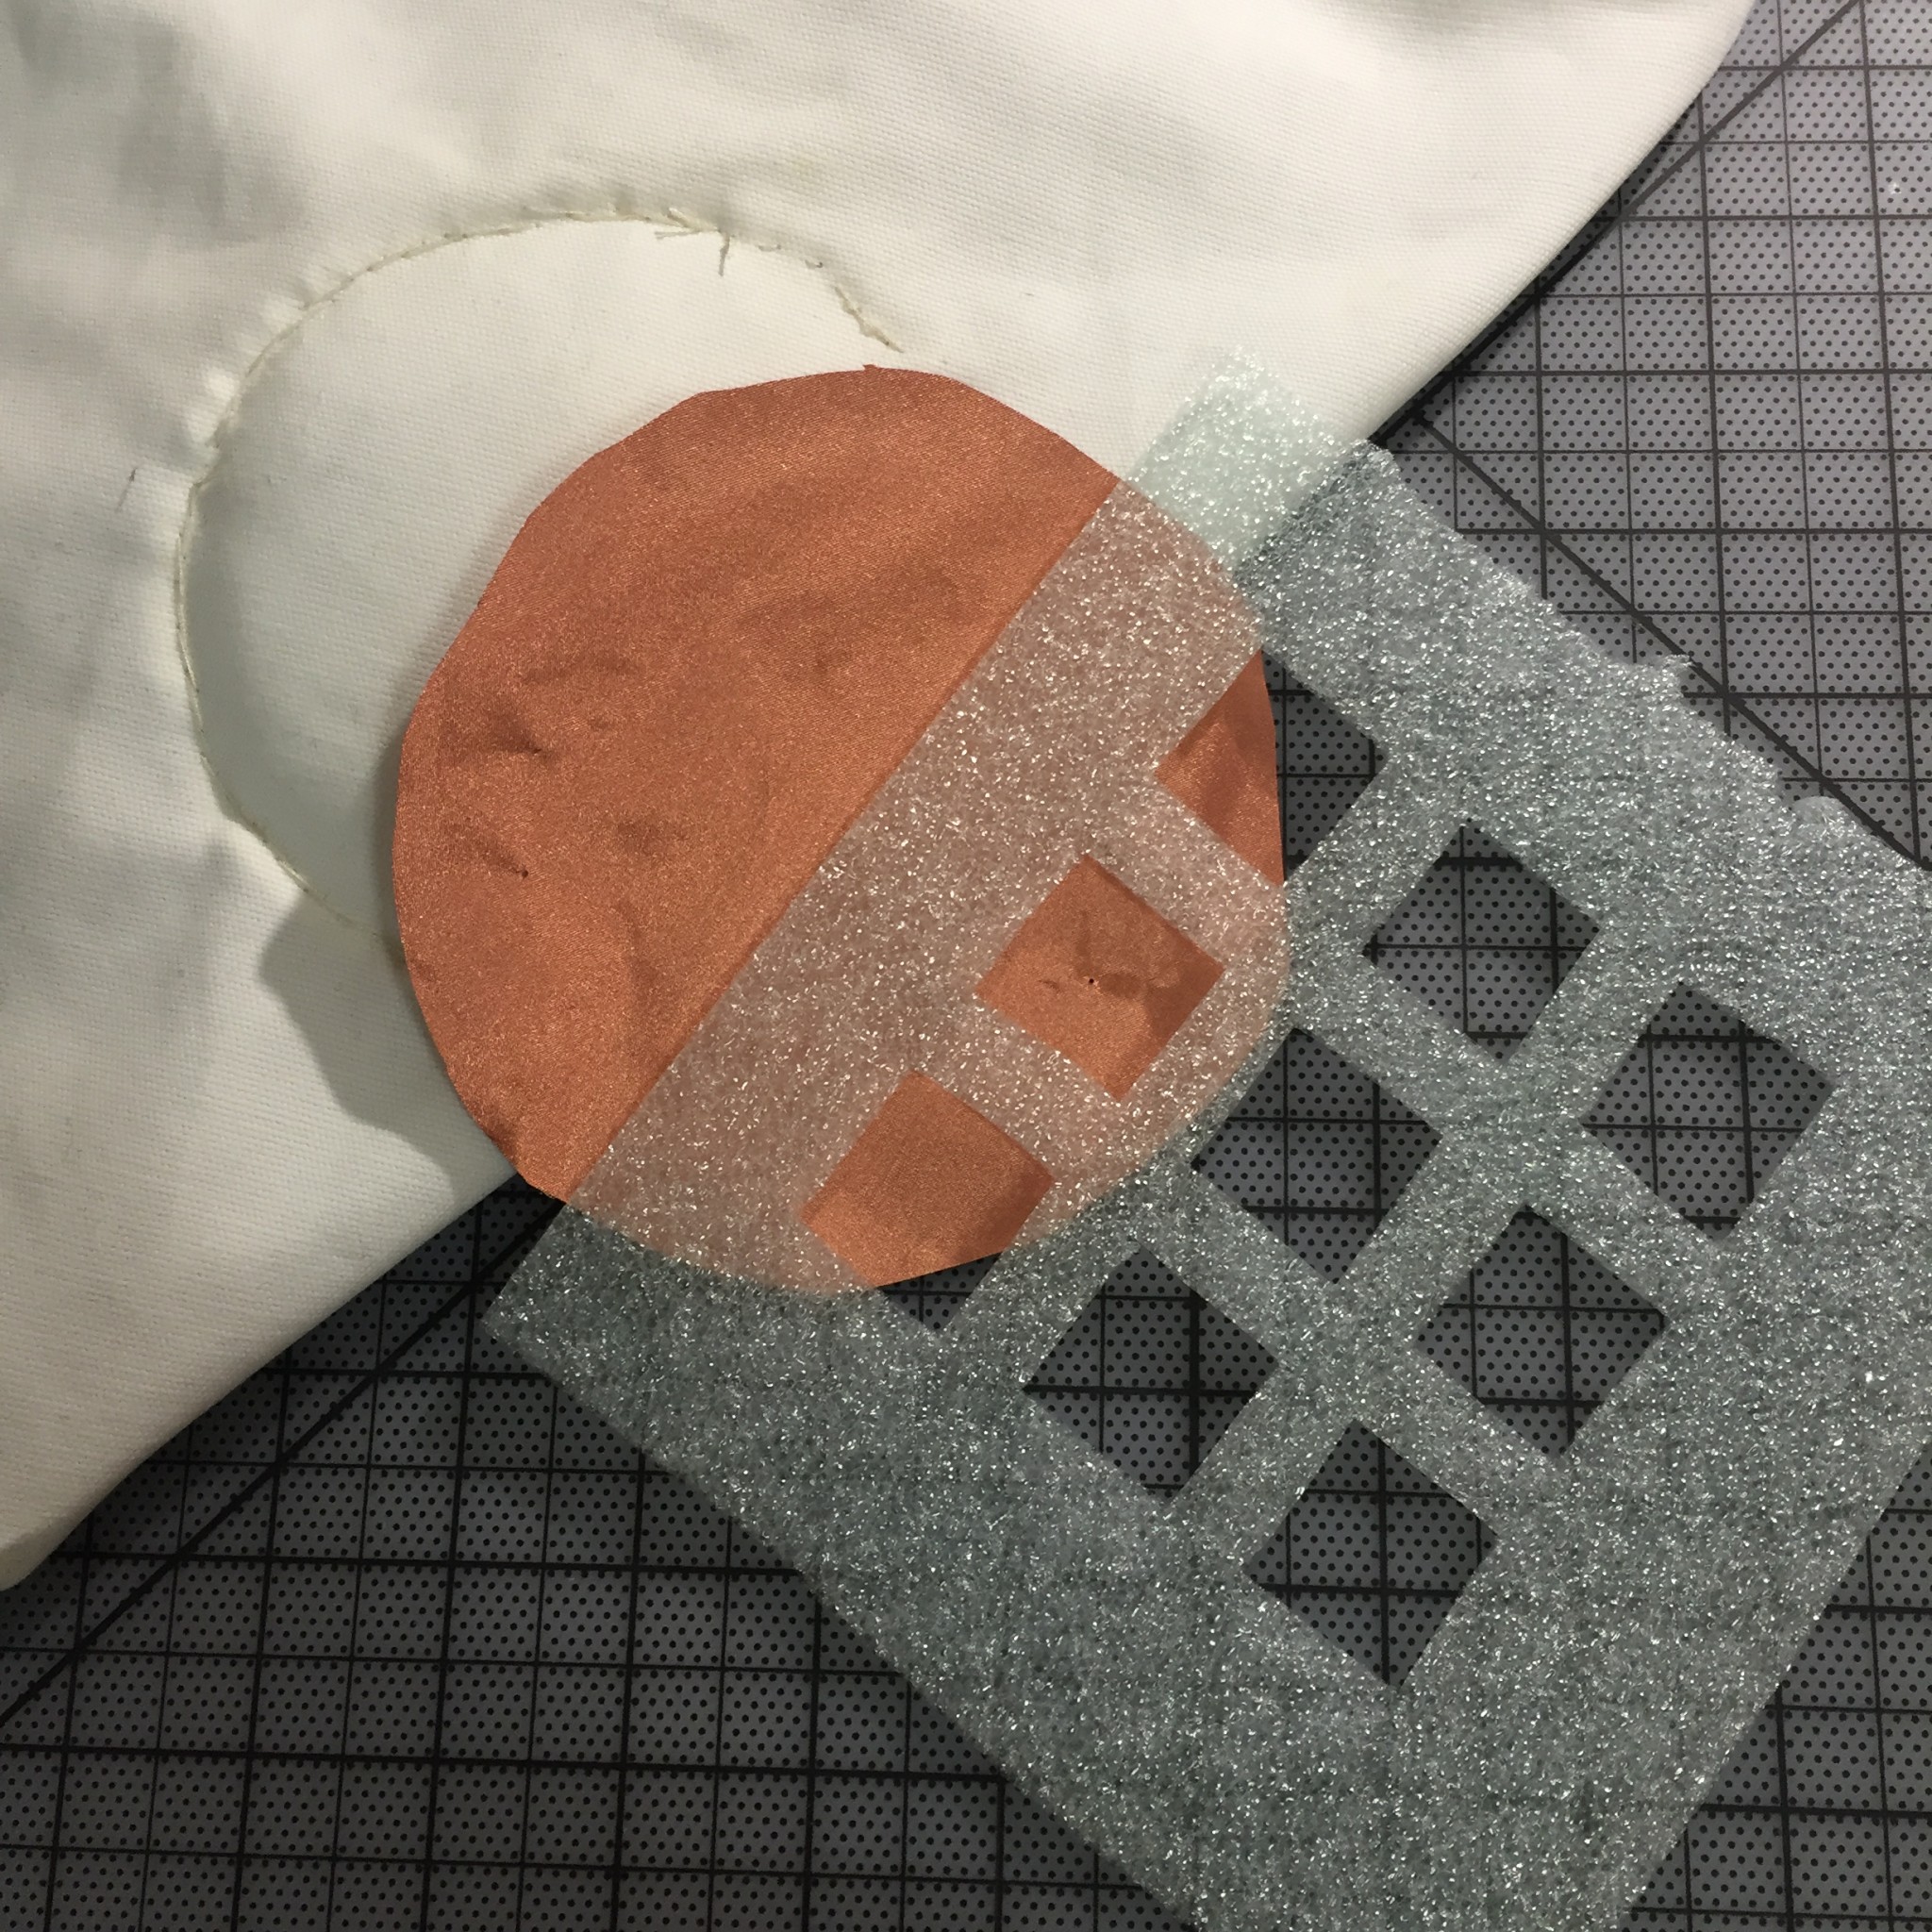
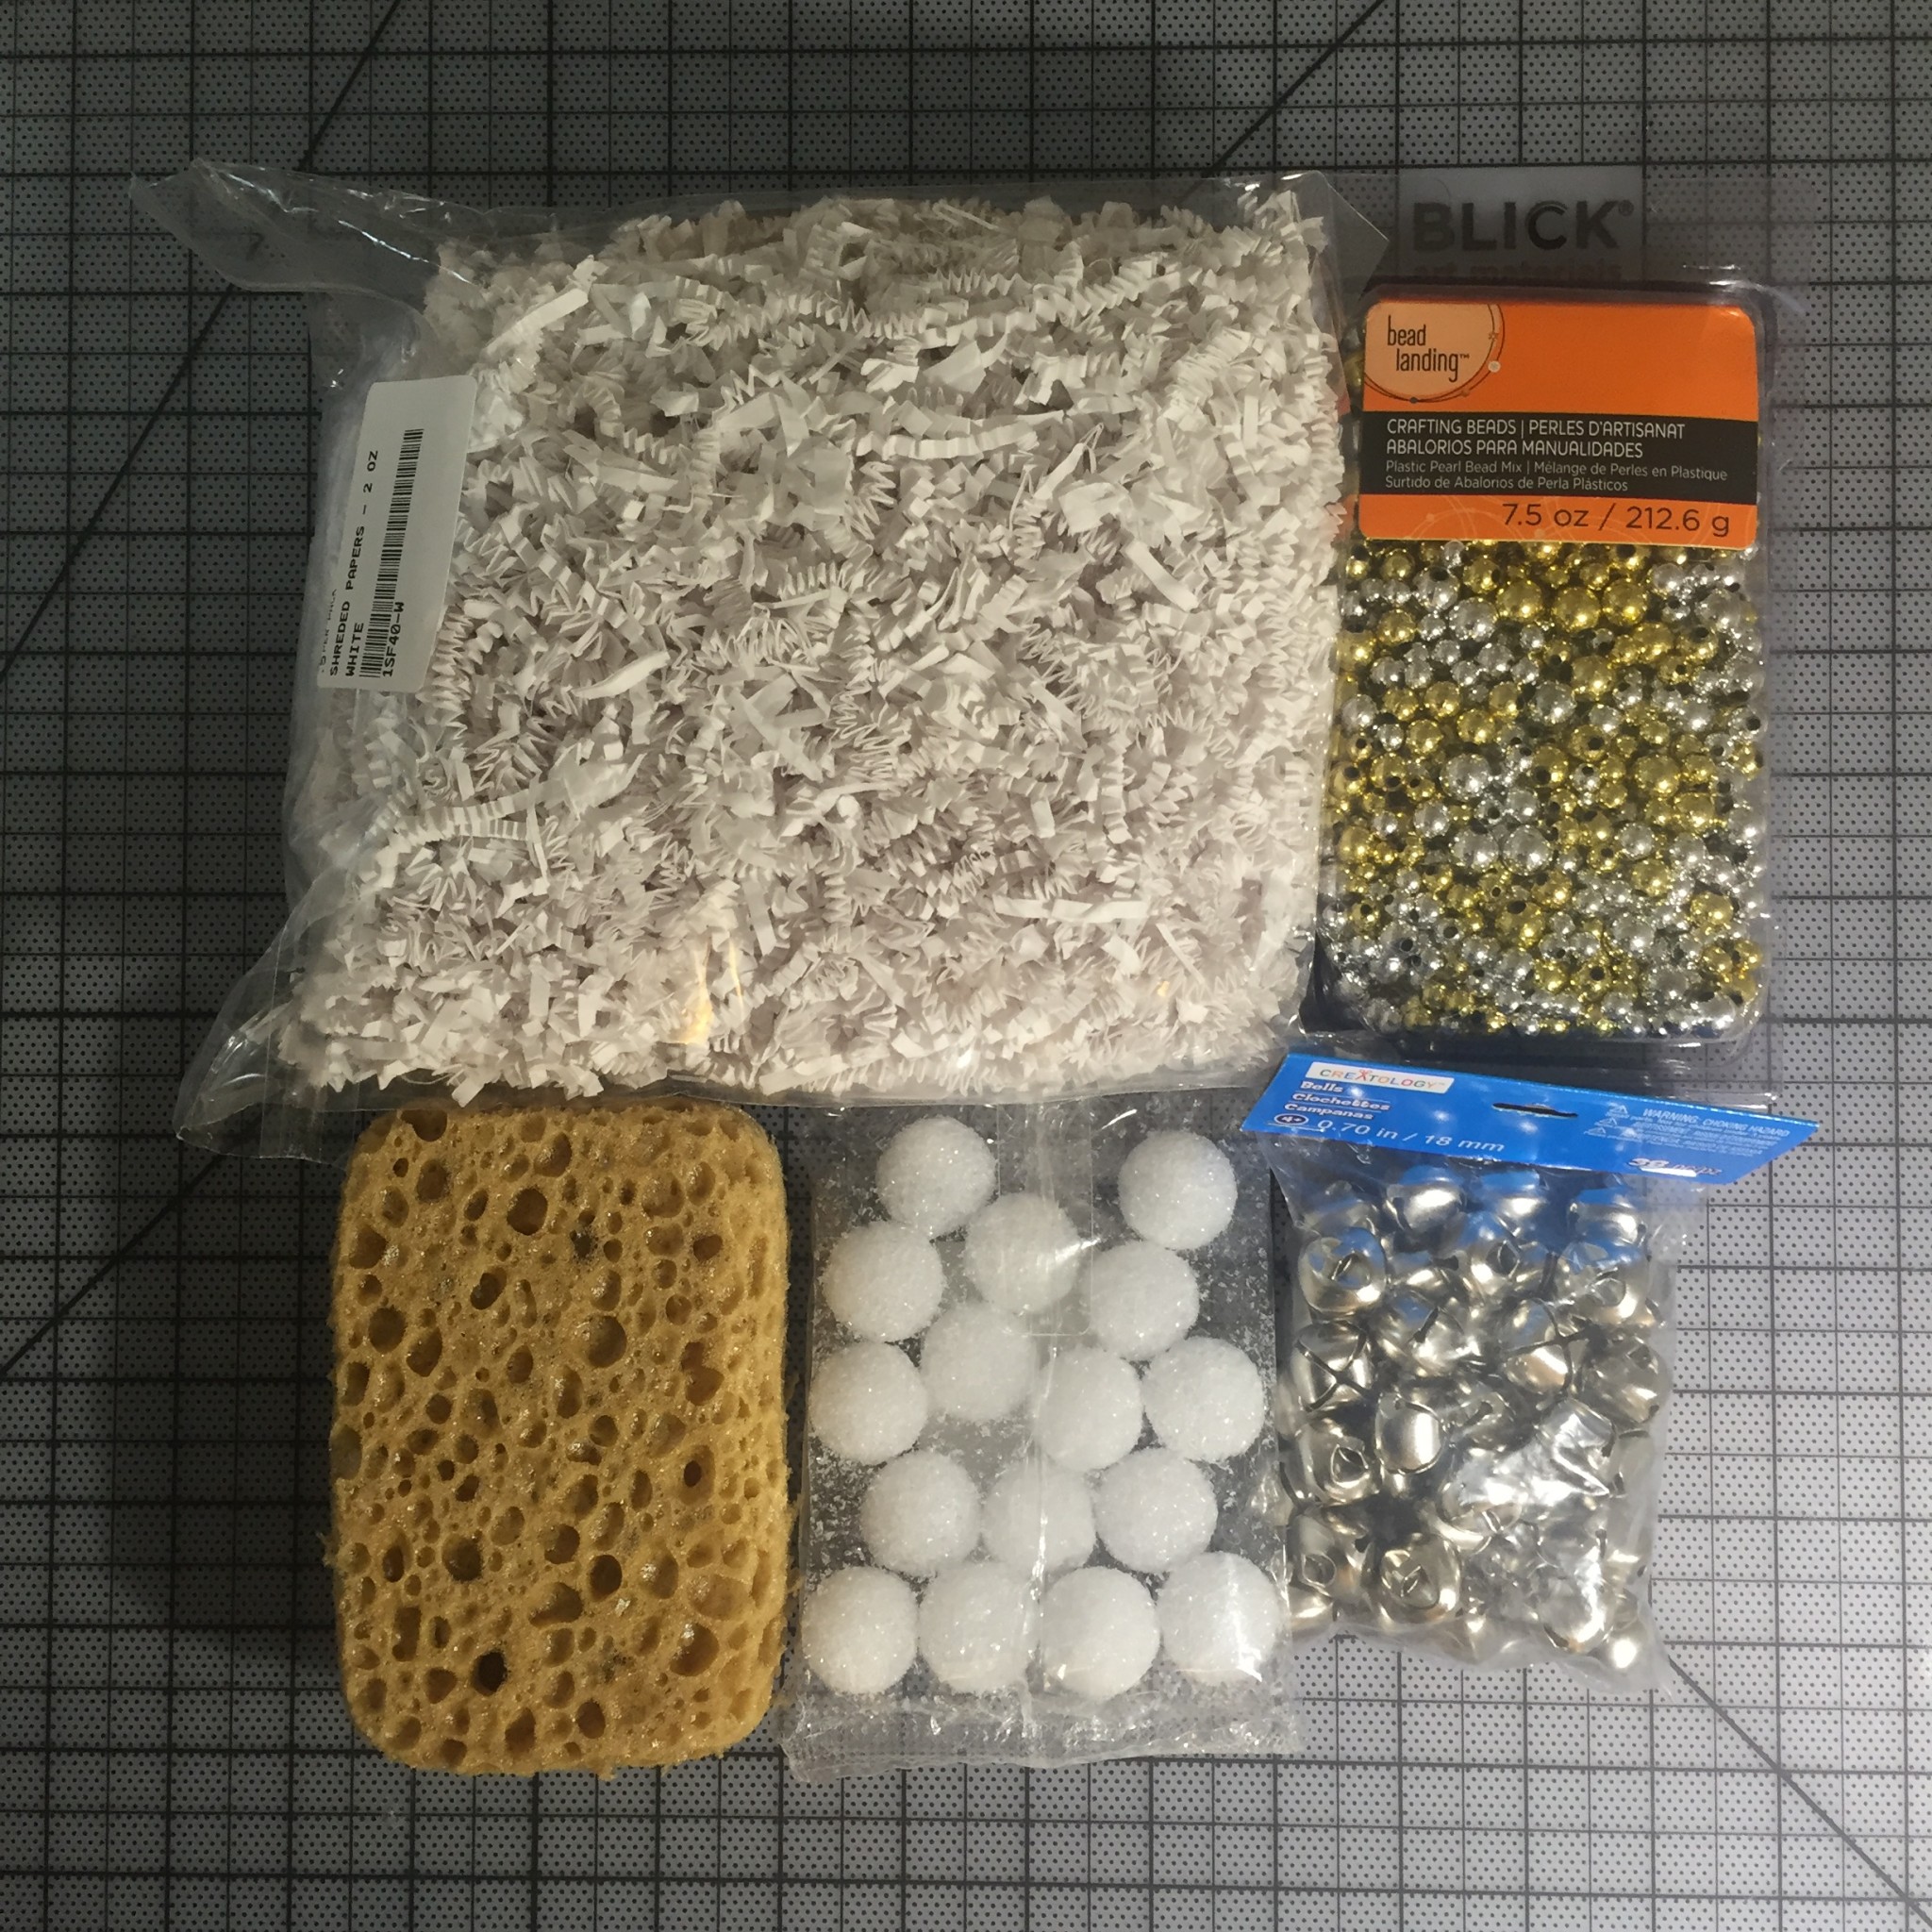
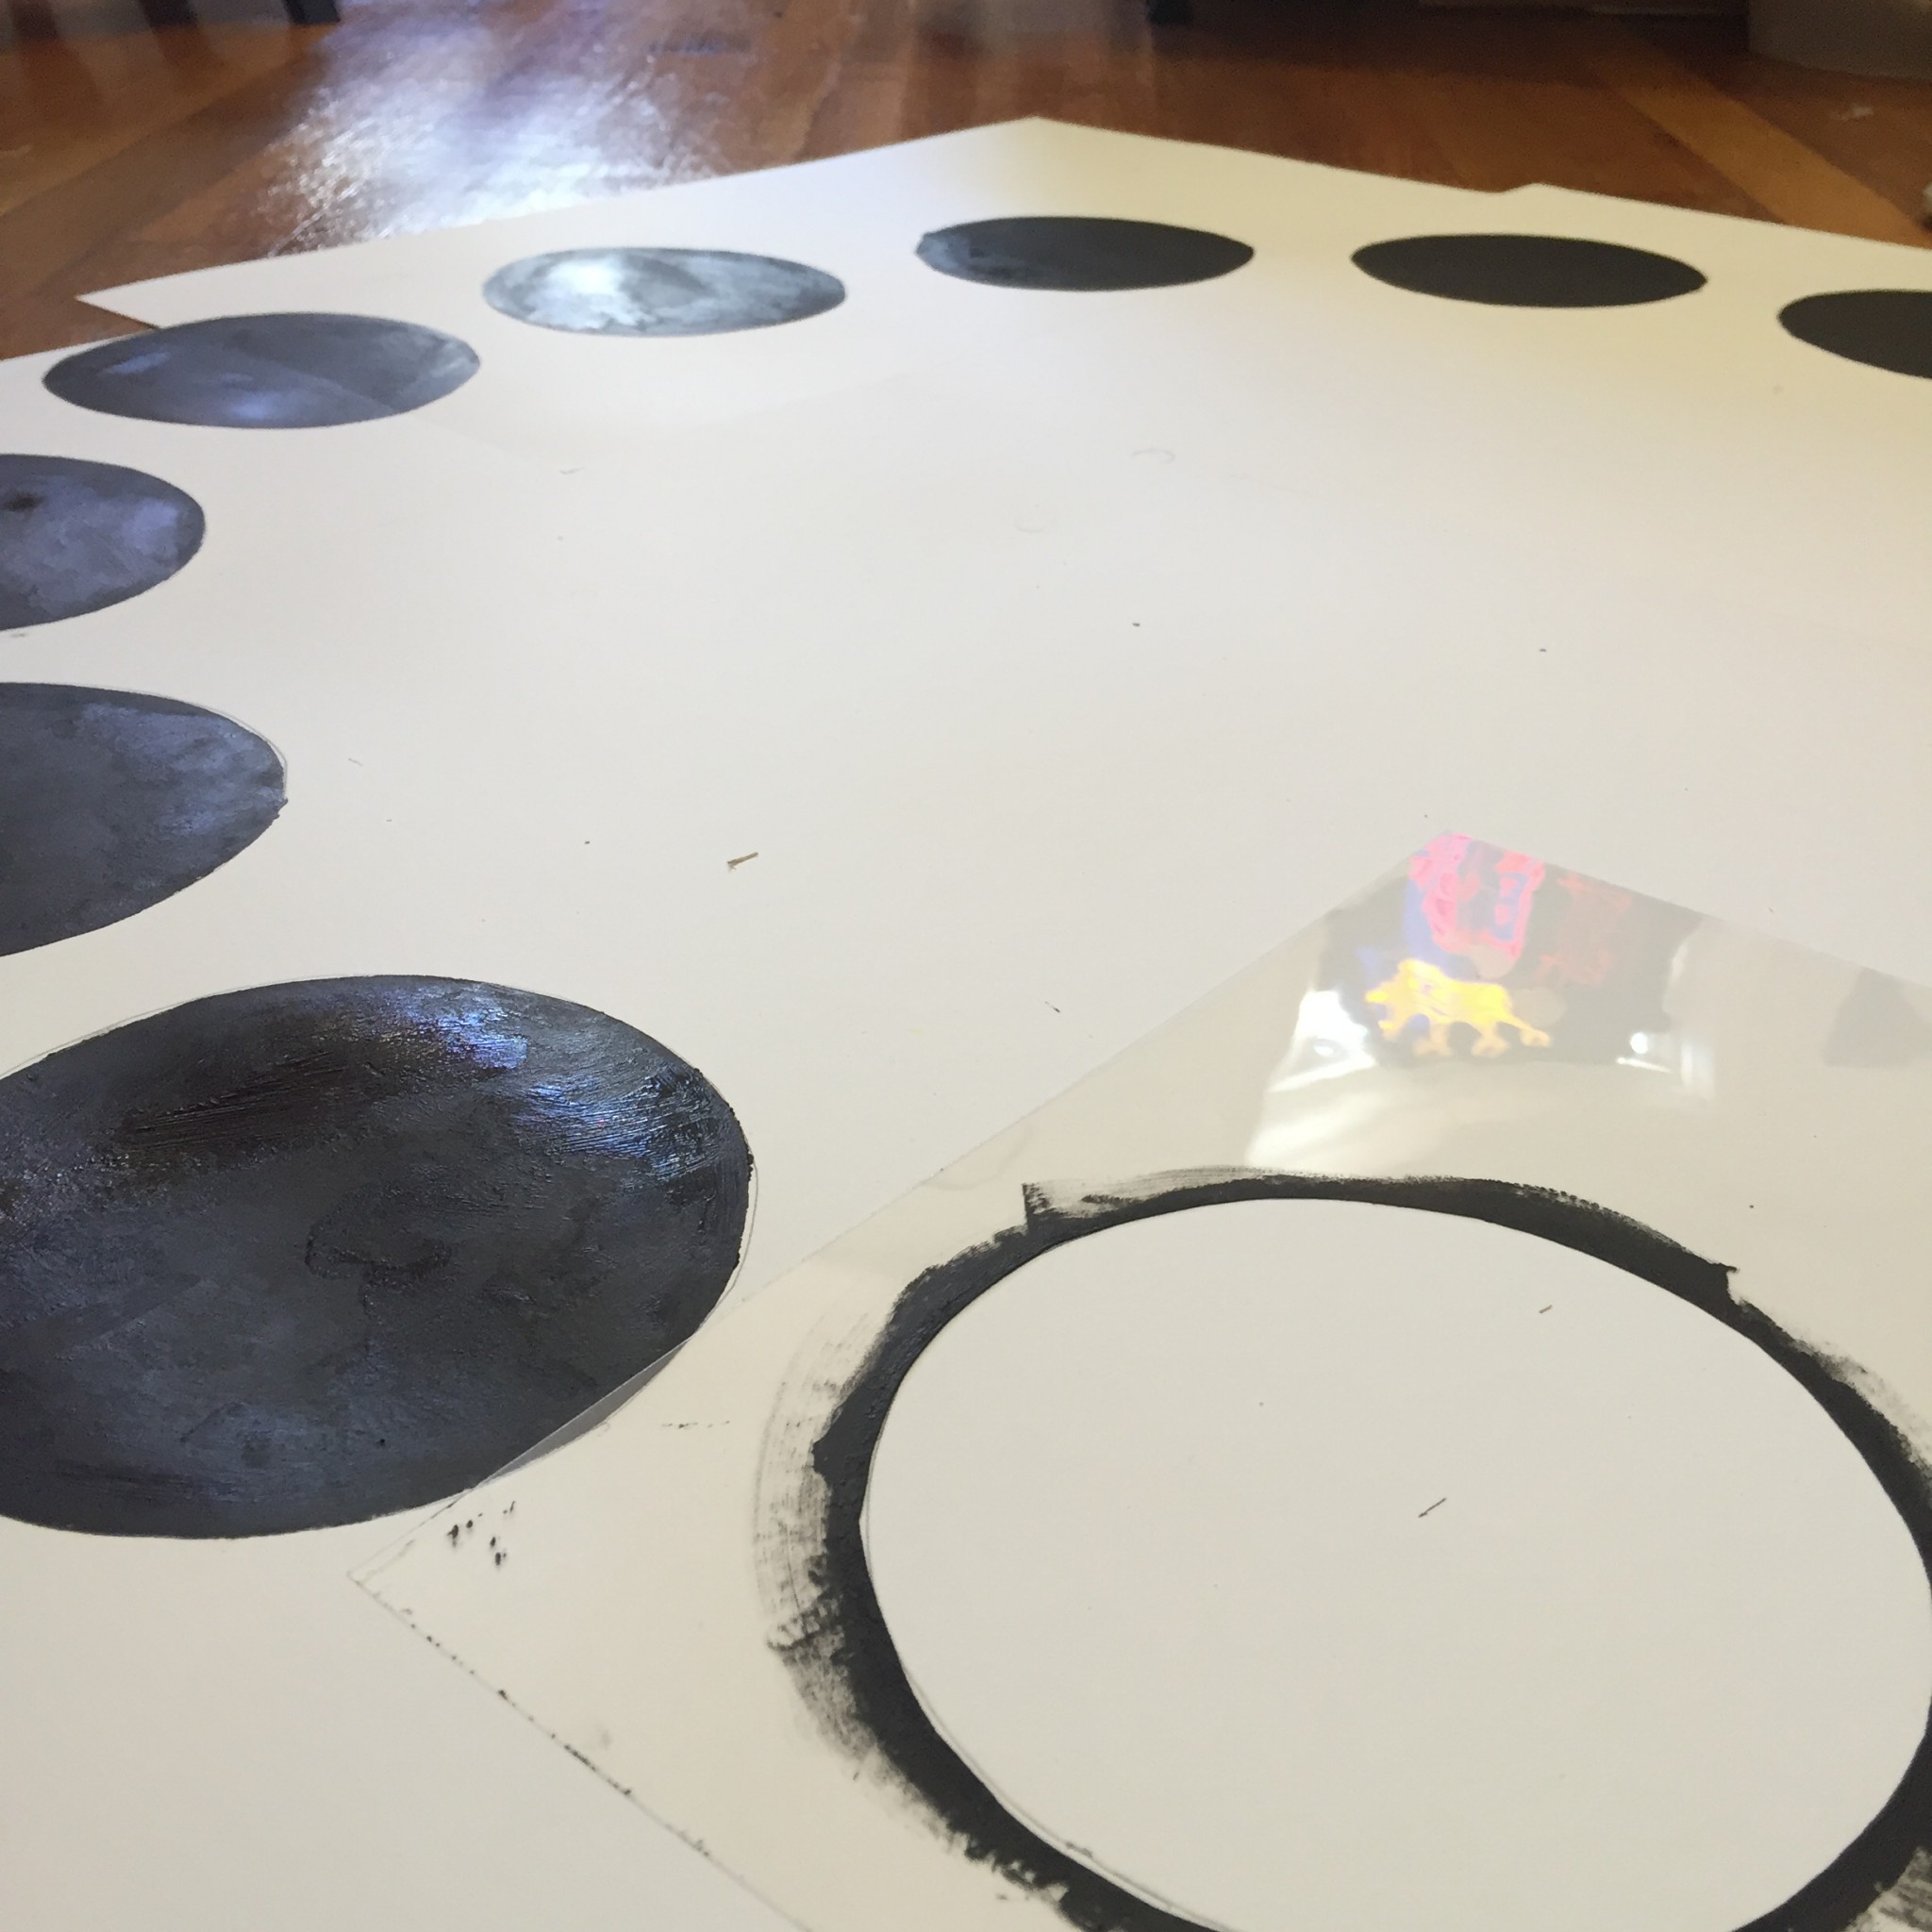
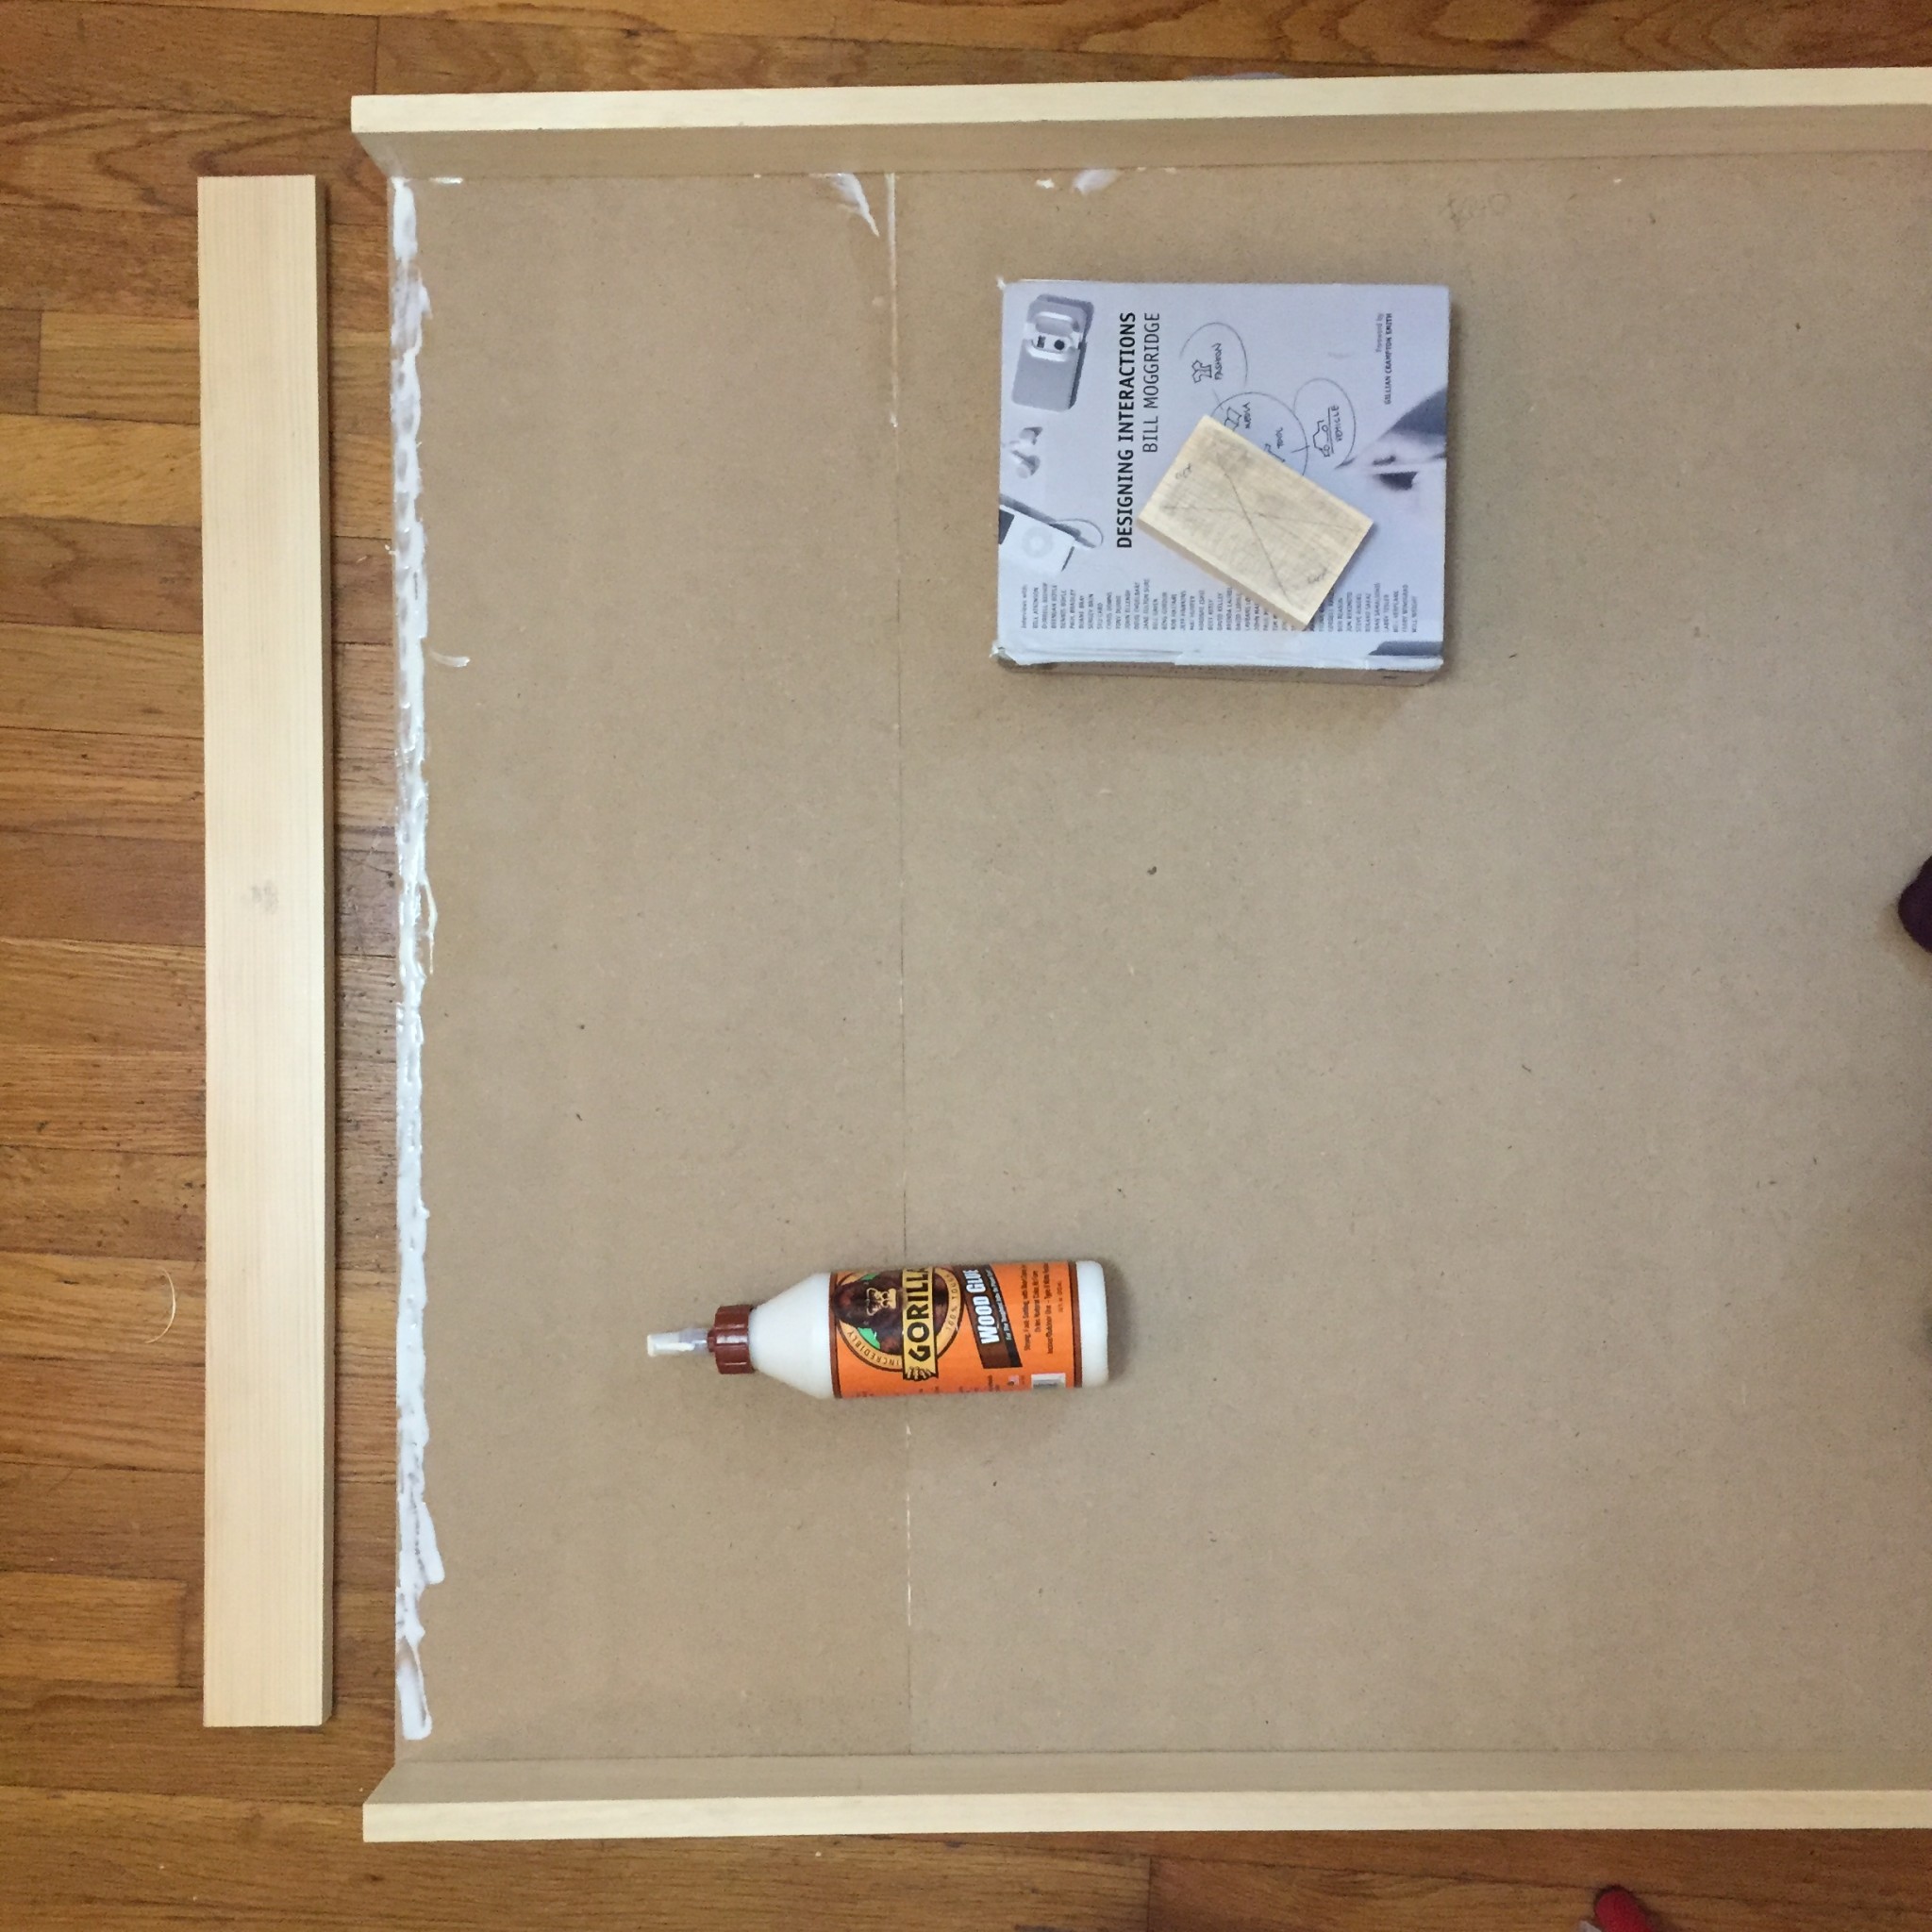
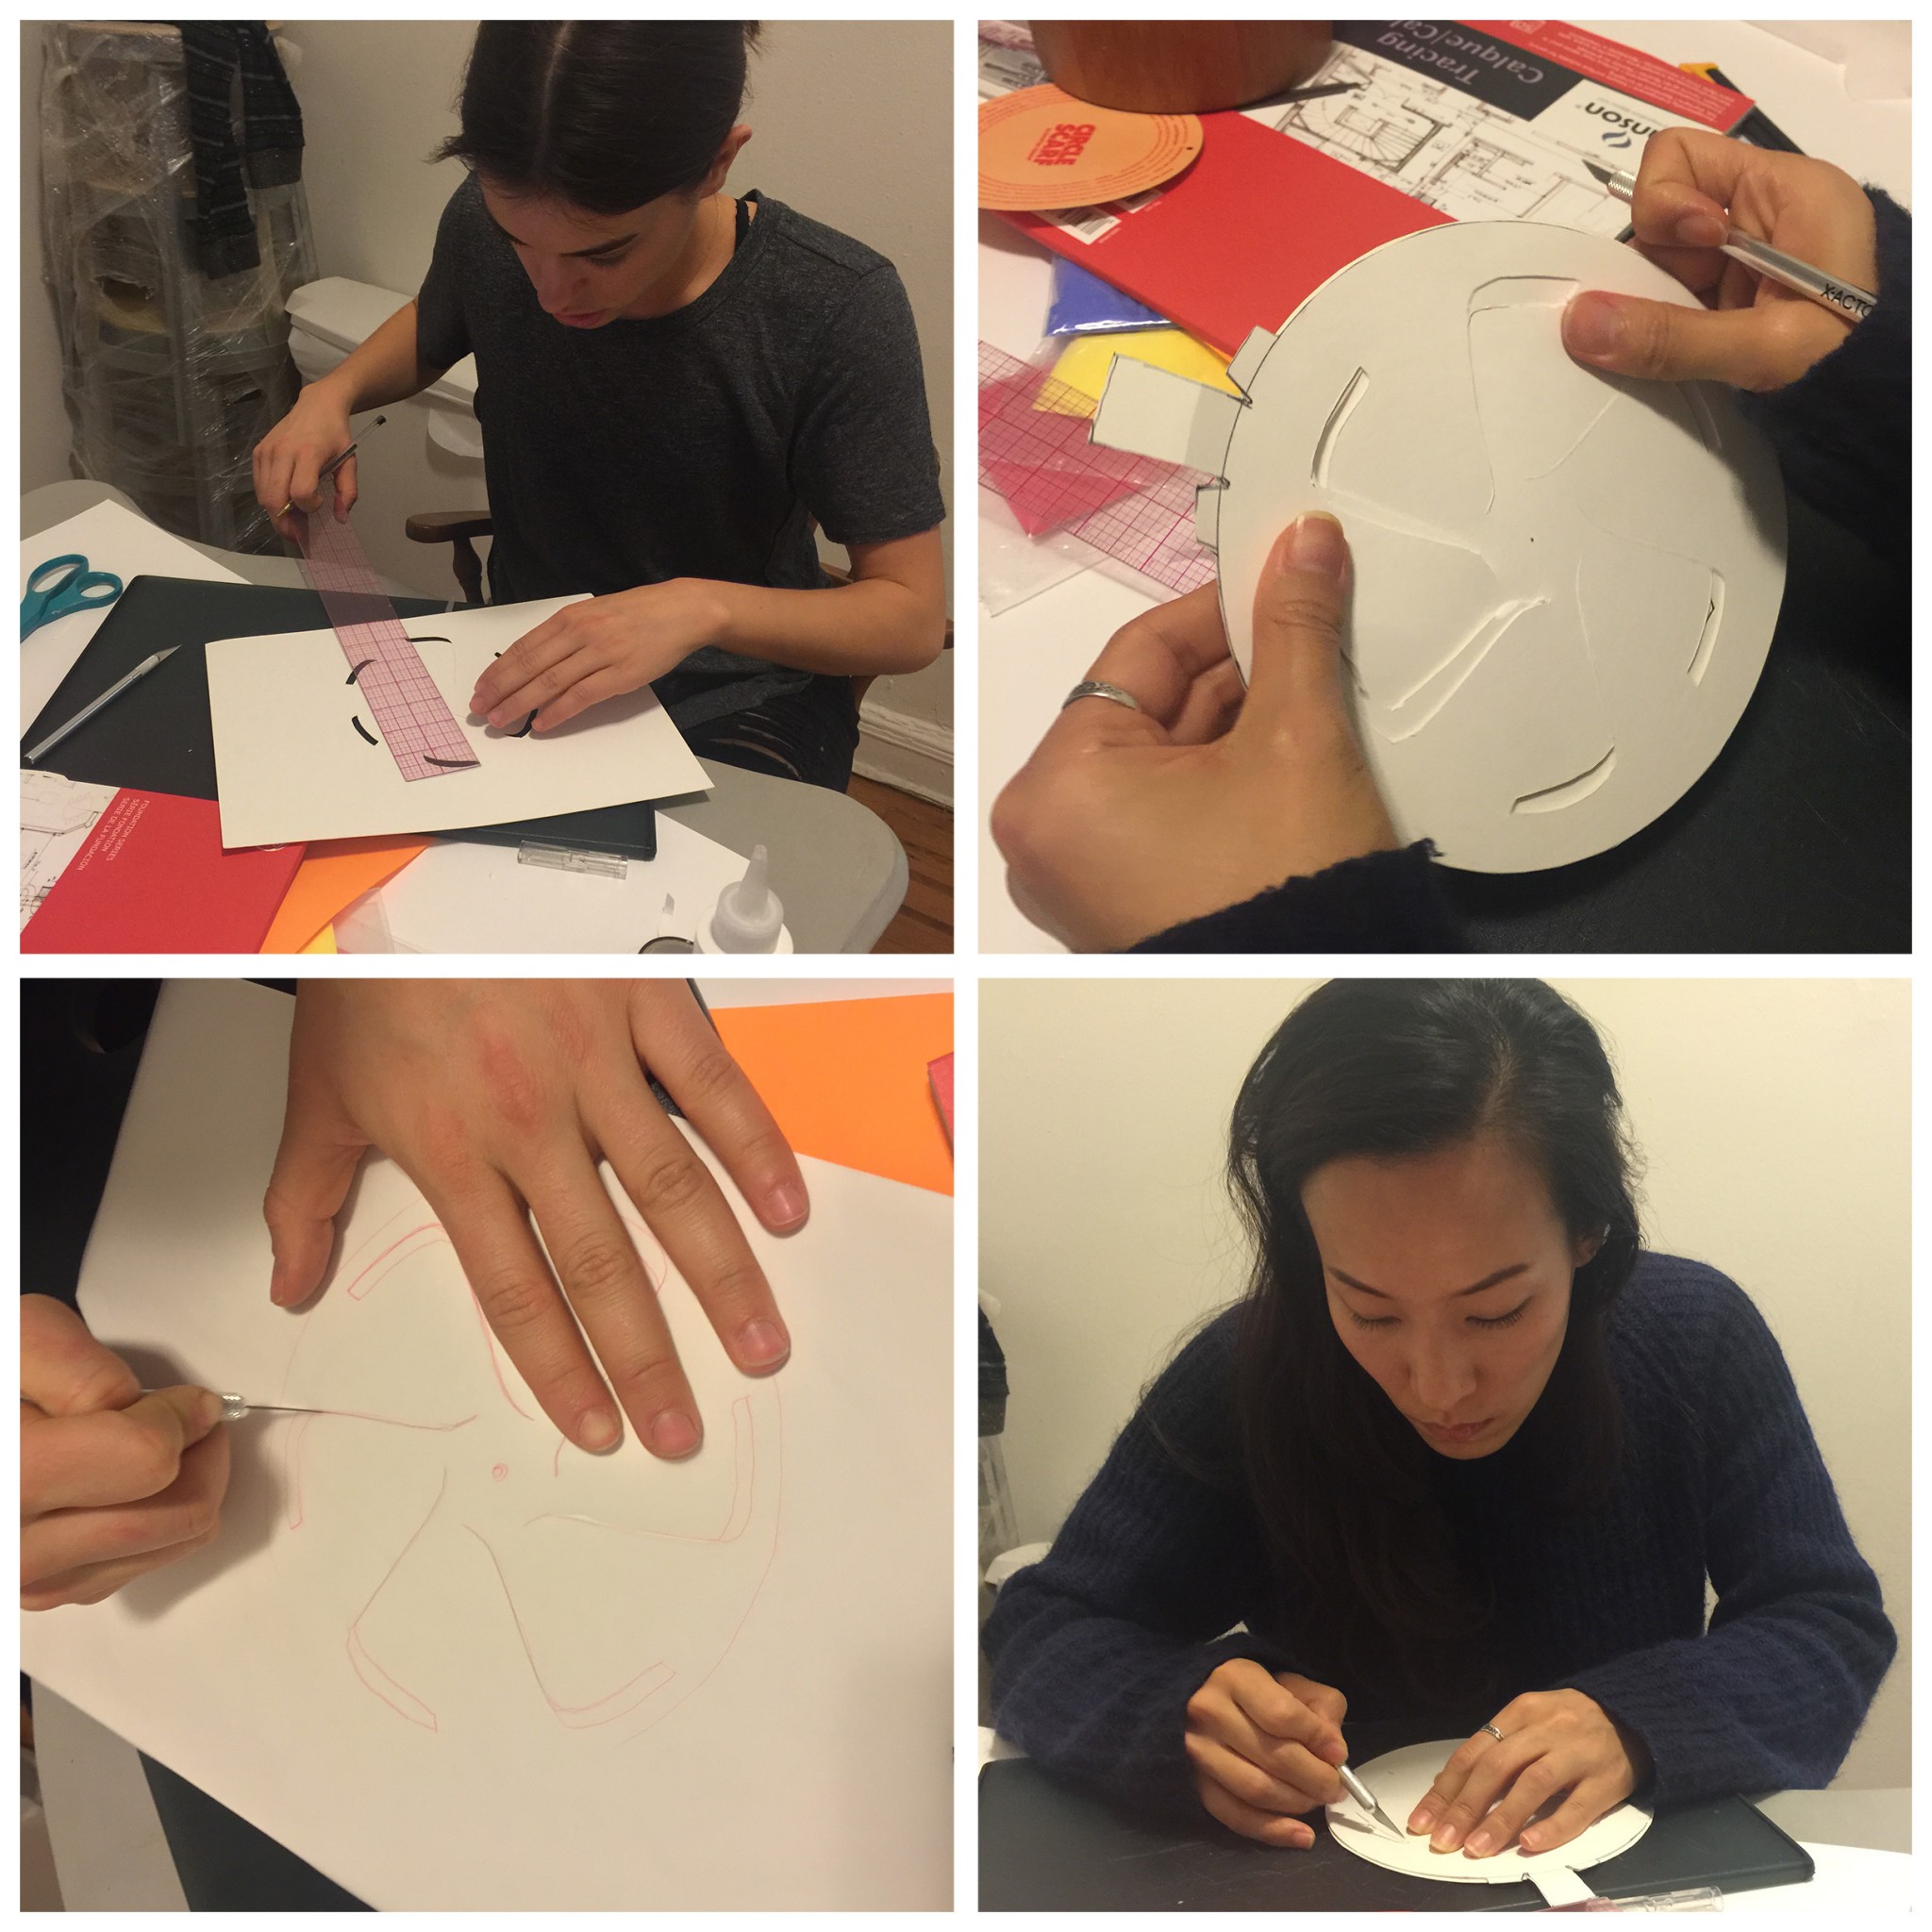
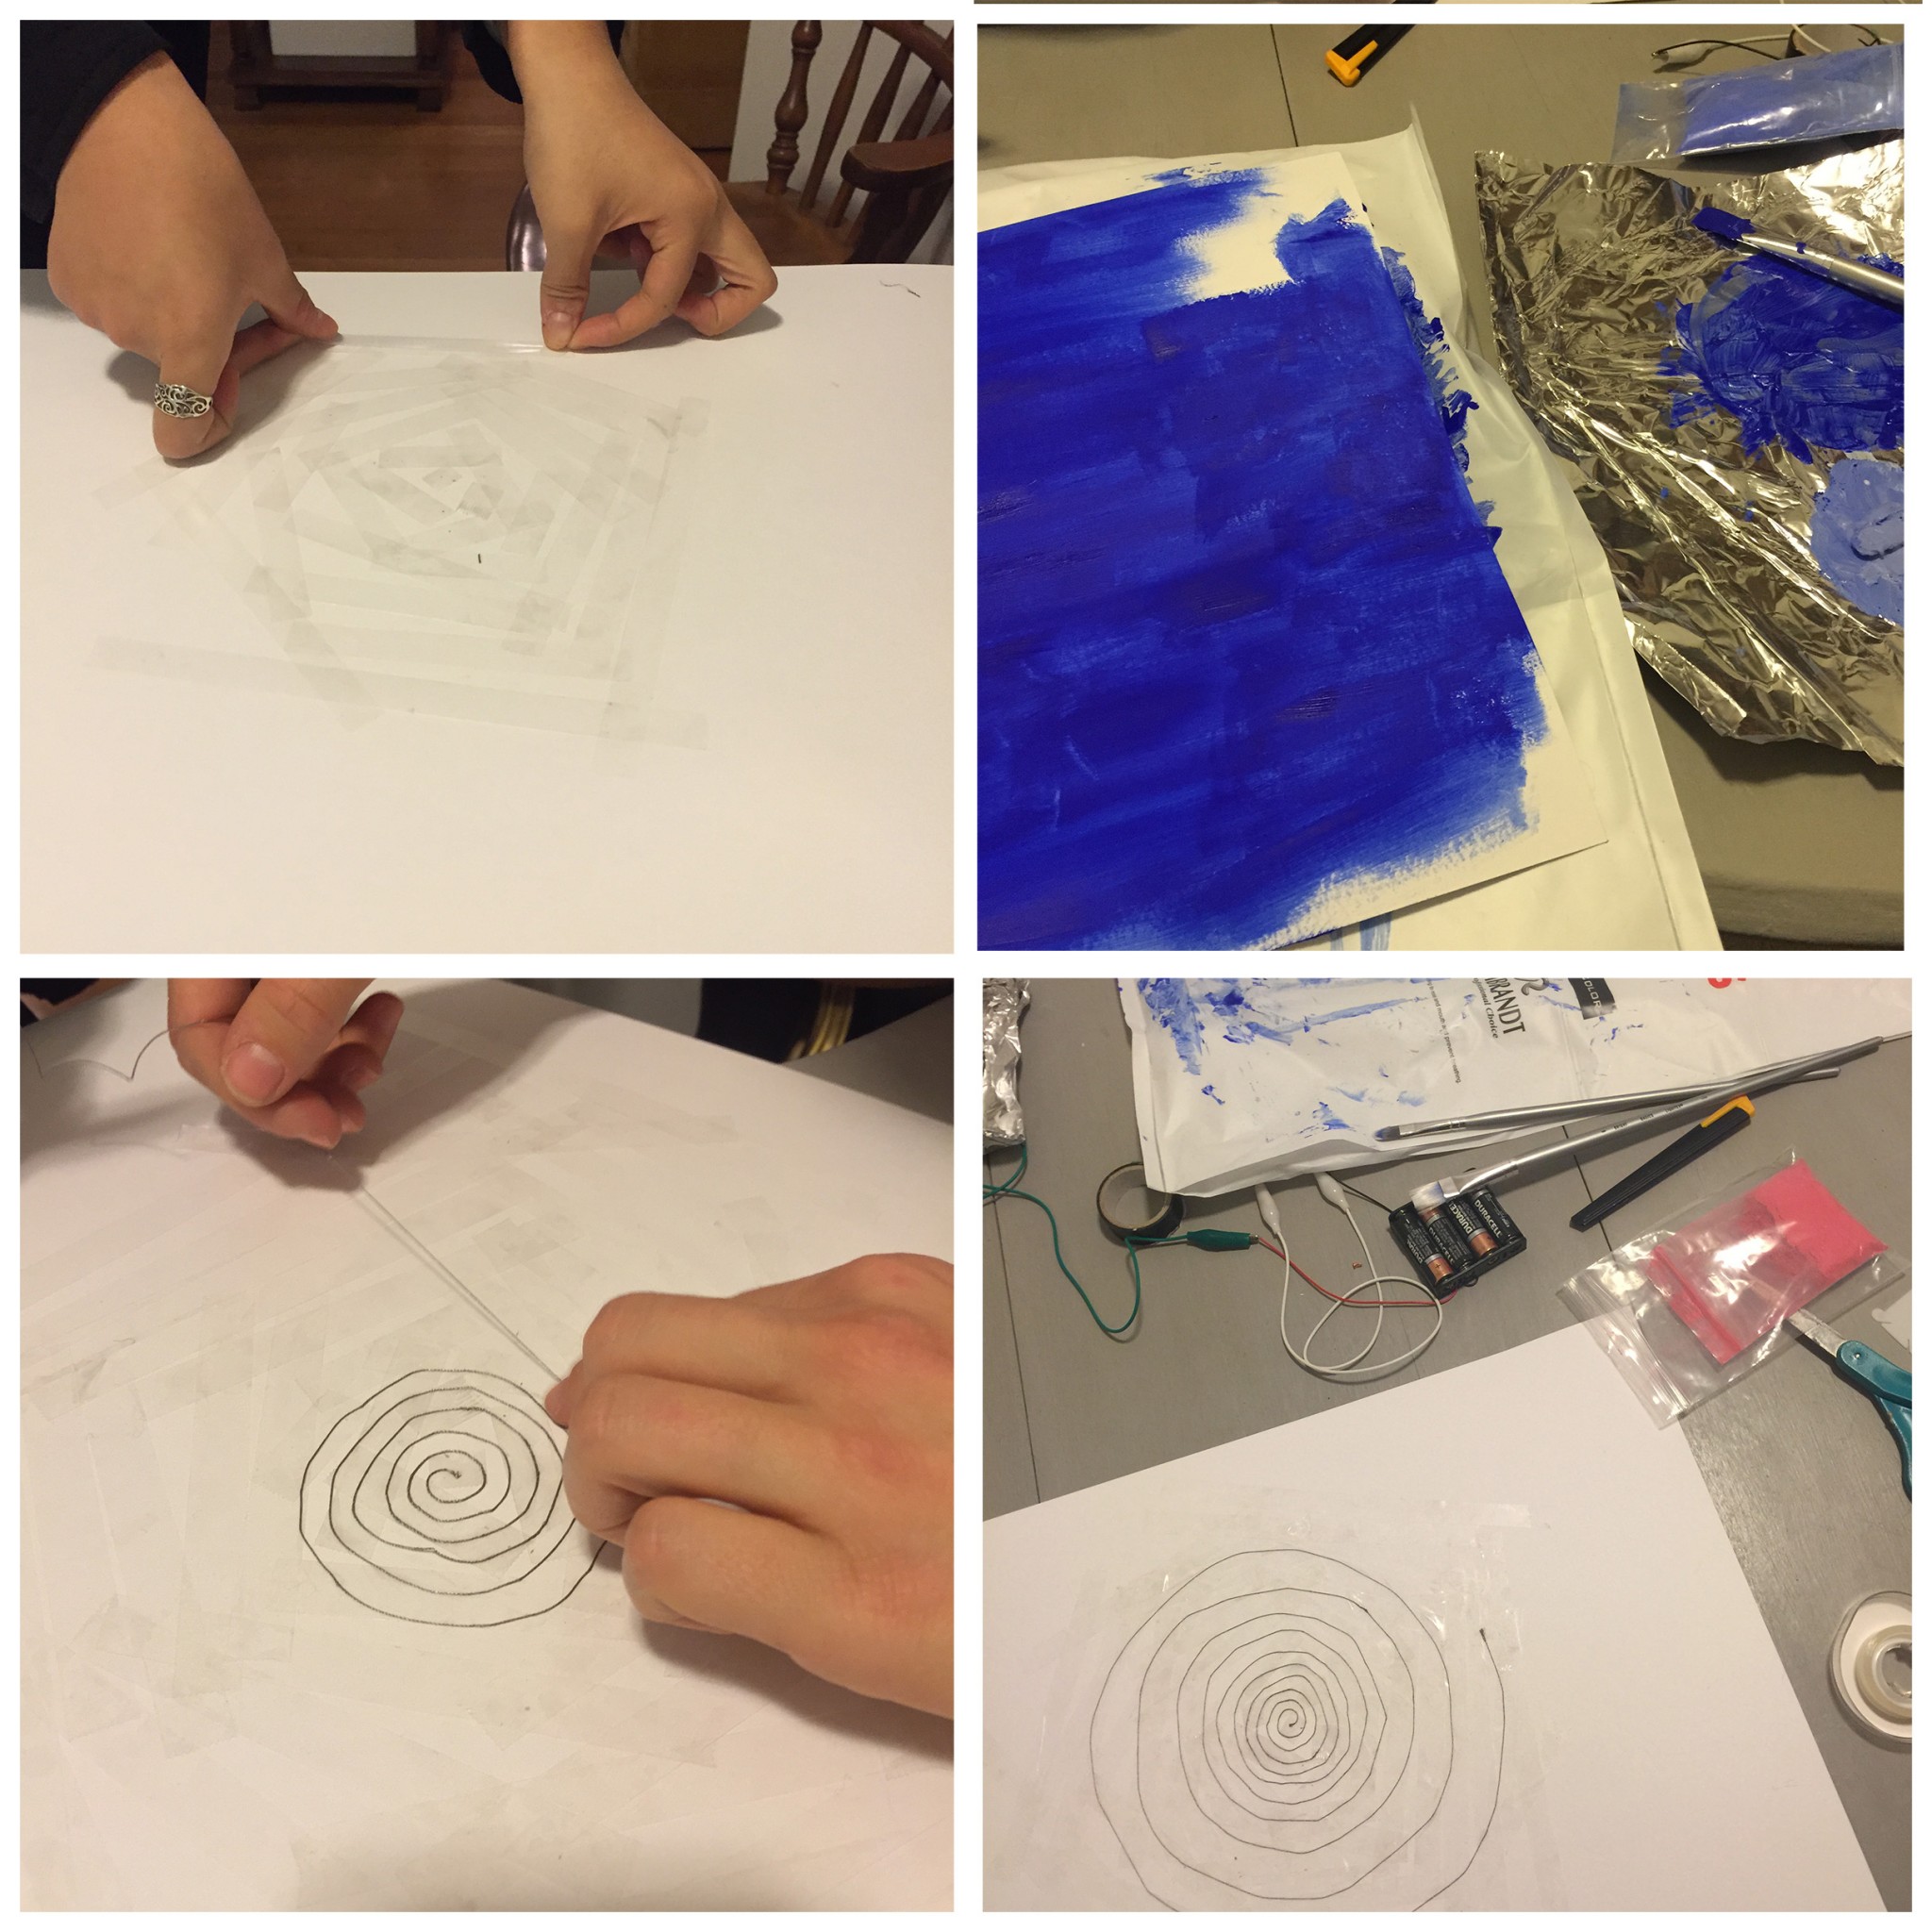
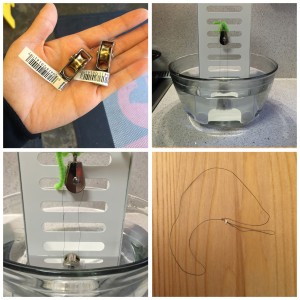
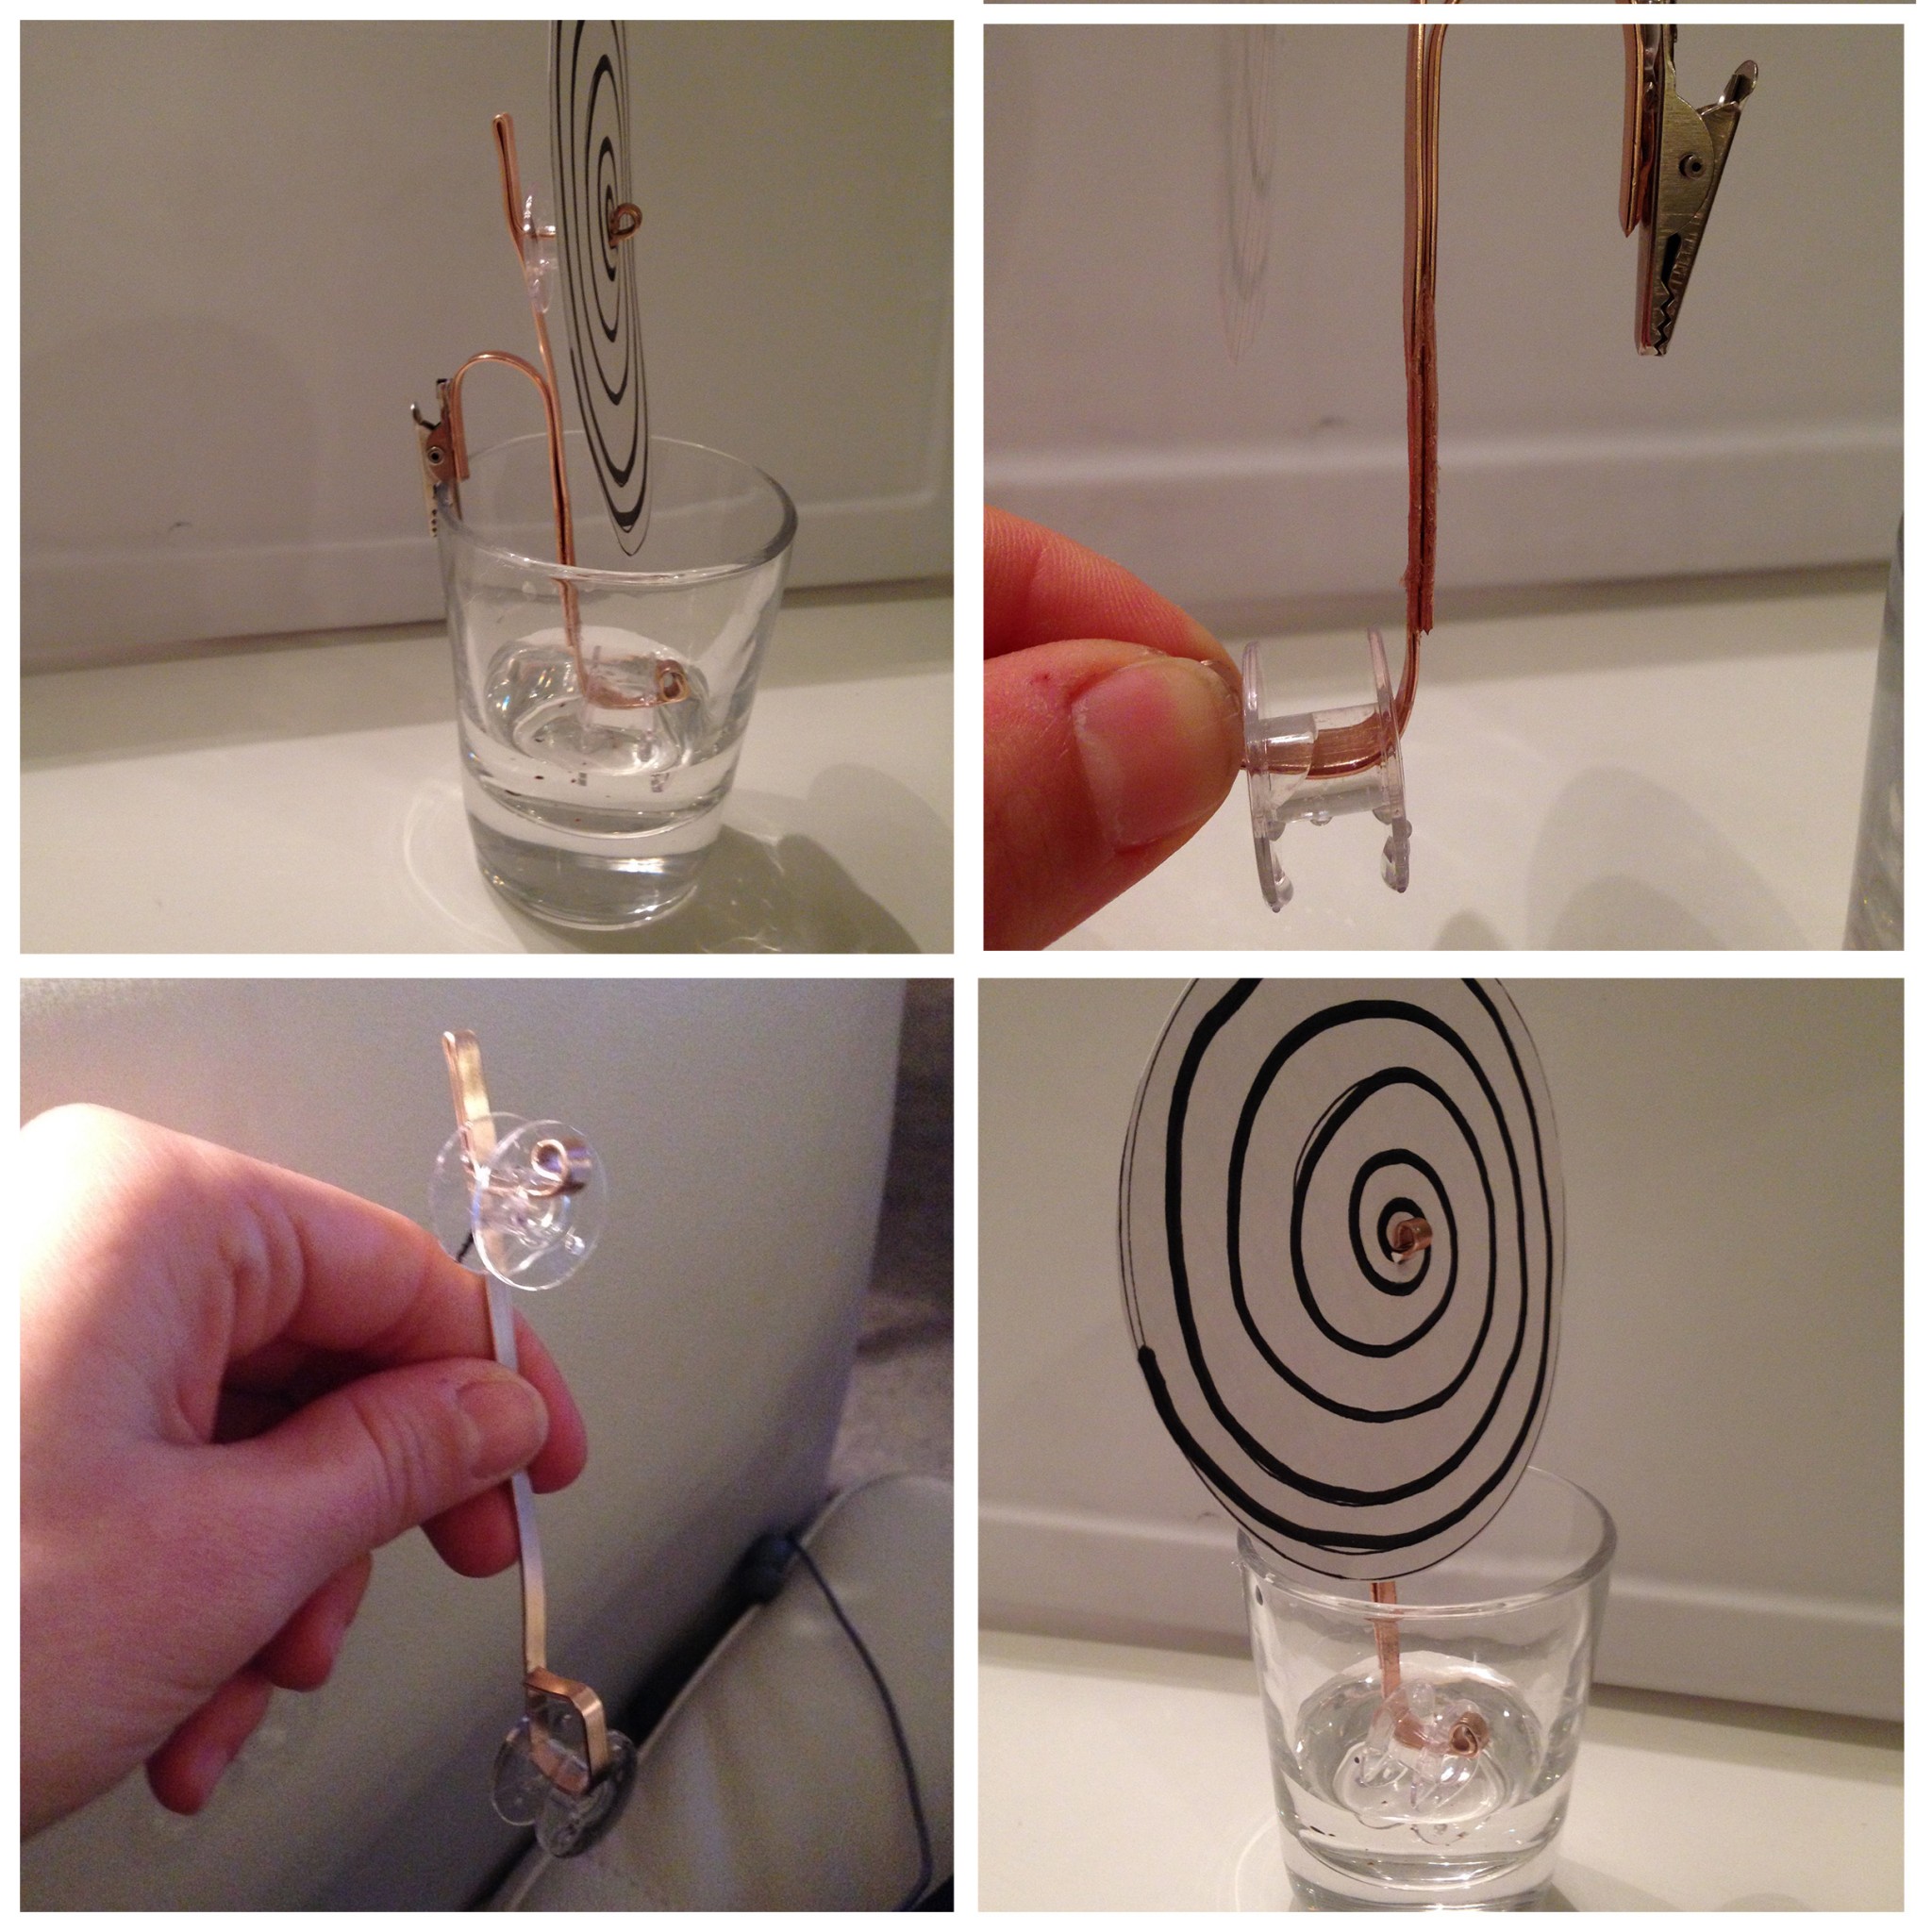
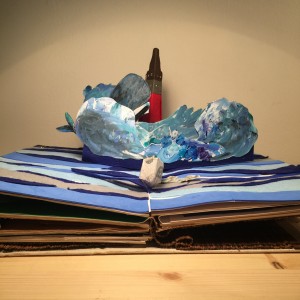
One of the strengths of my project is that I can explore various conductive/resistive materials and incorporate them into my book, for example, instead of using wires, I can use copper tape, conductive thread/yarn, smart fabric or conductive ink to construct my circuit. The second strength for doing this project is that I’m able to explore all sorts of textiles in order to make my own sensors. Thirdly, I’m also free to construct various switches utilizing different verbs such as blow, cover, roll, tie, tug, tilt, etc. in order to make the book more interesting for kids to interact with. Fourthly, I can teach myself a new craftsmanship while completing this project — paper engineering. And finally, I have the freedom to use my own painting/drawing skills in the making of my book, which makes the project unique.
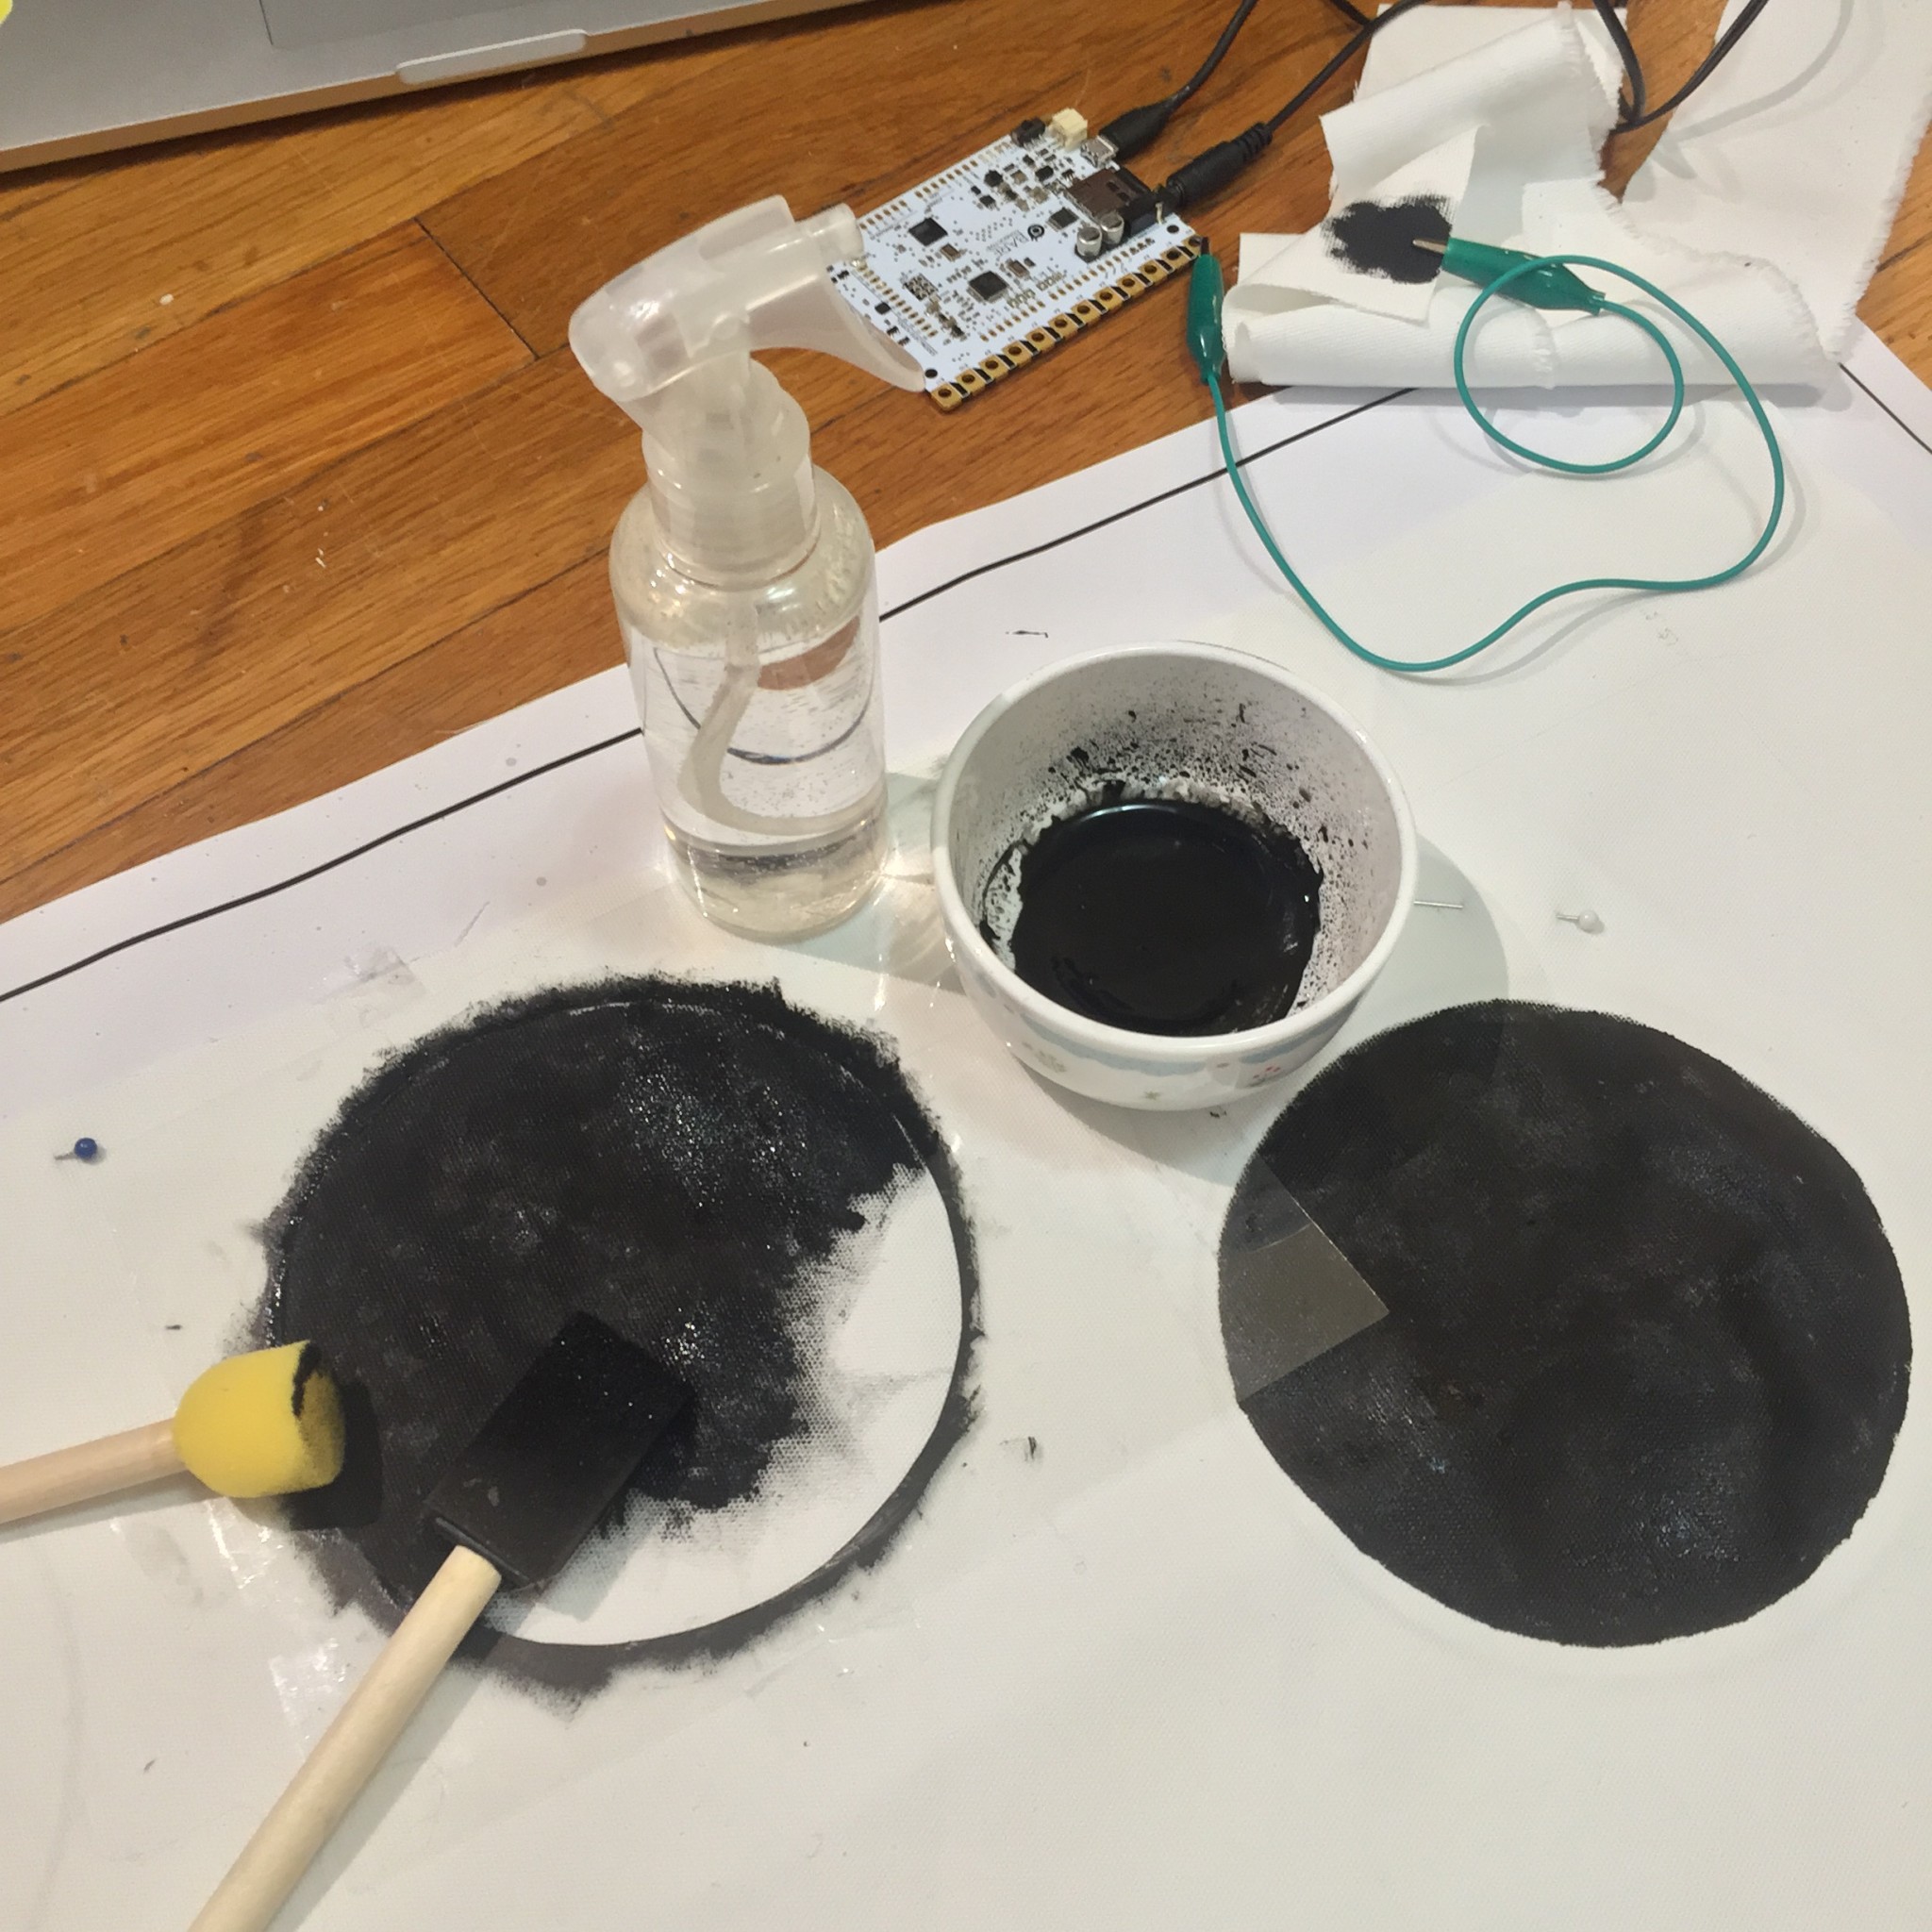
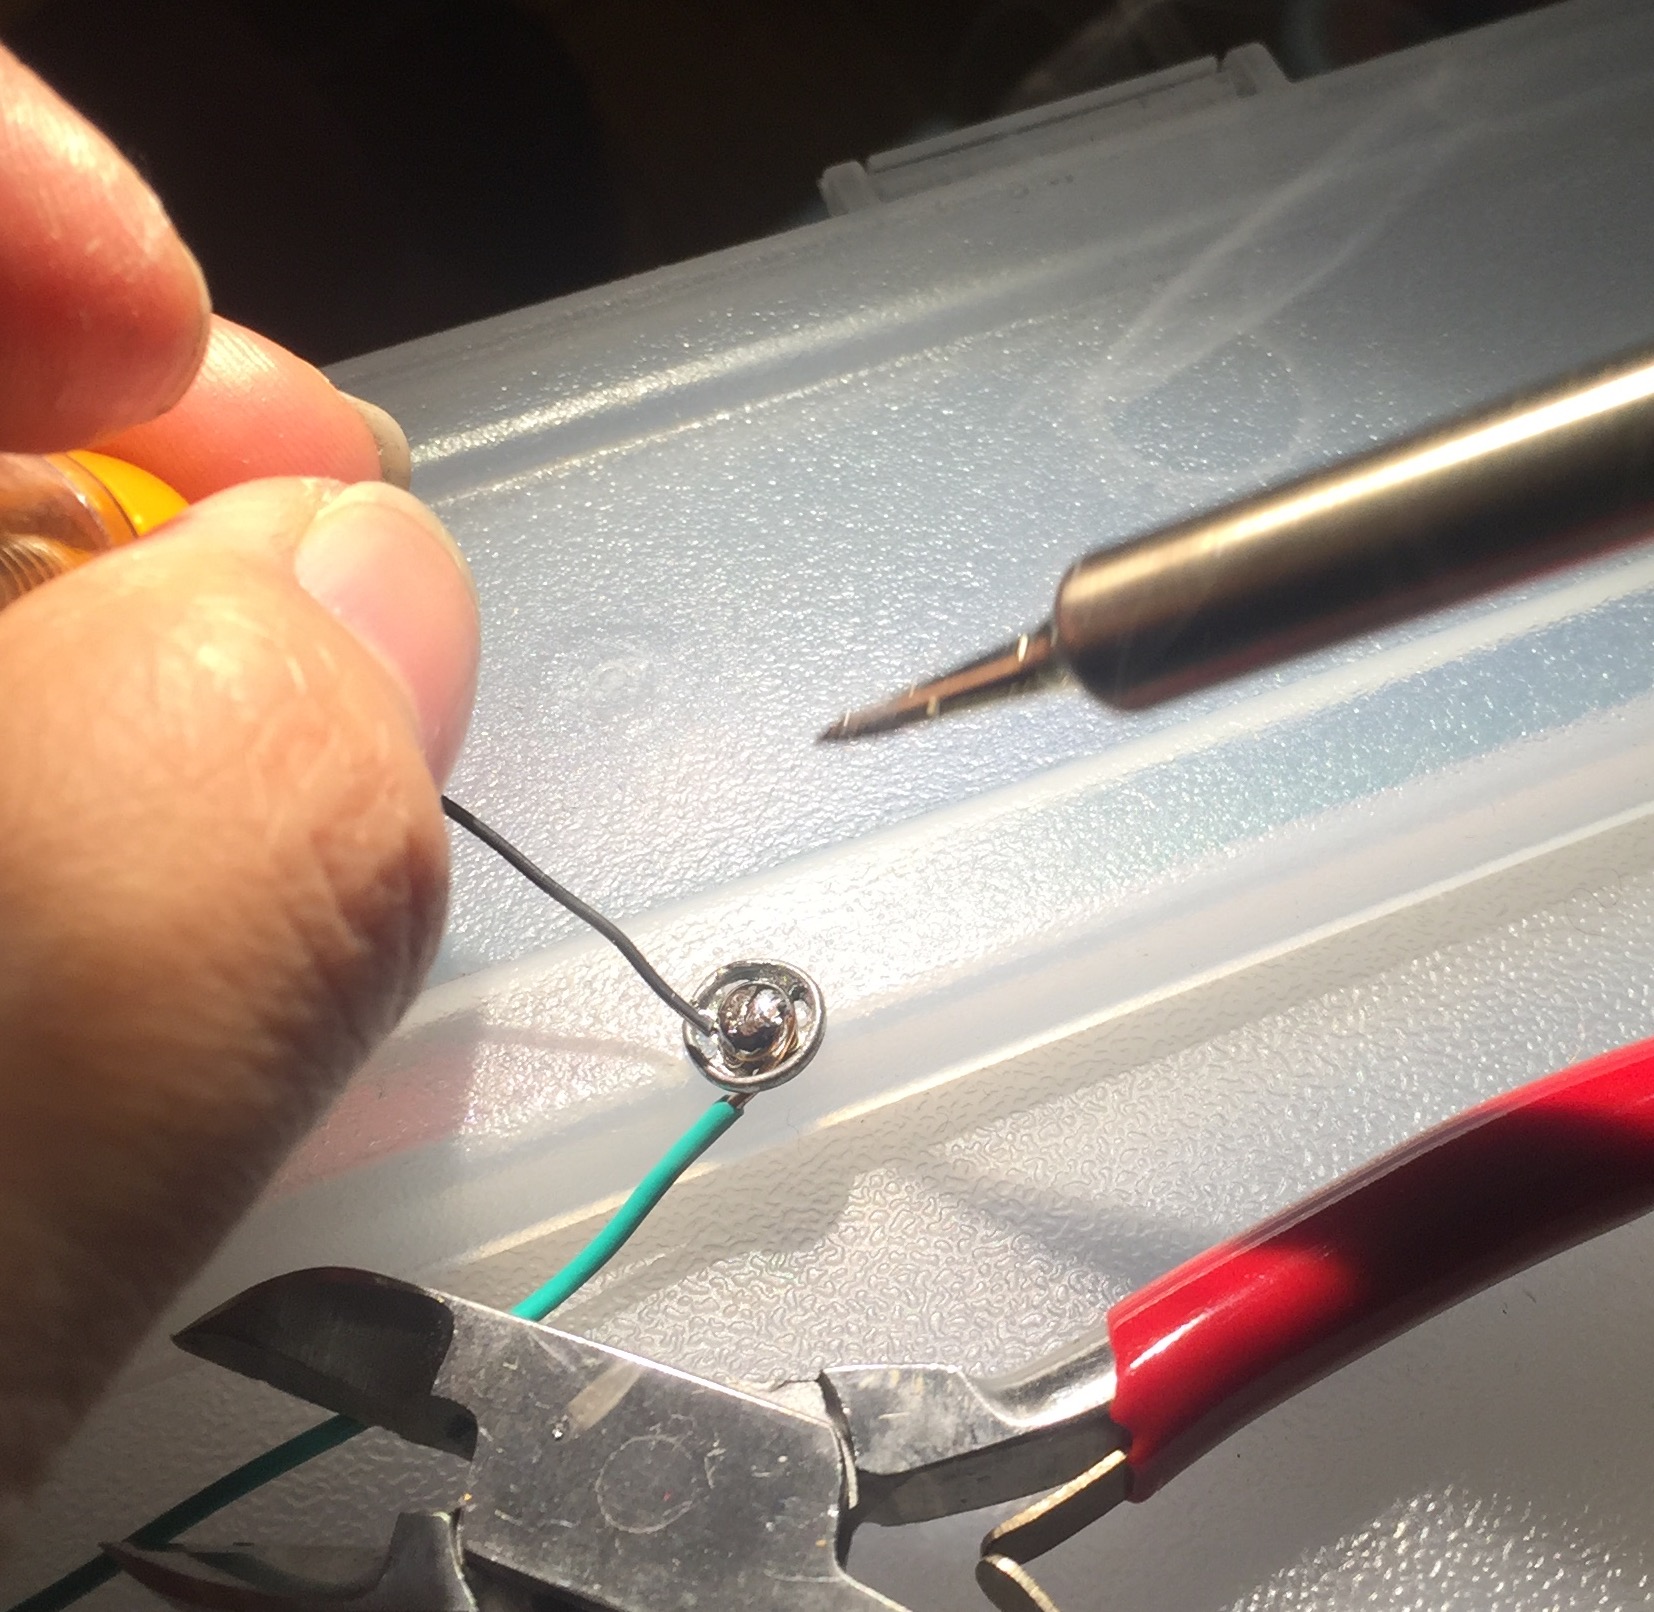
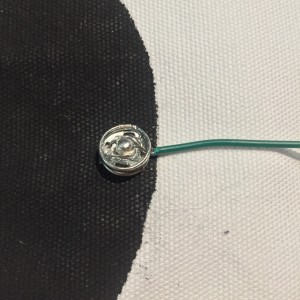
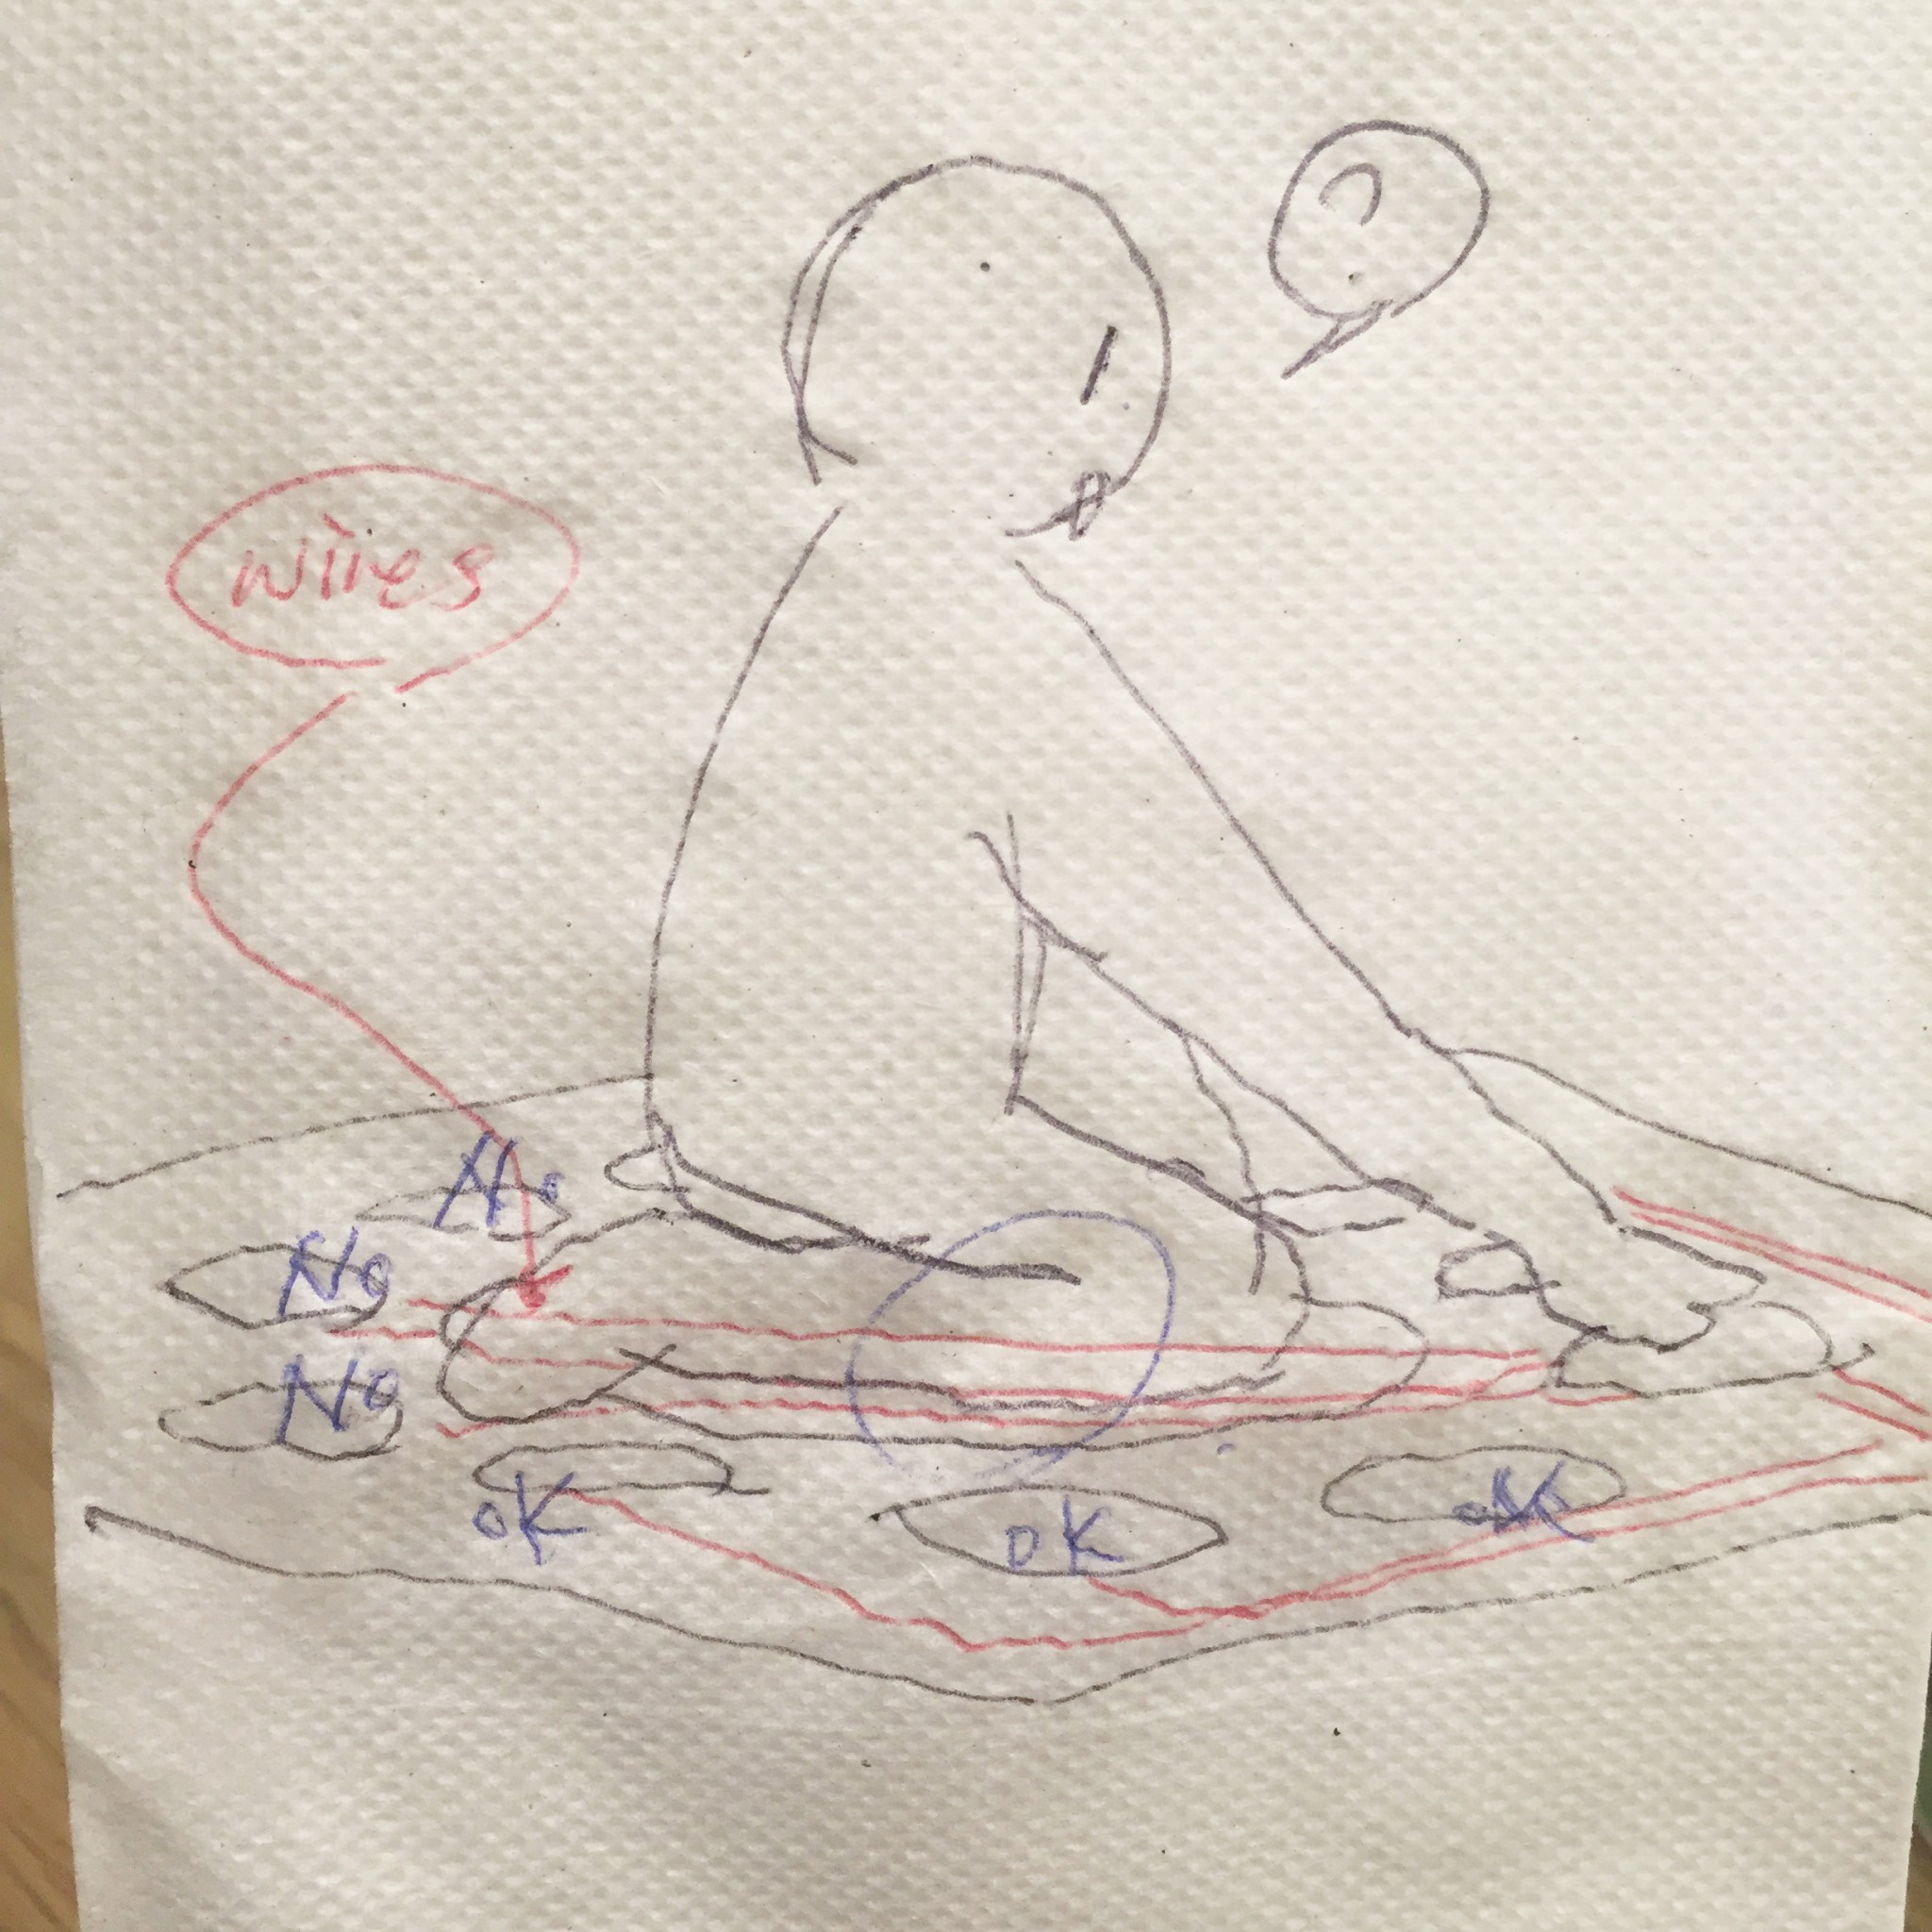
But things almost never go the way you want it to go. No matter how thoroughly you planed before implementing the project, actually making it comes to live is a whole other story. One of the most critical issues for my project is hiding the circuit and power source in the book. The top priority of my book is safety. It is designed for kids age 4 – 7, so I need to make sure that while they are interacting with the book, they won’t be electrified. The current solution I came up with is that each page of my book is two-fold; the circuits hide in between two thick cardboards. And the power cords goes through the spine of the book into a wood box situated beneath the book, so I can hide the batteries and Arduino in there. Another problem I encountered is that when the book is closed, due to the fold of the pop-up materials, it can’t shuts close evenly, one side is always a bit taller than the other. In order to solve this issue, I decided to put 0.5-inch tall thin battens on each right side of the book to even out the height cap. Thirdly, I want to get rid of the USB cord for using the Arduino. So I’m experimenting on shrinking down my Arduino code onto an ATtiny to make it smaller to solder on the circuit of my book. Also, I purchased some effects pack from chibitronics, which are small and flat and solder-free (back-tape). I’m now able to make the lights in my book fade, twinkle and blink without plug in an Arduino to my computer.
Another concern of this project is whether or not the written description is able to convey both the essences of the narrative and the instruction for how to interact with the book. Is it necessary to combine audios into the book? Instead of writing the instructions on the actual book, will it be more appropriate to deliver these instructions in a different notebook solely dedicated to the adult who are accompanying and supervising the kid? Will this make the experience more interactive and magical for the kids? And will the parents be more involved in the process of reading the book with the kids together this way? By making the adult an important part of completing the interaction with the book, will this be more effective for the audience to experience the importance of companionship?
This electronic pop-up book is aiming to get children to work in the technical and material world at the same time. “Children do, it is true, play alone, or form with other children a closed world in their minds for the purposes of play.” I want to enter children’s own little world through their action of playing with my book. While they are reading my book, the content of the book engages their attention, which creates a conversation between the kid and the book. That way, the book can talk to them. Which means I can talk to them, and the book I created is part of their world.
It’s a story of aging, companionship and love. It is designed to bring awareness to adult life and to teach kids the importance of keeping adults in their life company, and making them feel loved. I want to show the kids that spending time with someone is the best way of showing him or her your love. And also, the interaction between the reader and the book is designed to make kids learn about the verbs, and practice their ability to interact with the physical world.
For my future endeavors, I want to be able to create interactive books to educate kids like Simon Schama did in his video presentations on significant historical Art Giants.
Growing up, History has always seemed distant from my daily life, as if those historical events and the people who live in those time periods are just text on the page. It has always been hard for me to relate to these figures and incidents because they’ve always felt so impersonal. But Simon Schama has restored these historical figures by putting them into a narrative context, bring in facts of different aspects of the society to make these figures come to life by portraying them as just an ordinary person, whom we may run into on the streets and has the same issues in their life like us. Maybe the painter who lives next door to you may grow up to be famous in the future, but instead of portraying these artists as out of reached famous figures, he restored their image by putting them into a daily context.
He wouldn’t be able to achieve this unless he has dived deep into the history, gathered and digested all the information he could get his hands on regarding different aspects of society (ex. economic, political). He knows a lot, but instead of dumping all this information onto his audience, he presented all this dense information in a light and easy to understand manner. I want to be able to create stories for kids to interact with incorporating his style of telling facts, which is both educational and fun. Relating different fields of studies together to make kids’ learning experience more educational, and the educational experience more playful.