Iterative Prototypes of I feel many many things during the day
Prototype 1.
In order to paint faces with thermo-chromic pigments onto fabric and sew them on top fabric layer, I prepared materials.
Materials
- Acrylic colors and binder
- thermo-chromic pigments
- foil to mix thermo-chromic pigments and mixtures ( white acrylic color, acrylic bind and human lubricant) with disposable wood sticks or forks
- 2 yards of canvas
- cotton puff
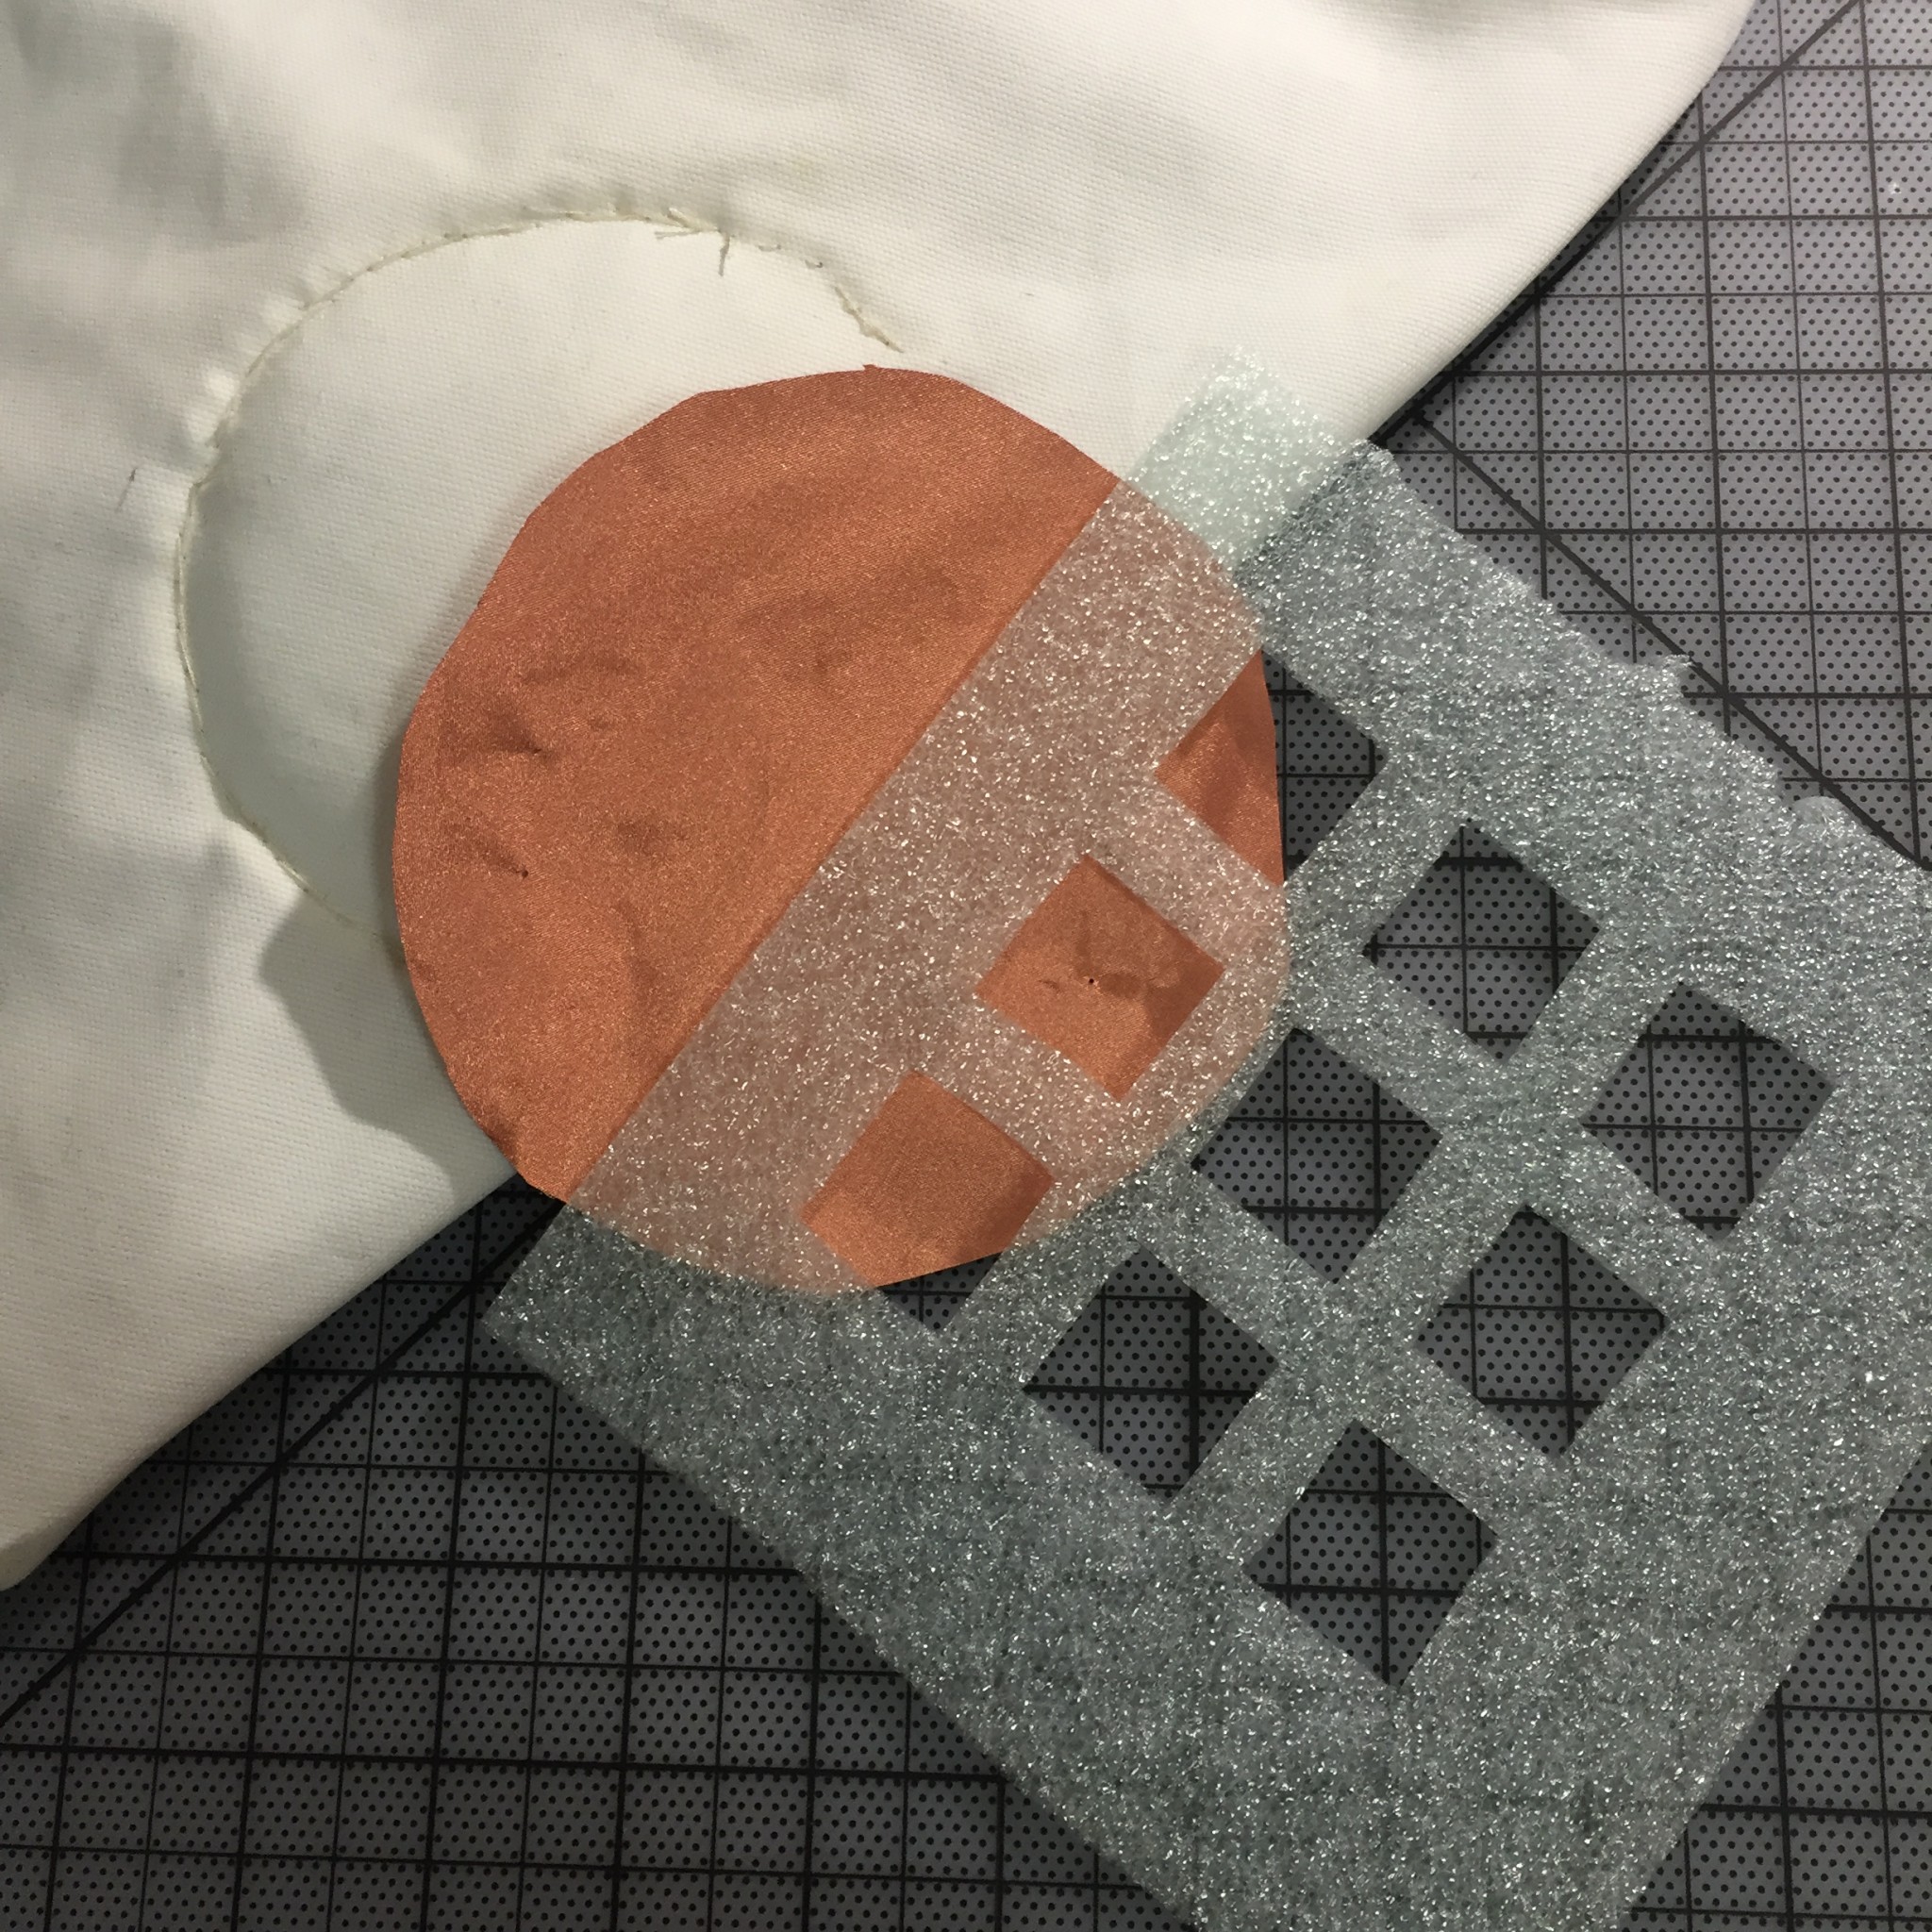
- copper conductive fabric
- needles and threads
- pins to hold fabric and faces together
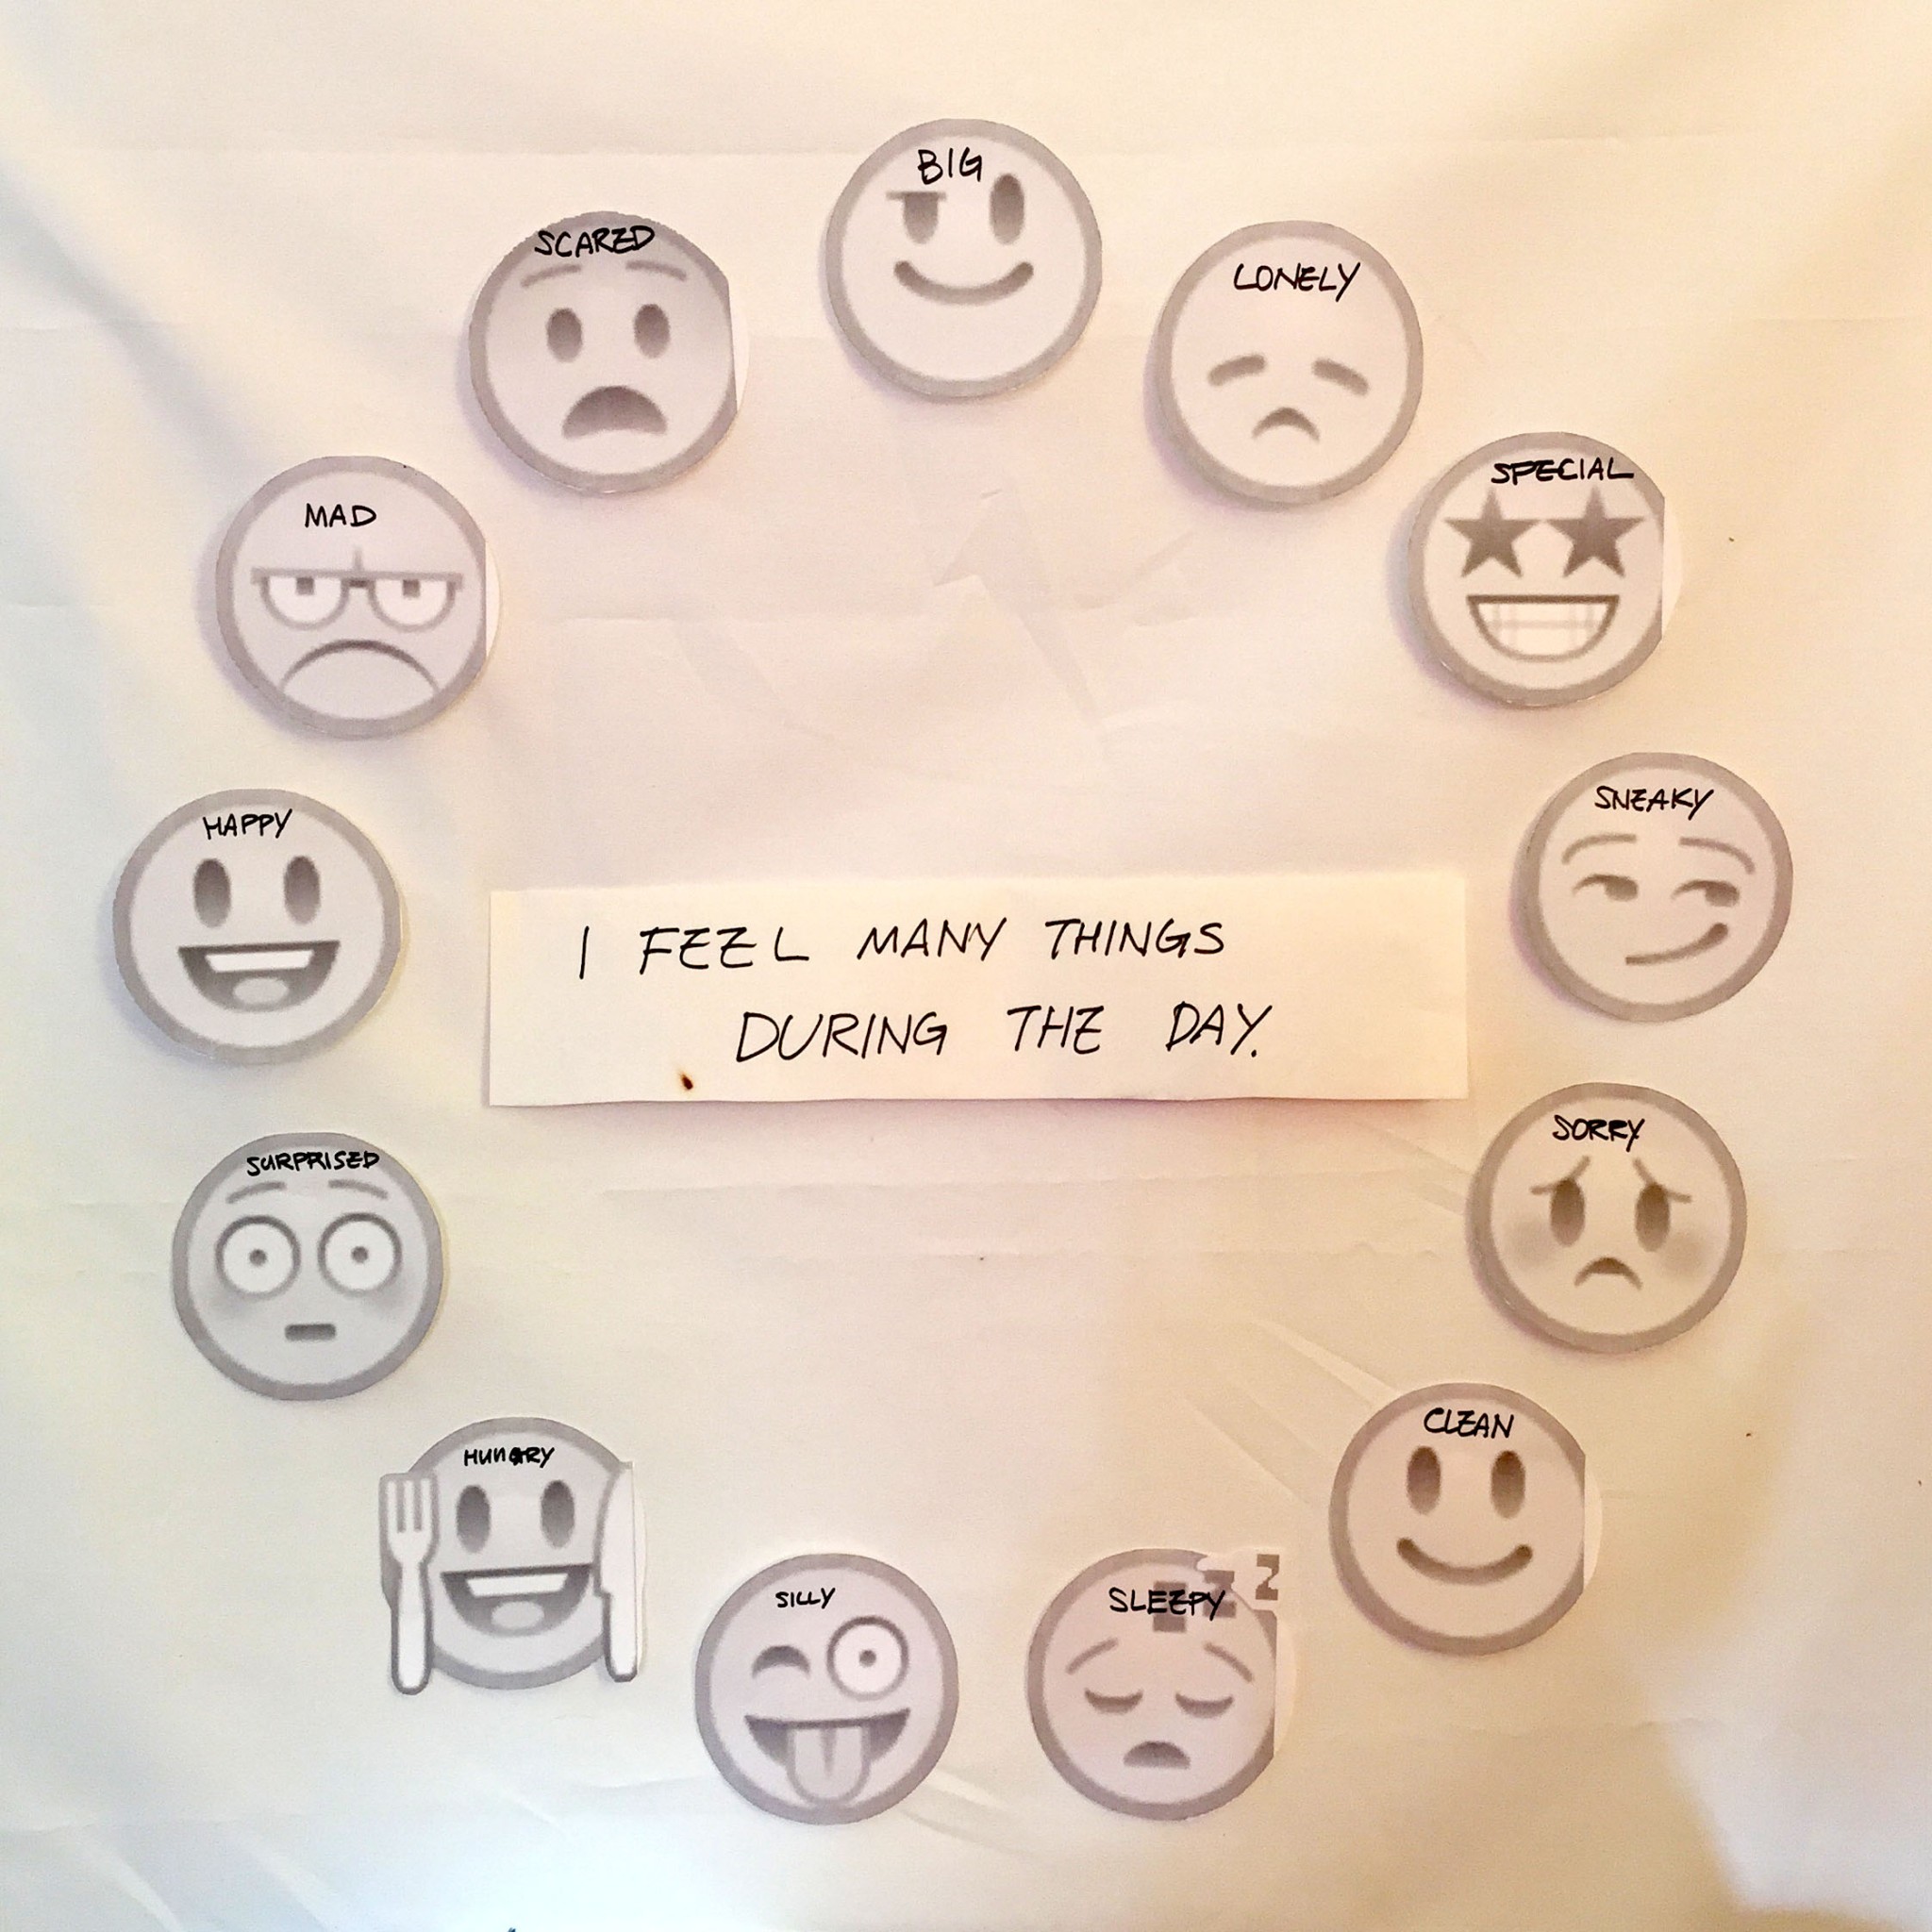
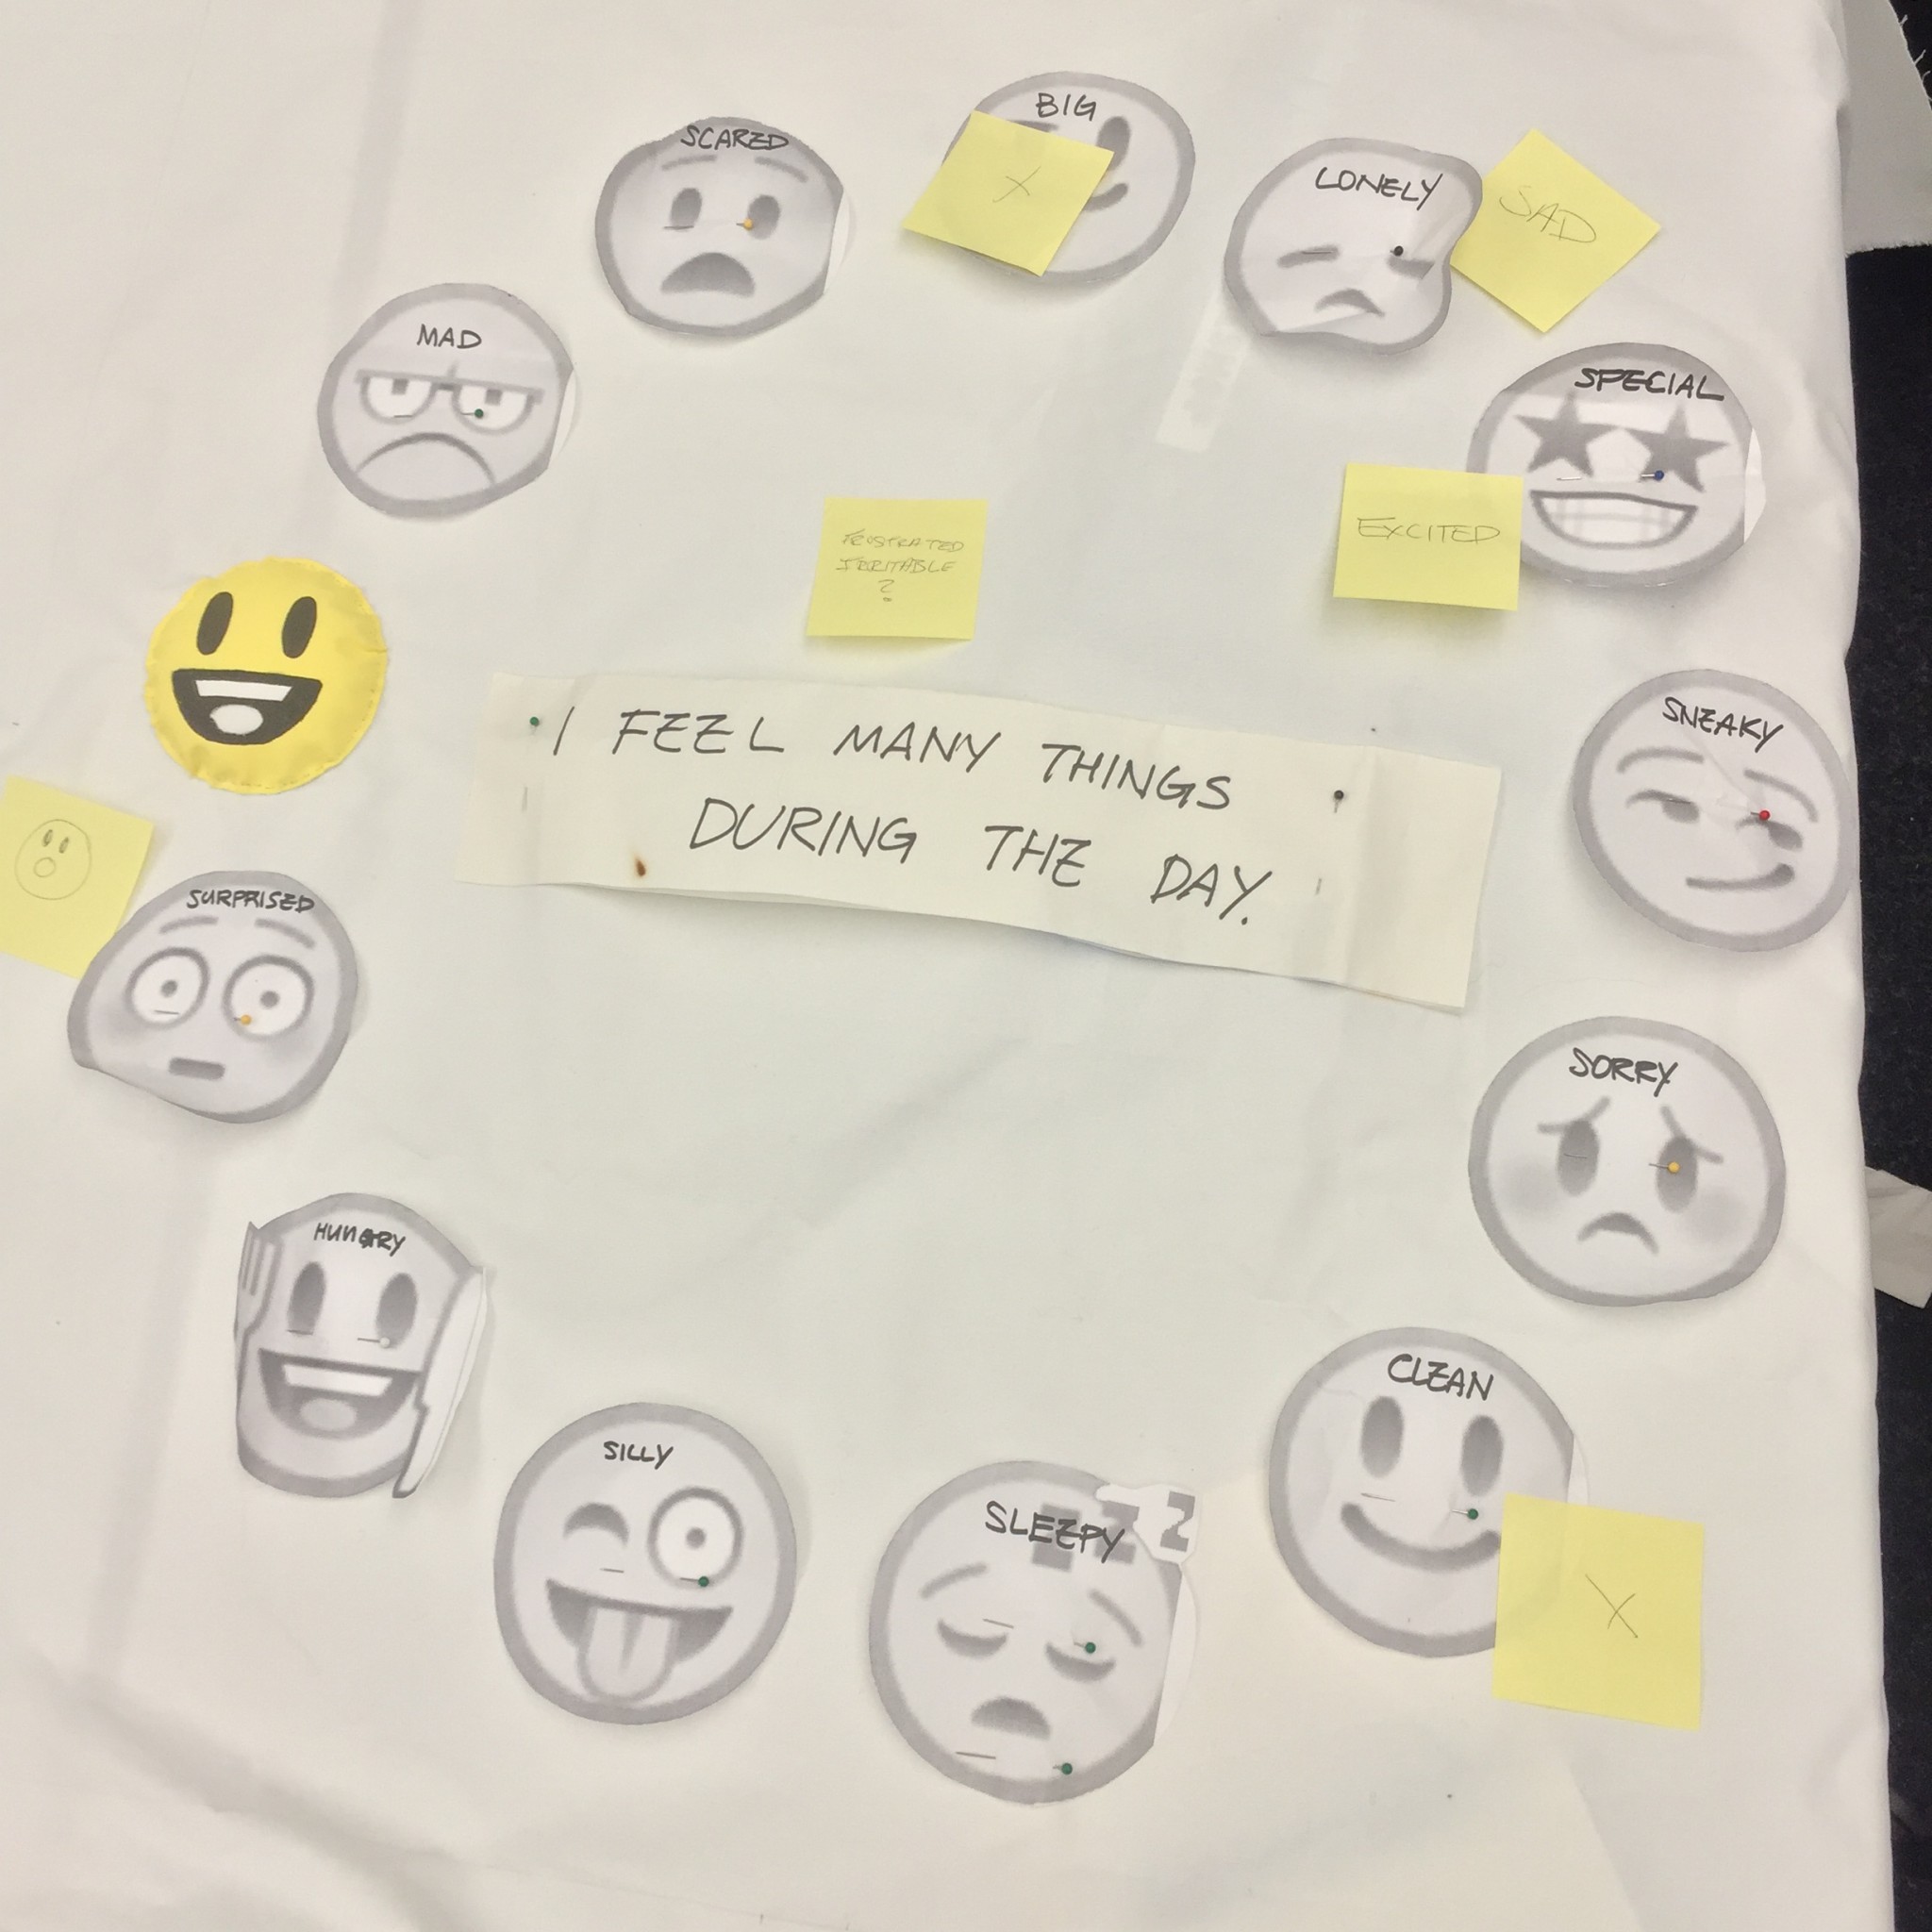
First step: I designed my play floor with faces. At the first prototype, It was 13 faces: silly, scared, mad, happy, surprised, hungry, sleepy, clean, sorry, sneaky, special, lonely, and big. I researched color scheme for faces and found color psychology. Yet ,I got confused because there were so many different ways of pairing up emotions with colors. I ended up using two color charts most frequently seen. I applied the one of them below to faces. However, later one of my classmates, Greg, told me that color psychology is not reliable because it is very subjective and its meanings are varied from culture to culture. Thus I decided to take just colors, not meanings, to contrast each face.


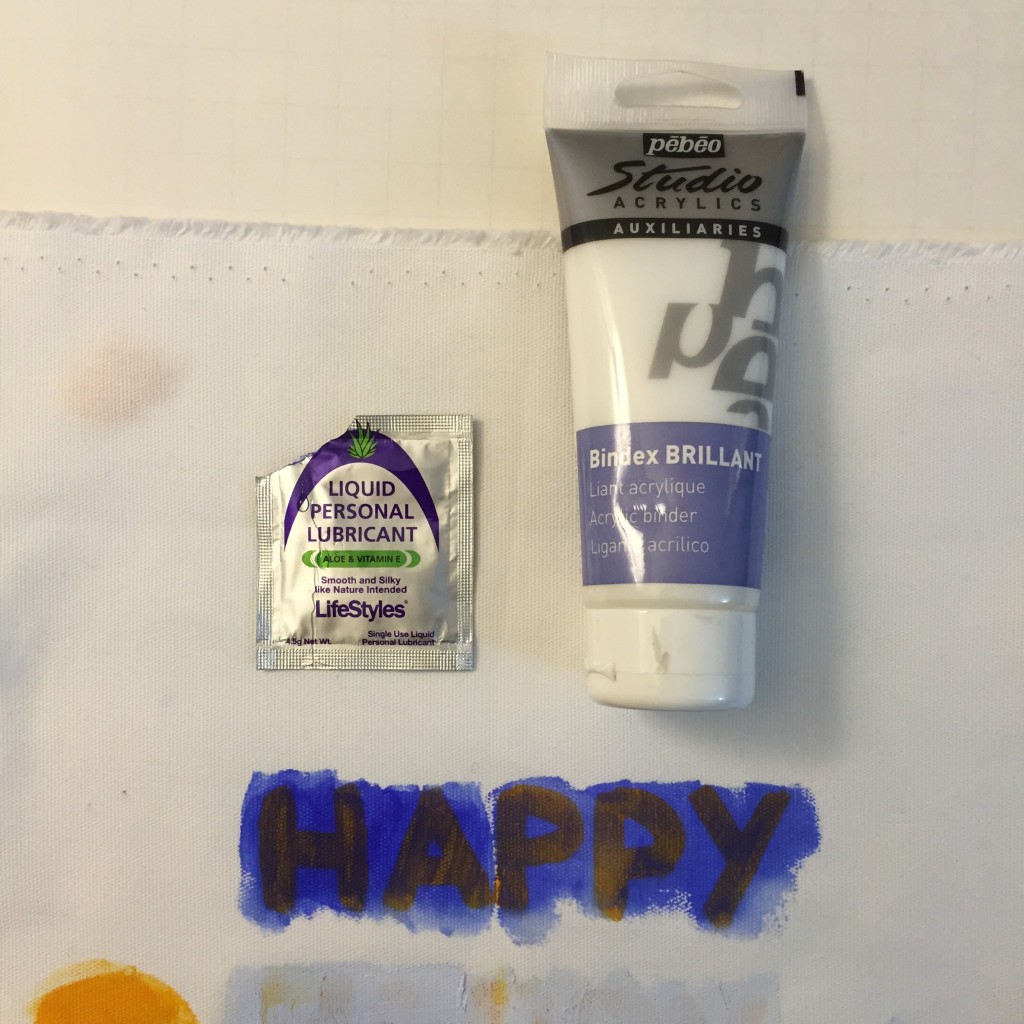
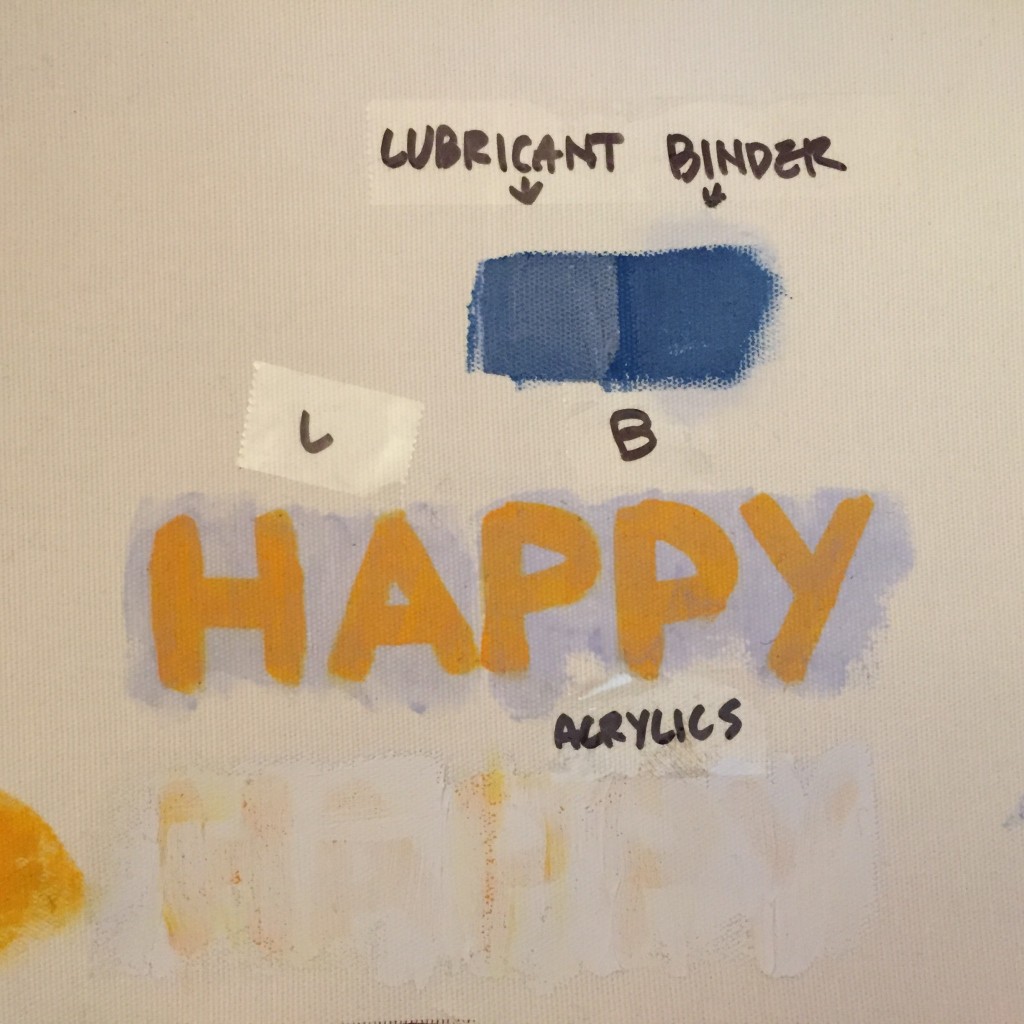
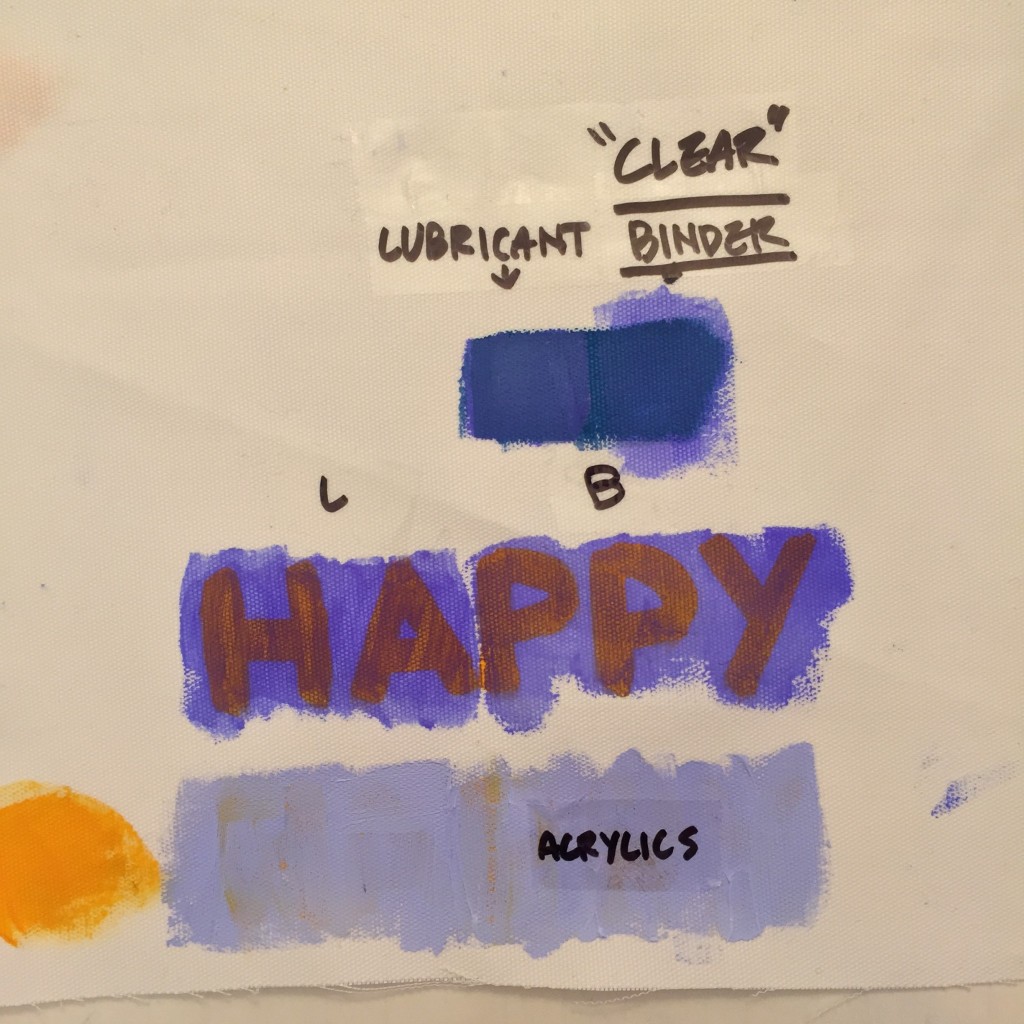
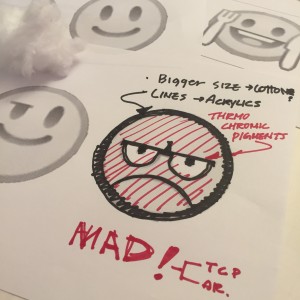
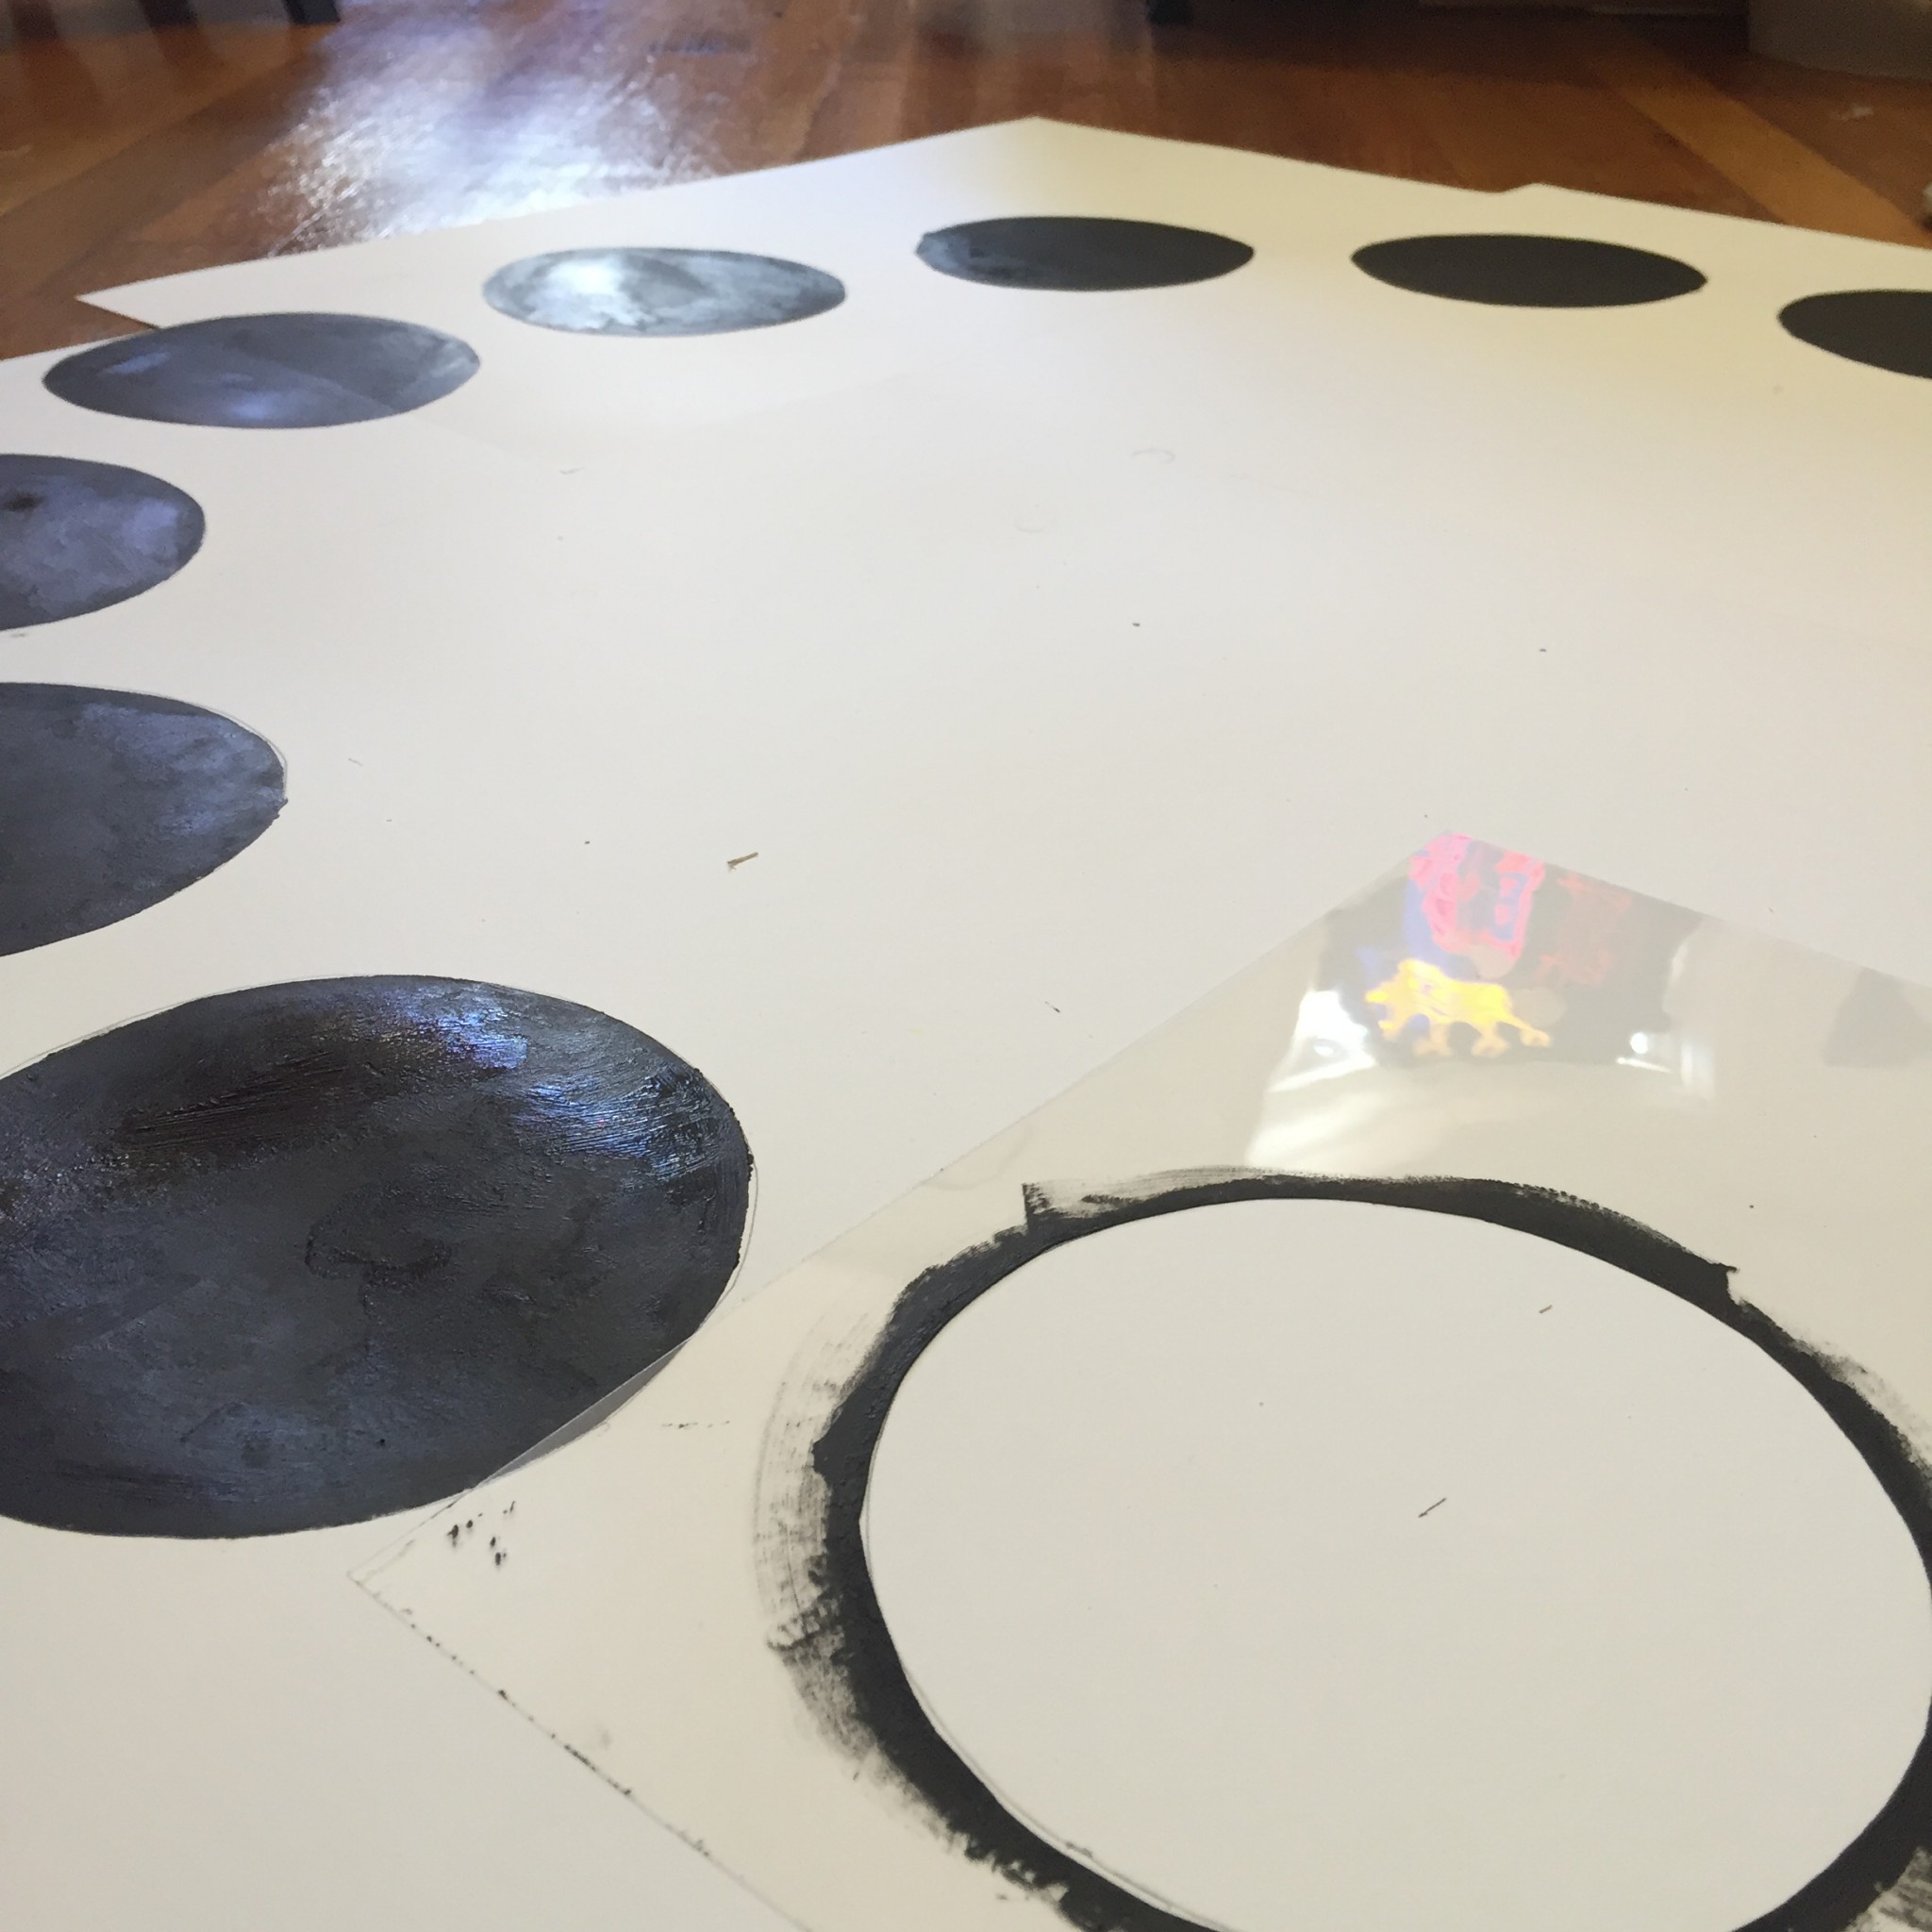
Next step is thermo-chromic test. I tested mixtures (white acrylic color, acrylic bind and human lubricant) to find out which mediums would keep thermo-chromic pigments vivider. As a result, acrylic binder was the best one.
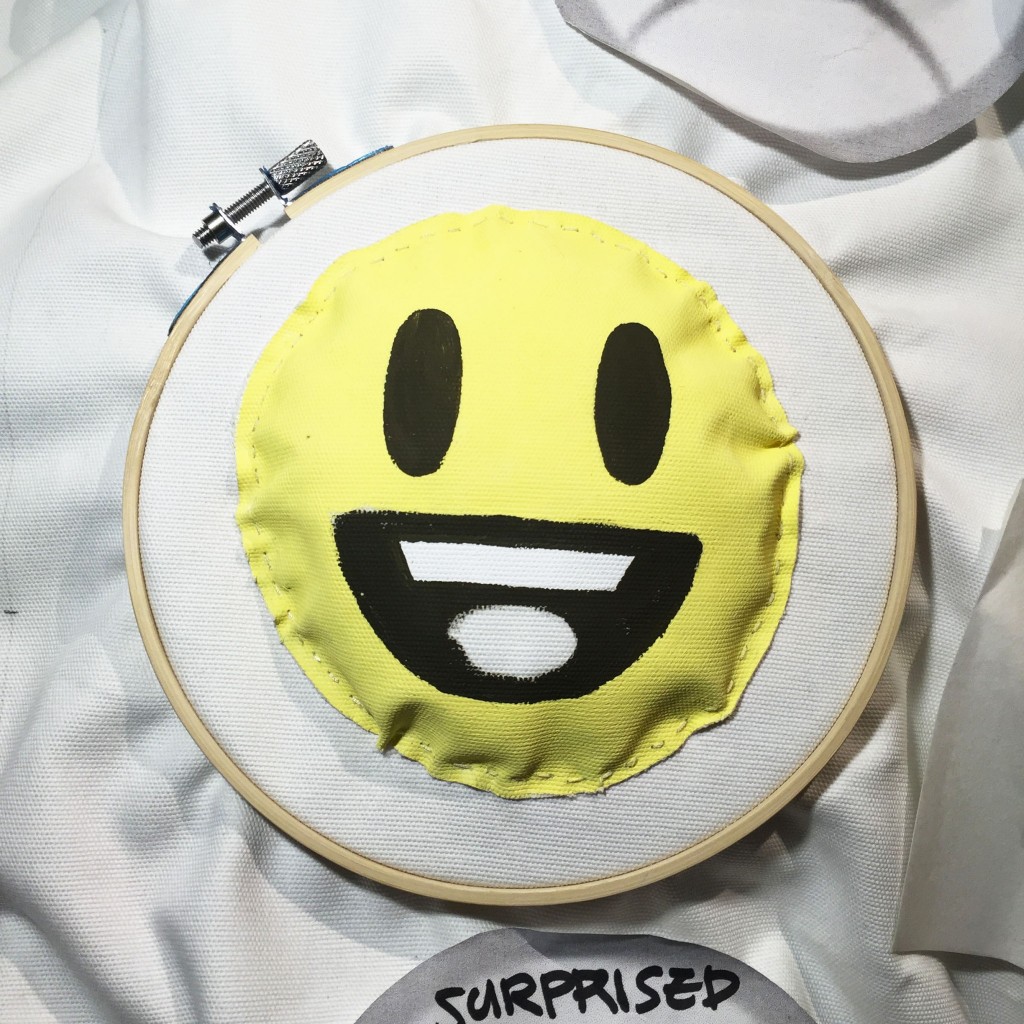
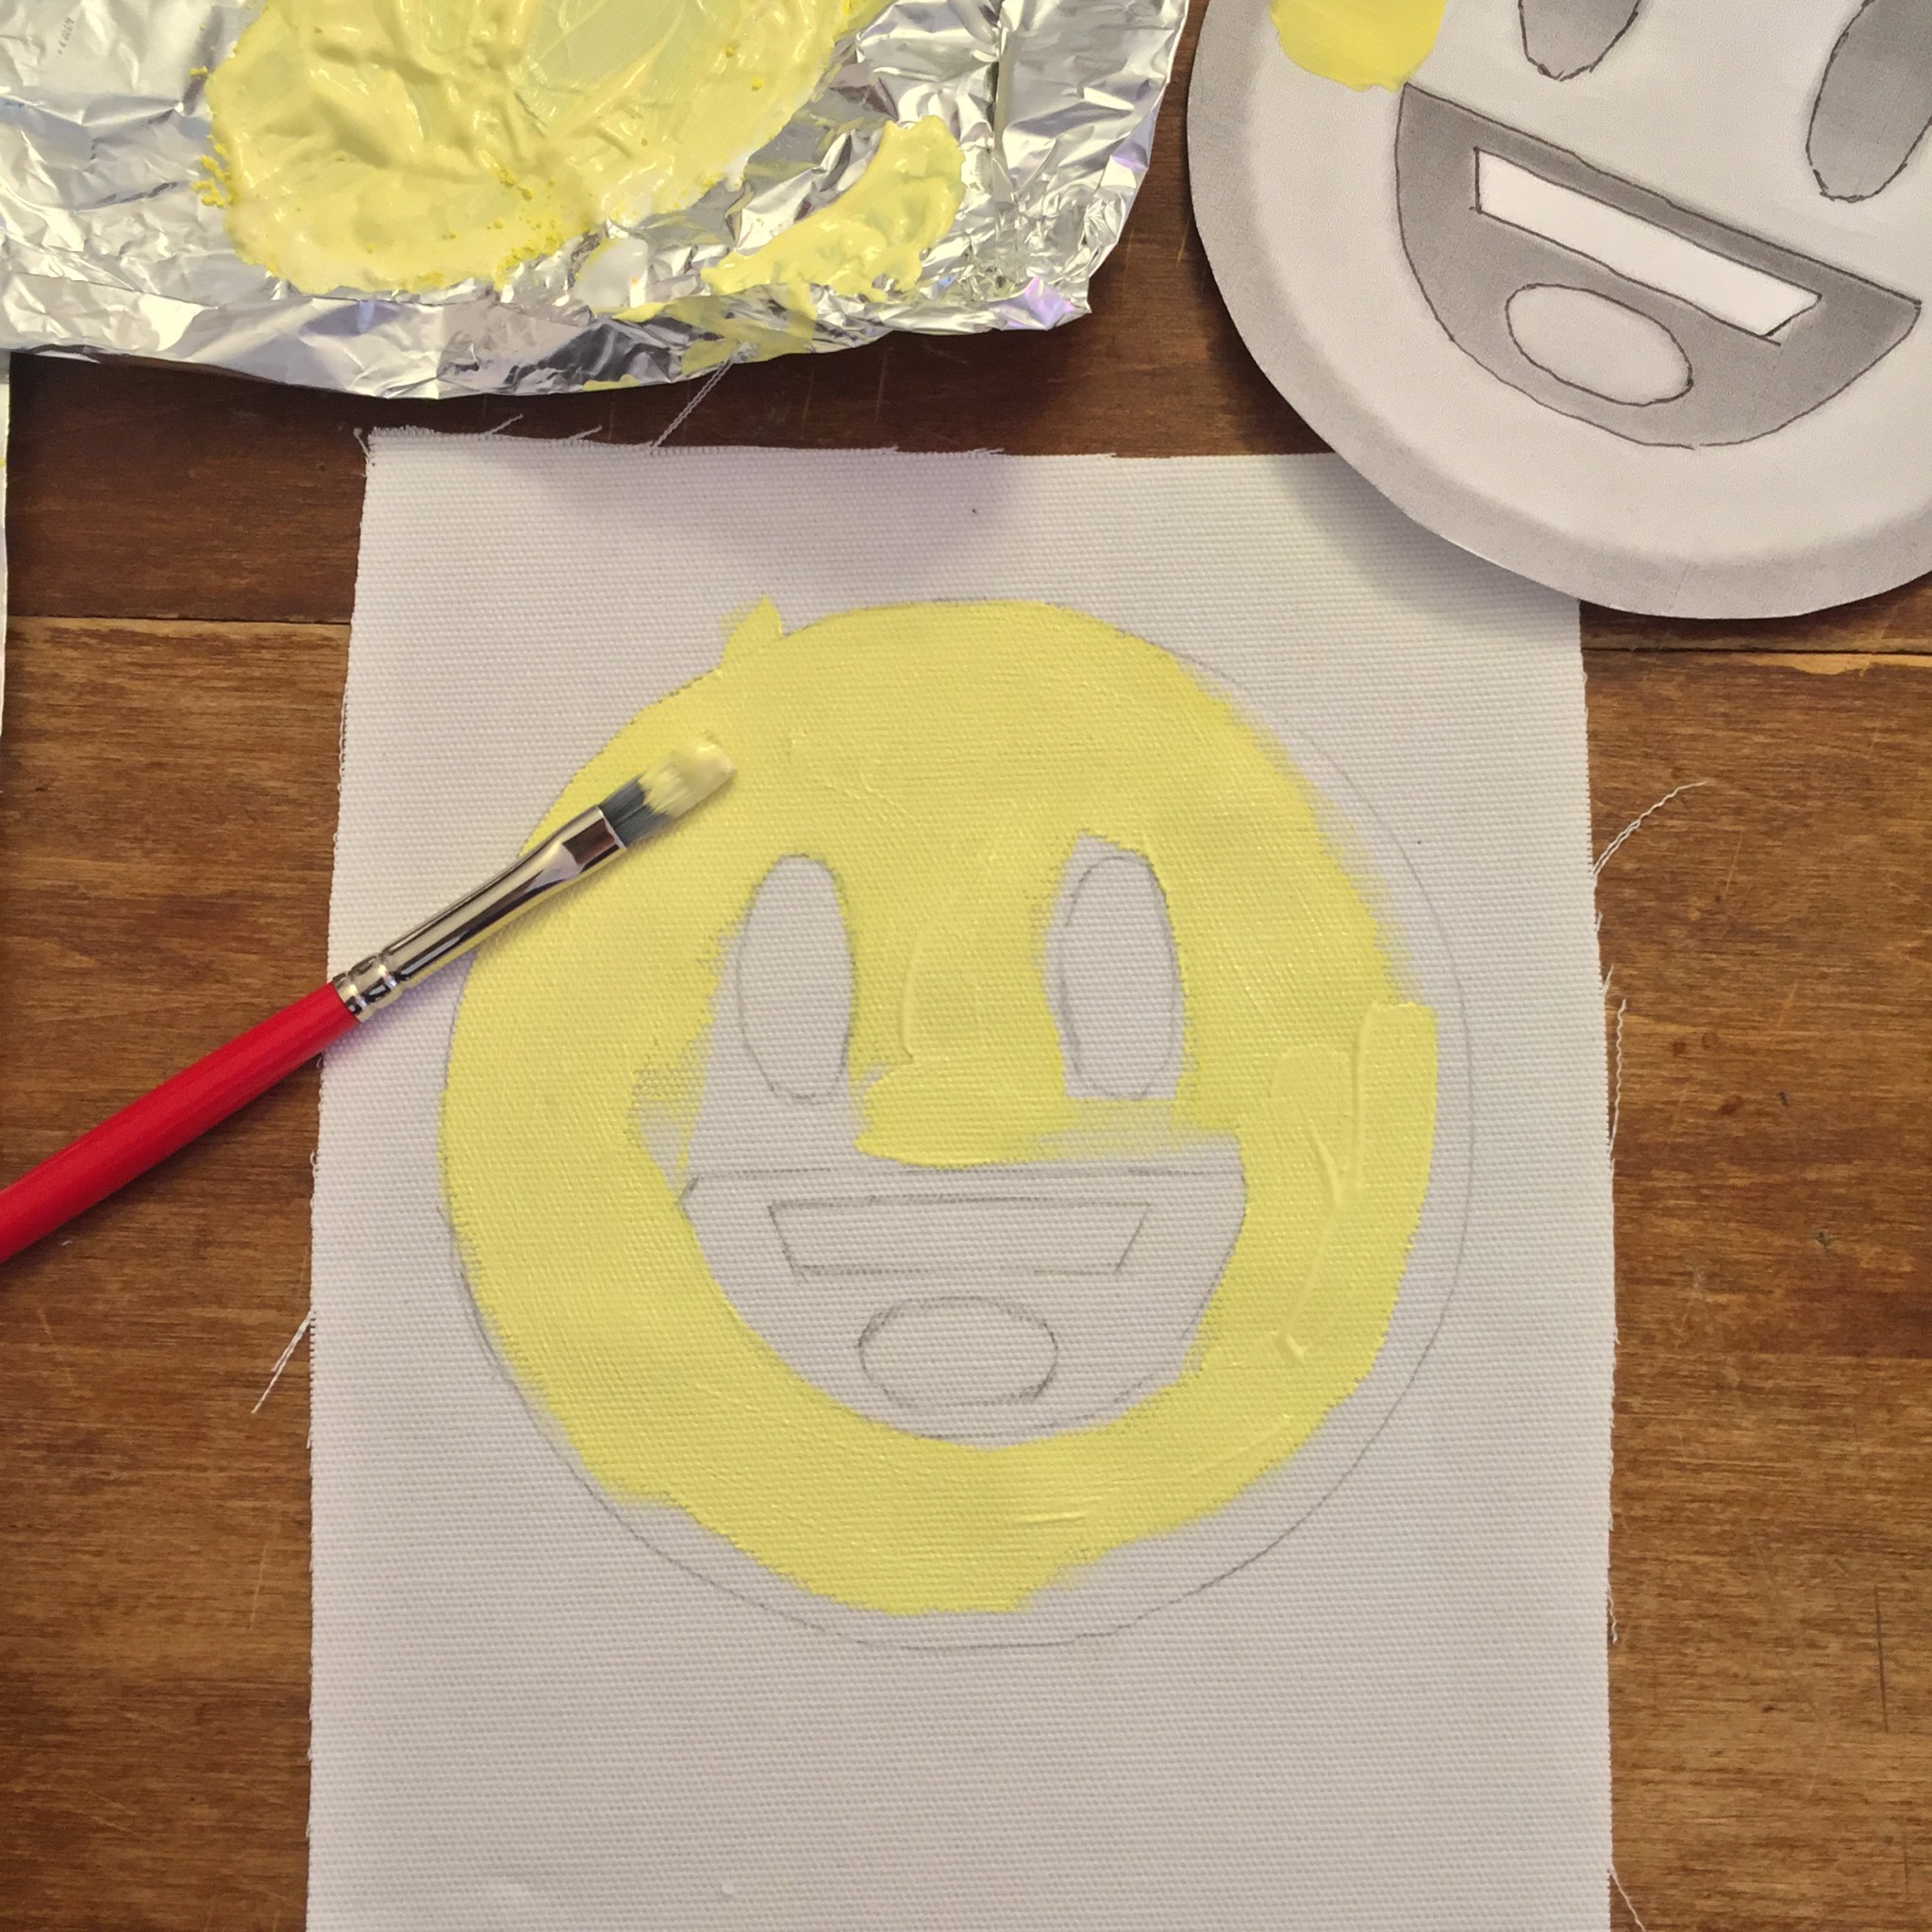
Then, I applied yellow thermo-chromic pigment on happy emoticon and painted eyes and mouse with black acrylic color. When paining the face, it took a while to color on it with a brush. After coloring step, I thought about using a sponge and stencil it would be a faster way. I sewed happy face on the top layer. I wanted to create the reaction that you can see the face color is only disappeared when you touch it, but eyes and mouth are still there.
I got some feedbacks from Major Studio 1.
- Some face expression do not clear, so kids would get confused.
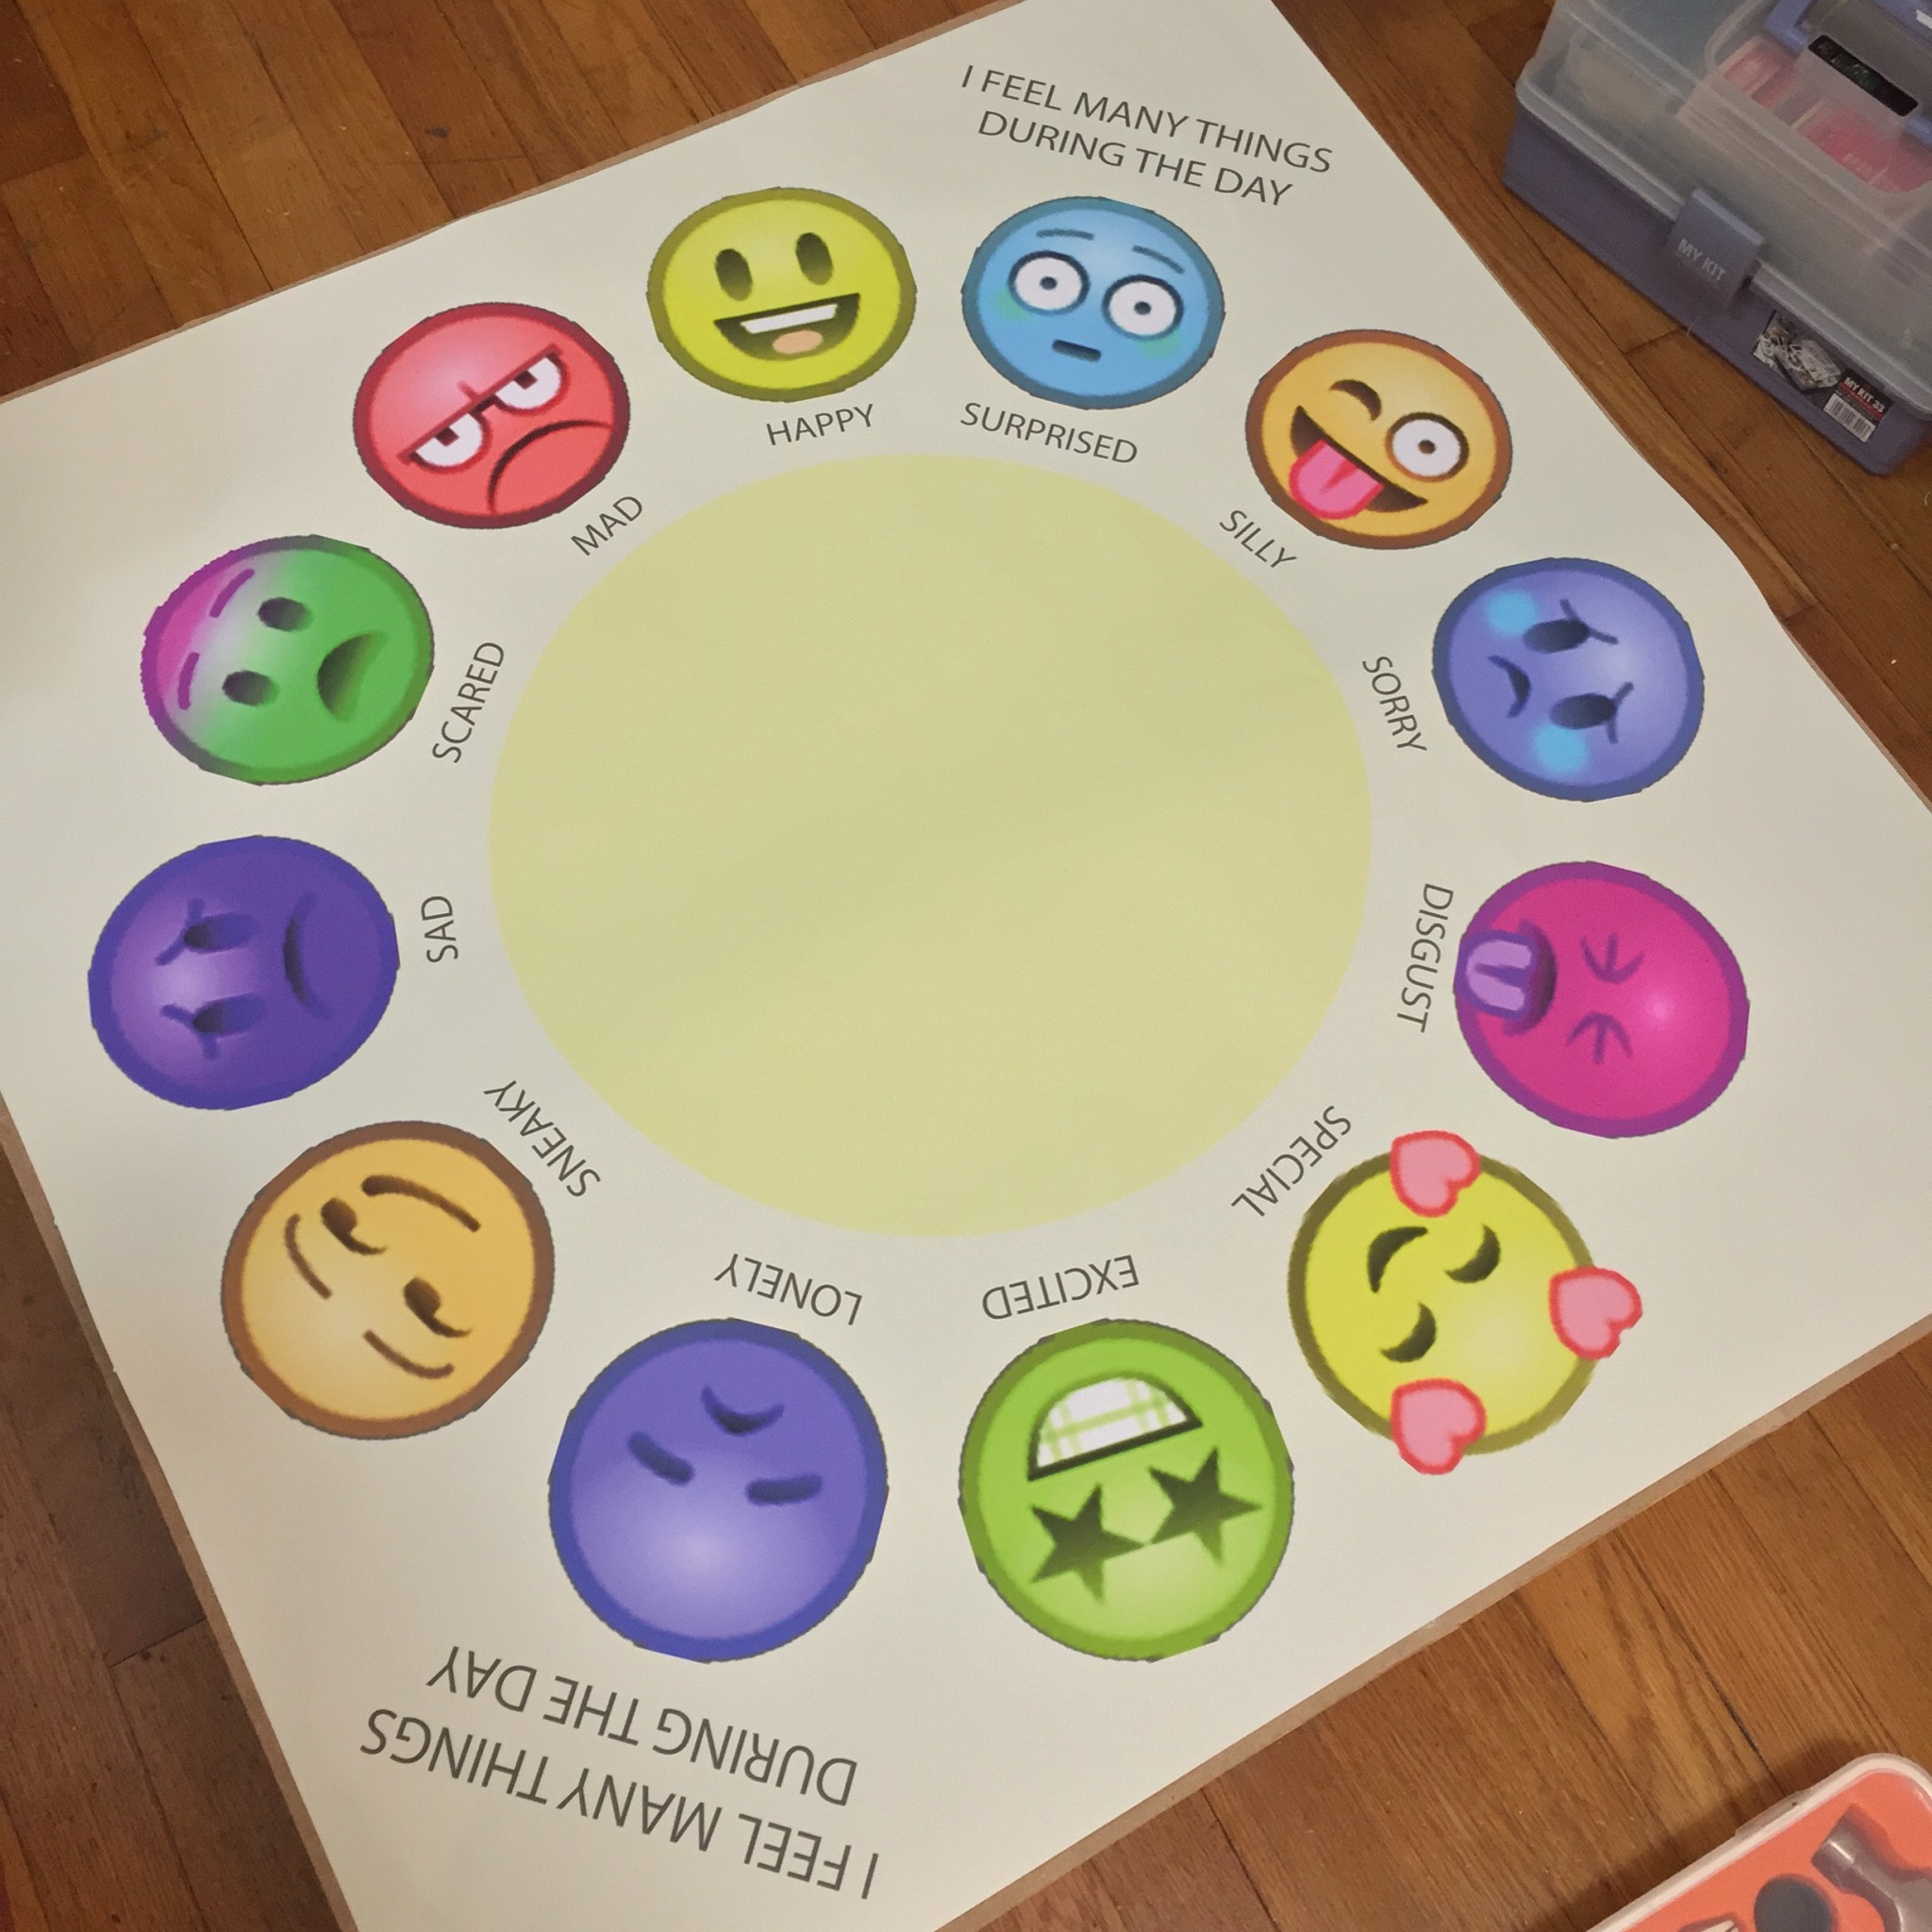
- Dimension of my project is 35 x 35 inches and a kid could sit in the middle of it.
- Change faces to look the middle of circle so a kid see the faces towards him when playing.
 As I chose a thin canvas as a top material, thusI needed some material act as a cushion to keep children from getting hurt by the hard floor. In order to make sure the cushion layer between circuit and top cover work, I tested it worked well.
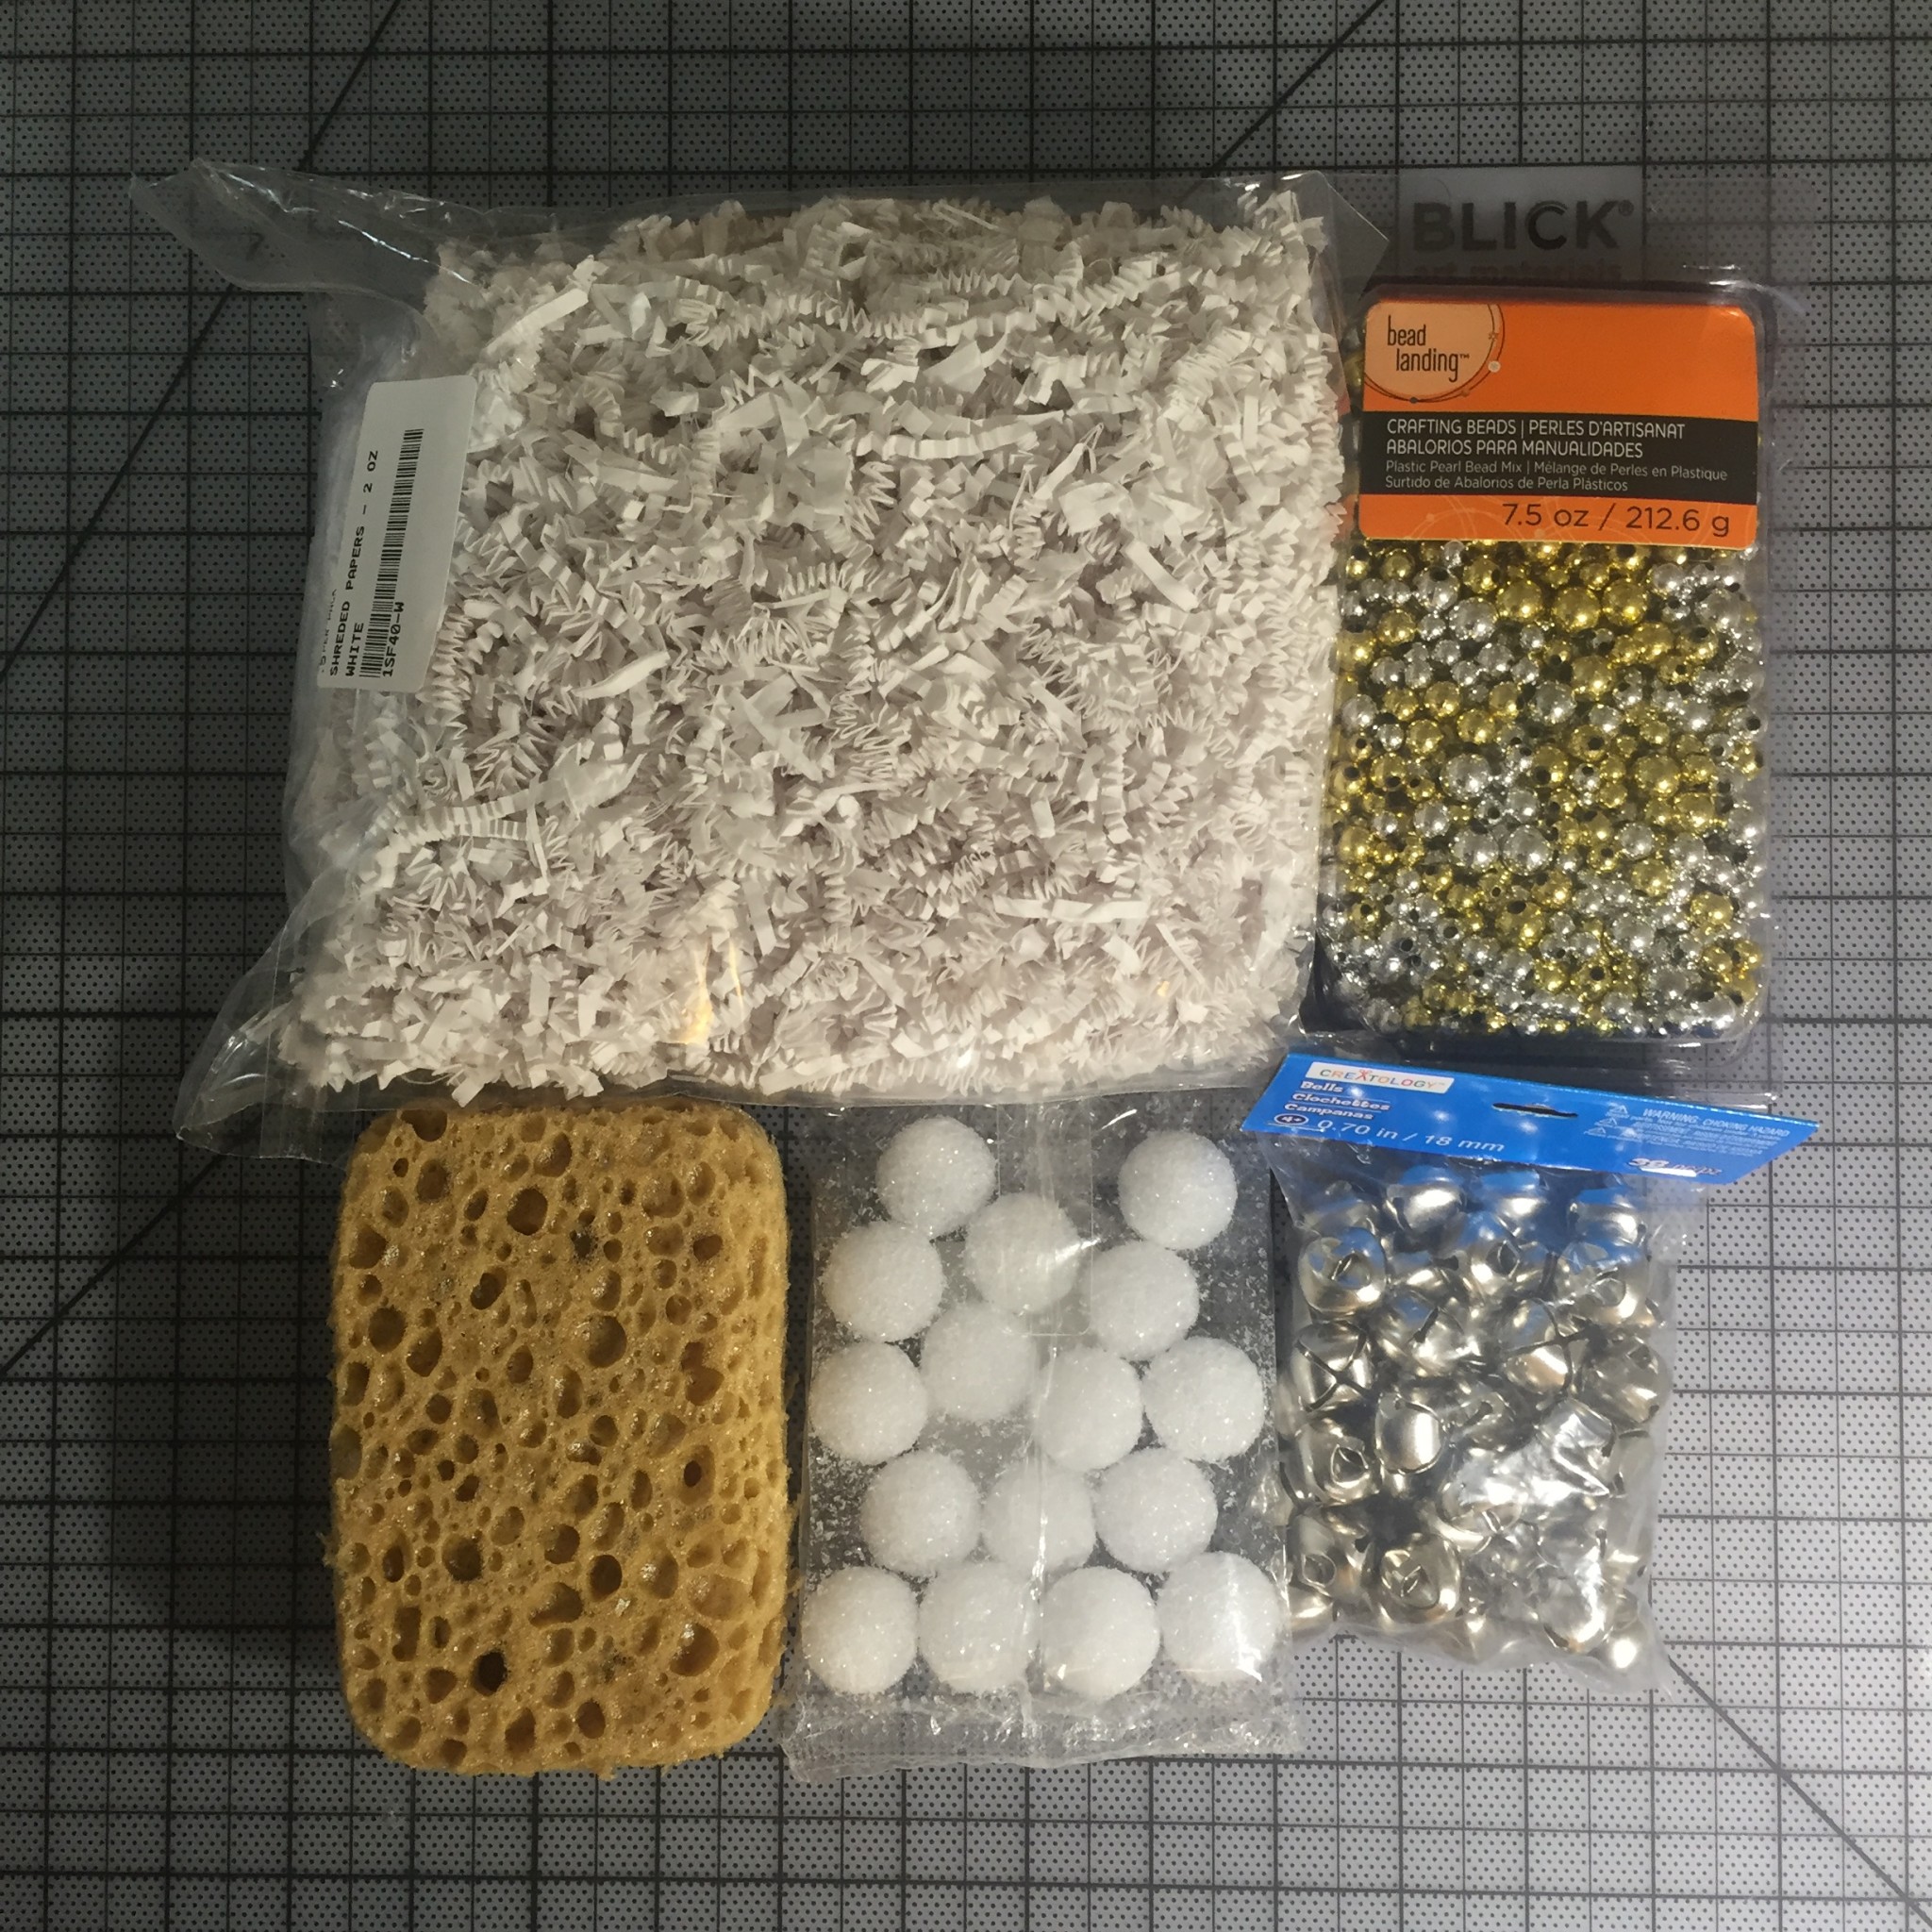
Also, I got more materials to stuff faces to give children different tactile experiences. Why I got them because I believed faces are not enough to attract children. I tried to touch, hit, and step on the faces filled with harder materials. I found some materials could hurt kids because some kids get really excited and could smash or hit on faces. I decided not to use different materials.
 Painted paper circuit with conductive ink.
After making sure the testing circuit work, I painted the actual circuit on paper. I used a transparency film to fill out the ink.
Designs
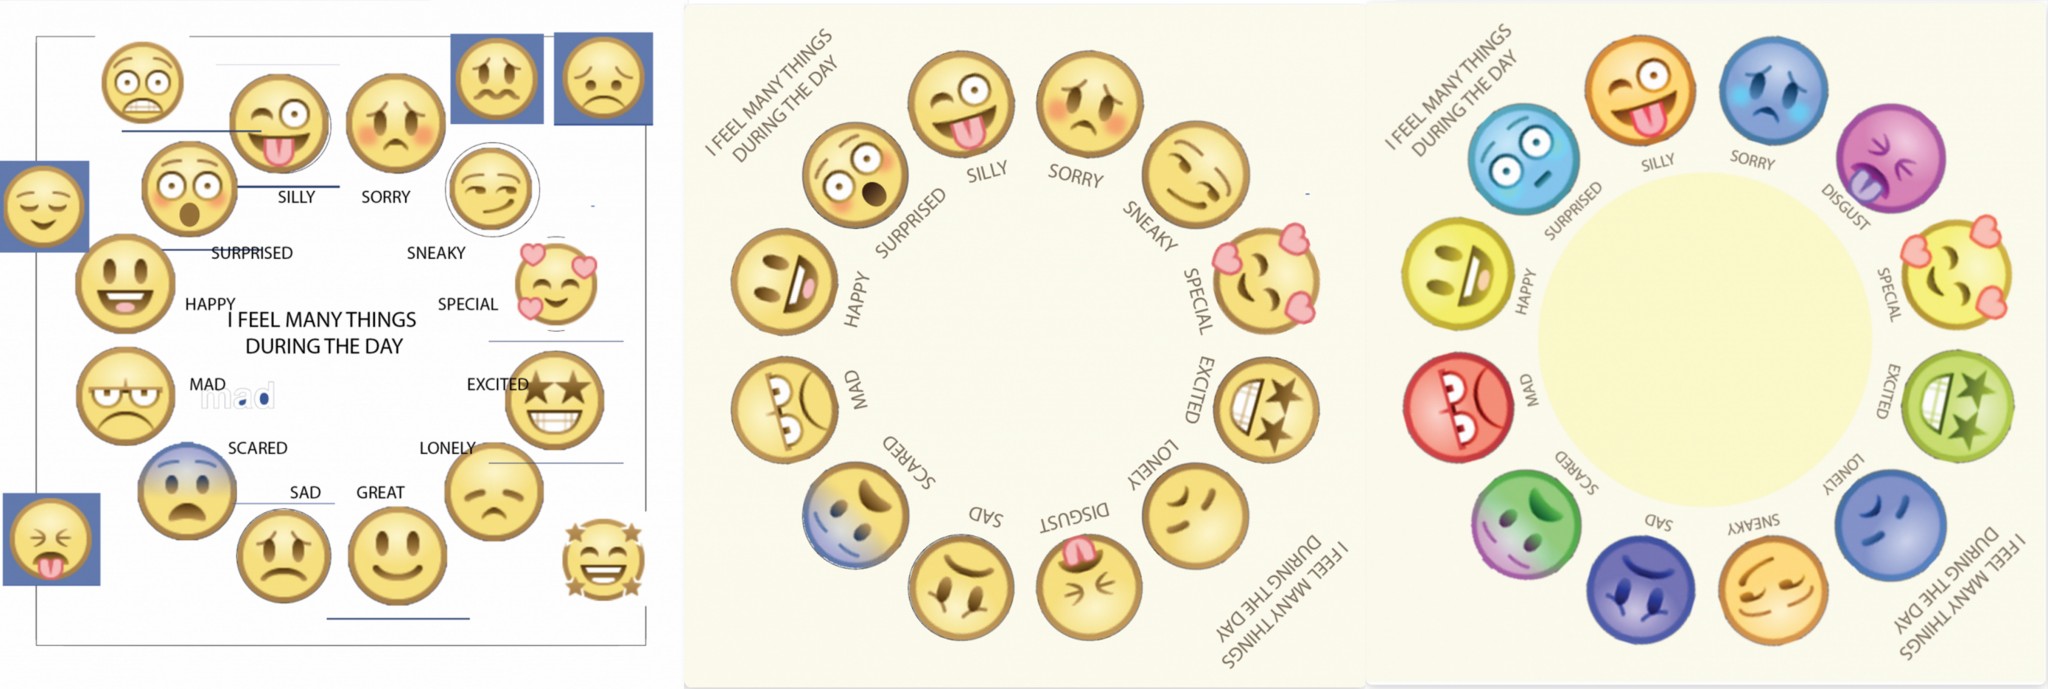
Final design was faces with colors. each color on faces goes with each emotion.
I sketched how to build the floor and install board and speakers.
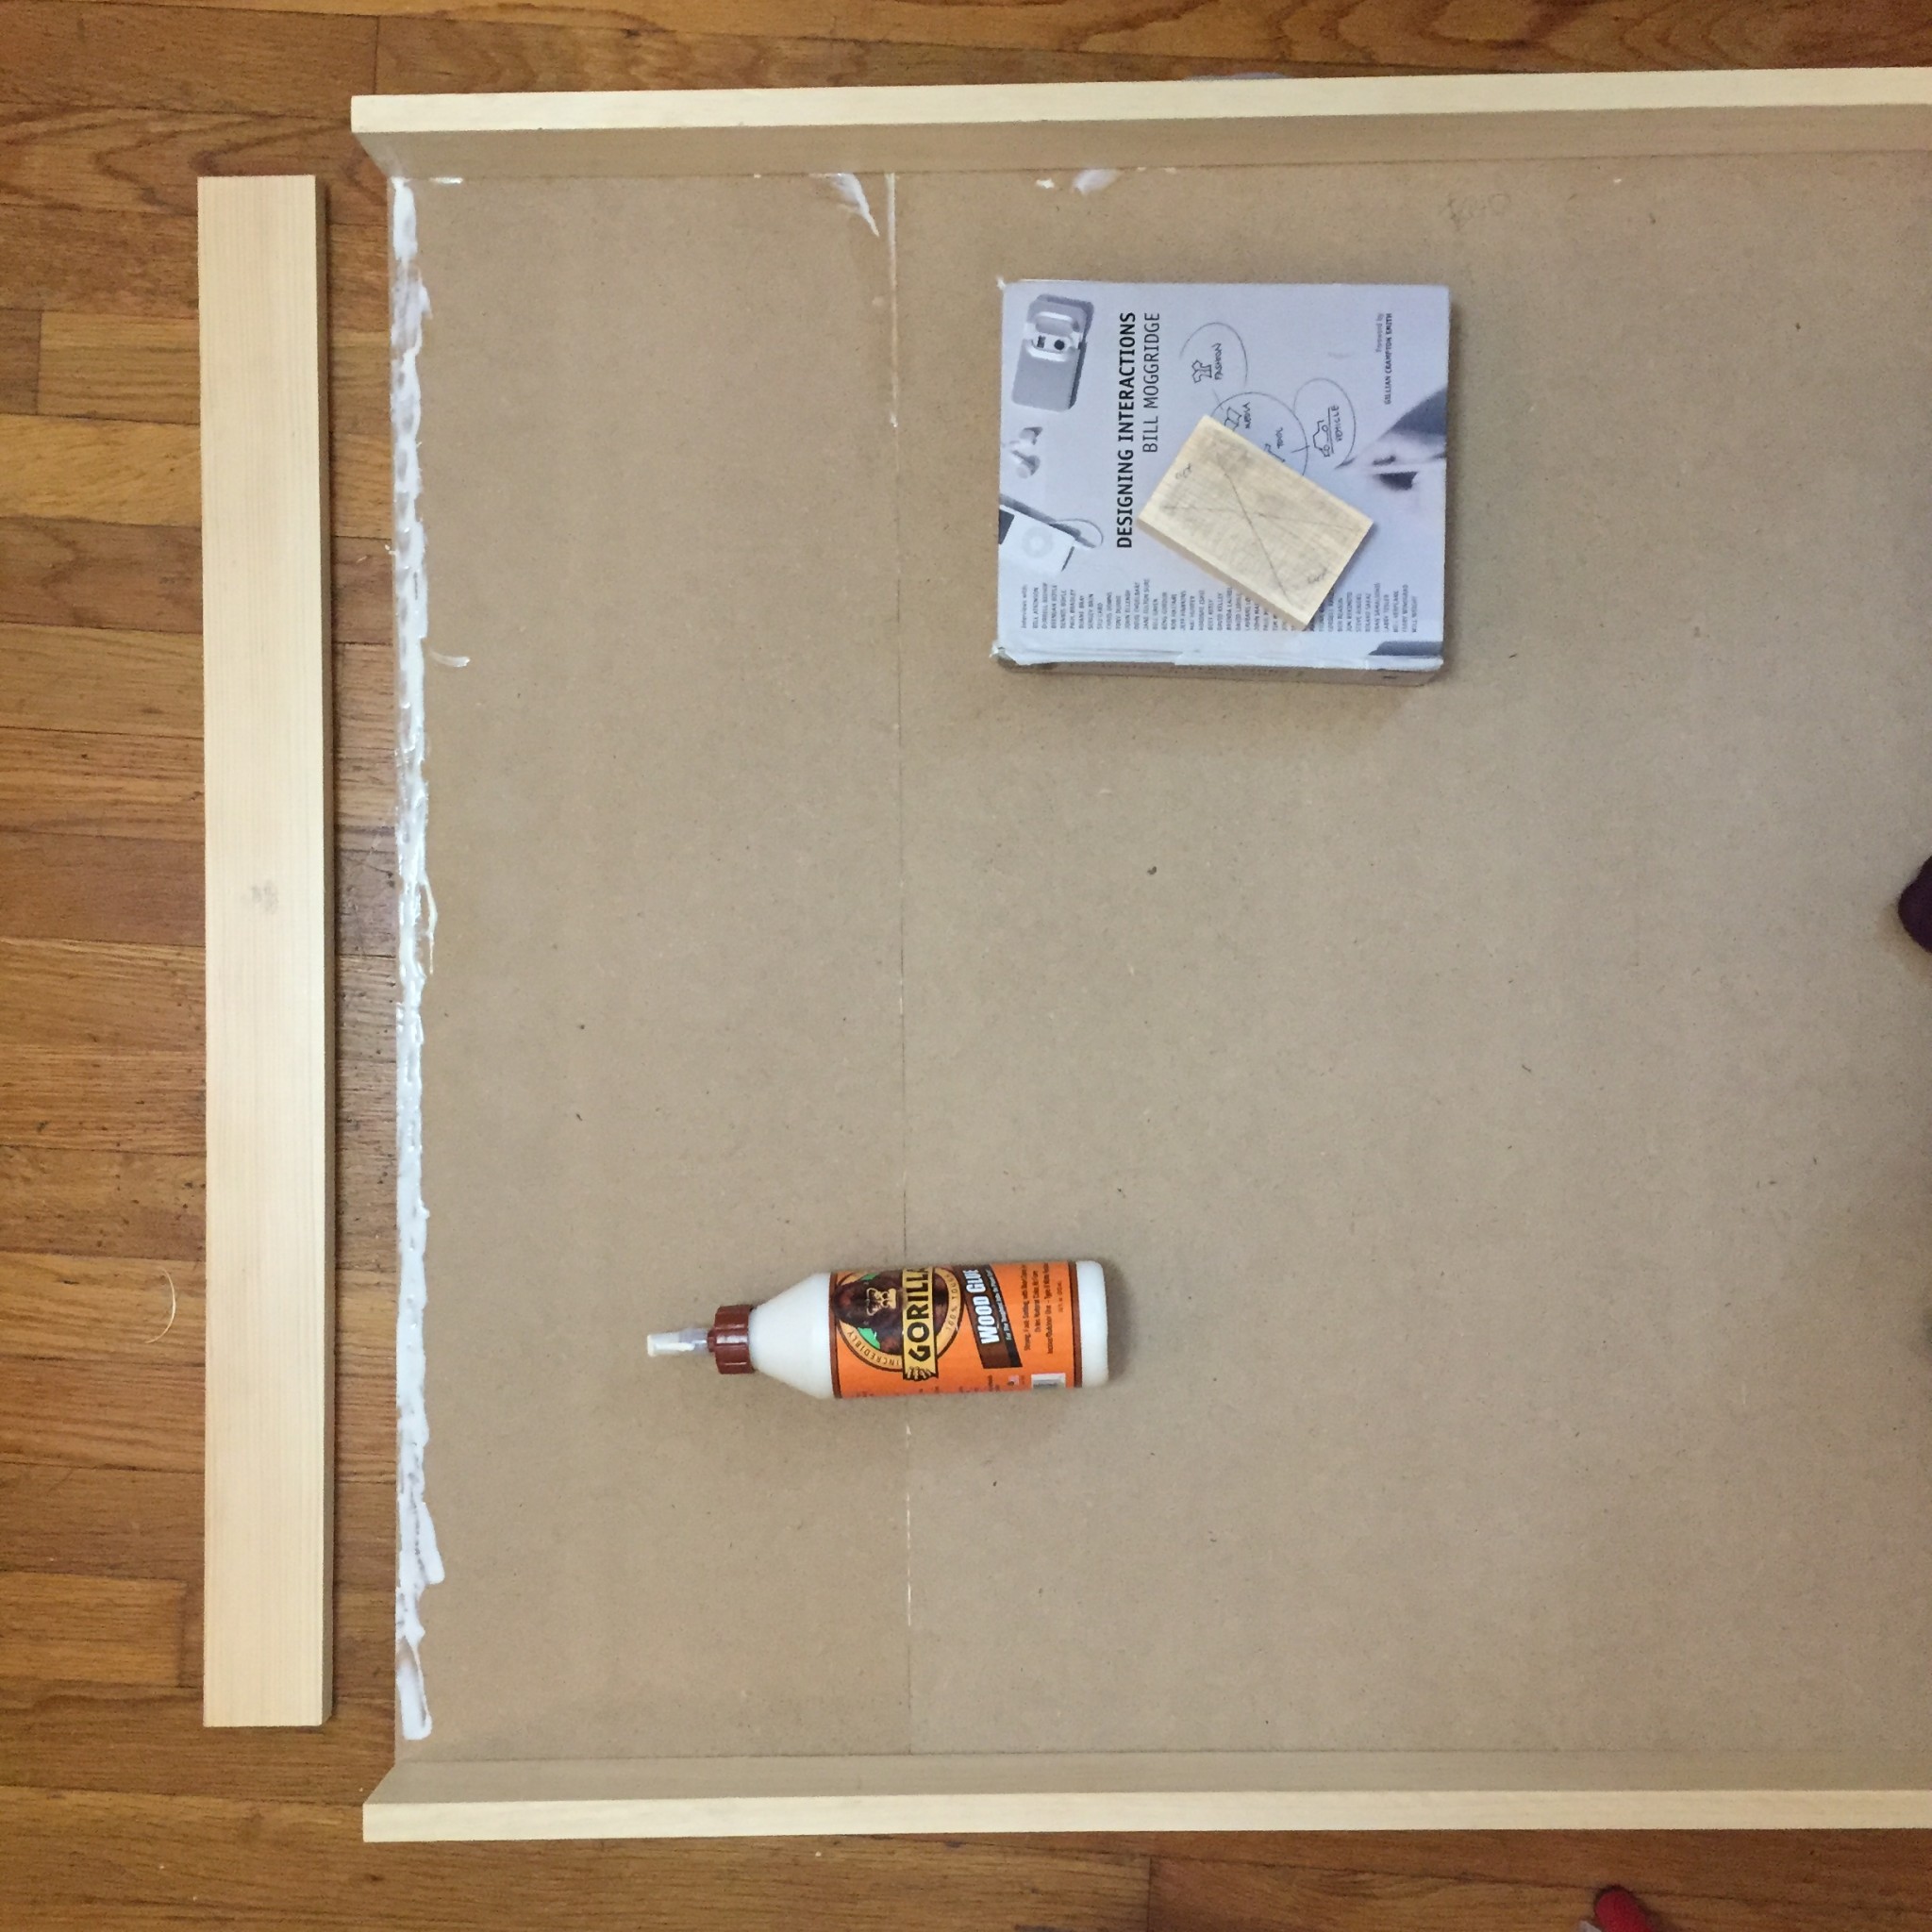
Structure
I brought wood panels to woodshop and cut them into pieces to build the floor and assembled them. Due to kids’ safety, I glued and nailed the pieces together to build a sturdy wood floor.
Soon I finished building the floor, I came up with an idea of making my project better. I don’t need the hard floor anymore. Instead, I could use felt or thick fabric in order to make a flexible play mat. It’s unnecessary to make the floor heavy. lol
Feedbacks from classmates
After playing with thermo-chromic pigments, I found that when it comes to testing hand and eye experience, the responses from faces weren’t immediate when kids touched them. Children are impatient. I have to think about how to keep their attention as much as I can.
Also Elizabeth said it would be unnecessary to use thermo-chromic pigments on my project. So, I started looking for different materials.
Jane, Charles and Wes
We loved your concept and where you were at in terms of progress. Our main comments were on the underbelly of the project, the wiring and mechanics. It looked like you were using copper tape which we had mentioned you need to just double check the wiring with every circuit. The other comment is using material on the bottom of the pad. Maybe carpeting or a foam?
Love the progress so far!
Max – I think your documentation is great. and the concept behind it is strong. and the aesthetic of the project is great. The only thing i would recommend you do is to keep your presentation short and sweet.
These are the feedbacks I got in class. Their feedbacks were all sweet and supportive. I focused on possible issue with making the circuit that will be set up under the top layer. I took an action to make the circuit to see how reliable the connectivity and sturdiness of circuit are. Also, I prepared foam layer so as to insert a cushion between the top and bottom layers for kid’s safety.
I contemplated in terms of audio, how to make the voice more relevant to the context where kids will be asked as well as who will be the users helping kids to talk. As I name my work emotional vocabulary play mat, this could play a role of therapeutic tool that assists to arouse their emotions they feel through the day and let children share their feelings with parents, therapists, and teachers.