Author Archives: Jane McDonough

Memory Capsule (Week 8)

For my memory project, I created a rectangular prism that represents both the act of remembering as well as the subconscious process of forgetting or fading memories.


IMG_0011


Background:

Much of our current understanding of memory looks to the chemical or material processes and physical structures that make up what we think of as the abstract concept of a “memory”. Memories are very real, very material things – they are believed to be a series of connections between synapses that are strengthened and weakened over time based on how frequently these memories are accessed, or rather how often chemical neurotransmitters and electrical currents transmit across a unique pattern of synapses.

Synaptic plasticity allows for us to strengthen memories through the use and reuse of synapsis as learning continues, previous thoughts and concepts are associated with new ideas, and the past is remembered. This strengthening has a material basis, with proteins being built or modified to increase connection strength between synapses. In the case of memories, the old idea of “if you don’t use it, you lose it” is believed to be true: If a memory is not frequently attended to, strengthened, or associated with the present, it weakens. The mind has a finite amount of resources, and maintaining an infinite amount of information – treating the most mundane details of our lives as equally important as the moments that we most treasure – would be inefficient and exhausting. Thus, we “delete” old or unnecessary memories from our brain, giving priority to those thoughts and ideas to which we refer to most.

This is a brief overview of the idea behind my project – that there is an ephemeral, material component to memory, and this “memory-matter” degrades over time as we fail to attend to it.
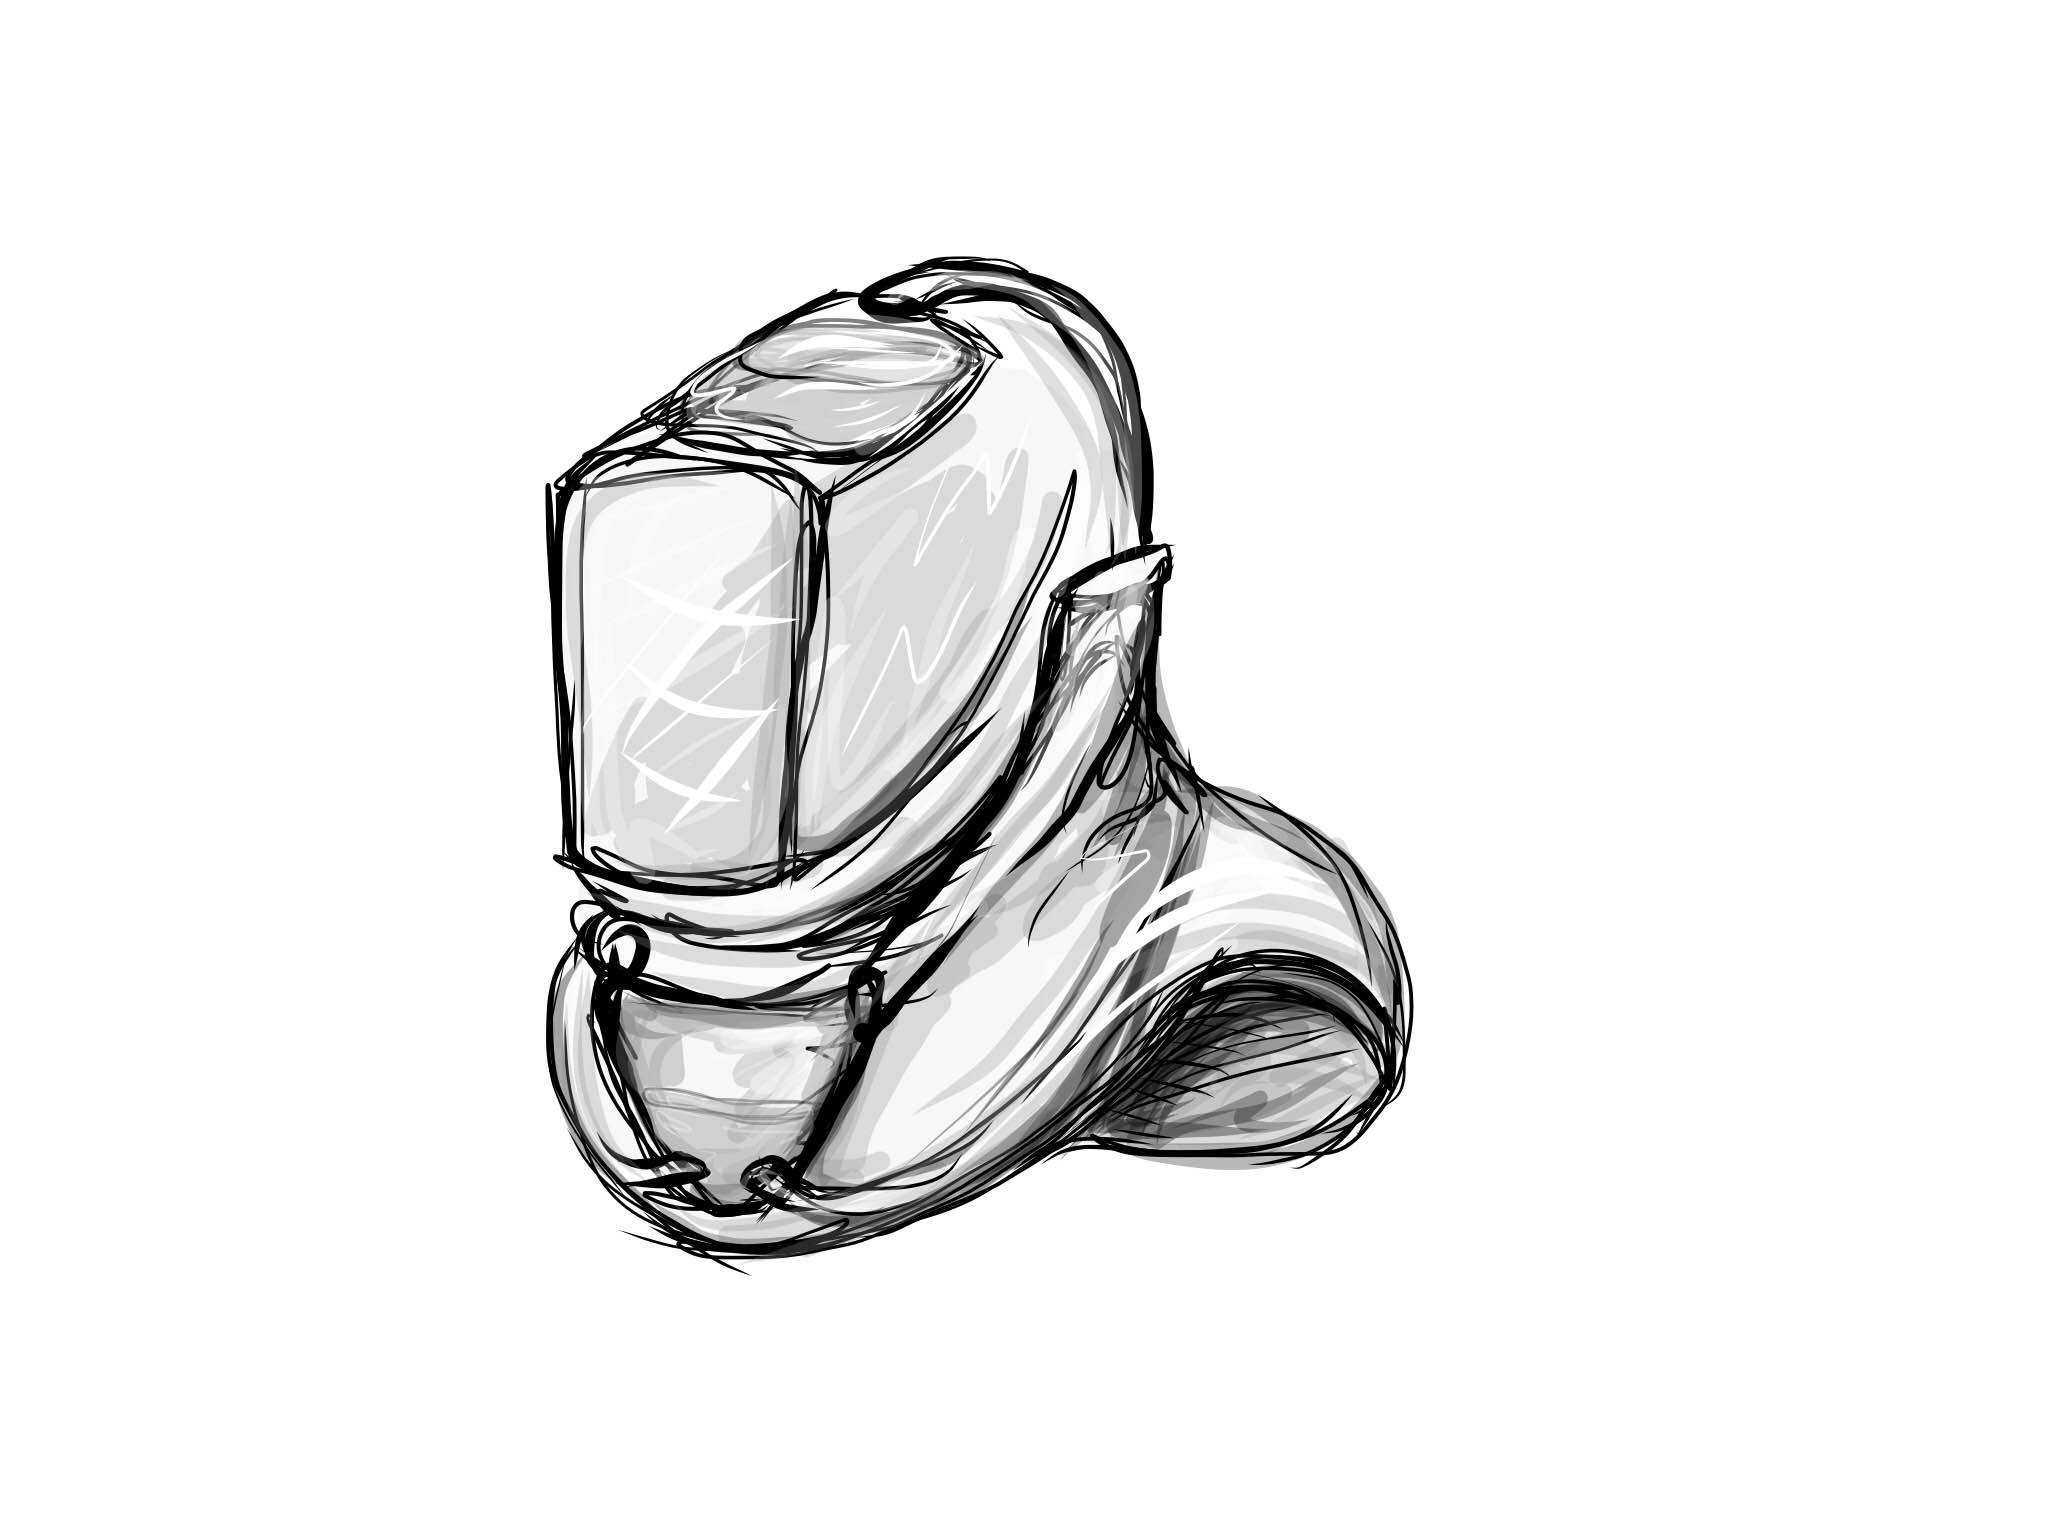
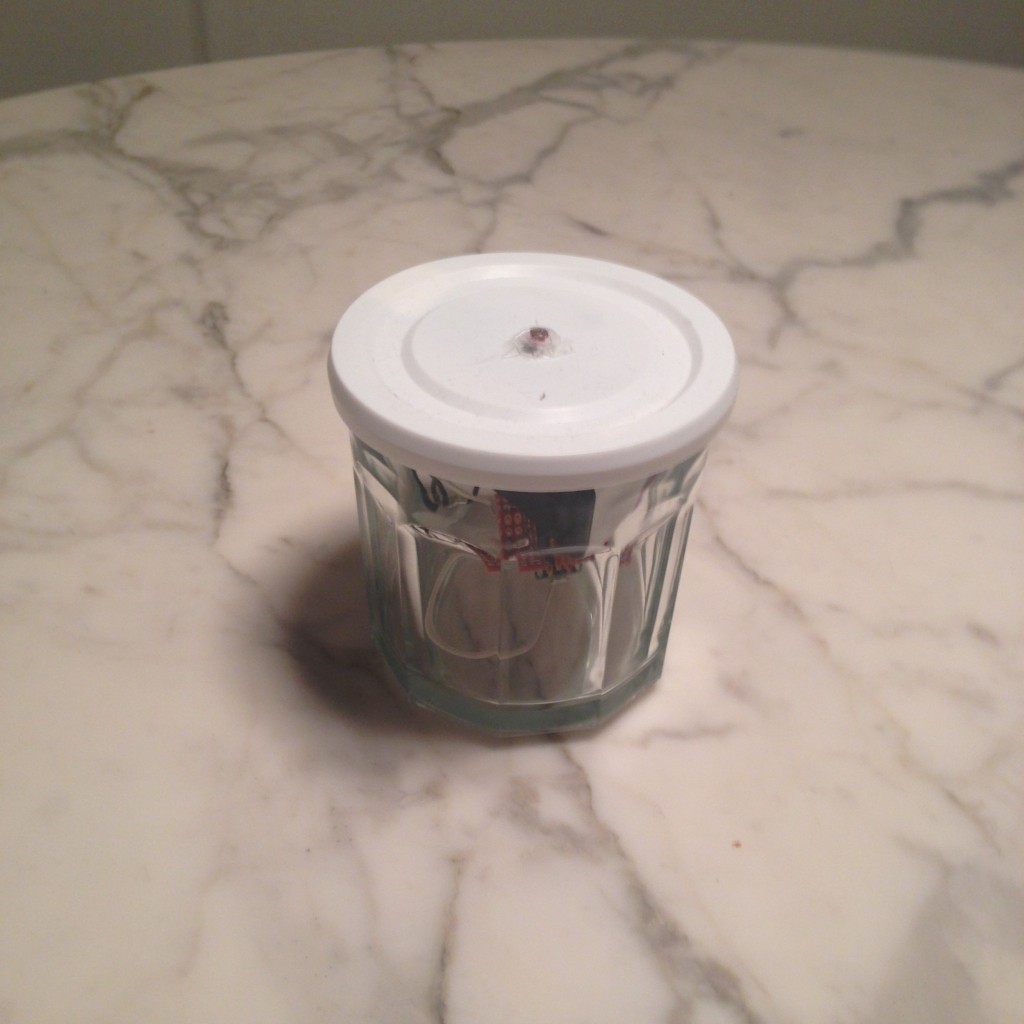
The Prism:

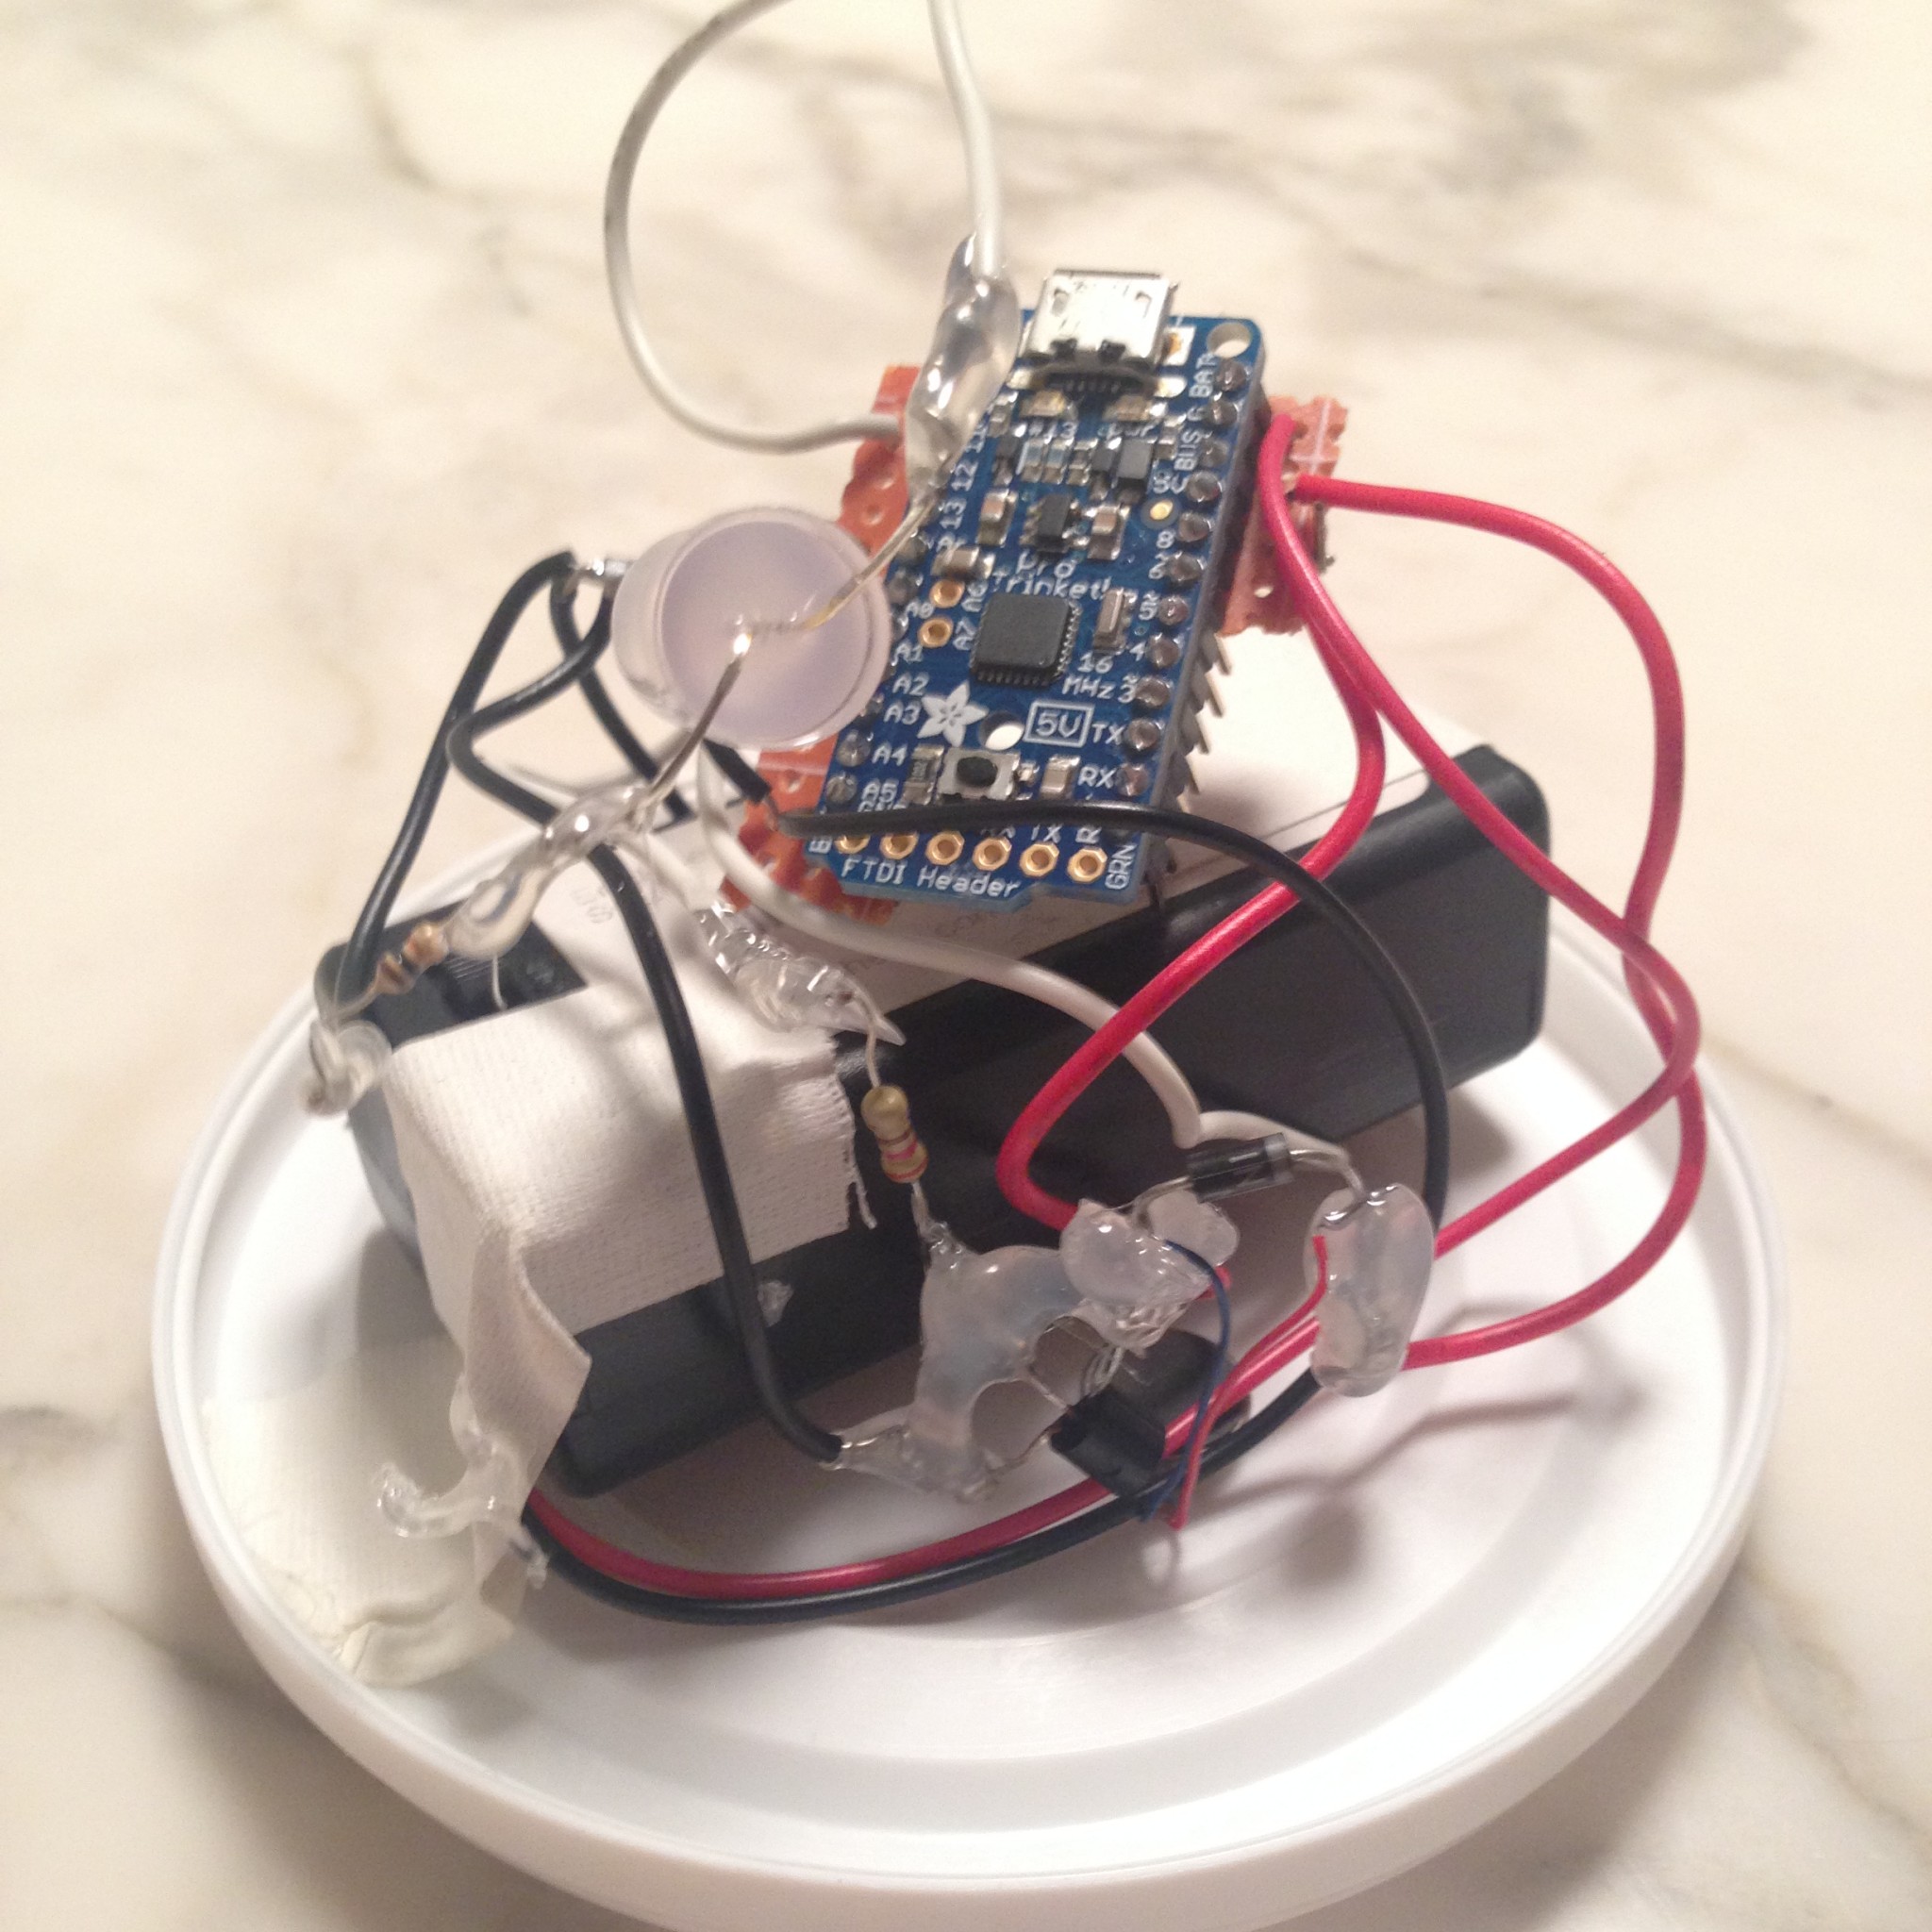
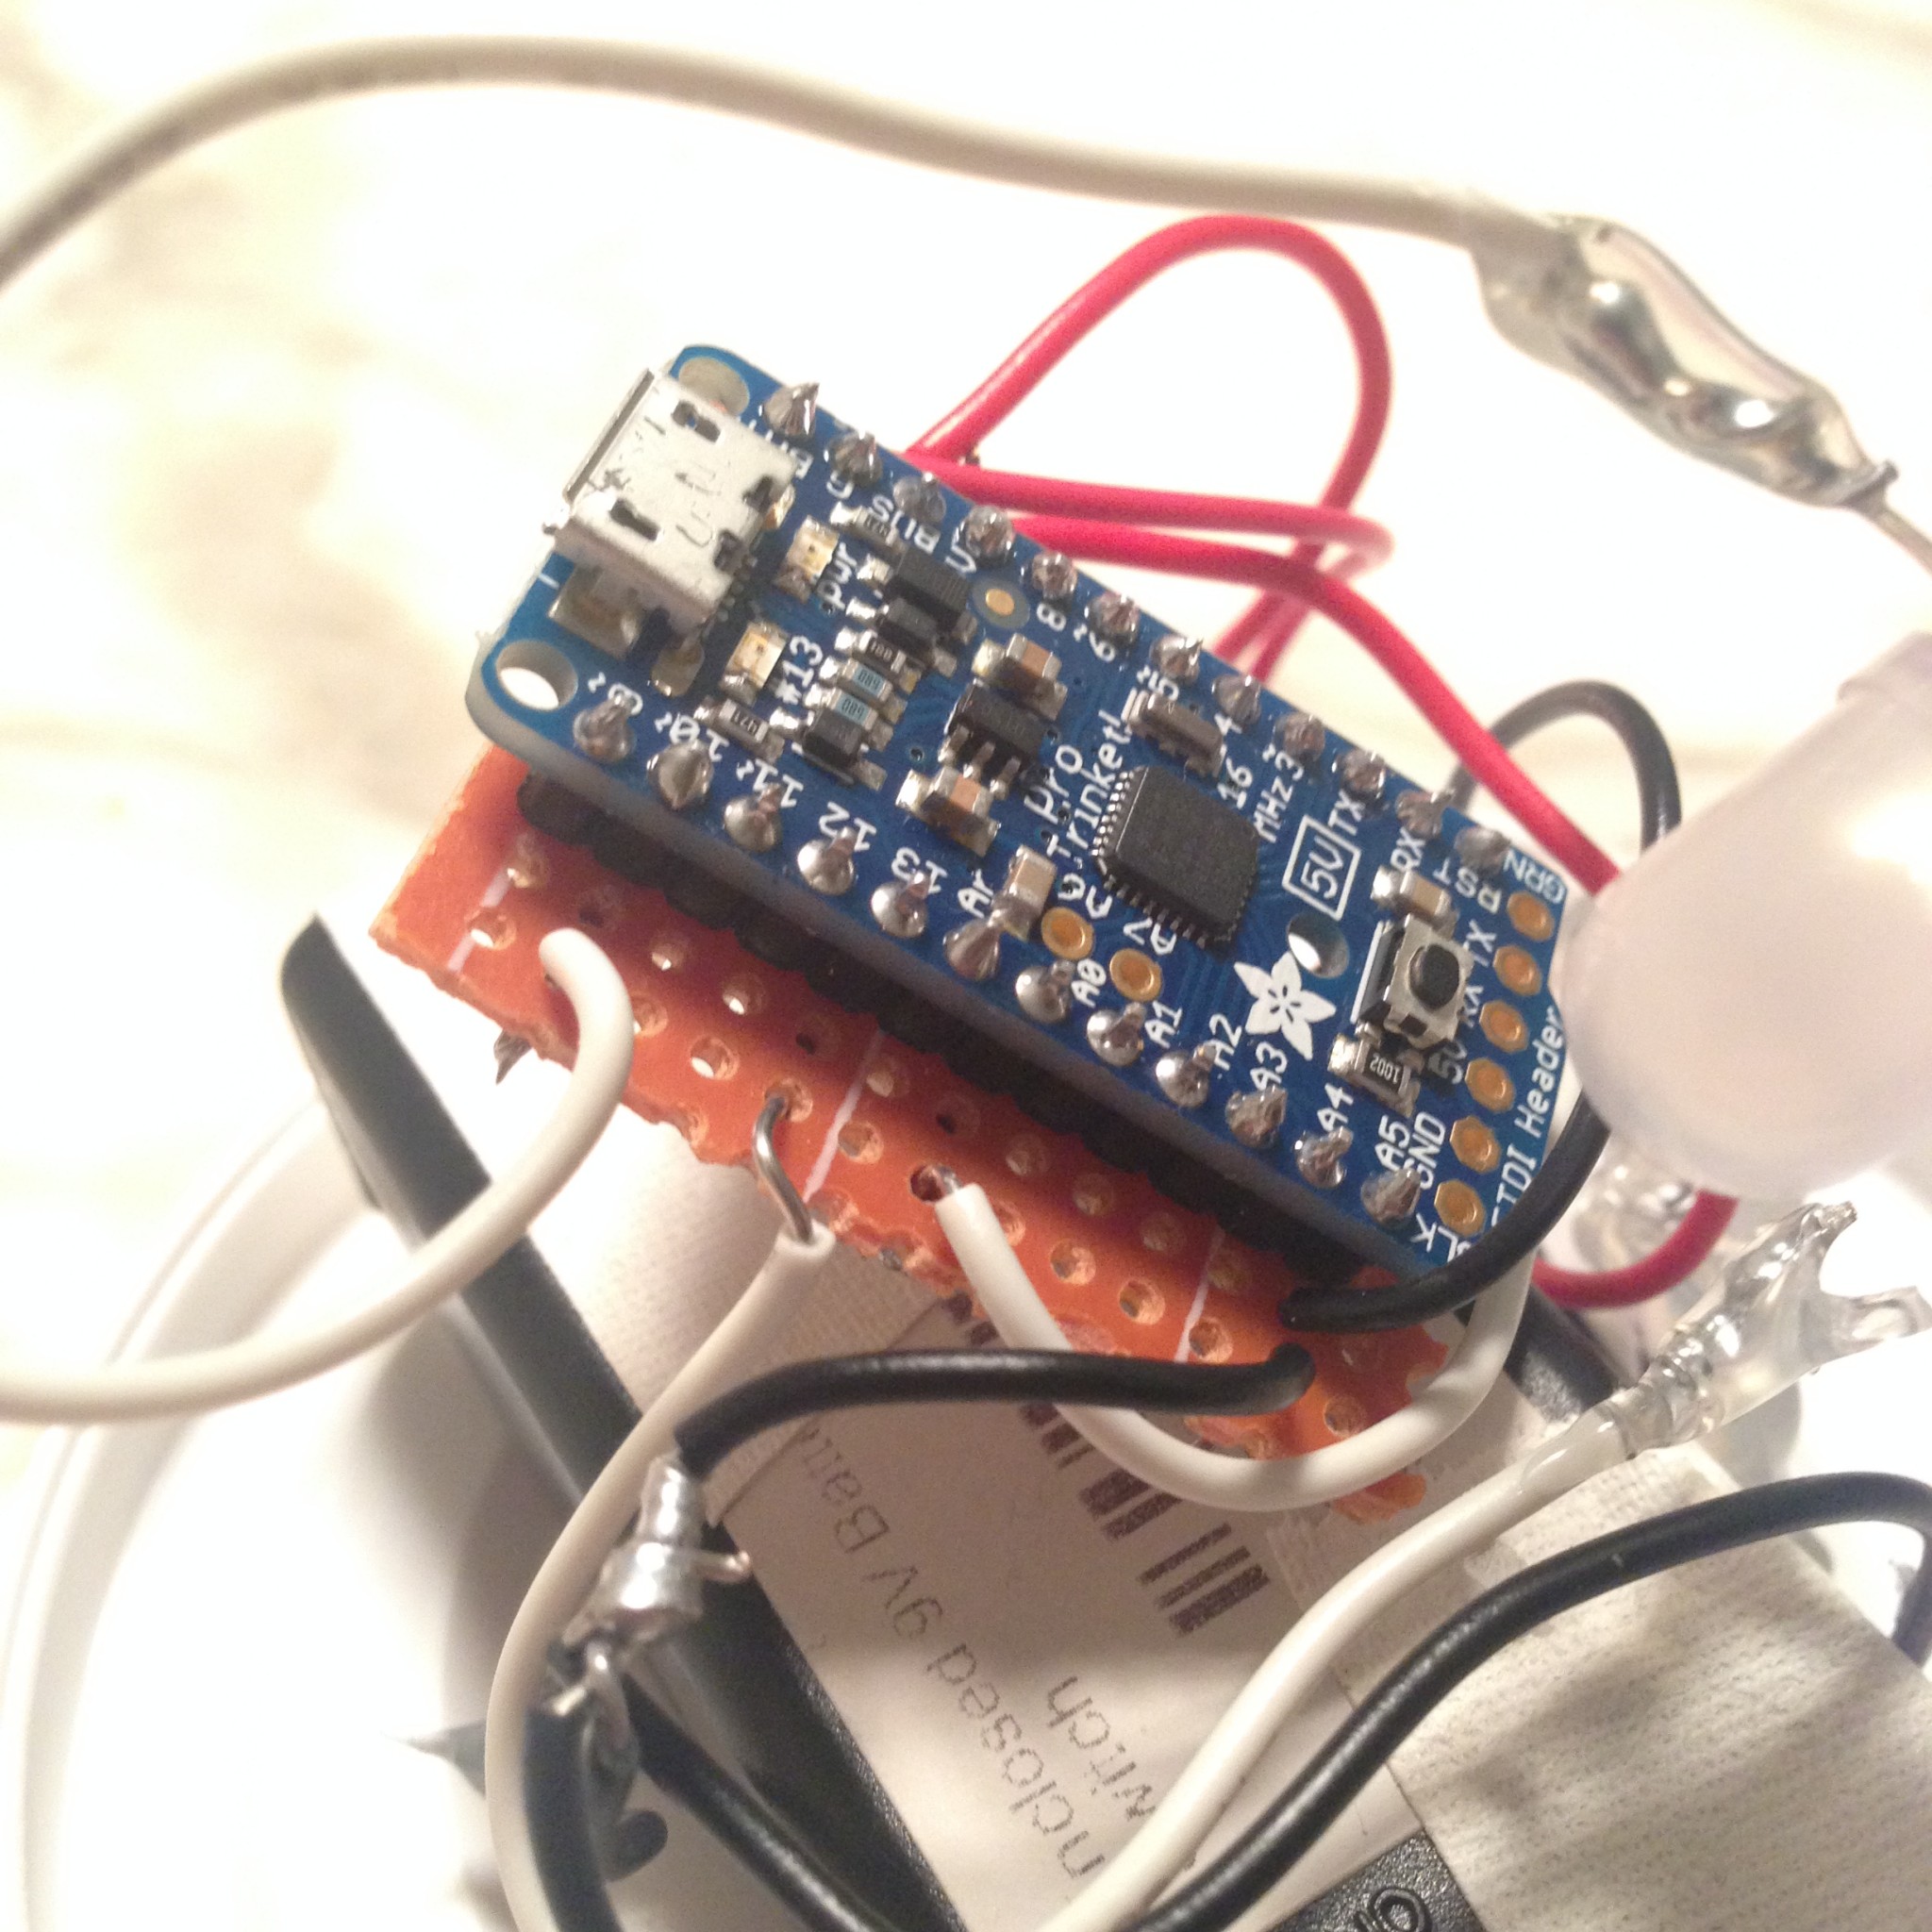
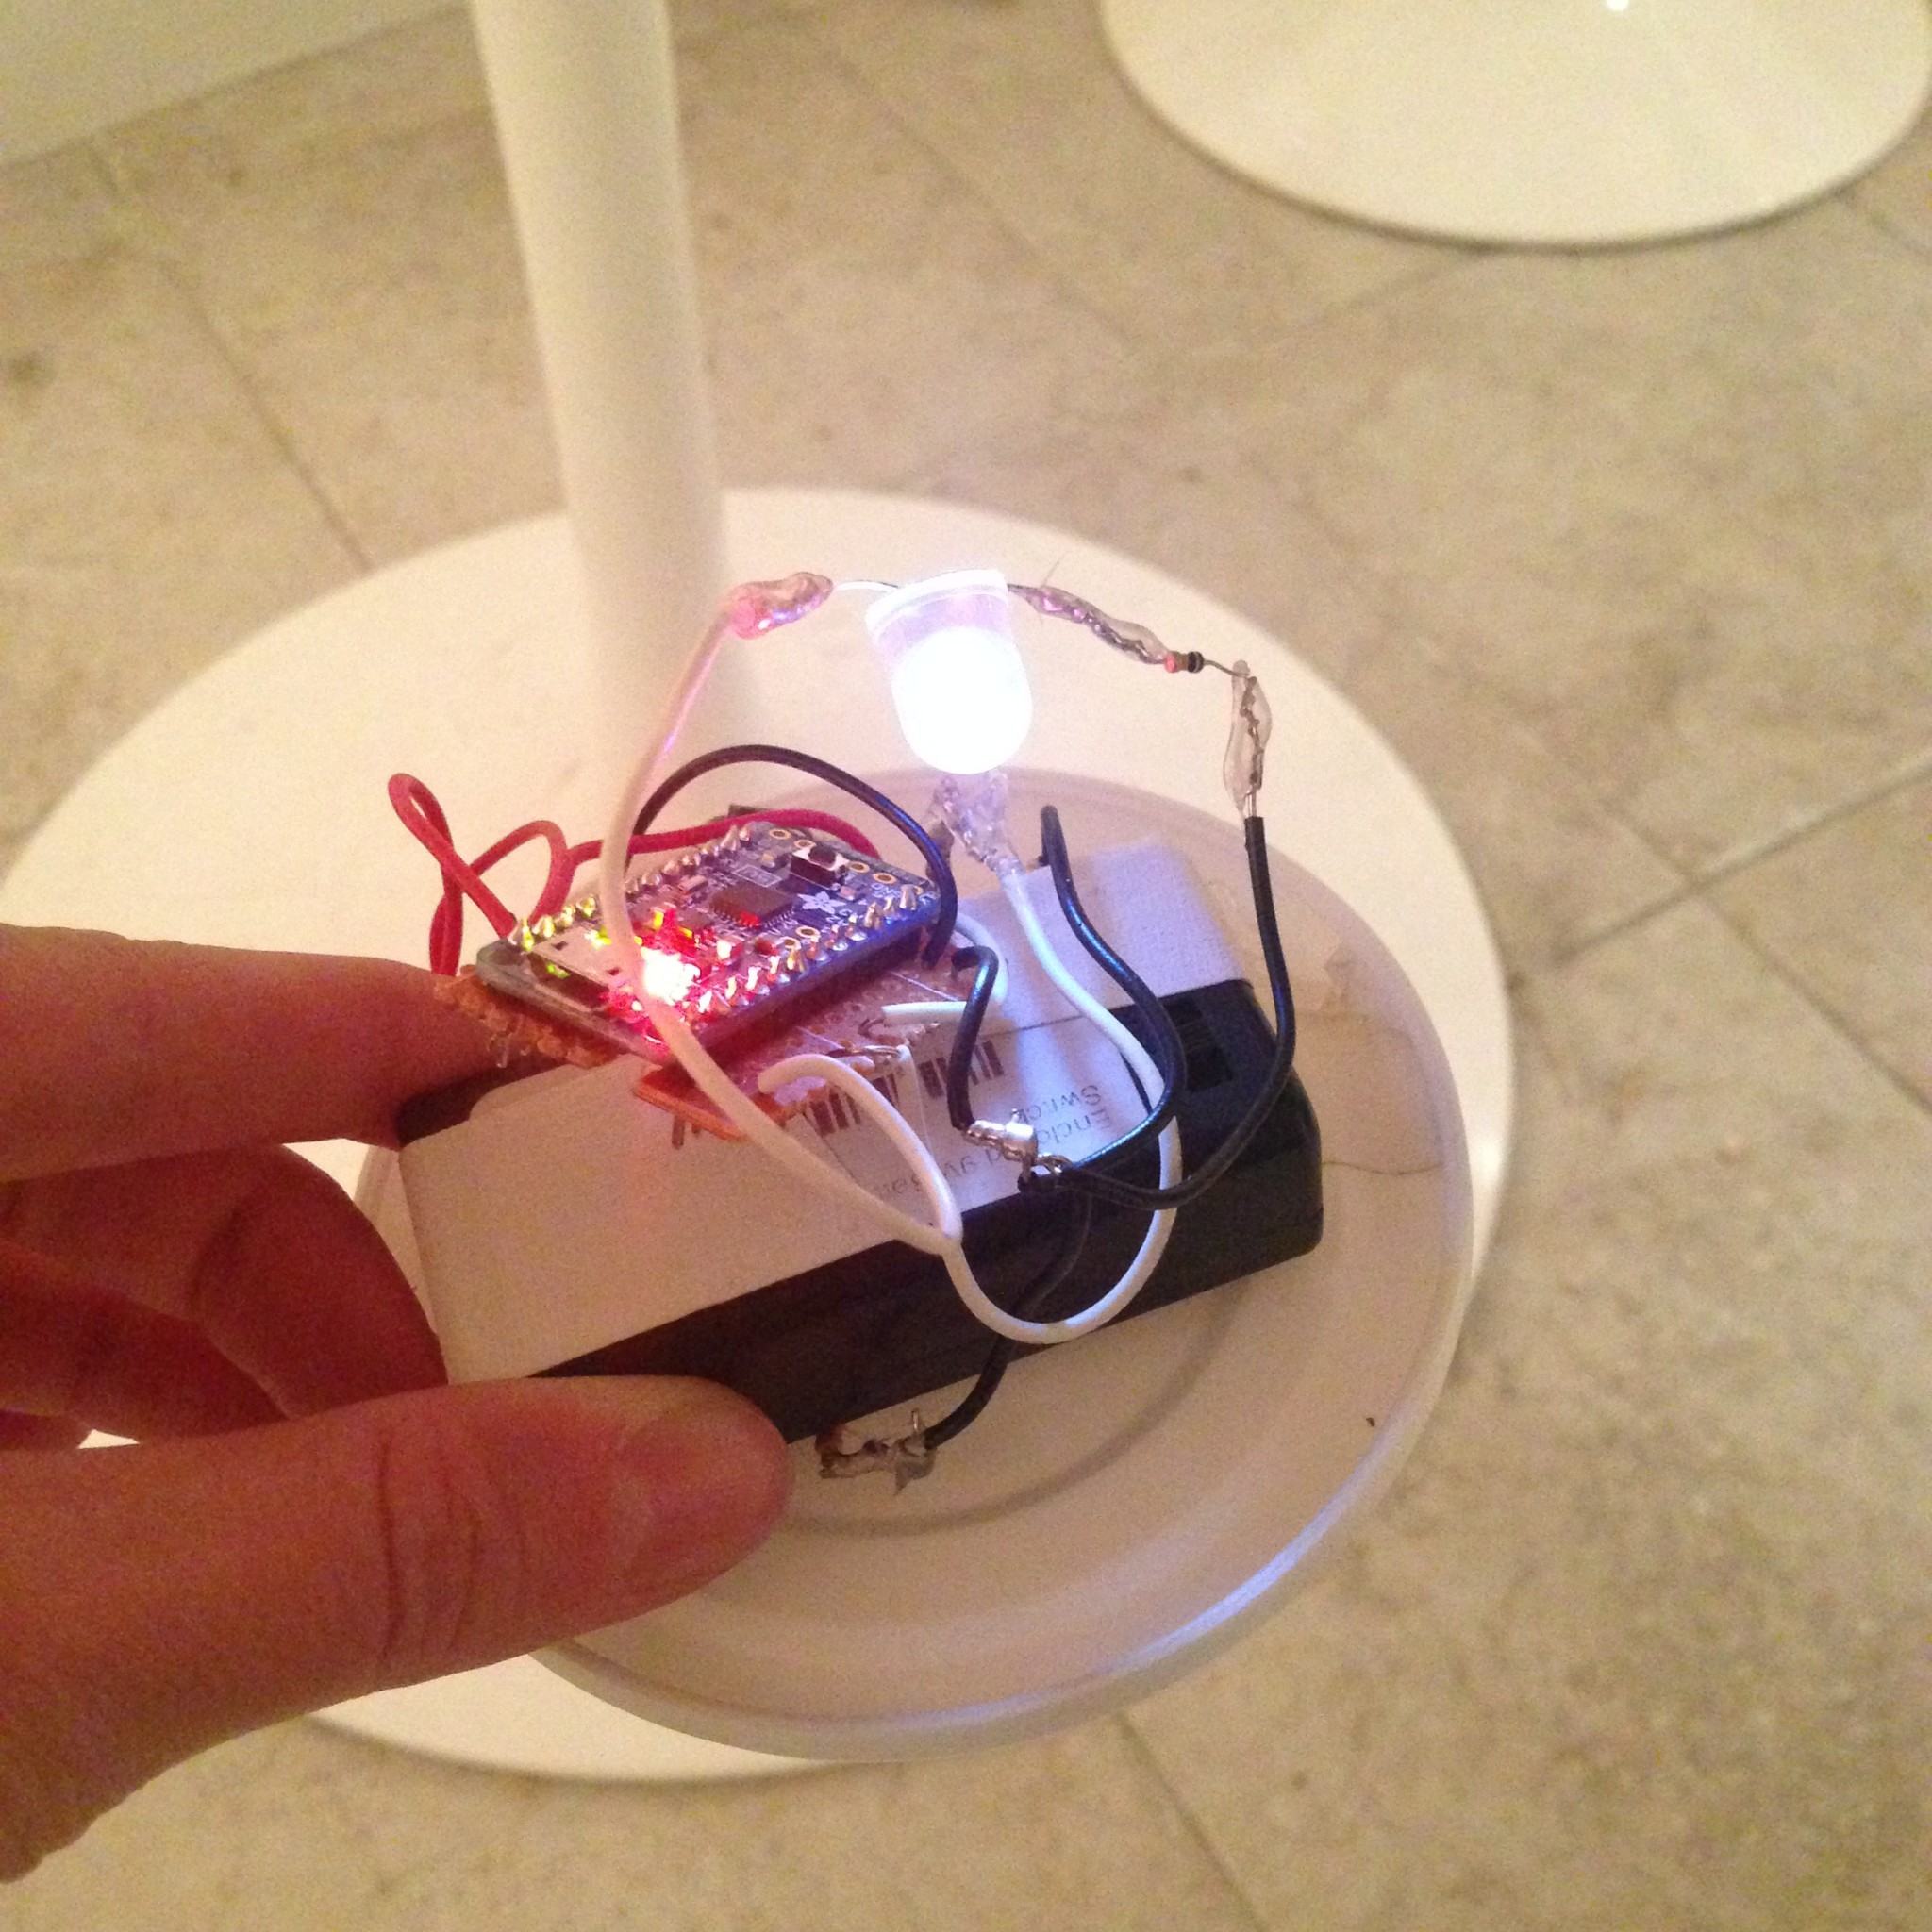
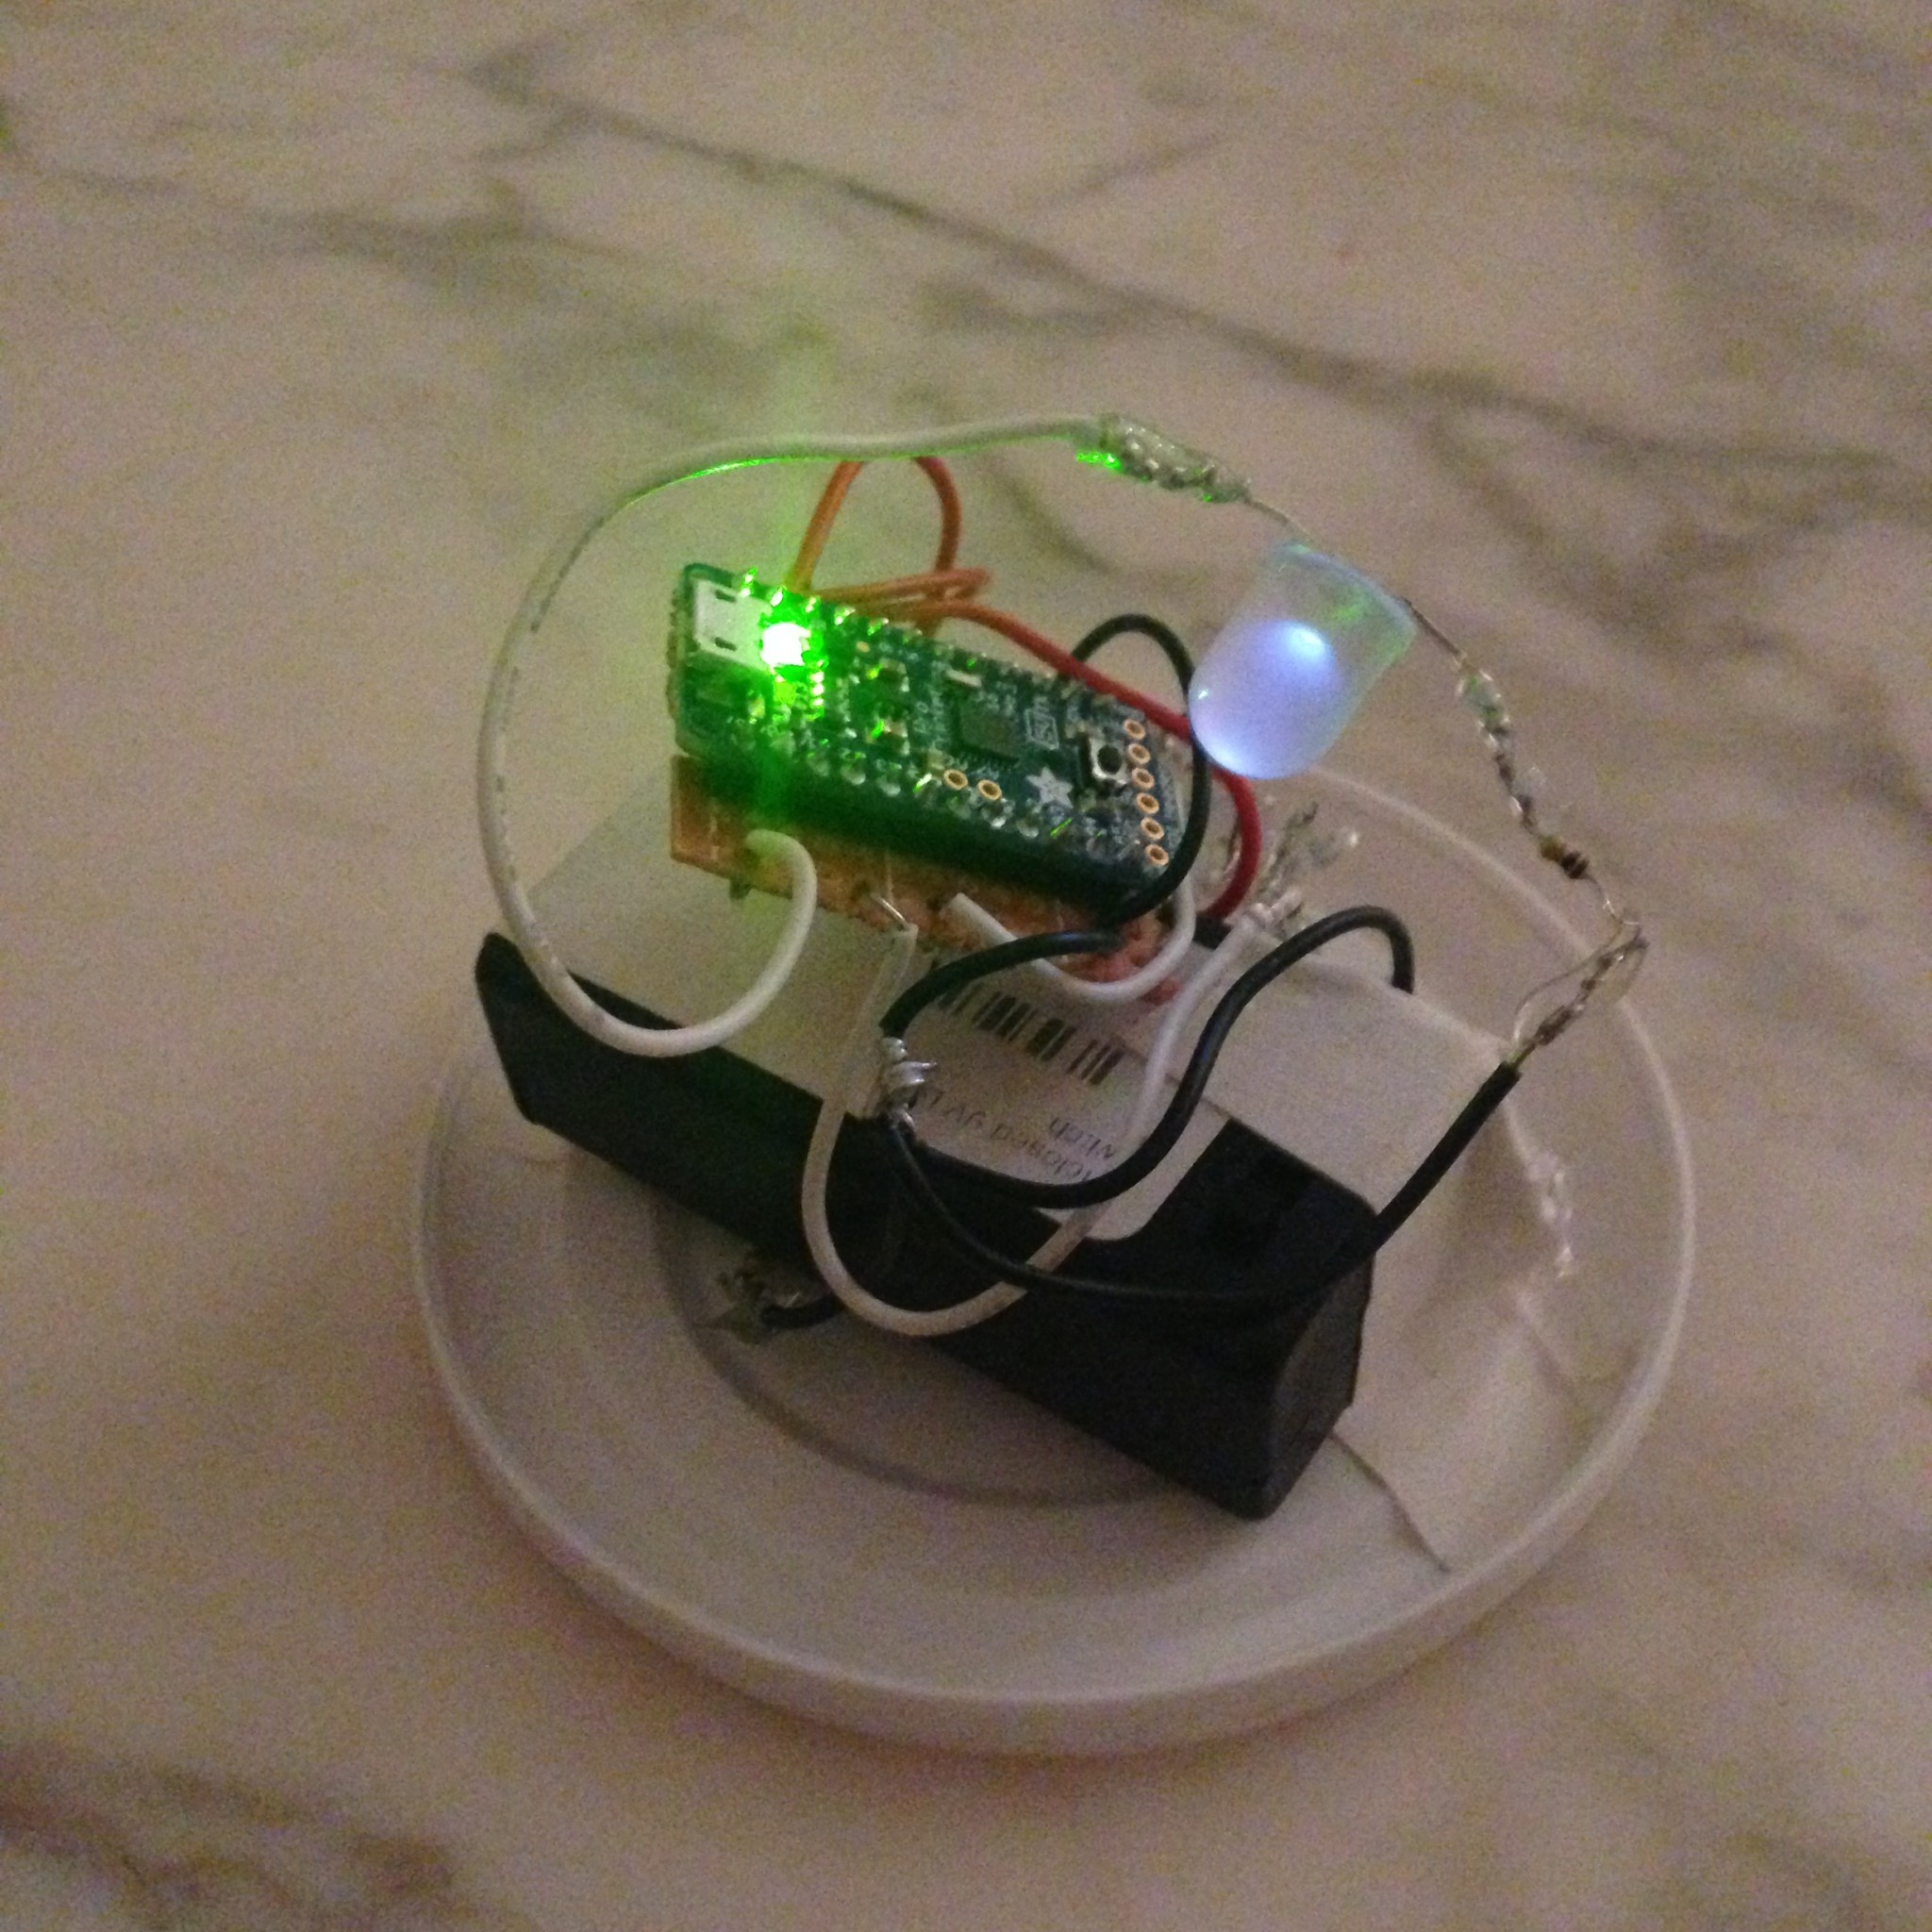
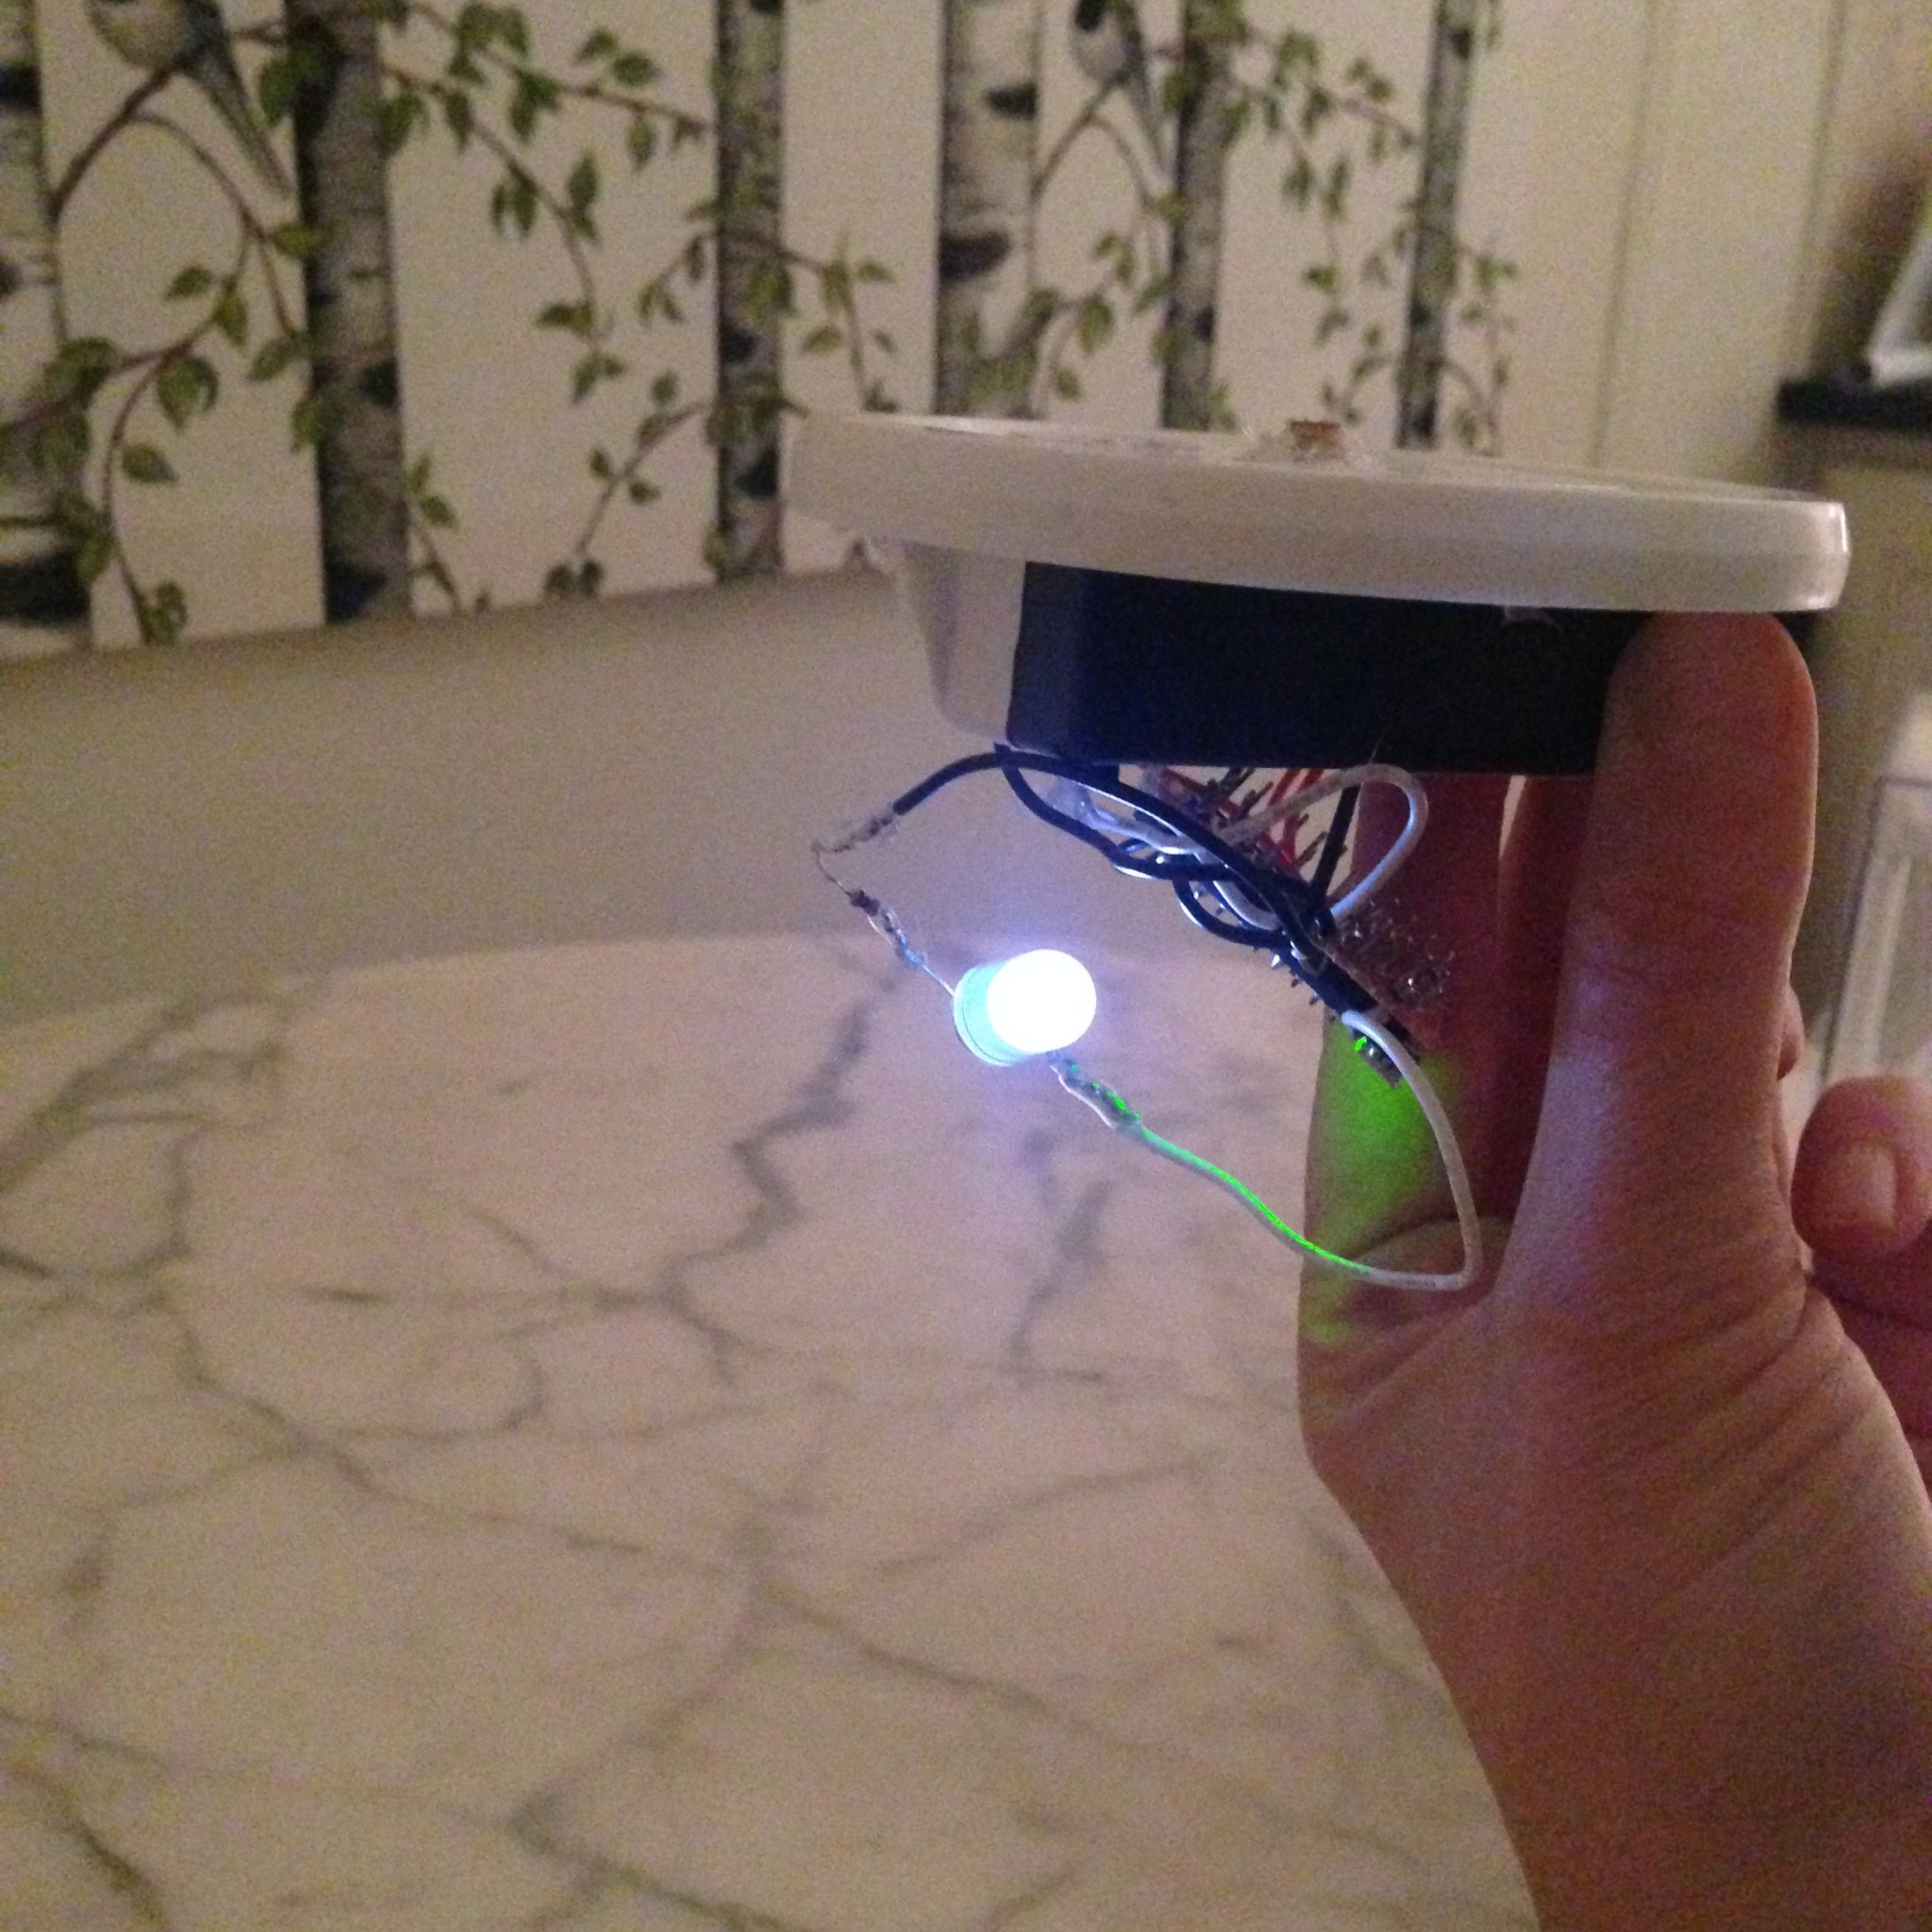
The prism consists of a clear plexiglass container containing a glass jar, woven heating elements, a button, and a thin block of solid coconut oil. The heating elements are constantly being powered by a battery inside the container, warming the solidified coconut oil and causing it to melt and be collected by the funnel into the glass jar below. However, when the button is pressed by the user, the heating elements are turned off, and an LED within the container’s funnel begins to pulse. When the user releases the button, the heating resumes.

This circuit and user interaction is meant to mimic the process of attending to the synaptic connections that form our memories. So long as we continue to remember specific details, those details cannot be forgotten. And so long as we continue to push the button, the oil cannot melt.

Materials:

for the circuit

  • LED
  • TIP122
  • 100k ohm resistor
  • 100 ohm resistor
  • button
  • 9V battery
  • Nitinol/high resistance wire (tested multiple materials, and nitinol/muscle wire works best)
  • Arduino Uno
  • Alligator clips
  • wire / conductive thread
  • Breadboard
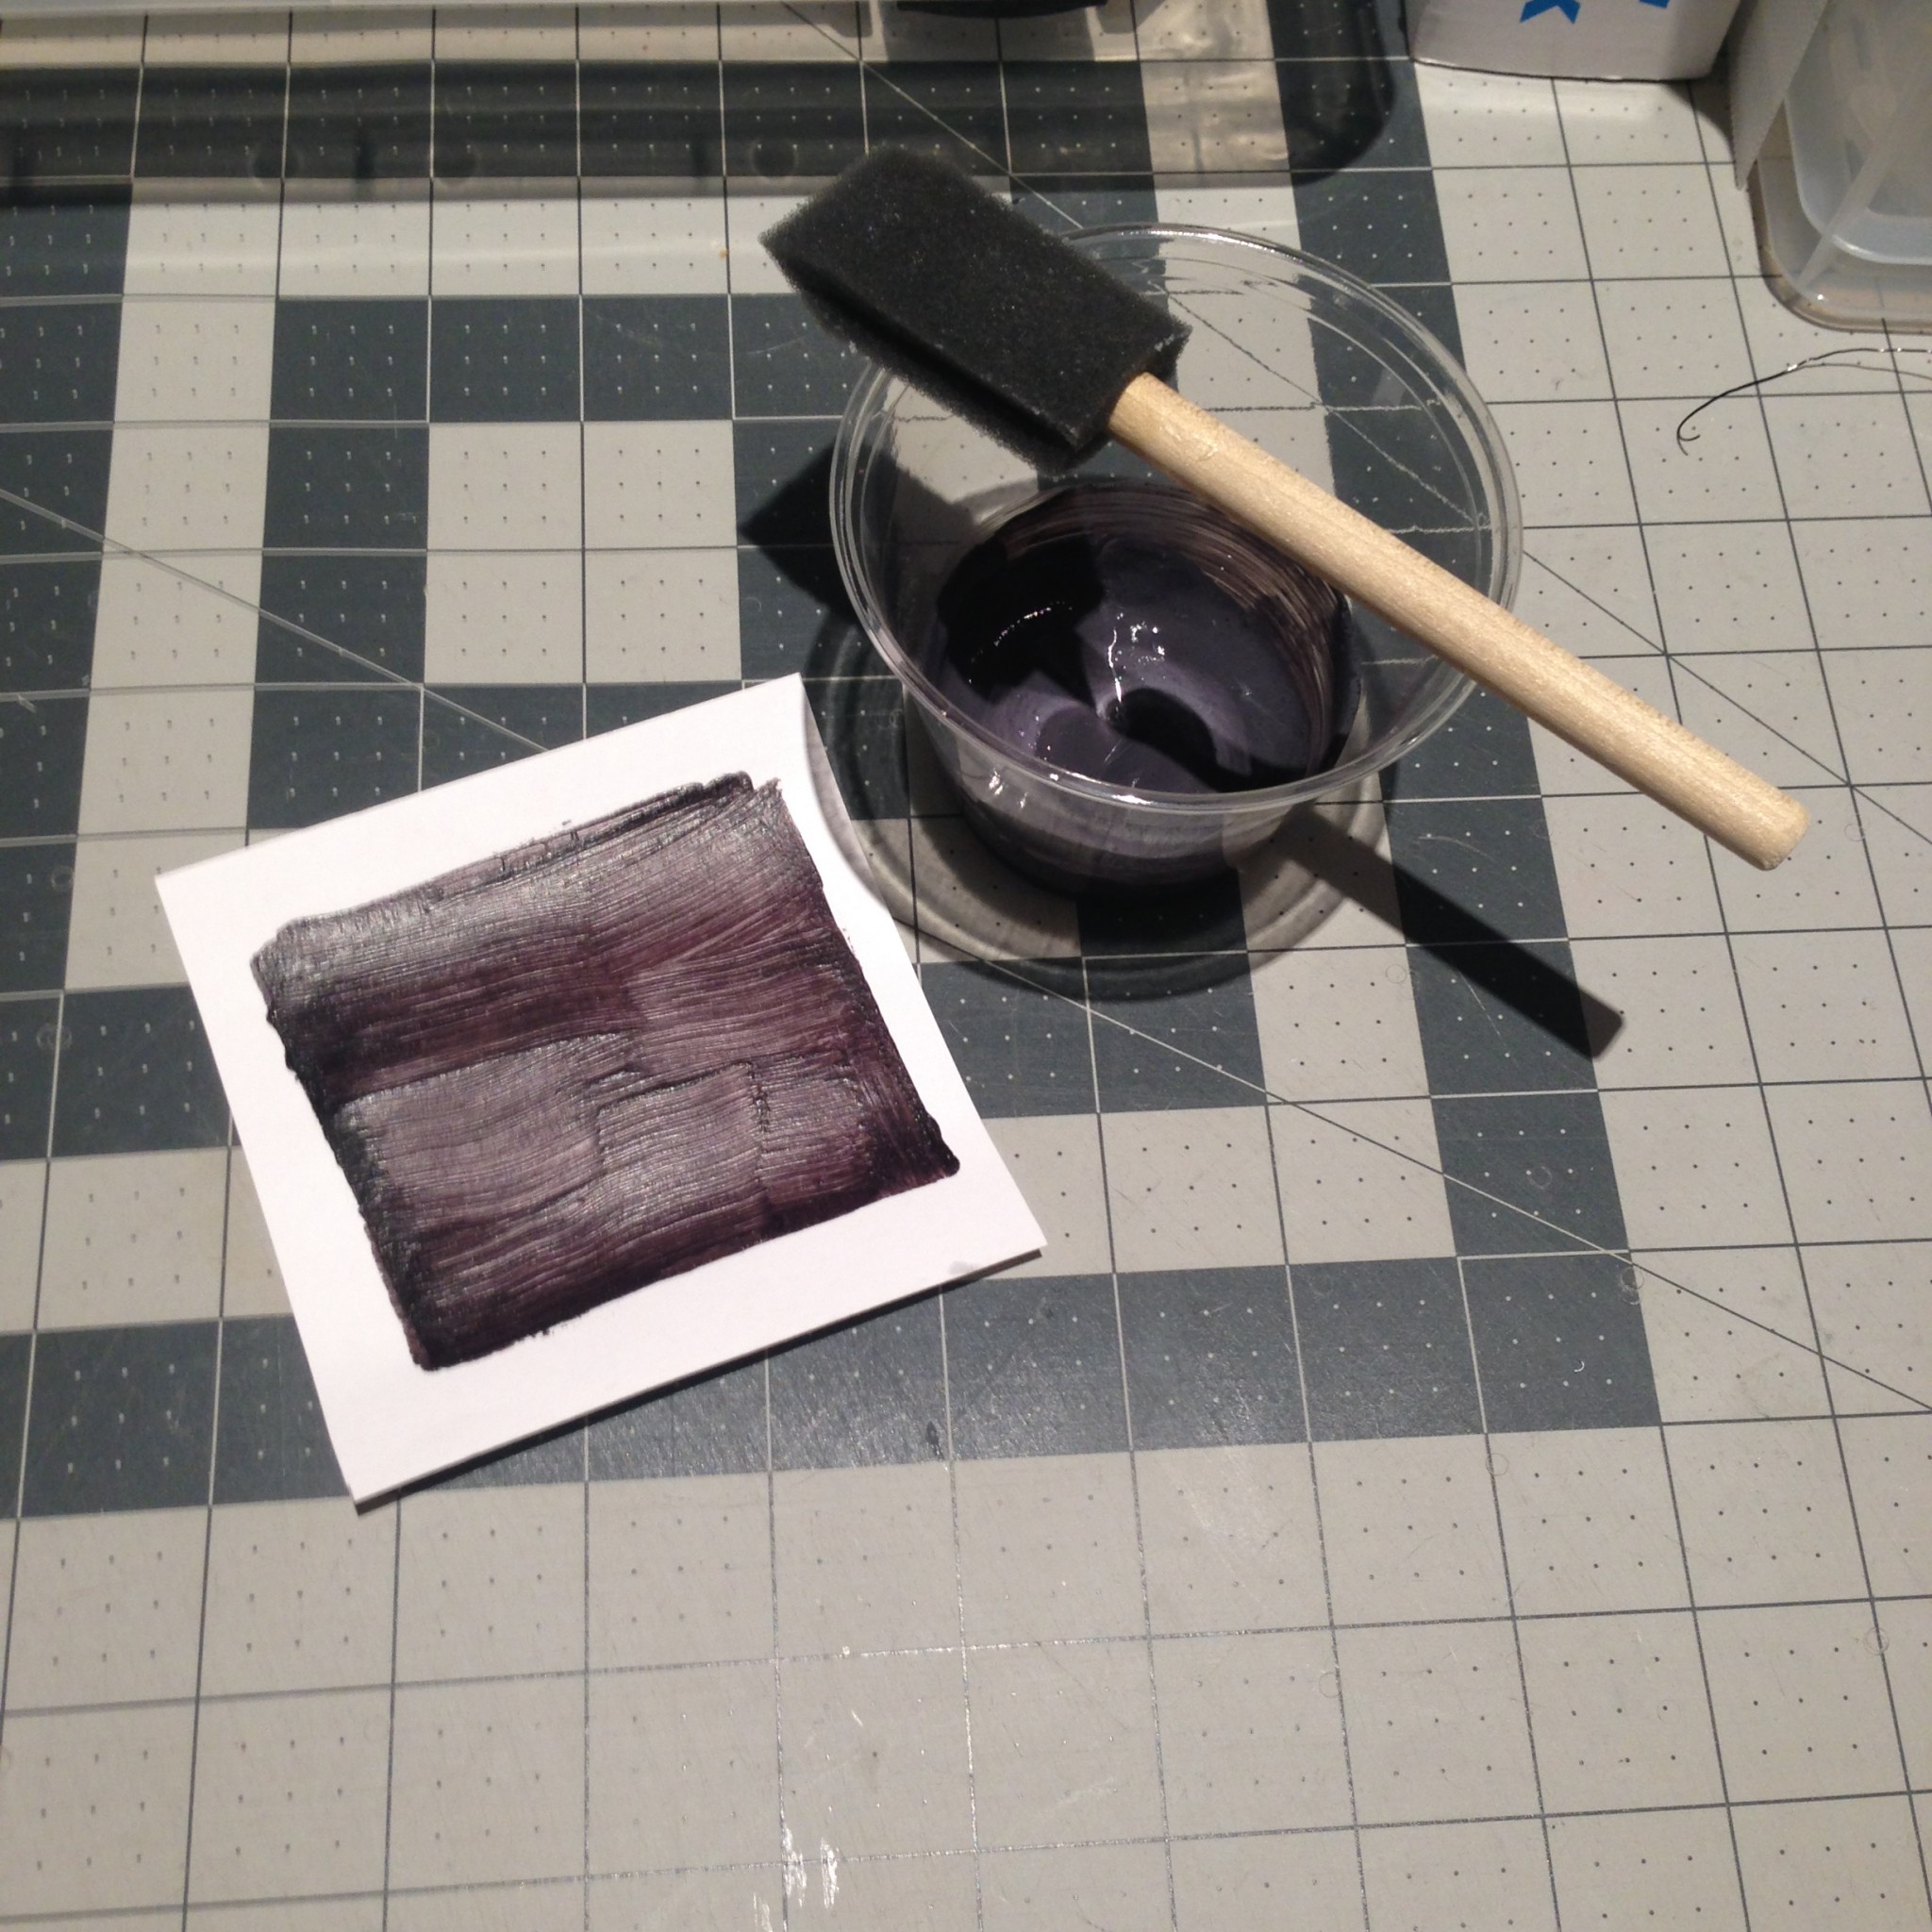
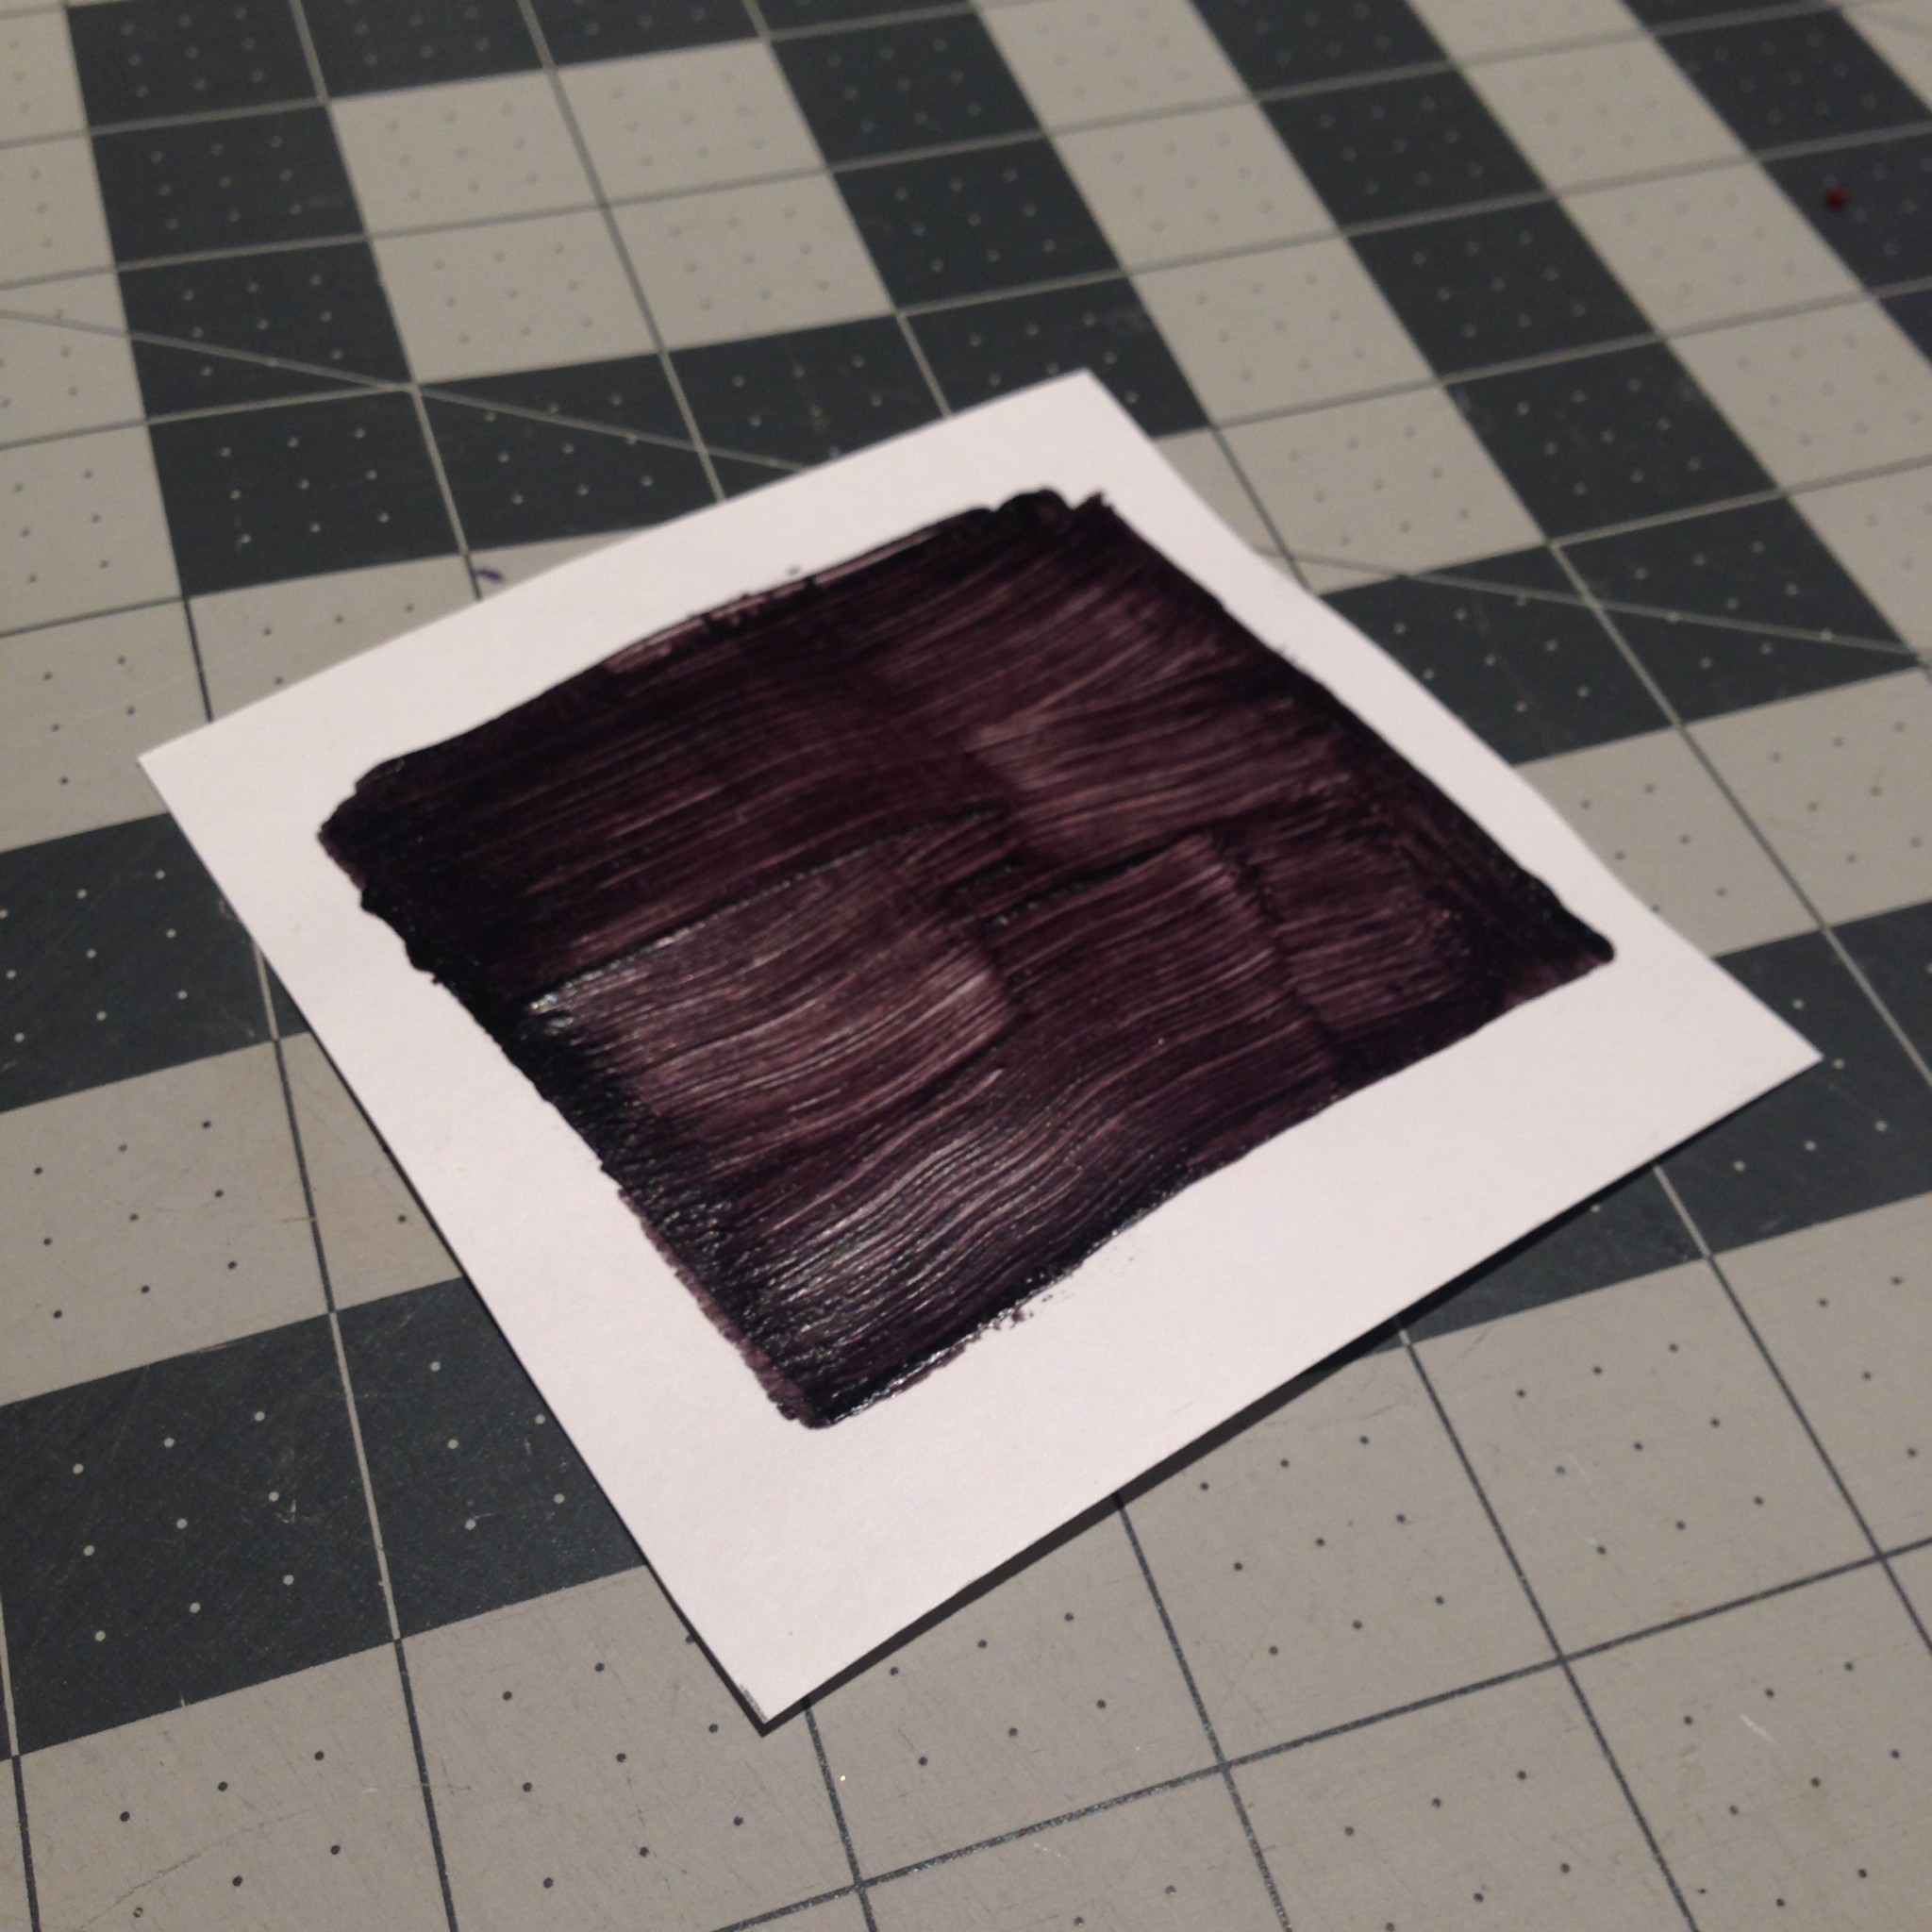
  • Thermochromic paint/pigment + paper (for swatch to test heating elements)

for the container

  • 4″x4″x6″ clear plexiglass cannister
  • 6oz. glass jar
  • Perforated plastic / needlepoint plastic sheet (to sew heating elements into)
  • Small plastic funnel
  • Coconut oil (room temperature or refrigerated to make solid)
  • Plastic dowels/straws (to keep things in place)
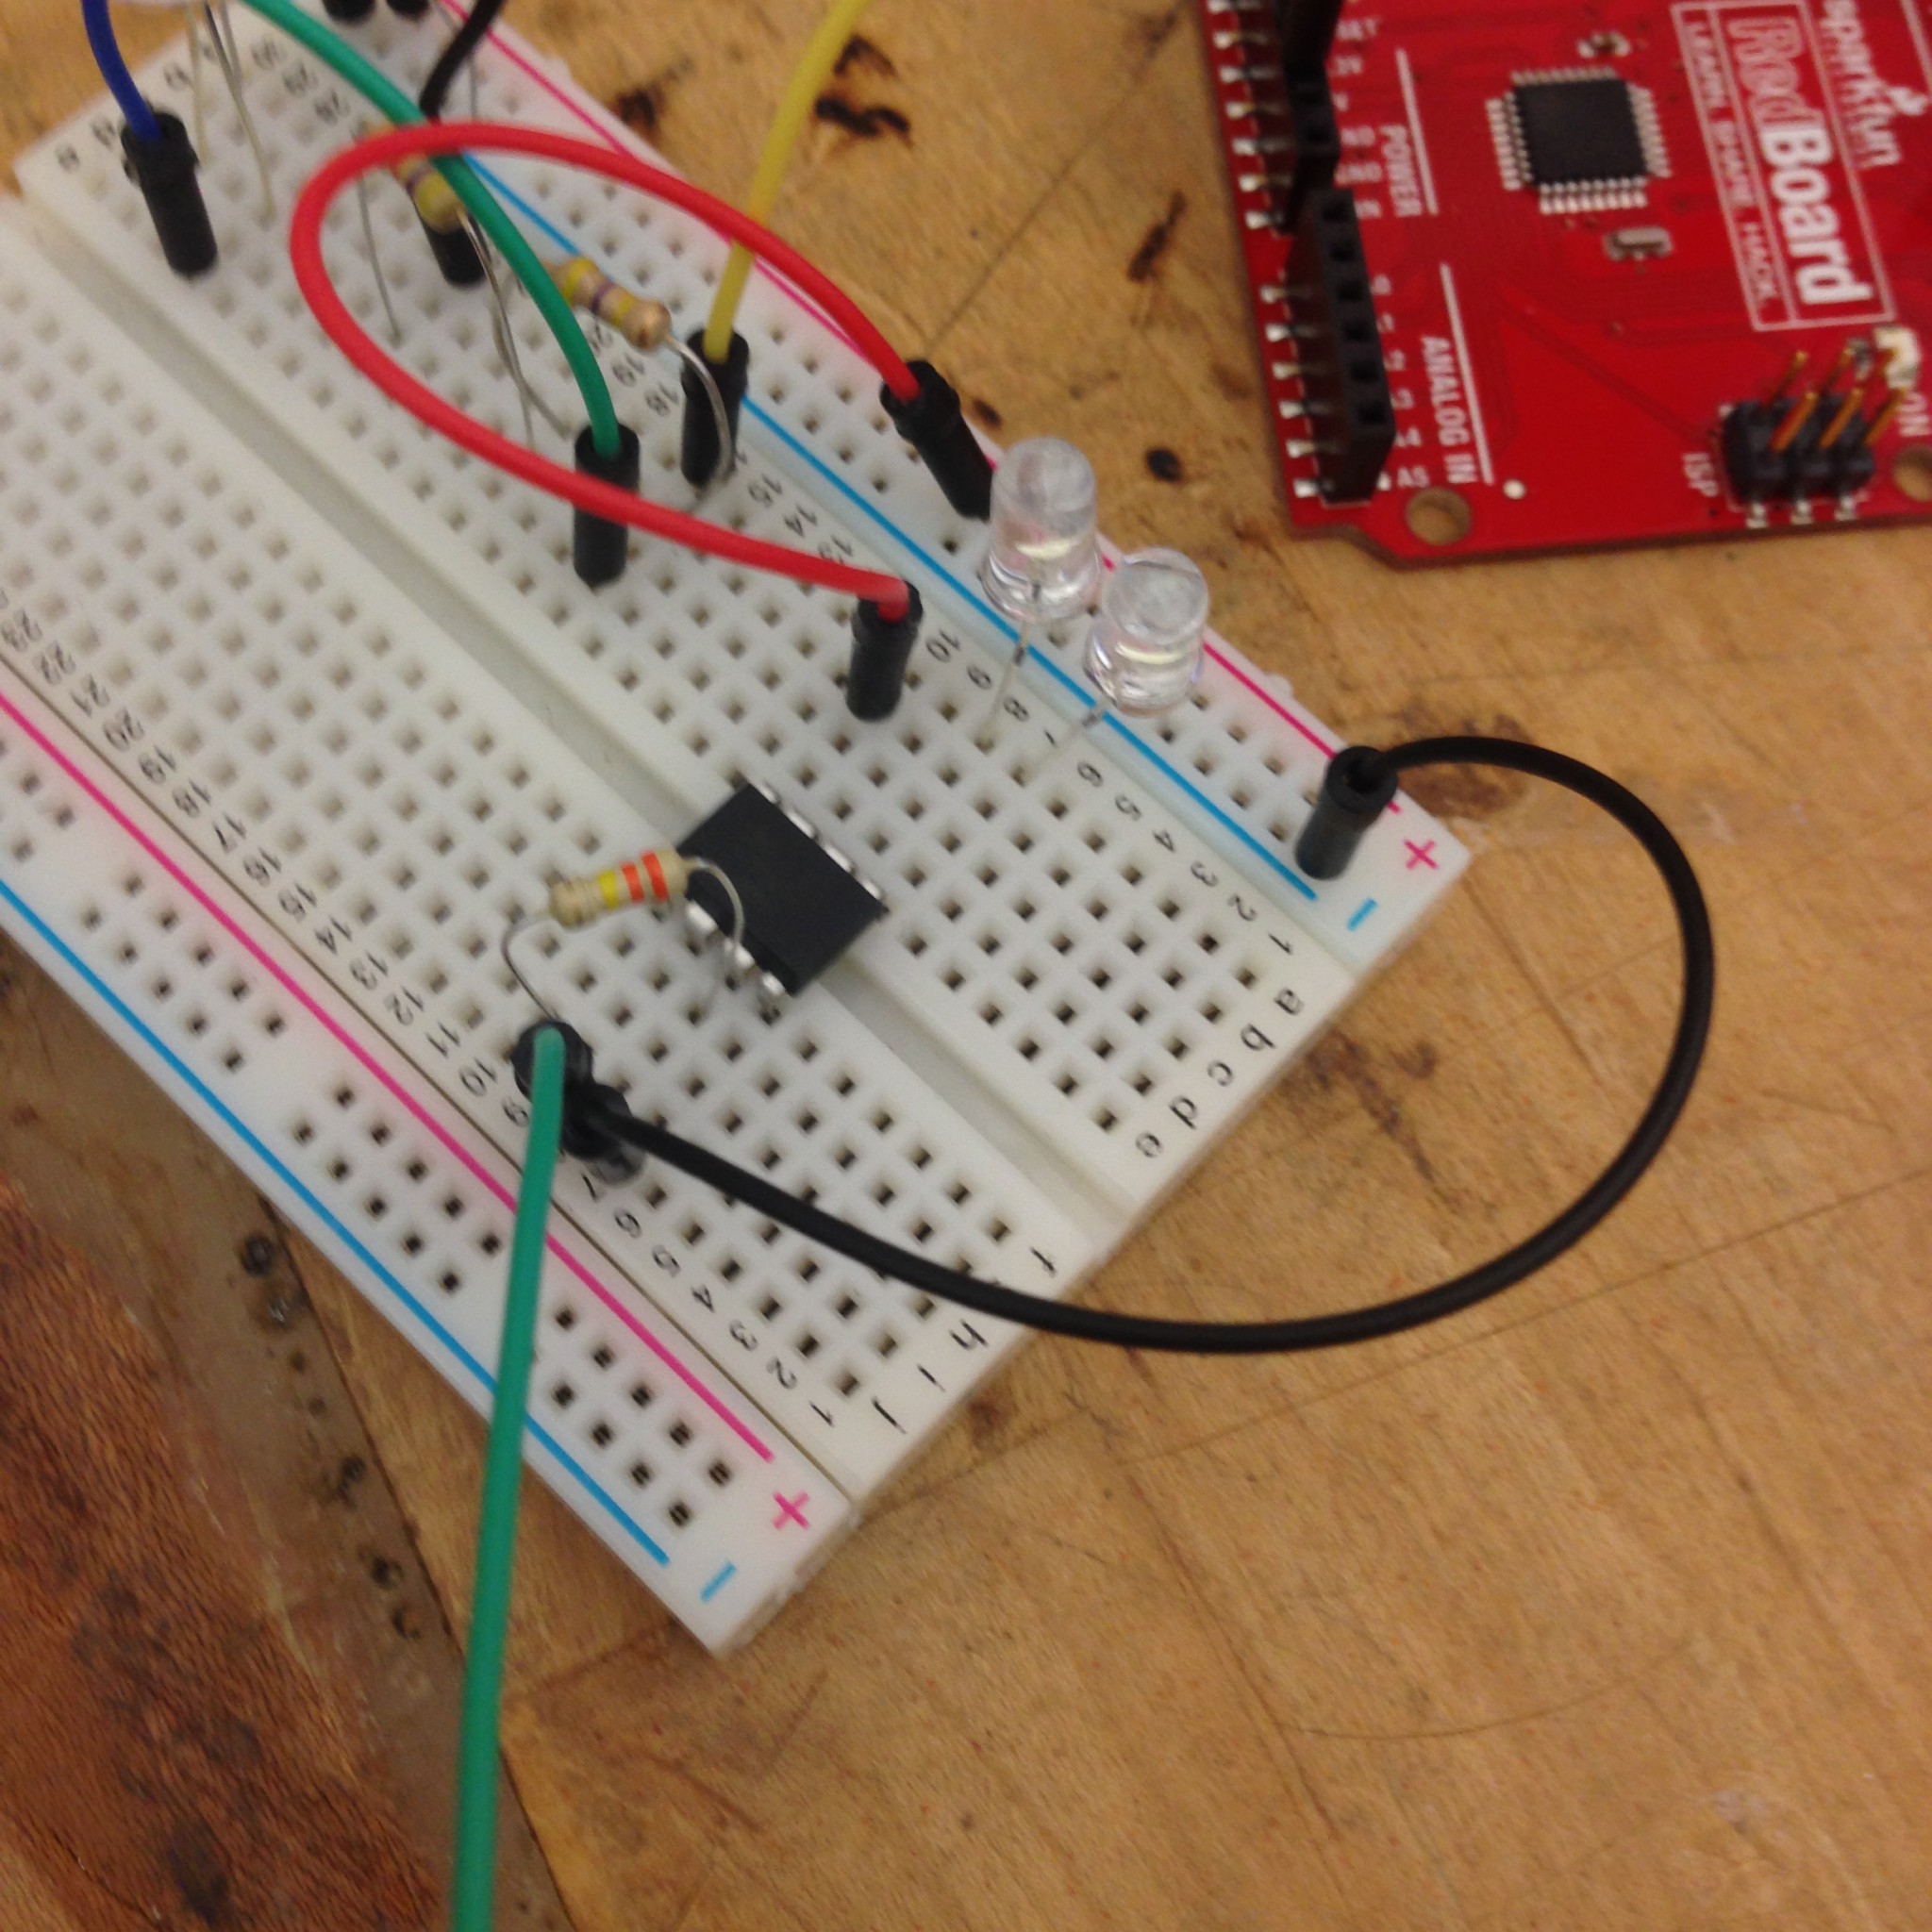
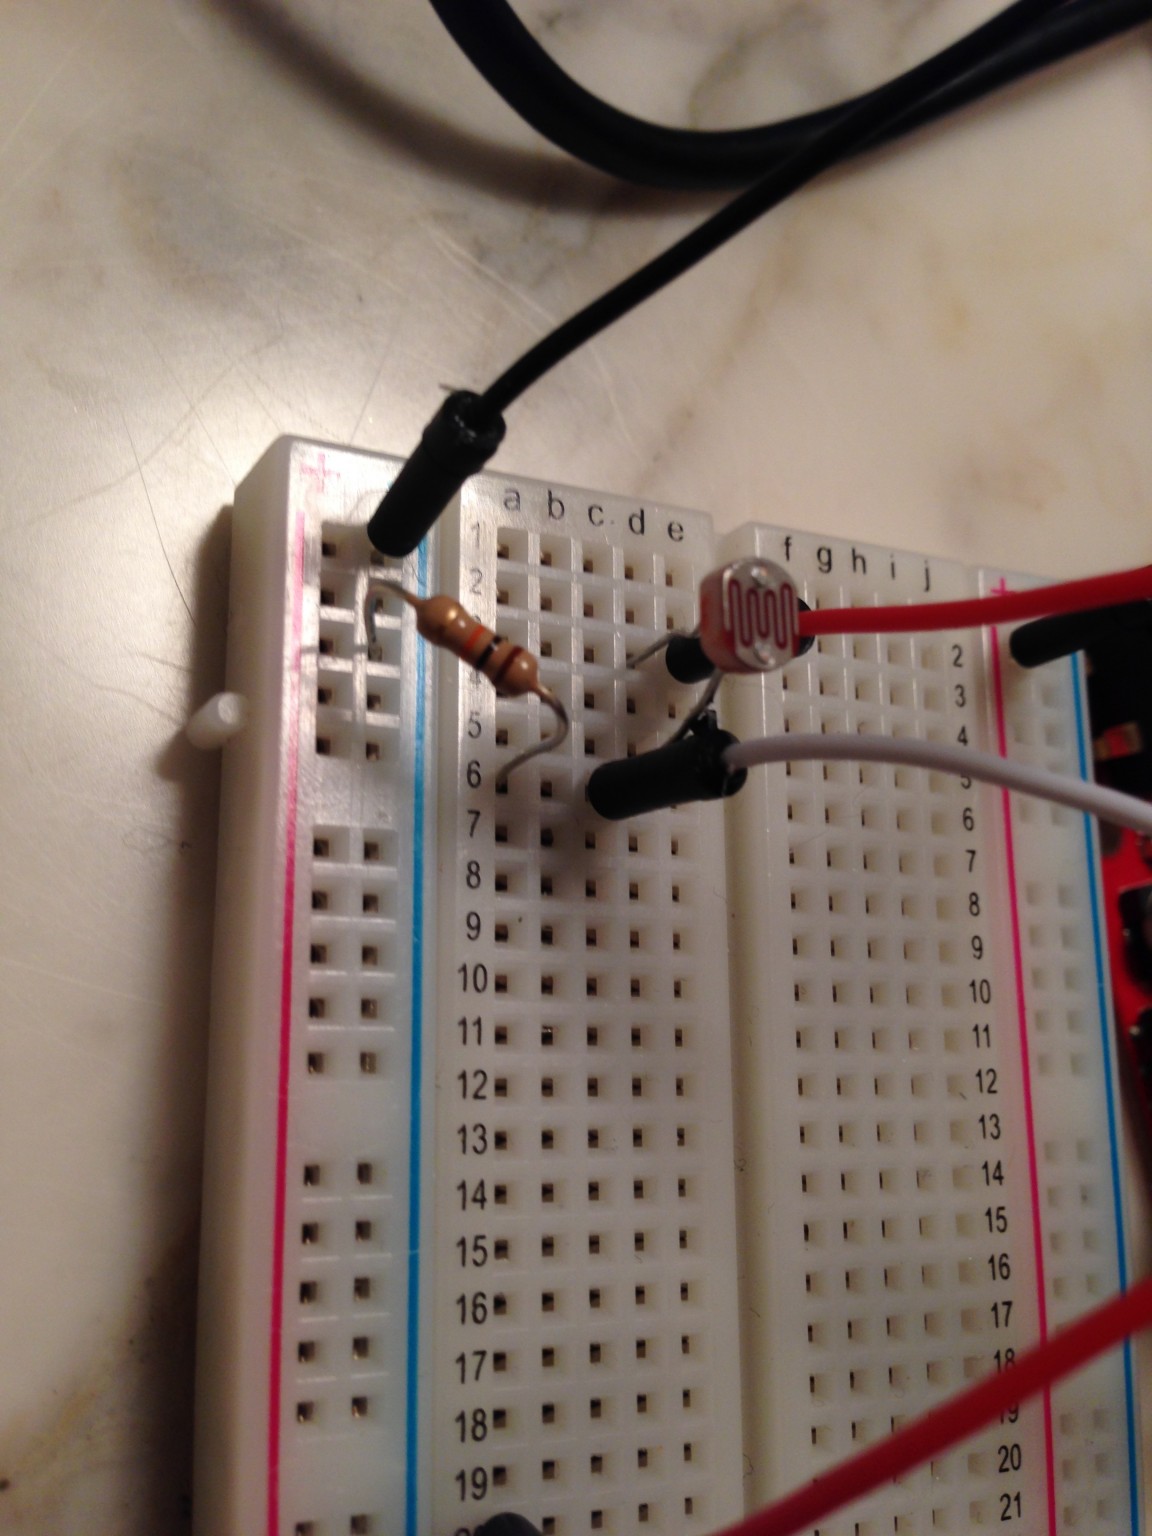
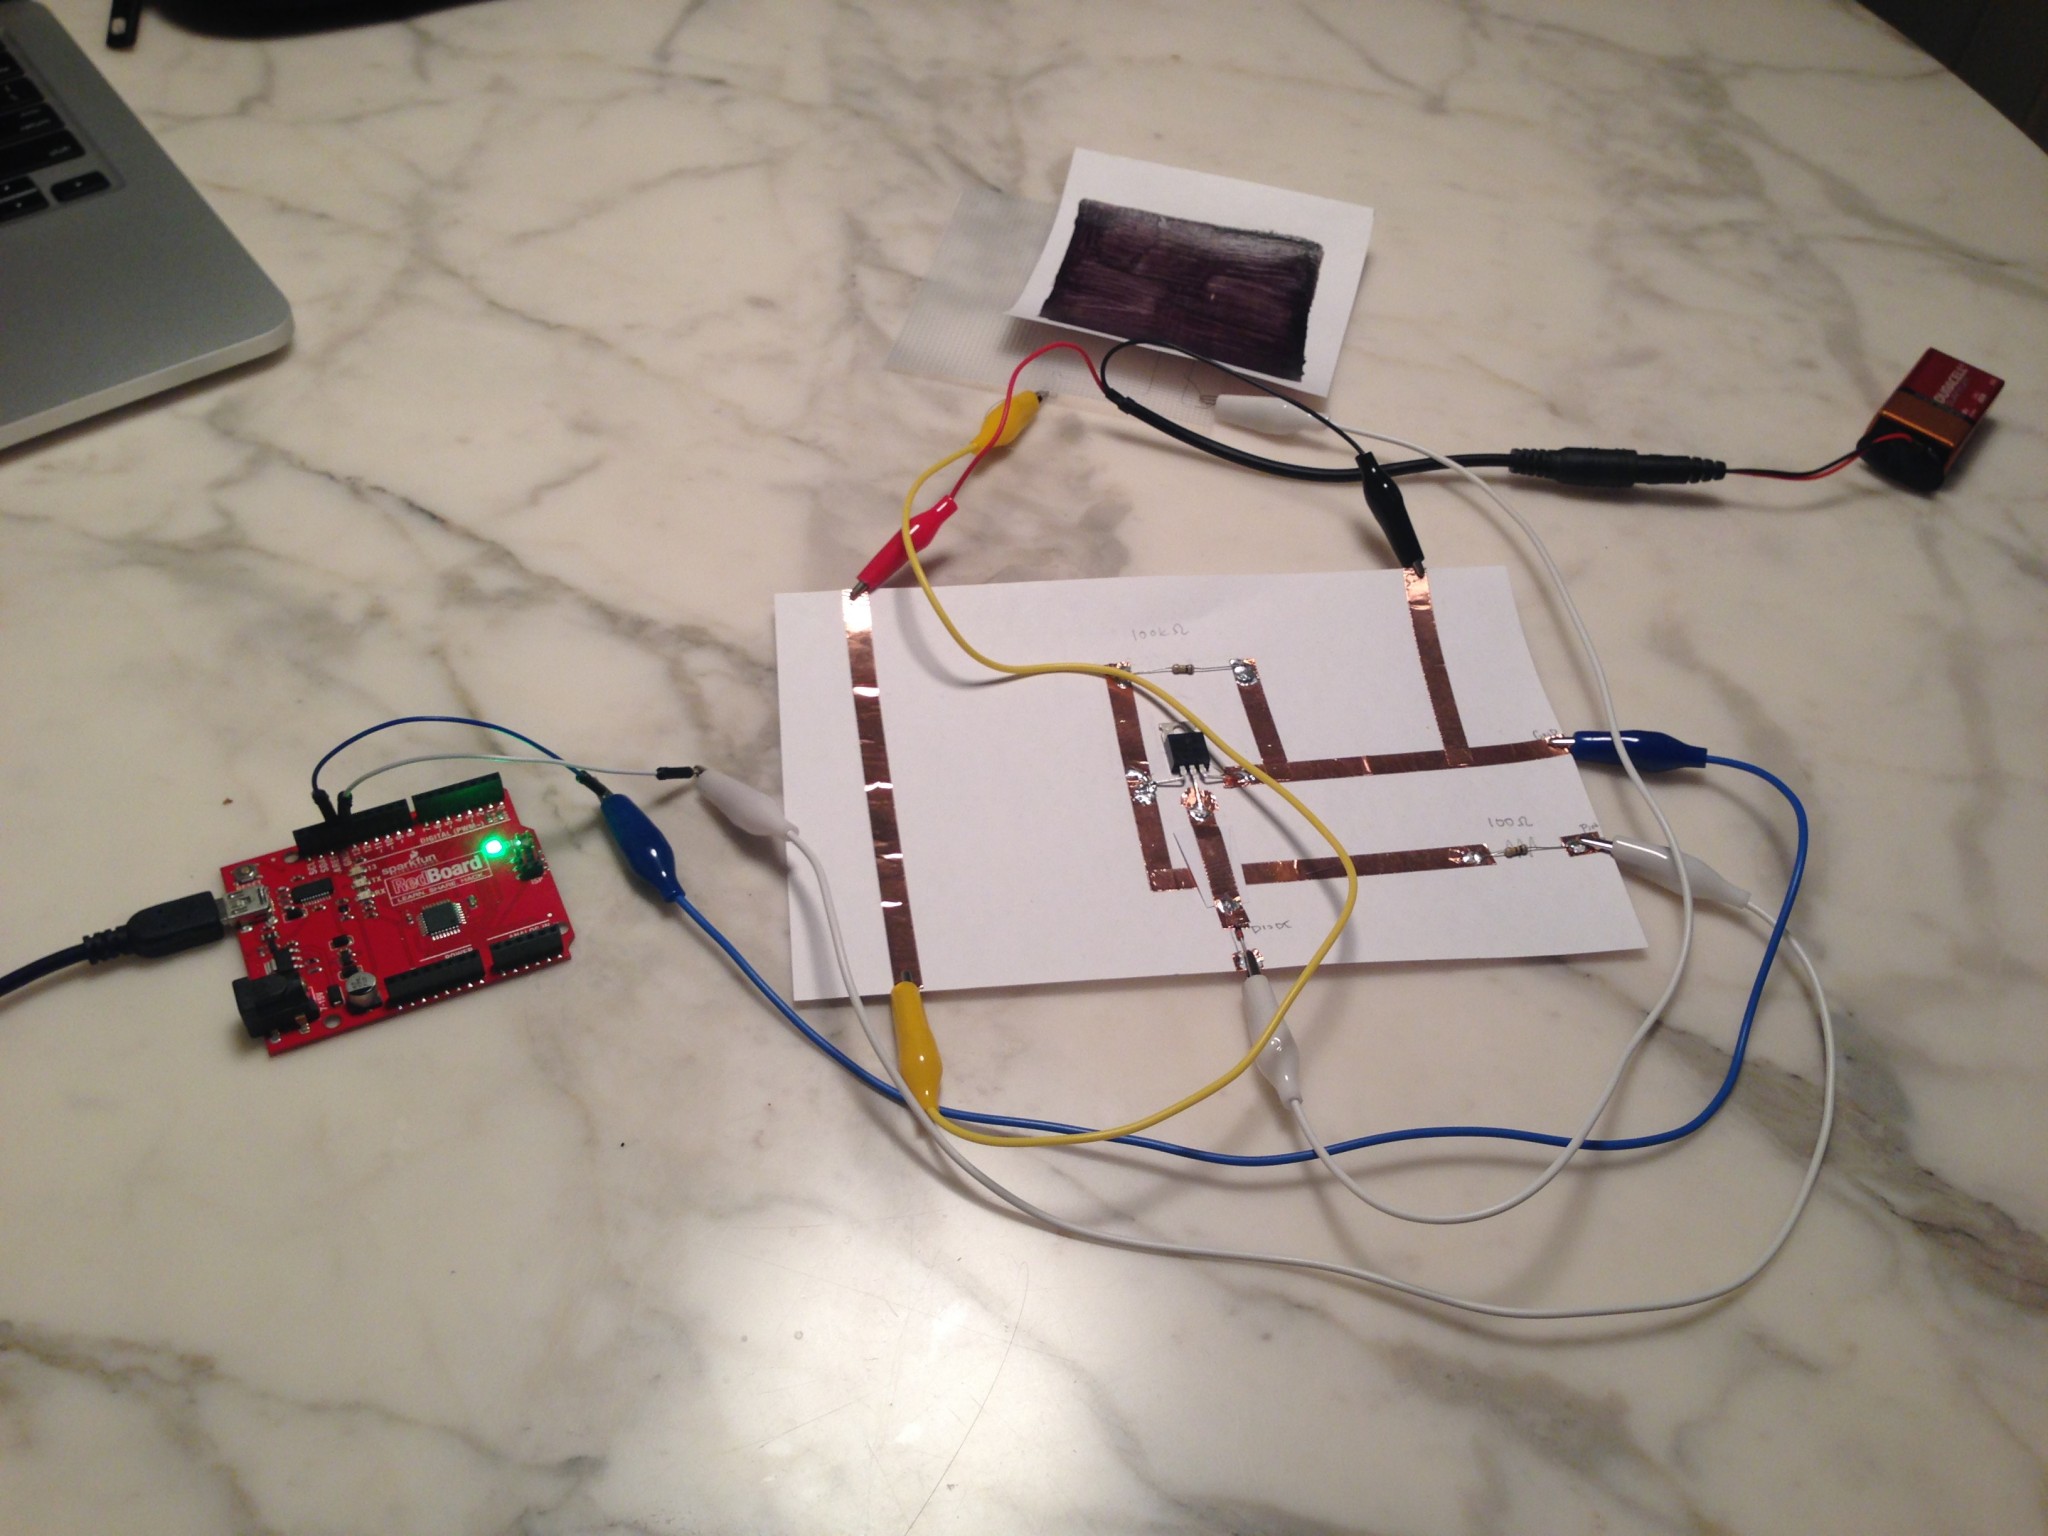
The Heat Circuit

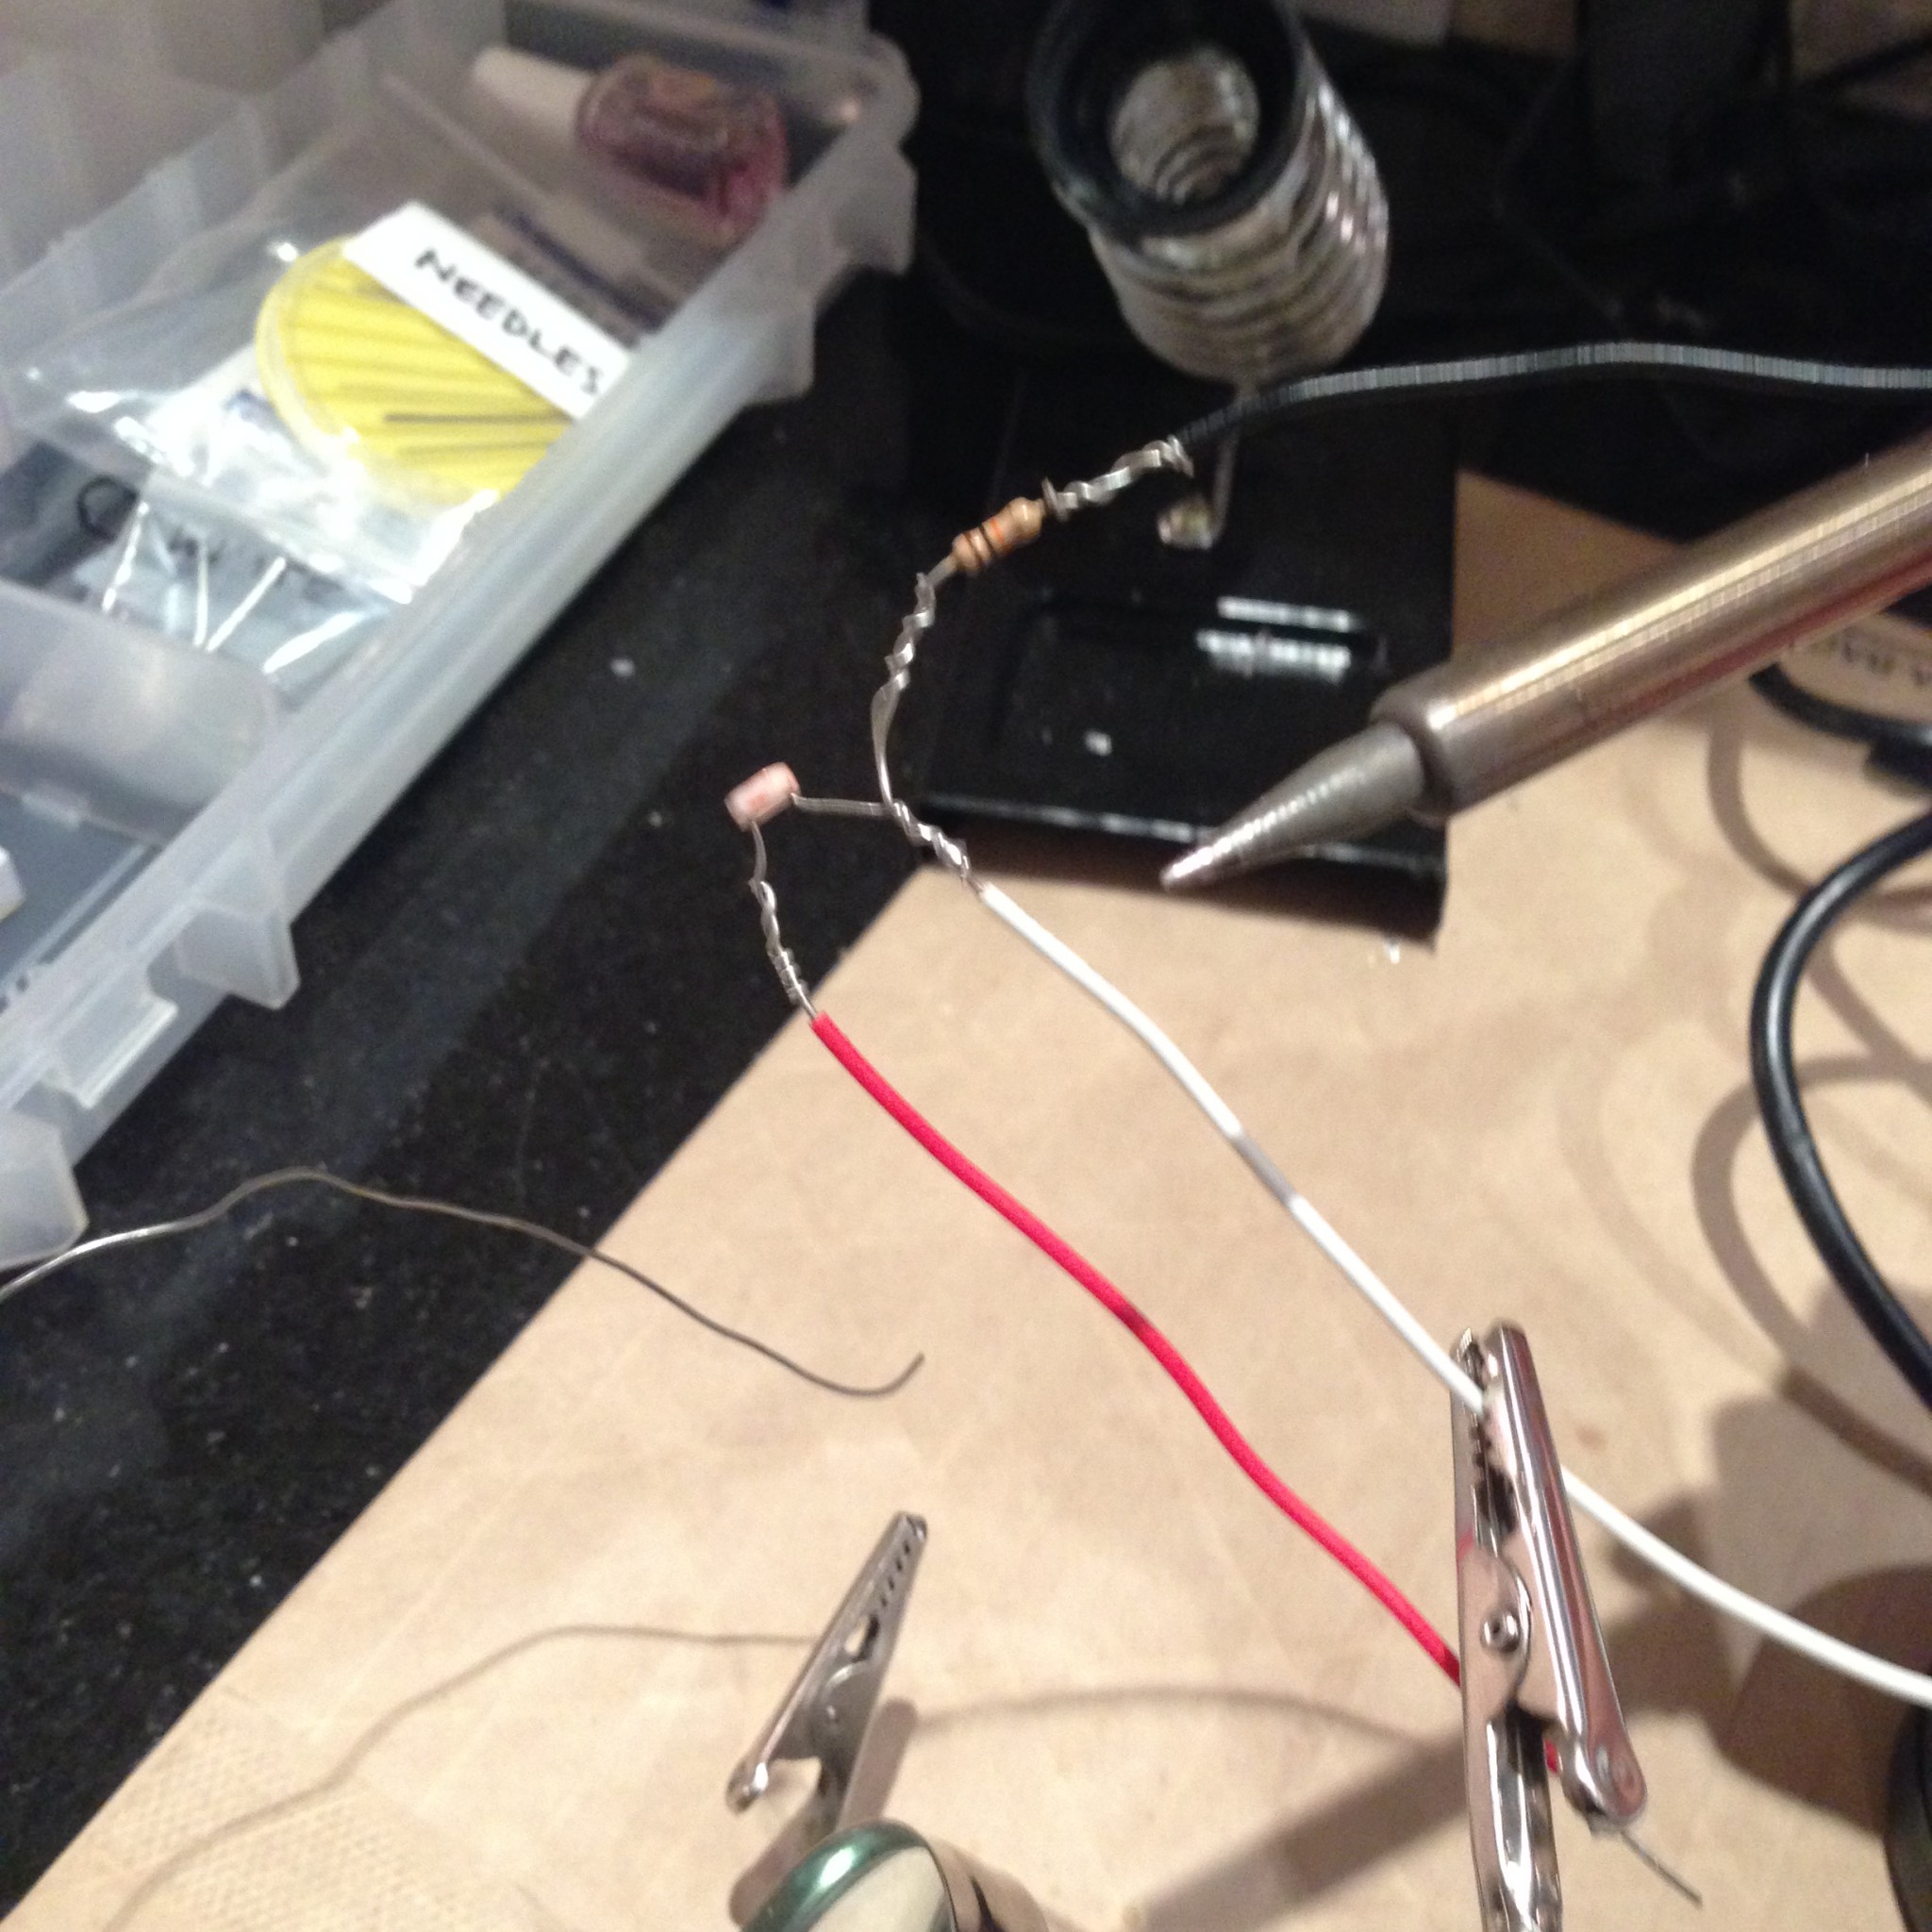
To test the heat circuit that you’ll be making, it’s helpful to prepare a small swatch of thermochromic pigment (material that will change color as it heats up) mixed with a clear medium (I used Modge Podge).


IMG_9954IMG_9953

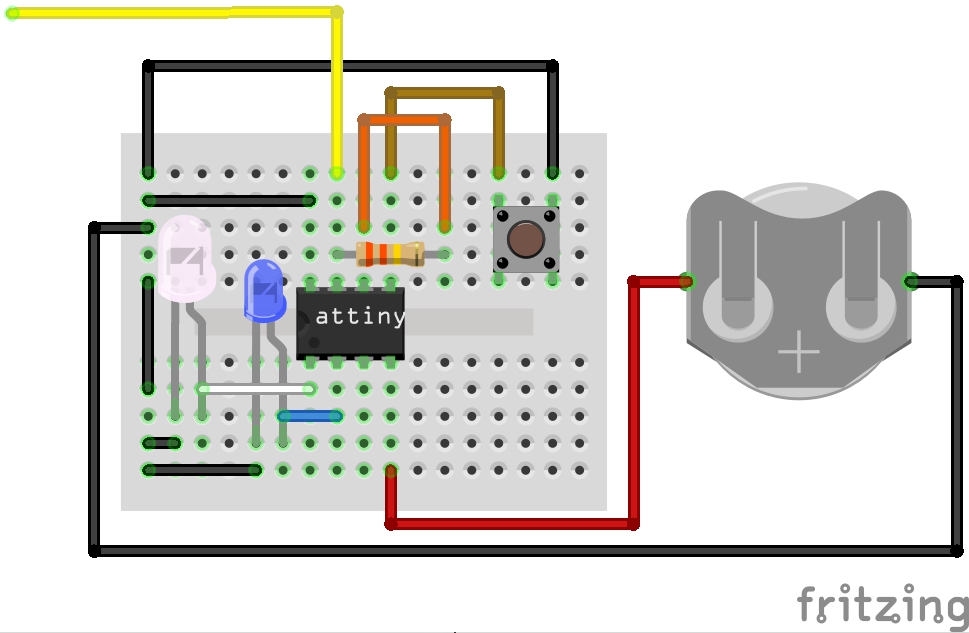
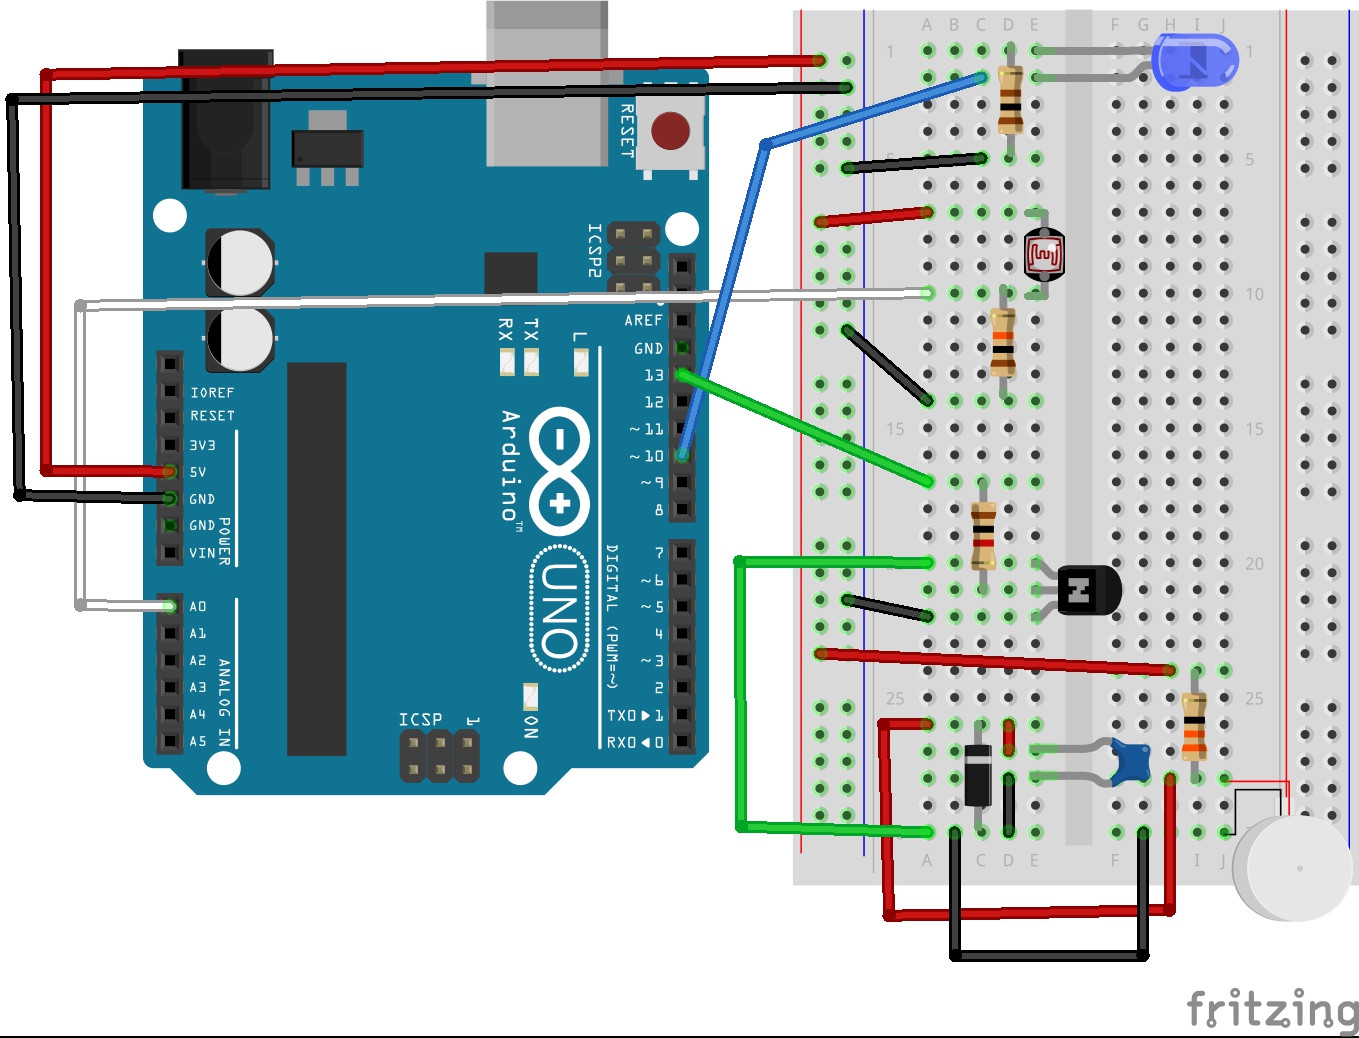
The circuit diagram for the heat controller was found at the eTextile Summer Camp website. They’ve generously provided the following Fritzing diagram:

IMG_9952


This was the same circuit used in this project. The following video shows the circuit in action heating up the thermochromic swatch that was previously prepared:

IMG_9956

(read more for the code)

Continue reading

Winter Headband Lamp – ATTiny (Week 7)

I took a preexisting knit headband and added a capacitive touch sensor to the area that meets the forehead using copper fabric. That way, when someone wears the headband, an LED will turn on, creating a headlamp for running/walking in the park at night during the winter. When the headband is not being worn, a smaller, blue LED will pulse – this is the resting state of my lamp.

The above video shows the Arduino sketch running on a programmed ATTiny. The ATTiny controls two LEDs using a 3V battery and lights these LEDs based on capacitive touch input (the yellow wire that is touched in the video, which then becomes the copper fabric in the headband below). The “resting state” of the circuit/headband is a small, blue LED that pulses over time. When the input is received via the capacitive touch sensor/when the headband is worn, a second LED (10mm bright white) is lit, lighting the headlamp.

Materials:

  • 1x ATtiny45
  • 1x Arduino UNO (for programming the ATTiny)
  • 1x 10uF capacitor
  • 1x 10mm white LED
  • 1x 5mm blue LED
  • 1x 3V / coin cell battery
  • 1x button
  • 1x 330k ohm resistor
  • 1x breadboard
  • soldering iron, solder, conductive thread/wire, perfboard

IMG_9722IMG_9716IMG_9726IMG_9724

IMG_9725IMG_0022IMG_0020


The Circuit / Fritzing Diagram:

Attiny-LEDs-capsens_bb

The yellow wire in this diagram connects to a piece of conductive material that – when touched – triggers programmed response (in this case, lights the white LED)


Jane, Charles, + Wes – Final Project Concept

Our project  is a wearable piece or collection of pieces that explore the relationship between sensory-based perception and memory, experimenting with the idea of how experiences are encoded into memory through the senses and what might happen if these senses are altered, augmented, or limited by the worn artifact. Our project’s initial iteration will use water to interfere with perception (visual and aural) in order to convey this sensation of the altered experience of the present that is also representative of the fading memories of the past.

To begin, users are presented with a helmet/head covering. The front of the helmet contains a clear plate or viewport, allowing the user to view their surroundings. Though their ears are covered, users are still able to hear. Once the helmet is on, water begins to trickle down the viewport. As time progresses, more and more water runs down through the clear plate, obscuring the users’ vision. Simultaneously, water droplets fall into small metal disks next to the users’ ears. With two senses affected by the passing of time, the helmet begins to simulate the blurring of experience and fading of memory.

So far, we have been experimenting with different materials – including plaster of paris and copper sheeting – and different ways of initiating this sequence of events. We would like this prototype to possibly be one of a few variations, all of which would occupy the same sort of “universe” and would address different ways of altering experience and memory through the senses.

IMG_1485

Behavior Story (Week 6)

Soothing/Comforting/Purring Pet (Or rather: The Angry Firefly)

IMG_0013

Don’t wake up the angry firefly…

The plan for my Behavior Story took a detour when I underestimated how loud/strong the vibration from the mini vibe motor could be. I had initially planned on making a nice, soothing toy/object that created a gentle vibration and pulsing light when you put your hand on it. Instead what I got was an angry cricket/firefly that was irritated when you bothered it.

A photoresistor at the top of the jar detects when the user places his or her hand above it, causing the angry firefly inside to wake up (lighting an LED and powering a mini vibe motor in short pulses) until the user’s hand is removed.

Materials:

  • 1x Adafruit Trinket Pro 5V (or any other microcontroller that fits in the container of your choice – in this case I was using a glass jar with a plastic lid and needed something compact)
  • 1x Photocell/Photoresistor/LDR
  • 1x 5mm LED (bright white)
  • 1×1300 mAh LiPo Battery* (+battery “backpack” to connect it to microcontroller) *used 9v battery instead – bulkier, but still works
  • 1x 100 ohm resistor (for LED)
  • 1x 100k ohm resistor (for LDR/photocell)
  • Hookup wire/conductive thread + solder + soldering iron etc.

for the vibe motor circuit:

  • 1x NPN Transistor
  • 1x 1k ohm resistor
  • 1x 1N4001 Diode
  • 1x capacitor
  • 1x 33 ohm resistor
  • 1x mini vibe motor


The project is my first attempt at using a Trinket microcontroller with soldered connections – something I tried in order to keep the components as compact as possible. However, the project still required a 9v battery to work effectively (the vibe motor requires a decent amount of power), making it bulkier than intended.

IMG_9686 IMG_9689  IMG_9692IMG_0014IMG_0015IMG_0016IMG_0018IMG_0019IMG_9690IMG_9691


Fritzing Diagram / Breadboard Circuit:

Vibe-LED-LDR_bb


for Arduino code, see below:
Continue reading

Learn a New Craft: Sewing with Jane + Cathy (Week 5)

This week, Cathy and I learned how to use the sewing machine that’s kept on D12 above Sven’s locker (to the left of the bathrooms – also, not sure if this is it’s permanent place, but that’s where it is now). The machine that we have is a Brother CS6000i….and it’s great. It’s computerized, meaning it comes programmed with a bunch of different stitches/patterns, and has a ton of features that make it super easy to use.

CS6000I_2_L

Brother CS6000i

There are three main things that you should know in order to start sewing:

  1. The parts of the sewing machine
  2. Winding/Inserting a bobbin
  3. Threading the sewing machine

(and then, of course, actually sewing) :)


1. THE PARTS

These are the basic parts of any sewing machine:

  • Spool/Spool Pin
  • Bobbin Winder
  • Thread guide
  • Needle Threader
  • Needle Plate
  • Presser Foot

And this is a diagram of the specific sewing machine that we’ll be using:

1380789627-3735500371

2.1  WIND THE BOBBIN

s4jhh

In order to start sewing, you’re going to need a bobbin that has been wound with thread.

To wind your bobbin, put the bobbin spool on the bobbin winder pin on the top of the machine next to your main spool of thread. Next, follow the diagram at the top of the machine,  weaving the thread from the thread spool around the guide and back to the bobbin. Finally, turn the bobbin winder, turning it off when the bobbin is full.

CompCraft-Sewing-2 CompCraft-Sewing-3

2.2  INSERT THE BOBBIN

Once you have your bobbin wound, follow the diagrams on the base of the machine to properly insert the bobbin. Every machine is different, but ours makes it really simple by providing a clear guide.

CompCraft-Sewing-5 CompCraft-Sewing-6

3. THREAD THE MACHINE

CompCraft-Sewing-7 CompCraft-Sewing-8 CompCraft-Sewing-9


Just like the previous steps, you’ll follow the visual diagrams printed on the machine in order to thread the needle. First, you’ll move the thread through the guides down to the needle. Next, you’ll use the machine’s built-in automatic needle threader (!!!) to actually thread the needle. Here’s a video that shows an up close view of this awesome feature in action.

Once you have your bobbin and needle ready, you can start sewing! This machine has button controls to control the speed and direction of the stitch. You can also change the type of stitch using the LCD display and inputs at the front of the machine.

This is just a brief overview of what we’ll be showing you tonight, but hopefully you feel a little less intimidated about sewing! Bonus: here’s a picture of the inside of the machine since we love hacking electronics

rear


Reflection (Week 5)

How do you identify / classify yourself? Choose as many as you would like from the following and feel free to add to it. Briefly explain why you chose them.

  • maker
  • student/researcher
  • designer

I think this is a really interesting/important question to pose to us as students in this program. This was a question I had to ask myself when considering graduate school – when I wasn’t totally sure how to put into words what I enjoyed doing, how to categorize my work, or what I wanted to do when I “grew up”. That’s why I’ve always loved the word “maker” as a title: it’s vague enough to include multiple disciplines, but descriptive enough to emphasize the act of “making”, of creating new things that are tangible or material. I also consider myself both a student and teacher. I always try to learn new ways to make things or express ideas, and try to share my methods and ideas with others. Finally, I would also call myself a designer. I studied Visual Art and Art History in college, and always felt really dissatisfied with my studio art practice. I felt that I was creating things that were briefly shown in a gallery, possibly/passively experienced, and then archived, never to be seen or used again in the real, physical world. Because of this, I chose to study design – where my work would be not only aesthetically pleasing but also functional and purposeful.


What is your favorite tool and why? 

My favorite tool is tape. More specifically, I love two different types of tape: electrical tape and gaffer’s tape.

electrical_tape

Electrical Tape

Electrical tape is great as a quick, easy insulator for conductive materials. I always have some around whether I’m using wire or conductive thread. It also helps to hold things in place temporarily while I’m testing circuits or making sure I don’t have any issues with short circuits.

pro-tapes-gaffers-tape-gaffer-tape-black-1-inch-large-2069

Gaffer’s Tape (i.e. the best tape)

Gaffer’s tape has been my favorite “tool” since I discovered it in my high school photography class. It’s usually used for stage lighting or to secure cords to the floor, a task that it’s great for as it’s similar to duct tape in that it’s super strong, but it can be easily removed from materials without leaving sticky residue. It has a matte fabric backing, making it awesome to use when labeling things or when you want to use tape that looks a little more “classy”. The fabric backing also makes it really easy to rip with your hands (like duct tape). Basically, it feels like it should be this heavy duty, super temperamental / permanent tape, but it’s really forgiving: it doesn’t stick to itself, sticks to (and comes off of!) all sorts of materials, and is durable while also being aesthetically pleasing. I’ve literally used this tape in 20+ different ways and find new ways to use it everyday. 10/10 would recommend this tape to anyone who has never heard of it. It’s great. Go buy it.

Also, Wikipedia does a great job explaining everything that makes Gaffer’s tape the best:

https://en.wikipedia.org/wiki/Gaffer_tape

Continue reading

Keyboard Hacking (Week 3)

Dog toy memory keeper

For my keyboard hack, I made a dog toy push/squeeze switch that plays a video of my dog playing with the same toy in the past. My dog is back home in Miami, so I wanted to create an interface that could make me feel like I’m playing with him even though he’s not actually here. The video plays when you squeeze the toy and pauses when you release it.

Materials:

Continue reading

Verb Switch (Week 3 – In Class)

VERB: Drop

I created a switch that lights an LED using the verb “drop”. Conductive thread connects the positive side of a coin cell battery to the anode/positive leg of an LED. The cathode/negative negative leg of the LED is connected to a sheet of copper fabric on the ground. When the coin cell battery is dropped onto the copper fabric, the circuit is completed and the LED is turned on. The battery functions as a weight to improve drop accuracy in addition to being the circuit’s power source.

Materials:

  • Coin cell battery x1
  • LED x1
  • Conductive thread
  • Copper fabric
  • Tape