Category Archives: Week 7: Microcontroller WS Part 2 ATtiny

Winter Headband Lamp – ATTiny (Week 7)

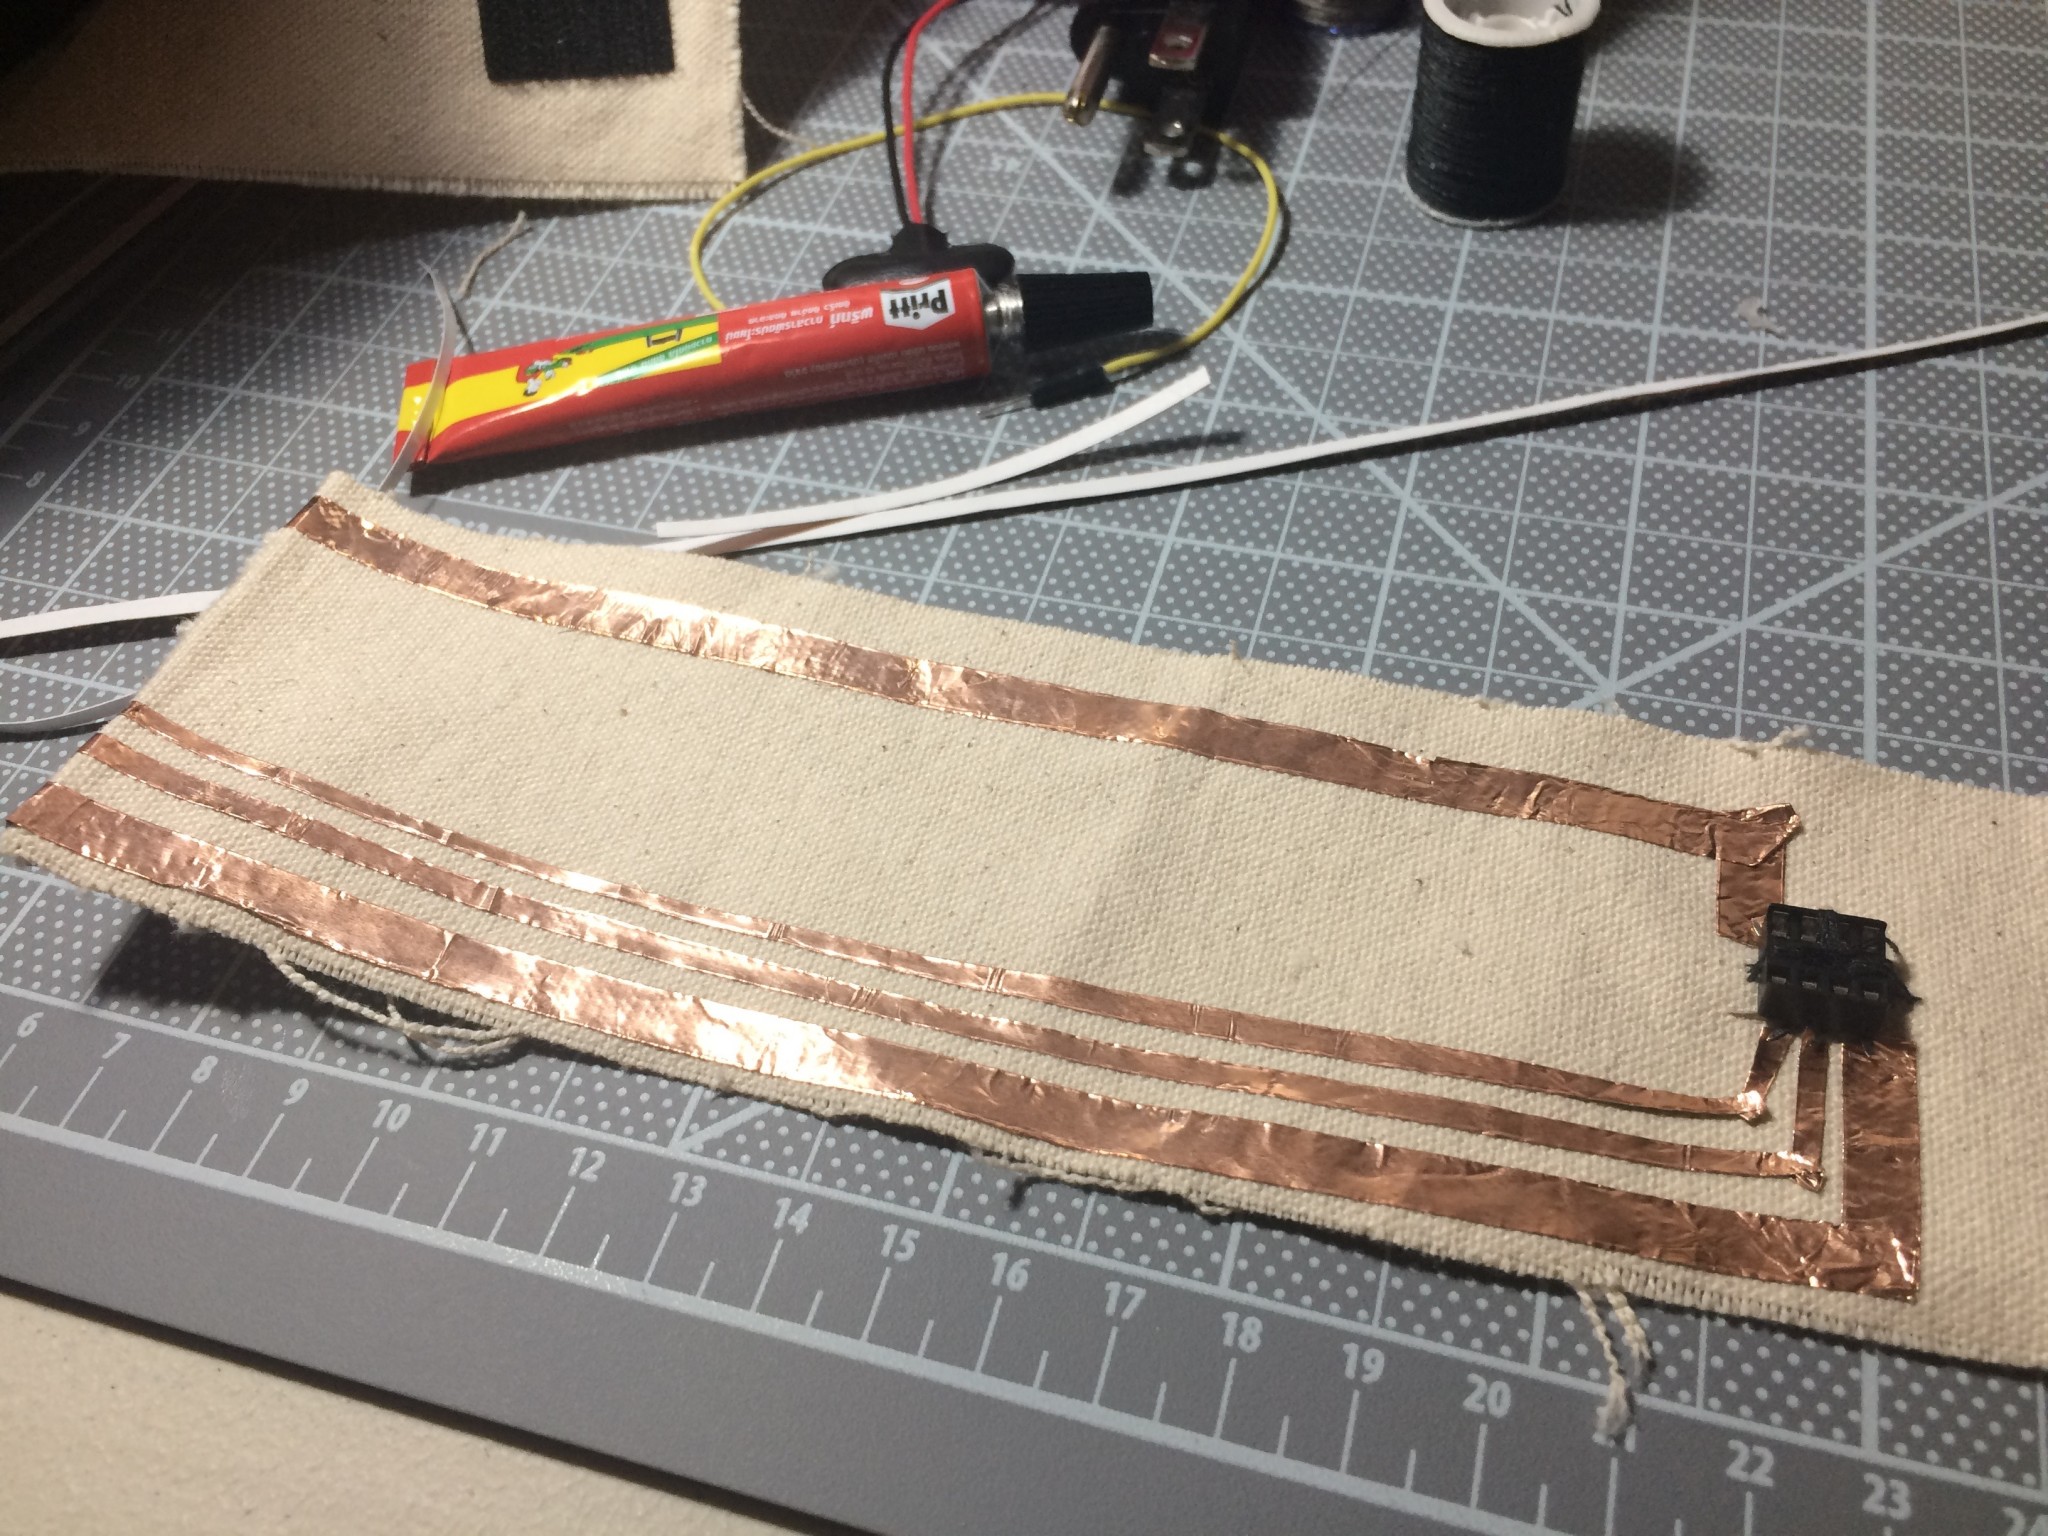
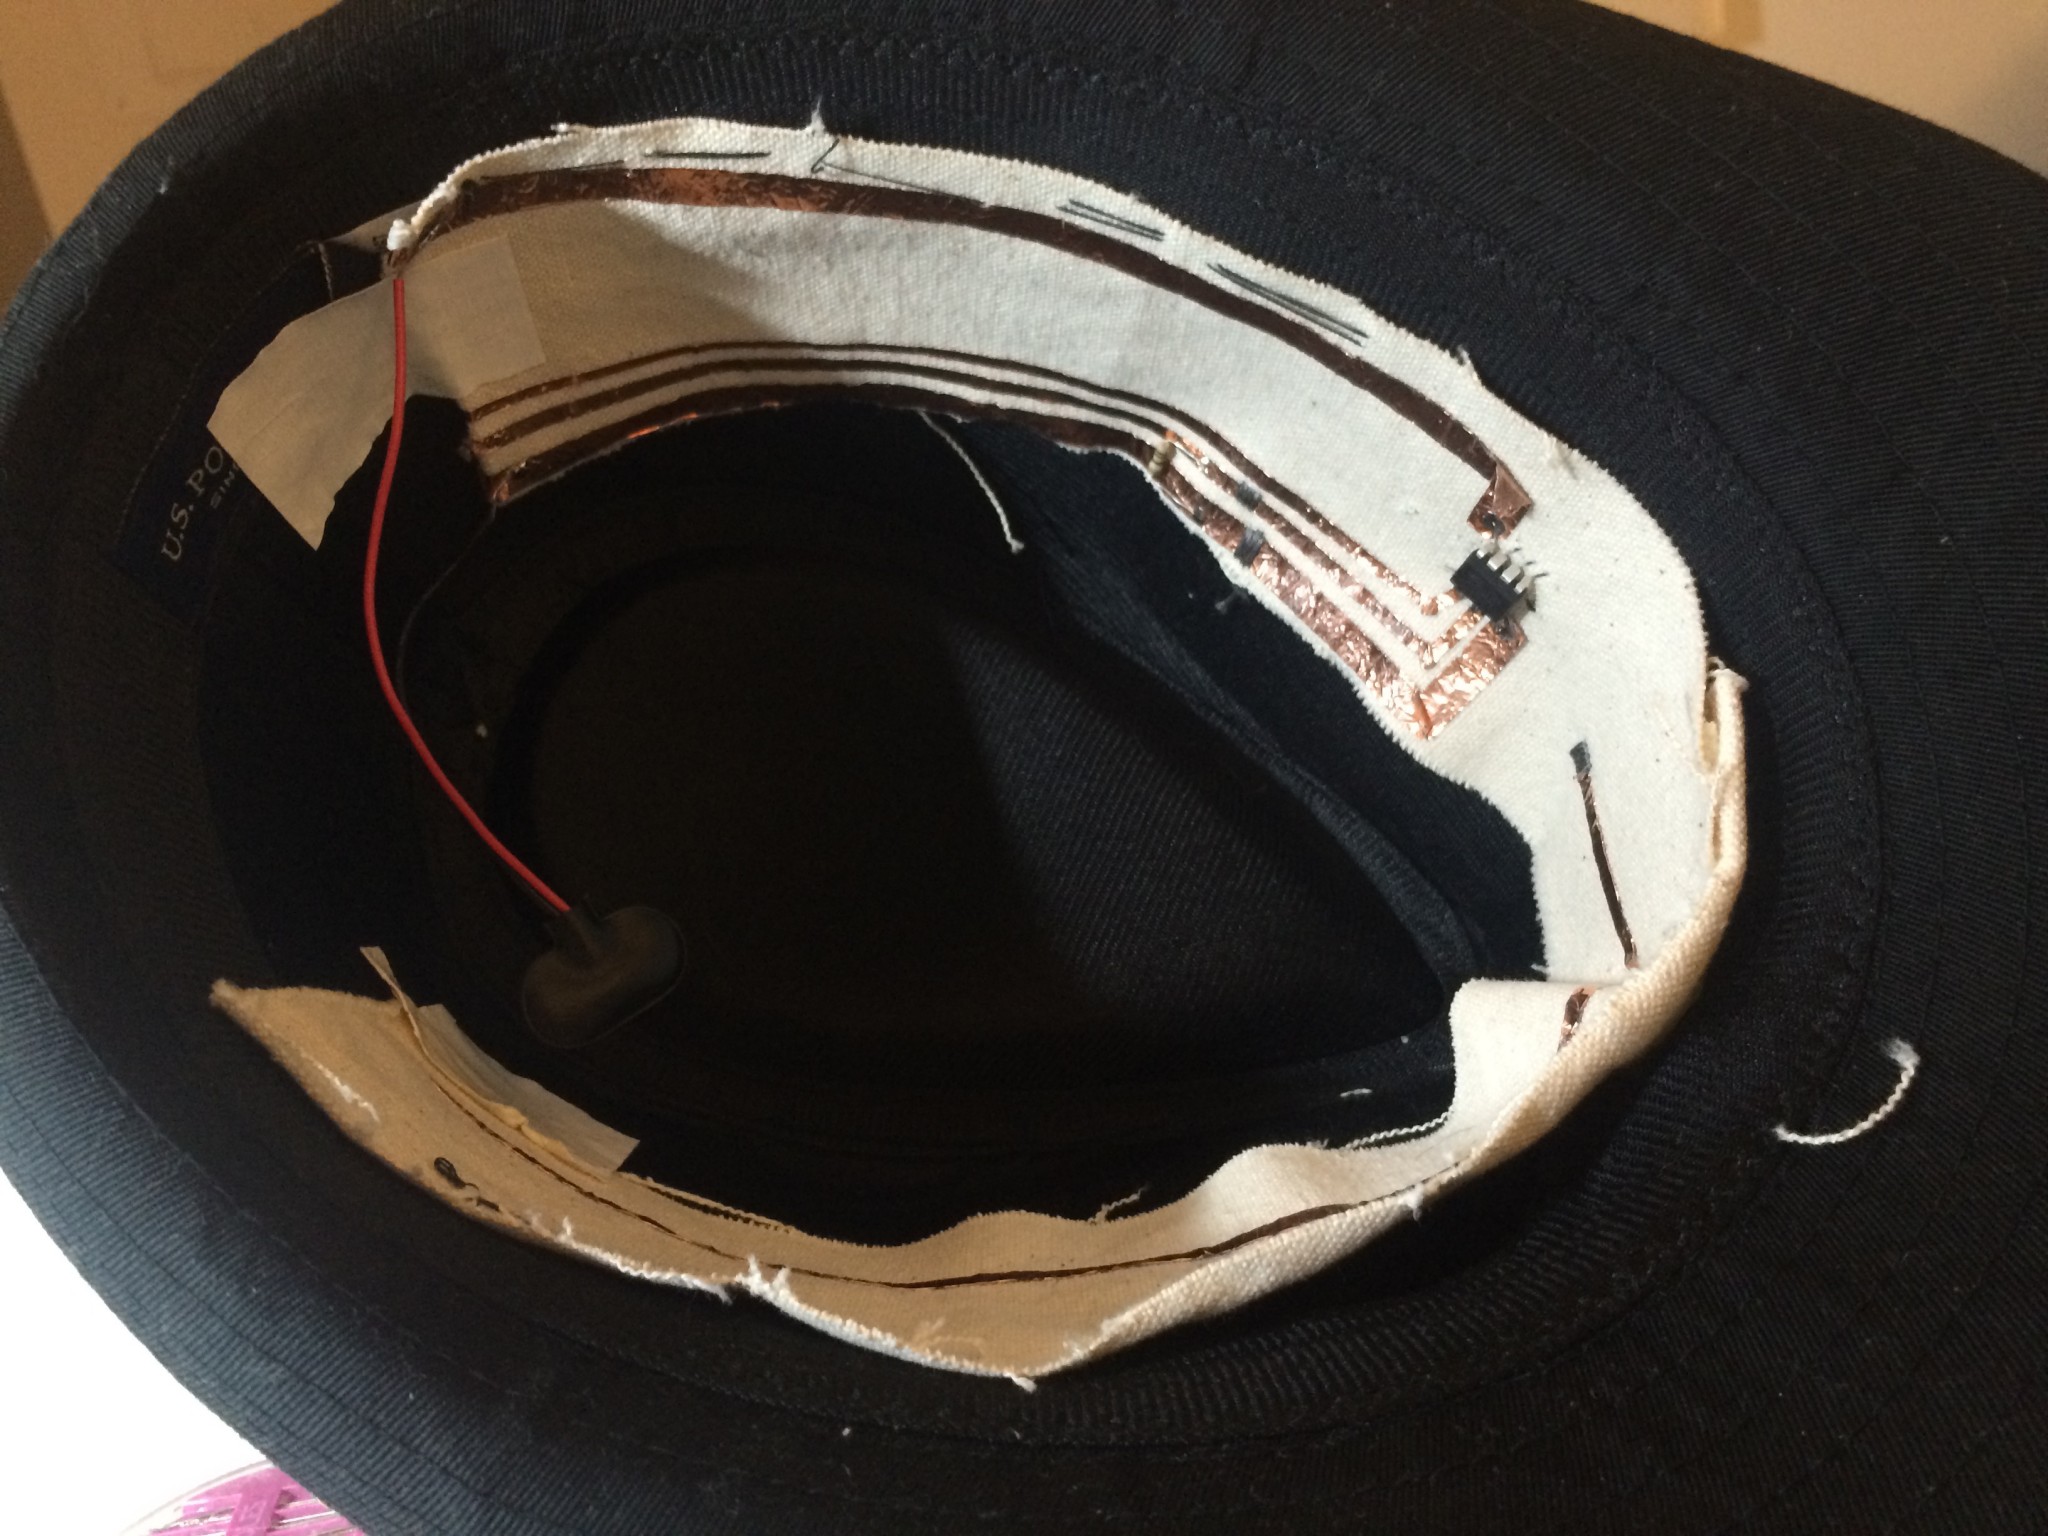
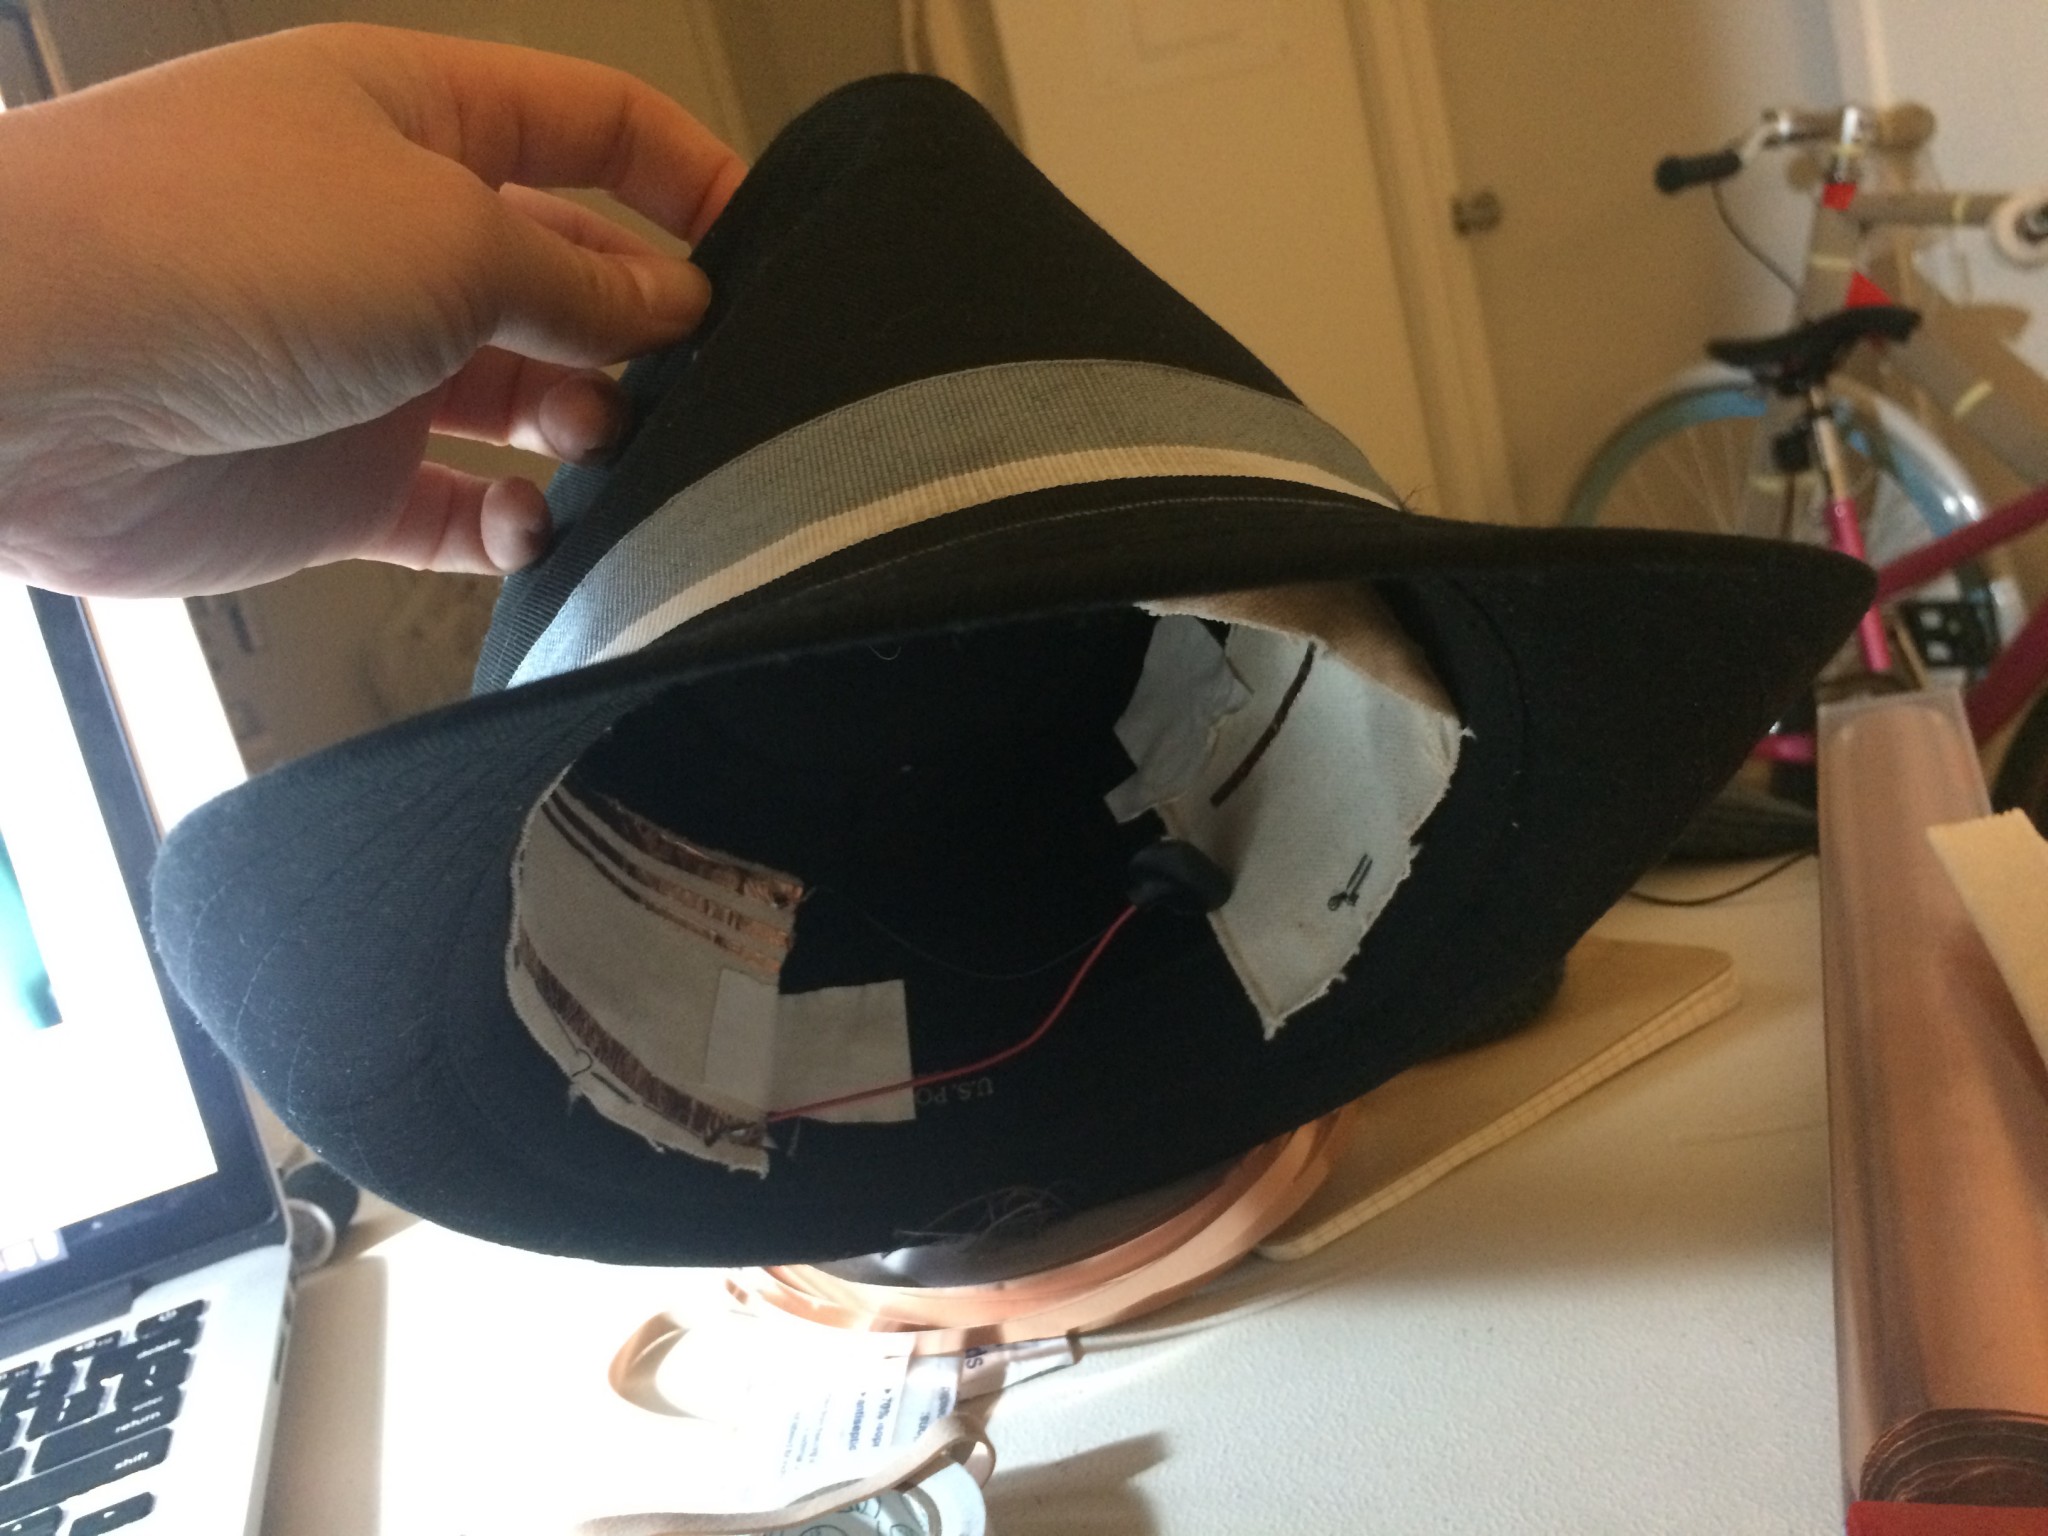
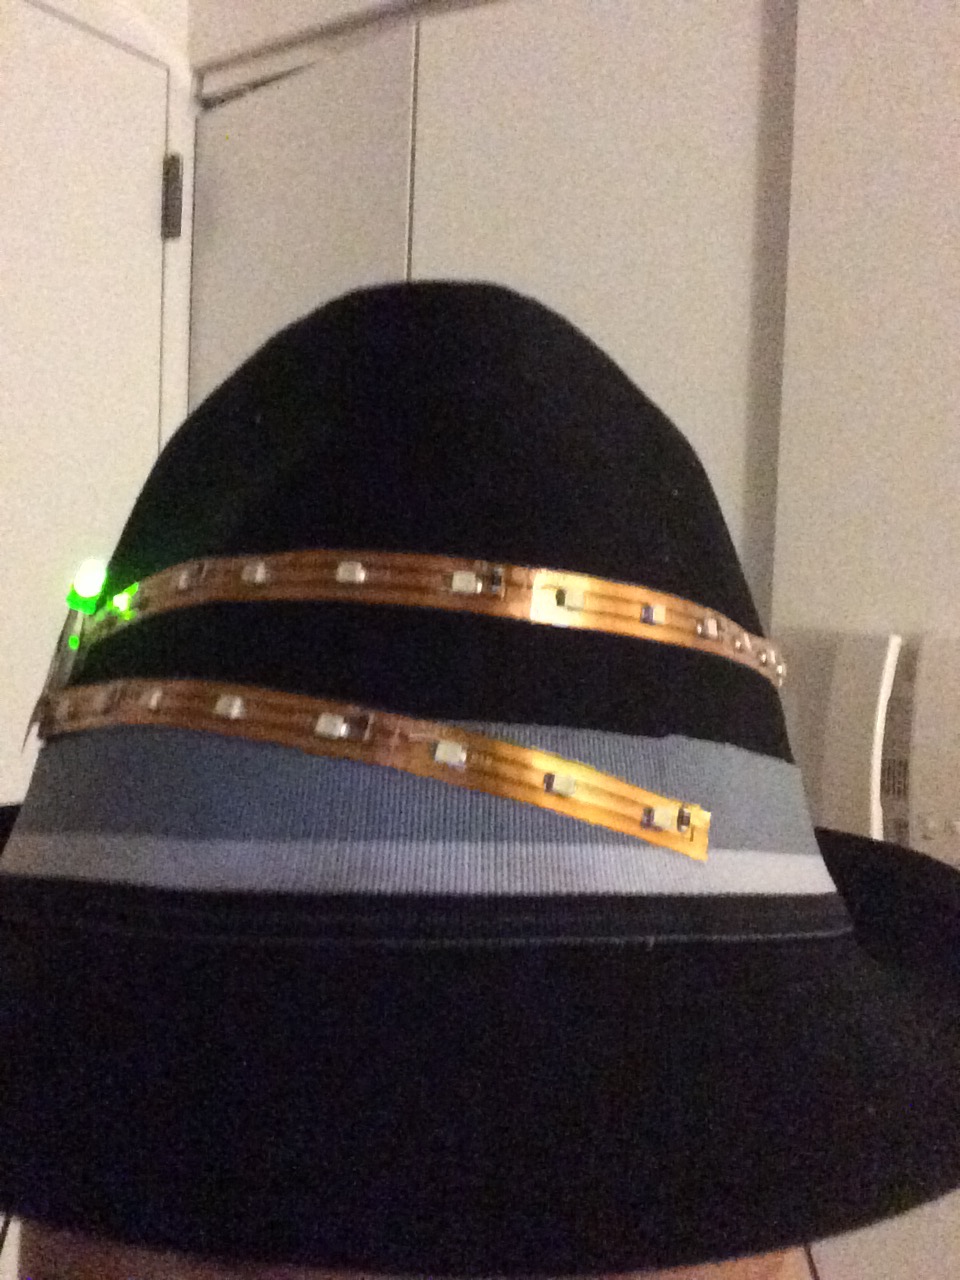
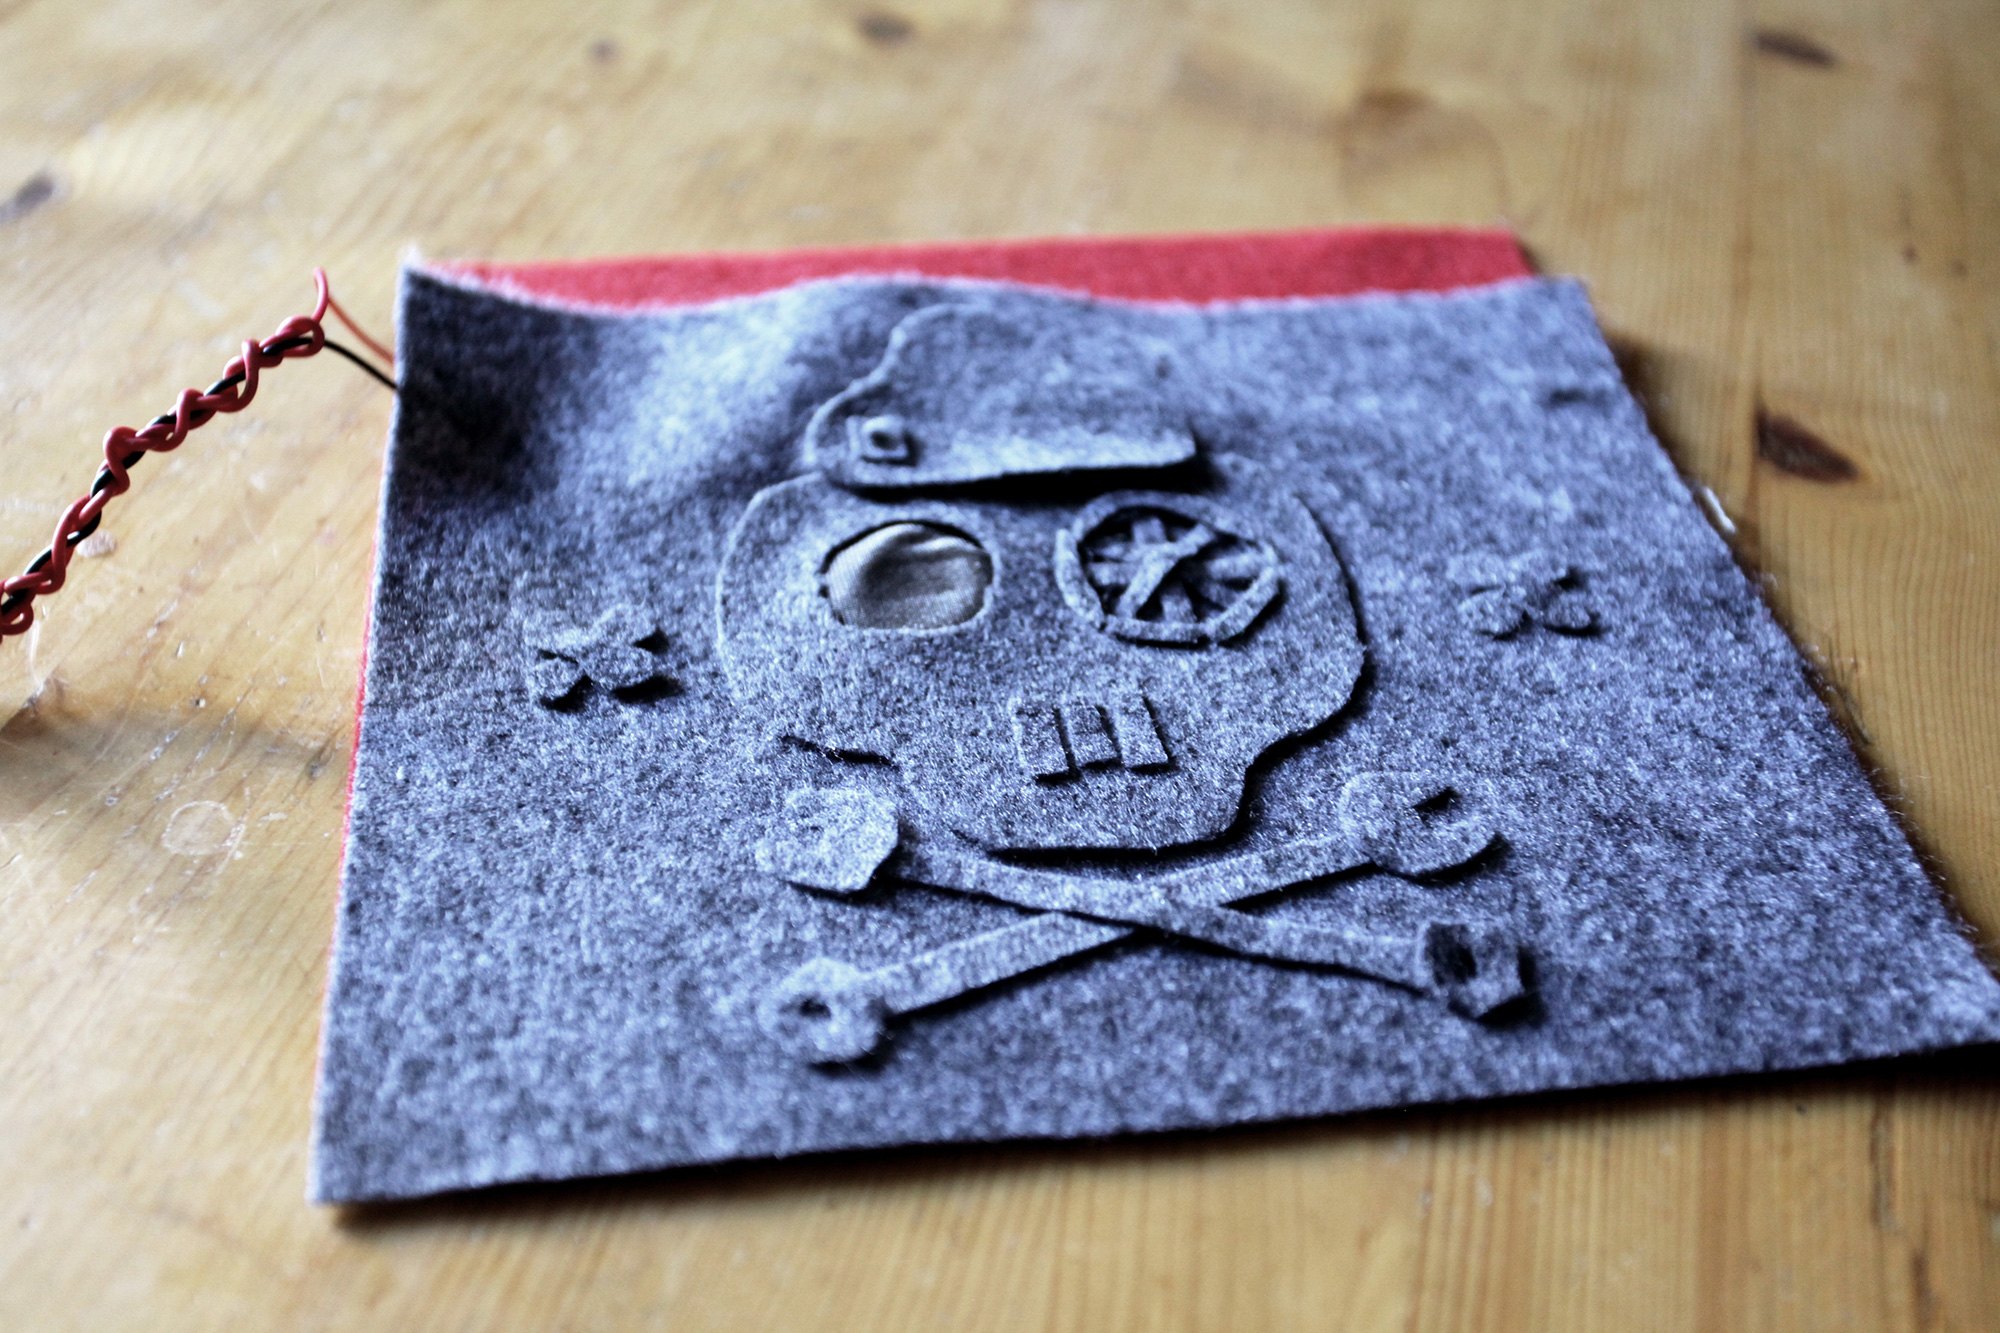
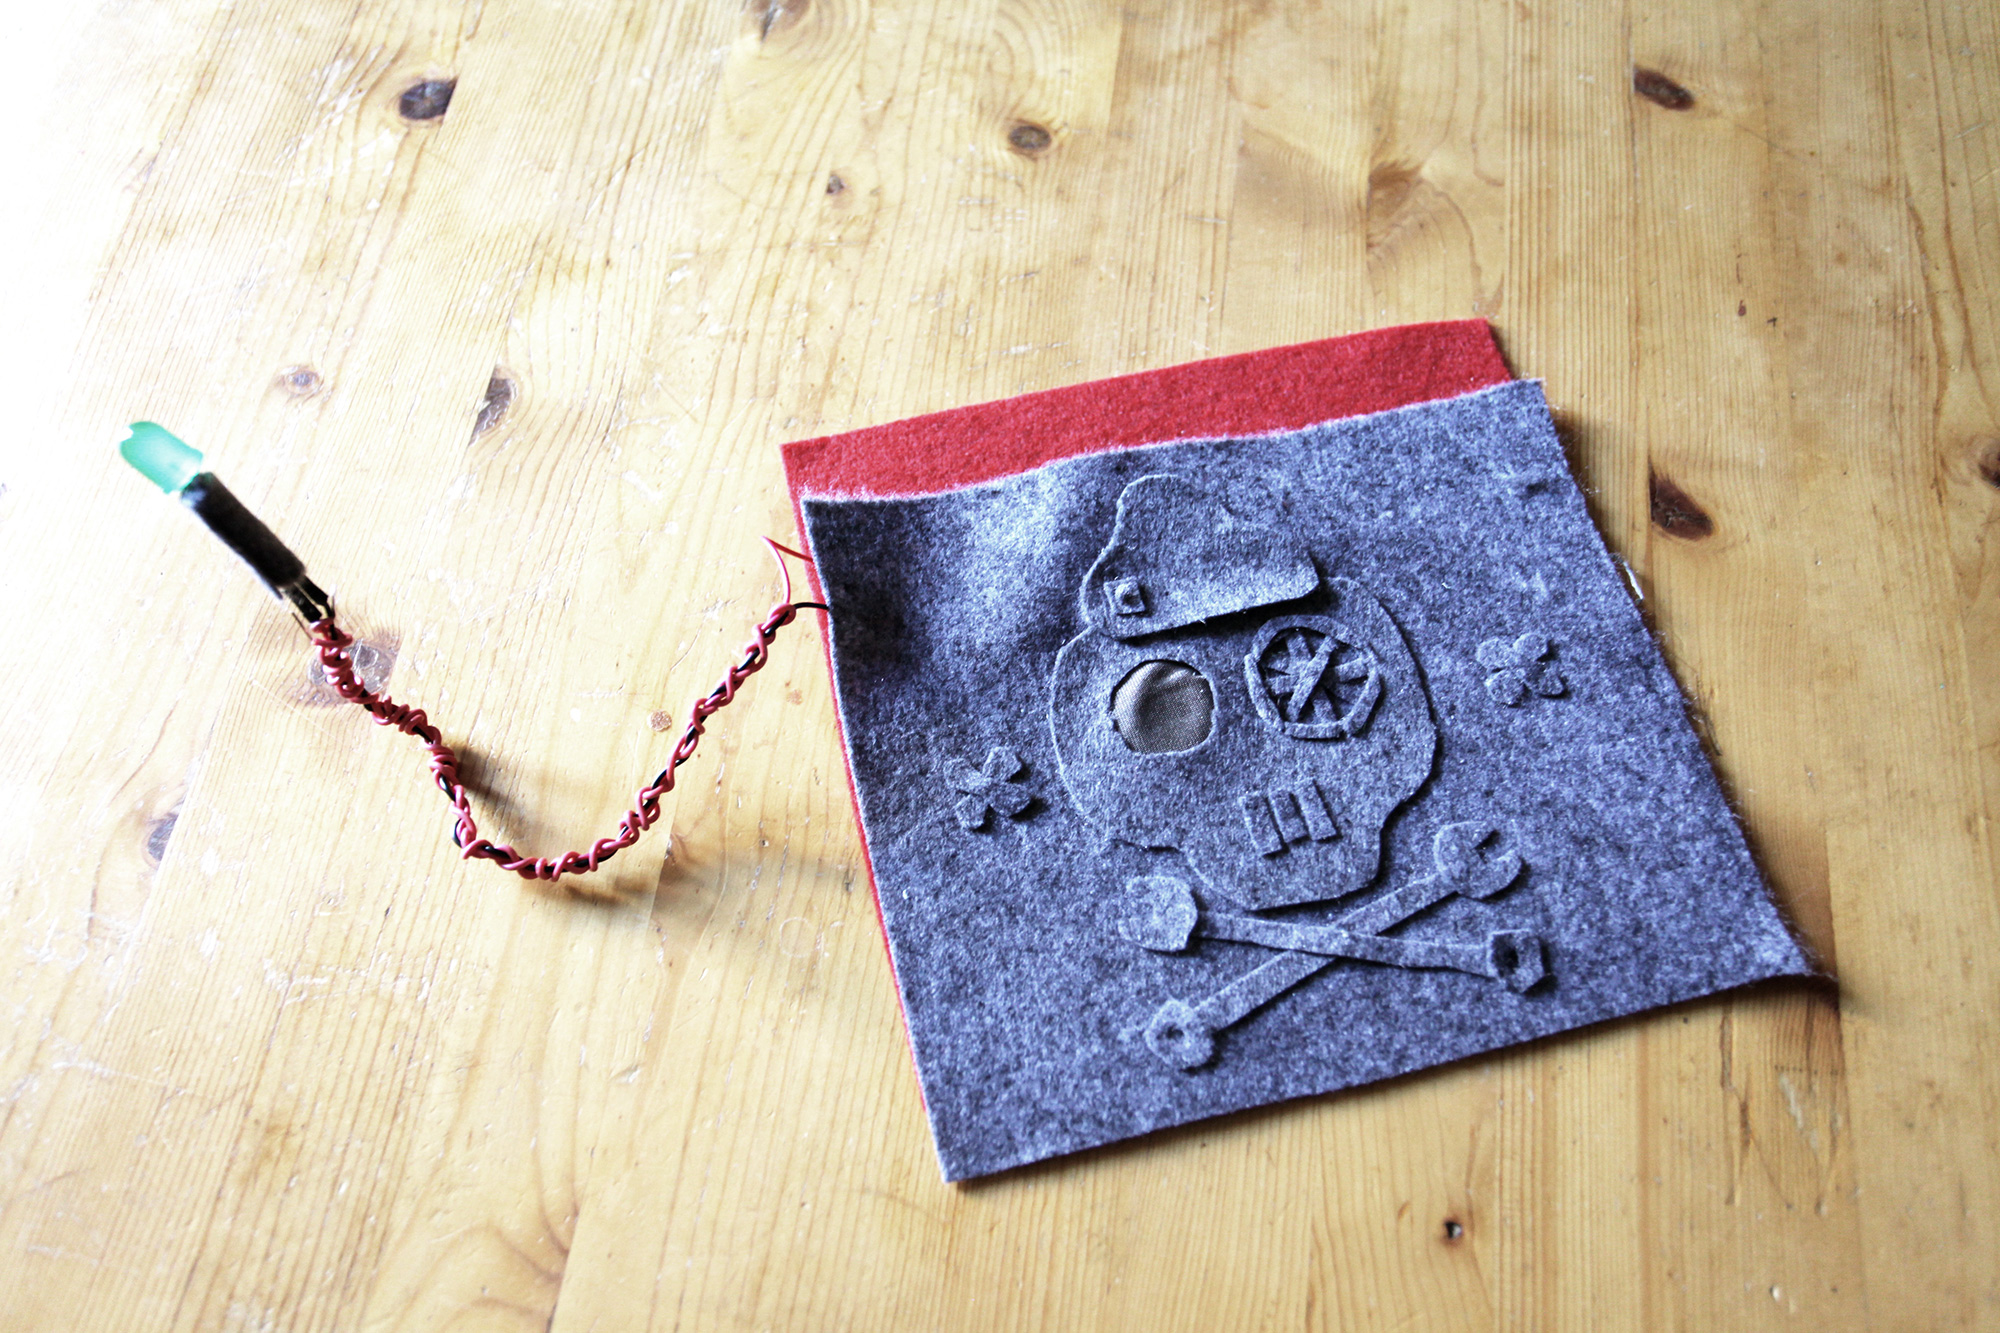
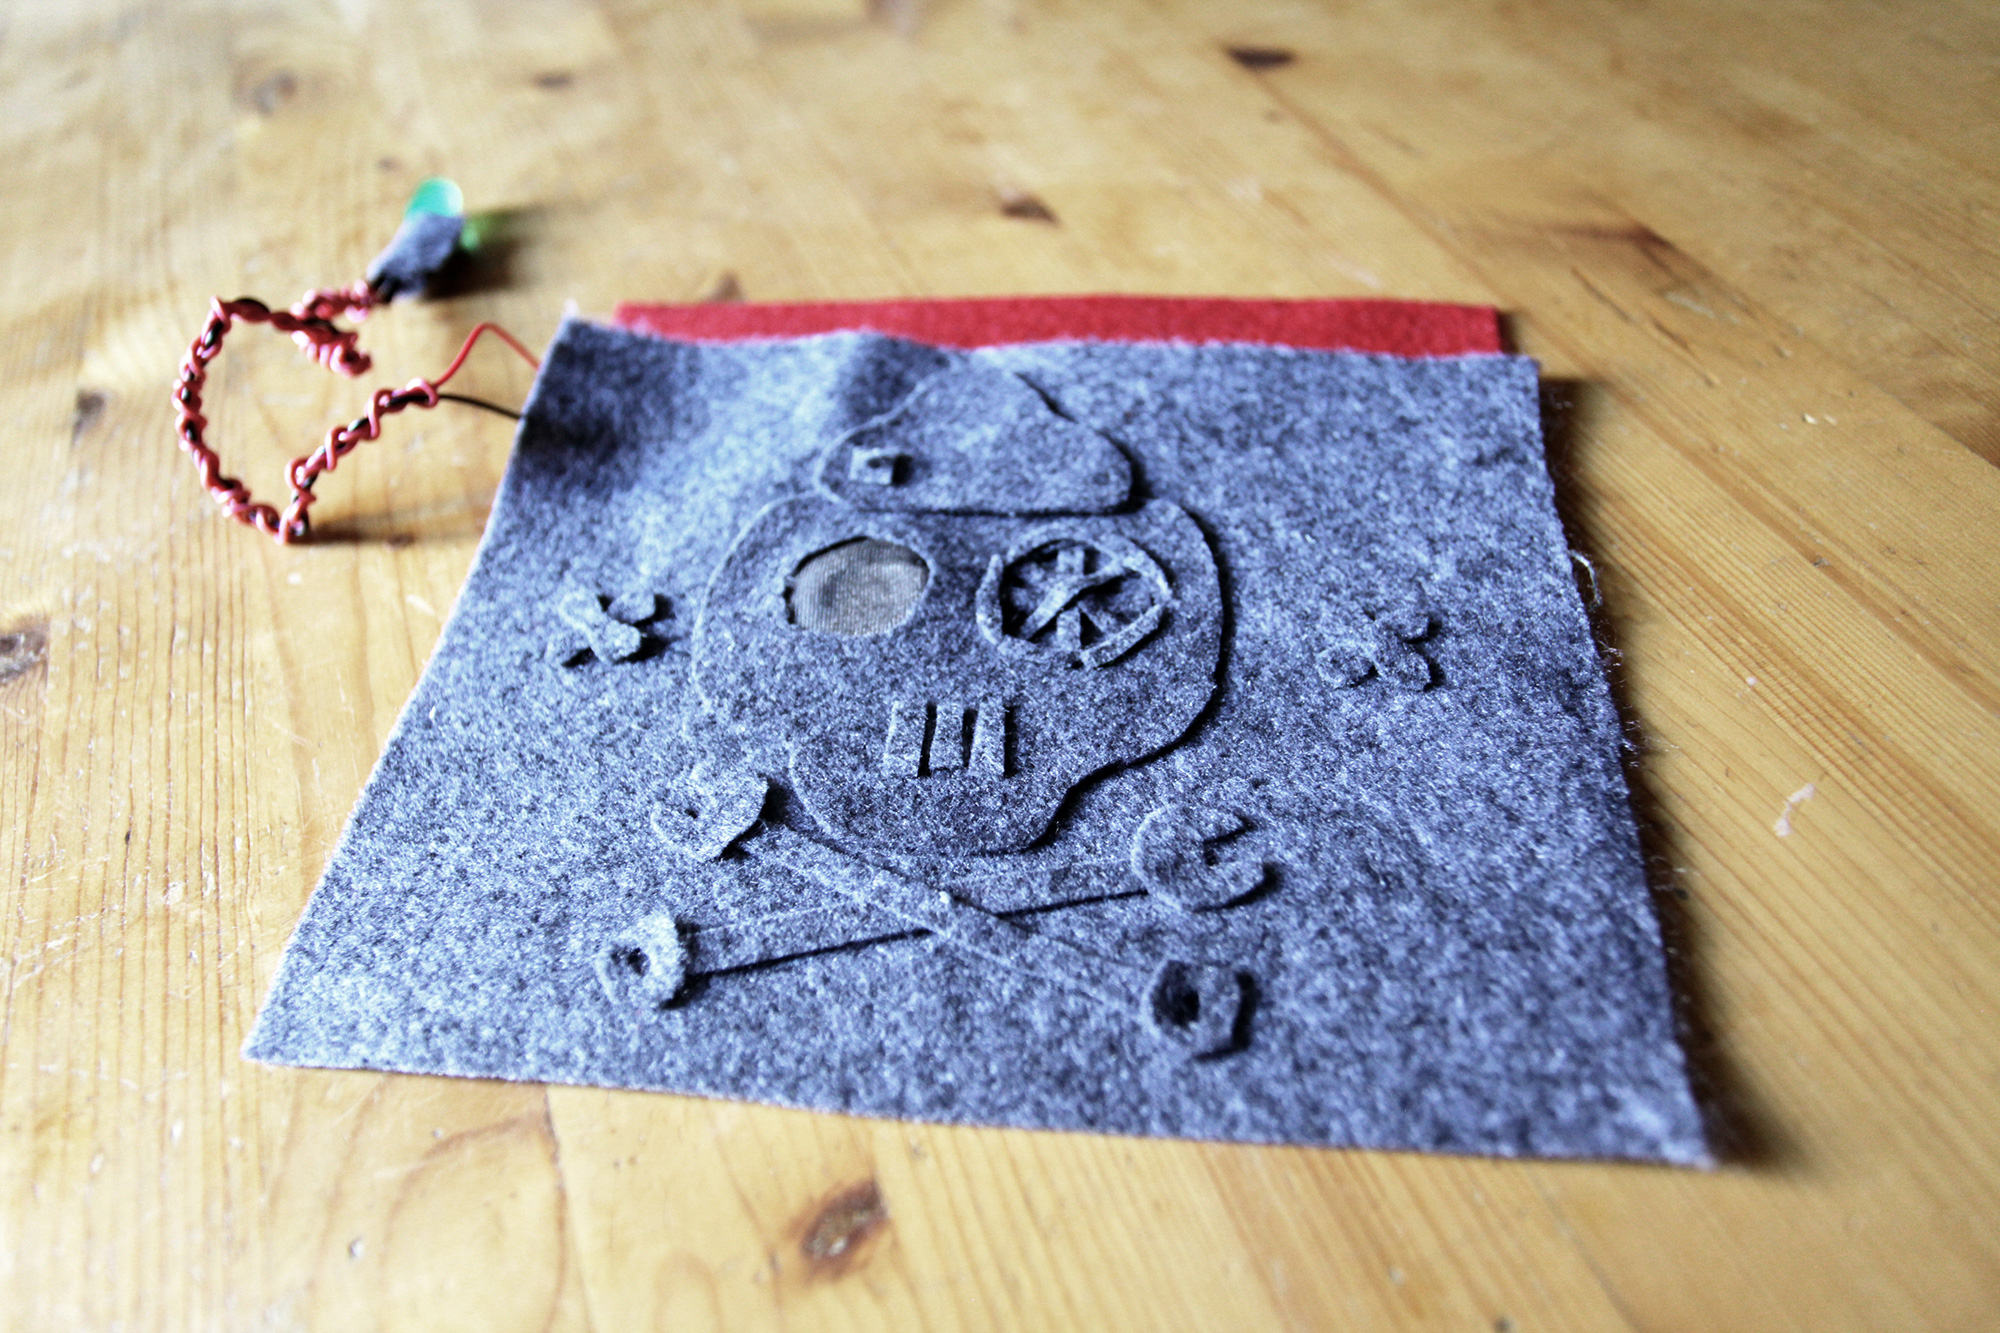
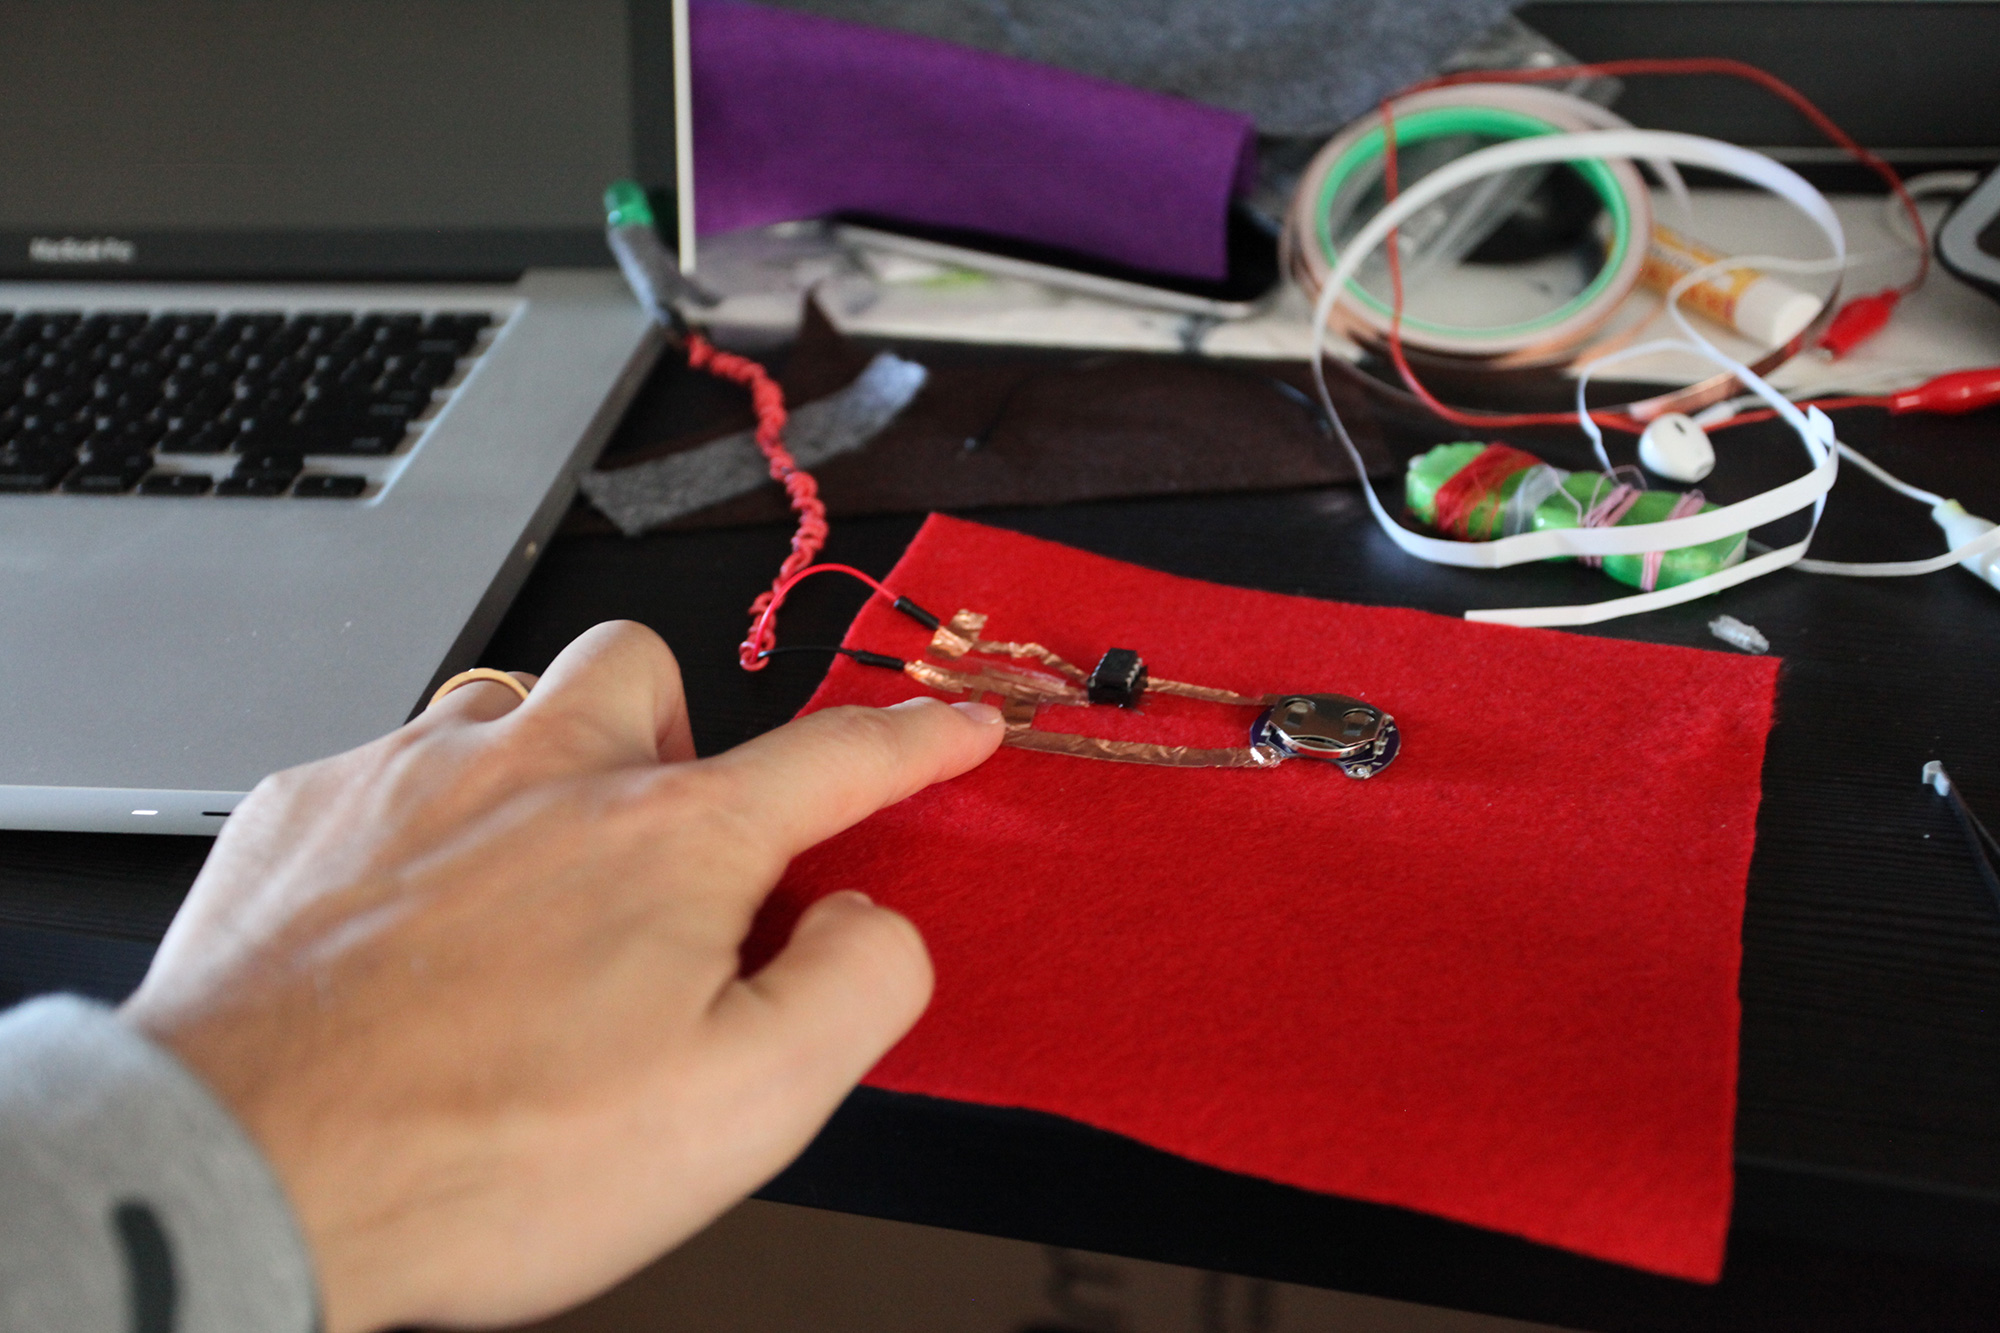
I took a preexisting knit headband and added a capacitive touch sensor to the area that meets the forehead using copper fabric. That way, when someone wears the headband, an LED will turn on, creating a headlamp for running/walking in the park at night during the winter. When the headband is not being worn, a smaller, blue LED will pulse – this is the resting state of my lamp.

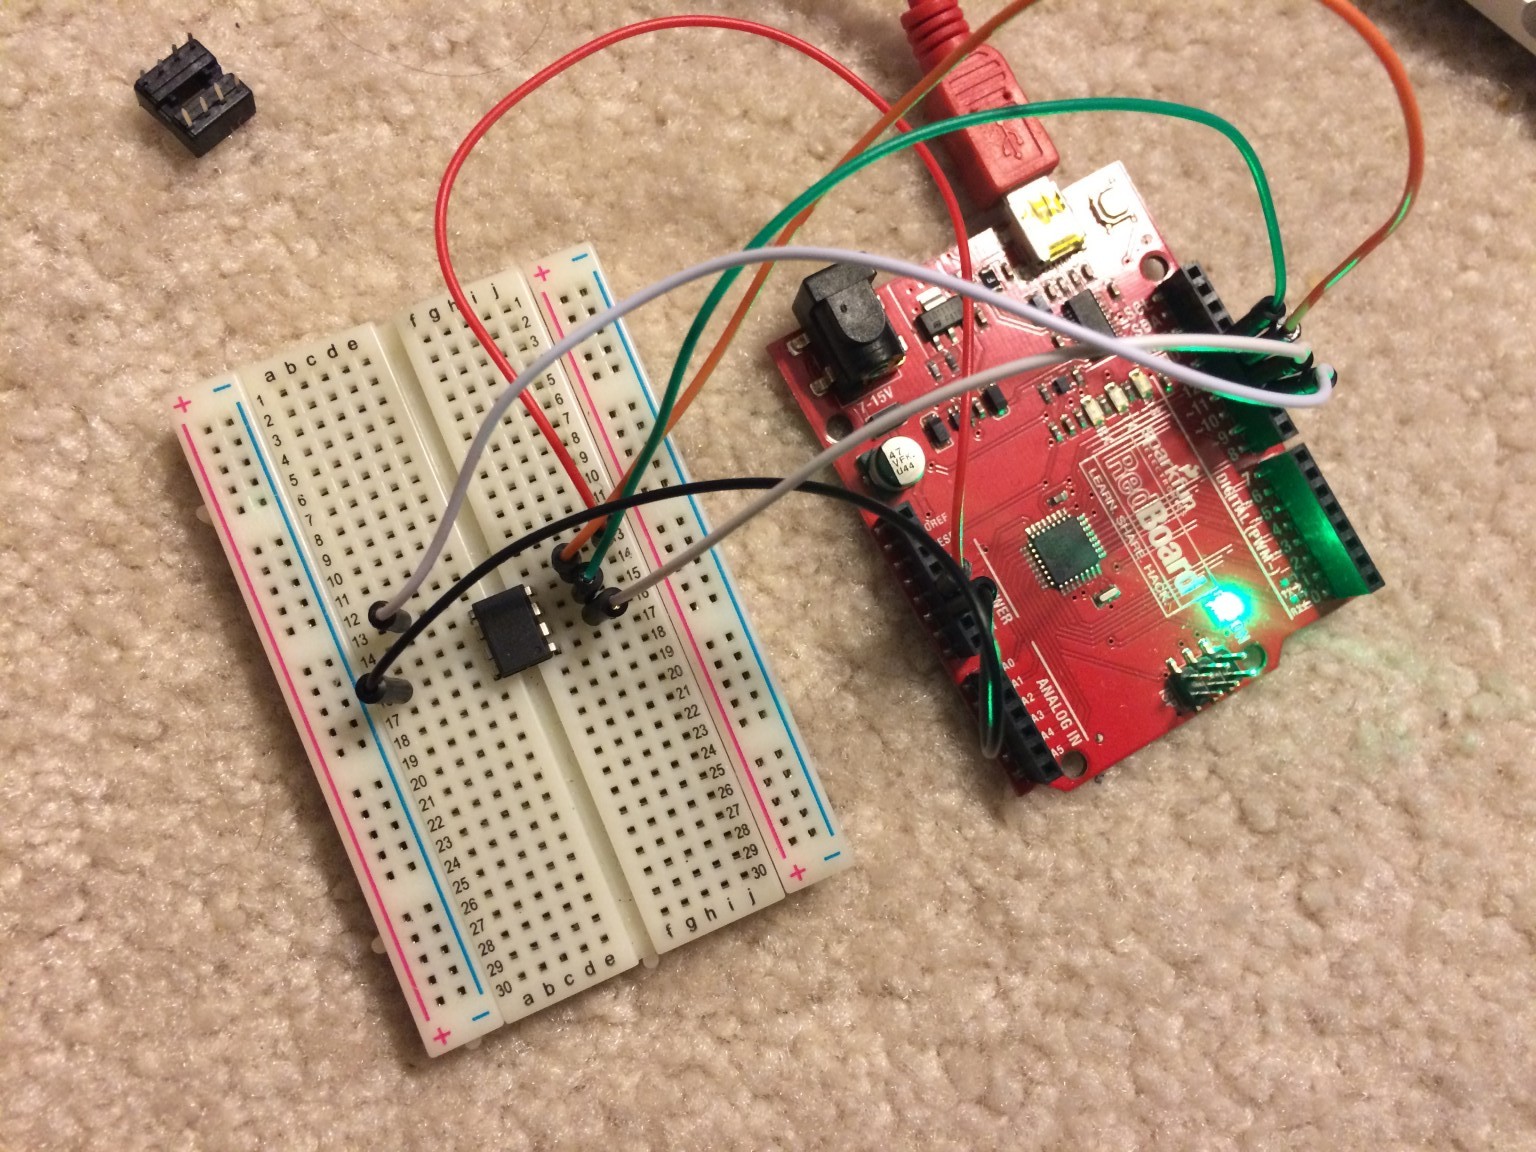
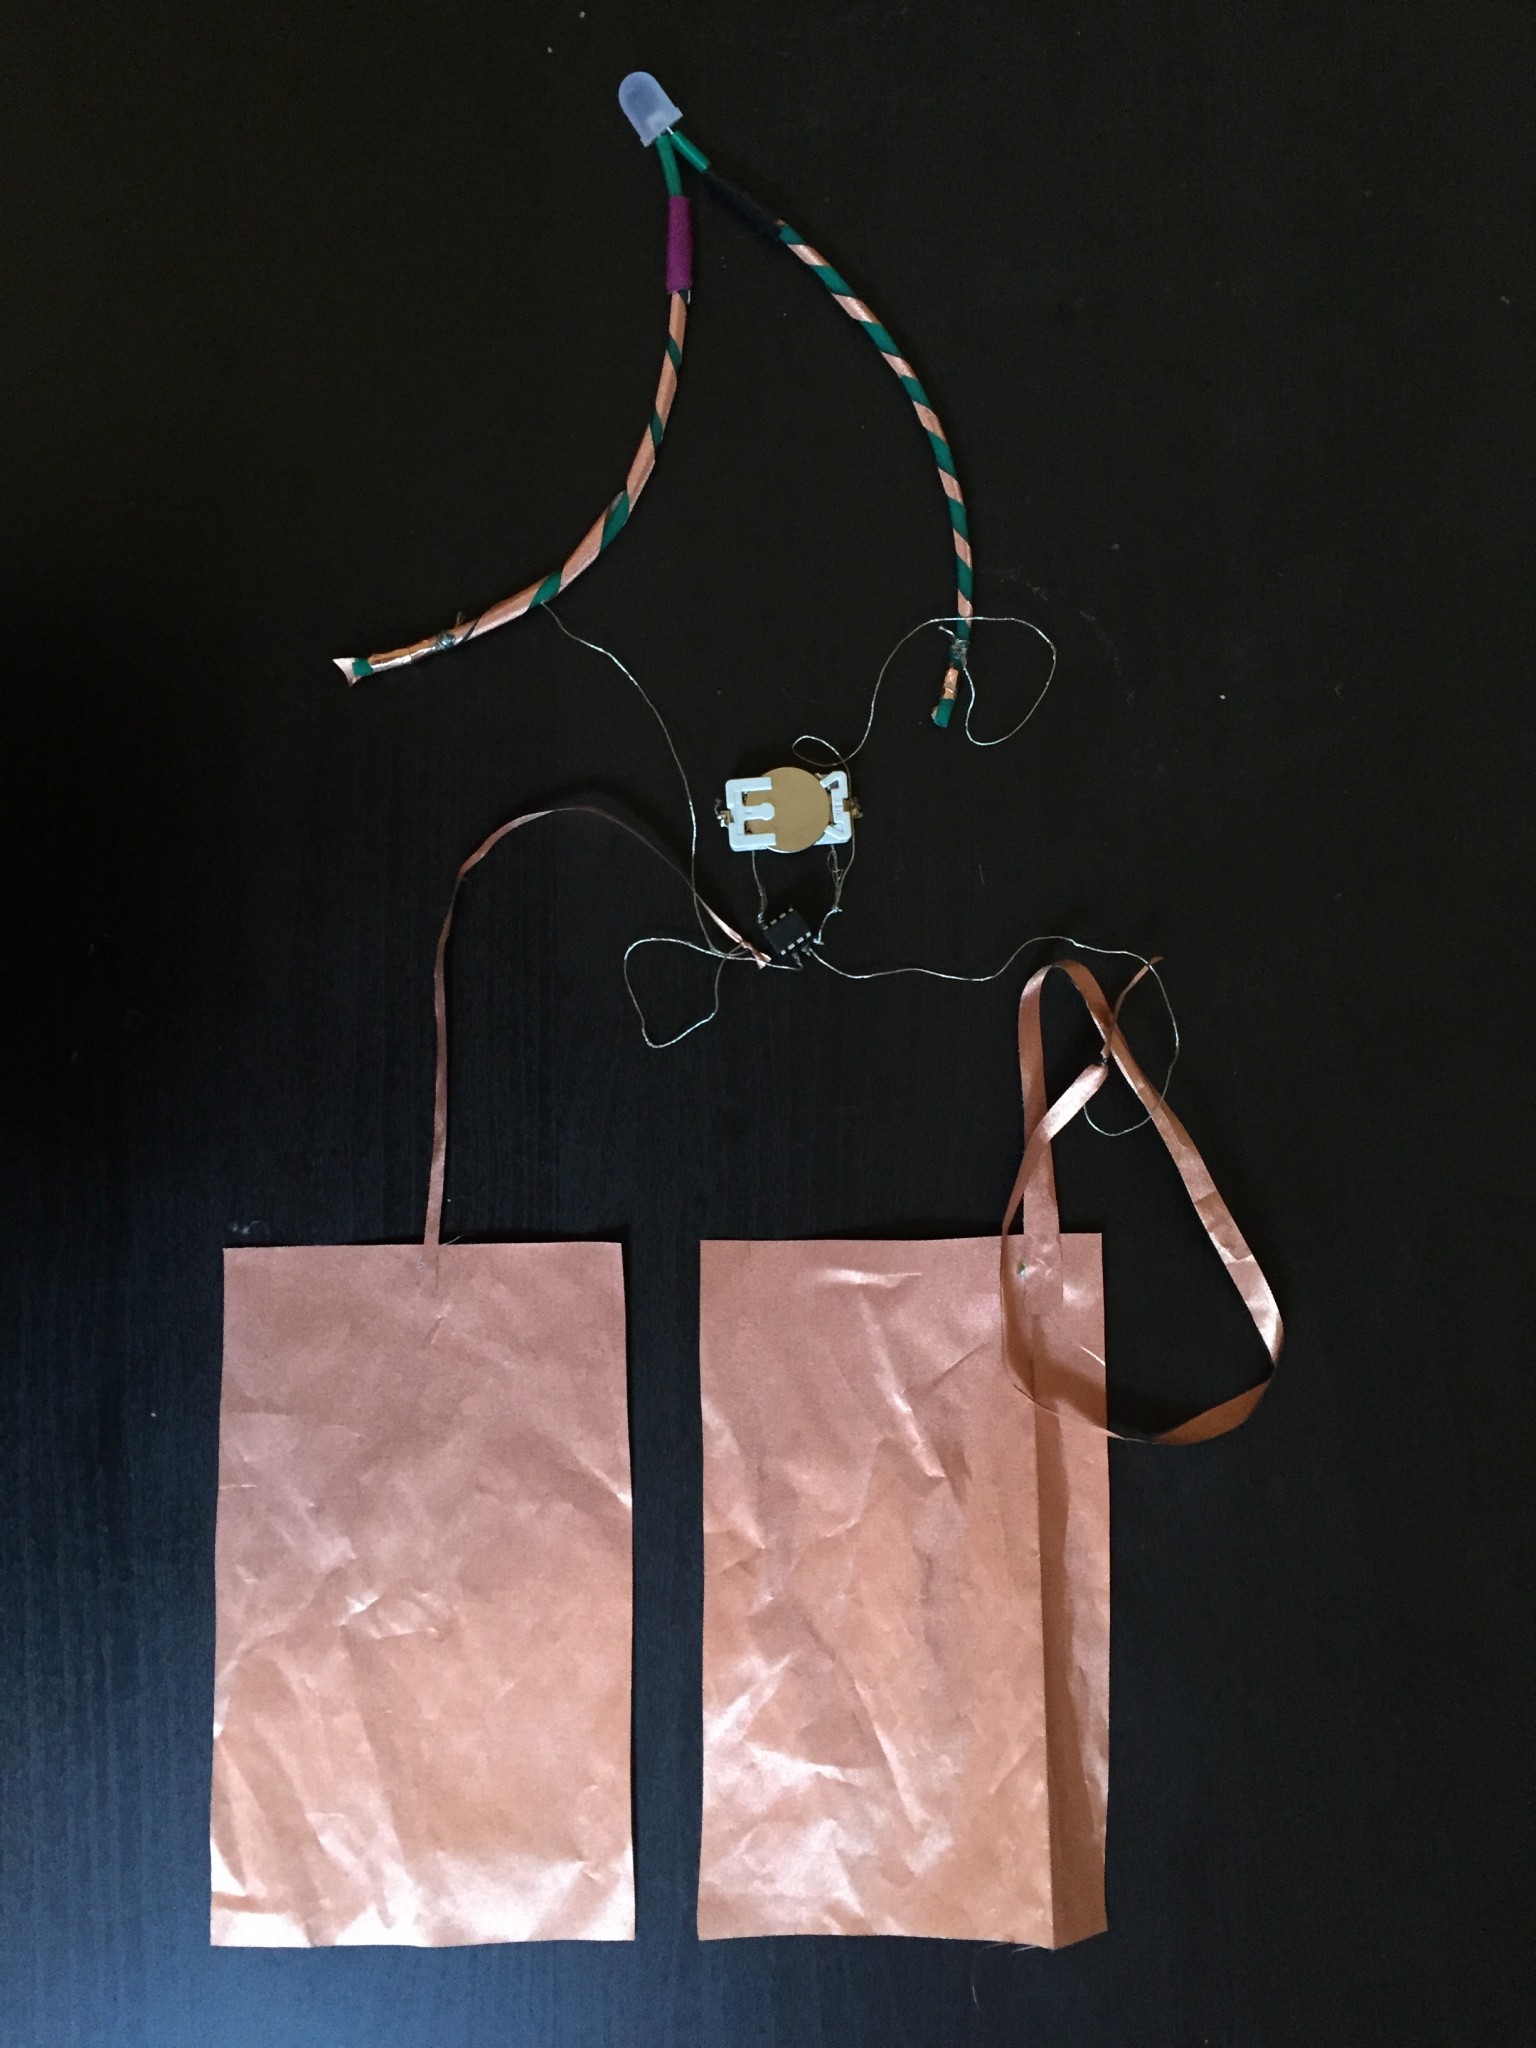
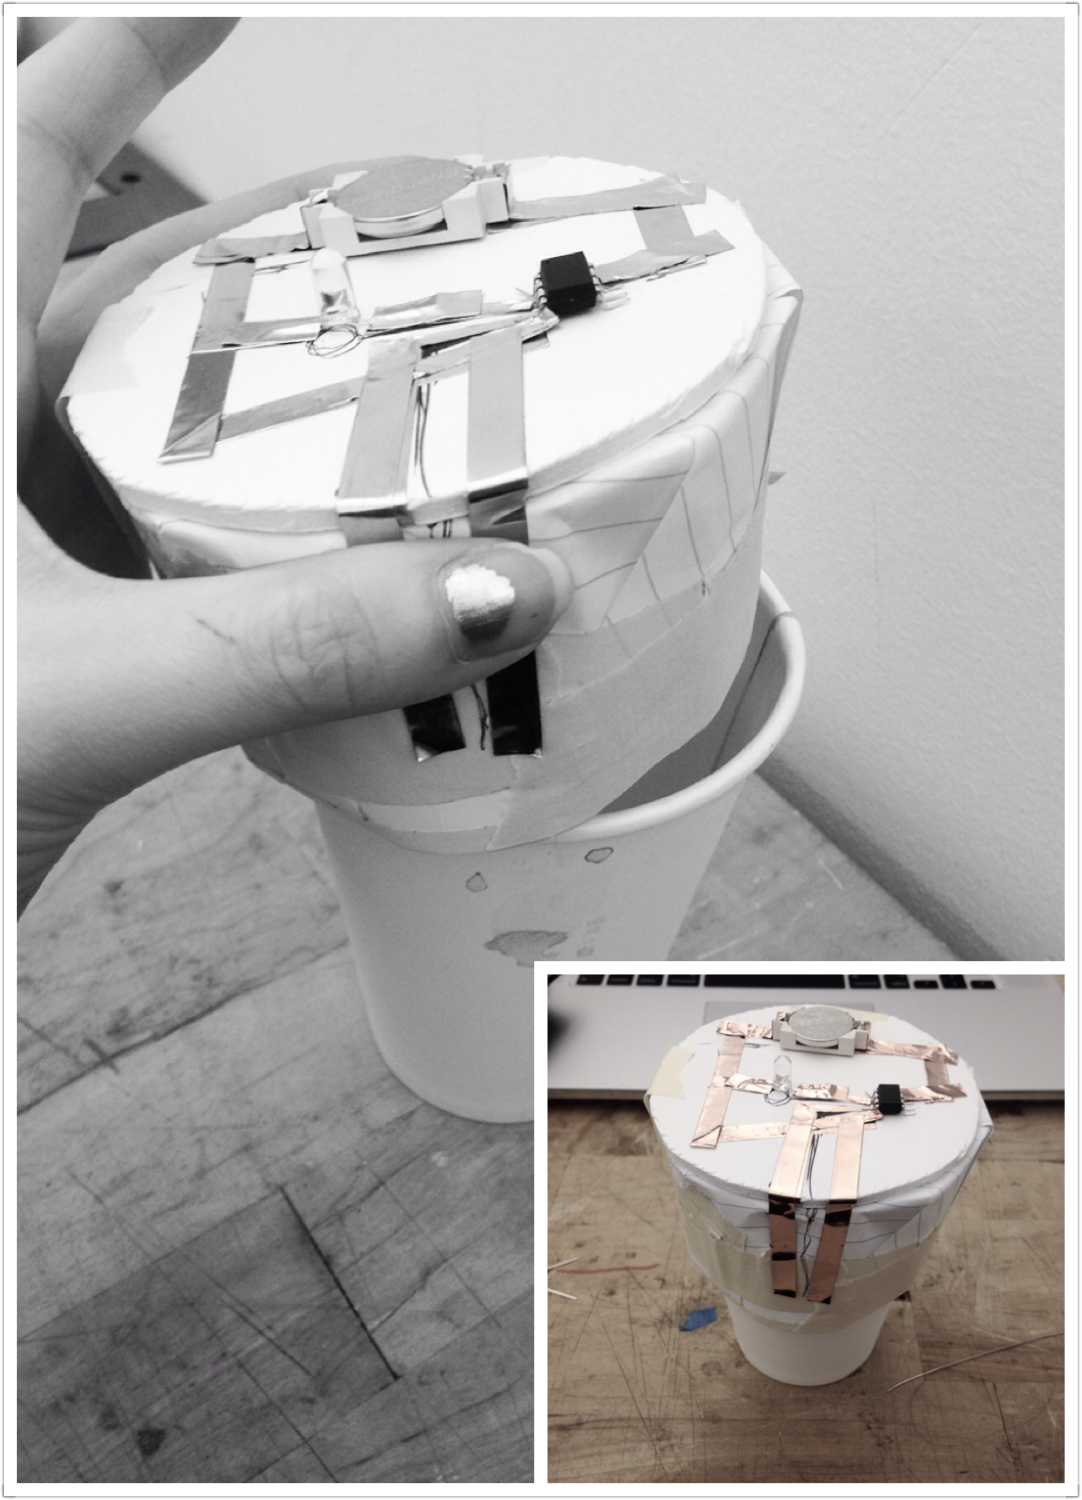
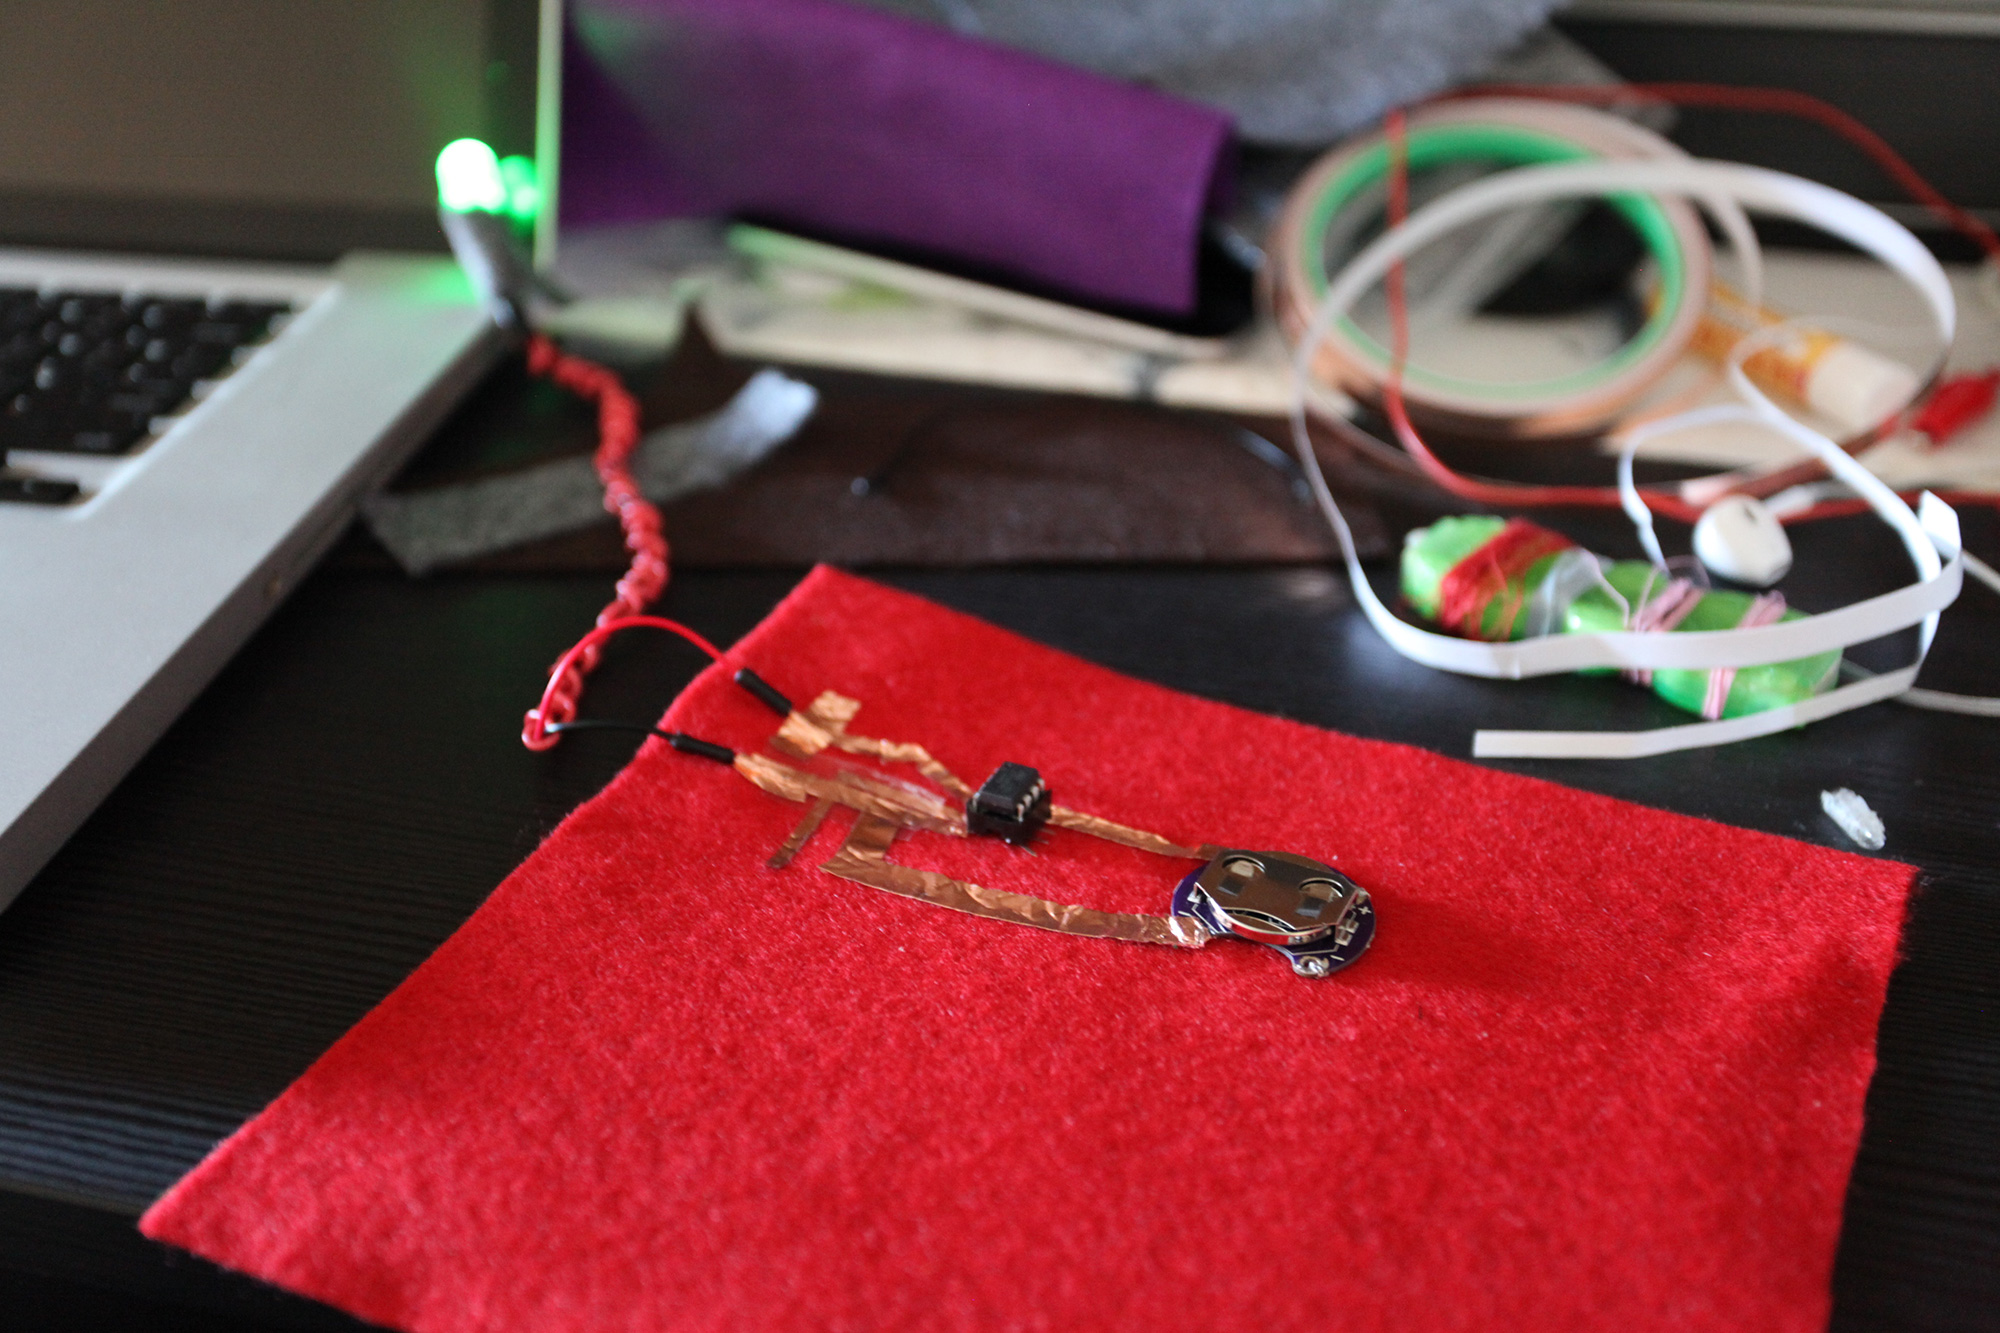
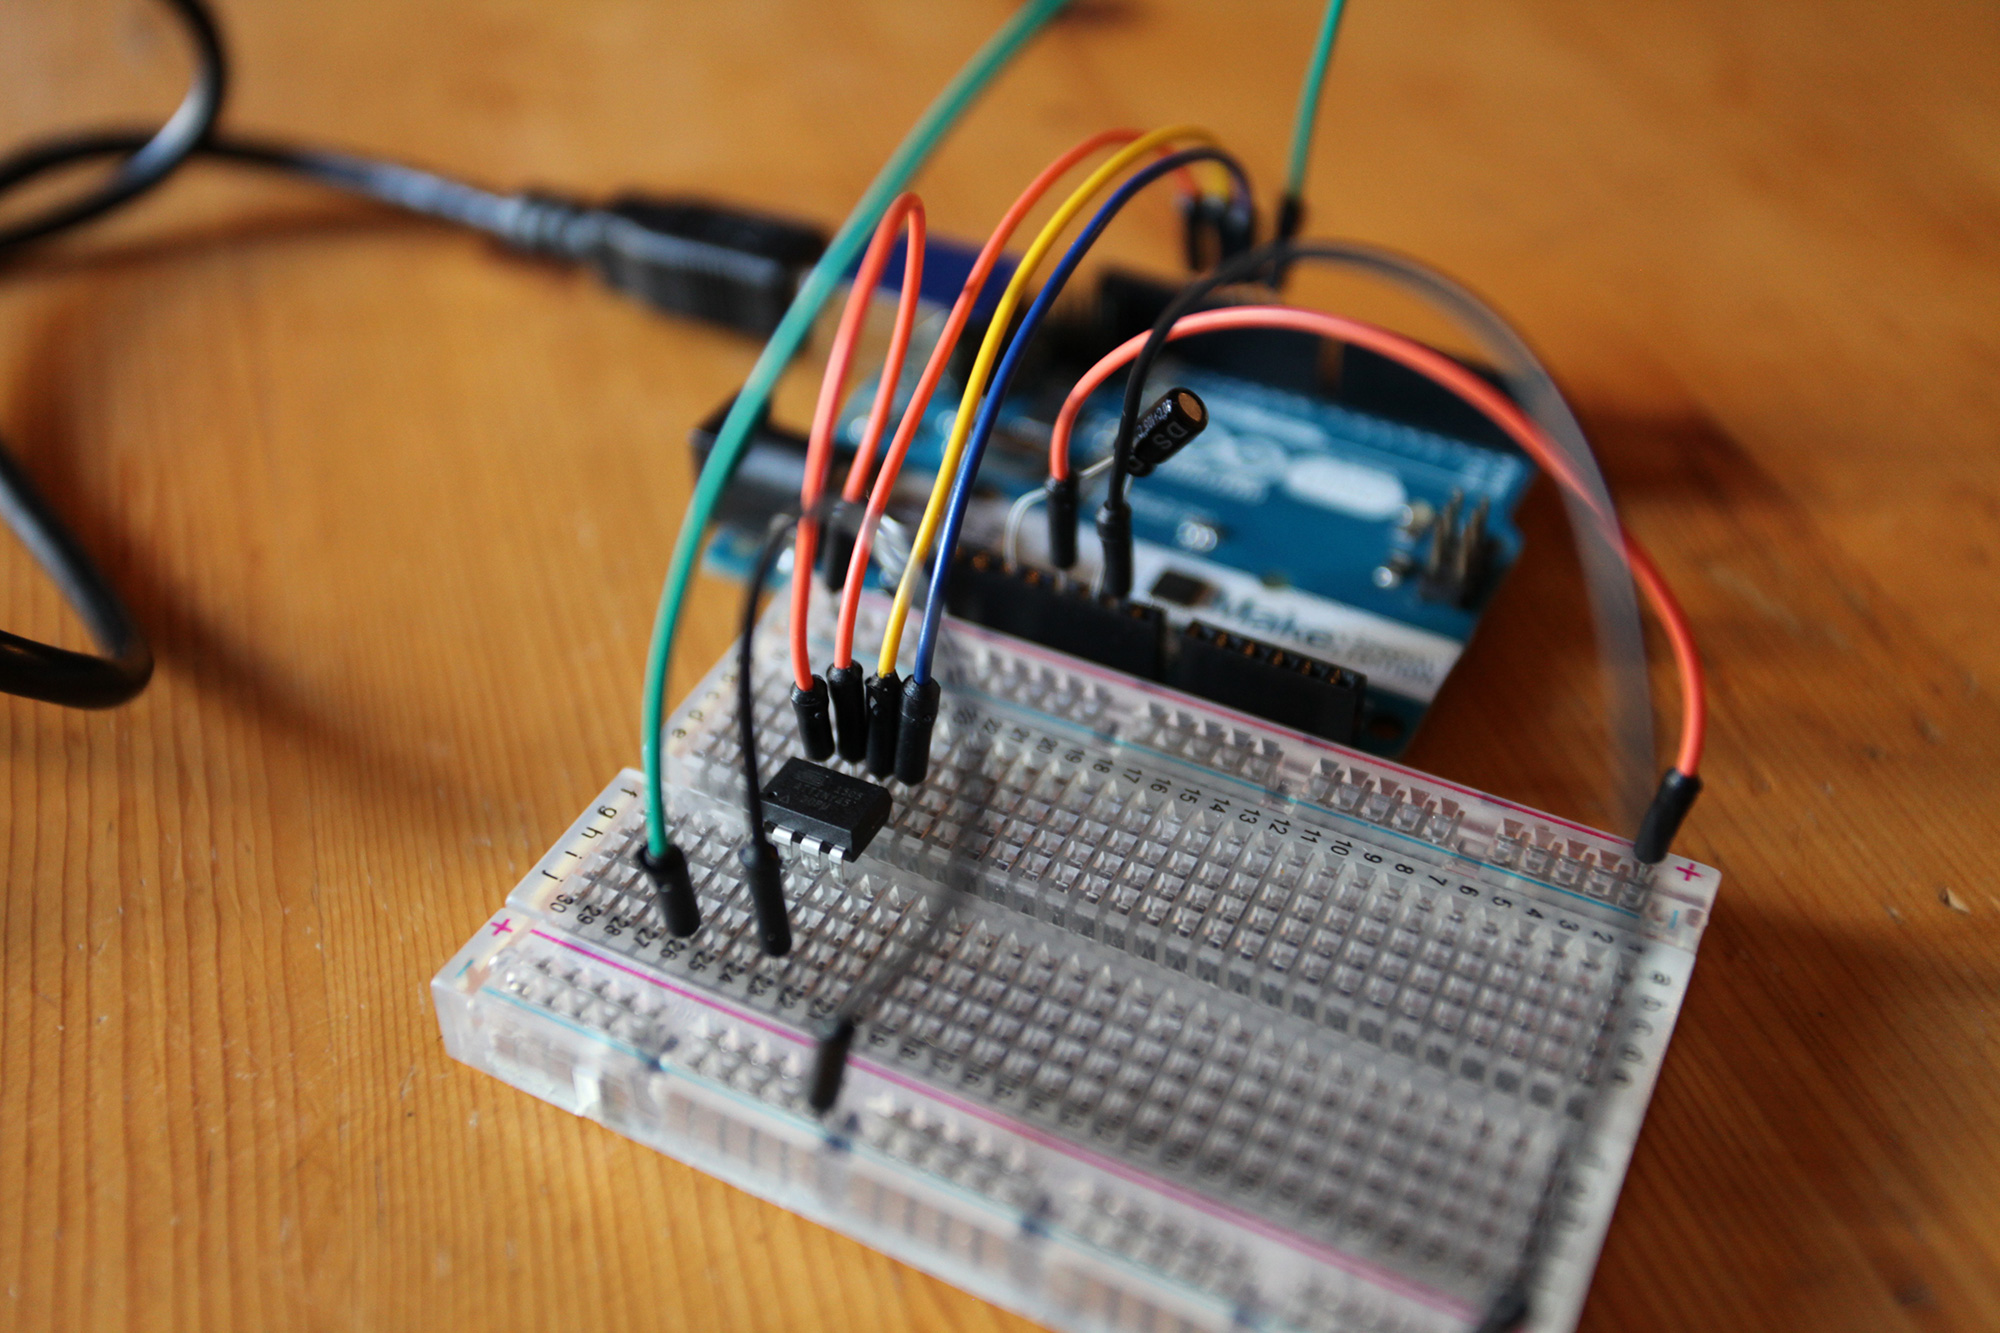
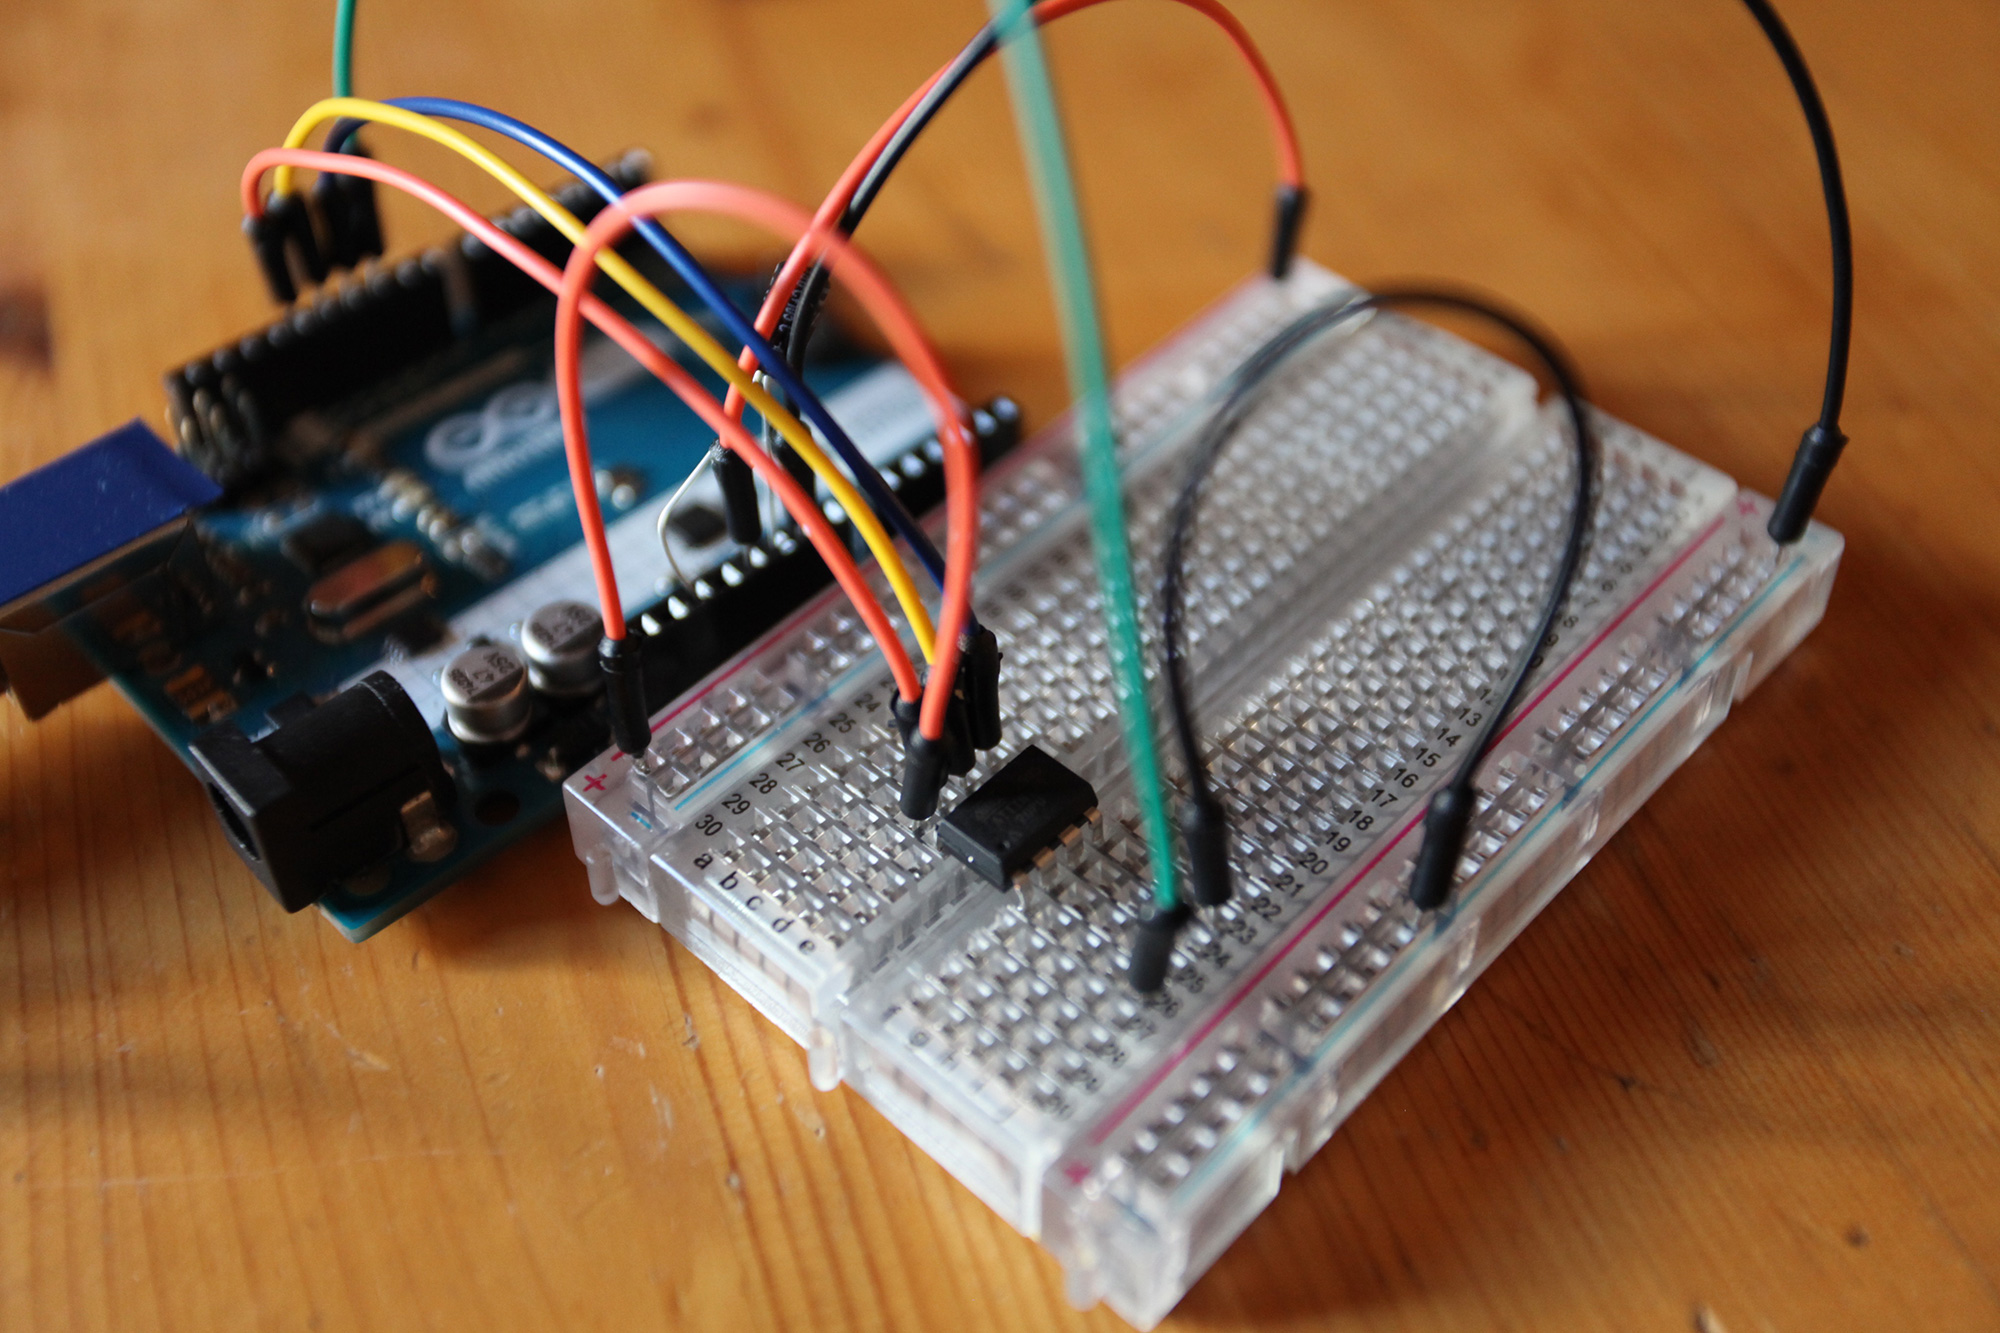
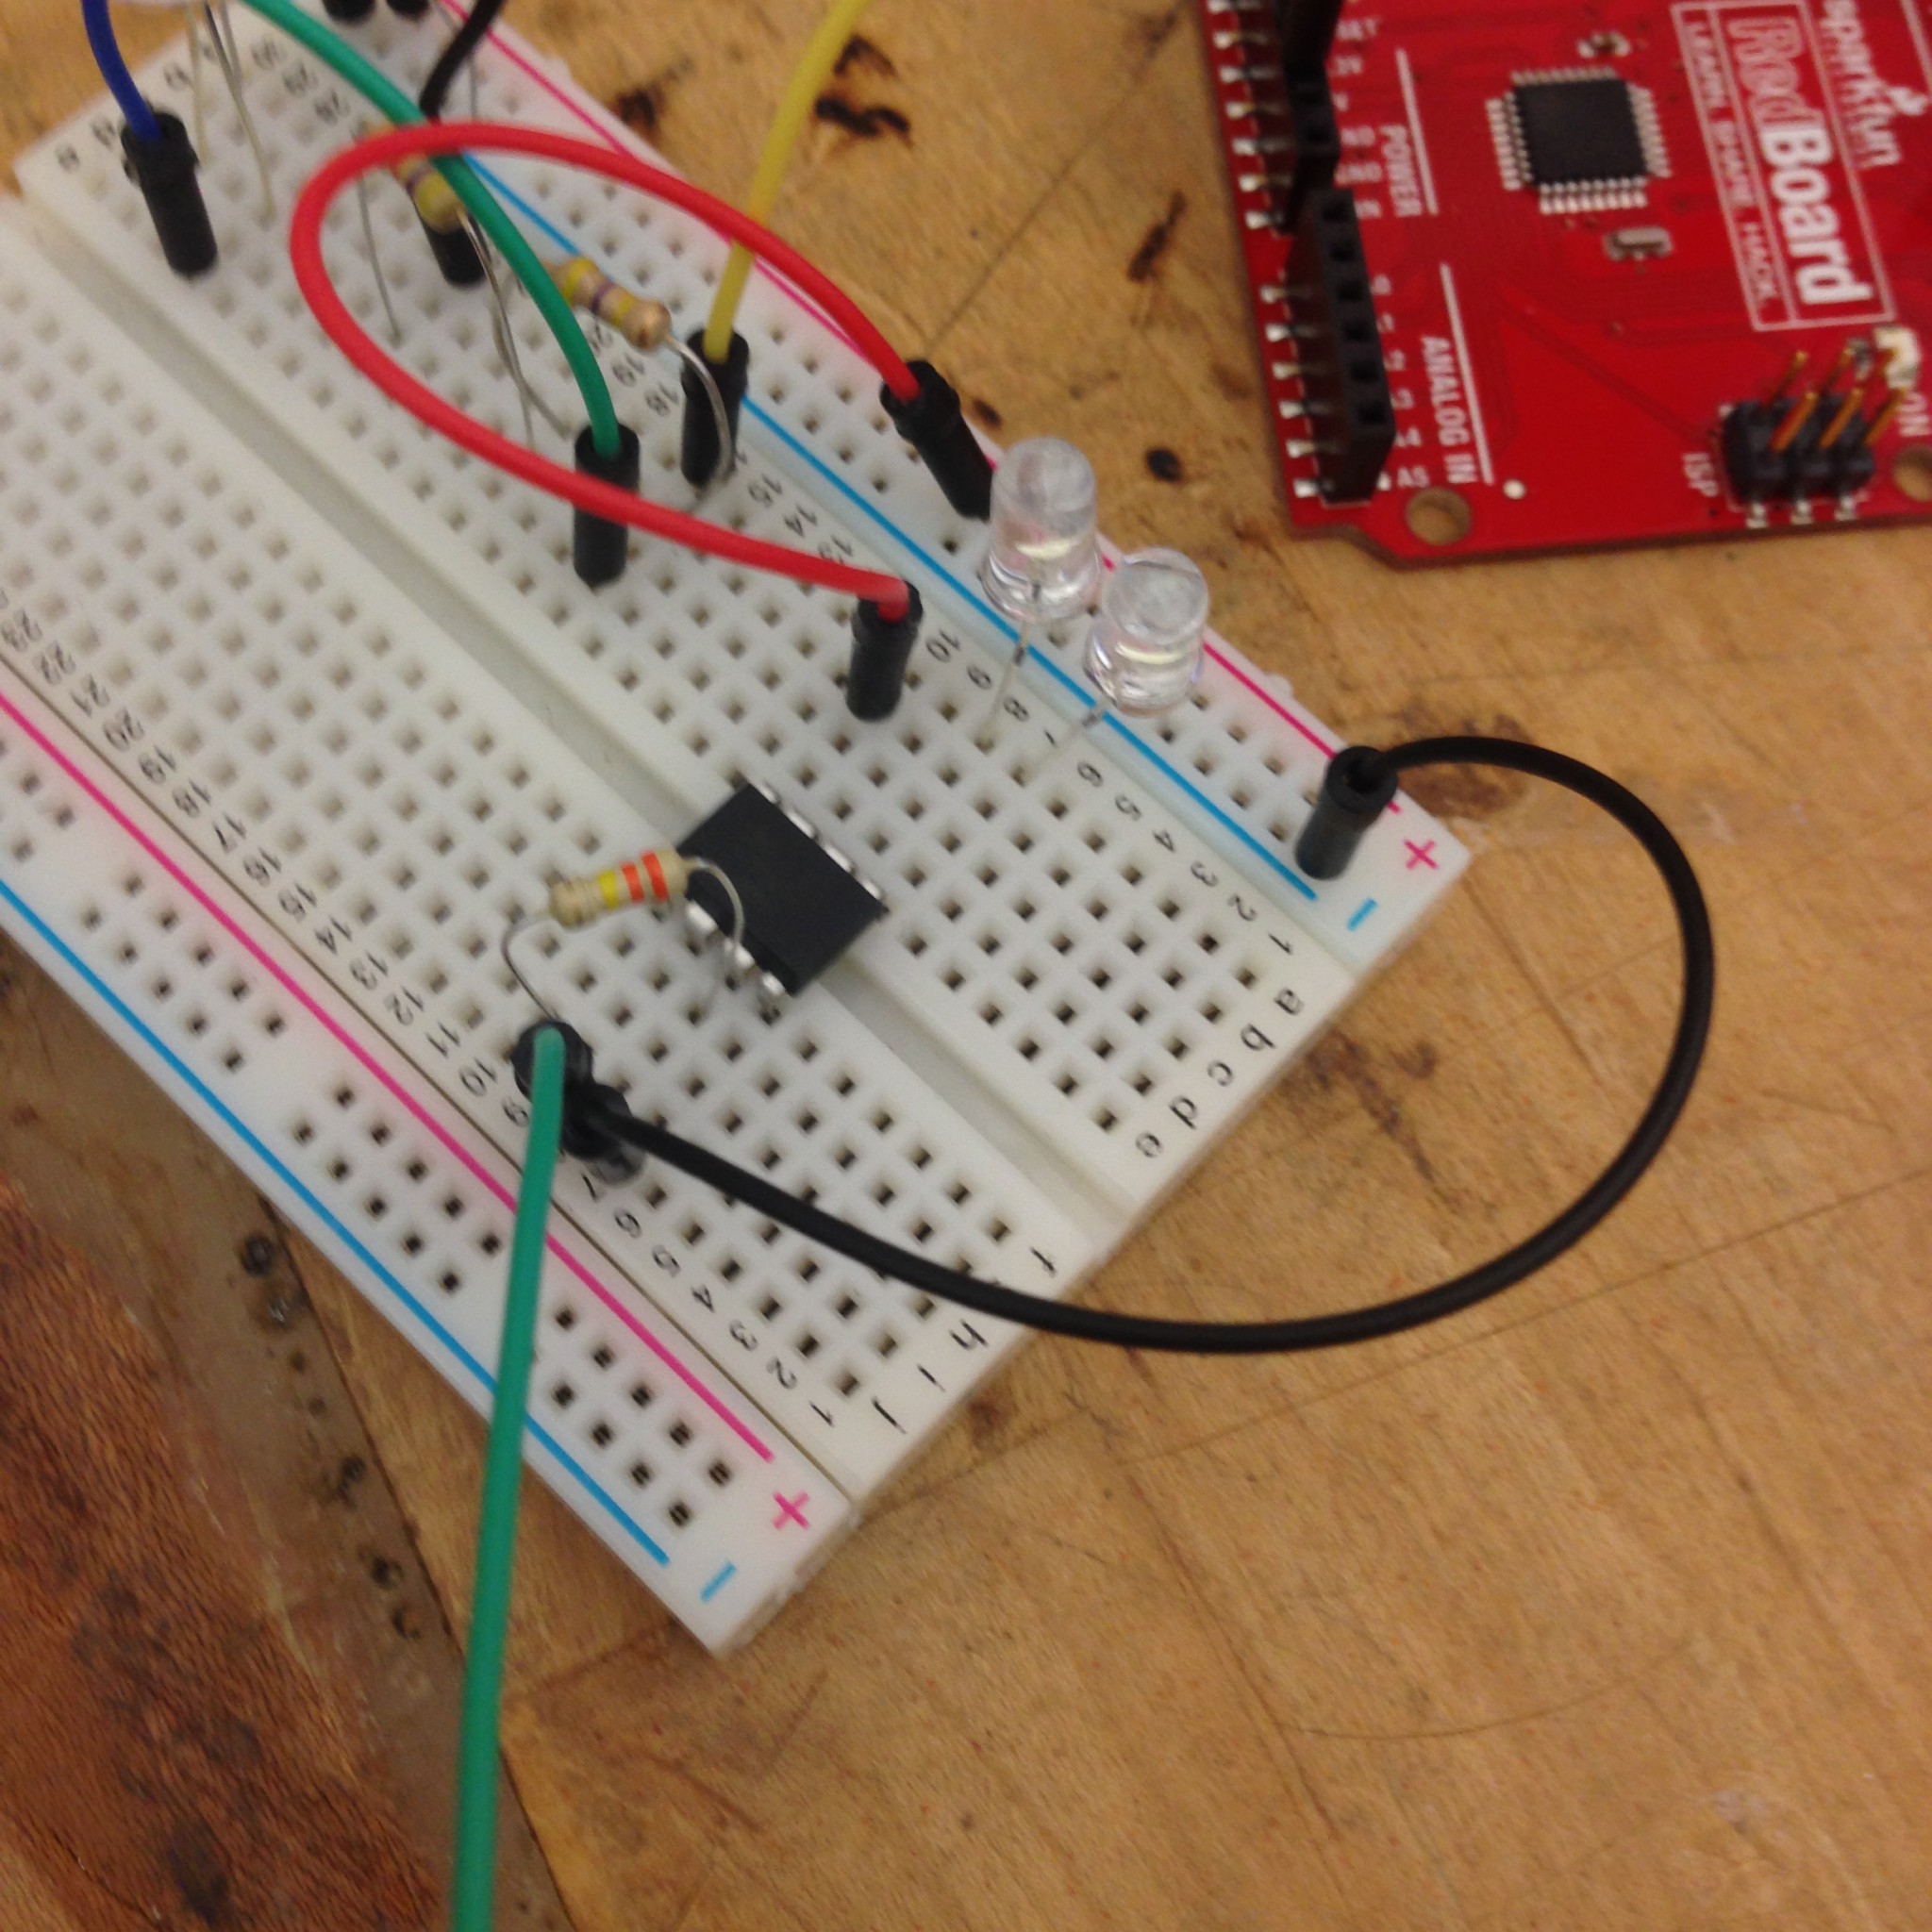
The above video shows the Arduino sketch running on a programmed ATTiny. The ATTiny controls two LEDs using a 3V battery and lights these LEDs based on capacitive touch input (the yellow wire that is touched in the video, which then becomes the copper fabric in the headband below). The “resting state” of the circuit/headband is a small, blue LED that pulses over time. When the input is received via the capacitive touch sensor/when the headband is worn, a second LED (10mm bright white) is lit, lighting the headlamp.

Materials:

  • 1x ATtiny45
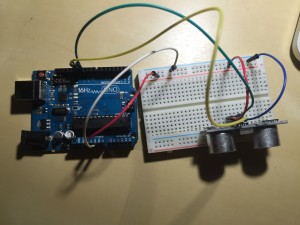
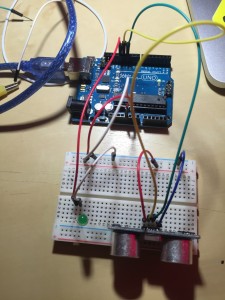
  • 1x Arduino UNO (for programming the ATTiny)
  • 1x 10uF capacitor
  • 1x 10mm white LED
  • 1x 5mm blue LED
  • 1x 3V / coin cell battery
  • 1x button
  • 1x 330k ohm resistor
  • 1x breadboard
  • soldering iron, solder, conductive thread/wire, perfboard

IMG_9722IMG_9716IMG_9726IMG_9724

IMG_9725IMG_0022IMG_0020


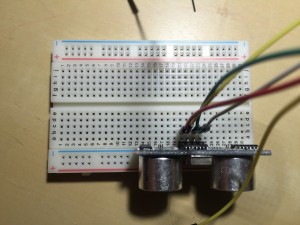
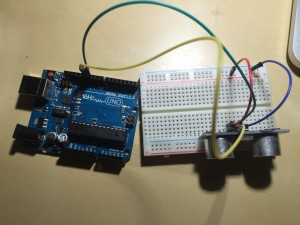
The Circuit / Fritzing Diagram:

Attiny-LEDs-capsens_bb

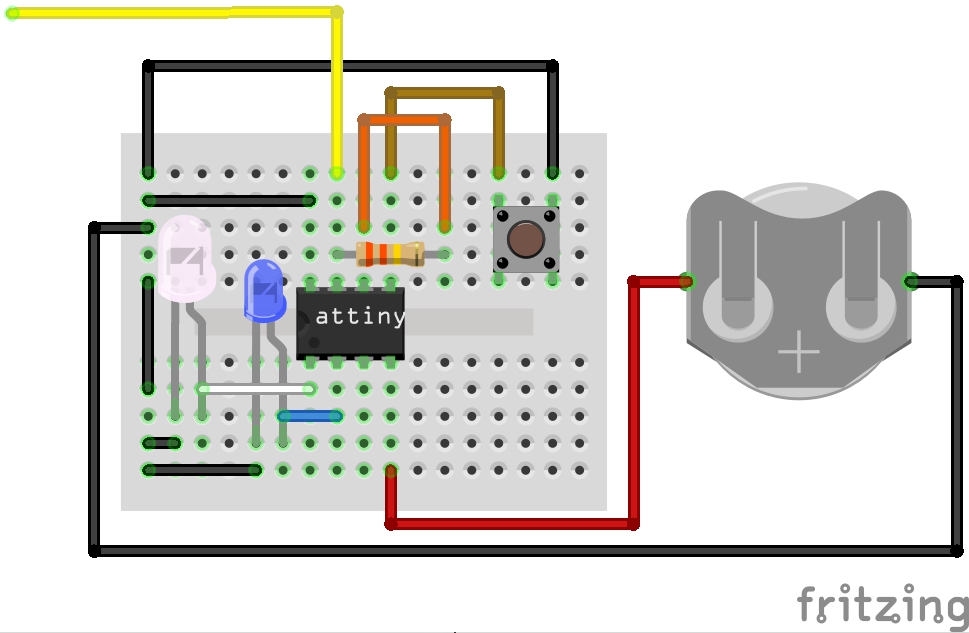
The yellow wire in this diagram connects to a piece of conductive material that – when touched – triggers programmed response (in this case, lights the white LED)


AT Tiny Attempt

For my AT Tiny Project, I created a crown in which a light would go on when it sensed a person directly in front of it.

I was able to get the capacitive touch sensor working. See video below:

But I wasn’t able to get the AT Tiny programmed. I had it set up like this:

IMG_3780

This was the crown I made to use with the AT Tiny…

IMG_3779 2

ATTINY-LAMP.WEEK7

IMG_7944

LAMP HAT

IMG_7938

IMG_7943 IMG_7946 IMG_7954


I use head as a switch button for turning on/off, every time someone put this hat on the it will light up. You can wear this hat at night and day time. When you need the light at night you just put the hat on then you will see the light. I use LED strip rap around this hat where it connect to the circuit inside the hat.

WEEK 7 ATtiny Code (UPDATED)

HOW TO:
Download the zip file. Place in it your Arduino folder (probably in your Documents folder) and unzip it:

Week7_Code_Examples

GETTING STARTED:
Here is the VERY HELPFUL getting started tutorial for working with the ATtiny.

INCLUDED:
Code and schematics for each
Capacitive Sensing
1) CapSense_Arduino_with_LED
Use this with Arduino

2) CapSense_ATTiny
Use this with the ATtiny

3) CapSense_ATTiny_SoftwareSerial
Use this to read sensor values from ATtiny. Here is a helpful tutorial.

Human Circuit
1) HumanCircuit_with_Arduino_LED
Use this with Arduino. Can adapt to ATtiny

2) Touch_ATtiny_Mellis
Use this with ATtiny. Has been finicky for some. Here is the documentation.

Book_Lamp_Isabella_(week_7)

A book lamp that turns on when one sits down and puts their forearms in the armchairs.


MATERIALS
– copper fabric
– conductive thread
– copper tape
– 3V battery
– LED
– solder
– ATtiny45 (human circuit code)

IMG_3053

PROCESS

ATtiny + capacitive sensing code w/reset

ATtiny + human circuit code (for some reason it was working just touching one wire and once I built the soft circuit for it, I had to touch the two wires in order to get it to work). This is the one I ended up using for the book lamp.


Sunglasses Lamp (WEEK7)

It is a glasses lamp. When the sensor touches the wearer’s face the LED turns on.

Materials: 1megaohm resistor, ATtiny, Battery, LED, Conductive tape

I applied the basic capacitive sensor circuit on a sunglasses by connecting the sensor pin to the top of the glasses where touches the wearer’s eye bone.

Pillow Lamp

It’s a pillow lamp.

In my original idea, this lamp could light up automatically when environment getting dark. When users laying heads on it, the light turns off.

But there is some problem with ATTiny. Finally the lamp can be turned off when laying heads on it. But it can’t light up automatically when environment getting dark.

IMG_7038_2 IMG_7037_2IMG_7038_2 IMG_7040_2 IMG_7045_2 IMG_7055

Circuit Prototype

IMG_7033 IMG_7035 IMG_7087 IMG_7091 IMG_7092 IMG_7097


Week 7 Emotion


The heart beats fast when the flower bunch gets close to it.

IMG_0878IMG_0879IMG_0880IMG_0883


Code

// —————————————————————————

// Example NewPing library sketch that does a ping about 20 times per second.
// —————————————————————————
#define ledPin 13
#include <NewPing.h>

#define TRIGGER_PIN 12 // Arduino pin tied to trigger pin on the ultrasonic sensor.
#define ECHO_PIN 11 // Arduino pin tied to echo pin on the ultrasonic sensor.
#define MAX_DISTANCE 200 // Maximum distance we want to ping for (in centimeters). Maximum sensor distance is rated at 400-500cm.

NewPing sonar(TRIGGER_PIN, ECHO_PIN, MAX_DISTANCE); // NewPing setup of pins and maximum distance.

void setup() {
pinMode (ledPin, OUTPUT);
Serial.begin(115200); // Open serial monitor at 115200 baud to see ping results.
}

void loop() {
delay(3); // Wait 50ms between pings (about 20 pings/sec). 29ms should be the shortest delay between pings.
unsigned int uS = sonar.ping(); // Send ping, get ping time in microseconds (uS).
Serial.print(“Ping: “);
Serial.print(uS / US_ROUNDTRIP_CM); // Convert ping time to distance in cm and print result (0 = outside set distance range)
Serial.println(“cm”);

if (uS / US_ROUNDTRIP_CM > 30) { // This is where the LED On/Off happens
digitalWrite(ledPin,HIGH); // When the Red condition is met, the Green LED should turn off

}
else {
digitalWrite(ledPin,LOW);

}
if (uS / US_ROUNDTRIP_CM <= 30 || uS / US_ROUNDTRIP_CM >= 0){

}
else {
Serial.print(uS / US_ROUNDTRIP_CM);
Serial.println(” cm”);
}
delay(3);
}