Author Archives: pages

Final Project Process and Instructables

Soft Circuit Loteria Final Project Process and Instructables!
By Isabella Cruz-Chong and Sarah Page

For our main final project post, see this page.

Knitted Speaker in “El Alacran”

Process

IMG_0099

Testing different types of coated wires for the speakers

Knitting test with heavier copper wire

Knitting test with heavier copper wire

IMG_3715
Knitted Speaker Instructable!


Coiled Speaker in “La Pera”

Process

Starting the copper coil

Starting the copper coil

Copper coil speaker Test

Copper coil speaker test

IMG_3753
Copper Coil Speaker Instructable


Book Speaker in “El Músico”

Process

Wrapping Wire around book

Wrapping Wire around book

Book Speaker Test

Book Speaker Test

IMG_3714
Book Speaker Instructable


Capacitive Touch Sensor in “El Nopal”

Process

IMG_4094
Needle Capacitive Touch Sensor with Copper Coil Speaker

Final Proposal

I am interested in creating an interactive sound installation in which users can listen to multiple perspectives on one topic that others have left and then record their own perspectives as well. Users will respond to a specified topic.

The piece will have three different speakers made by me that the user will need to get very close to. There will be two buttons with each speaker, one “listen” button that allows the user to listen to a randomized perspective and a record button that allows them to record their own experience and add it to the grouping of perspectives. The speaker will be soft and will require the user to get up close to it to hear it, making it a very intimate experience.

IMG_3606 (1)

Speaker and Button Setup

General Idea of Installation Setup

General Idea of Installation Setup

One precedent is “Subway Stories” which allows a user to “navigate through a subway car” through sound and hear what the different people are thinking during their journey.

And another is called “Life in Transition” in which Asian women that have emigrated to England for work shared stories about their experience living in a new and unfamiliar place.

Memory Project – Story Stuffie

In 2050, a devastating disease spread across the country, forcing many sick people to be separated from their unaffected families. This became especially problematic when sickened parents were separated from their children that were okay, or vice versa.

It’s important for children to be able to hear their parent’s comforting voices, especially during this particular time of distress. This dinosaur stuffie allows parents that have been separated from their children to record and send audible versions of their stories and memories to their child through the toy. When it’s time for bed, the child can pet the dinosaur in a specific place and hear the messages and stories that have been left for them by their parents.

Ideally the speaker would be better incorporated into the dinosaur.

speaker:

IMG_3524

Setup:

IMG_3590

Video:

Midterm!

Group Members: Charles, Sarah, and Jane

Concept
We first imagined a future in which extremely high temperatures outside would require people to live underground, resulting in people needing some form of light. After discussing a number of solutions for this, including the earth’s surface being completely covered in solar panels and providing power for numerous underground communities, we settled on a more low-tech idea of funneling light down into a cave-like structure, using mirrored surfaces.

Process
After some experimentation, we ended up building a large, 7-foot structure that can be altered and changed to accommodate many situations. The structure is built out of wood and is about 6 feet by 6 feet at the bottom and it decreases in size to about 1 foot by 1 foot as it approaches the top, similar to a pyramid. We looked at a number of different shiny materials for the inside of the pyramid and settled on shiny emergency blankets. The way they catch the light is pretty amazing and they also allow light to come through when light is behind them. We covered the entire inside of the pyramid with shiny material.

We then covered the outside in black plastic tarps that were cut to the exact size of each side of the pyramid. We attached the tarps to the top of the structure so that users can roll them up if they want to allow light to come in or leave them down to keep light out.

We also created a small triangular table that housed a projector that projects bright colors and moving shapes. The projector points up and the colors and shapes are reflected around the entire room. A button on the small table allows the user to both start and stop the projections.

The structure has multiple states that allow for different needs. When the sides are rolled down, light is blocked out and the projector can be turned on. We imagined that these future peoples would value and worship light, and pictured them using this structure to hold religious ceremonies.

When the sides are rolled up, the people inside can see outside, but people outside aren’t able to see them. In this state, these people can effectively hide from the outside world, while still feeling a part of it.

Constructing the base

Constructing the base

Building the structure

Building the structure

Adding the shiny emergency blankets

Adding the shiny emergency blankets

Adding the reflective inside

Adding the reflective inside

The view from inside

The view from inside

The outside with the black tarps

The outside with the black tarps

View of the inside without the floor finished.

View of the inside without the floor finished.

Table that houses the projector and button

Table that houses the projector and button

Table installed inside the structure

Table installed inside the structure

Video of the effect inside…

AT Tiny Attempt

For my AT Tiny Project, I created a crown in which a light would go on when it sensed a person directly in front of it.

I was able to get the capacitive touch sensor working. See video below:

But I wasn’t able to get the AT Tiny programmed. I had it set up like this:

IMG_3780

This was the crown I made to use with the AT Tiny…

IMG_3779 2

Behavior Project (Week 7)

“Kick!”

I chose to embody the word “kick” and felted a little adidas soccer shoe. I then attached it to a servo and coded the servo to rapidly move forward about 45 degrees, like a kick, and then slowly move back to its initial position. I then attached a button that I made out of felt to the circuit and coded it to “kick” the foot when pressed.

Check out the video below!


felted soccer shoe

felted soccer shoe

Pieces of the button

Pieces of the button

Finished Button

Finished Button

Stand for the foot

Stand for the foot

Completed foot

Completed foot

Sarah’s Reflections (Week 6)

How do I classify myself?
When I first started to answer this question, I identified with nearly every role on this list. However, when I thought about it a bit more, I realized that I probably need to be more focused in my work. After some careful consideration, I chose to identify most with maker, learner, and coder.

I consider myself a maker because I have always enjoyed working with my hands. Sometimes the term “maker” can be analogous to the word “artist”, while other times it’s more akin to the term “designer.” It can even encompass the word “craftsperson.” So, for me, “maker” is the most appropriate term. It all depends on my intention and focus. I’m also not sure that distinctions between “artist,” “designer,” and “craftsperson” really matter and believe that these probably should be more fluid.

When I was a kid and would point out something I wanted my mom to get me at the store, she would just say “We can make it!” and then we’d wander over to the local craft or fabric store and do just that. When I was young, I explored knitting, sewing, metalworking, woodworking, weaving, pottery, wood-working, etc…. I think that making has always allowed me to be imaginative and creative.

I also think of myself as a learner. Making and learning go hand-in-hand. As a maker, I have constantly needed to learn new techniques to get the results I wanted. Making is all about solving problems, and the best way to do this is to learn.

I am so thankful to DT for helping me to really move forward with my understanding of code to really become a coder (or maybe just web developer/designer?). I discovered HTML during take-your-daughter-to-work day in 1998. I learned the basics of front-end web development and then spent hours and hours in front of the computer to build and maintain a number of pages on free websites like gURLpages.com and geocities.com. I remember learning tips from friends I made online and teaching my own html tricks to others as well.

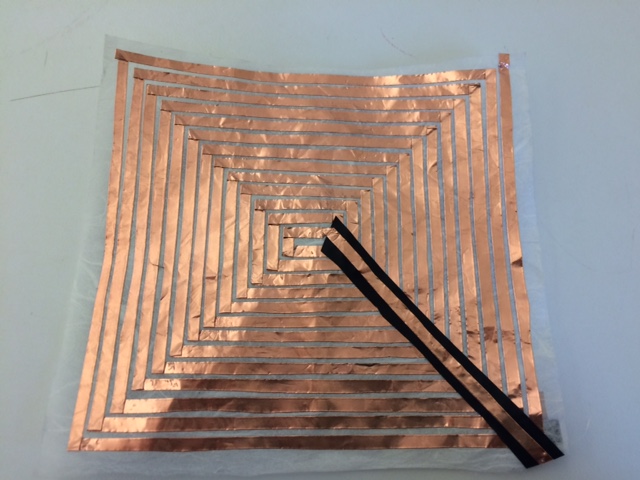
Sharpie and Post-its
I’d probably say my favorite real-world tool is a sharpie and post-its. I think that conceptual stages of any project are the hardest for me. Sharpies allow me to get my thoughts down quickly. The ease at which I’m able to write with a sharpie allows me to quickly explore and discard ideas that may not work. Post-its allow me to move and reorganize my ideas so they work in a logical flow.

Teaching/Learning a New Craft Session
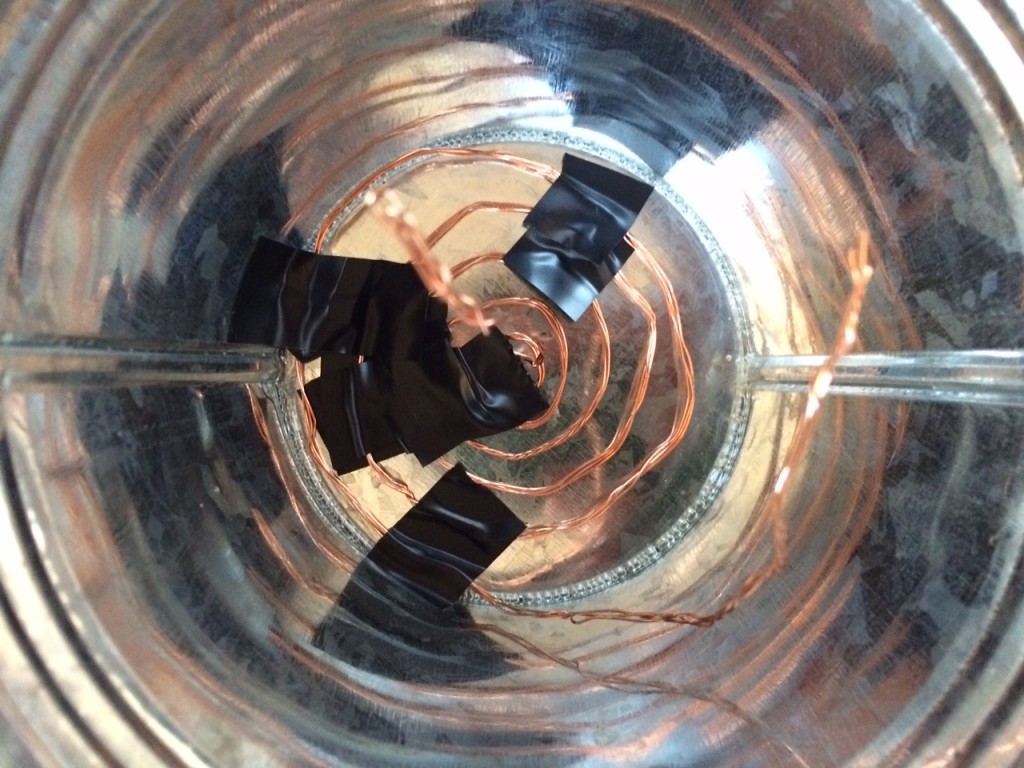
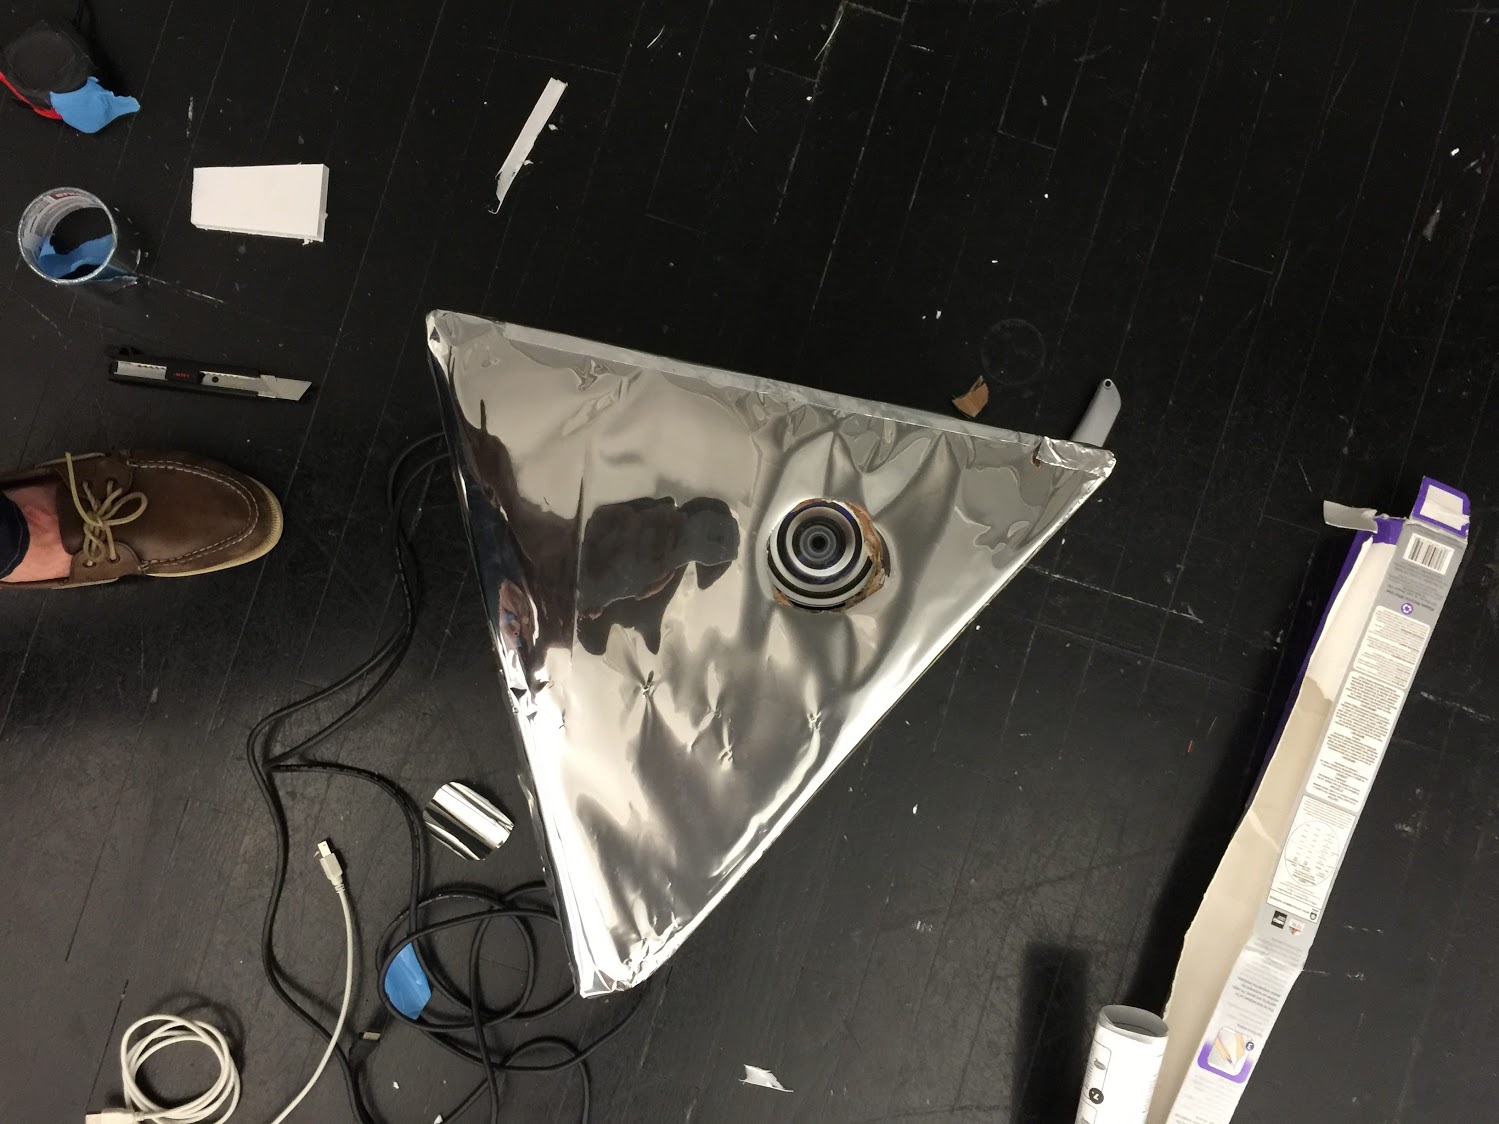
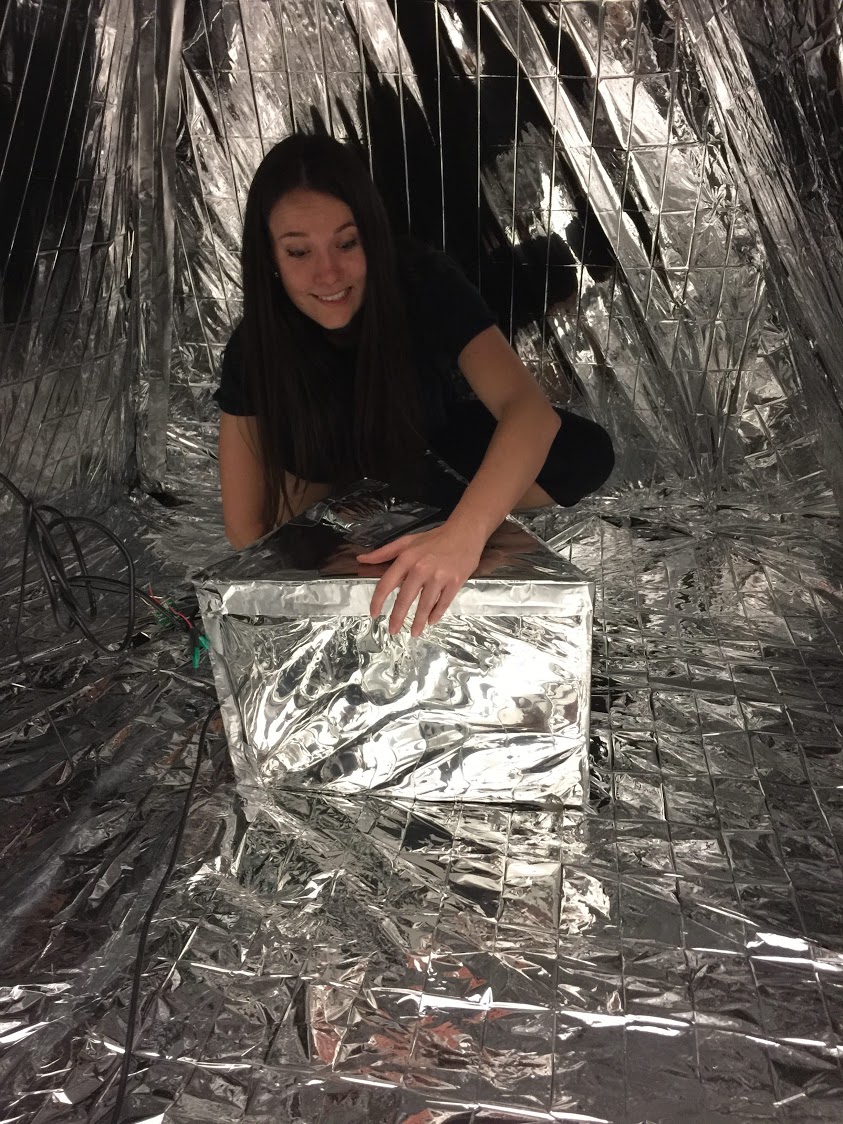
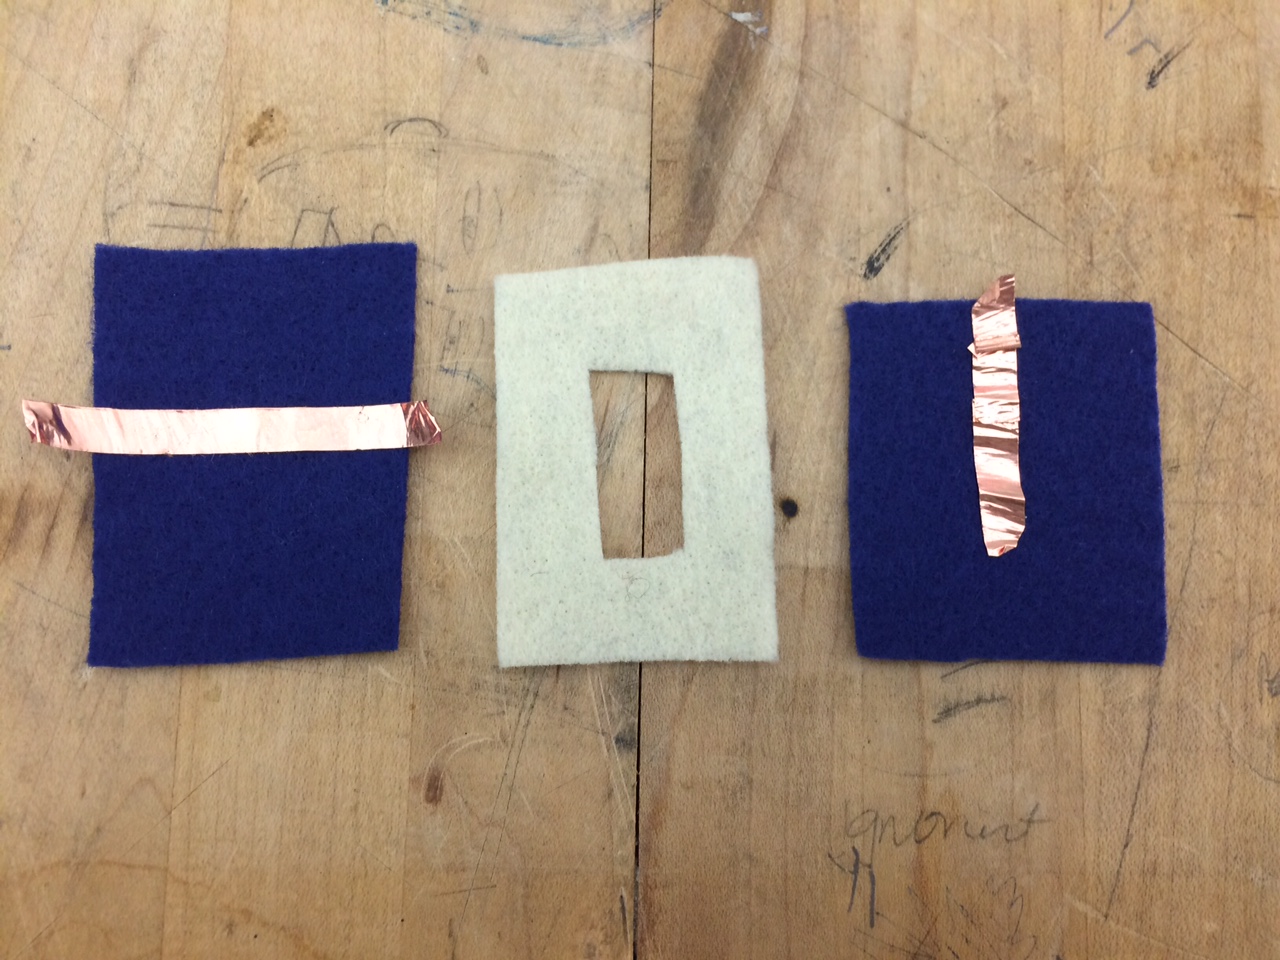
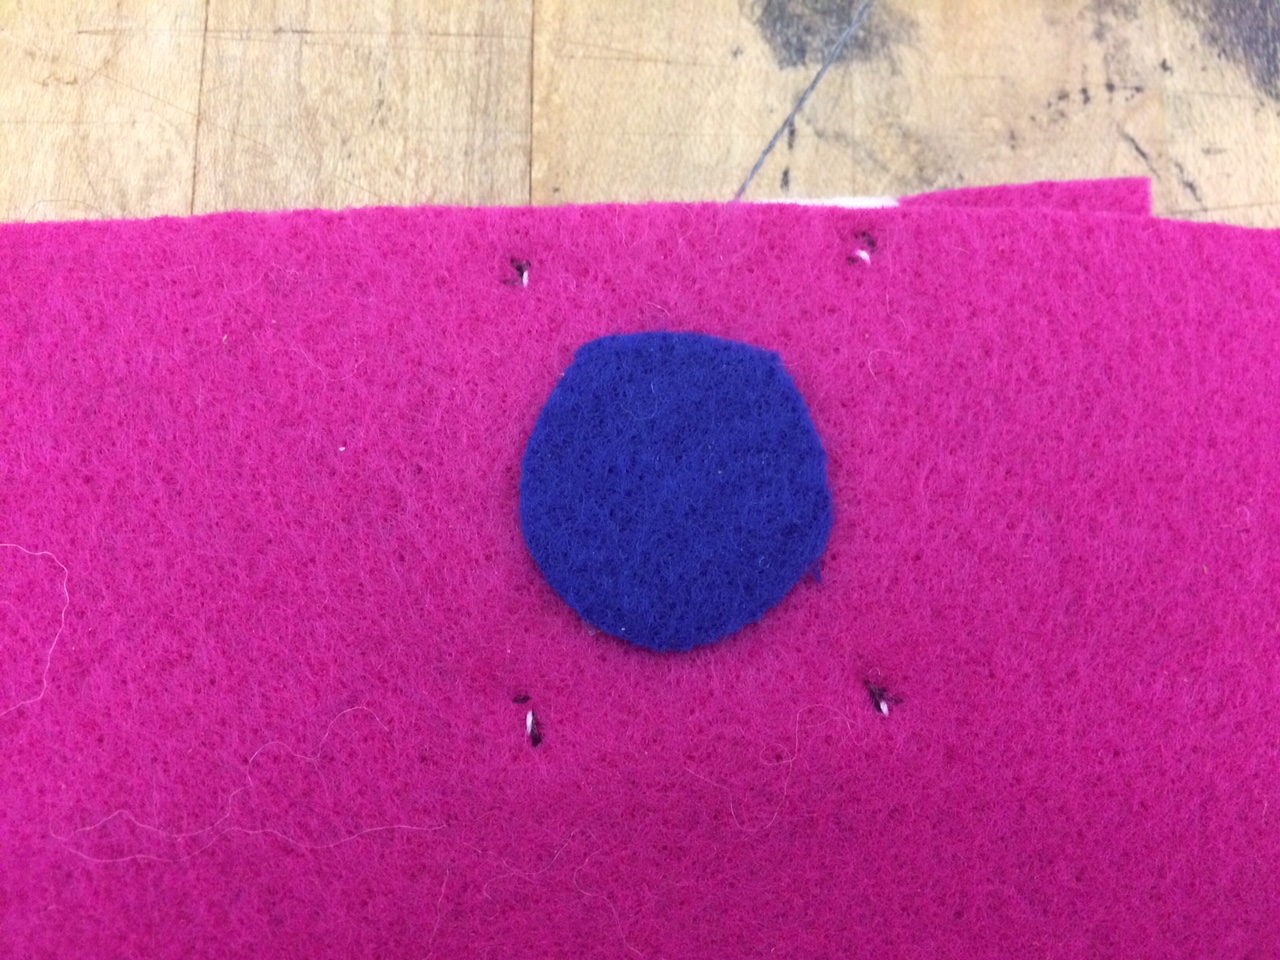
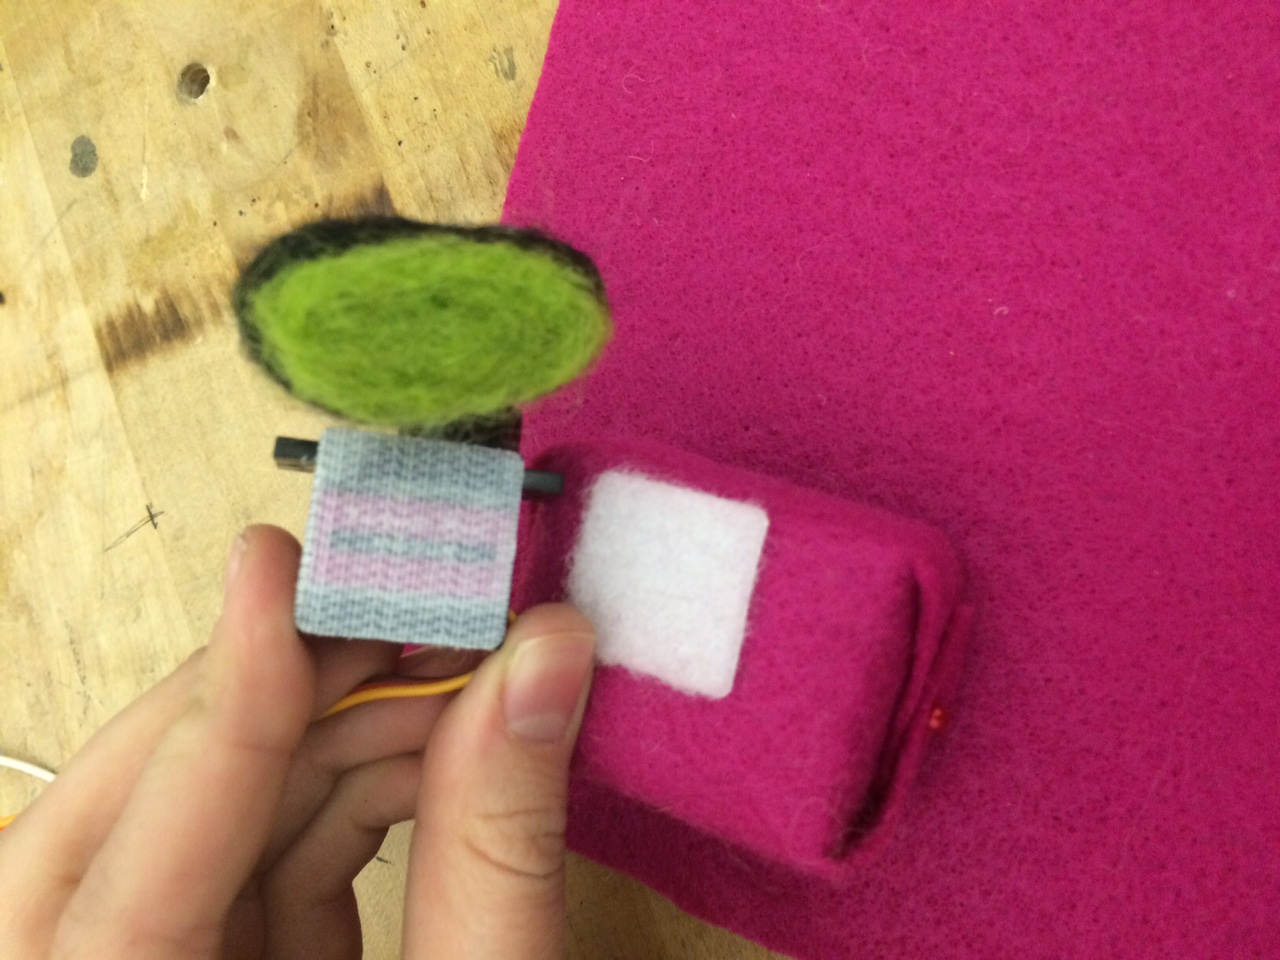
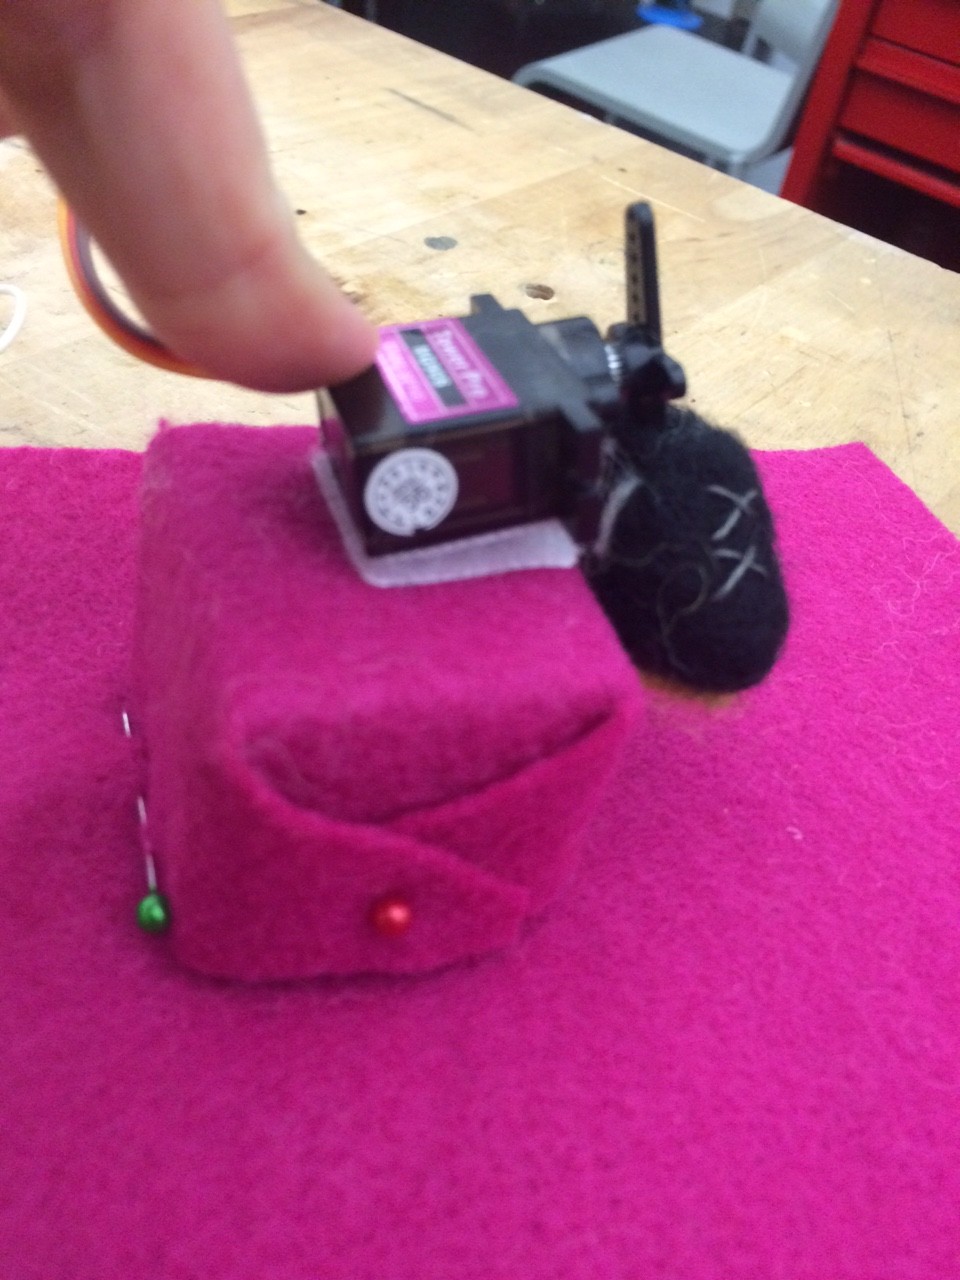
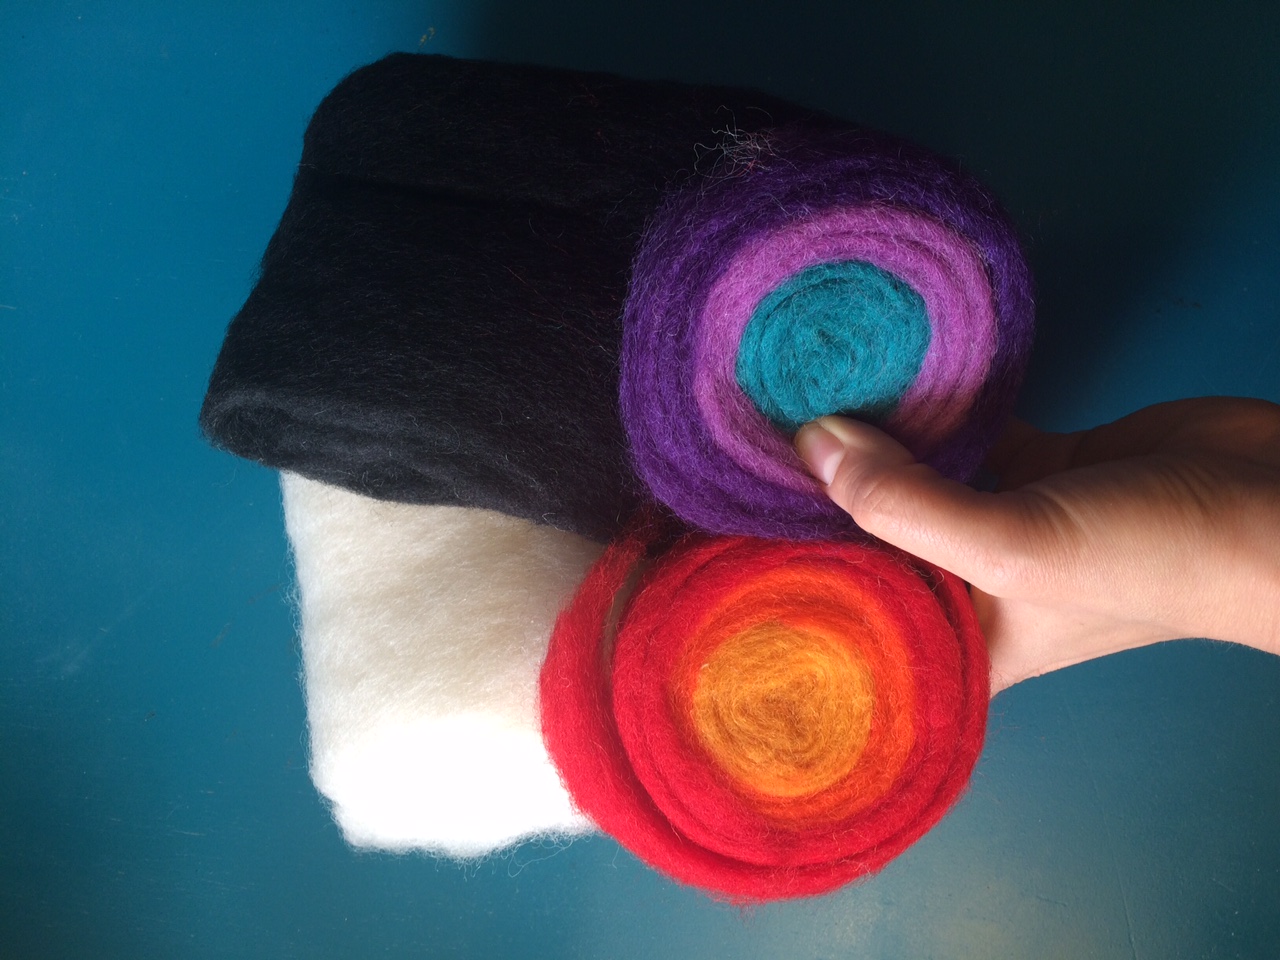
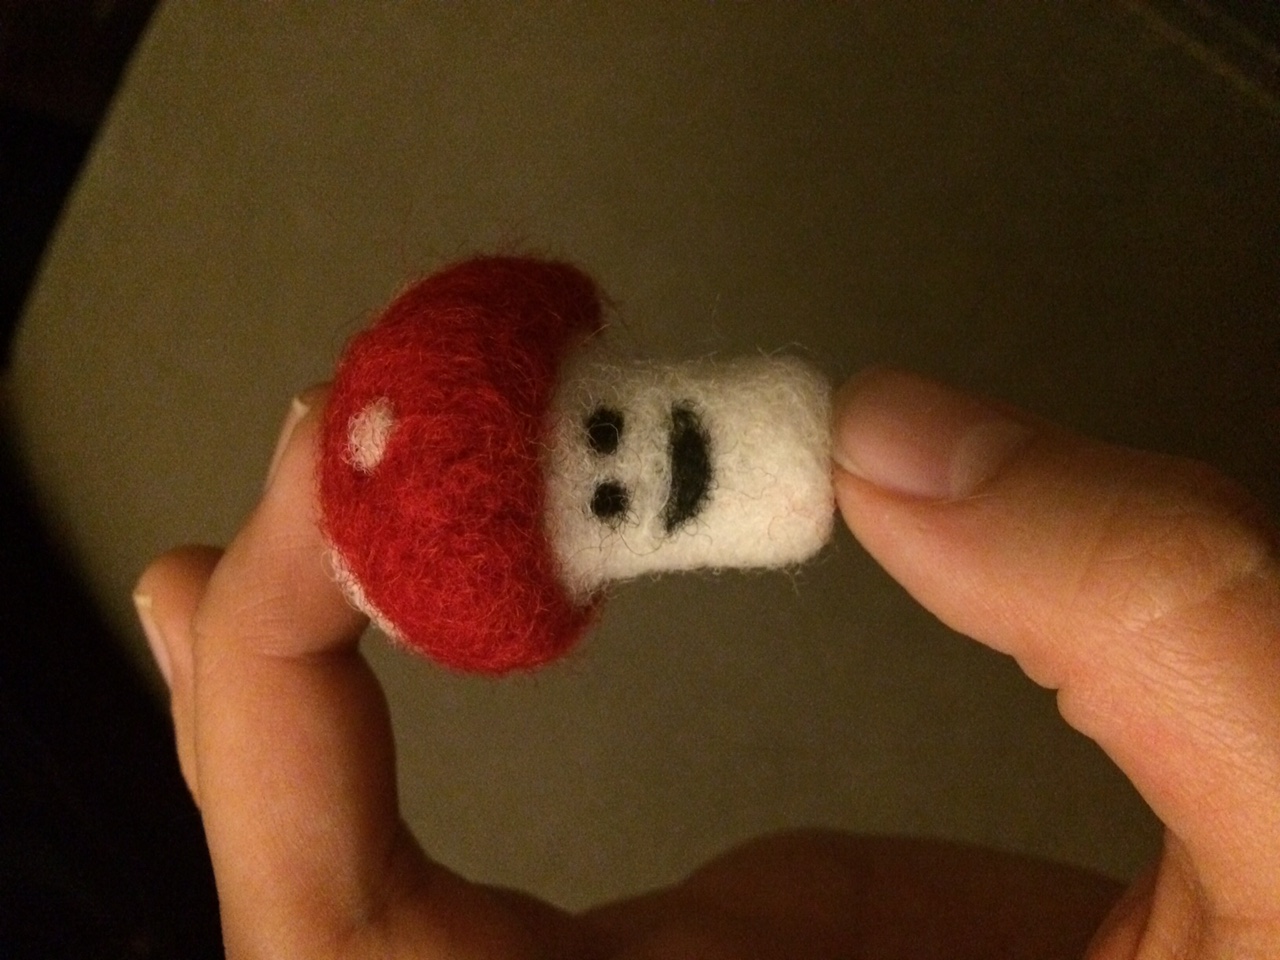
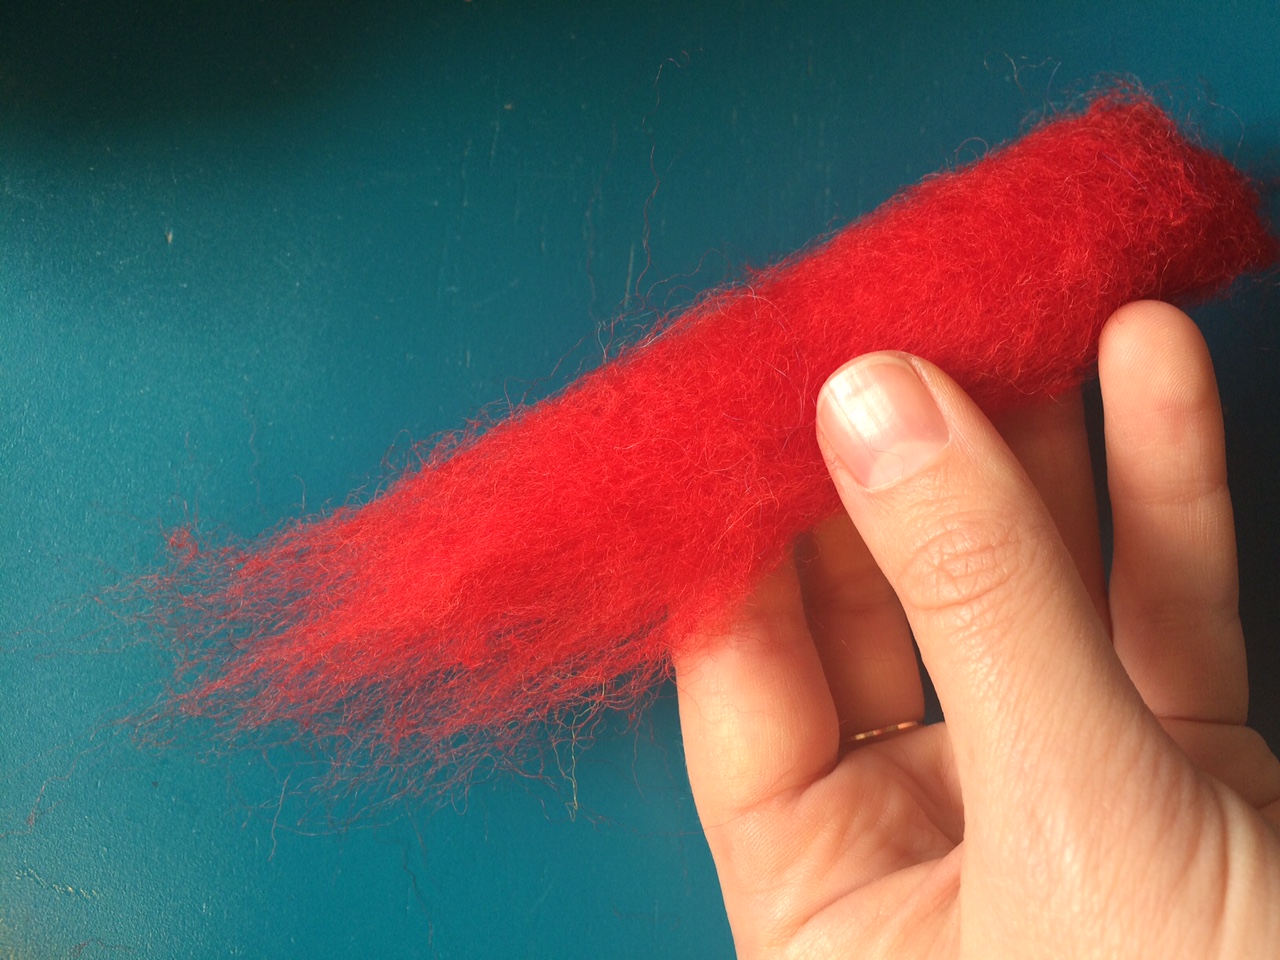
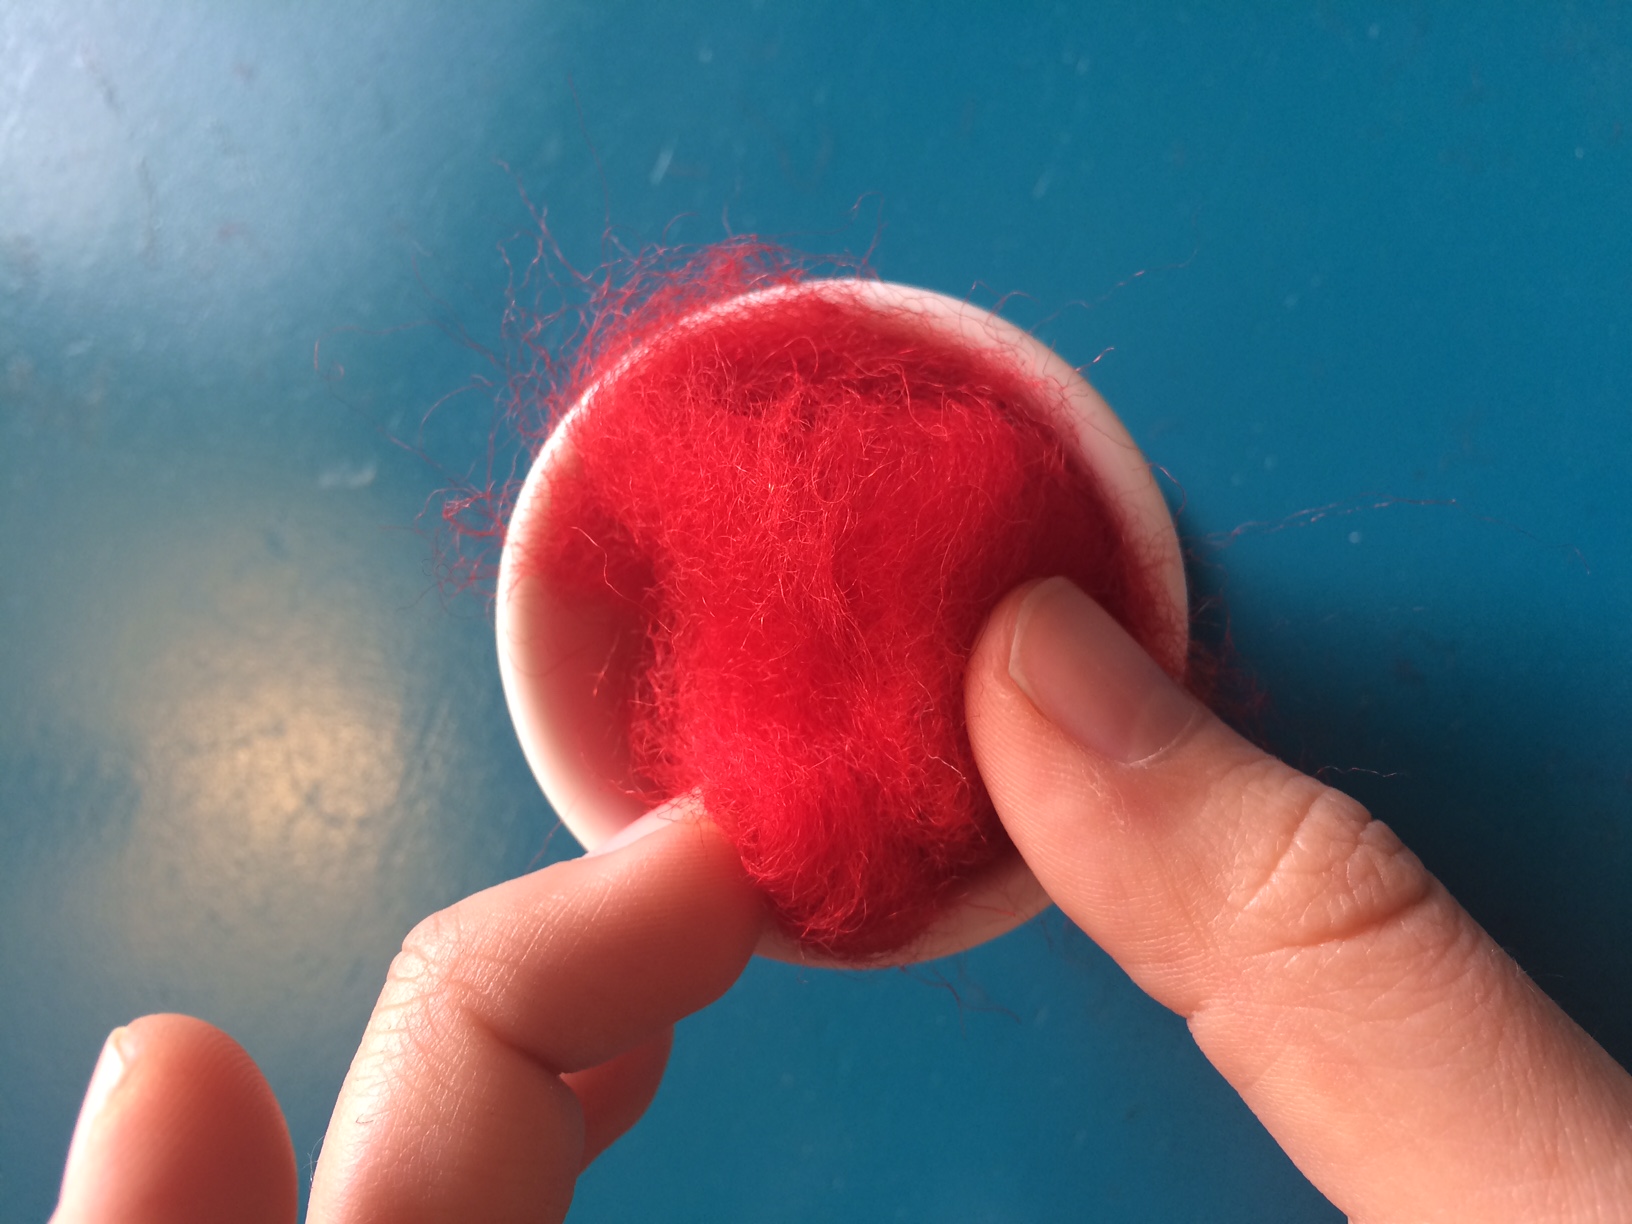
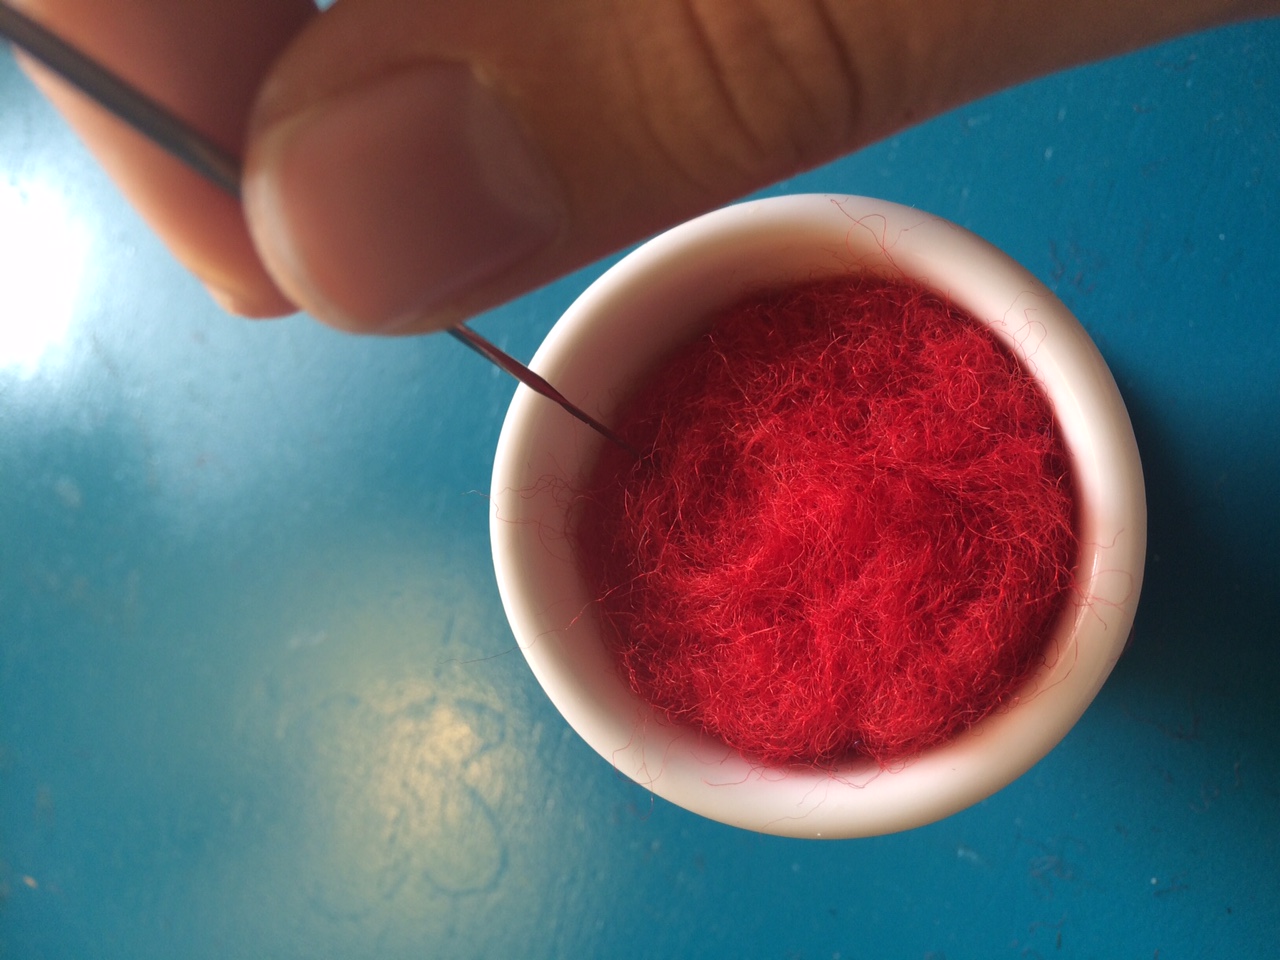
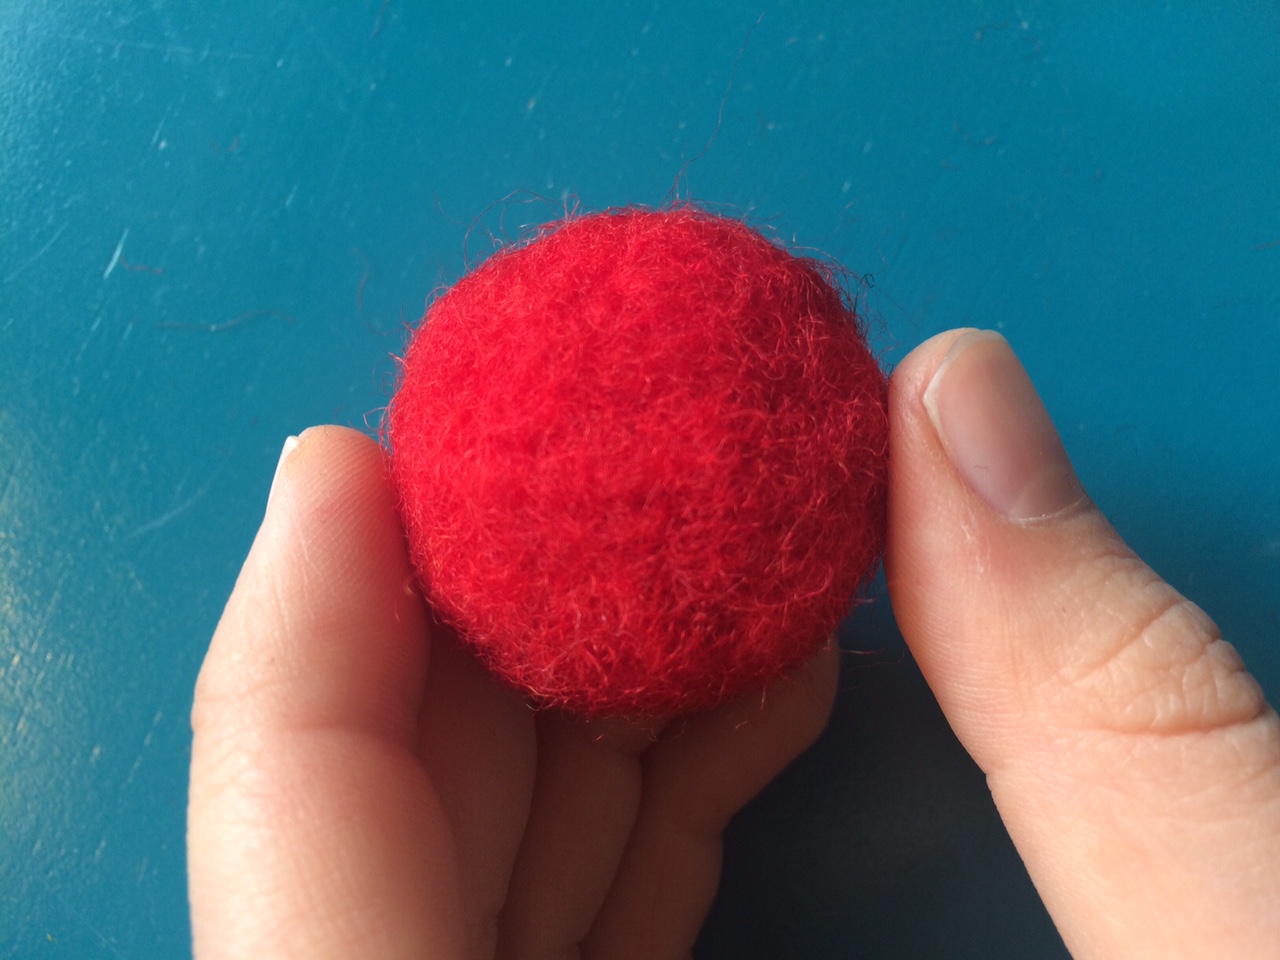
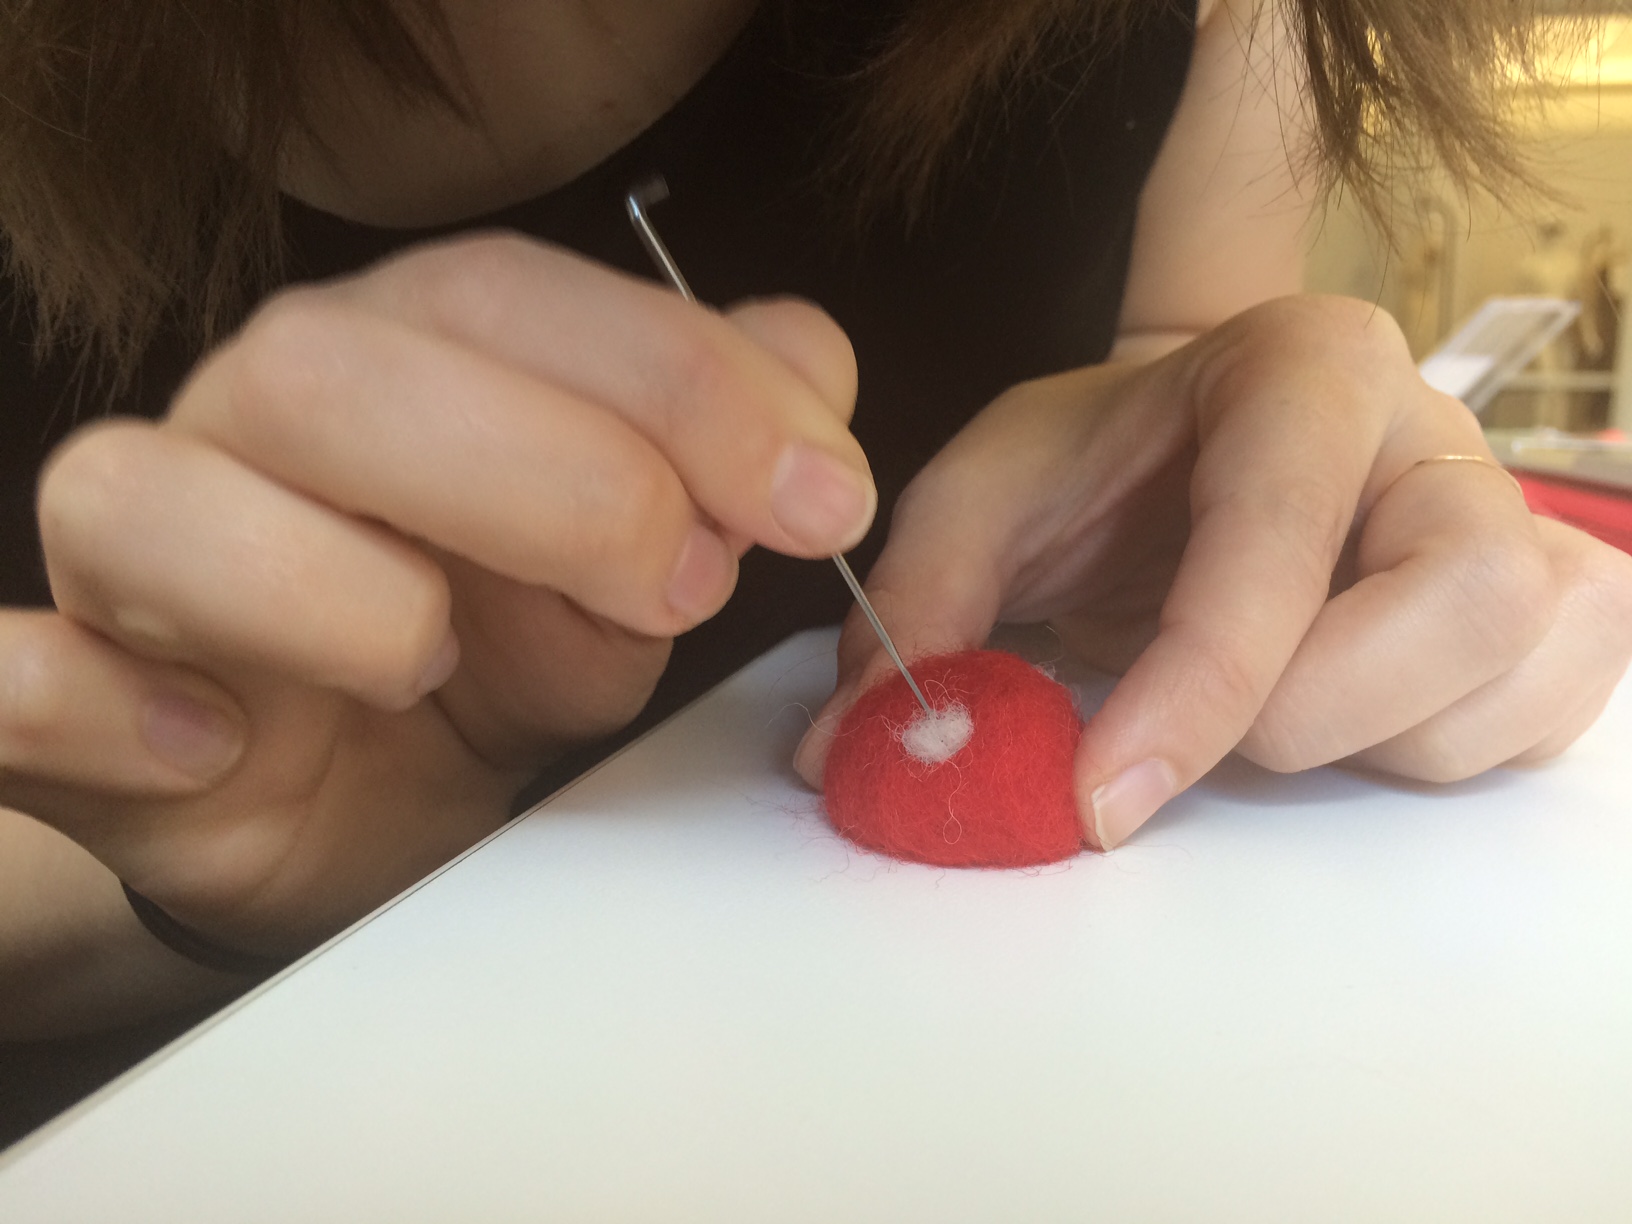
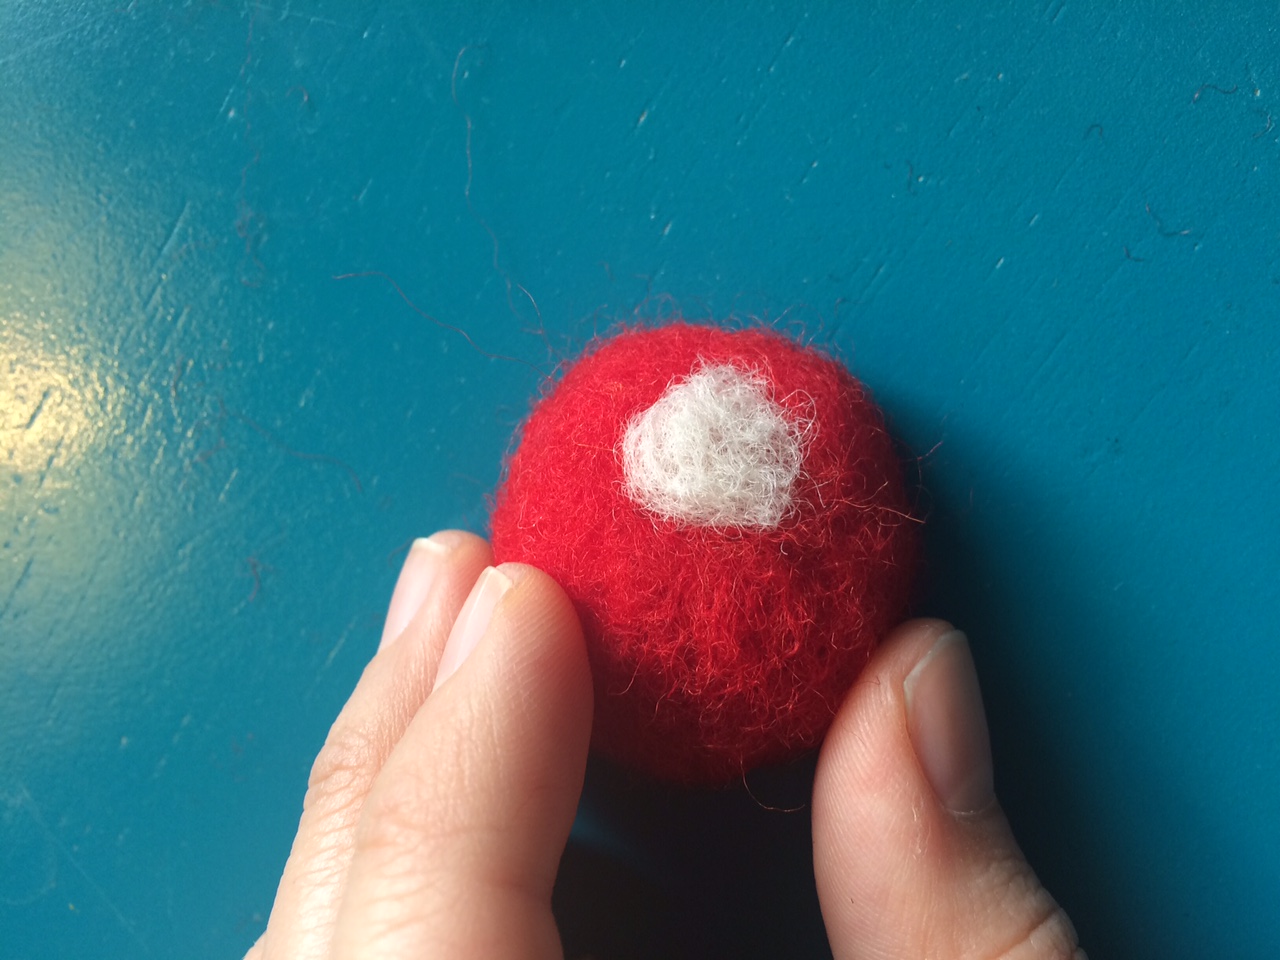
I really enjoyed learning and teaching needle felting last week. It’s a craft that I didn’t know much about, but see a lot of potential for. I am the type of person that really likes making small, inanimate little beings, however, in the context of physical computing, I see a lot of potential uses for it. I found the process to be somewhat soothing, even though it often resulted in pricking my fingers. I was surprised by the amount of control I seemed to have over the shape and overall product.

I also enjoyed thinking about the many other possibilities of crafts that I could incorporate into my own work, like crochet, weaving and woodworking. This activity also made me think about other, related processes that may not have been taught in class, but could potentially be useful things to look into, like wet felting and metalworking. The biggest takeaway for me was the ease at which we learned something new and that’s an important thing for me to remember!

Learning a Needle Felting (Week 5)

For my craft, I decided to learn needle felting. There are many amazing needle felters out there like this one:

Needle Felted Shiba Inu by http://kittenblackua.deviantart.com/

Needle Felted Shiba Inu by http://kittenblackua.deviantart.com/

The supplies you will need to do felting are:

1. Felting needles:

Felting Needles

Felting Needles

2. Wool roving:

Wool Roving

Wool Roving

3. Something to shape your

Something to shape your piece, in this case, an egg cup...

Something to shape your piece, in this case, an egg cup…

For my first foray into needle felting, I created a simple mushroom:

IMG_3346

Instructions:

1. Grab your piece of wool roving.

wool roving

Wool roving

2. Find something that will shape the wool into what you want. In this case, I’m using an egg cup to give me a nice rounded mushroom top.

I'm using an egg cup to shape the wool roving

I’m using an egg cup to shape the wool roving

3. Start poking the wool with your needle.

IMG_3303

Use the needle to poke the wool

4. The wool will eventually condense and come together.

IMG_3304

Condensed wool mushroom top after about ten minutes of poking

5. Once we have the shape we want, we can add details to it. Here, I have shaped little spots for the top of the mushroom and just poked those until they become attached to the rest.

adding spots

Adding spots

Mushroom Spot

Continue creating forms and adding details with these methods!

Keyboard Hacking (Week 3)

For my keyboard hacking assignment, my goal was to create a relaxing RGB color creator. I wanted to use fabric to create fabric pressure sensors that you could sort of “pet” to add more of that color.

Problems I ran into
The pressure sensor that I created using the velostat and the conductive thread seemed to work fine with a simple hookup to a light and a battery, however, when I tried to use the same sensor I made with the keyboard hookup, the keyboard didn’t read it at all.

New Direction
After a number of iterations, I decided to make simpler fabric buttons using conductive thread and the copper taffeta.

Conductive thread on felt piece

Conductive thread on felt piece

Conductive fabric on felt piece

Conductive fabric on felt piece

Pieces of the sensor

Pieces of the switch

Switch being created

Creating the switch

Testing the fabric button switch

Testing the fabric button switch

Attaching the switches to the keyboard

Attaching the switches to the keyboard

Testing the three switches

Testing the three switches

Paper Switch (Week 3 – in class)

I made this little rotating paper switch. When you match the arrow to the line, you complete the circuit, turning on the red light!

Here is the switch on "off" mode

Here is the switch on “off” mode

Here is the rotating switch when it is on.

Here is the rotating switch when it is on.

Here, you can see the battery and conductive pieces. When the conductive pieces match, positive to positive and negative to negative, the light turns on.

Here, you can see the battery and conductive pieces. When the conductive pieces match, positive to positive and negative to negative, the light turns on.