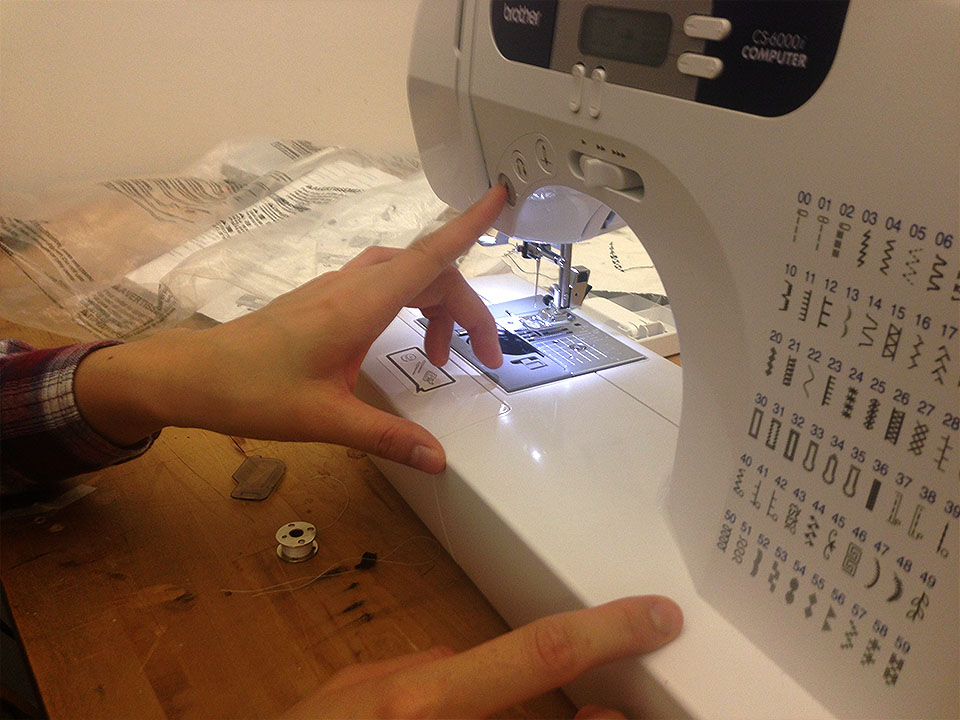
This week, Cathy and I learned how to use the sewing machine that’s kept on D12 above Sven’s locker (to the left of the bathrooms – also, not sure if this is it’s permanent place, but that’s where it is now). The machine that we have is a Brother CS6000i….and it’s great. It’s computerized, meaning it comes programmed with a bunch of different stitches/patterns, and has a ton of features that make it super easy to use.
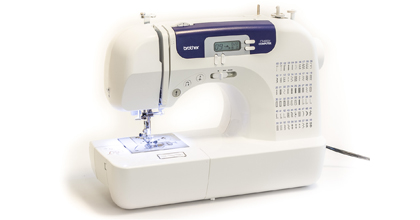
Brother CS6000i
There are three main things that you should know in order to start sewing:
- The parts of the sewing machine
- Winding/Inserting a bobbin
- Threading the sewing machine
(and then, of course, actually sewing) 
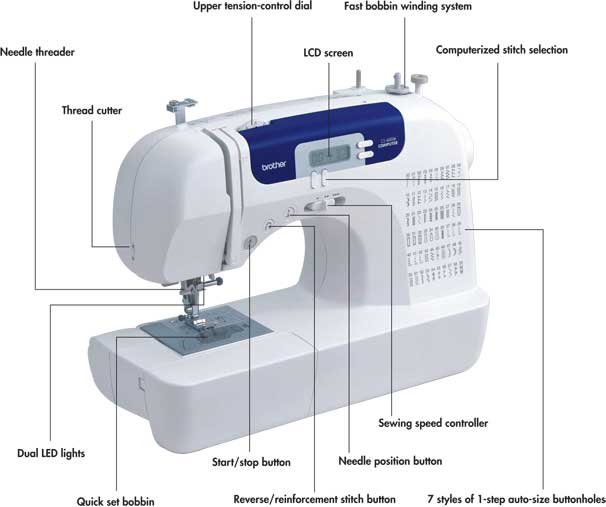
1. THE PARTS
These are the basic parts of any sewing machine:
- Spool/Spool Pin
- Bobbin Winder
- Thread guide
- Needle Threader
- Needle Plate
- Presser Foot
And this is a diagram of the specific sewing machine that we’ll be using:
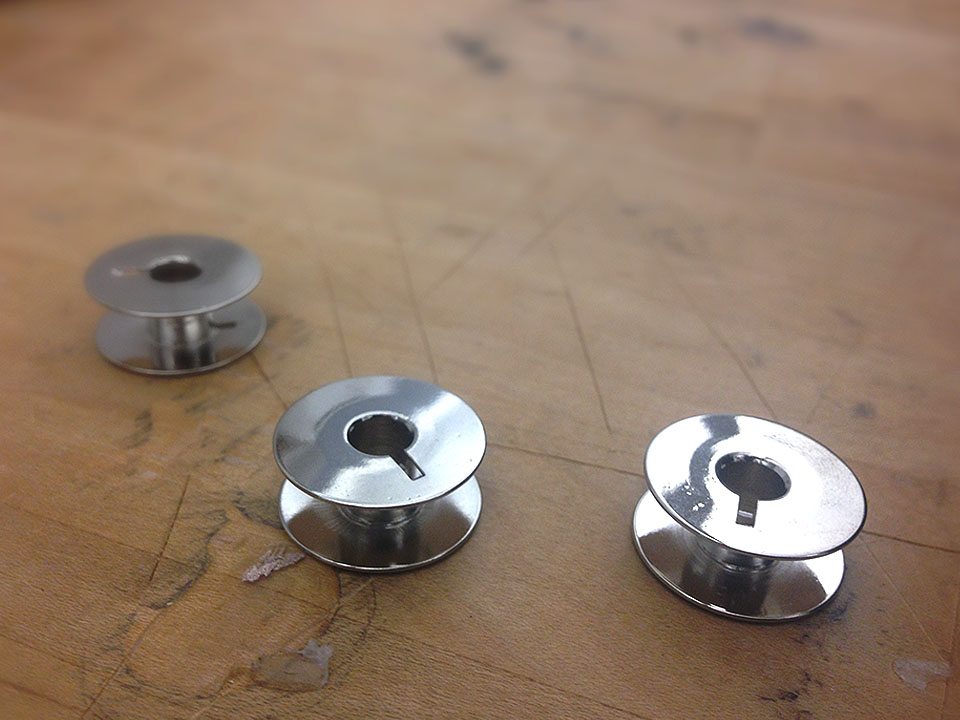
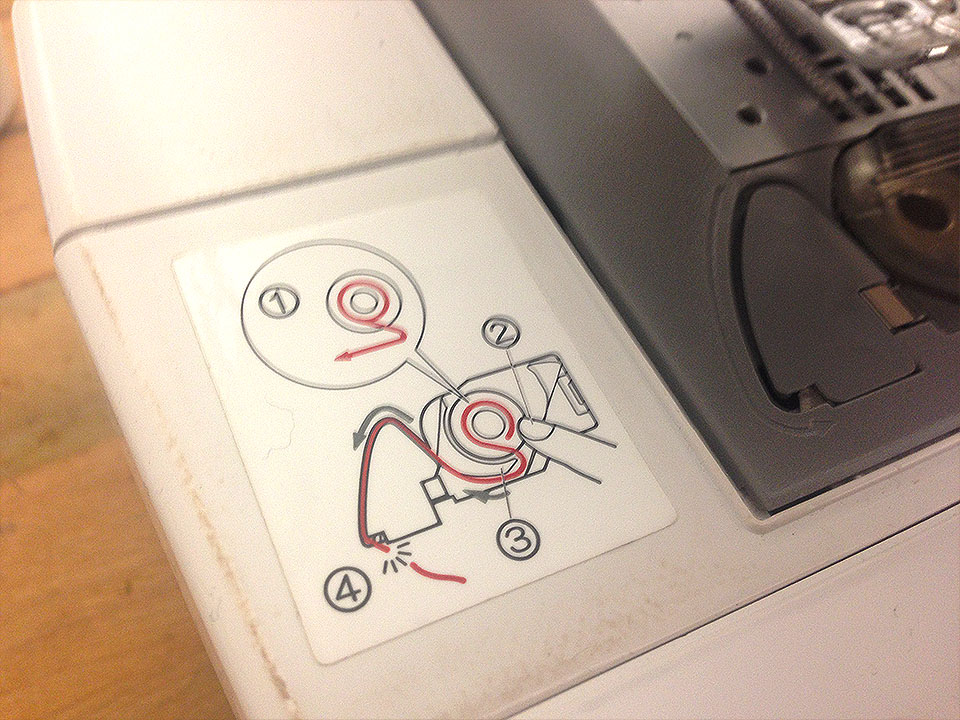
2.1 WIND THE BOBBIN

In order to start sewing, you’re going to need a bobbin that has been wound with thread.
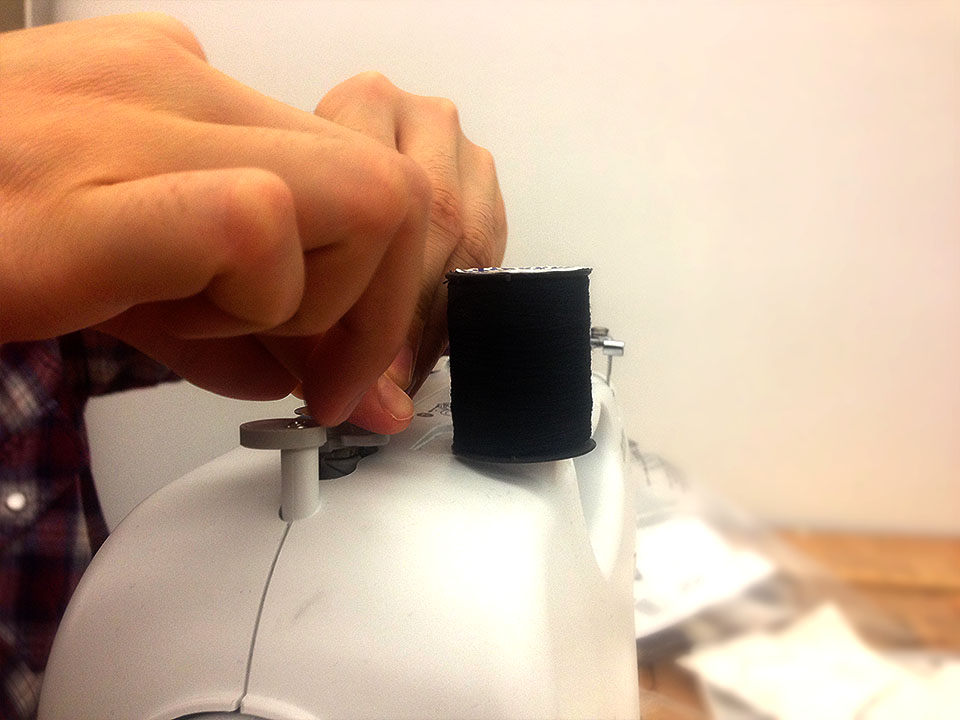
To wind your bobbin, put the bobbin spool on the bobbin winder pin on the top of the machine next to your main spool of thread. Next, follow the diagram at the top of the machine, weaving the thread from the thread spool around the guide and back to the bobbin. Finally, turn the bobbin winder, turning it off when the bobbin is full.
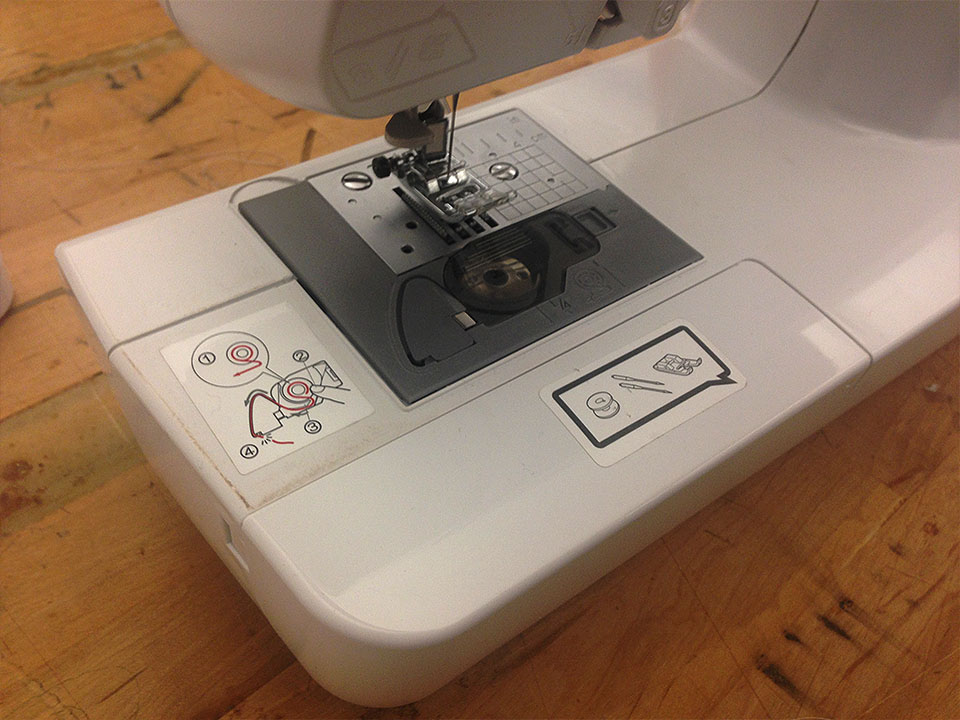
2.2 INSERT THE BOBBIN
Once you have your bobbin wound, follow the diagrams on the base of the machine to properly insert the bobbin. Every machine is different, but ours makes it really simple by providing a clear guide.
3. THREAD THE MACHINE
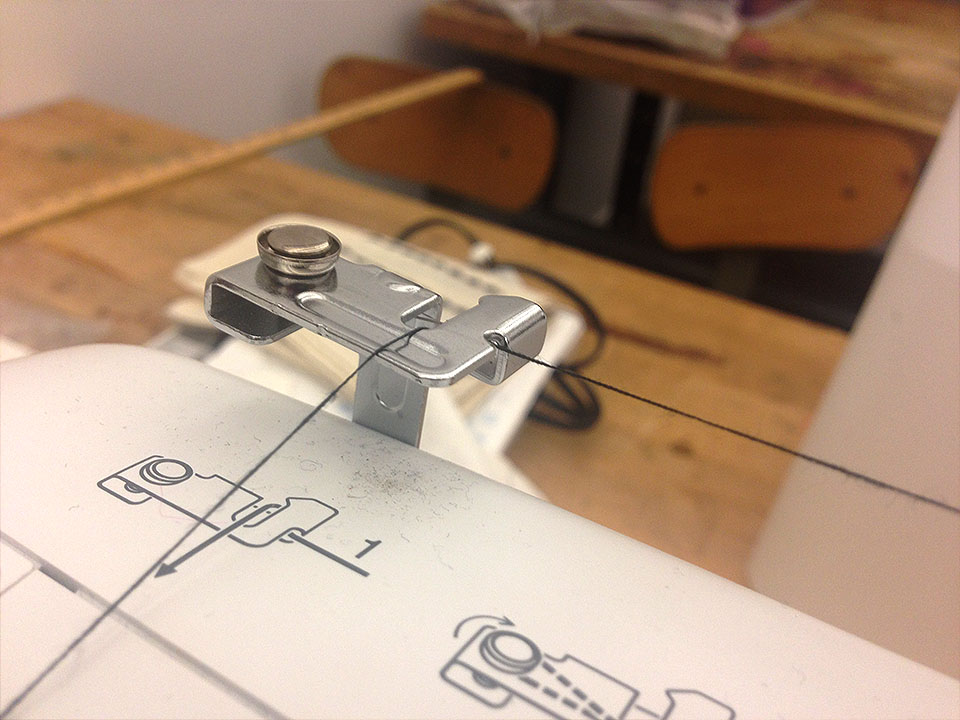
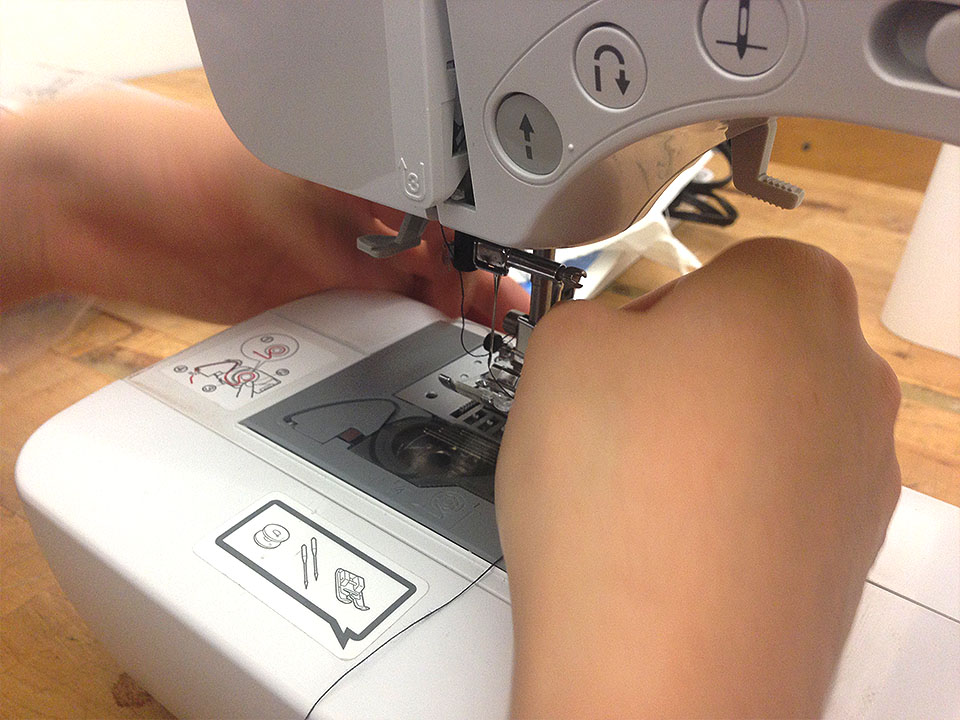
Just like the previous steps, you’ll follow the visual diagrams printed on the machine in order to thread the needle. First, you’ll move the thread through the guides down to the needle. Next, you’ll use the machine’s built-in automatic needle threader (!!!) to actually thread the needle. Here’s a video that shows an up close view of this awesome feature in action.
Once you have your bobbin and needle ready, you can start sewing! This machine has button controls to control the speed and direction of the stitch. You can also change the type of stitch using the LCD display and inputs at the front of the machine.
This is just a brief overview of what we’ll be showing you tonight, but hopefully you feel a little less intimidated about sewing! Bonus: here’s a picture of the inside of the machine since we love hacking electronics
