Category Archives: Workshops

[Finals] Traces: Sometimes Things Just Don’t Work

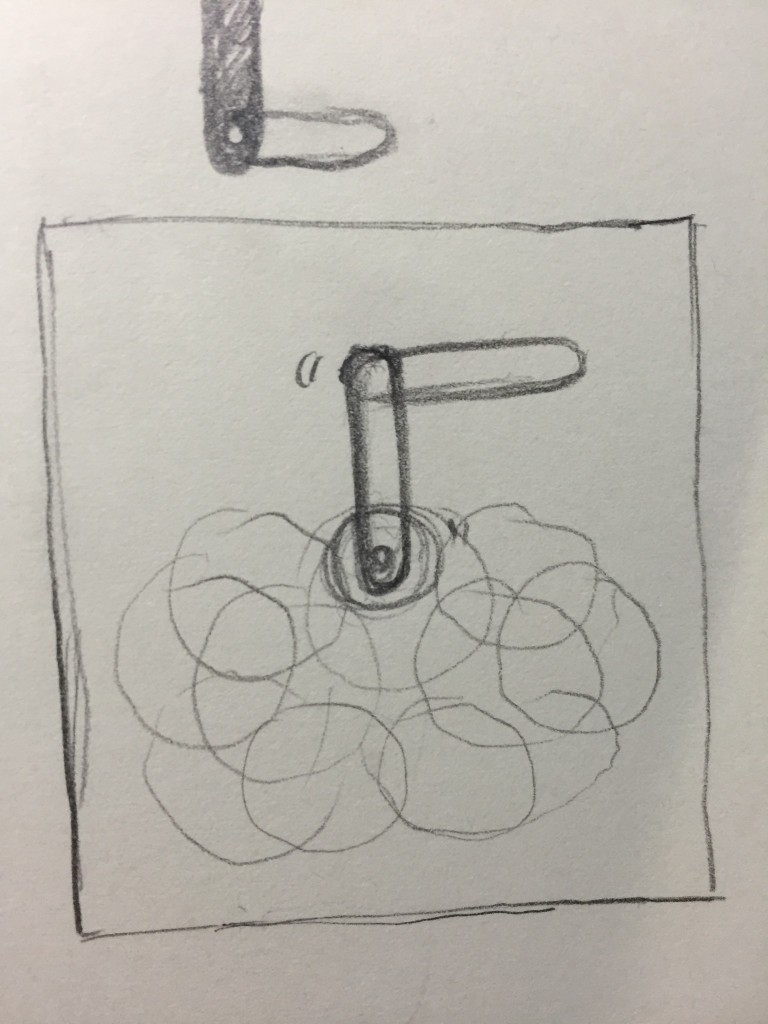
I was inspired by the double pendulum’s random patterns to create something that would capture its patterns randomly for my finals:

2015-11-28 14.26.21

The concept was theoretically simple: I would use a stepper motor and the Easy Stepper Driver from Sparkfun to drive the pendulum, and I would draw the patterns on thermochromic ink with a heating element attached to the pendulum to trace its motion temporarily. All of this would be controlled using a Arduino Pro Mini, though at the beginning, I used an Arduino Uno to prototype.

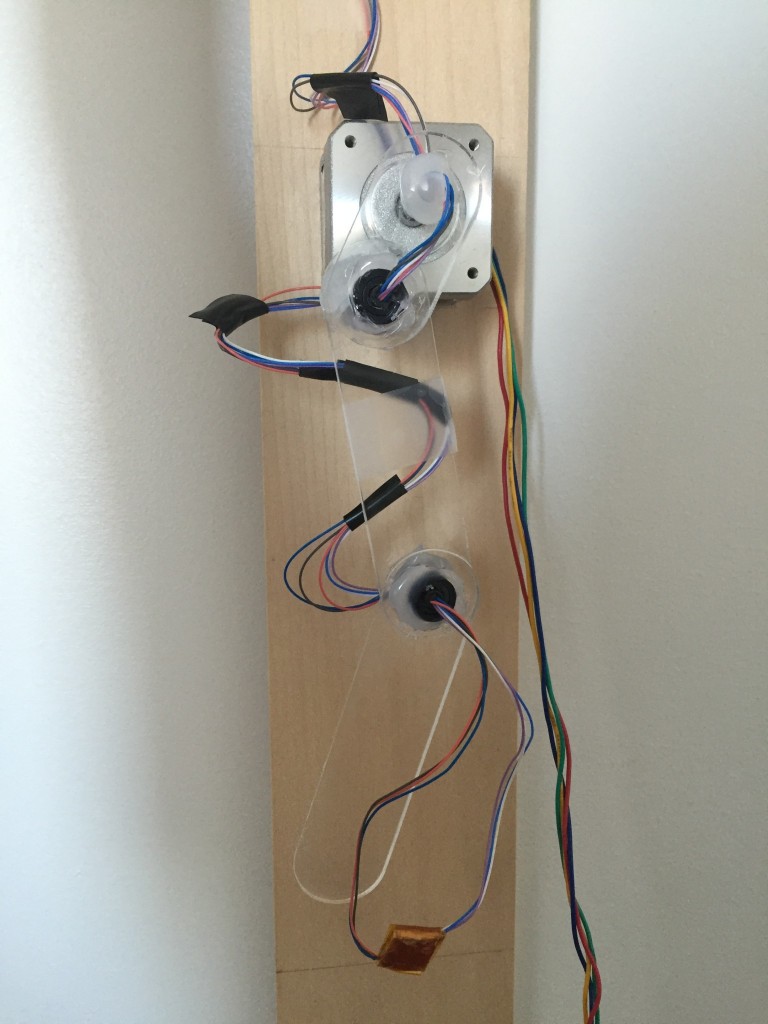
I powered the motor and driver from Sparkfun using a 12V/1A power source since at first I couldn’t seem to find any concrete information about what kind of power source to use with the driver. I laser cut the pieces for the pendulum from plexiglass and used a slip ring and glue gun to hold them together. The slip ring worked great to wire the heating element at the tip of the pendulum while still allowing for it to swing. I only wished the wires were thicker because the thin ones were flimsy and kept breaking, however, soldering three of them together to create one worked relatively well.

2015-12-15 13.21.47

The circuit I used for the heating element is the one found off of How To Get What You Want:

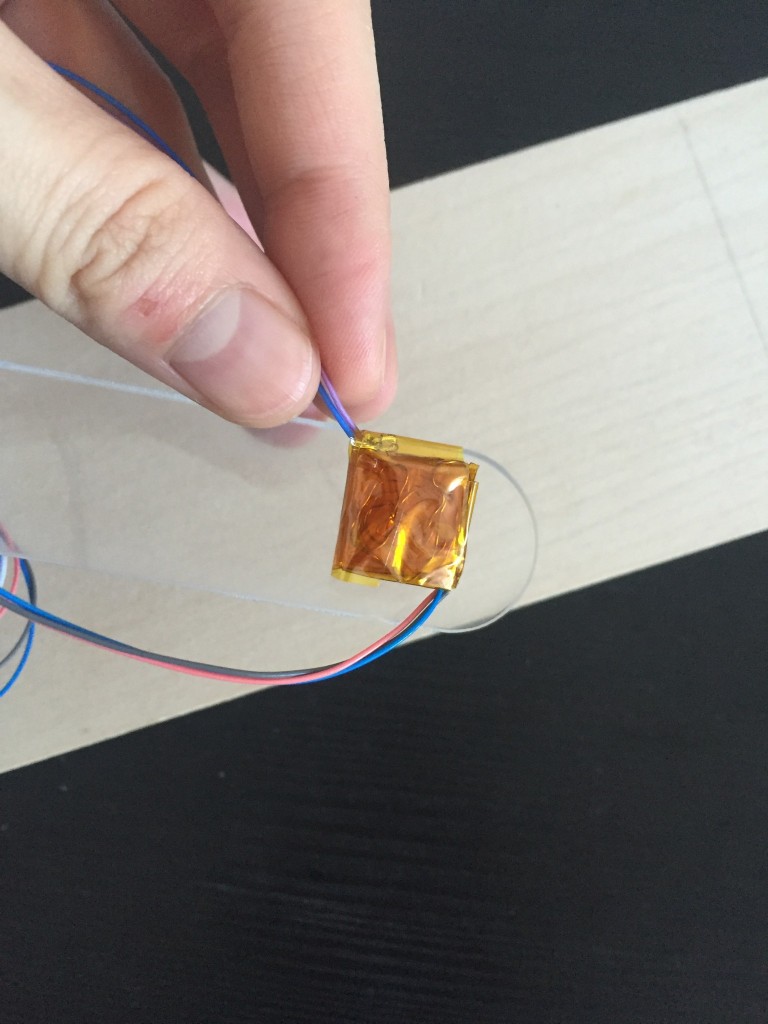
Instead of using the TIP122 transistor though, I used a TIP120 transistor, which according to its spec sheet, can handle up to 60V/5A of power. Throughout working on this project, I used a 9V/1A wall adapter and a 12V/1A wall adapter, and I also briefly tried using a 18V/1.5A battery which I’ll talk more about later. For the heating element, I originally wanted to use flexinol, however it burnt out too easily and its ability to move was a hinder in this case. After some research, I decided to use nichrome wire wrapped between layers of kapton tape for my heating element with much better results.

2015-12-15 13.22.41

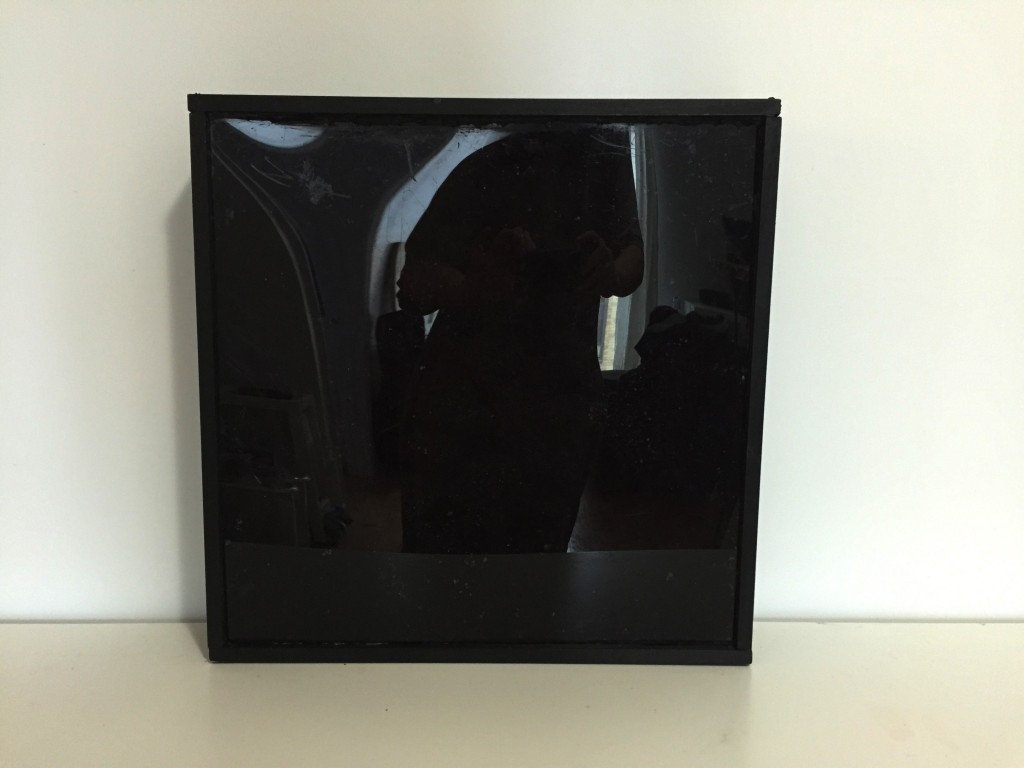
For the “canvas”, I mixed black thermochromic pigment with acrylic fluid matte medium binder, so that when heat was applied to it, the black would fade to an opaque white. Originally, I wanted to spray it onto a large sheet of plexiglass, however, the paint was too thick to go through the spray paint bottle, so I resorted to dabbing paint blobs onto the surface, which resulted in a interesting texture. 2015-12-26 11.34.41

I then built a frame around the plexiglass to which I would attach the motor with the heating element attached to it.

2015-12-26 10.38.42

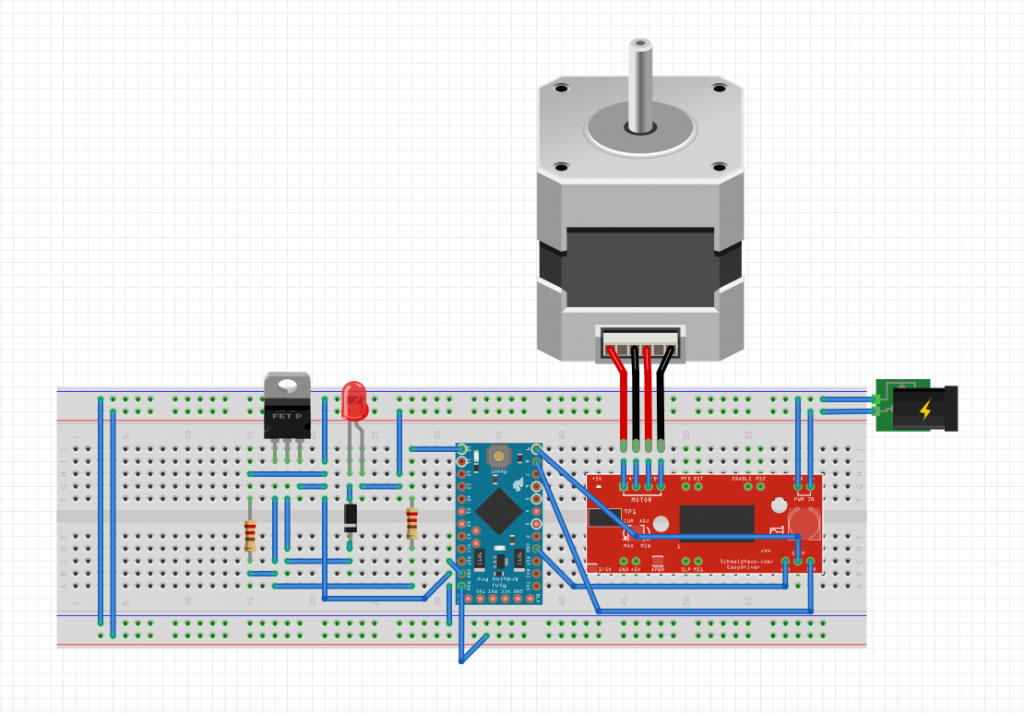
I then soldered the circuits for the motor and heating element together with the Arduino Pro Mini, to run off the same power source (12V/1A). The circuit looked somewhat like this (the heating element is where the red LED is):

Screen Shot 2015-12-26 at 12.14.35 PM

The code I was using:

const int DIR = 8;
const int STEP = 9;
const int HEAT = 10;

int distance = 0;
int heatState = LOW;
int stepState = LOW;

unsigned long prevMillisHeat = 0;
unsigned long prevMillisMotor = 0;
unsigned long prevMicrosStep = 0;
unsigned long currentMillis;
unsigned long currentMicros;

long heatInterval = 5000;
long motorInterval = 1;
long stepInterval = 100;

boolean running = true;

void setup() {
pinMode(DIR, OUTPUT);
pinMode(STEP, OUTPUT);
pinMode(HEAT, OUTPUT);
digitalWrite(DIR, LOW);
digitalWrite(STEP, LOW);
}

void loop() {
currentMillis = micros();
heat();

if (currentMillis – prevMillisMotor >= motorInterval) {
prevMillisMotor = currentMillis;
if (running == true) {
motorInterval = 1000;
spin();
Serial.println(distance);
if (distance == 2000) {
if (digitalRead(DIR) == LOW) {
digitalWrite(DIR, HIGH);
} else {
digitalWrite(DIR, LOW);
}
distance = 0;
running = false;
}
} else {
motorInterval = 2000000;
running = true;
Serial.println(“PAUSE ME”);
}
}
}

void spin() {
digitalWrite(STEP, HIGH);
digitalWrite(STEP, LOW);
distance ++;
}

void heat() {
if (currentMillis – prevMillisHeat >= heatInterval) {
prevMillisHeat = currentMillis;
if (heatState == LOW) {
heatInterval = 5000;
heatState = HIGH;
} else {
heatState = LOW;
heatInterval = 100;
}
digitalWrite(HEAT, heatState);
}
}

As a result, my project worked — for a very brief two minutes or so (which was not enough time to grab a camera to document this), before the power source blew. Wondering if it was just a wonky power adapter, I blew two more before I decided that there was something wrong. Exactly what though, I had no idea. Thinking that the 12V/1A adapter was not giving off enough current, I decided to try a 18V/1.5A rechargeable battery which burnt my nichrome wire into smoke and ash as soon as I plugged in the power source. 1.5A with my current circuit was way too much current, and produced way too much heat for the nichrome to handle.

Doing some more investigation, I found that Brian Schmalz (the designer of the driver) wrote:

  • M+ : This is the power input to the Easy Driver. Connect this to the positive power supply lead. This should be a 6V to 30V, 2A (or more) power supply that is clean (low ripple).

I have no clue how on earth I missed this! I think because I read the driver can regulate the current to produce 150mA – 700mA, that I thought that 1A would be enough to power the driver. I ended up buying a 12V/2A adapter and prayed it would work.

The problem now, is that 2A would be enough to fry my nichrome, since it’s way more than 1.5A. I had two options: use two power sources, or start thinking a little about physics.

If V = I * R, and E = V * V / R, when I used a 9V/1A power supply, I had roughly 9 watts of power going through the nichrome. For 12V/1A, I had roughly 12W. And 18V/1.5A which caused smoke was roughly 27W. Theoretically if I can keep the W down to ~12W, then I should be able to use 12V/2A. So if I added a 10 ohm resistor to one of the heat lines, that should keep it to roughly 9W of heat going through the nichrome. That’s my theory, but my physics was really, really dusty.

Since I was really short on time, I decided to rewire things to take on two power sources, with this circuit: Screen Shot 2015-12-26 at 12.41.27 PM
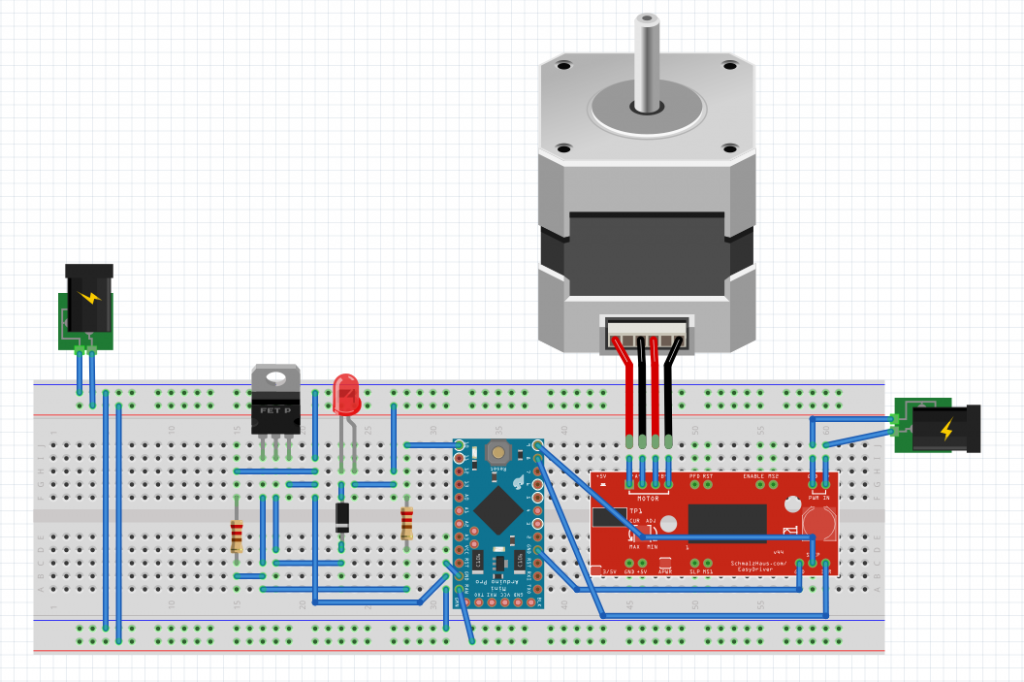
 So the motor no longer blew out my adapter, and the nichrome played nice when plugged in separately…. However, when I plugged in both of the power sources at once, the motor wouldn’t spin smoothly, if at all.

At this point, I’m at a loss and not quite sure what’s wrong with my project. So I’m going to accept the fact that some things just weren’t meant to work for the time being and leave it be. I’ll come back to it after some time with a fresh mind and hopefully I’ll figure out what’s wrong.

Instructables: http://www.instructables.com/id/Trace-a-Work-In-Progress

[On Paris]: Honestly, I thought the feedback was alright, but not very useful. It would’ve been great had it come a lot sooner, maybe if we were going back and forth since the beginning of the semester.
FINAL.MemoryBox_ Jaeyoung + Daruswat

P1010405

Concept

A memory box for people who need to be reminded of their beliefs and identities. When a person touches outside the box, the sound and voice will play by showing the images from their memory on what they want to be reminded of. During a person listens to the sound and voice in the box, the images on the memory box will fade away. That means the images are being absorbed as memories to the person.

Final.Video LINK

Instructable.http://www.instructables.com/id/MemoryBox/

Process.IMAGES

Reflection + Feed back

We enjoyed working together and were happy with our project in terms of both the technical and aesthetic aspects. In the case of technical aspects, using themocromatic pigments and the sound module worked well.

The one thing we felt not entirely satisfied with was the fact that color changes were insufficient because we might have used too many colors, but this was intended for our concept. Each person has various individual memories to be reminded of, and we tried to represent this visually by using different colors and action paintings to represent passing by many different memories.

Actually, we were thinking about using a distance sensor so that people can hear their memories automatically, not by pressing the button to turn on the sound manually. When someone comes into the space, it would be ready to play, and then it would play when the user touches the dome. However, everything with our project worked well. All the speakers were connected perfectly and the user heard sound when the user played with them.

We got feedback from a student in Paris. We got helpful questions for the future implementation such as how the memory box would recognize a specific person, in terms of the shape of the box, and the way of showing memories. We’ve decided to show the memories with abstract paintings, not specific images using a projector, but if we combine projecting images with paintings, it may be interesting.


Final Project Reflections


I’m very happy with the outcome of my object and excited about moving forward with some of these techniques, having learned what I have from this process.

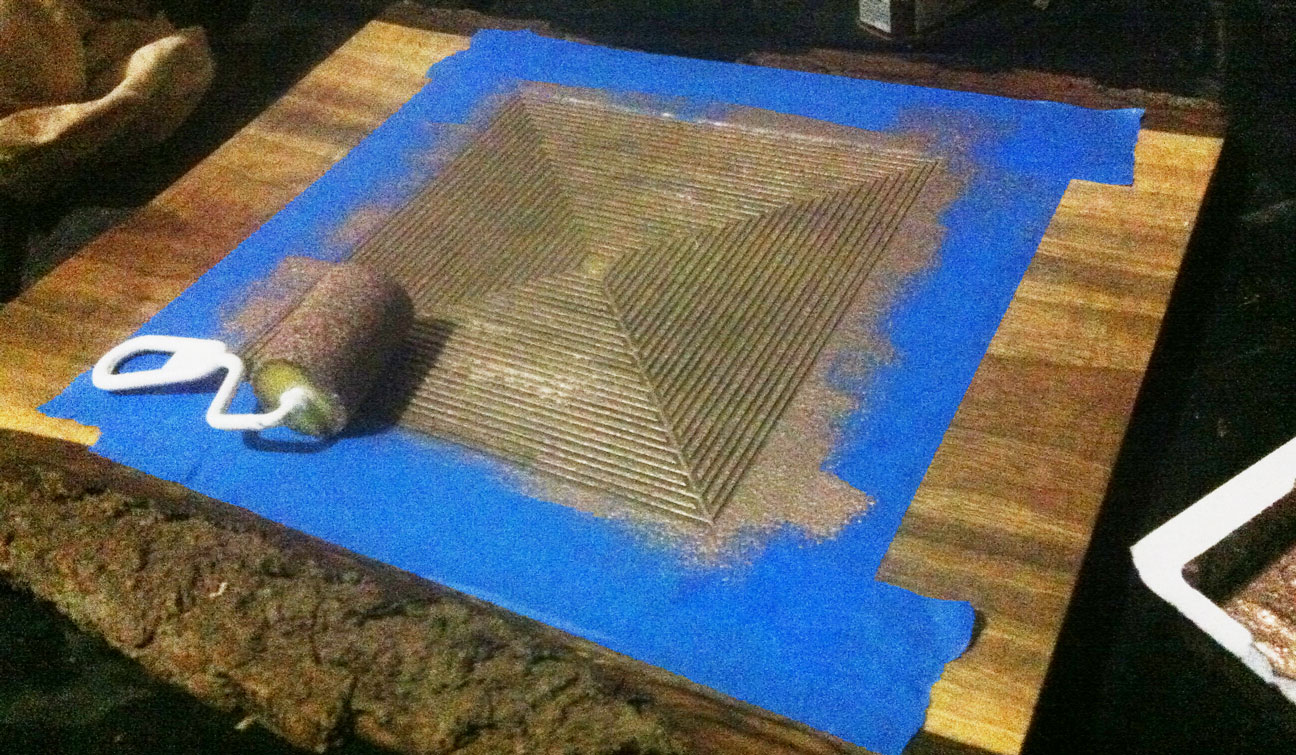
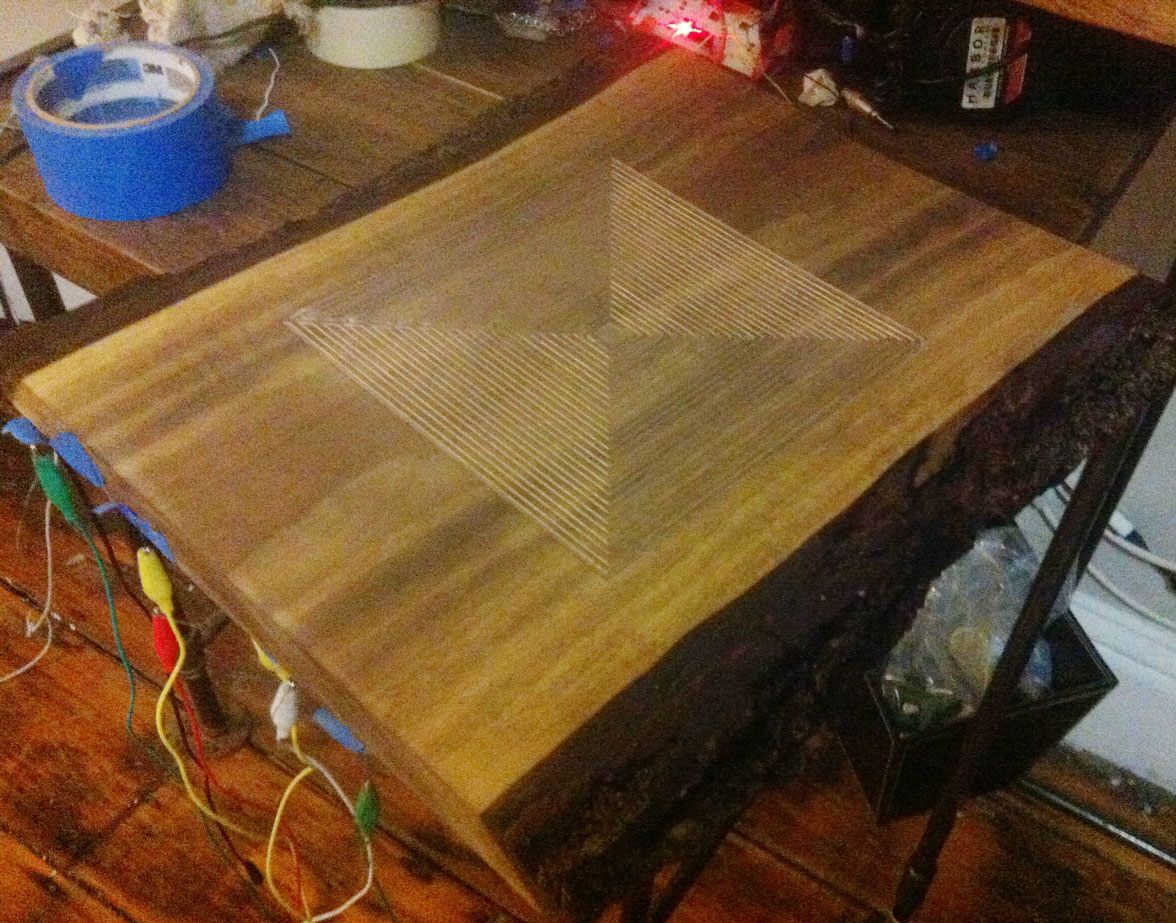
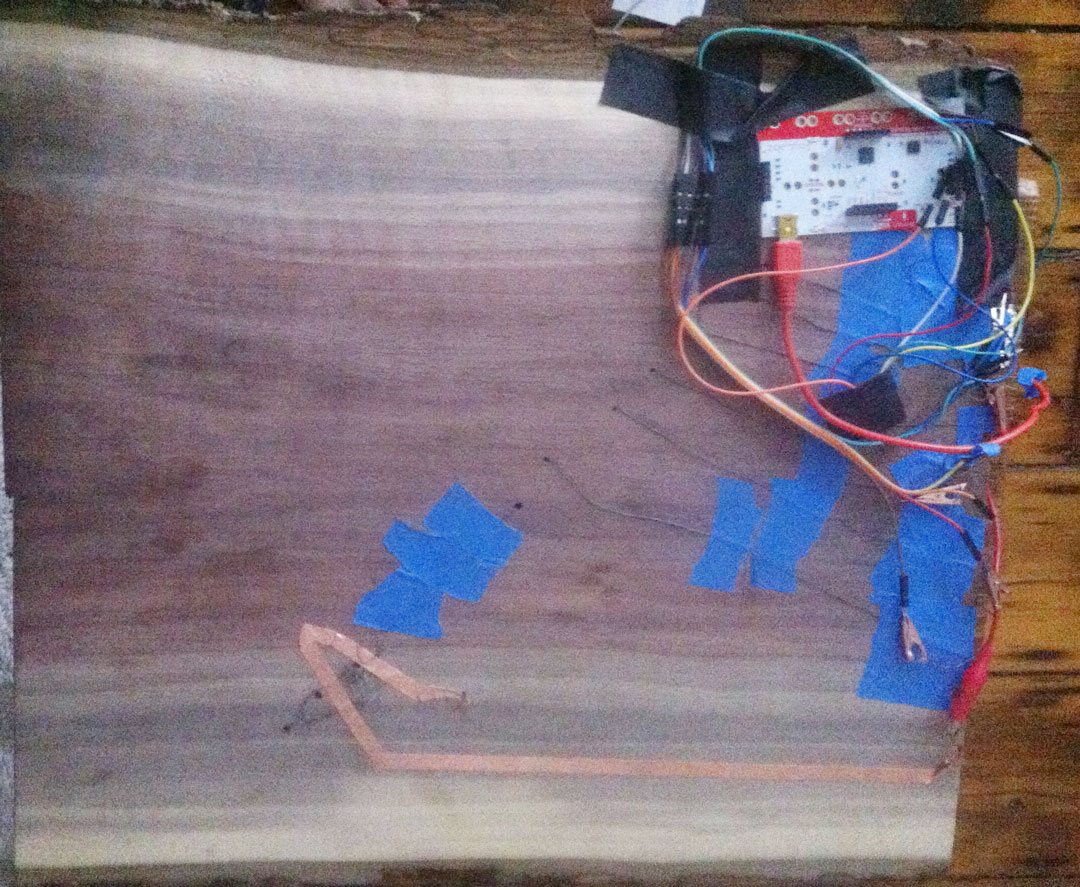
There was an initial setback after covering the area in copper paint with the foolish idea that I would be able to gouge out channels in the grooves to establish the circuit. After deciding this would be impossible I opted instead to sand off the top using the copper in the grooves as the active component.

From there forward, things seemed to work quite well and I had an interesting time trying to craft a piece of generate code to match the style and type of interaction with the object.

The instructable can be found here https://github.com/mjglen/CreativeCoding_oF_F15_Michae_Glen/tree/master/3dparticlemesh_project3

http://www.instructables.com/id/Mystical-Geometric-Slab/

The mandala like source code I wrote can be found on my github here http://www.instructables.com/id/Mystical-Geometric-Slab

A little demo video here (in case you missed the presentation)


slab2 slab5slab6

A Piece of Drum Machine_kAi

CONCEPT

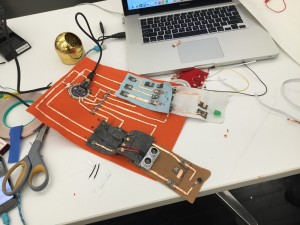
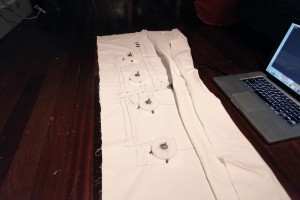
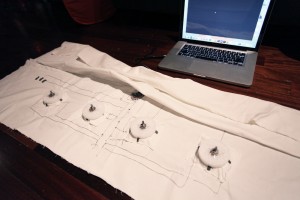
It’s a drum machine fabricated in a piece of fabric. It’s an exploration in soft circuit and new instrument. I wanna create a new drum machine that helps musicians (users) break through their habits to create music.

This drum machine is a brainstorming tool for musicians to create new sequence patterns quickly for their creations. Besides knobbing each modules to trigger sounds, they also can switch the modules for making new sequence.

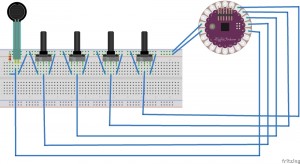
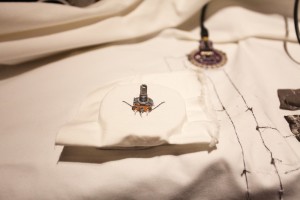
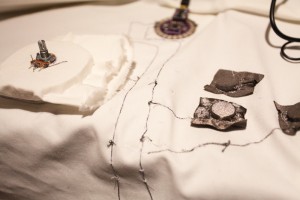
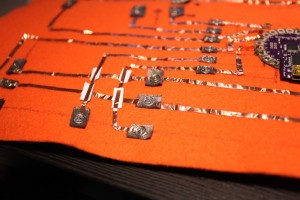
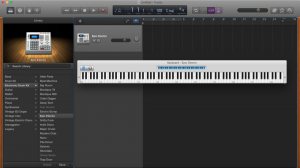
For the technology part, there are 4 potentiometers and 1 press sensor cooperating through Lilypad Arduino. Each potentiometer connects the main circuit by magnet. Arduino can send signals to GarageBand for creating sounds. This drum machine can loop sequence of sounds. By knobbing potentiometers, it can change different sounds in each position for creating new sequence patterns. By pressing press sensor, it can switch the 4 sounds to another 4 sounds. We even can pull potentiometers out from the main circuit and put them back to different positions for making new sequences. So it can help us create more different sequences for fresh music.


FEED BACK REFLECTION

I got critiques from Dasha, a student from Artisanal Tech in Paris. Her critiques are useful for me. We have similar ideas. When knobbing potentiometer, the pitches of sounds can change. I finally fulfilled this in my final piece.


1450740176121 1450740237982 1450740263463 1450740287341 1450740322158 1450740562933 1450740584429 1450740643625 IMG_7786 IMG_7791 IMG_7796 IMG_6603


CODE IS HERE, https://github.com/pekingkc/fabricDrumMachine

1450756949285

I also download a MIDI serial software for Arduino sending signals to GarageBand from here. It’s just like a bridge for Arduino and GarageBand.

RELATED PROJECTS,

http://www.dkaib.com/new-index/#/new-page-26-1-1/

http://www.dkaib.com/new-index/#/55839b3ce4b0a7f245ebc1ca/


DOCUMENTATION OF PROCESS

The video below is testing the function part on breadboard.

IMG_7506 IMG_7523 IMG_7527 IMG_7536


Testing connection on soft circuit.


Testing the potentiometer on soft circuit.


I tried 3 ways for connecting potentiometers with the main circuit. Finally I find the most suitable one in my 3rd prototype.

IMG_7545 IMG_7546 IMG_7547 IMG_7548 IMG_7549

IMG_7553 IMG_7560 IMG_7562 IMG_7566 IMG_7568 IMG_7569 IMG_7571 IMG_7572 IMG_7573 IMG_7574 IMG_7579 IMG_7580


I choose magnet for connections, because it is easier to pull out and put on. I have tired using snaps for connecting circuit in my another project. But snaps are more hard to pull out which is not convenient for this project.

IMG_6090 IMG_6091 IMG_6092 IMG_6158 IMG_7522


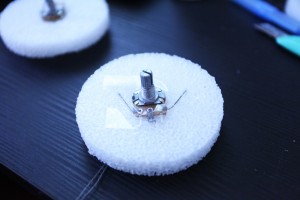
Making potentiometer modules and putting them on the main circuit.

IMG_7597 IMG_7598 IMG_7613 IMG_7614 IMG_7615 IMG_7616 IMG_7621 IMG_7622 IMG_7625


When done the main circuit, I connect modules on. The drum machine basically works.


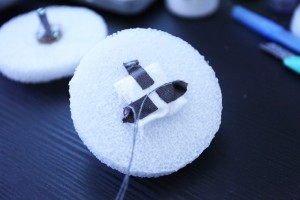
But as I use conductive thread to connect potentiometers, the threads in different holes on potentiometer often touch each other. It makes the modules work awkwardly. I can’t have the value I should have when I rotate the potentiometers. So I use copper tape (conductive) instead.

IMG_7635 IMG_7638


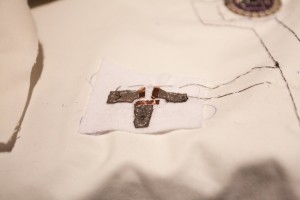
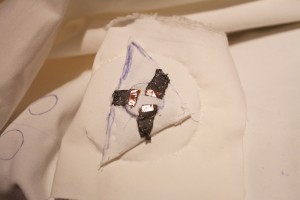
I also connect a press sensor, which is made by myself to the main circuit. Later when I press this sensor, I can switch to another 4 sounds.

IMG_7629 IMG_7631  IMG_7713 IMG_7714 IMG_7718 IMG_7639


When all set, I seal the circuit with a cover leaving holes for connecting modules.

IMG_7663 IMG_7666 IMG_7673 IMG_7686


I choose Epic Electro in GarageBand for triggering sounds.

1450803970963

Soft-Circuit Loteria_IsabellaCruzChong+SarahPage

IMG_4107

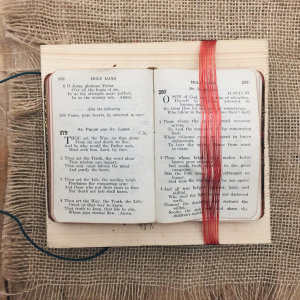
A series of sound sculptures with each having a sound and tactile manifestation of a stanza from a poem called Loteria (referring to the Mexican bingo game).

Sound Sculpture 1: El Nopal
instructable: link

Let whoever reads this understand
that when the desert took me,
it left me with only a lighter
and a friend.

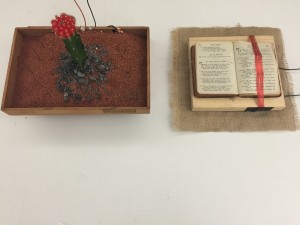
Experience: As participant touches the needles around the cactus, the sound plays the stanza

IMG_4094

Video:


Sound Sculpture 2: El Musico

The guitar was called Mojave.
It had 10 strings with 4 broken.
The perfect sound to reverberate against
an audience of sand.

Experience: As the participant gets very close to the book, he or she can listen to the stanza

Screen Shot 2015-12-23 at 12.54.33 AM


Sound Sculpture 3: El Alacran

I found one of the Milky Way’s spiral arms
embracing a small ranch in Tapalpa.
In the darkness I heard two scorpions dancing, singing,
We have not been before, and we will not be again.

Experience: As two or more people touch the edges of this very long knitted copper wire, the speaker plays the stanza

12404758_917841940723_1365265310_o


Sound Sculpture 4: La Pera

I watched a man choke on a pear,
and hoped for 6 or 7 minutes
that someone else would help him.

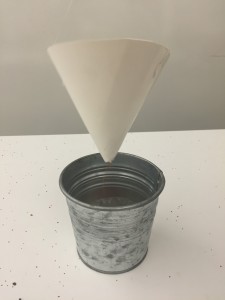
Experience: As sand goes through, the speaker is playing the stanza that is coming from the pot, the more it gets filled the harder it is to hear it

IMG_4112 (1)

Electronic Terrarium

Final result:

When people touches the terrarium, the Leds start to blink mimicking living creatures breathing; a blue leaf slowly appears in the sand.

My target audiences are people who would like to appreciate unnoticeable beauty. I invite my audiences to observe all the common electronic components closely and enjoy the authentic and magical feeling of technology.

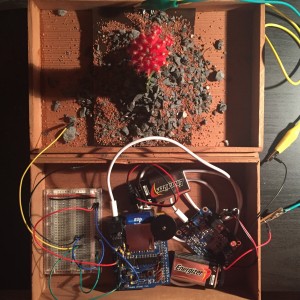
In this final version, I used Attiny instead of Arduino to save space. I also used a lot of colorful wires to create a messy, organic feeling.

To give a better control over the batteries, I used a battery holder of the coin battery and a detachable wire for the 9V battery.

b1b2


For further iterations, I would like to explore the possibility of a  larger scale and adding projection to it as Sheena form Parsons Paris suggested. I made another project called Grow that explores the connection between physical and digital world that related to Sheena’s comment. In this iteration I only used physical components because comparing to virtual images, people consider the physical components less authentic.

After fill in the sand, I found the touch sensing became less sensitive as before. I believe the resistance of the sand affected the sensing. But I already soldered the Attiny in the circuit so I can’t change the code to sense higher input.

Here is the Instructable post.

[Week16] Final Presentation


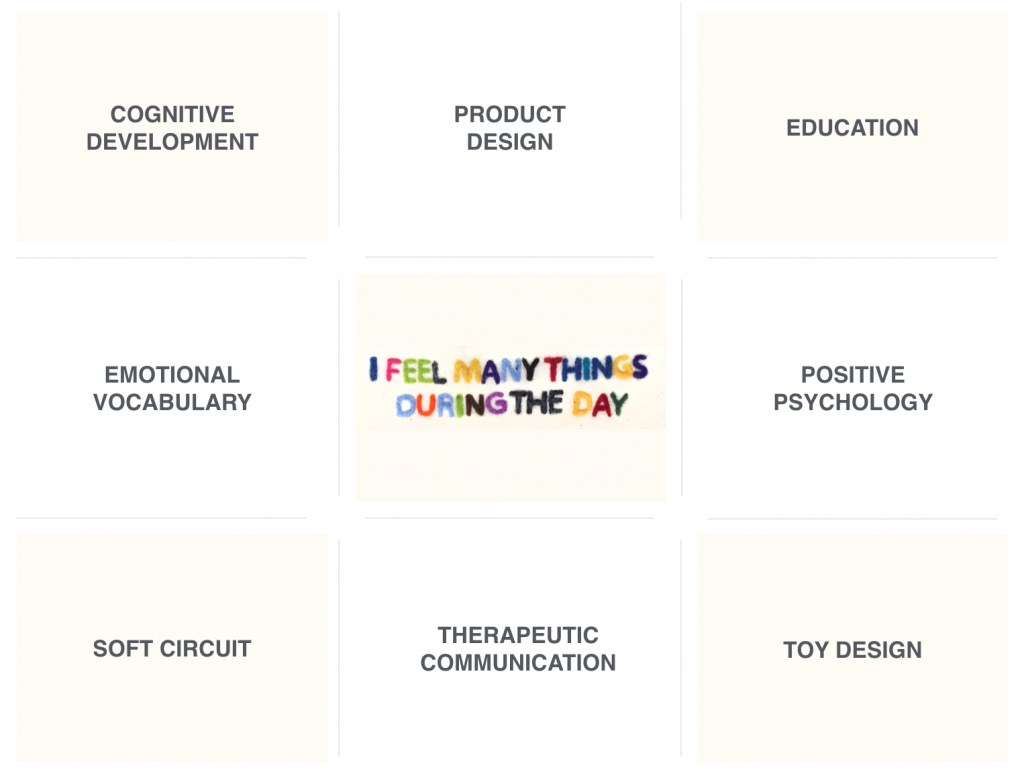
Domains 

Screen Shot 2015-12-22 at 3.36.11 AM

Key words: Positive psychology, Education, Product Design, Cognitive Development, Emotional Vocabulary, Soft Circuit

My project, called I Feel Many Things During the Day, started from positive psychology, the scientific study of understanding optimal living that helps people thrive and live to their full potential as individuals and communities.

Positive design is designed for human flourishing inspired by positive psychology. It can and must be used to facilitate individuals to tap their inner potential and communities to flourish. Positive design does not neglect the deepest of all human needs: the drive to flourish. A well-lived life occurs in a material context utilizing logic to achieve the highest pleasure and meaning that one can experience emotionally.[4] Design does not function in a vacuum[5]. As a product designer, I believe that design has to consider social, cultural, and economic circumstances, but above all, new design and technology have to take the mind factor into account. “The artificial is by no means confined to technology. Today, it means the combination of technical systems, the symbolic realm, including mind and the realm of our transformations and transmutations of nature.”[6] Humans are beings that not only adapt to new environments and circumstances, but they are also transformed by them. In other words, humans are easily influenced by their environment. Positive design is not just a medium to reorganize existing elements, but a method and an efficacious device to create reality. We mold ourselves from the spirits that emanate form the objects around us to become a little as they are, even if we are not always able to see quite how objects make us feel. By designing new technologies and environments, behavior can be shaped, thinking regulated, therefore, reaching the core component of the individual, his or her emotional world. Positive design acts as a thread that links all domains used in my project.

I Feel Many Things During the Day is a product that aims to educate kids ages between 3 and 7 to identify and express their feelings by listening to each story of feeling faces. Learning about emotions is in part an introspective activity, but most of it comes from social interaction.

In my project, kids who are ages between 3 and 7, learn about 12 emotional vocabularies, including sad, happy, fear, angry, surprise, disgusted, etc., that stimulate their cognitive development with therapists guiding kids to various emotional vocabulary experiences and to deeper conversations. In order for children to read social cues better with those around them, it is crucial for children to learn emotional vocabulary. It is first fundamental for children to read the affective cues of others and of themselves.[7] Differentiating among moods, for example, angry, sad, frustrating, and happy requires emotional vocabulary. When children have more abundant vocabulary, they experience more rewarding connections. So as to accurately grasp emotions in themselves and others, kids need to have vocabularies for those feelings, a feeling usage. In order not to miss all the different degrees of emotions in-between they have to practice a vocabulary of feeling words which sometimes kids do not have labels and definitions for those emotions. Children will tap and improve their verbal skills, learn what emotions are and how to behave when they feel certain emotions, further sharing their deeper feelings.

Processes of sharing their deepest feelings are therapeutic communication, an interactive activity through the face-to-face process that focuses on improving the physical and emotional well-being of individuals. Using this emotional vocabulary play mat enables therapists to induce kids to talk about their feelings easier.
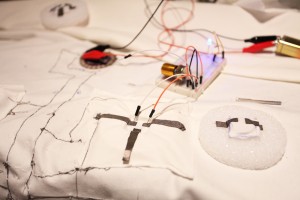
Kids at the second stage of cognitive development,[8] significantly expand the use of language through internal representational systems to describe people, his feelings and his environment. Symbolic play likewise evolves at this stage, allowing the child to engage in pretend play using available objects to represent something else. The preoperational child is so engrossed in egocentric thought which limits the child’s view of the world to his own perspective, believing that this view is shared by everyone else. The child cannot comprehend that there are other ways of looking at situations and interpreting information. [9]
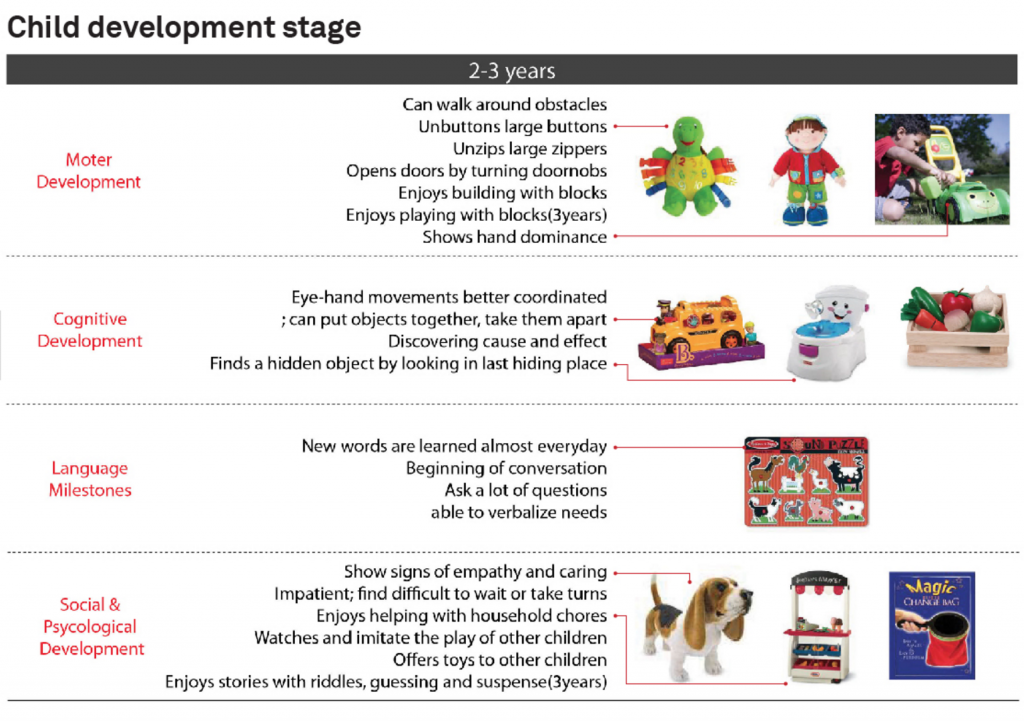
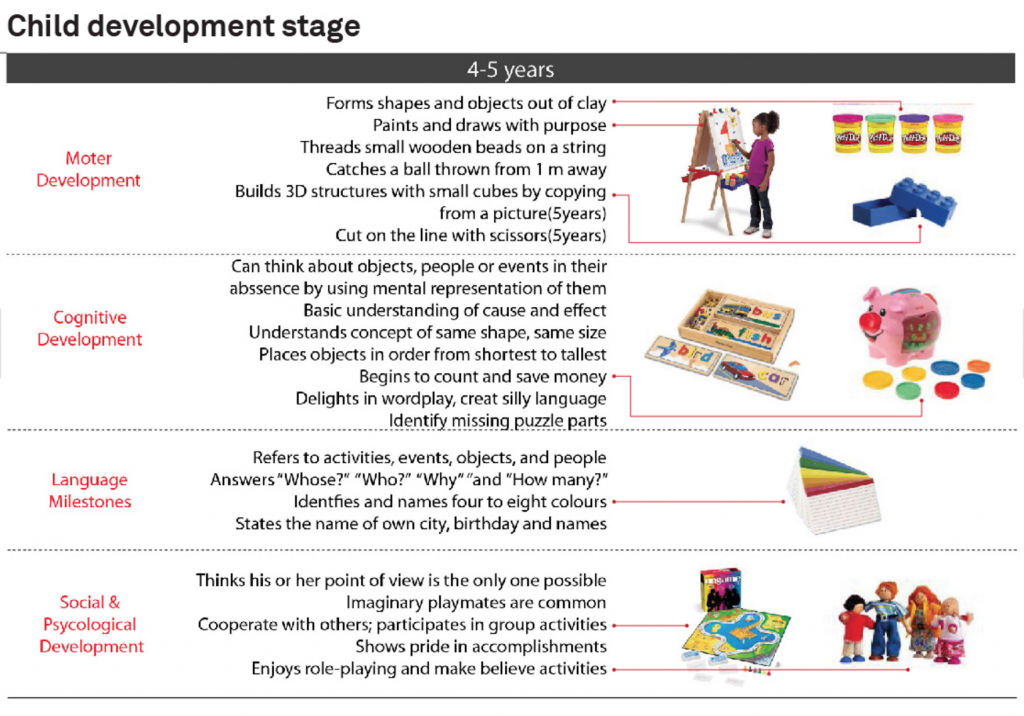
This is a product for kids. Hence, I had to think carefully about what materials I will use for my project, understanding of the kids’ tendency. I researched kid’s development stages.

Screen Shot 2015-12-22 at 1.10.10 AM Screen Shot 2015-12-22 at 1.10.19 AM

After the research I decided to use soft circuit. Using soft circuit and conductive materials allowed me to step closer to a toy design as a product. I found kids like emotional vocabulary play mat when documenting them. Because of felt’s vivid colors of face and rugs like texture above soft circuit built with conductive inks and wires, my project gives a sense of comfort, familiarity and safety.

Goal of I Feel Many Things During the Day. 

I Feel Many Things During the Day touches personal significance. This educational product is not just traditional product design focusing problem solving process, but focuses on one’s personal long or short-term goals: having better connections between parents and kids, expanding emotional vocabulary, improving reading social cues, and learning how to behave when kids feel certain feelings etc. Through this emotional vocabulary play mat, parents, therapists, and teachers can also derive kids’ personal significance from the awareness of kids’ past performance or a sense of progress to a future goal. In this sense, People make use of products to achieve their goals. An alternative to traditional welfare economics, the “capability approach” proposed by Nussbaum[10] and San is an interesting example of an economic approach that focuses on personal significance. They judge prosperity looking at what people are able to do with their resources, instead of material possessions. It focuses on fulfilling the individual’s goals, nurturing their personal fulfillments.


[1] Tal Ben-Shahar, Ph.D, Happier, Learn the Secrets to Daily Toy and Lasting Fulfillment (2007) https://en.wikipedia.org/wiki/Positive_psychology,

[2] Maslow, hierarchy of Needs

[3] Pamela Pavliscak https://www.changesciences.com/a-positive-design-manifesto

[4] Dr. Michael W. Fordyce, The Psychological of Happiness: A Brief Version of the Fourteen Fundamentals (1993)
[5] Dieter Rams

[6] Clive Dilnot, “Design As Future-Making: Reasons To Be Cheerful,1,2,3…* (Or Why The Artificial May Yet Save Us)”

[7] Gail E. Joseph, Ph.D. & Phillip S. Strain, Ph.D. Center on Evidence Based Practices for Early Learning University of Colorado at Denver, Enhancing Emotional Vocabulary in Young Children

[8] Piaget’s Theory of Cognitive Development

[9] http://www.psychologynoteshq.com/piaget-stages/

[10] Nussbaum M. C. (2000). Woman and human development: The capabilities approach. Cambridge, UK: Cambridge University Press


Future Iteration

  • Adding different stories
  • A disadvantage I found is that kids can not play often this play mat because kids would not get excited when they know all the stories behind the faces.
  • Foldable play mat

productize

  • Connecting batteries, speakers inside the mat

Jane, Wes and Charles Final Project Process

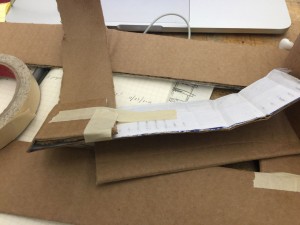
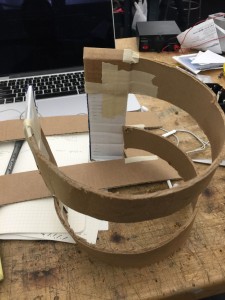
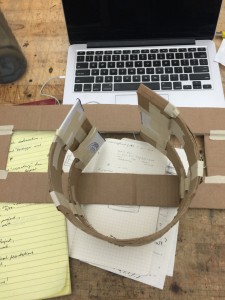
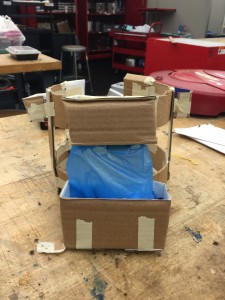
We started with a rough cardboard prototype to get a size and positioning reference.

IMG_5513 IMG_5514 IMG_5518 IMG_5519 IMG_5521 IMG_5523 IMG_5526


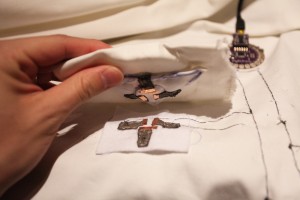
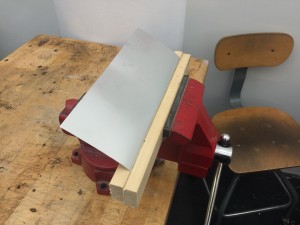
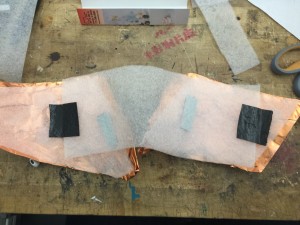
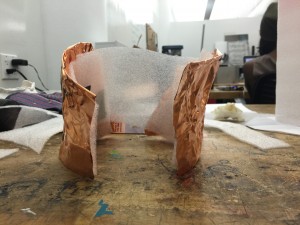
From there we began working on a neck piece that would control and/or turn on the helmet device. It consisted of materials such as plastic, metal (aluminum and copper) and foam.

IMG_5602 IMG_5606 IMG_5607

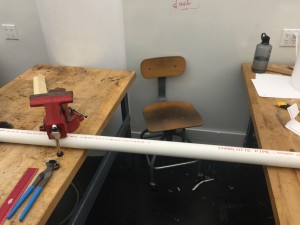
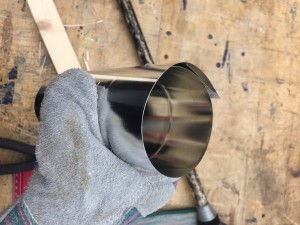
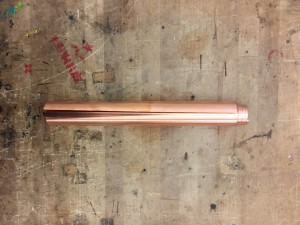
Here we used the PVC pipe to shape the form of the metal to best fit our needs.

IMG_5608 IMG_5610


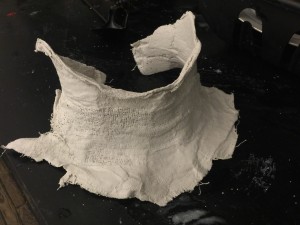
Below is the plaster moldering process.

IMG_5629 IMG_5632 IMG_5633


Here we moved to using .003mm copper sheets.

IMG_5705 IMG_5708 IMG_5709 IMG_5710 IMG_5719 IMG_5720


Finally we began working with a capacitive touch sensor

Capacitive Touch Sensor Test


Capacitive Touch Sensor Test 2

Updated Final Project (WEEK16)

Electronic Terrarium Prototype

I’m creating an interactive electronic terrarium. Normally, people put plants or plastic plants in terrariums to create a small concentrated nature environment.  I think the interesting point of a terrarium is the glass vase isolates the ordinary objects from the real world and frames the objects for people to take a close look. My idea is to include electronic components into a terrarium for people to appreciate the aesthetic aspects of technology. Also, I also want to express technology is alive in another way.

I’ve been working on creating a base of color changing sand. Everything worked outside the terrarium. But the terrarium I got is too small — the Arduino and the battery already took most of the space. I’m going to get a bigger one this week.

Process:

1. Dye the sand

I mixed red thermochromic dye with blue paint to create this purple sand that turns blue when heated.

IMG_0119IMG_0120

2. Sew the Flexinol into a pattern

I chose a simple shape of leaf for a clear result. Also, the leaf brings a sense of nature into the project.

leaf


3. Capacity sensing terrarium

I soldered several 1M ohm resistors together for capacity sensing. People looking close to the terrarium triggers the effects. I chose peek into the terrarium as the interaction is because it’s a natural respond most people will have without any instructions.

IMG_0121IMG_0122