CONCEPT
It’s a drum machine fabricated in a piece of fabric. It’s an exploration in soft circuit and new instrument. I wanna create a new drum machine that helps musicians (users) break through their habits to create music.
This drum machine is a brainstorming tool for musicians to create new sequence patterns quickly for their creations. Besides knobbing each modules to trigger sounds, they also can switch the modules for making new sequence.
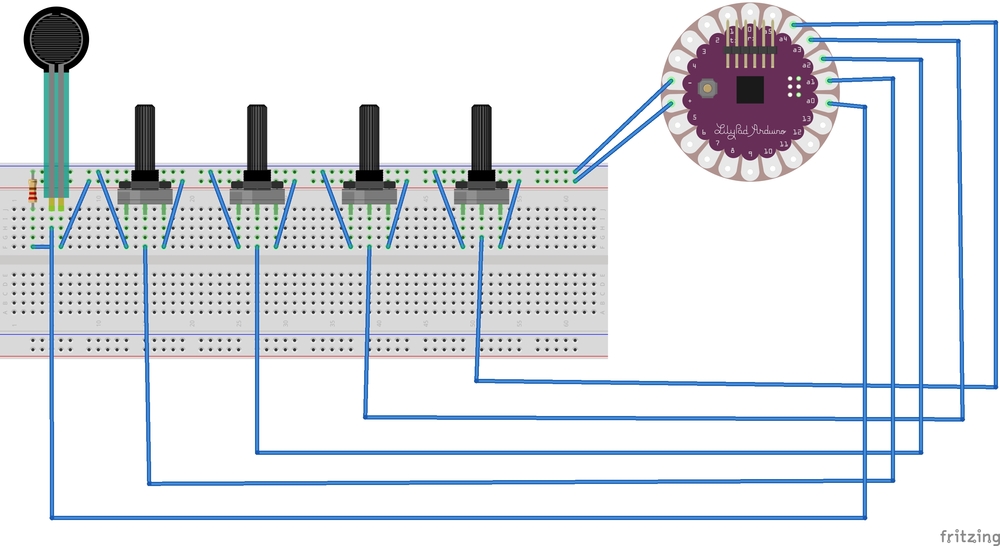
For the technology part, there are 4 potentiometers and 1 press sensor cooperating through Lilypad Arduino. Each potentiometer connects the main circuit by magnet. Arduino can send signals to GarageBand for creating sounds. This drum machine can loop sequence of sounds. By knobbing potentiometers, it can change different sounds in each position for creating new sequence patterns. By pressing press sensor, it can switch the 4 sounds to another 4 sounds. We even can pull potentiometers out from the main circuit and put them back to different positions for making new sequences. So it can help us create more different sequences for fresh music.
FEED BACK REFLECTION
I got critiques from Dasha, a student from Artisanal Tech in Paris. Her critiques are useful for me. We have similar ideas. When knobbing potentiometer, the pitches of sounds can change. I finally fulfilled this in my final piece.


CODE IS HERE, https://github.com/pekingkc/fabricDrumMachine
I also download a MIDI serial software for Arduino sending signals to GarageBand from here. It’s just like a bridge for Arduino and GarageBand.
RELATED PROJECTS,
http://www.dkaib.com/new-index/#/new-page-26-1-1/
http://www.dkaib.com/new-index/#/55839b3ce4b0a7f245ebc1ca/
DOCUMENTATION OF PROCESS
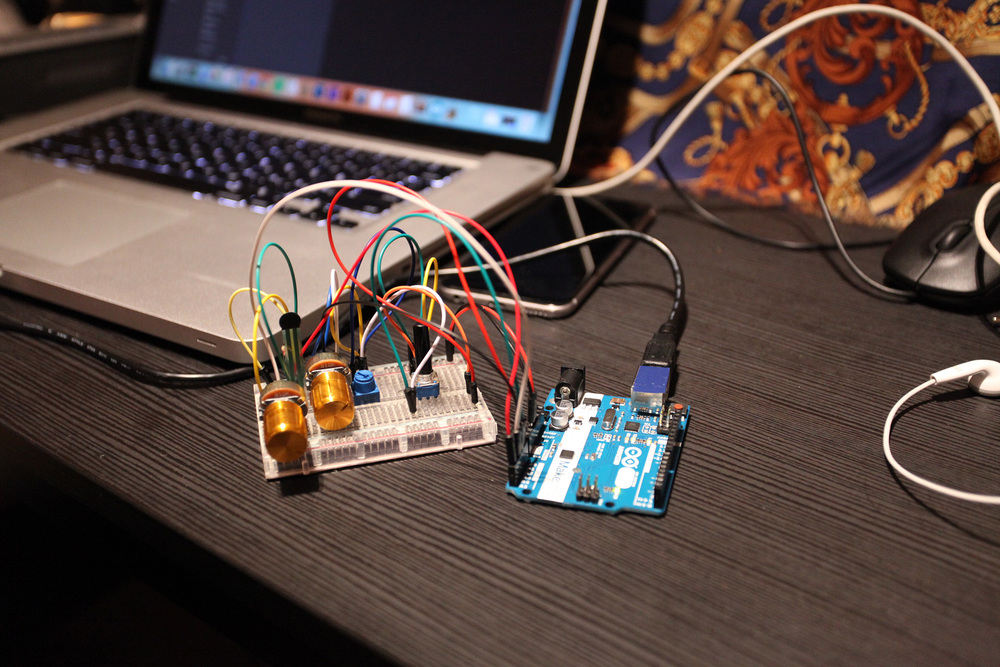
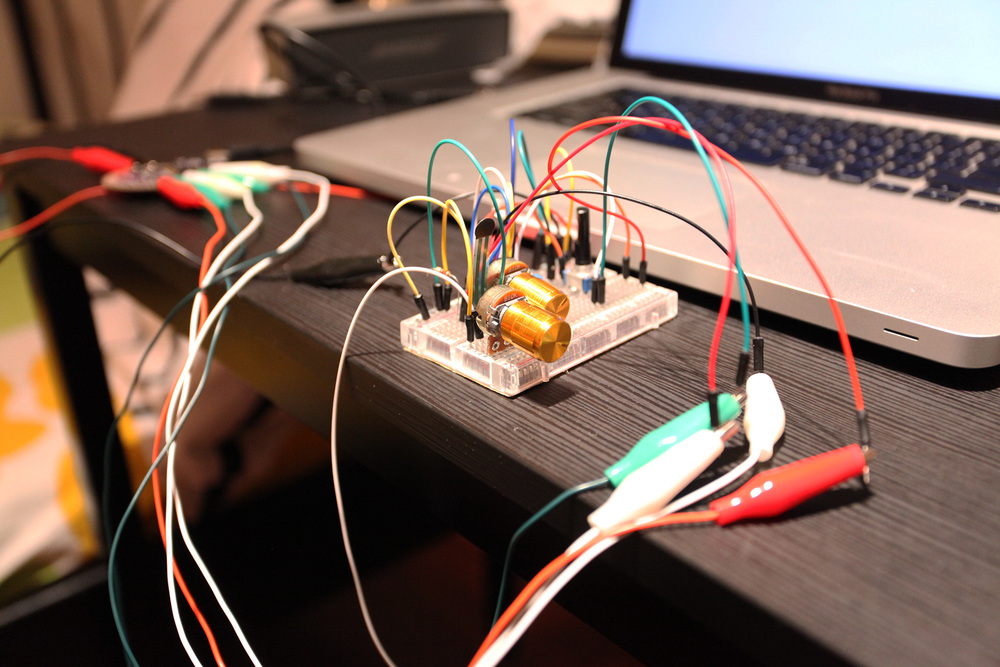
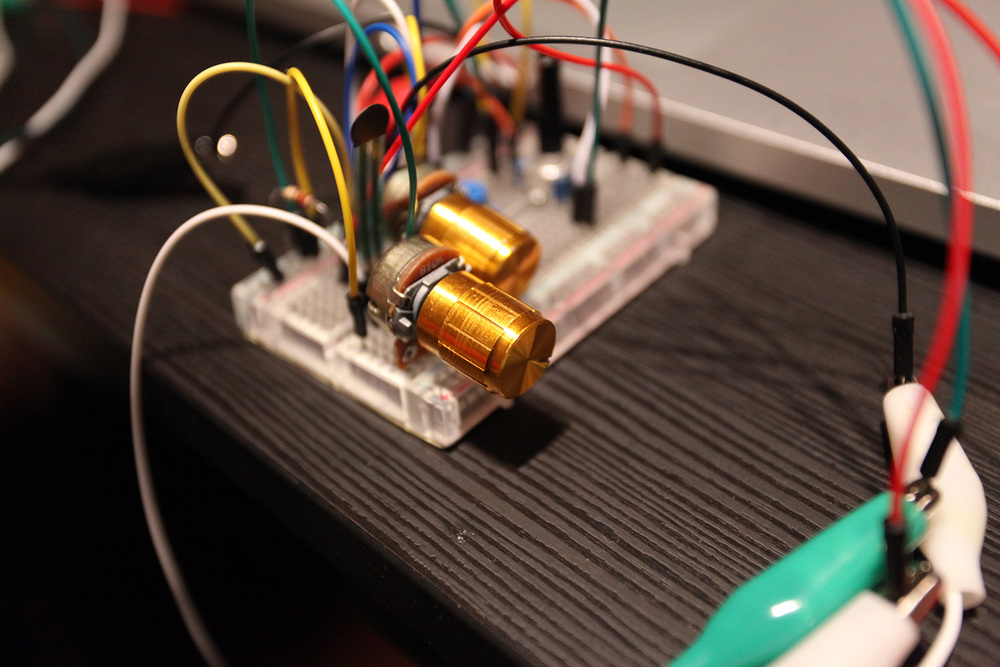
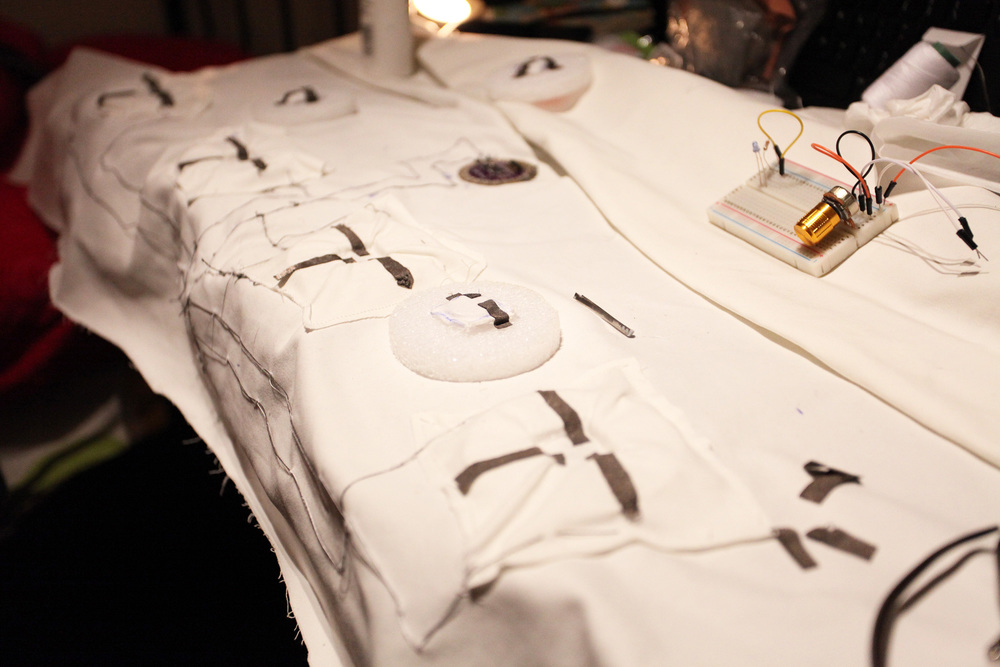
The video below is testing the function part on breadboard.
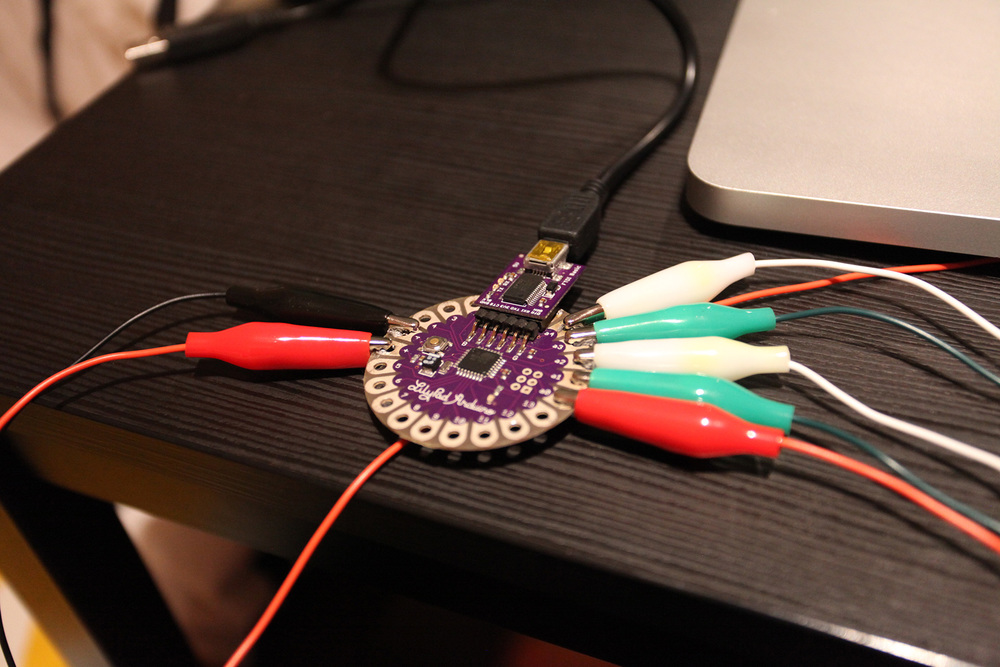
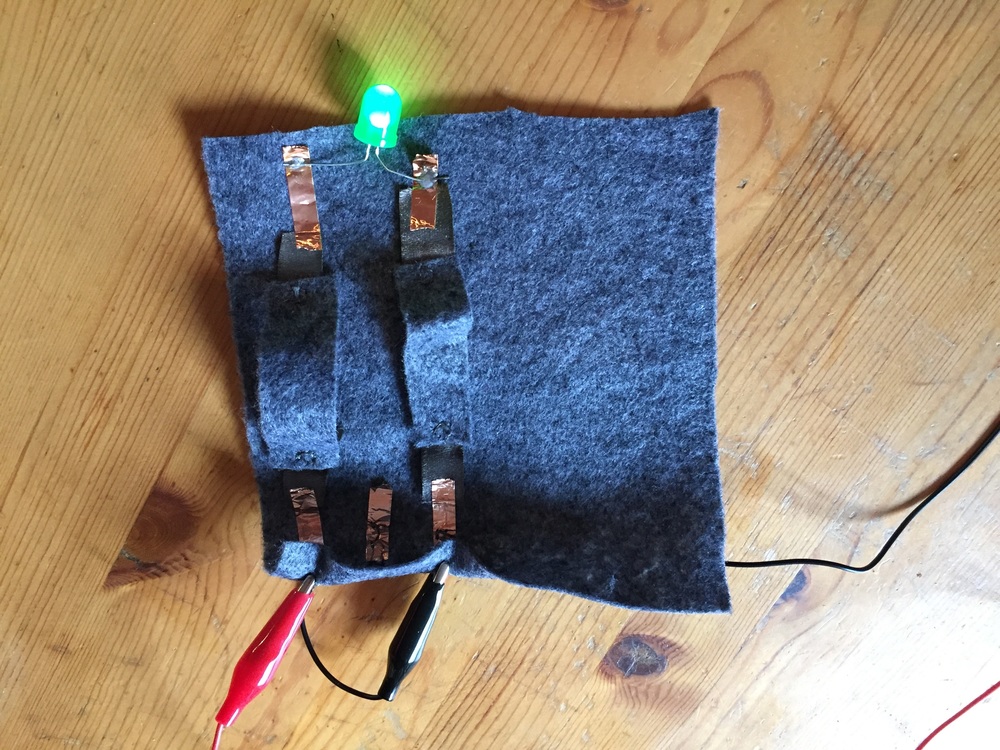
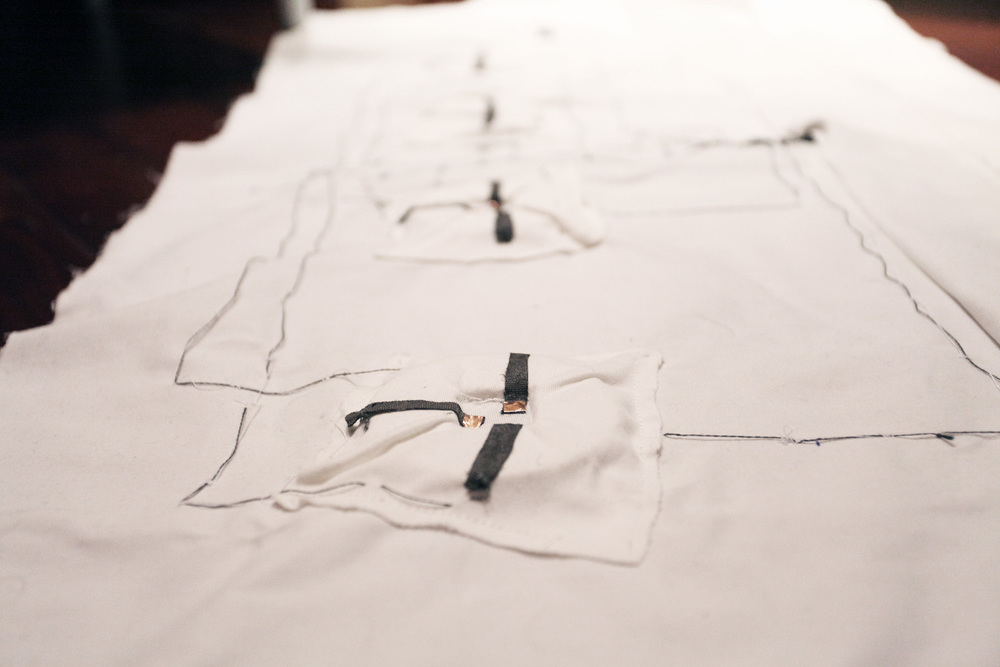
Testing connection on soft circuit.
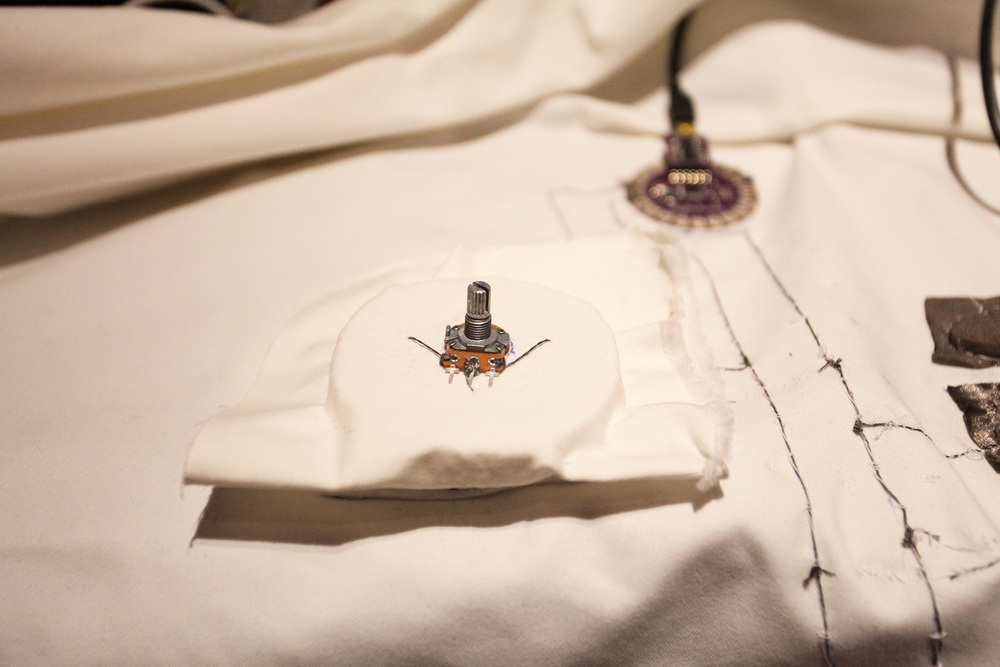
Testing the potentiometer on soft circuit.
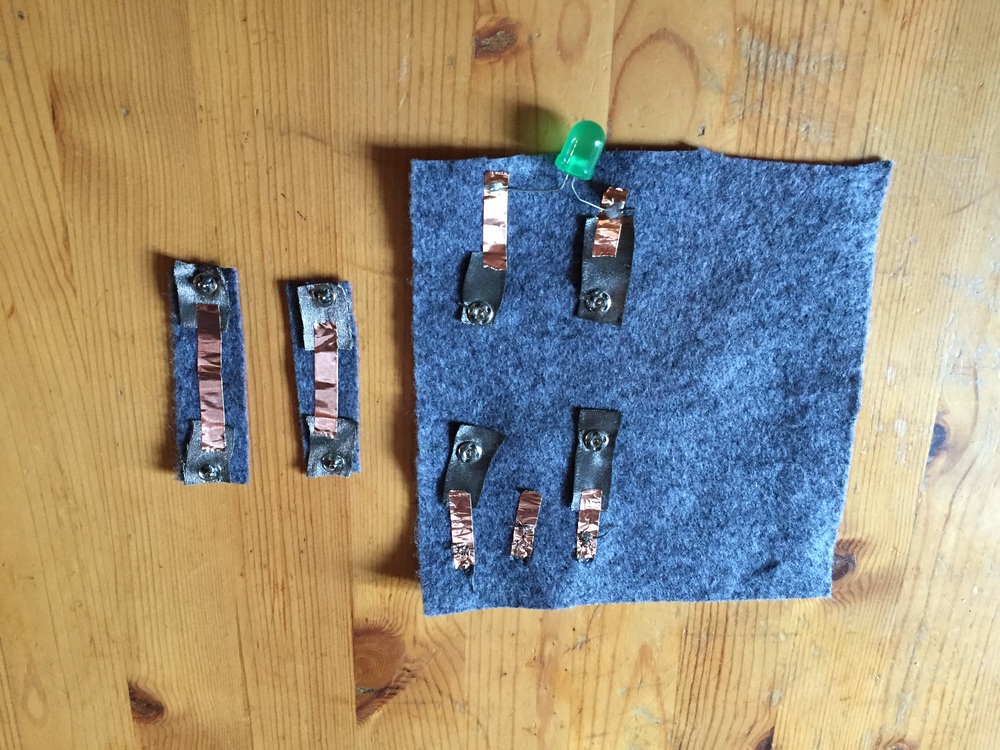
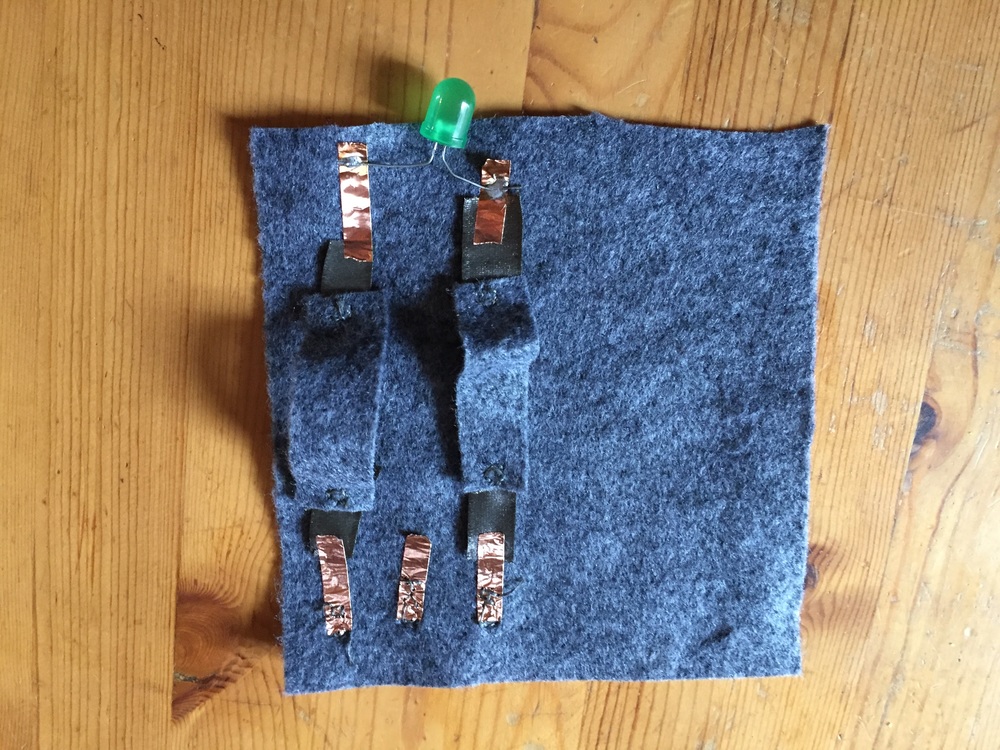
I tried 3 ways for connecting potentiometers with the main circuit. Finally I find the most suitable one in my 3rd prototype.
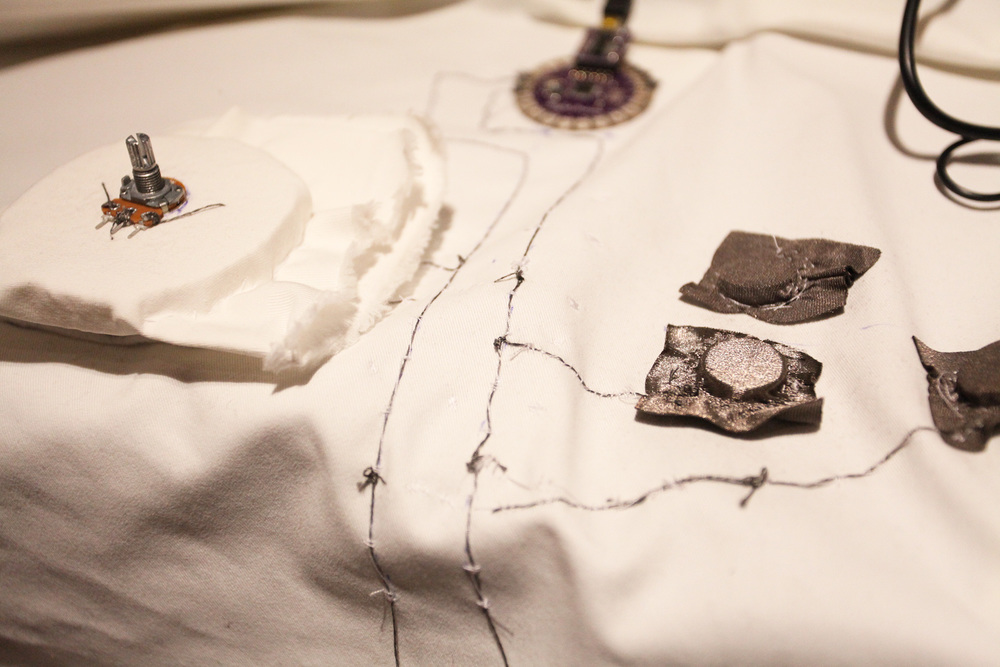

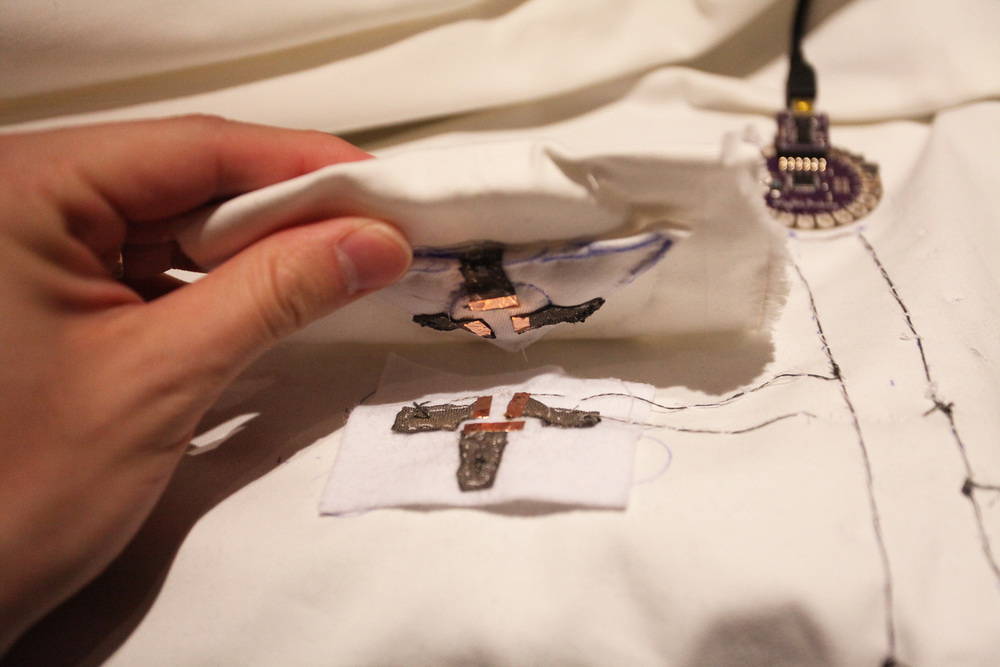


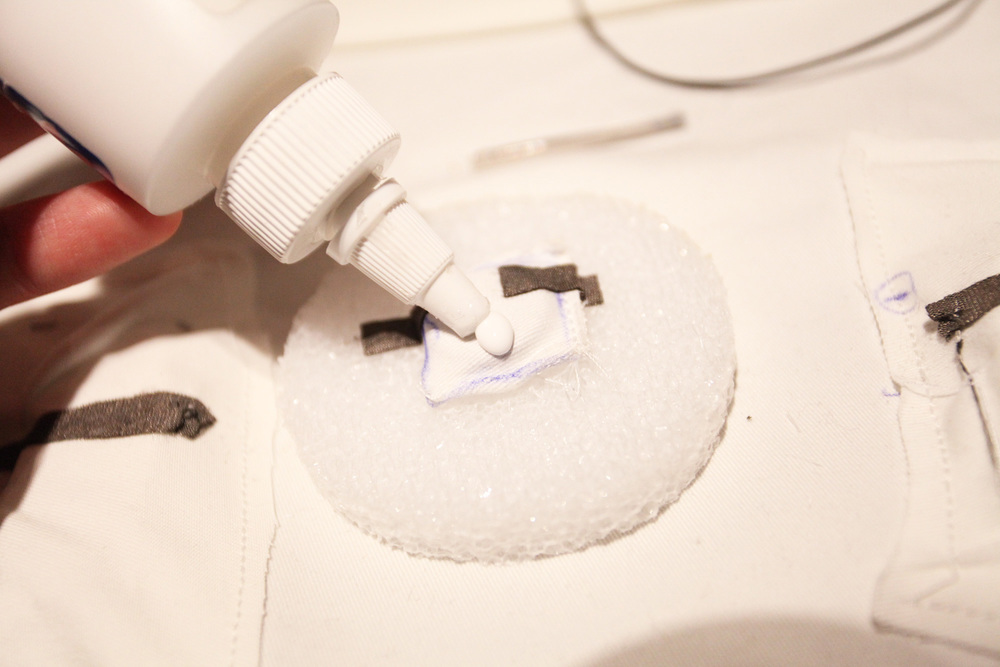

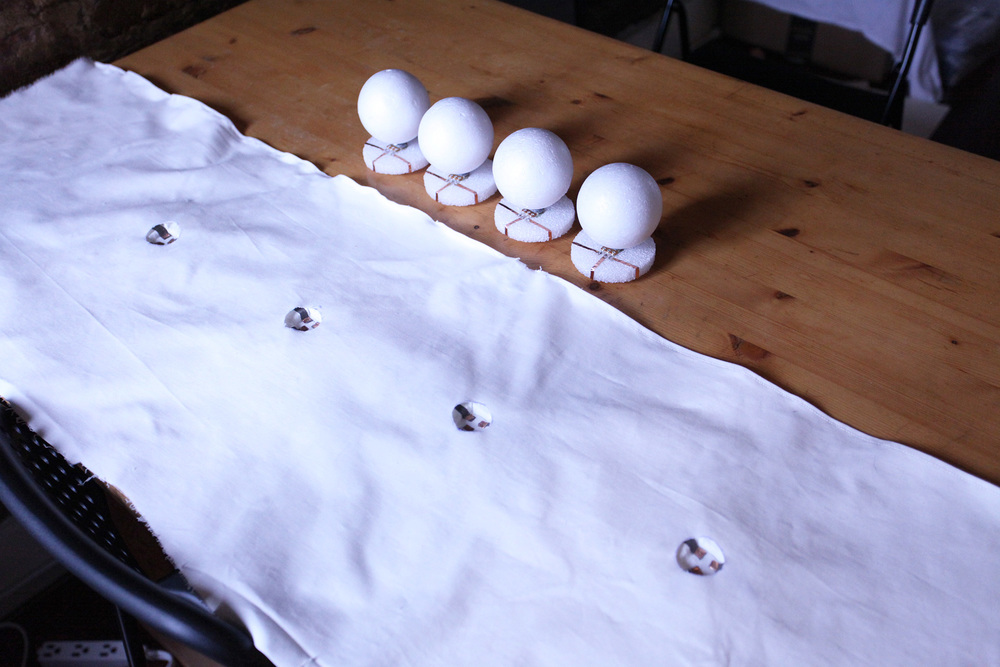
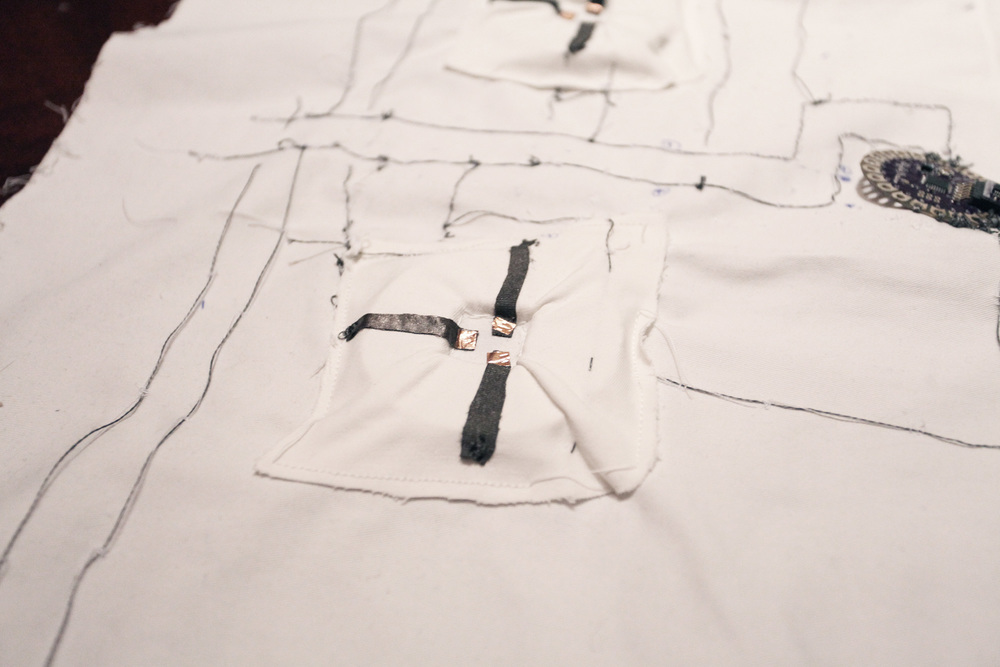
I choose magnet for connections, because it is easier to pull out and put on. I have tired using snaps for connecting circuit in my another project. But snaps are more hard to pull out which is not convenient for this project.
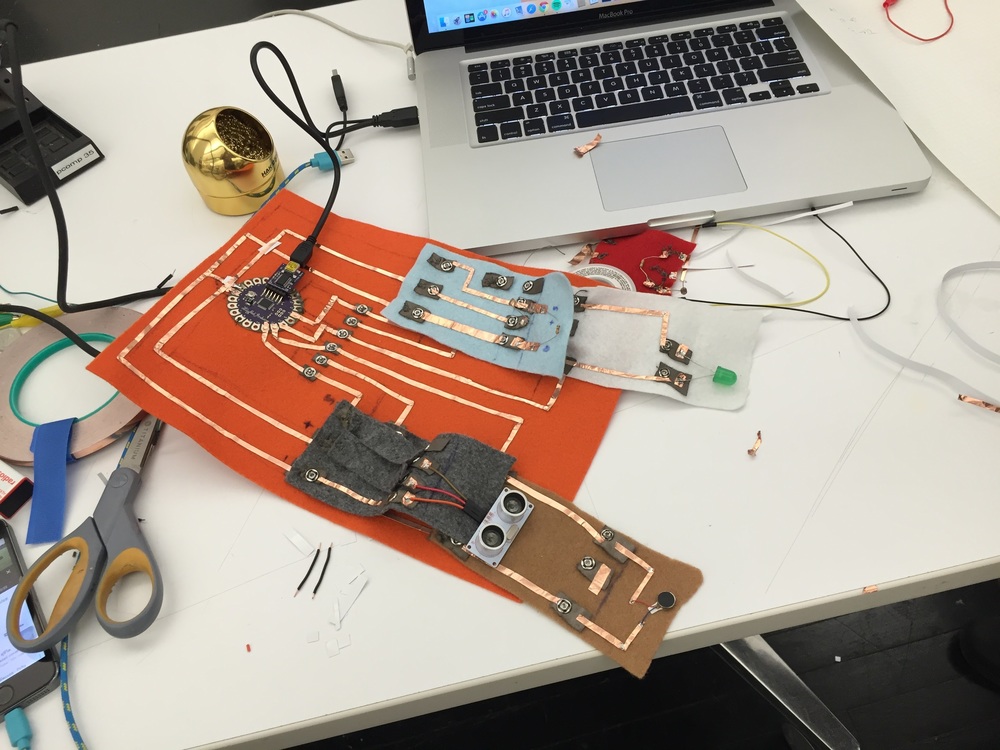
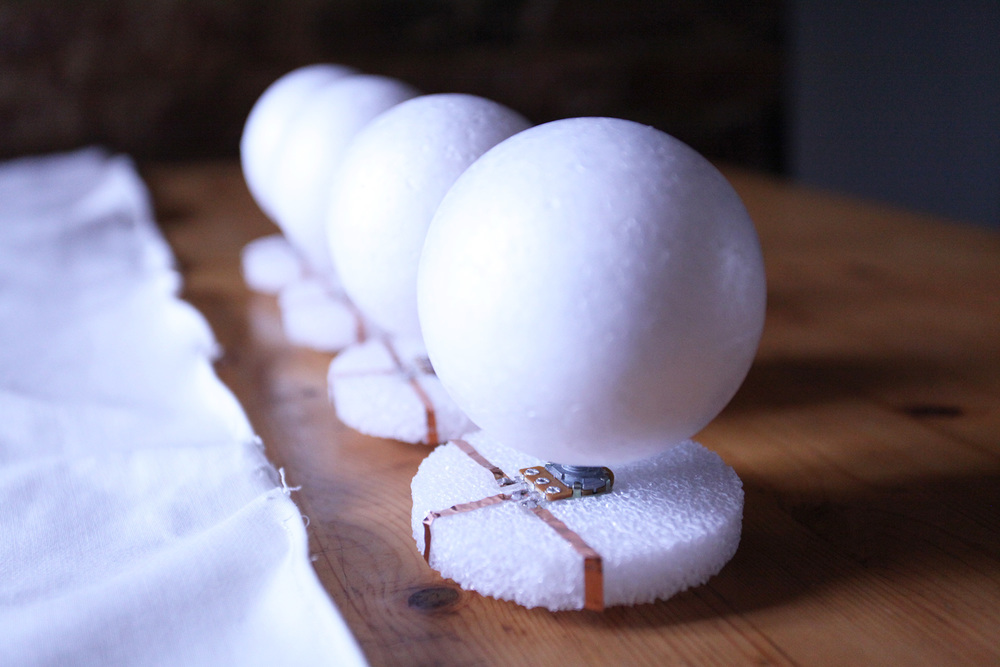
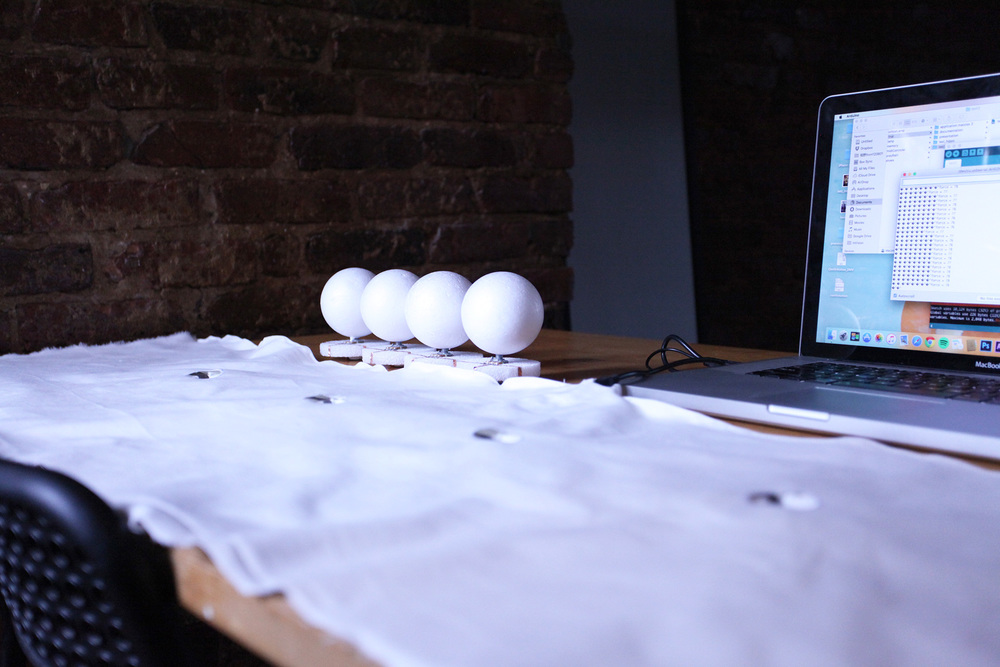
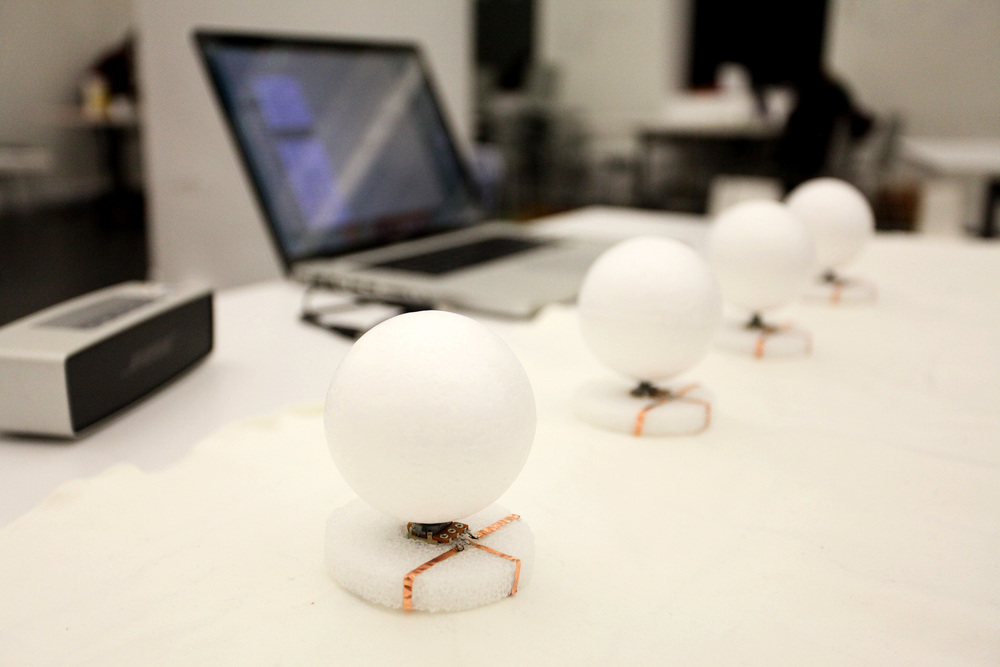
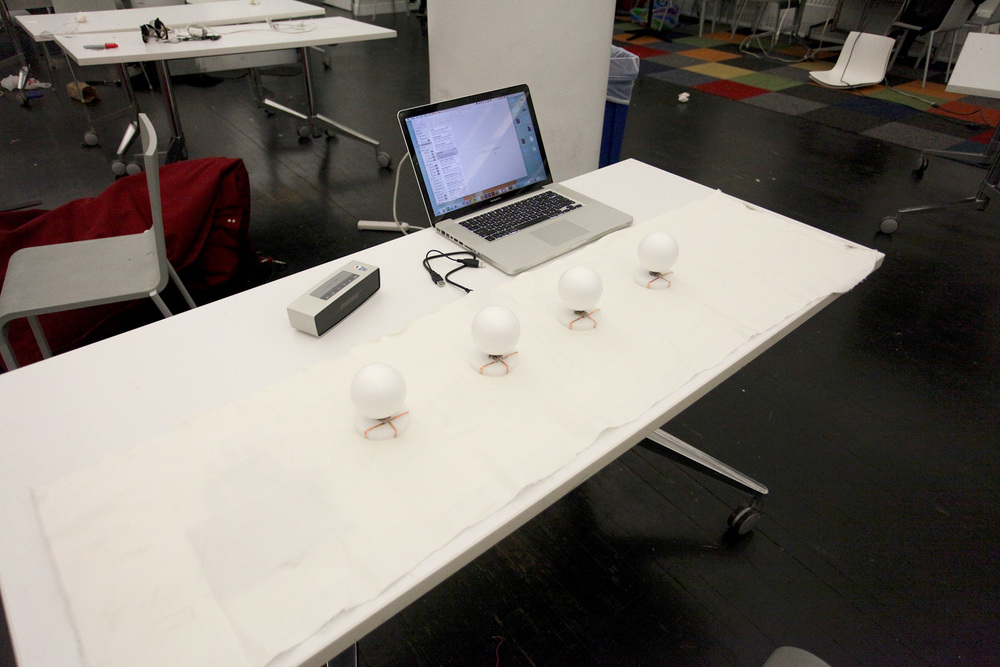
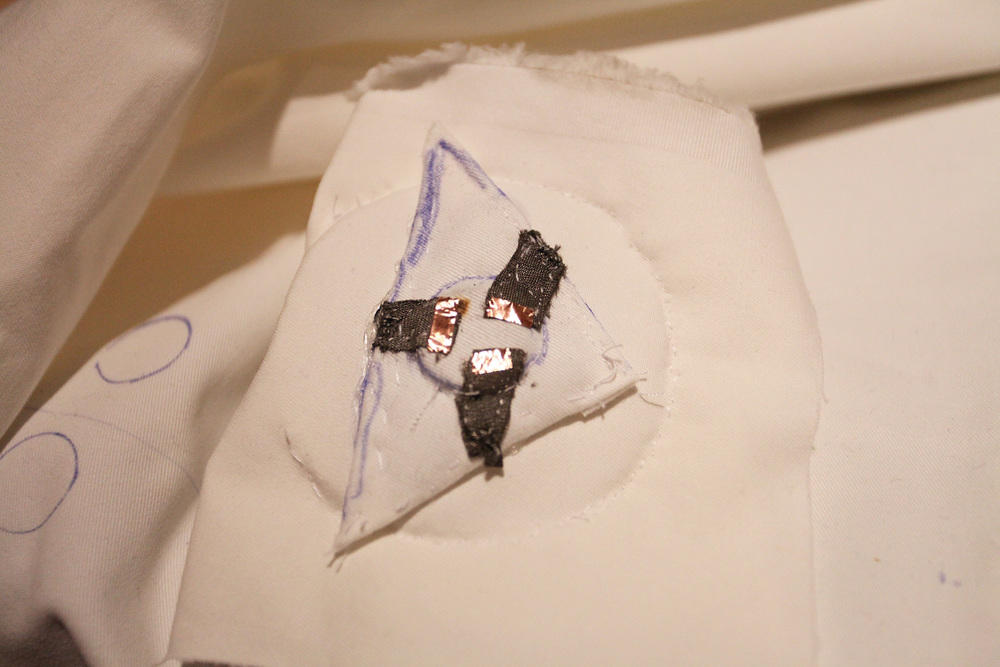
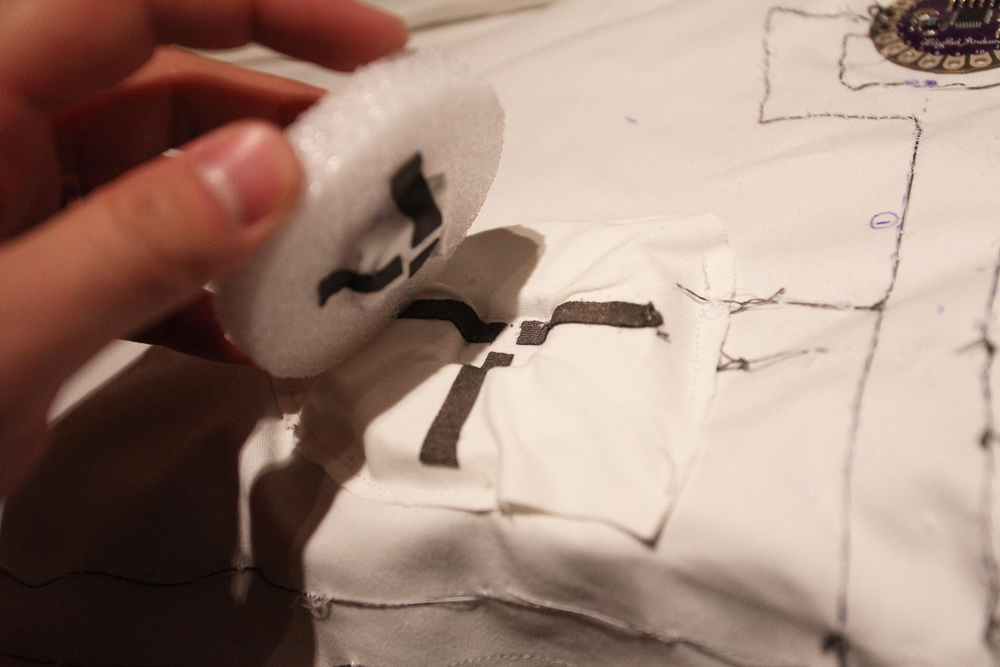
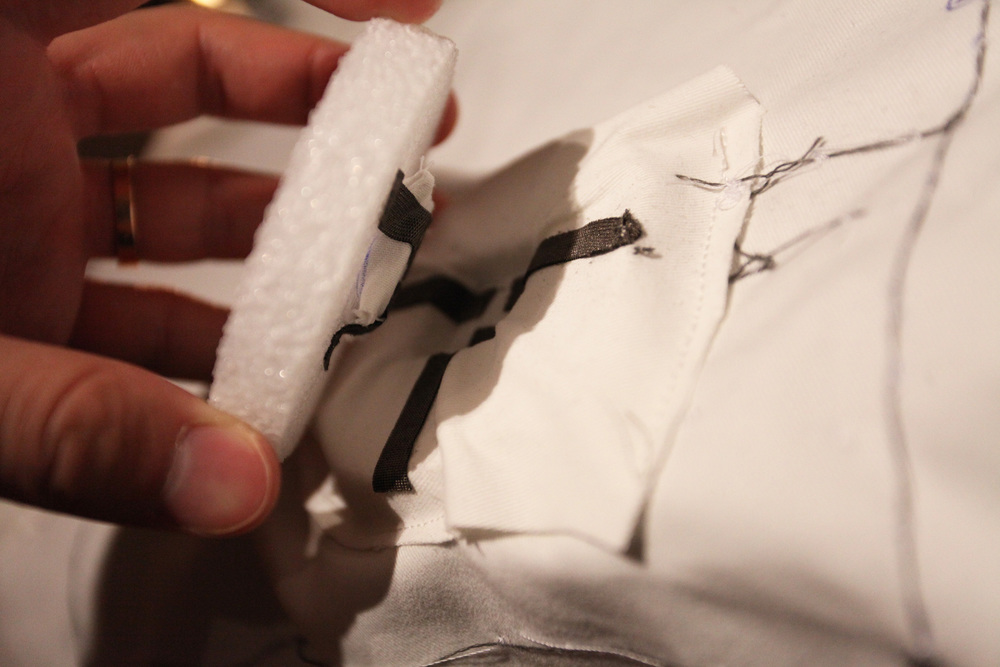
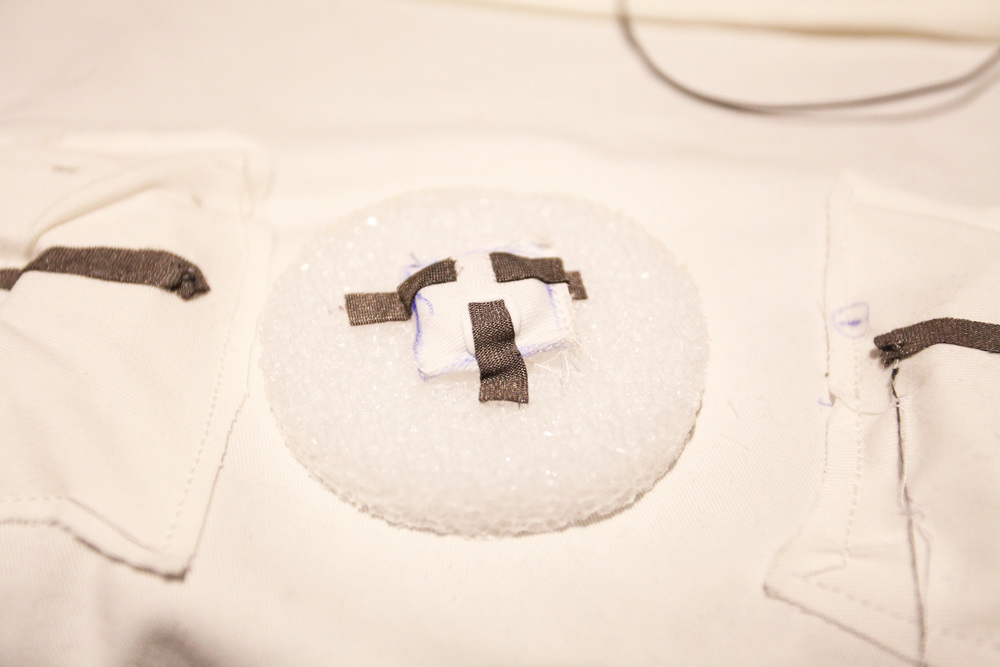
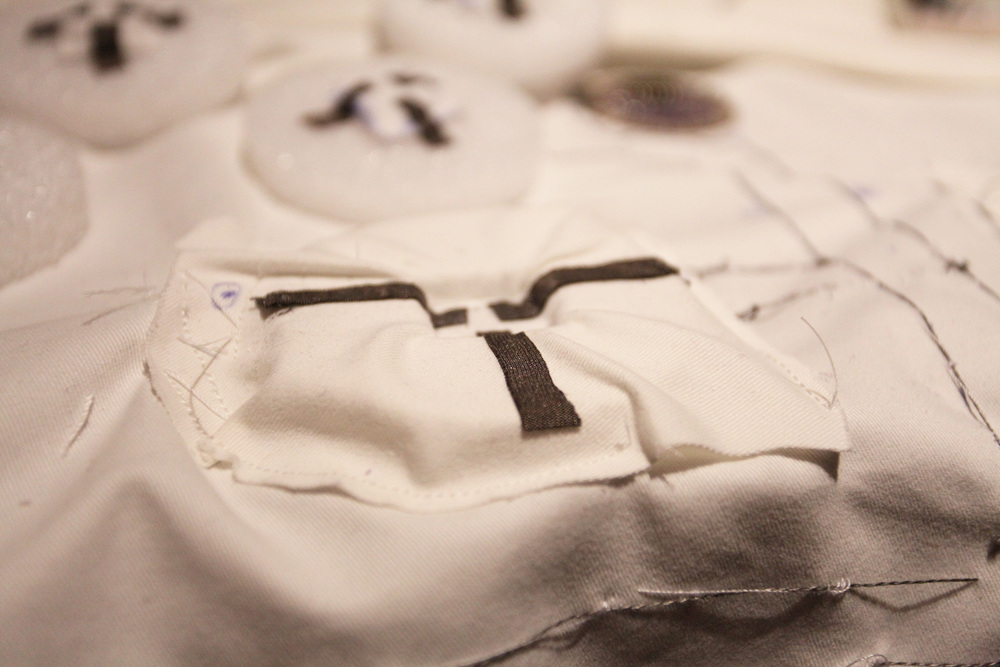
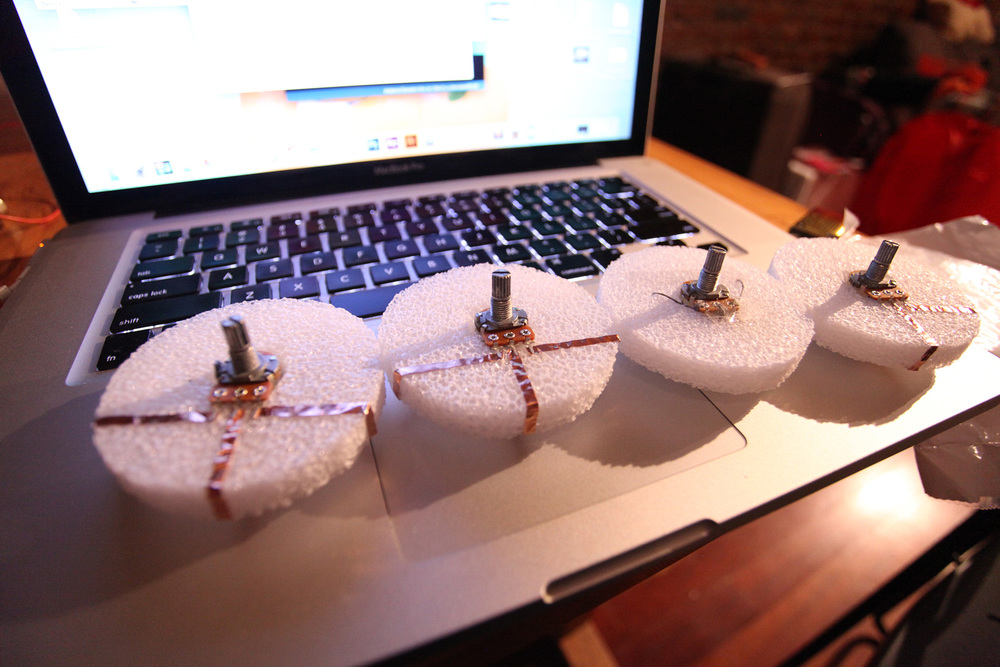
Making potentiometer modules and putting them on the main circuit.
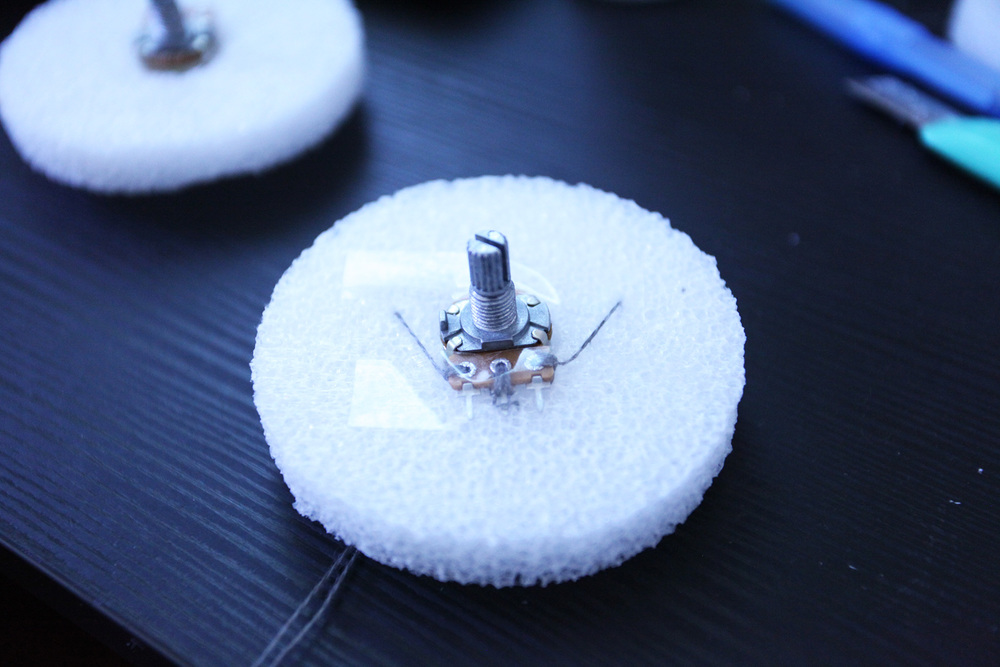
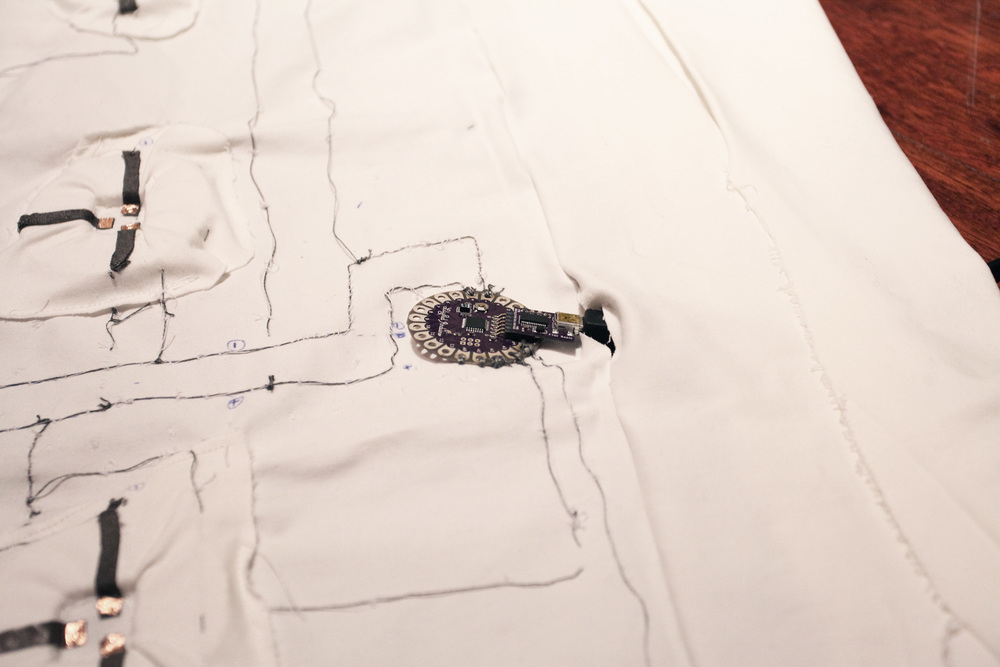

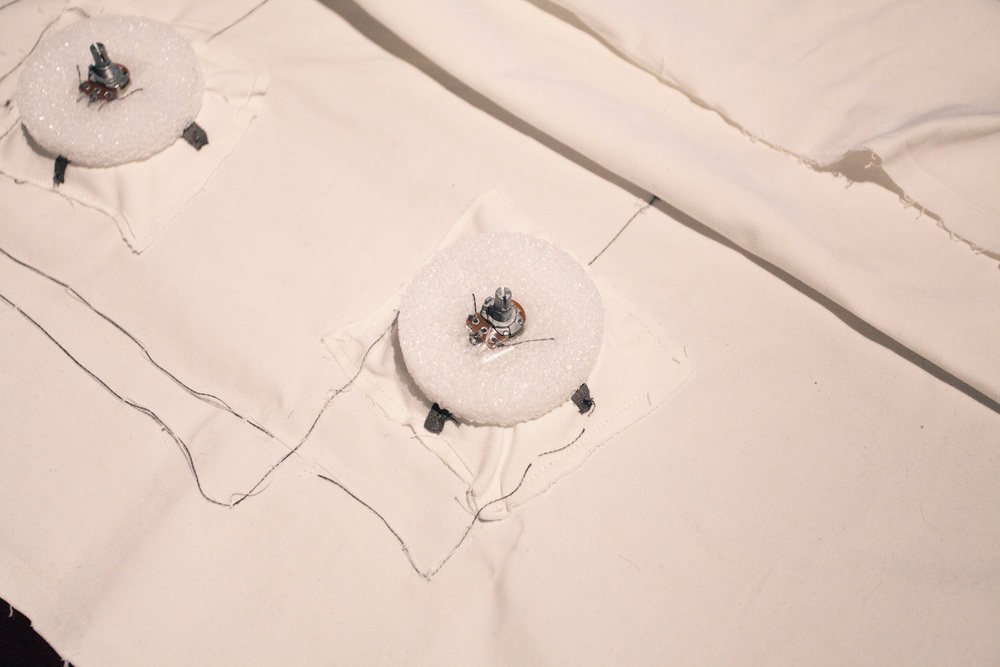

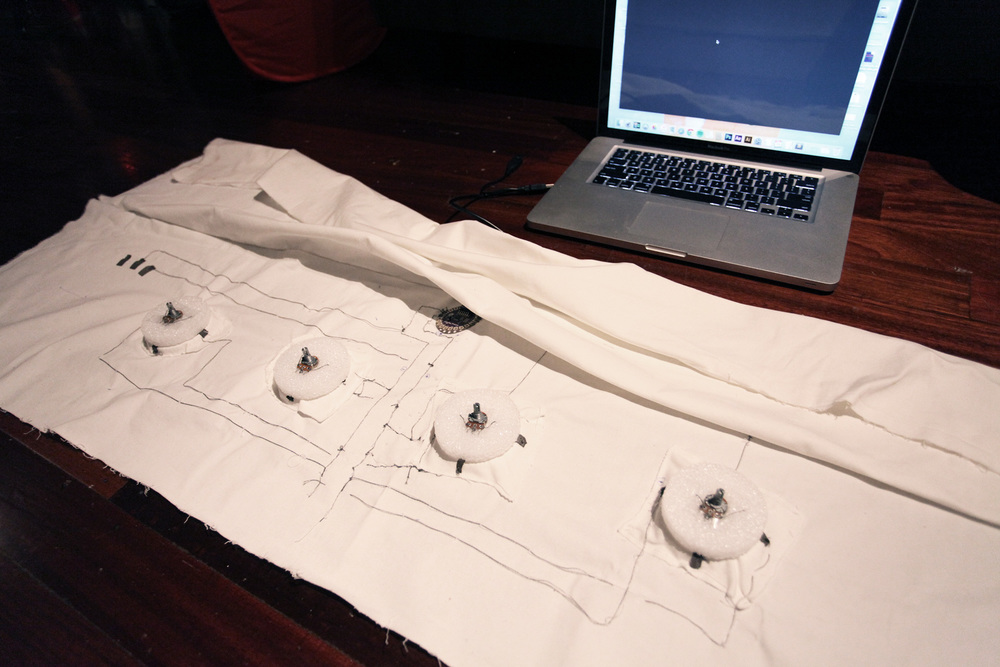
When done the main circuit, I connect modules on. The drum machine basically works.
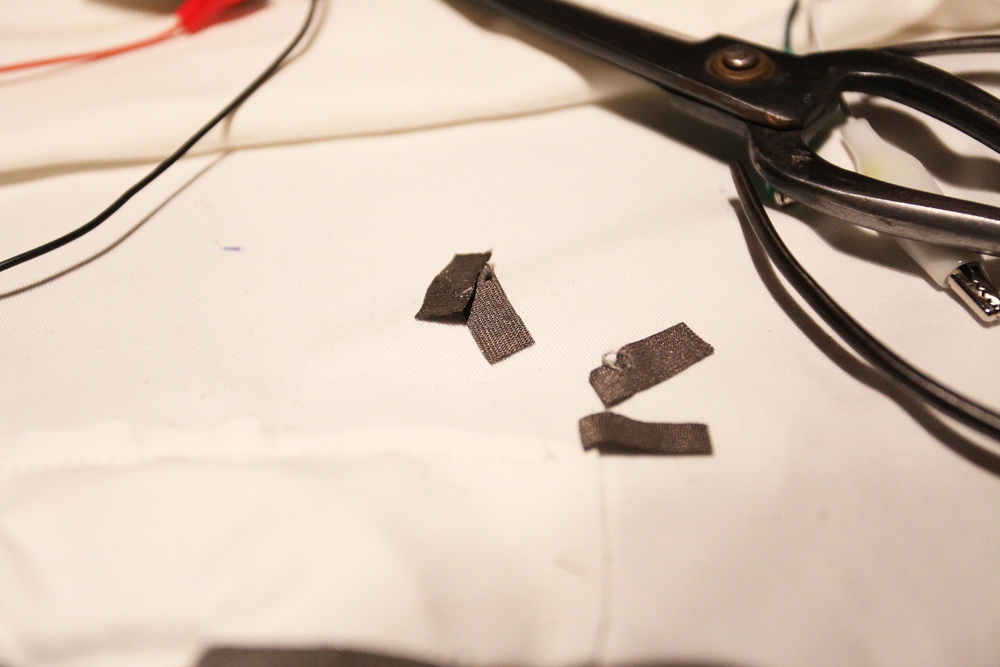
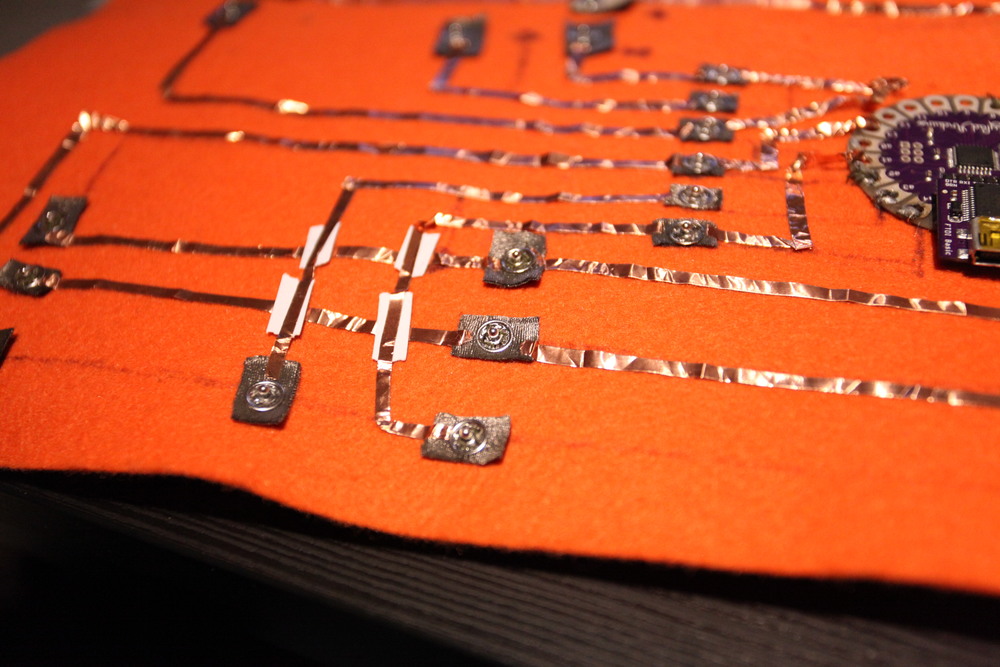
But as I use conductive thread to connect potentiometers, the threads in different holes on potentiometer often touch each other. It makes the modules work awkwardly. I can’t have the value I should have when I rotate the potentiometers. So I use copper tape (conductive) instead.
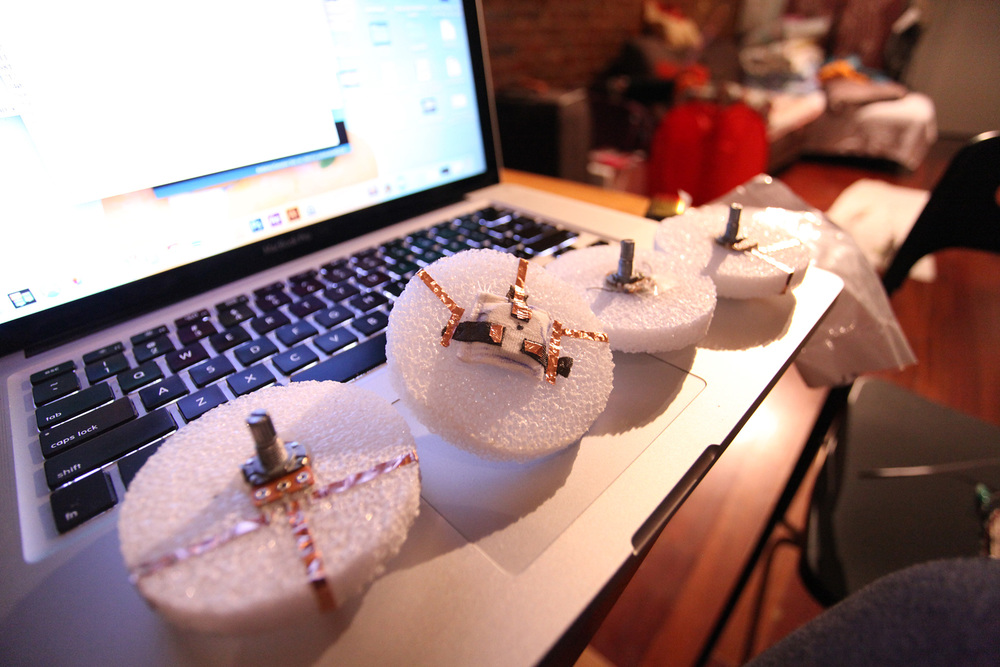
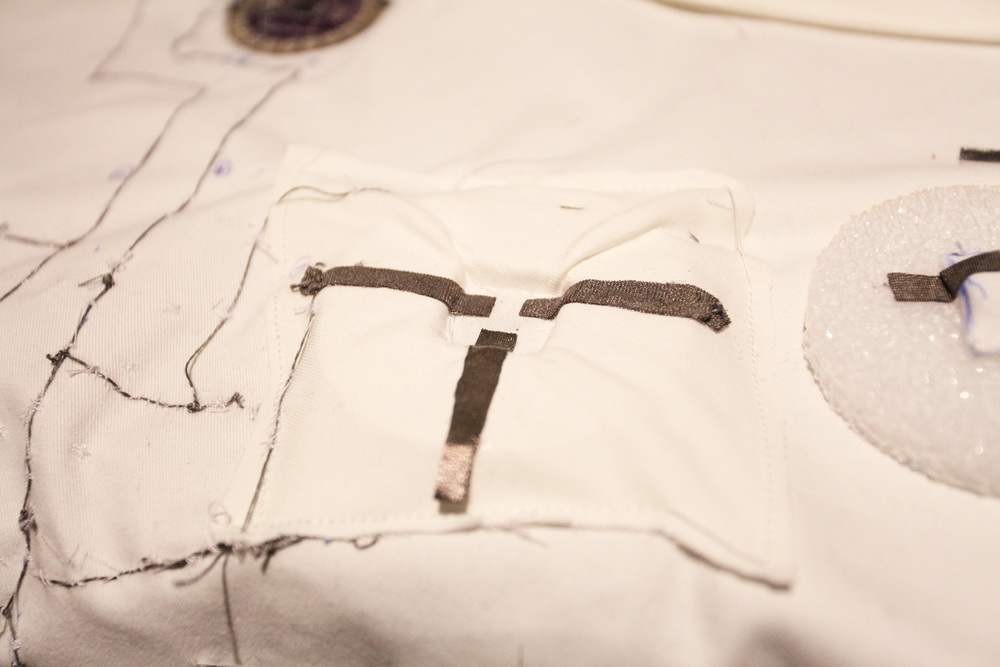
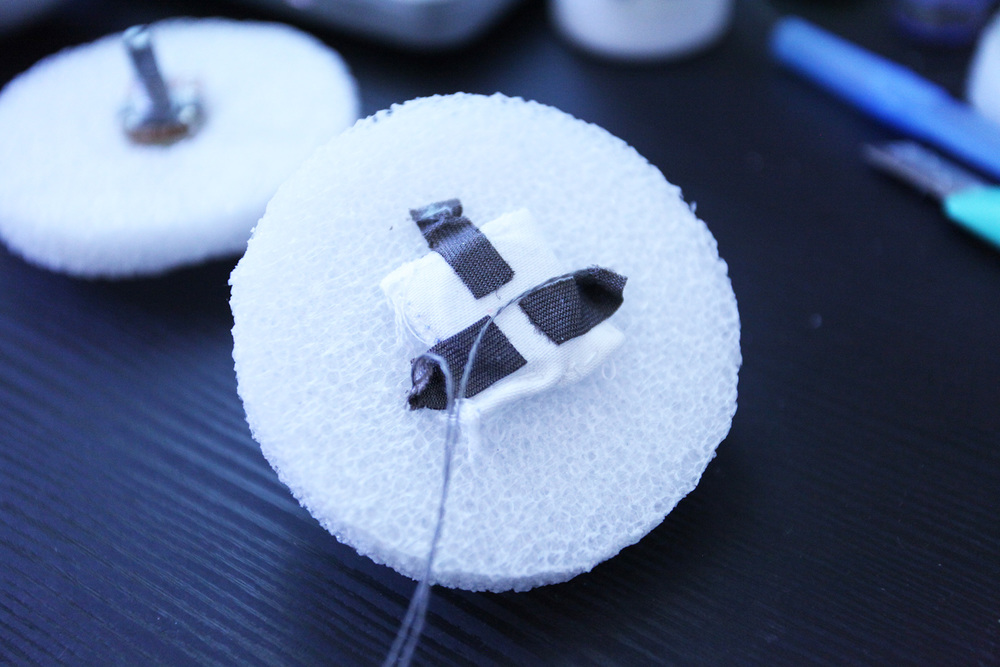
I also connect a press sensor, which is made by myself to the main circuit. Later when I press this sensor, I can switch to another 4 sounds.


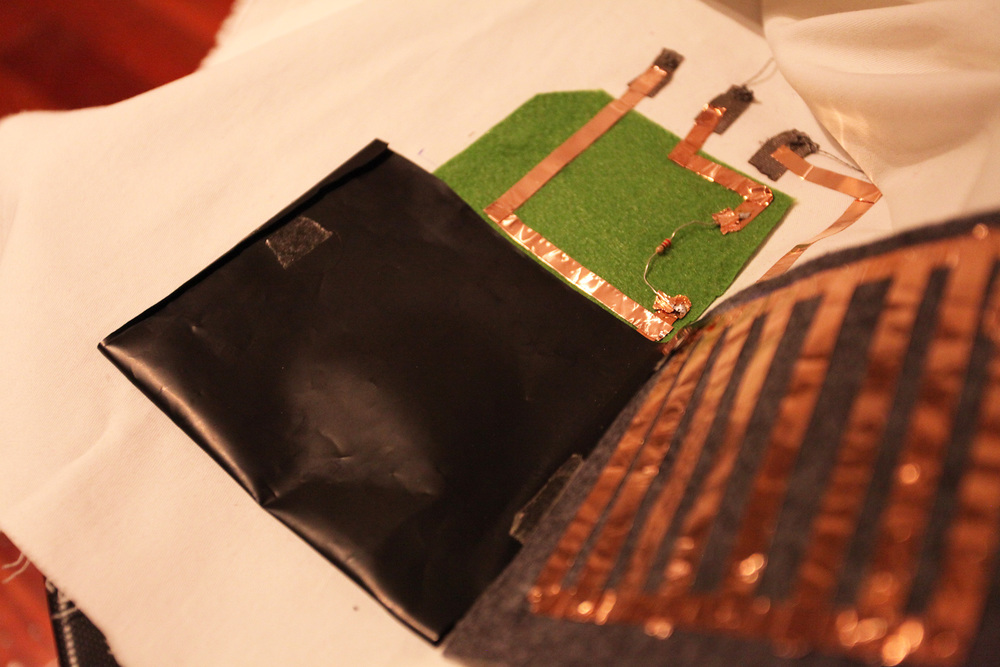

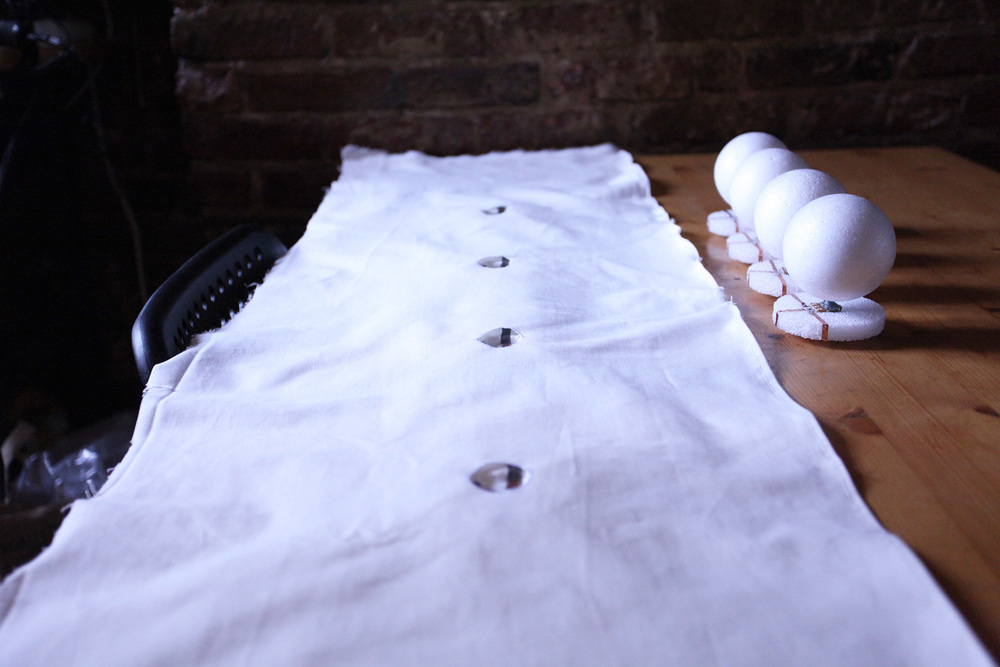
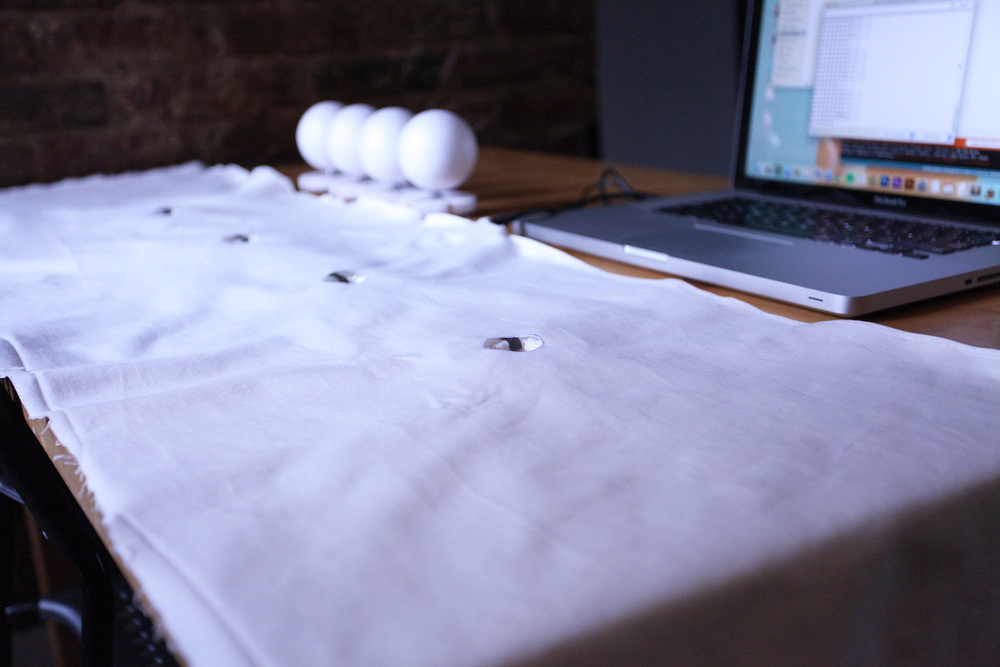
When all set, I seal the circuit with a cover leaving holes for connecting modules.


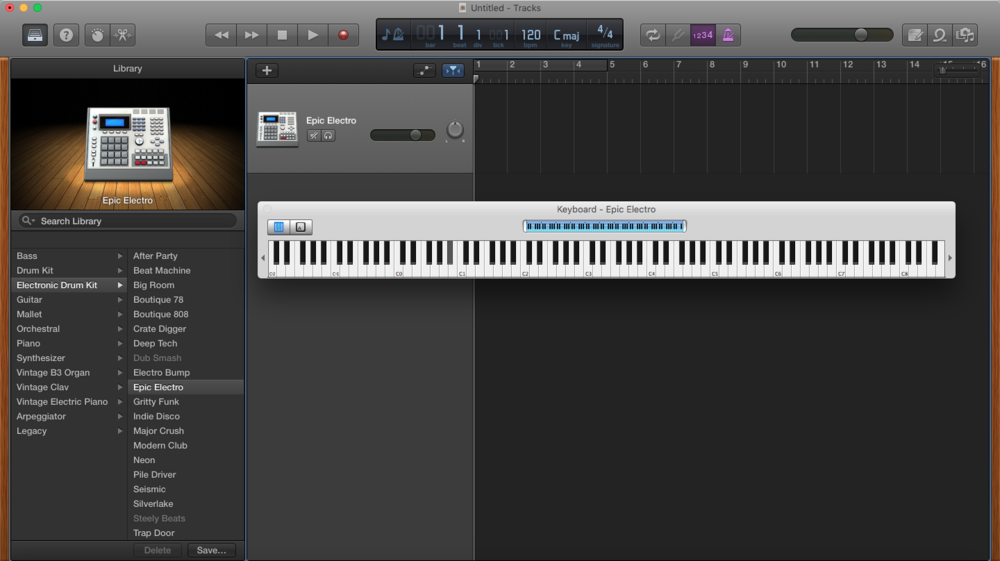
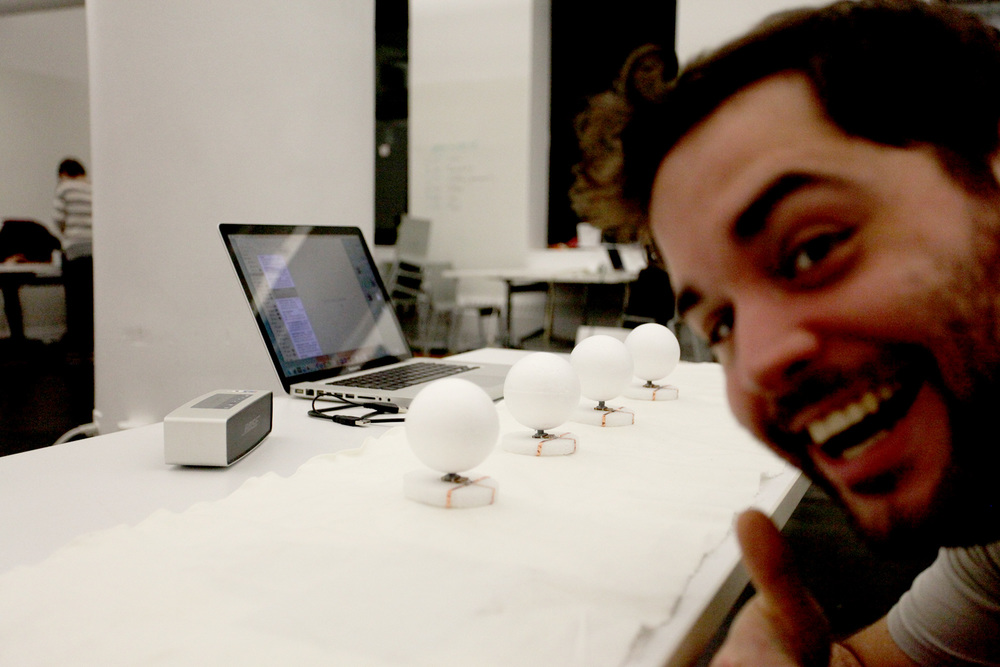
I choose Epic Electro in GarageBand for triggering sounds.