Switch (In Class)
Verb: Untie
Keyboard Hacking:
I used two pingpong balls to play piano.
For my craft, I decided to learn needle felting. There are many amazing needle felters out there like this one:
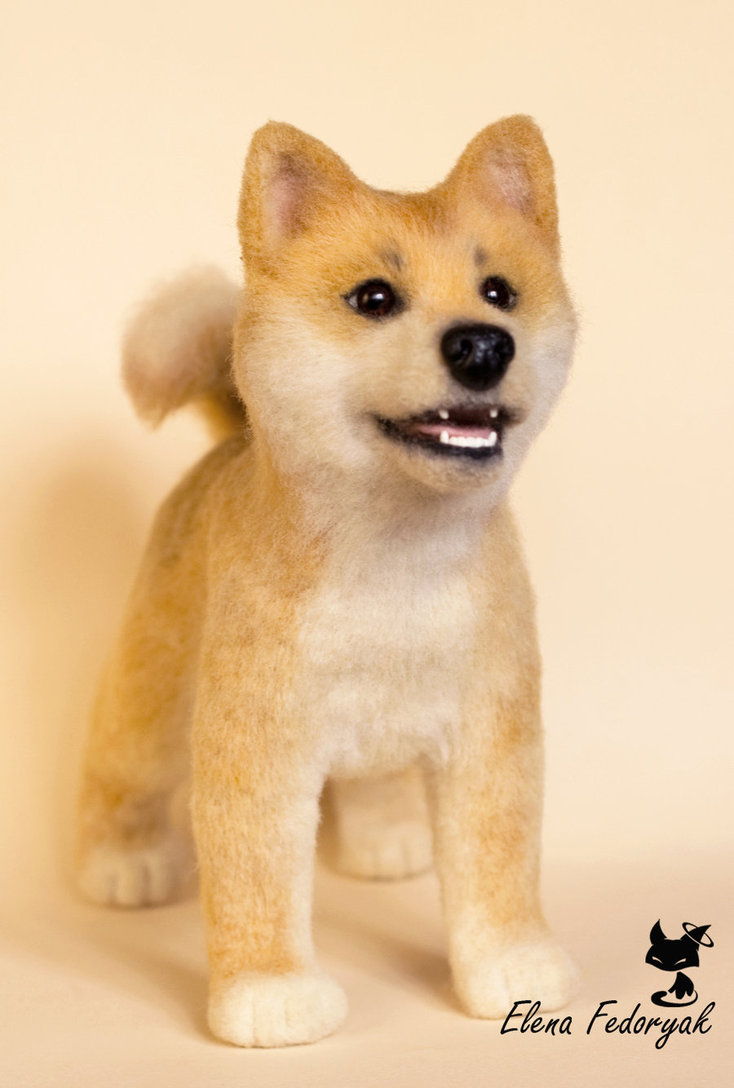
Needle Felted Shiba Inu by http://kittenblackua.deviantart.com/
The supplies you will need to do felting are:
1. Felting needles:

Felting Needles
2. Wool roving:
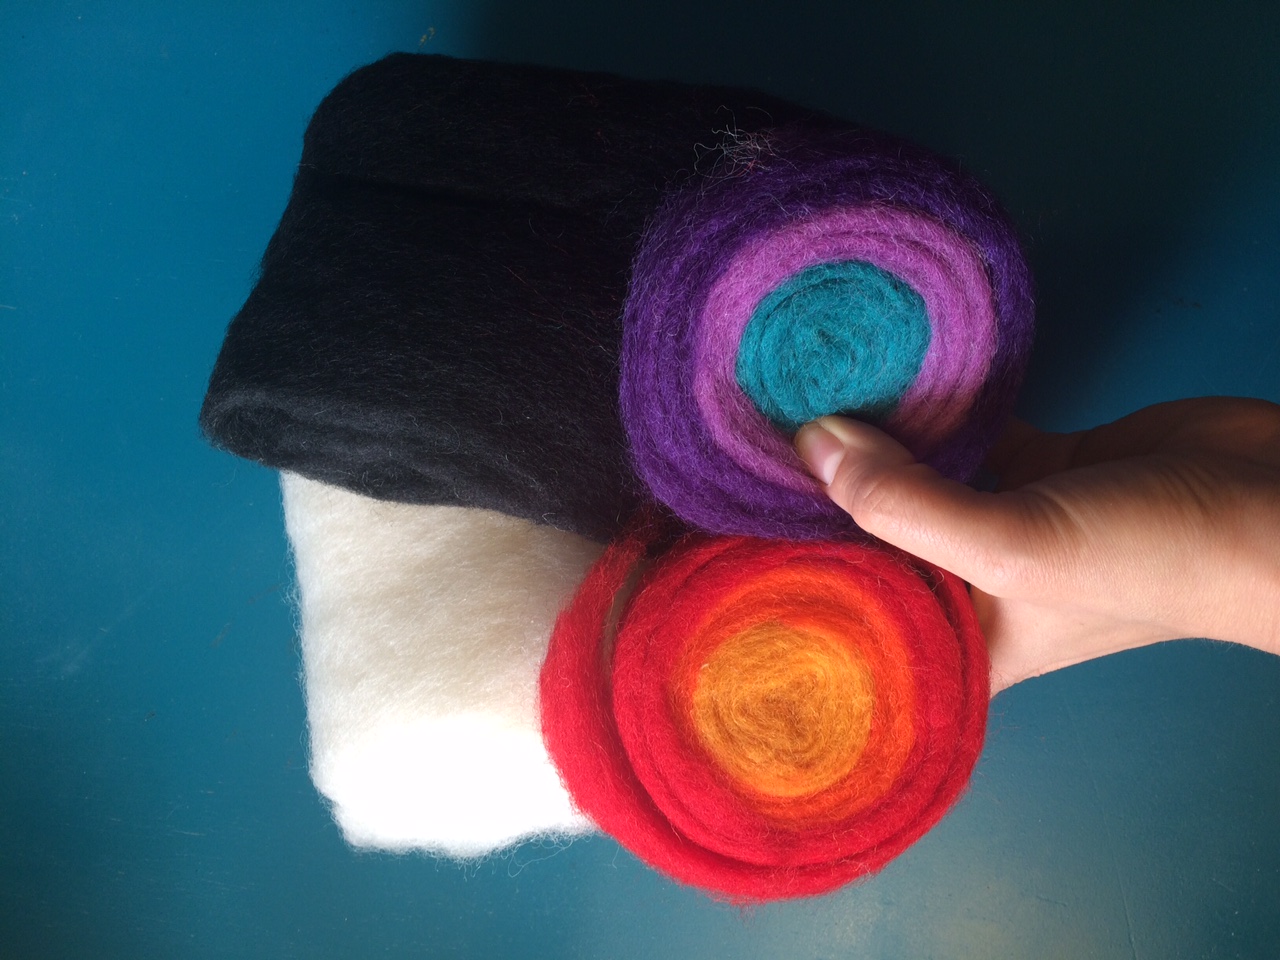
Wool Roving
3. Something to shape your

Something to shape your piece, in this case, an egg cup…
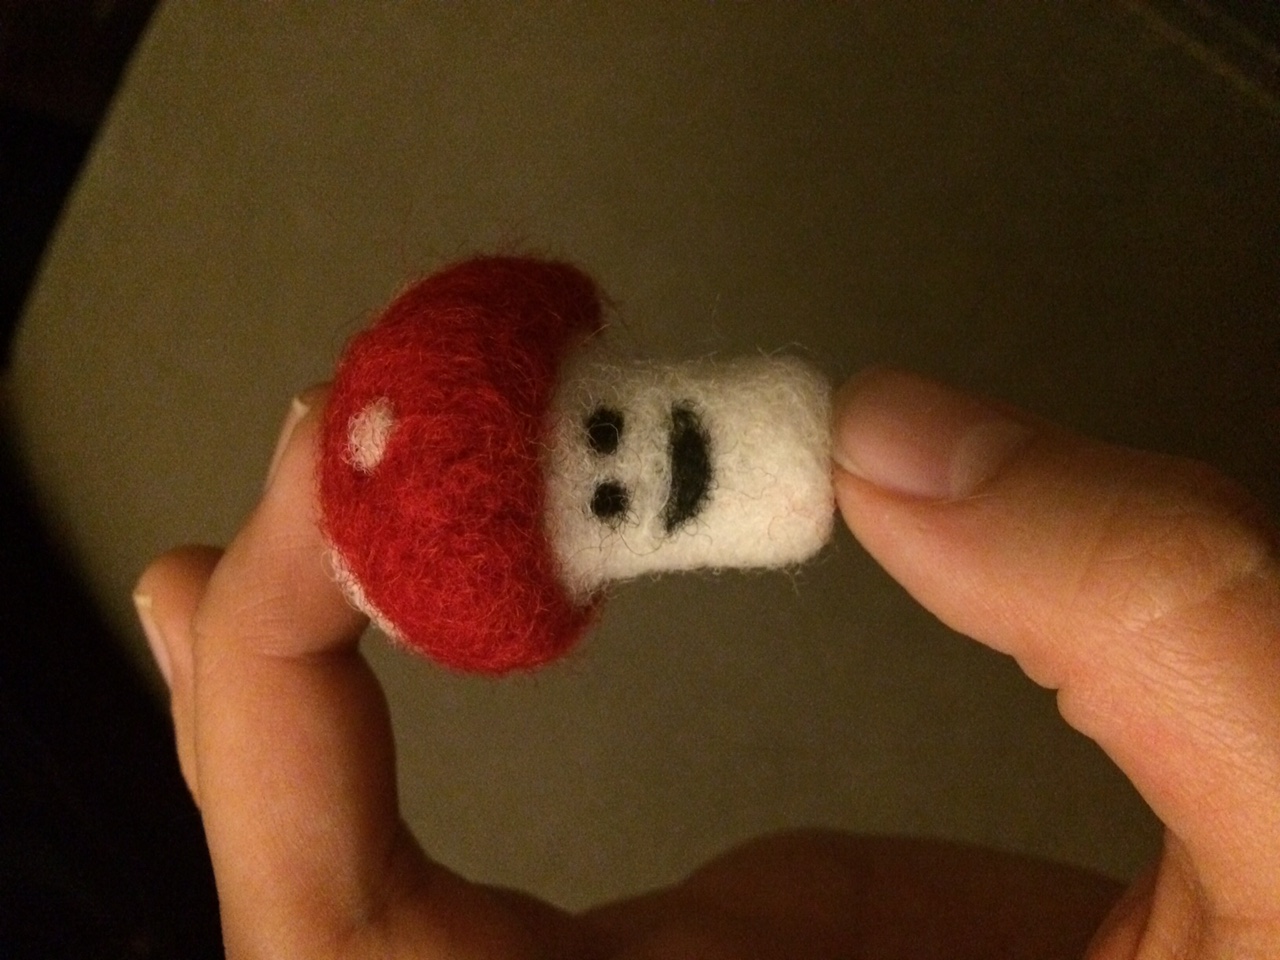
For my first foray into needle felting, I created a simple mushroom:
Instructions:
1. Grab your piece of wool roving.
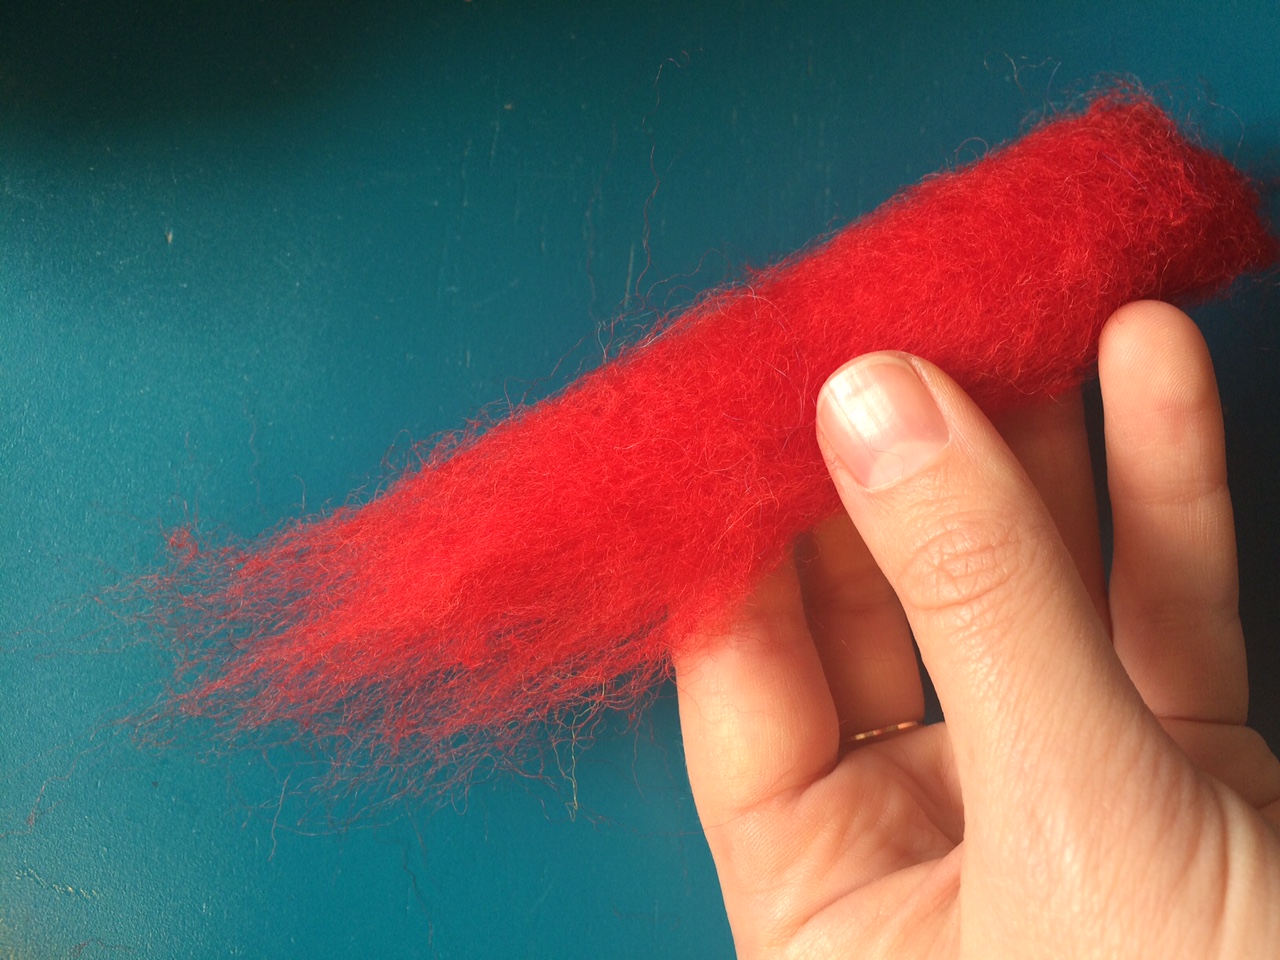
Wool roving
2. Find something that will shape the wool into what you want. In this case, I’m using an egg cup to give me a nice rounded mushroom top.
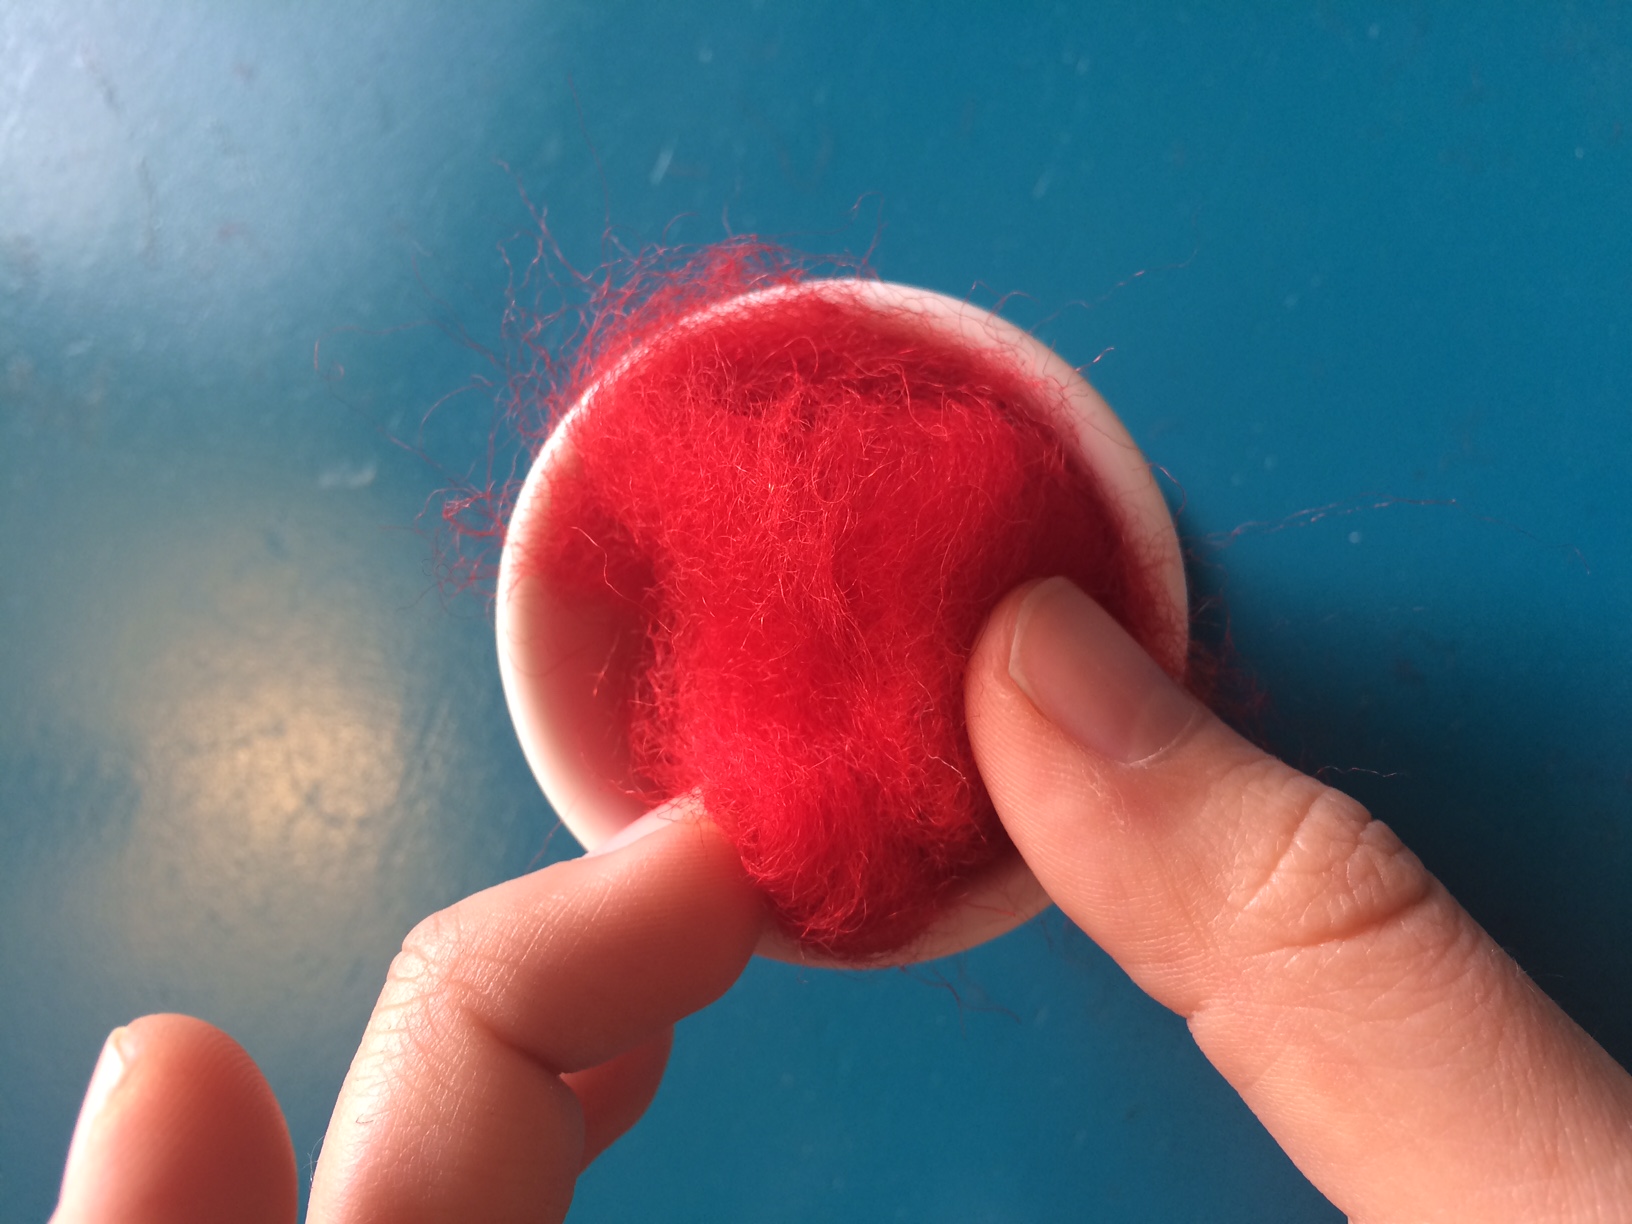
I’m using an egg cup to shape the wool roving
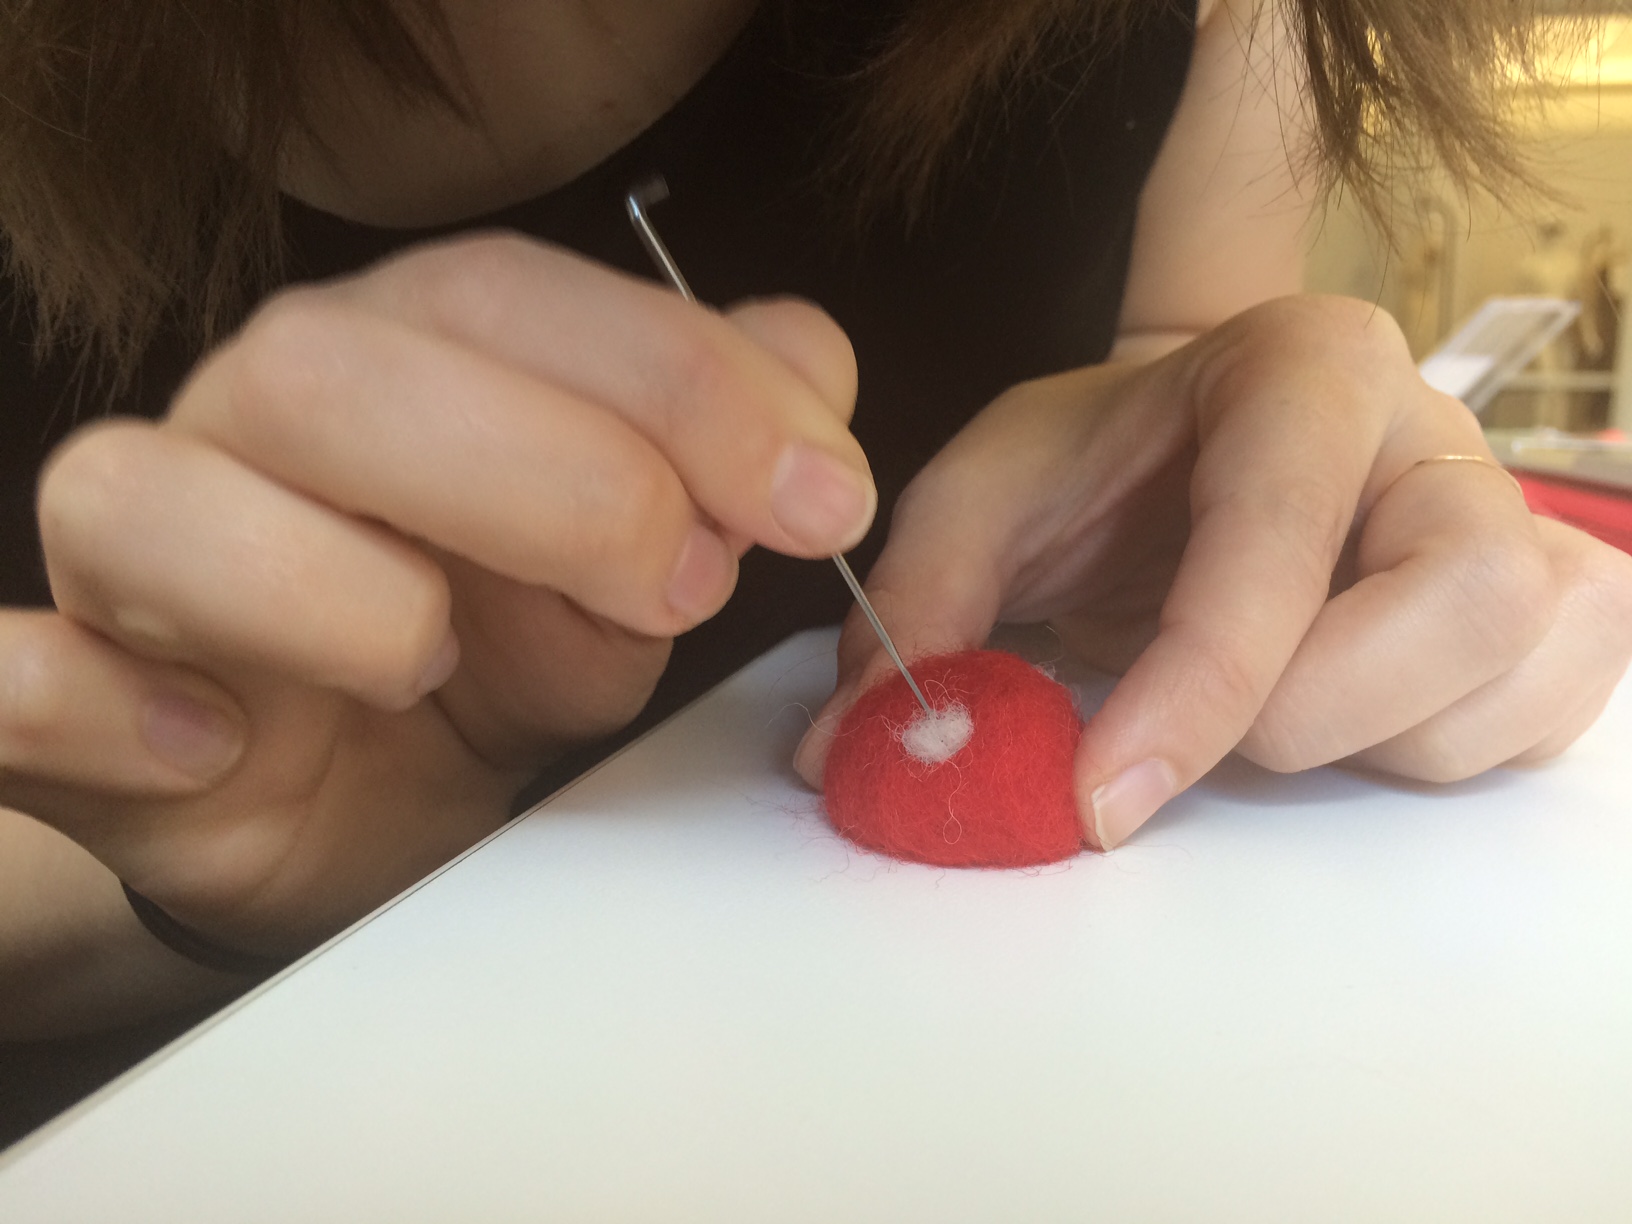
3. Start poking the wool with your needle.
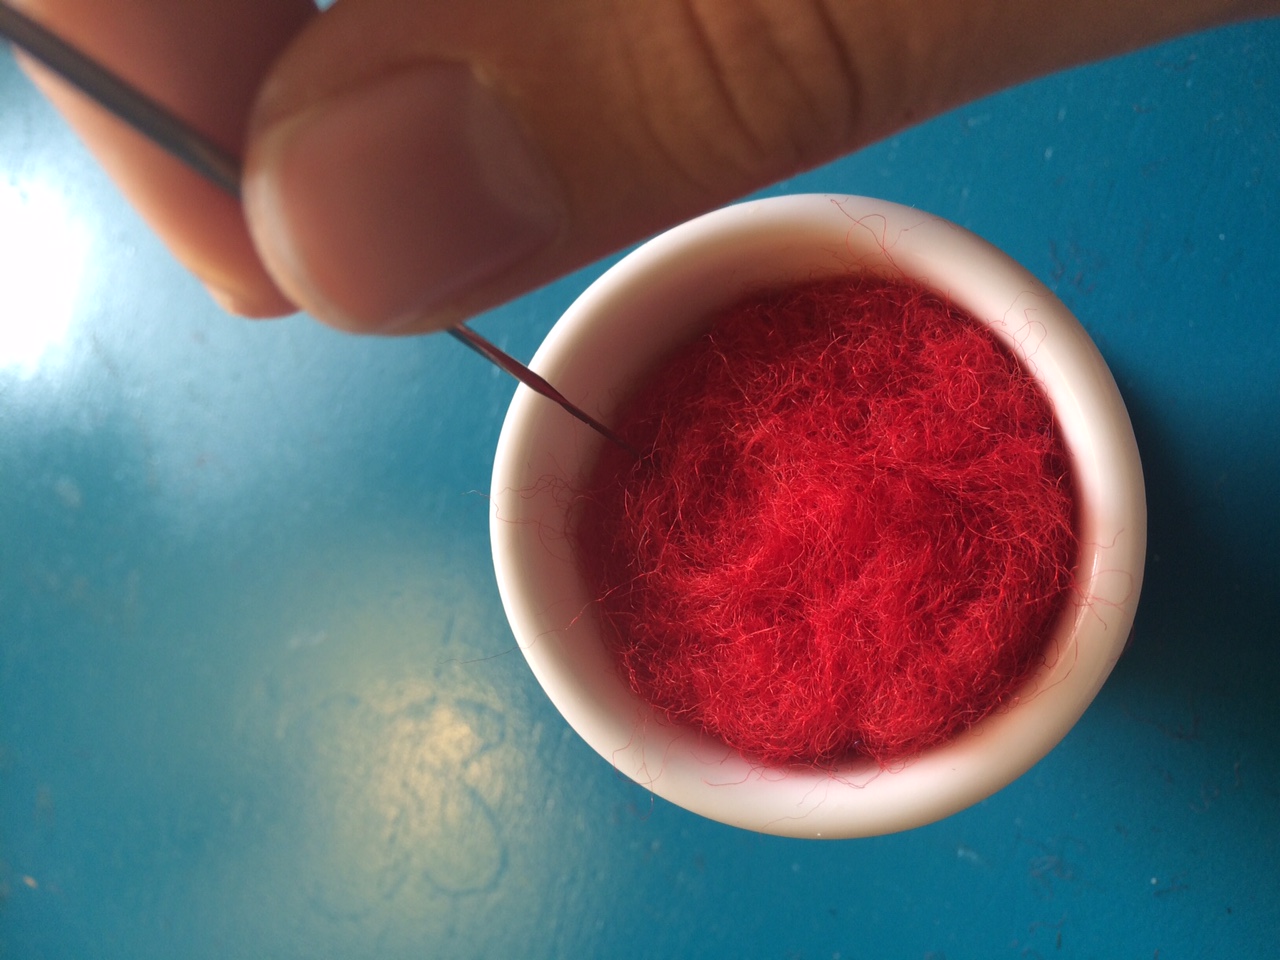
Use the needle to poke the wool
4. The wool will eventually condense and come together.
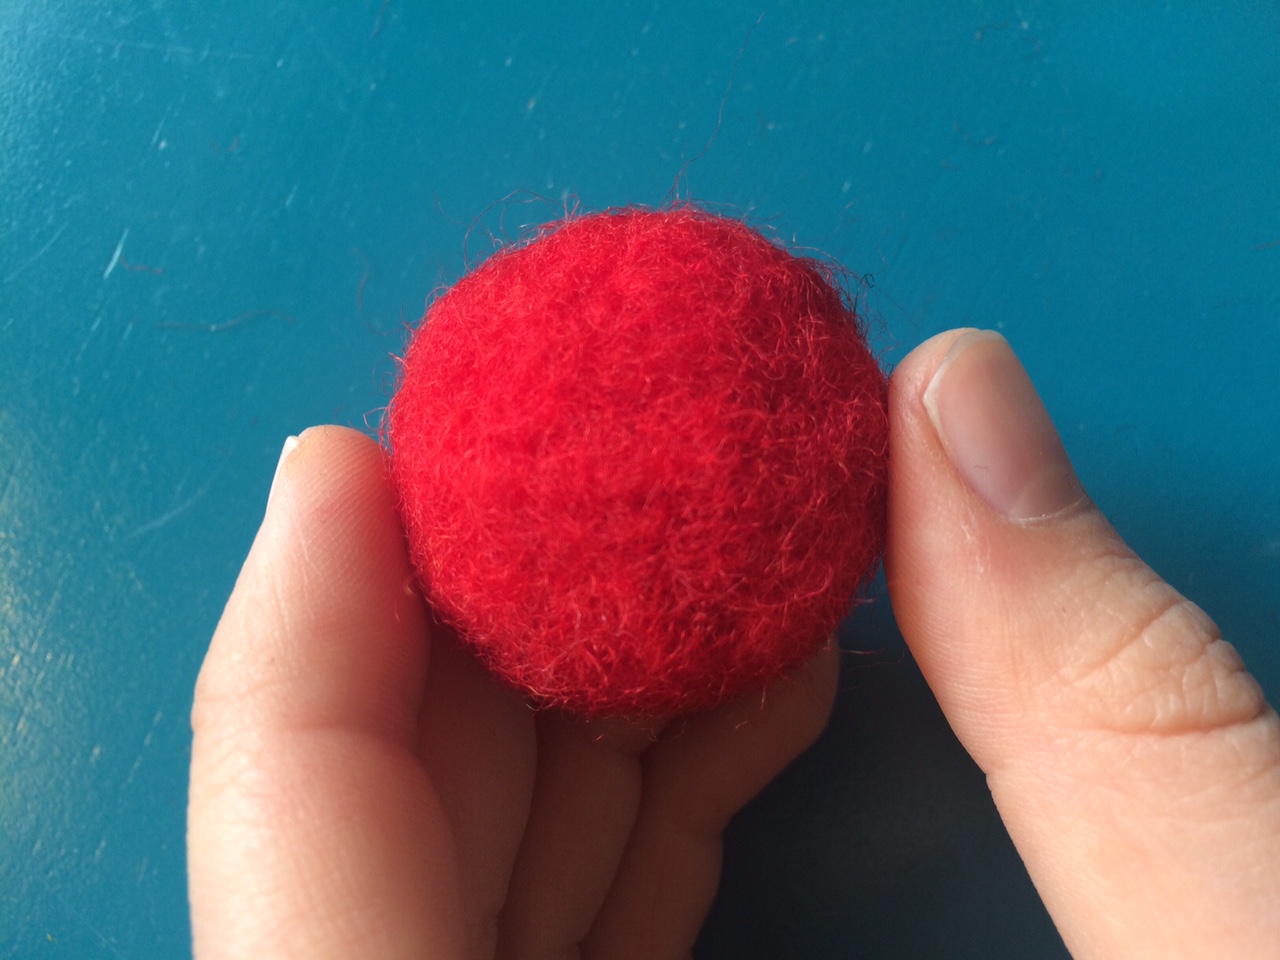
Condensed wool mushroom top after about ten minutes of poking
5. Once we have the shape we want, we can add details to it. Here, I have shaped little spots for the top of the mushroom and just poked those until they become attached to the rest.
Adding spots
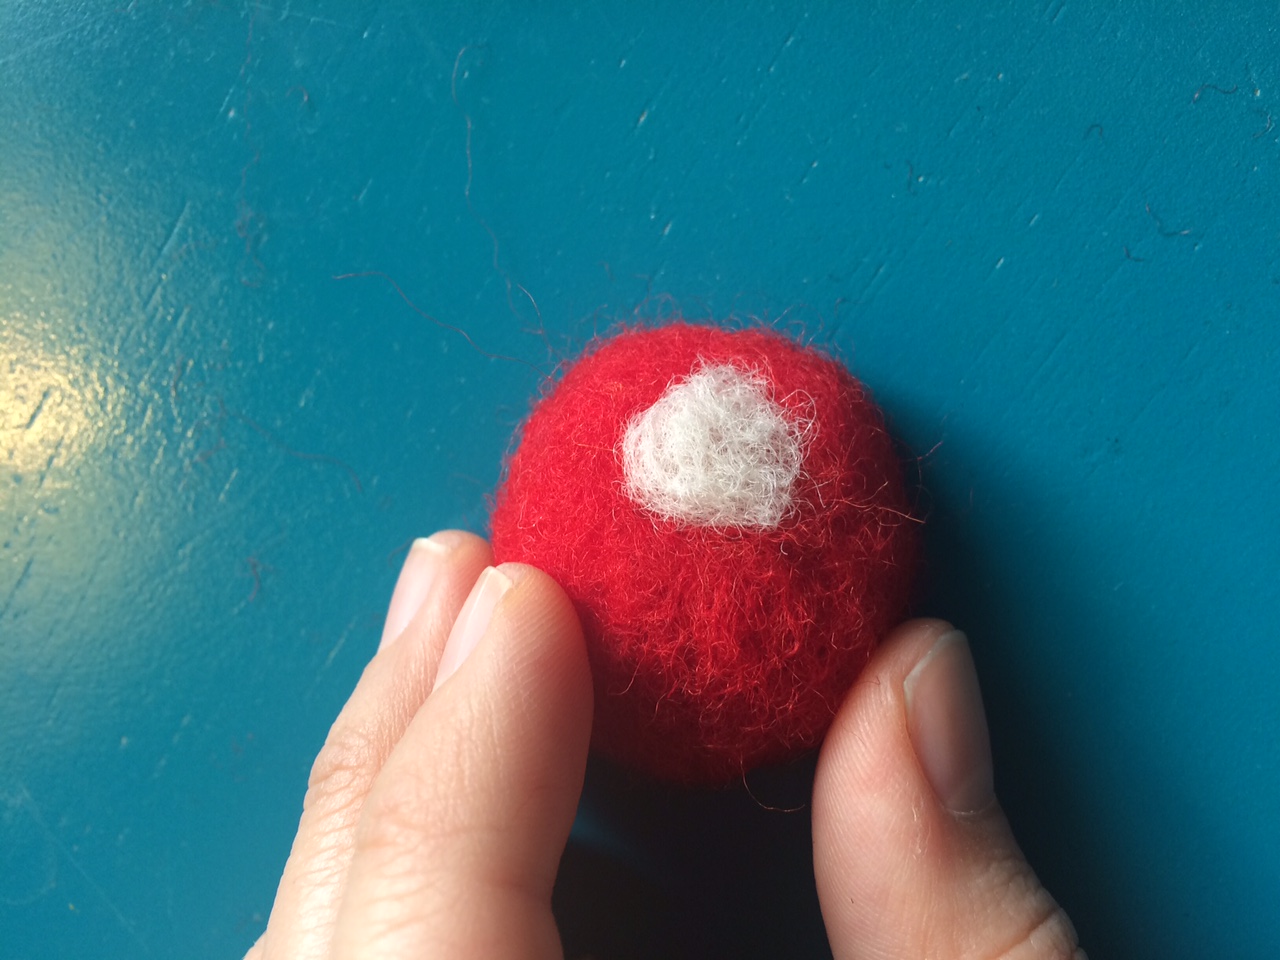
Mushroom Spot
Continue creating forms and adding details with these methods!
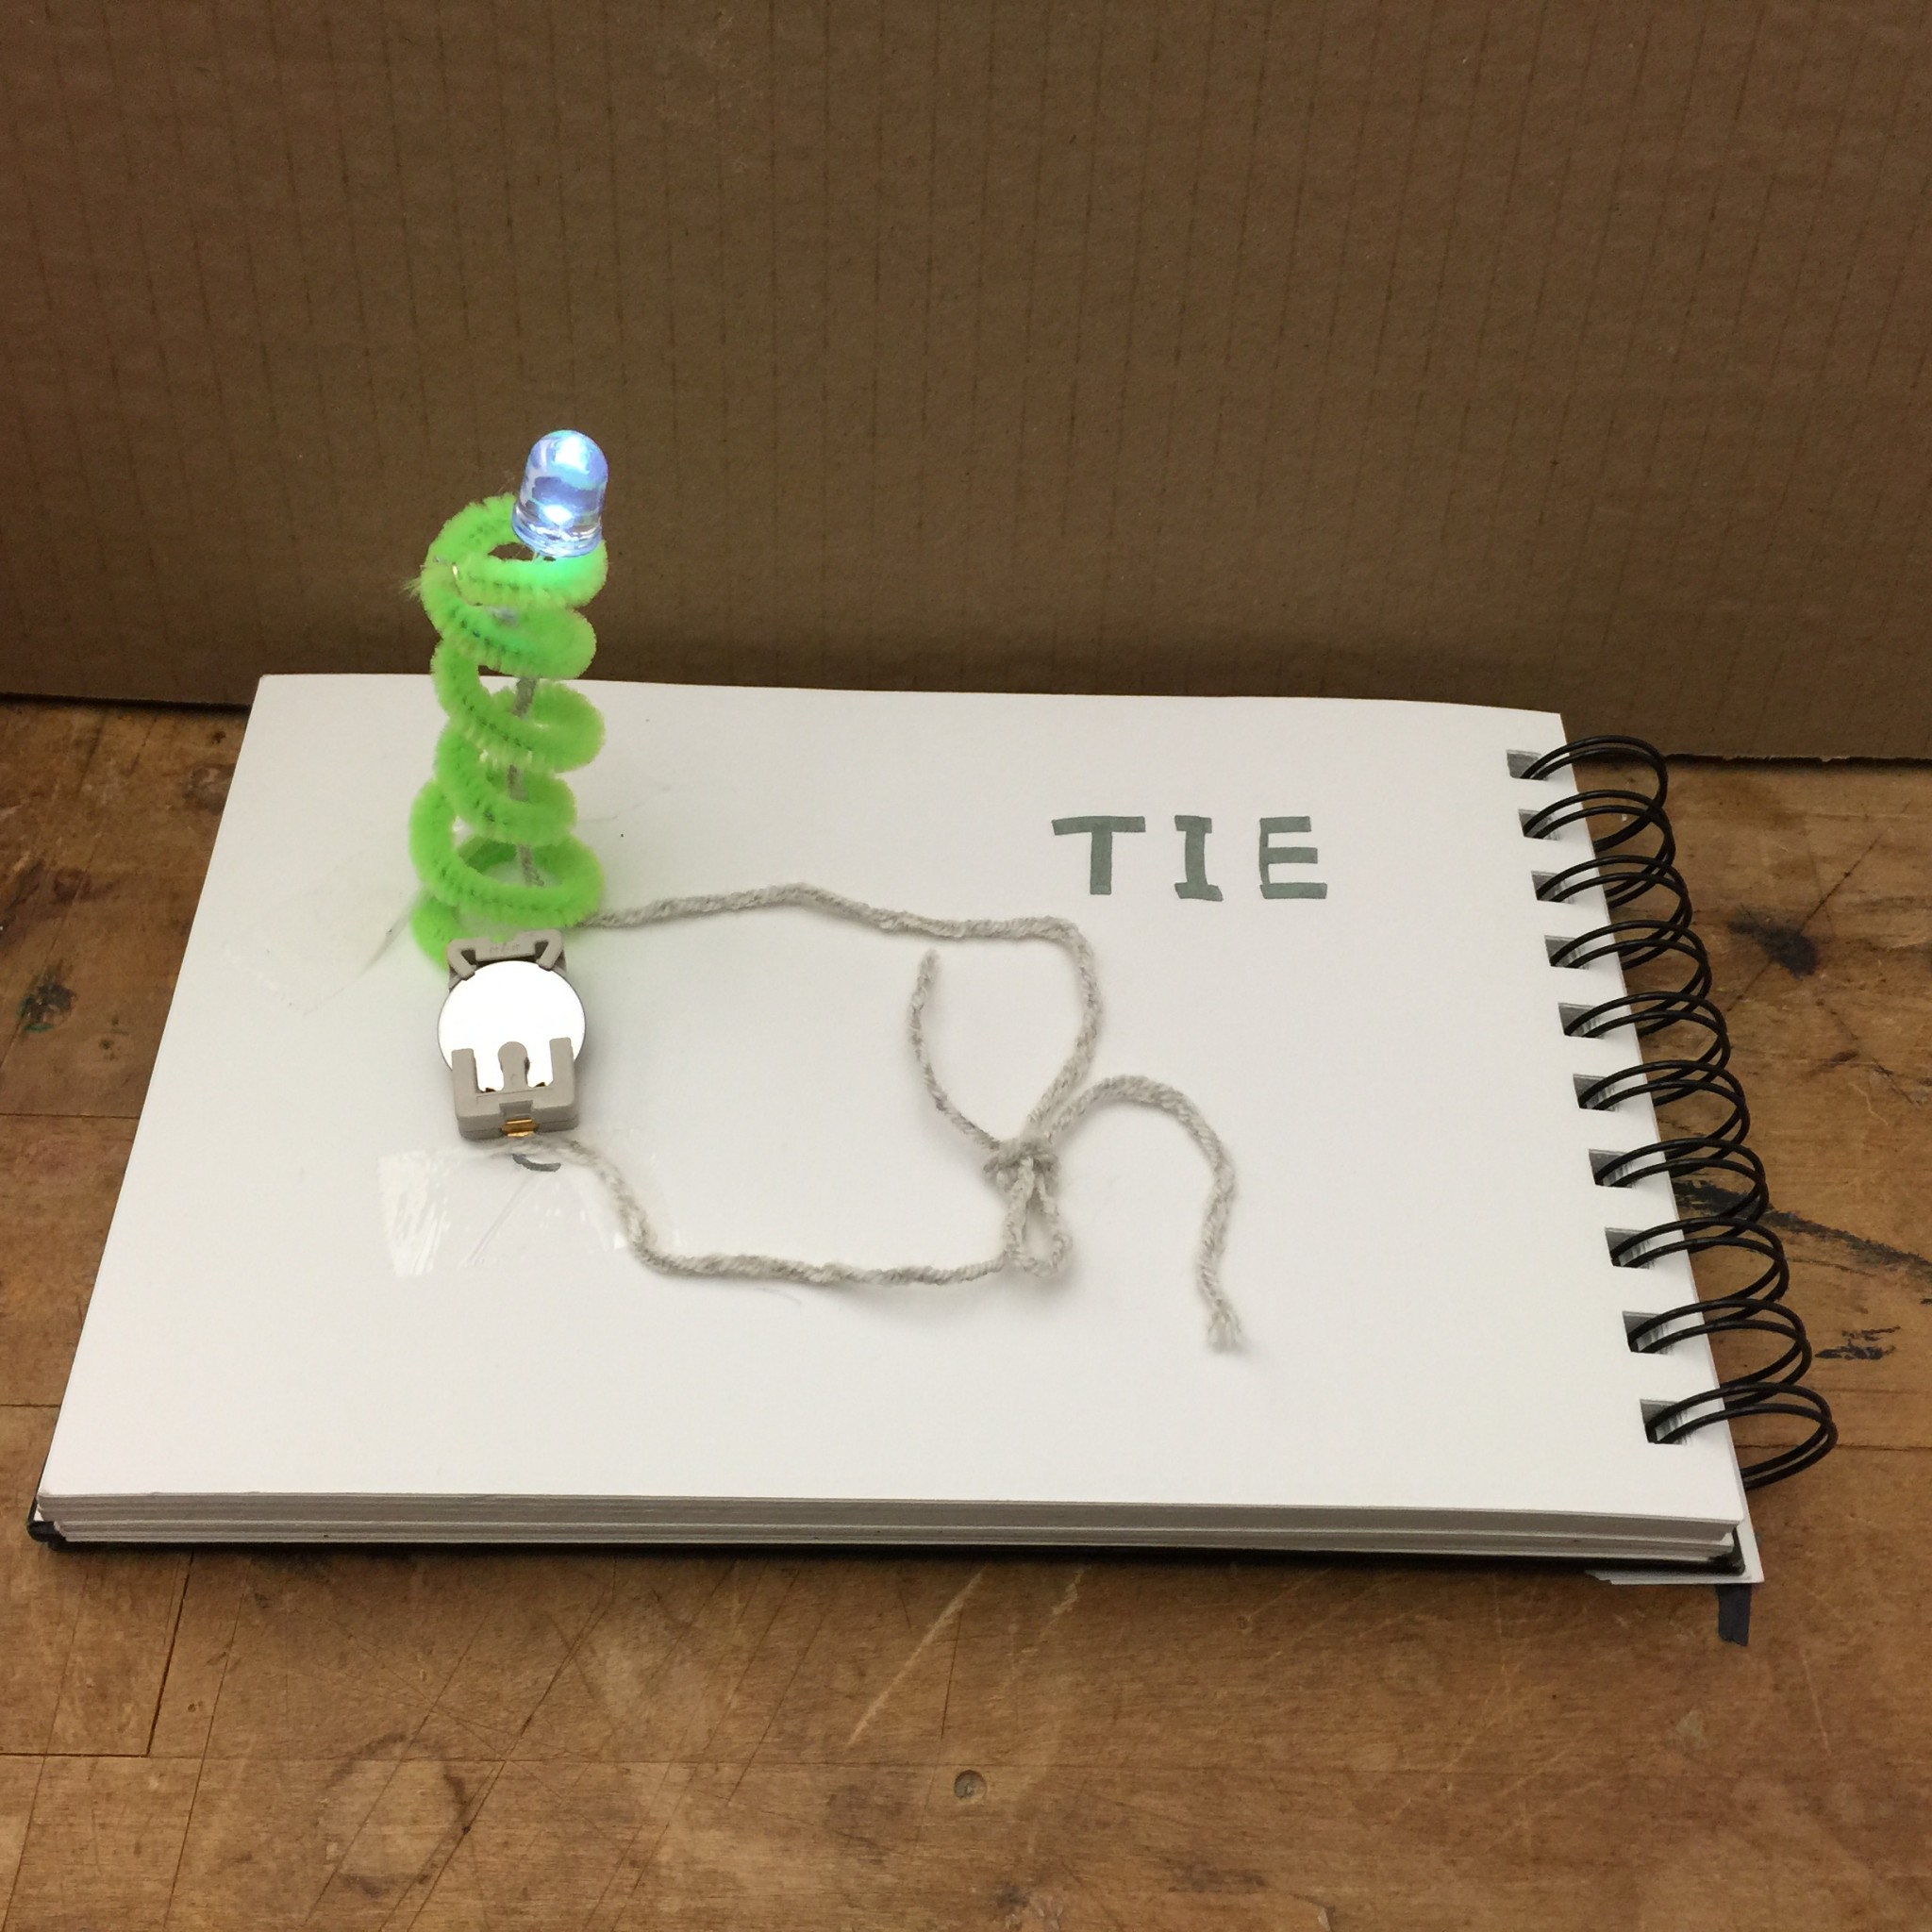
Verb: Tie

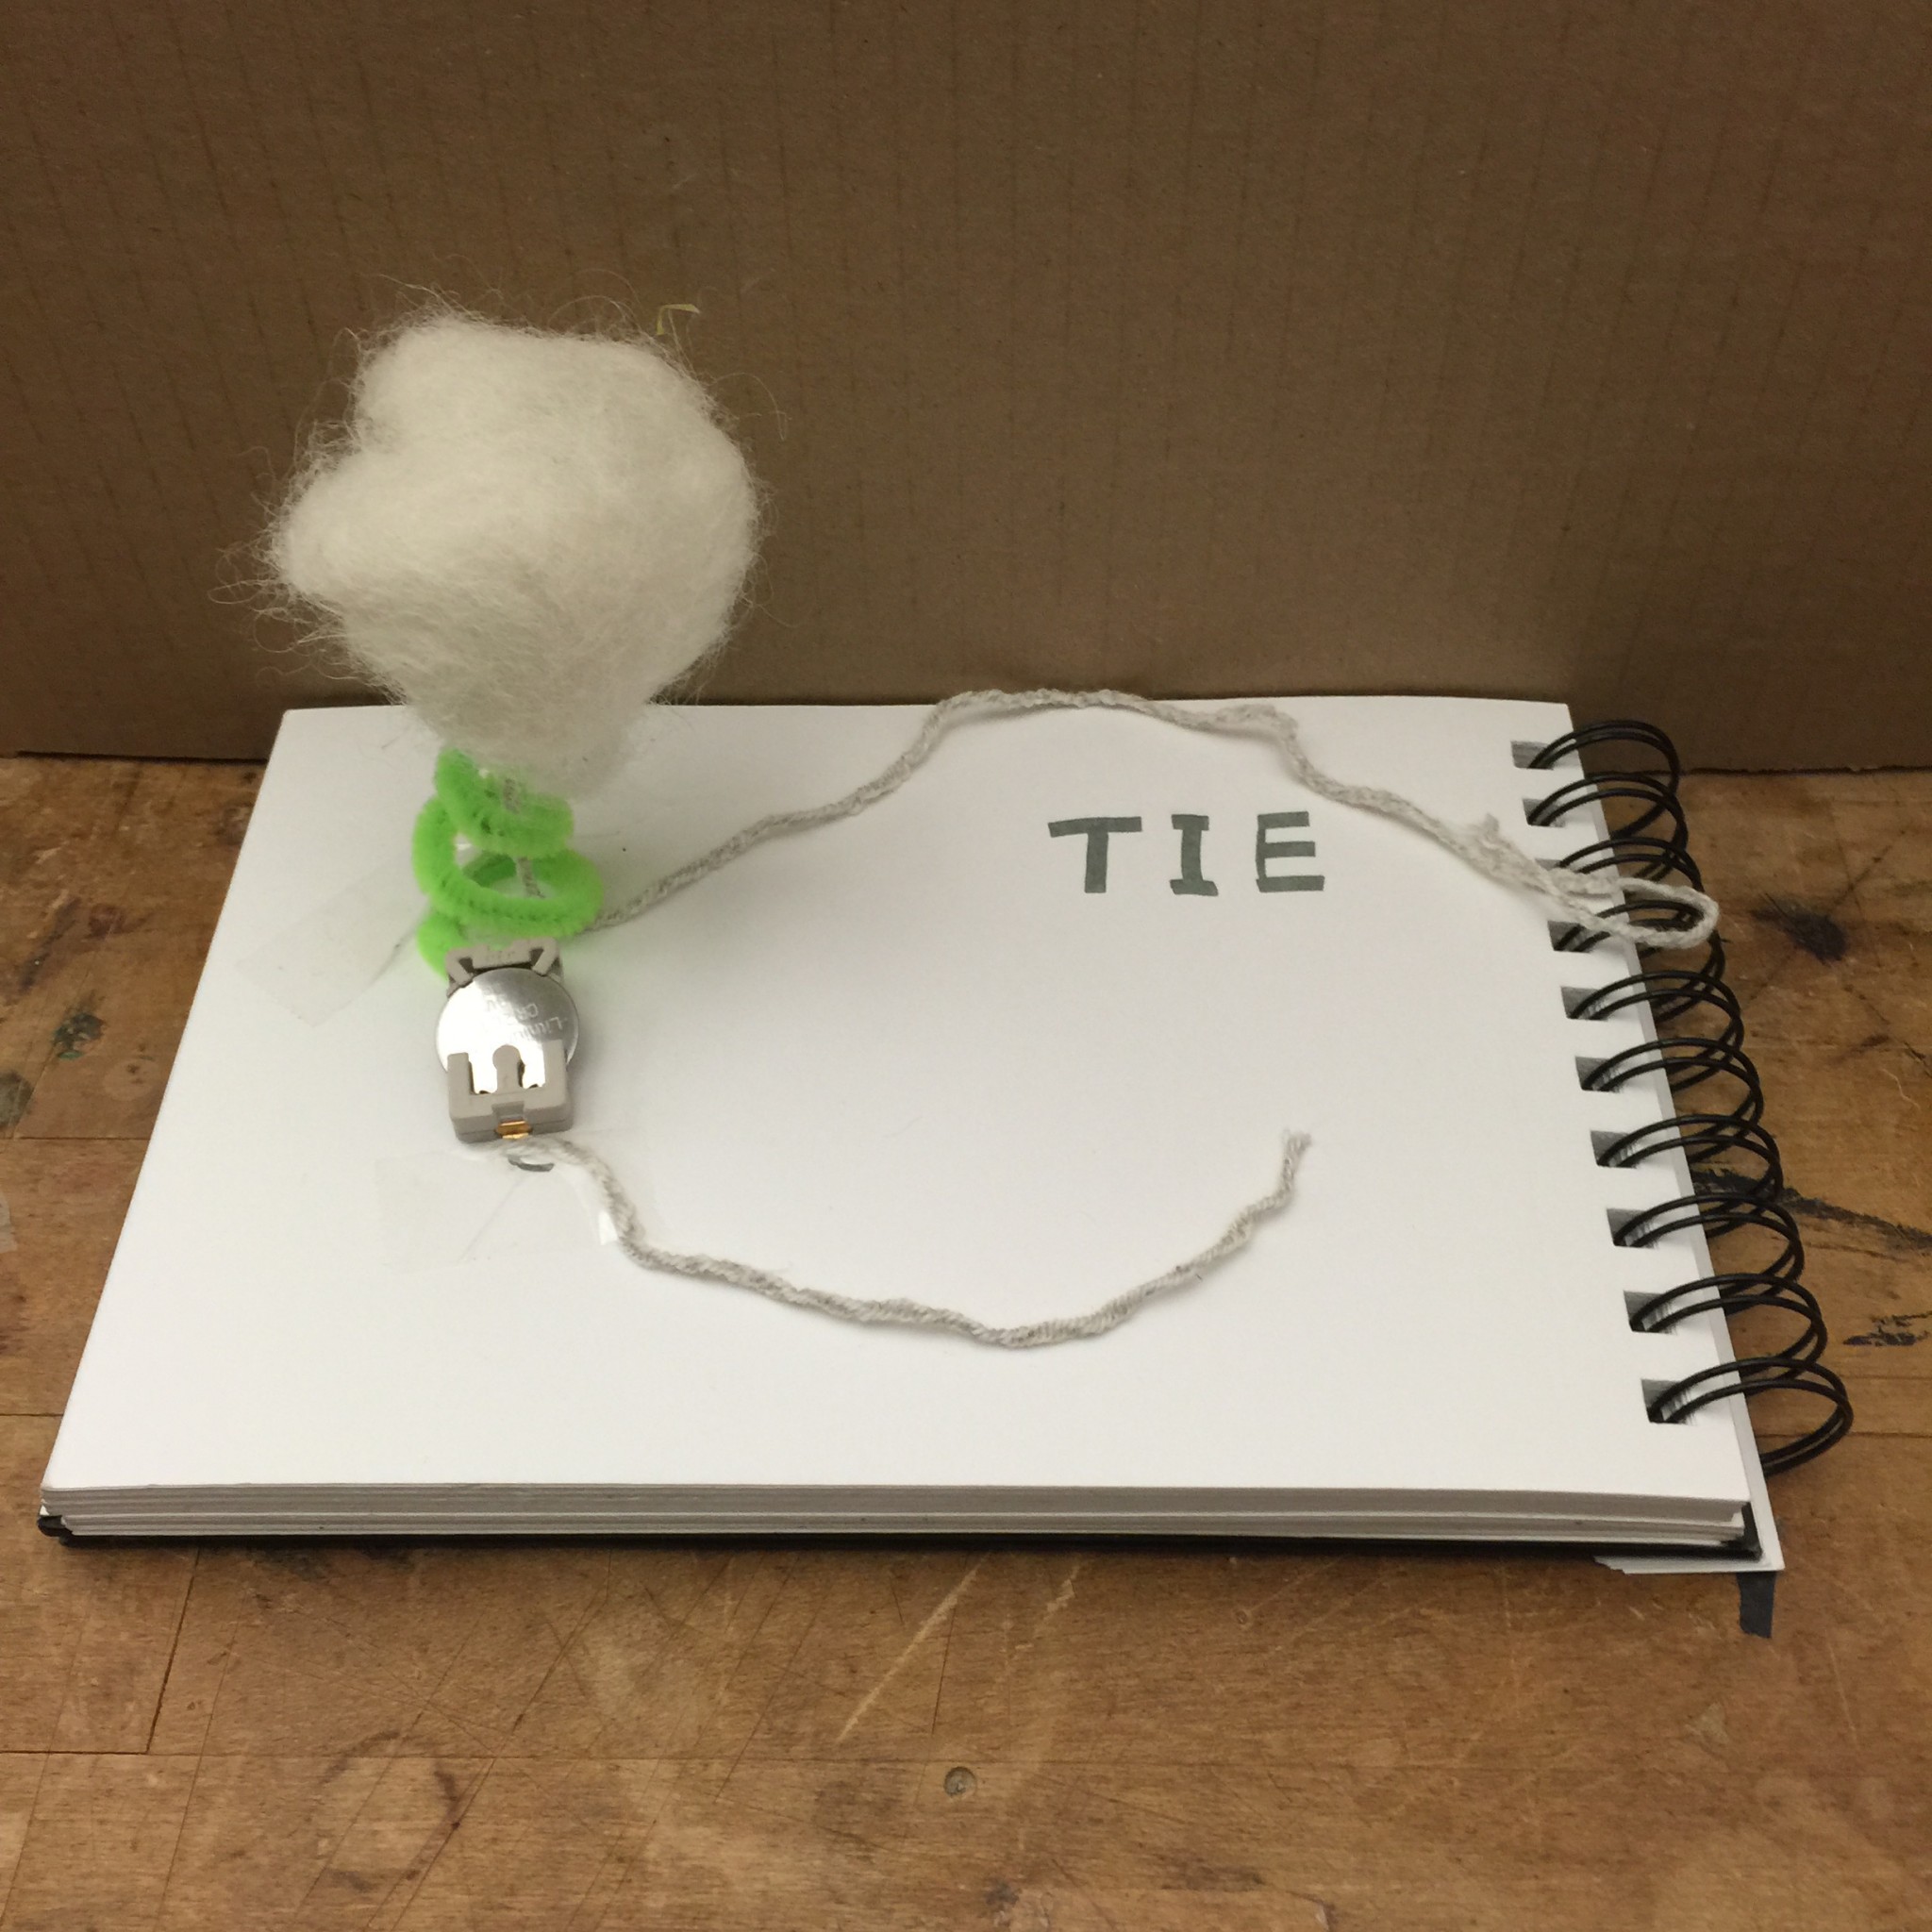
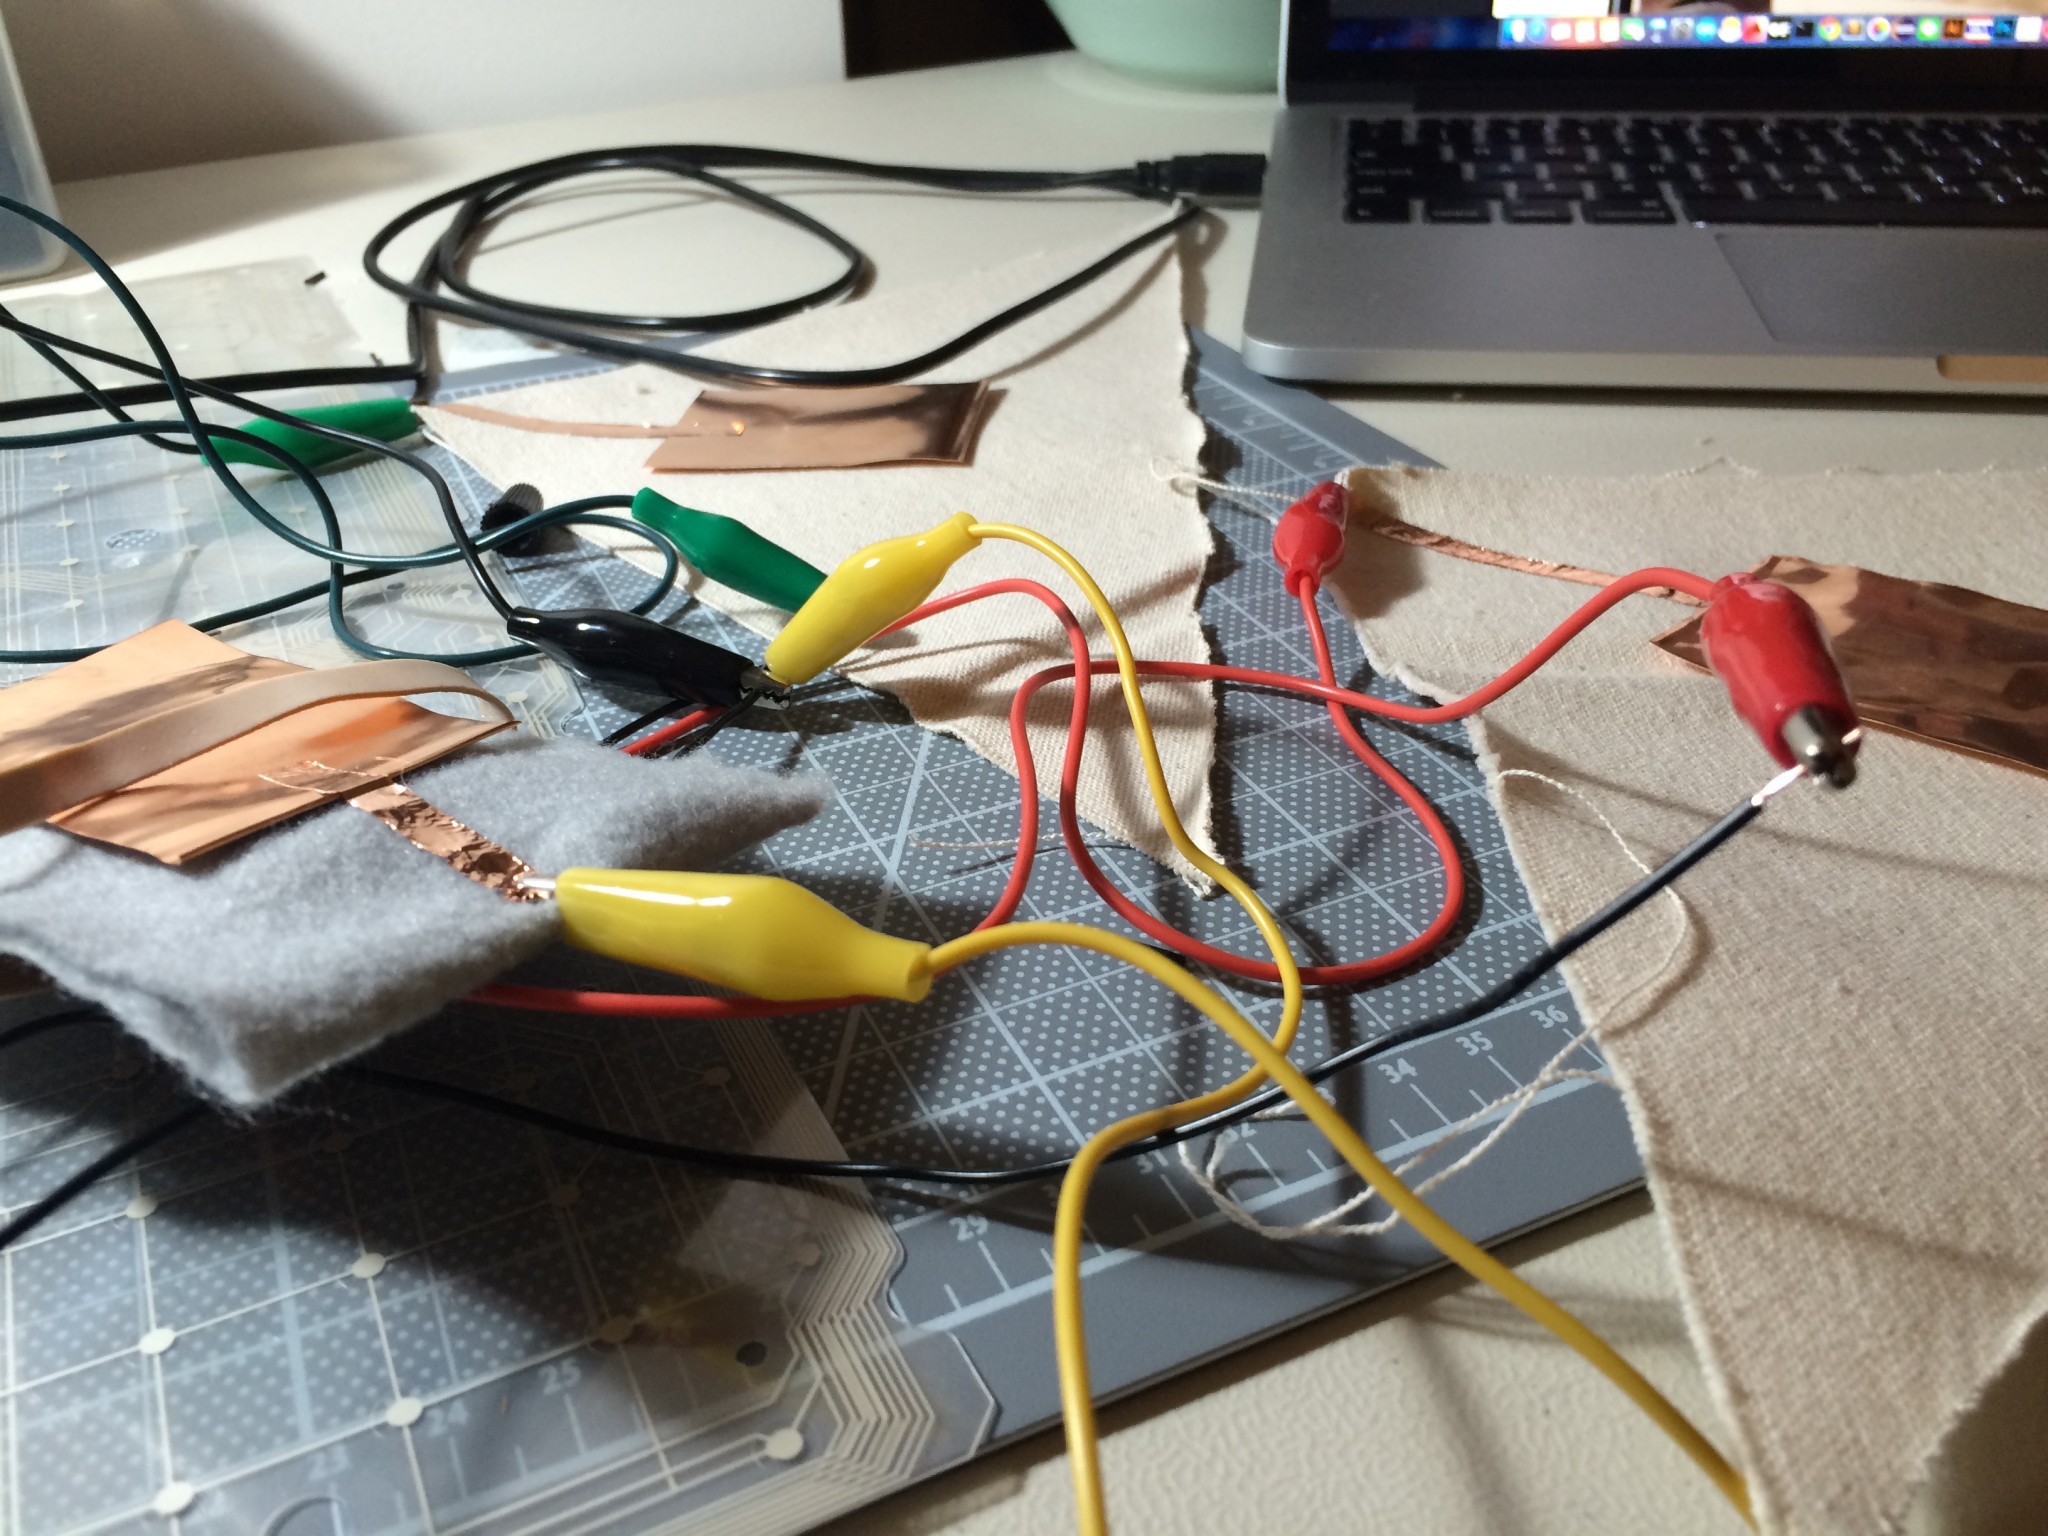
For my keyboard hacking assignment, my goal was to create a relaxing RGB color creator. I wanted to use fabric to create fabric pressure sensors that you could sort of “pet” to add more of that color.
Problems I ran into
The pressure sensor that I created using the velostat and the conductive thread seemed to work fine with a simple hookup to a light and a battery, however, when I tried to use the same sensor I made with the keyboard hookup, the keyboard didn’t read it at all.
New Direction
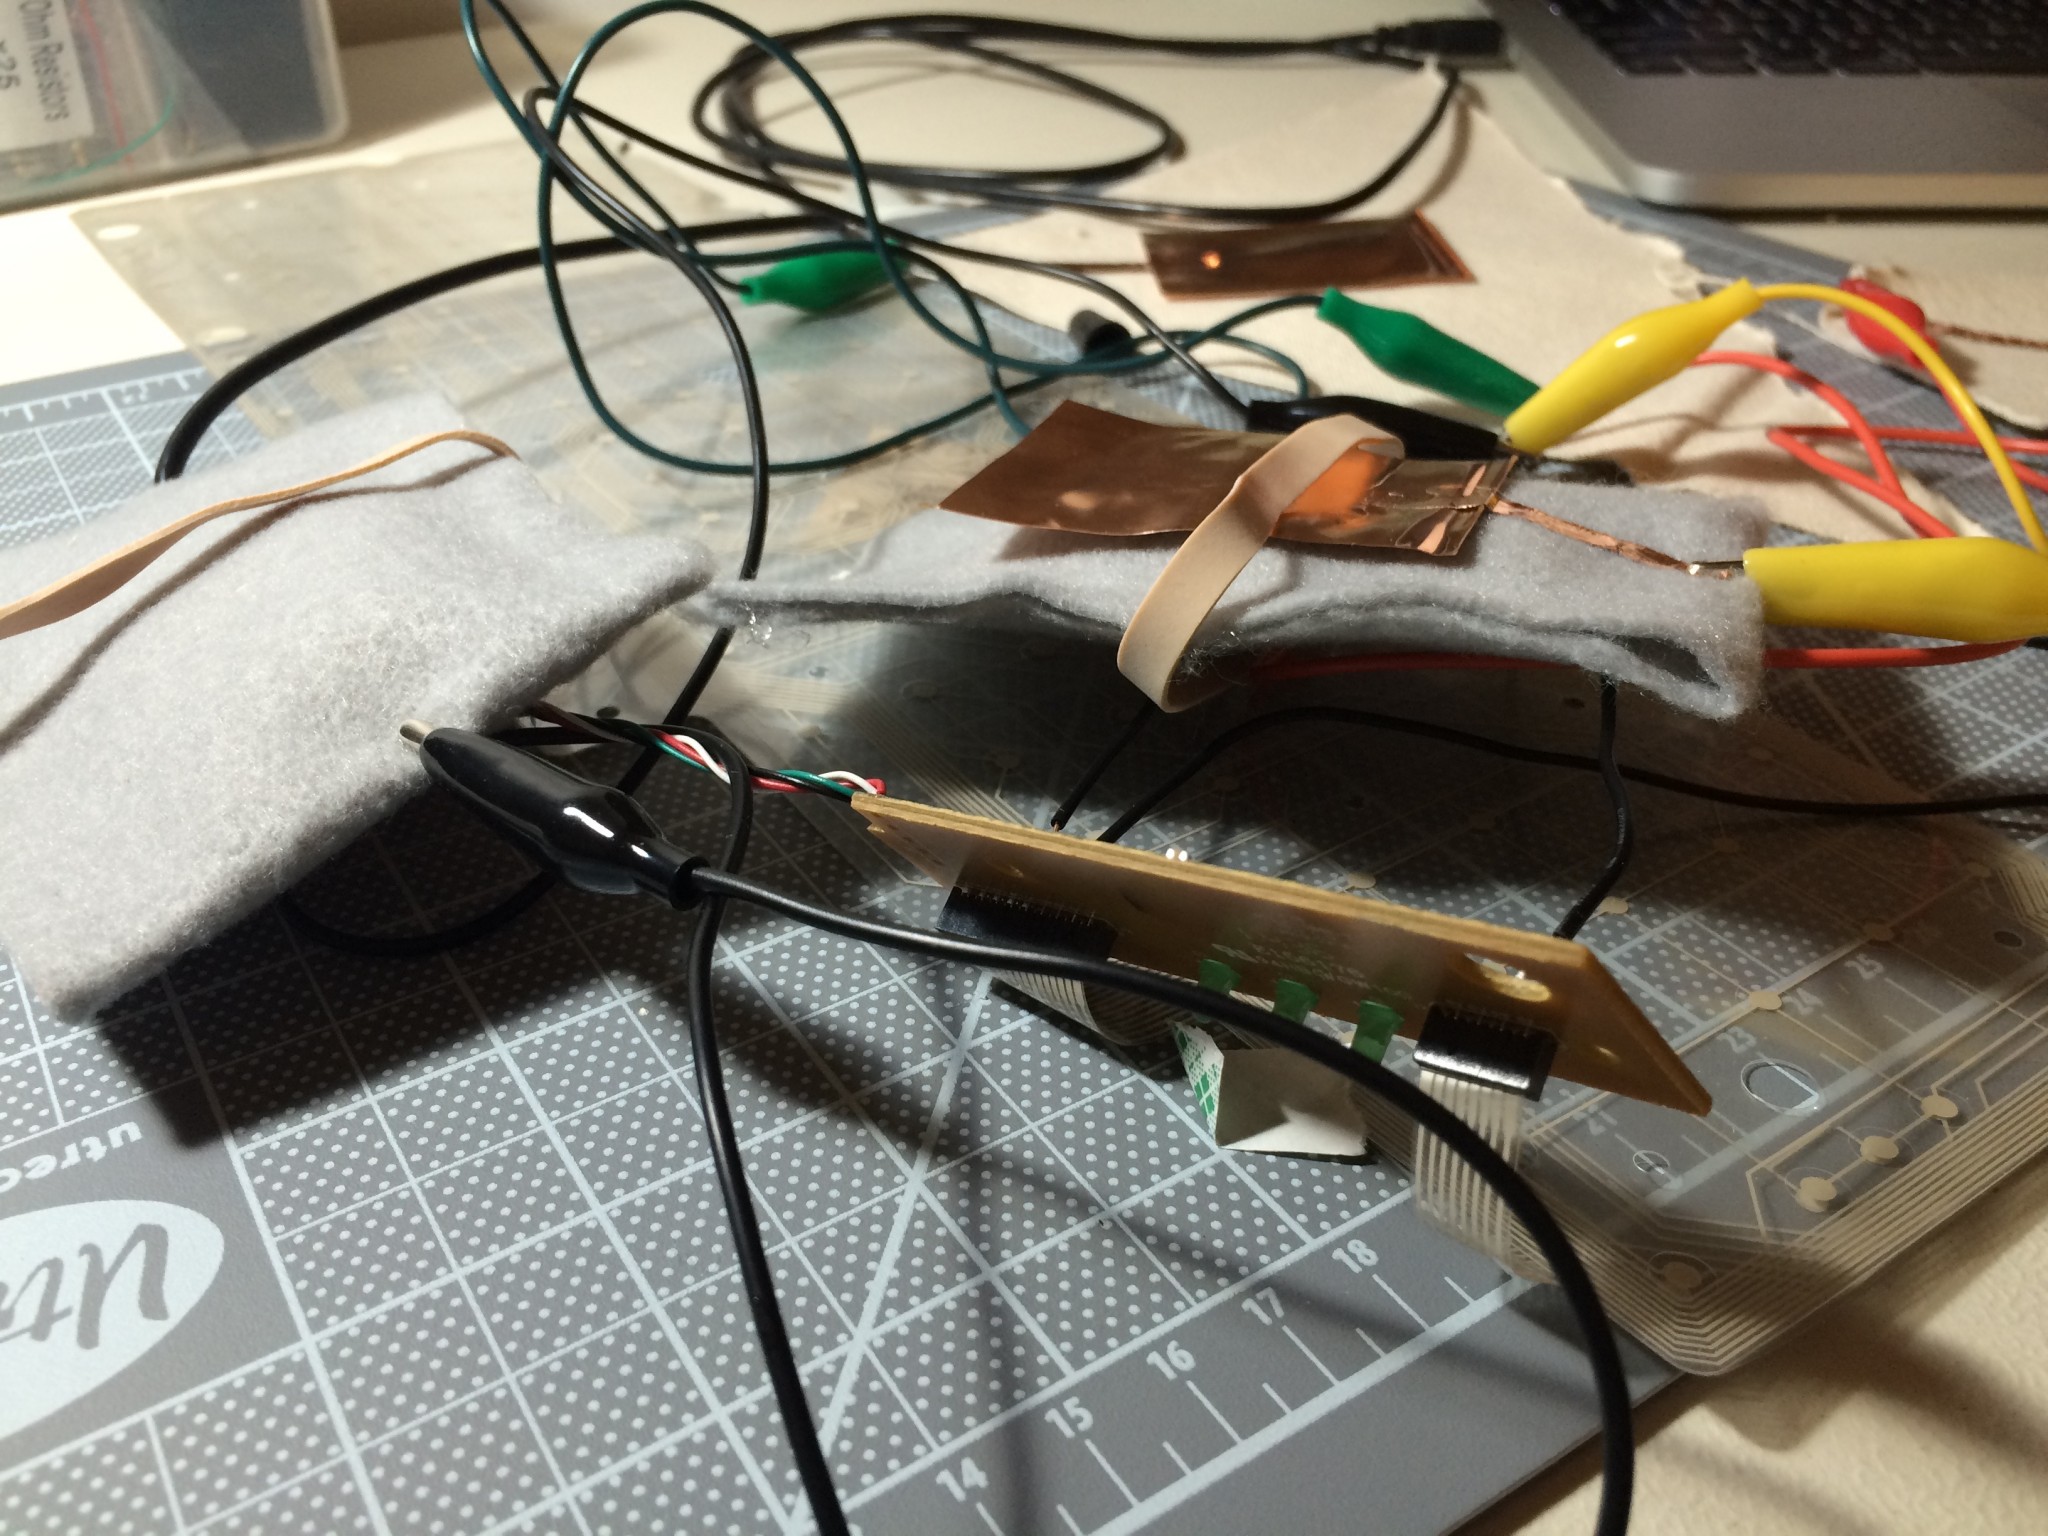
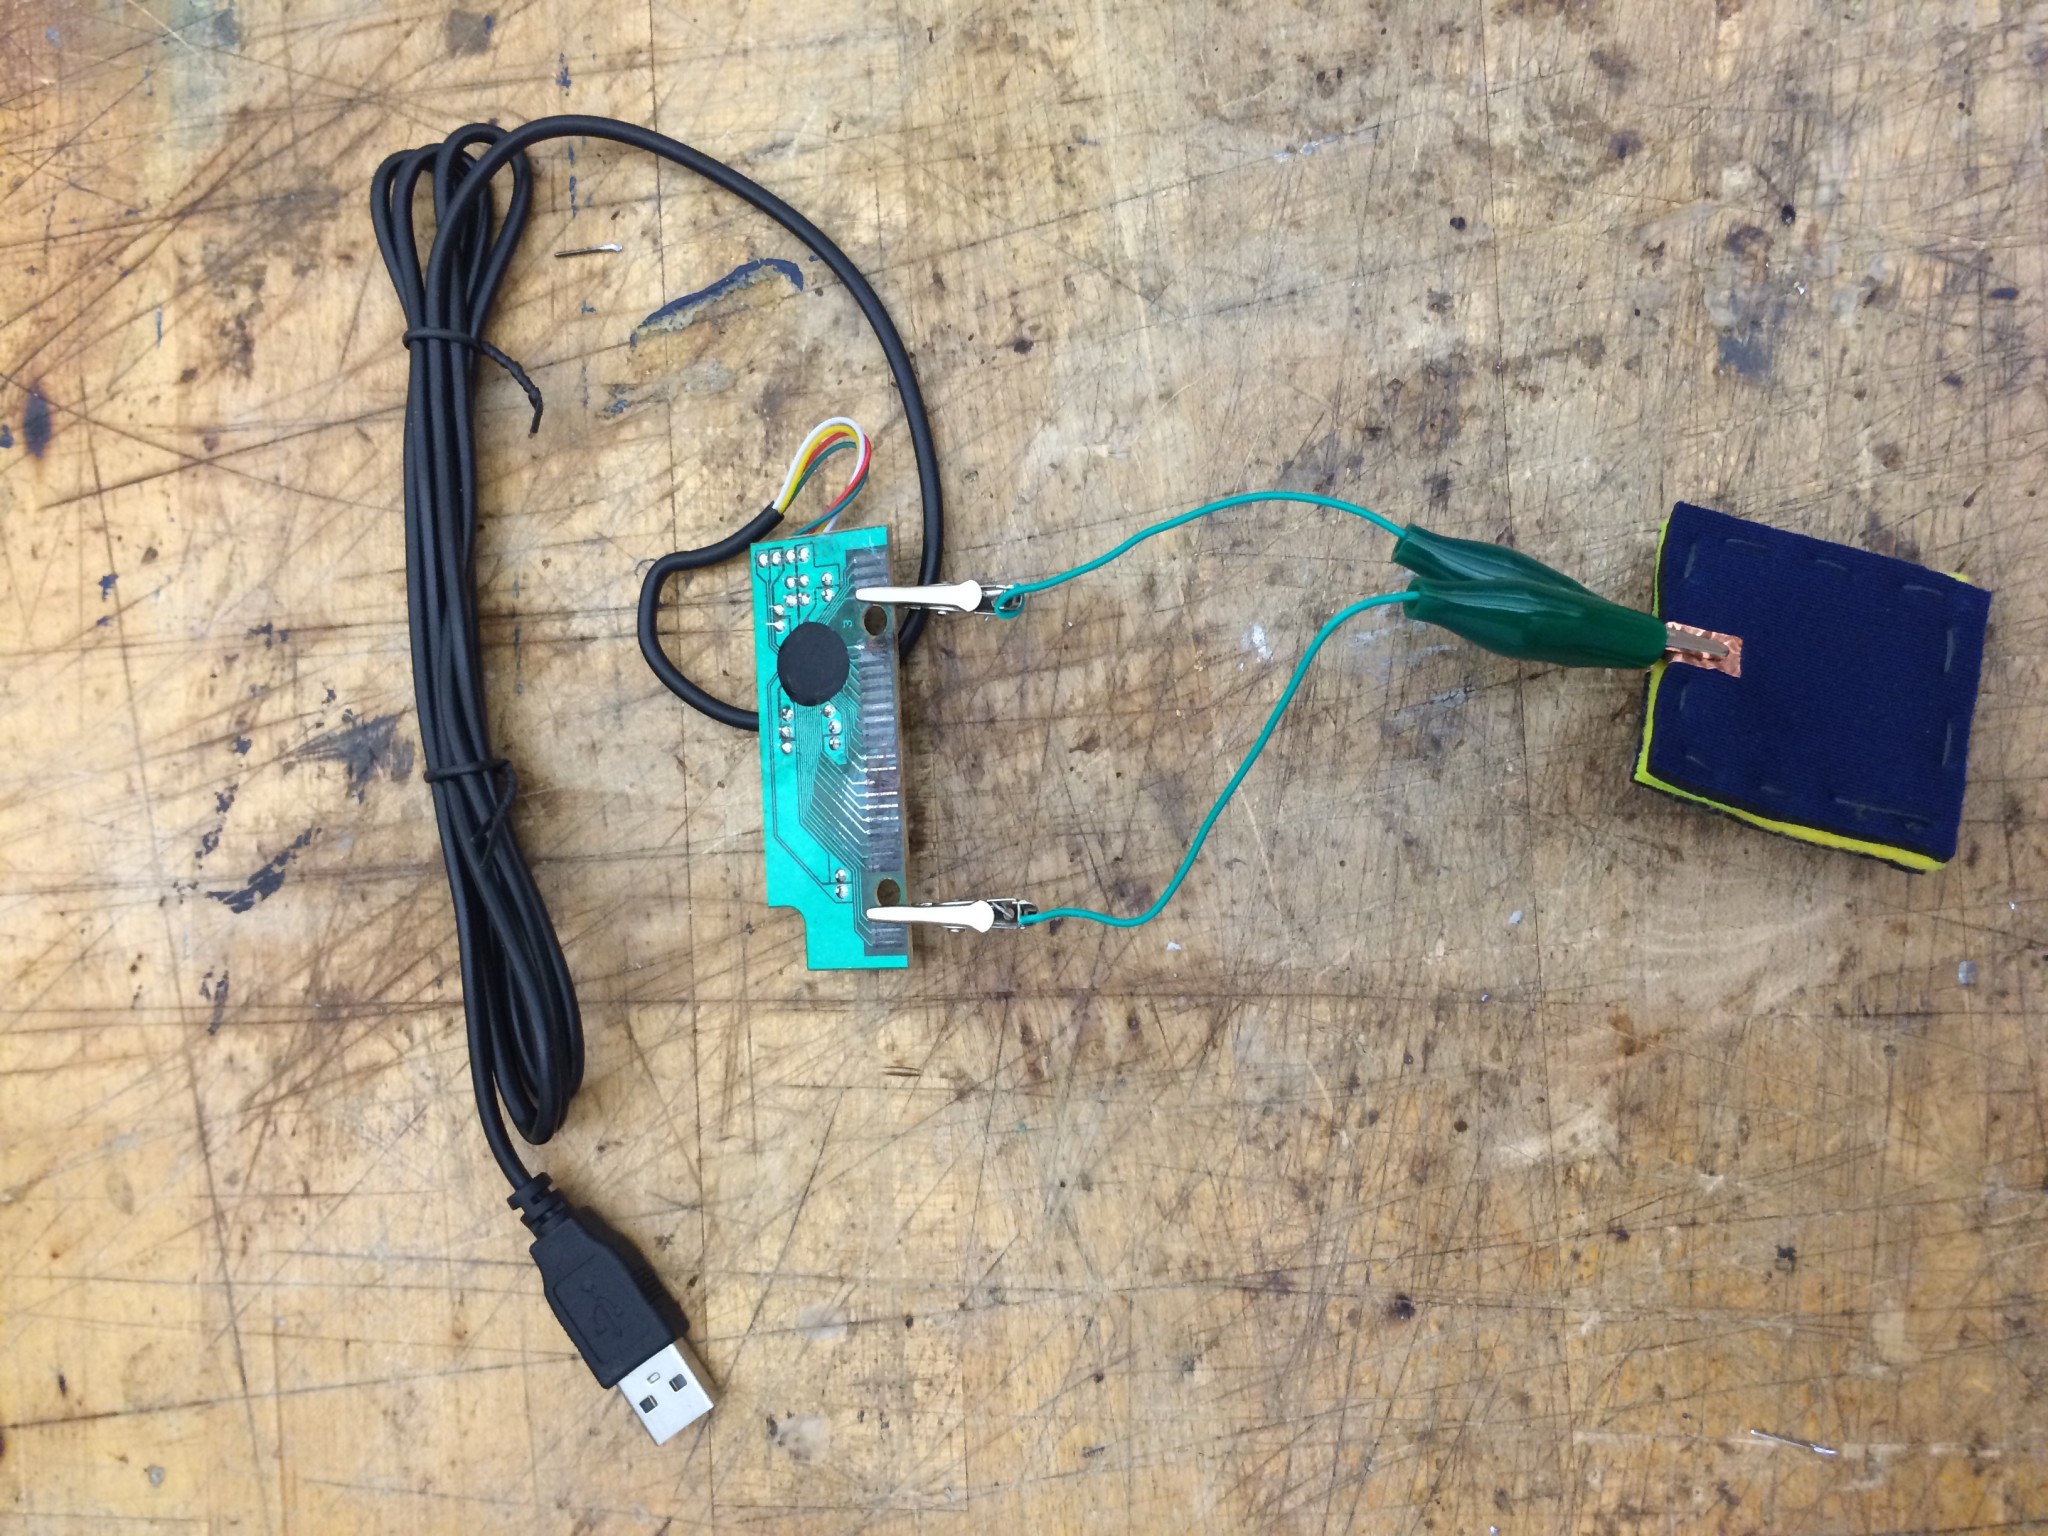
After a number of iterations, I decided to make simpler fabric buttons using conductive thread and the copper taffeta.

Conductive thread on felt piece
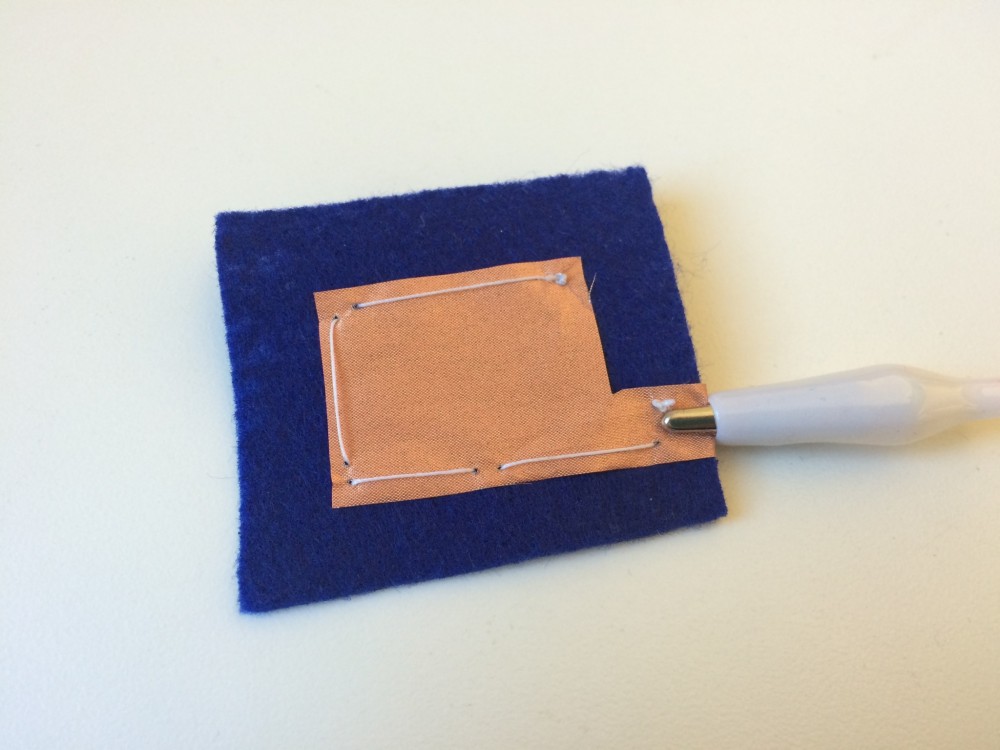
Conductive fabric on felt piece
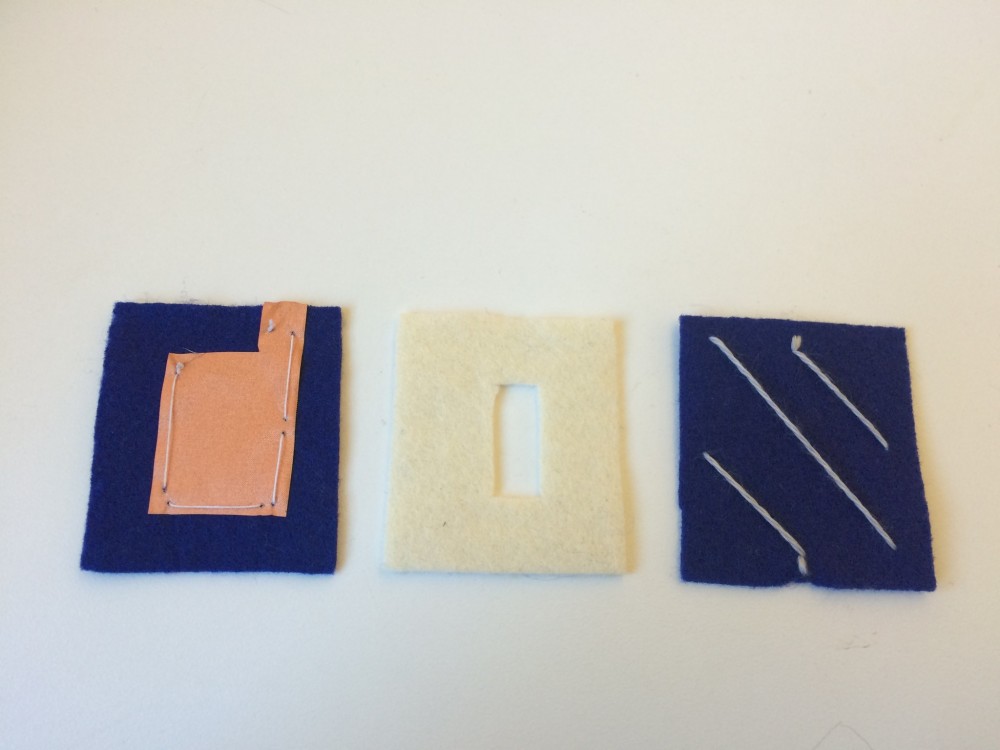
Pieces of the switch

Creating the switch

Testing the fabric button switch

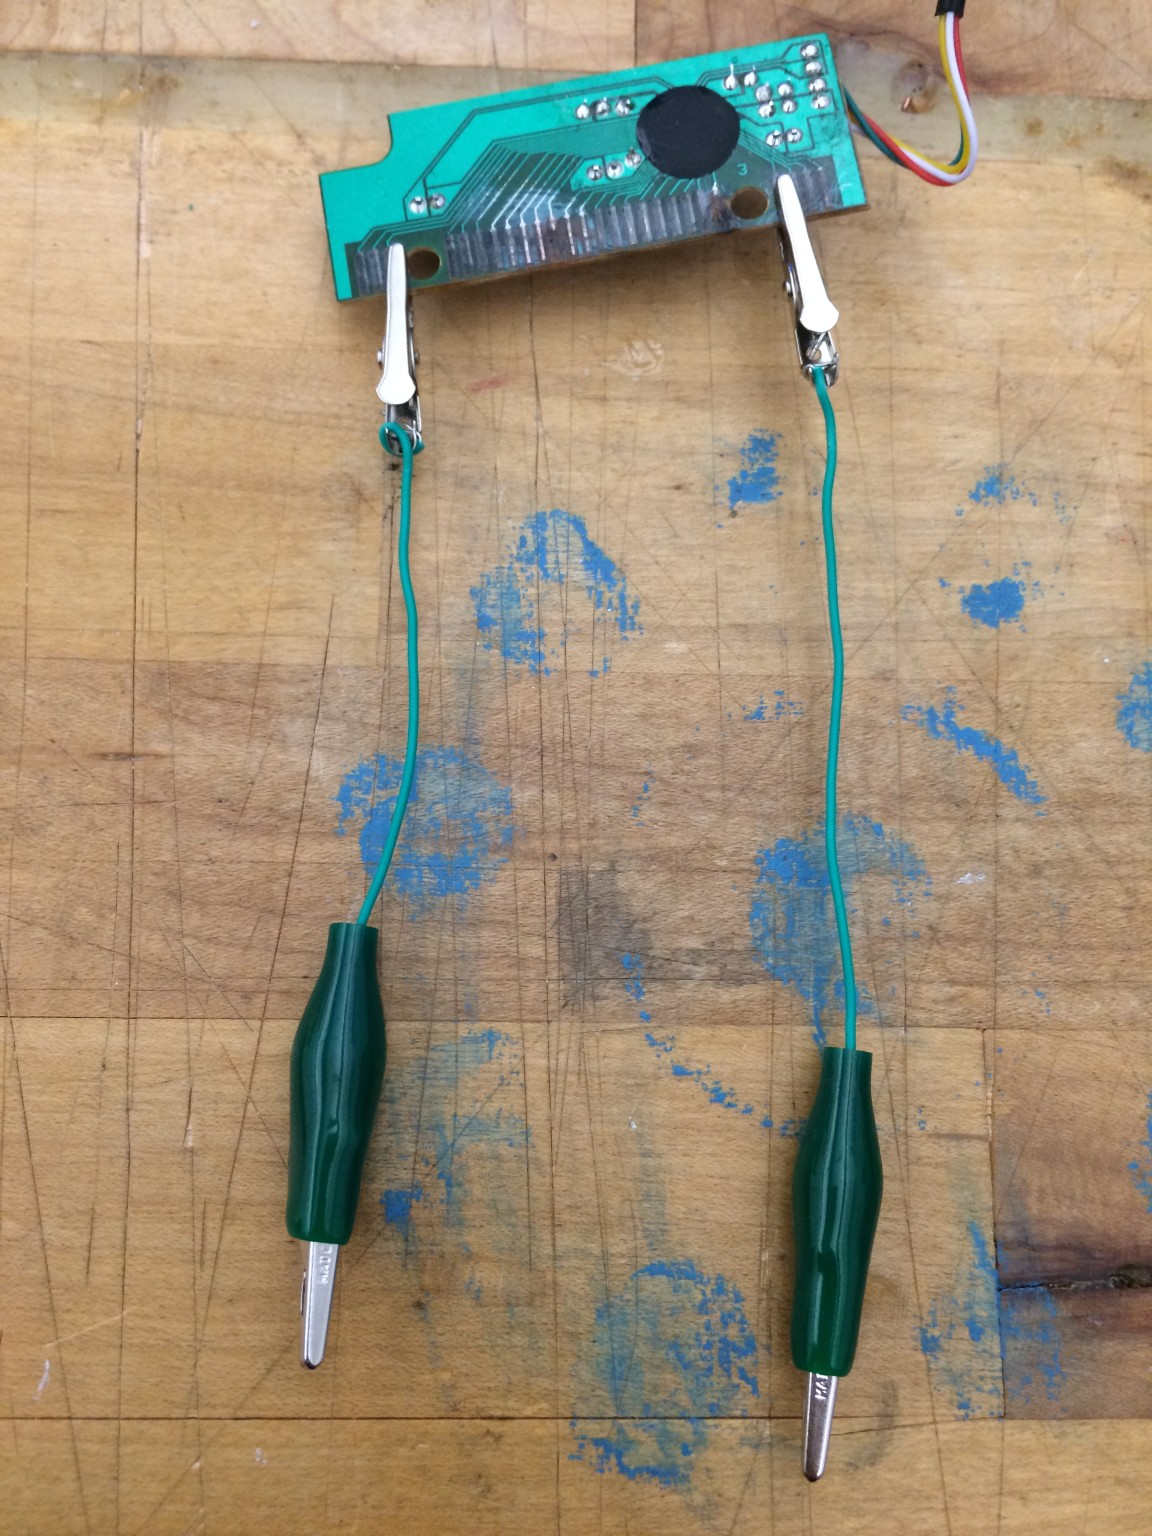
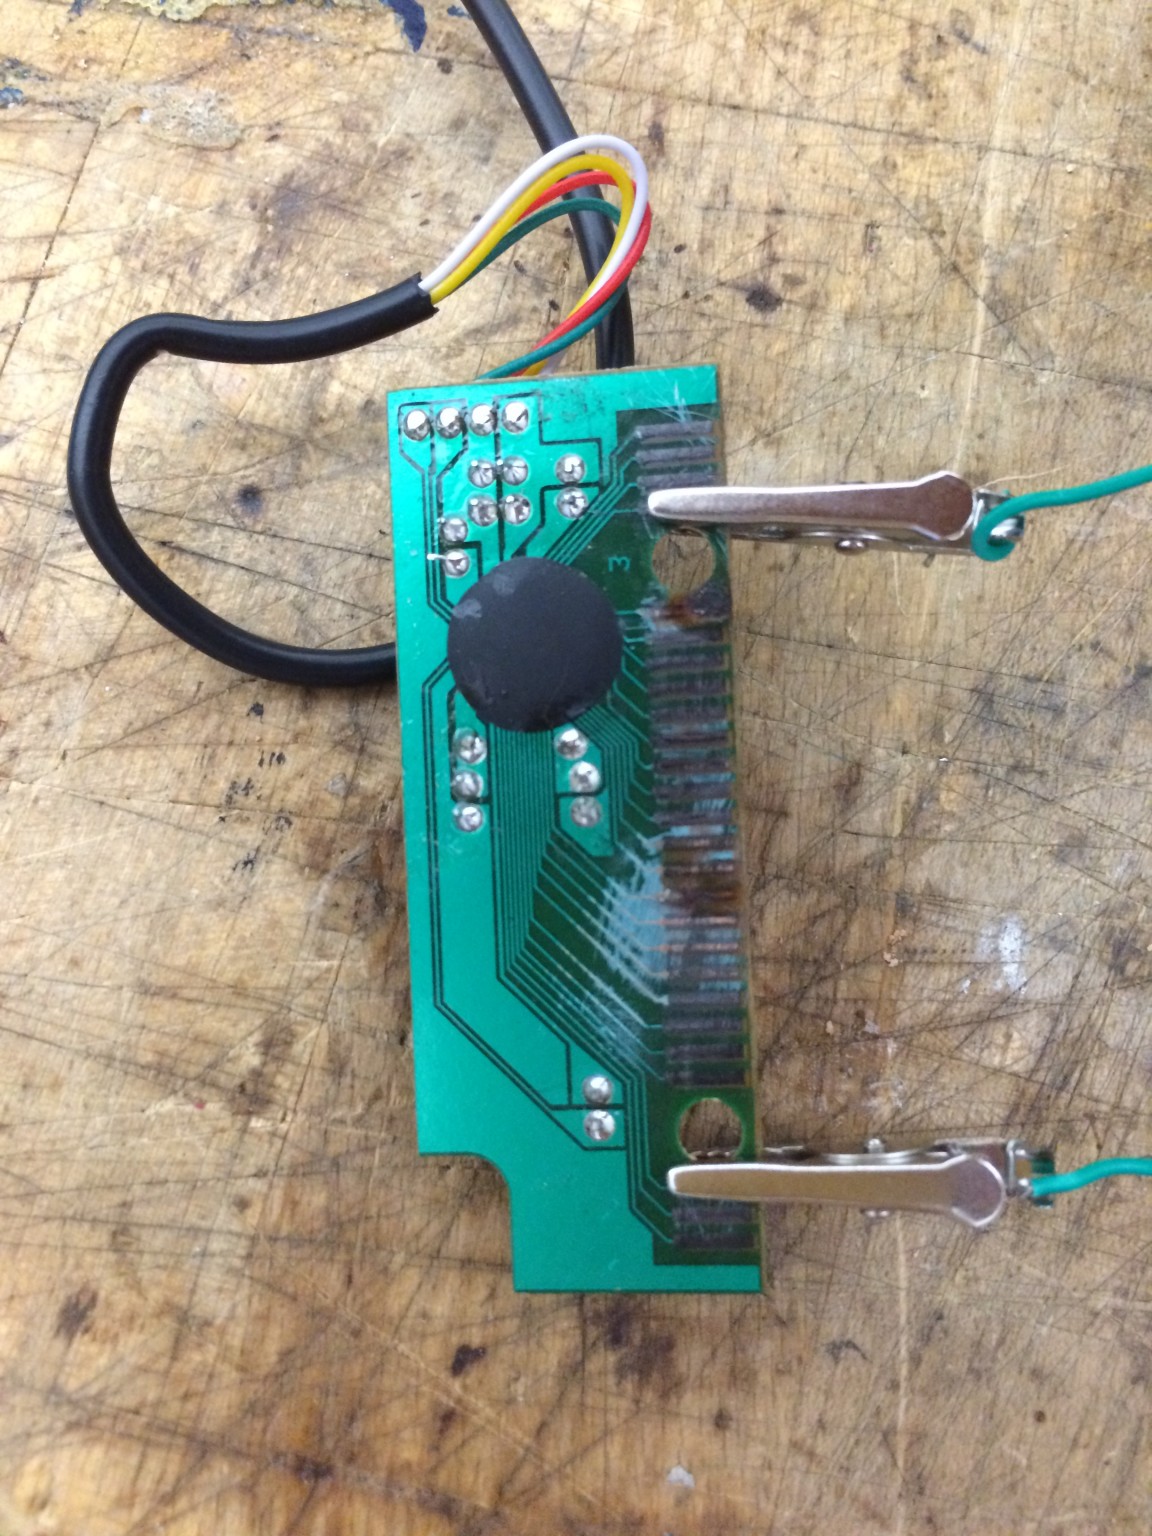
Attaching the switches to the keyboard
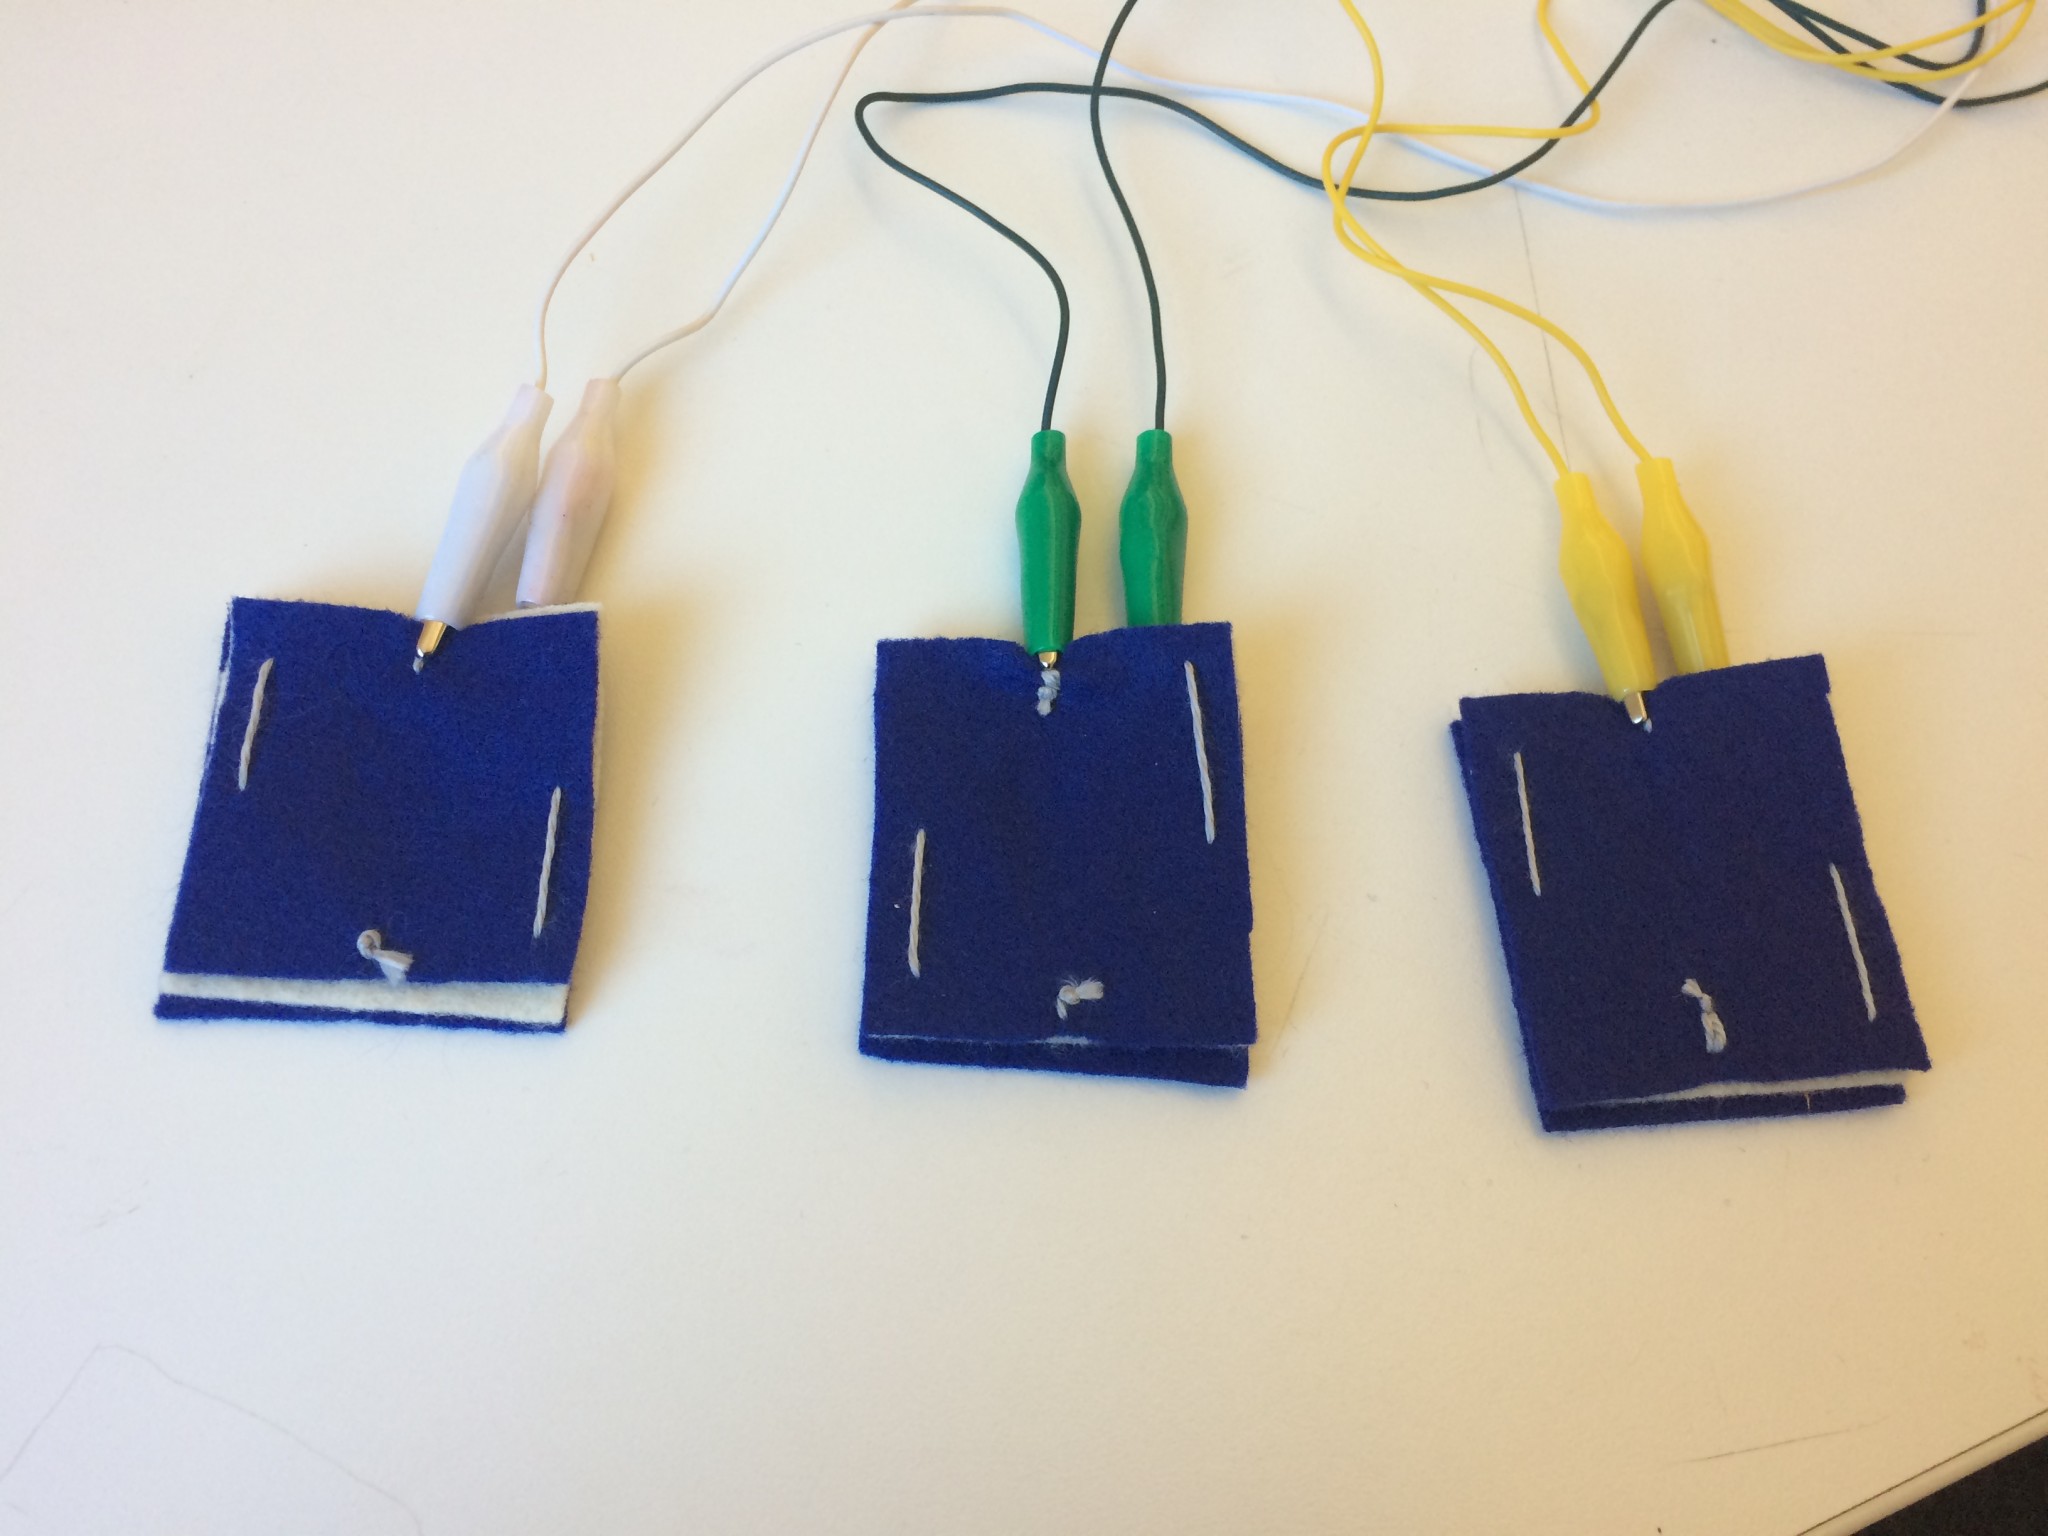
Testing the three switches
Word “Bounce”
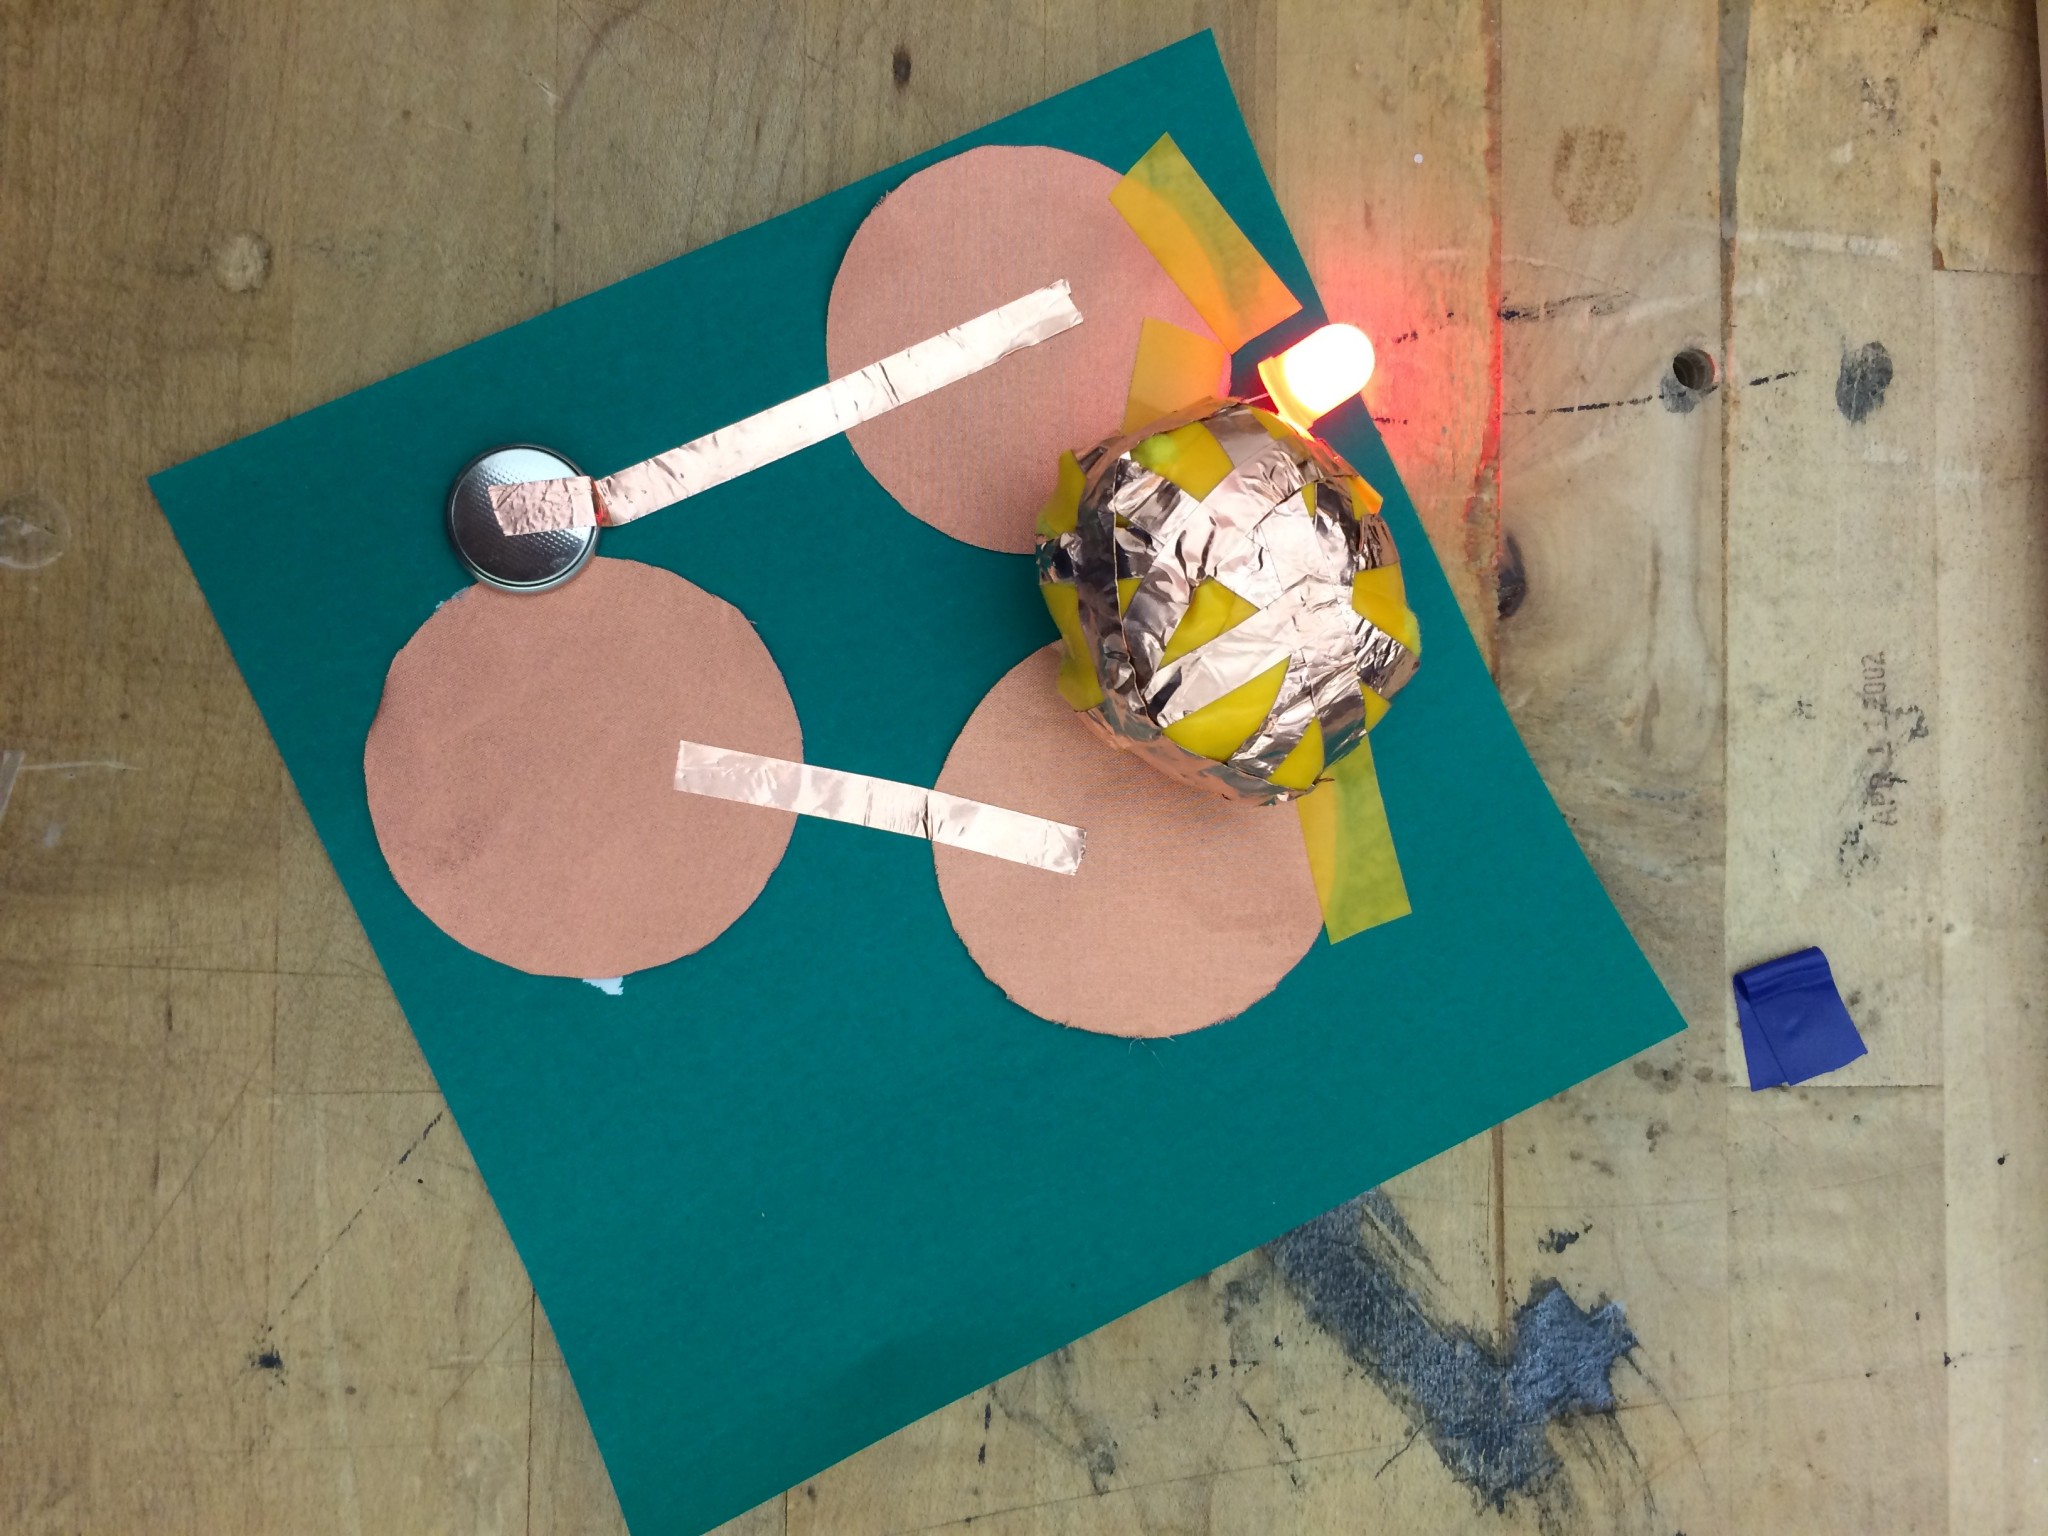
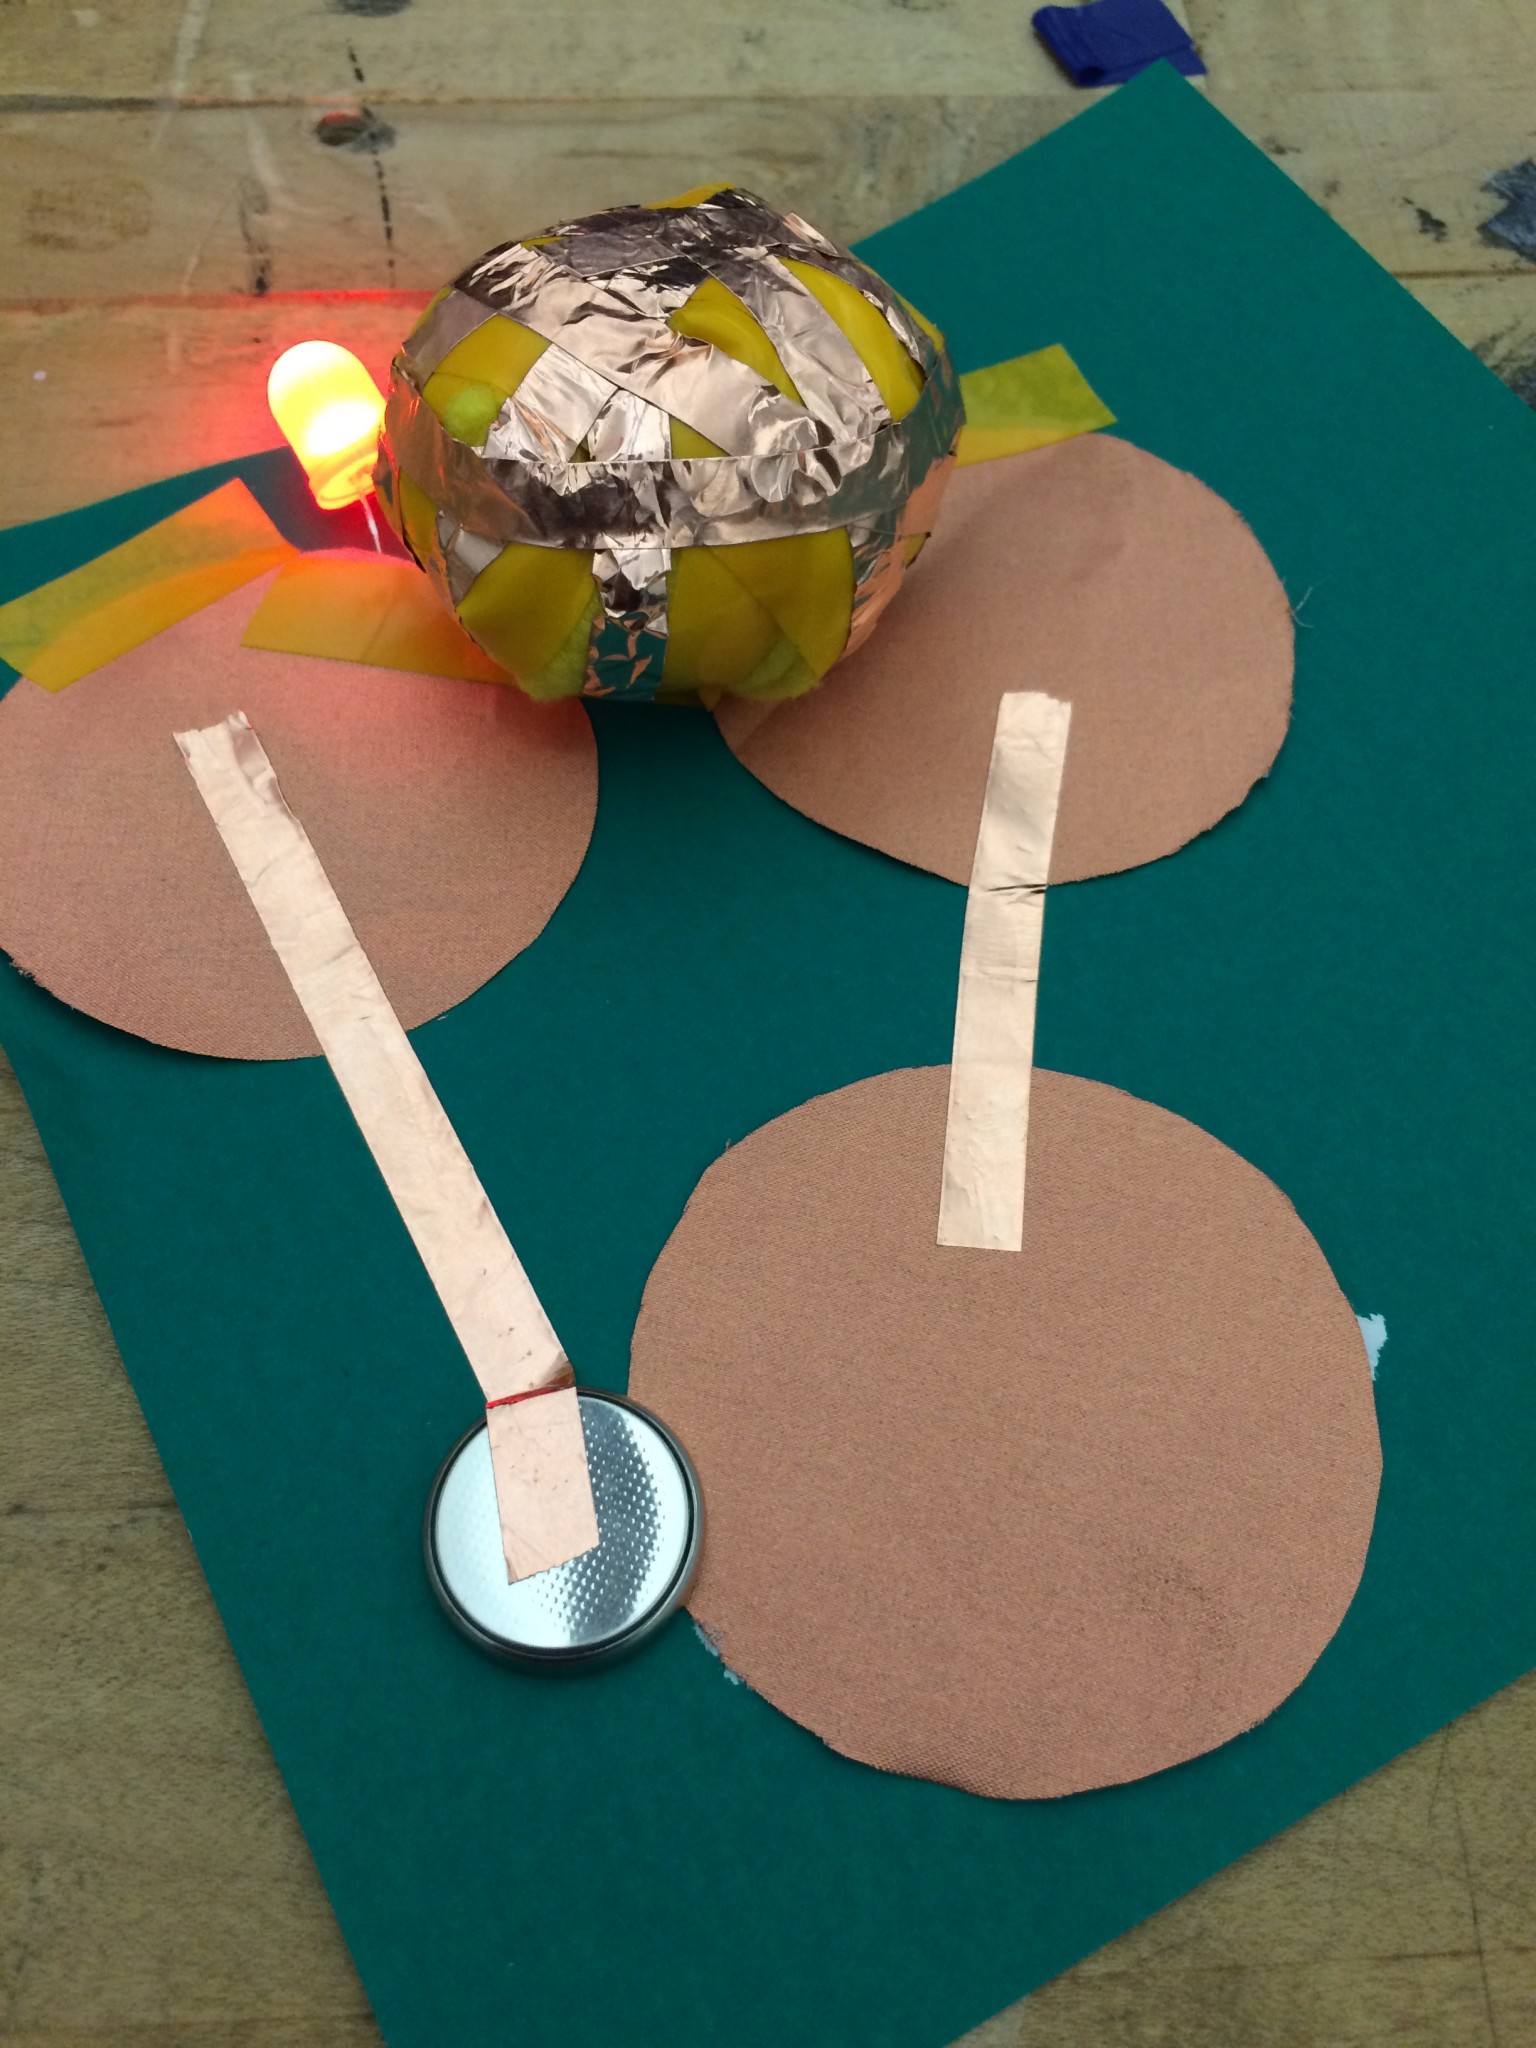
HOW TO PLAY?
You have to throw the ball in between 2 circle coppers to connect the circuit and light up the light.
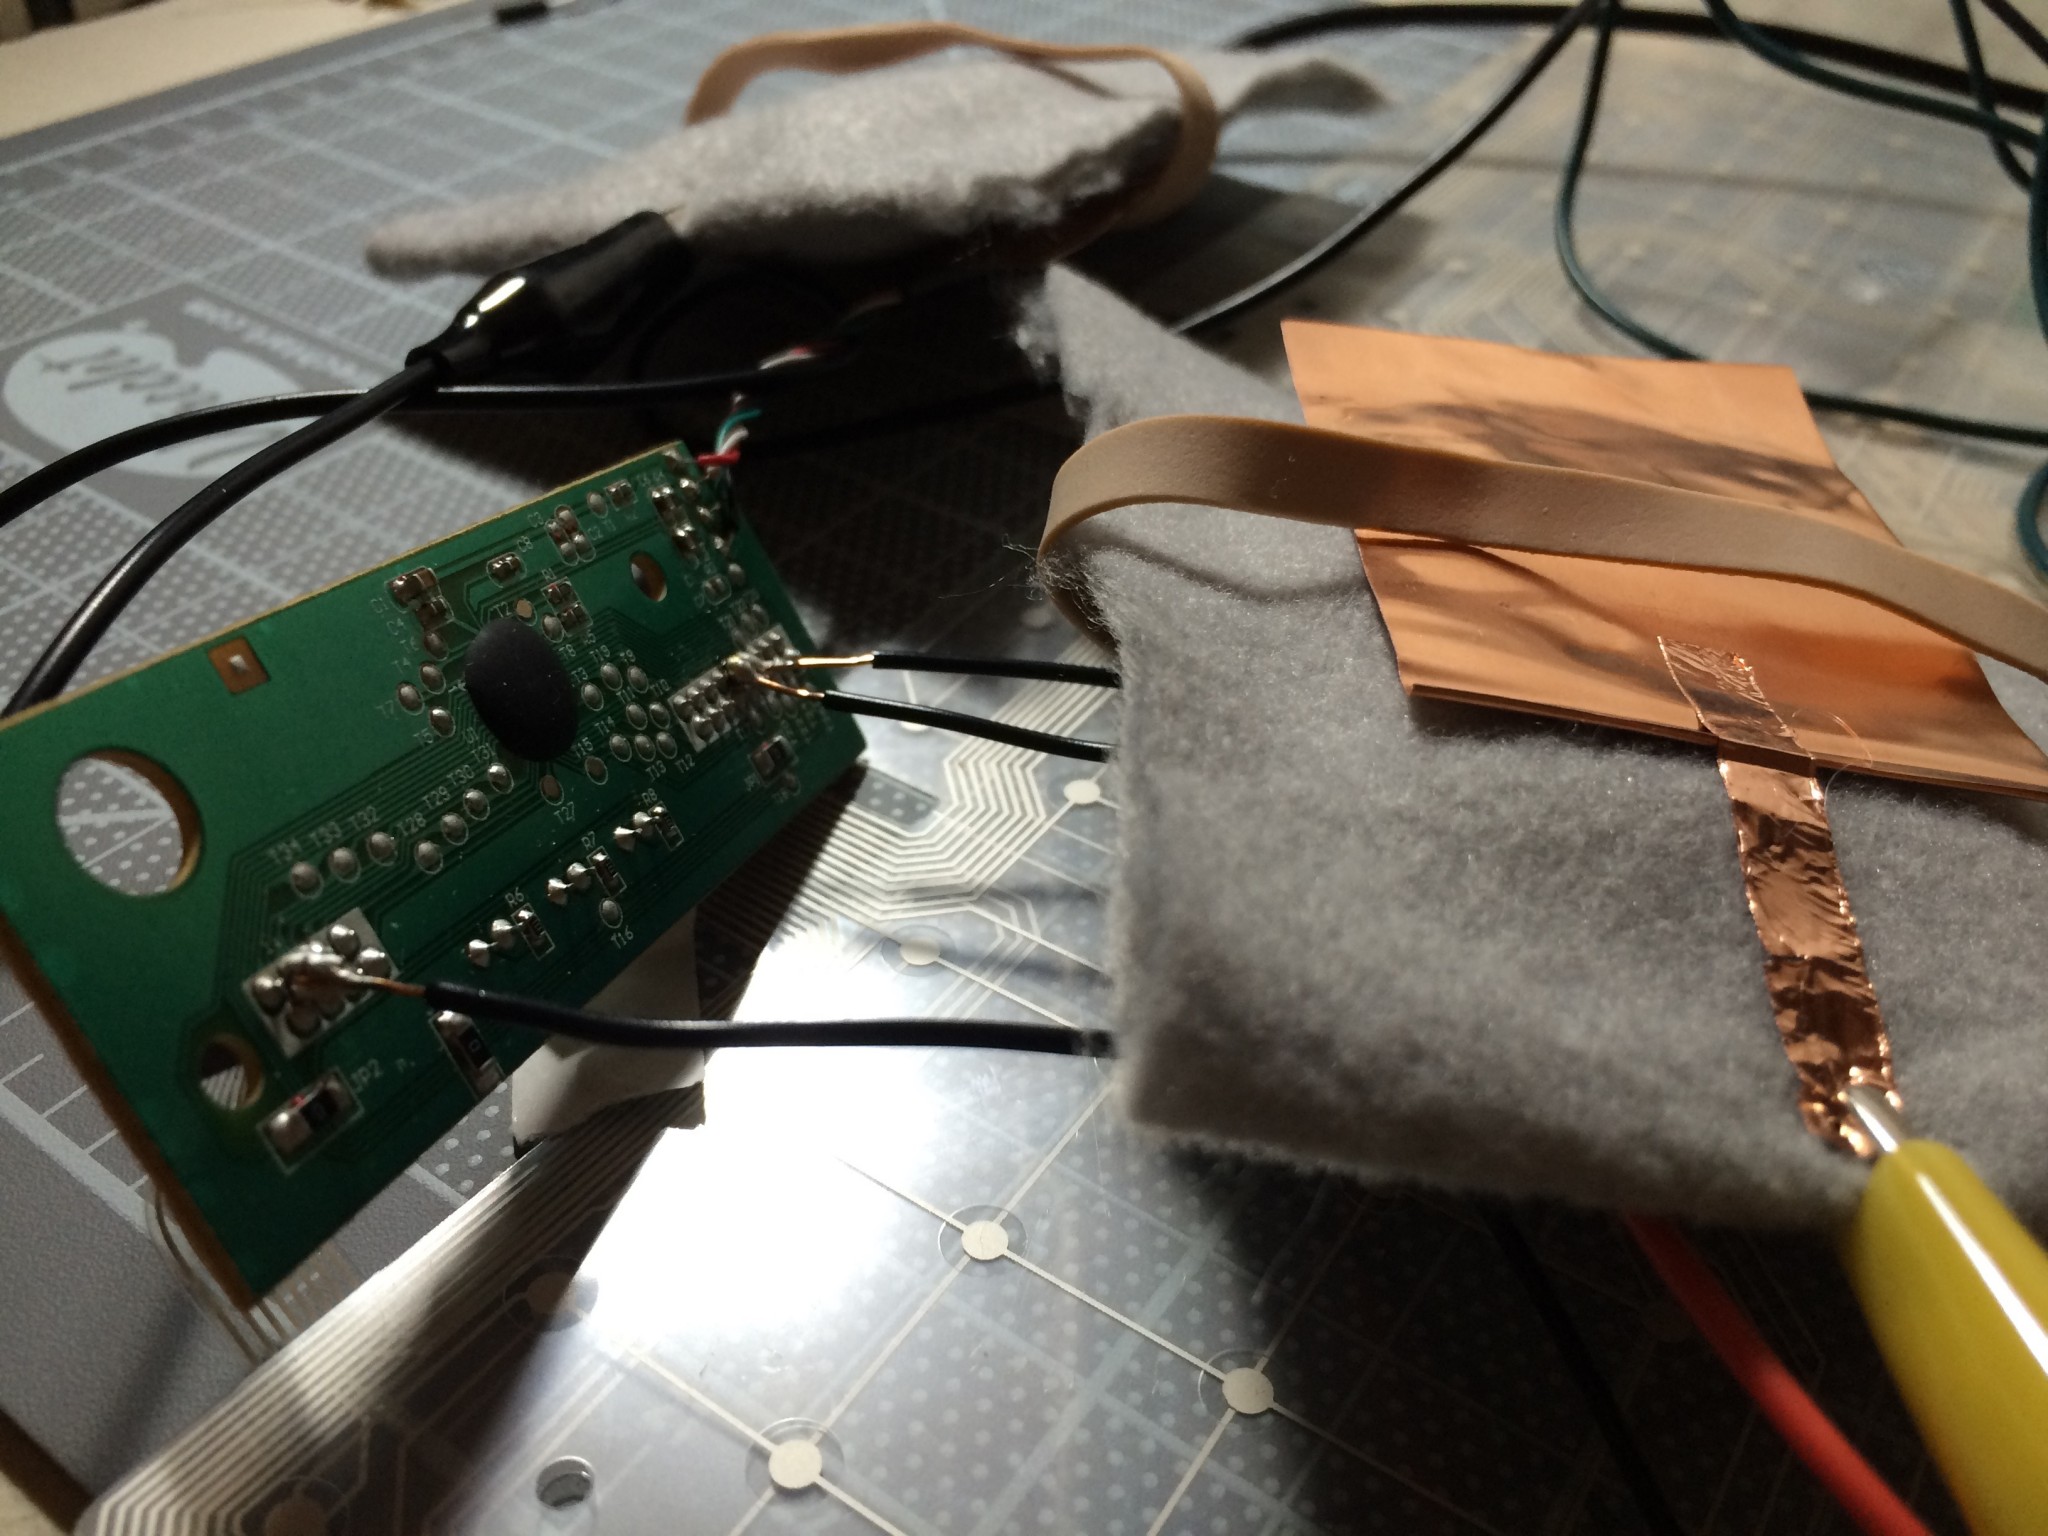
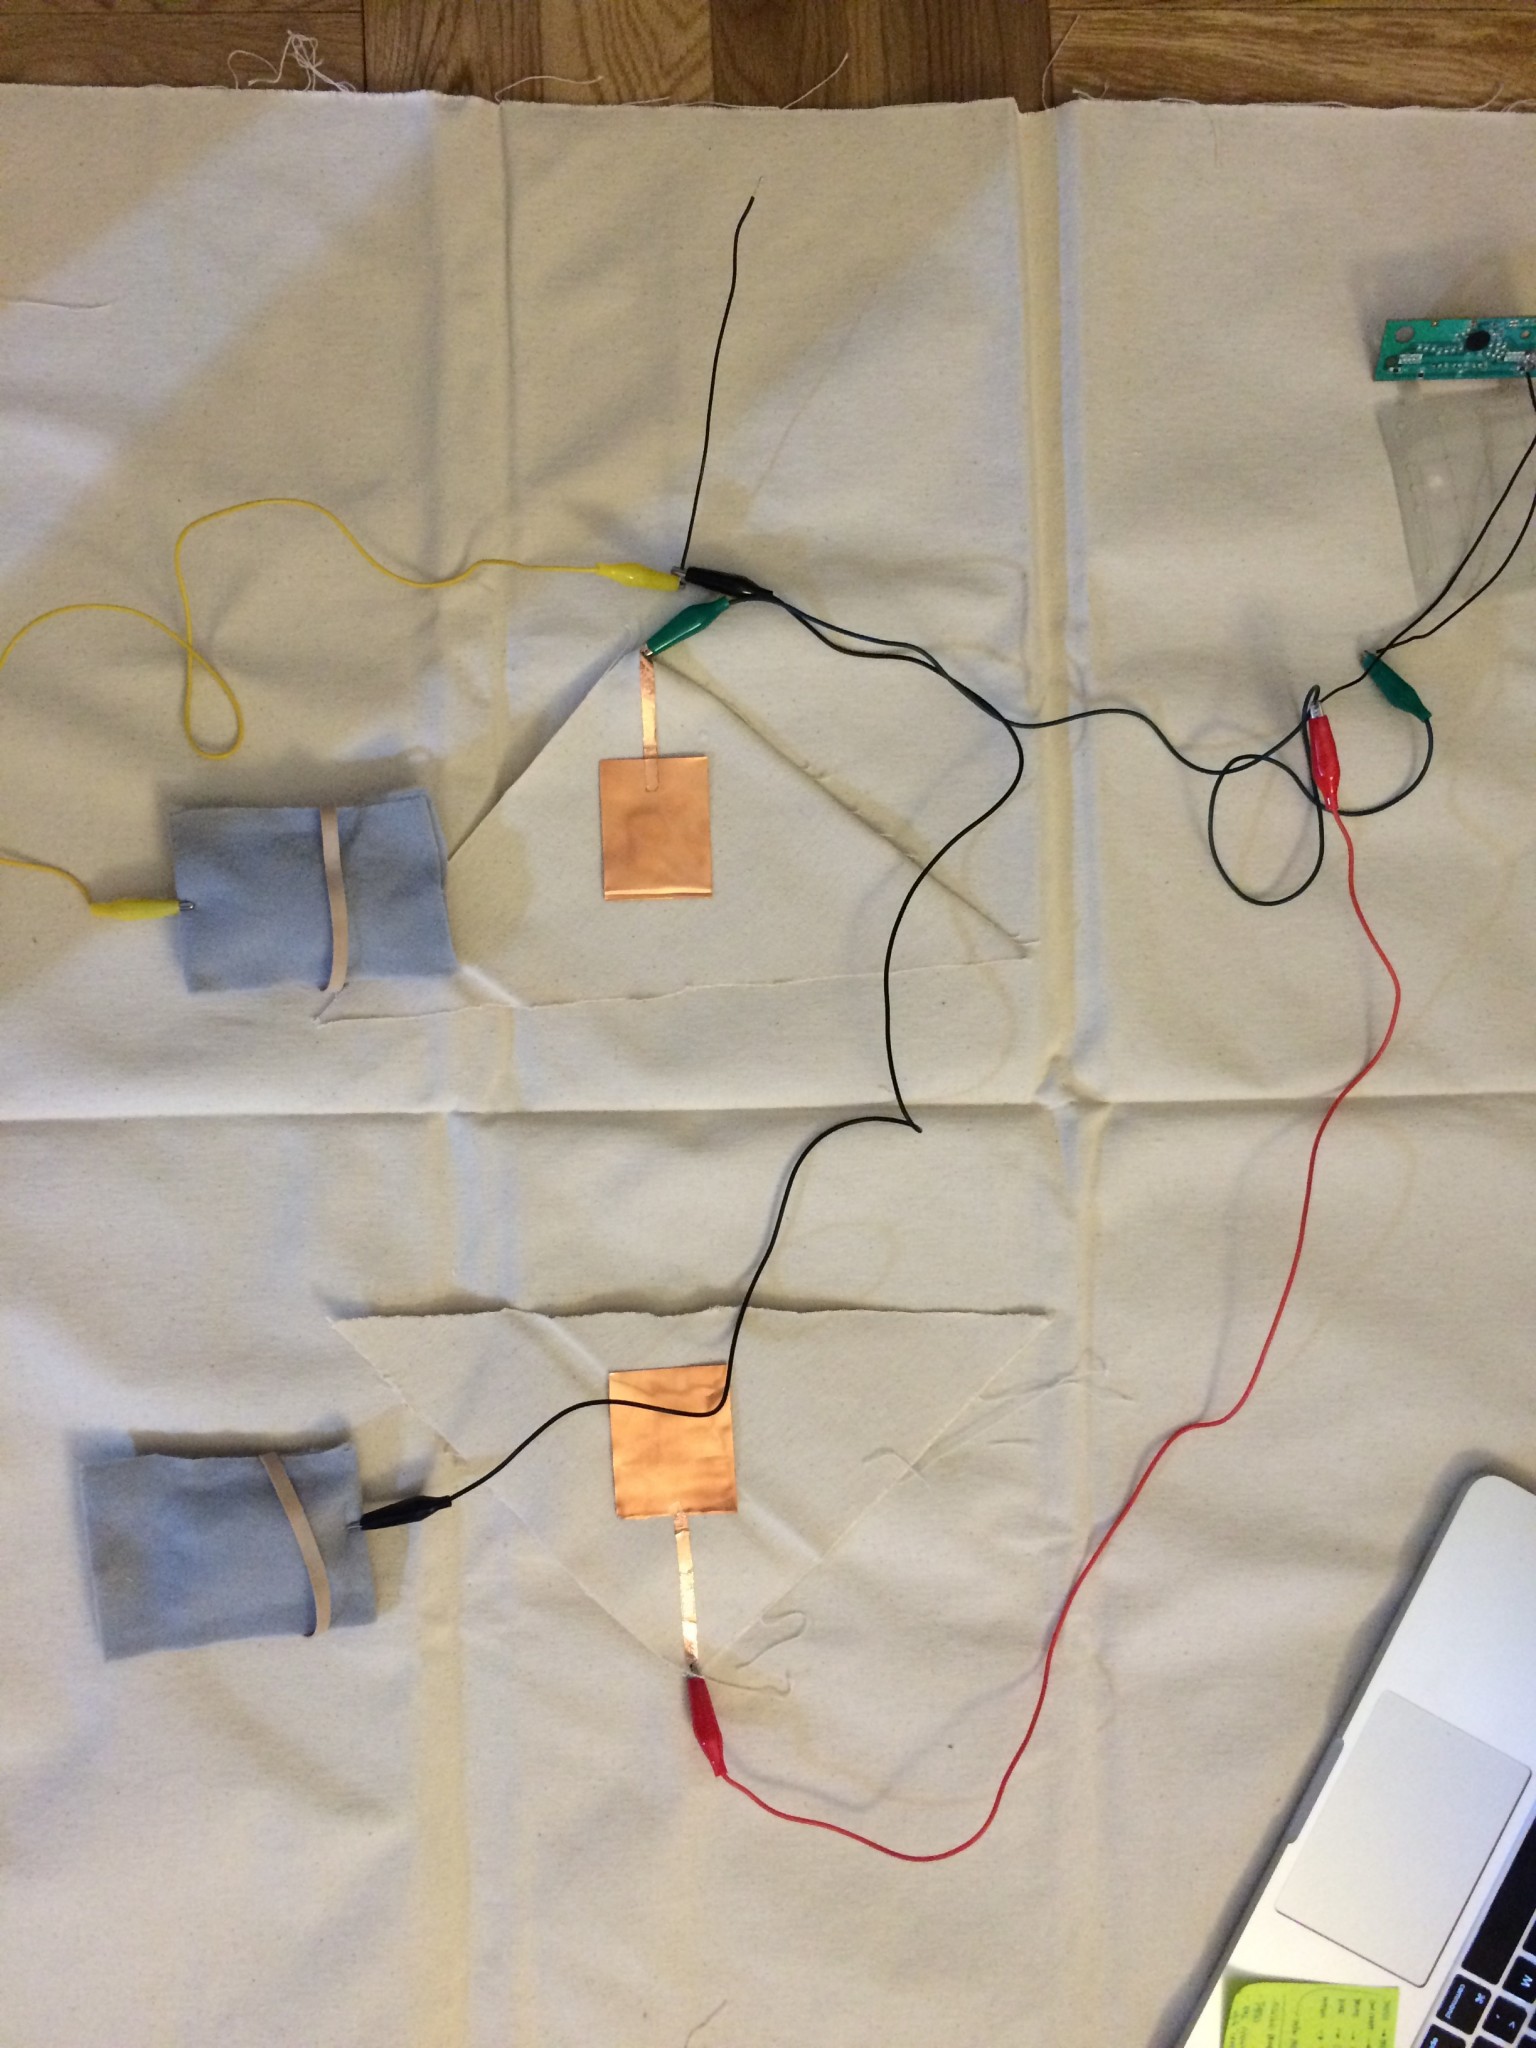
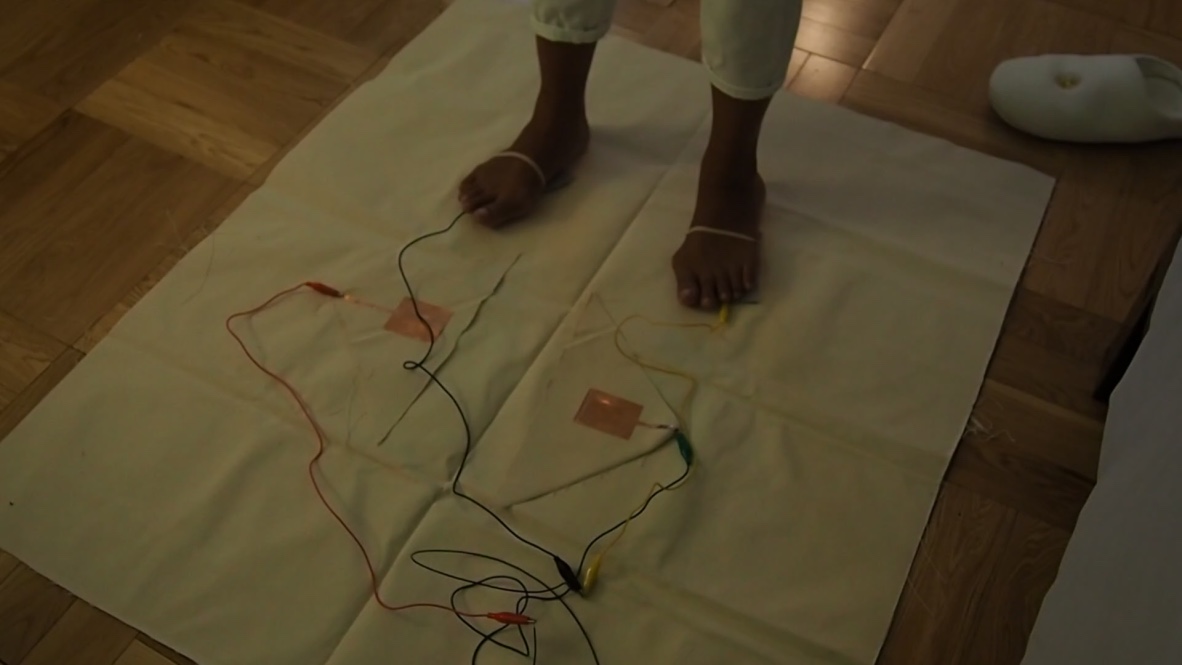
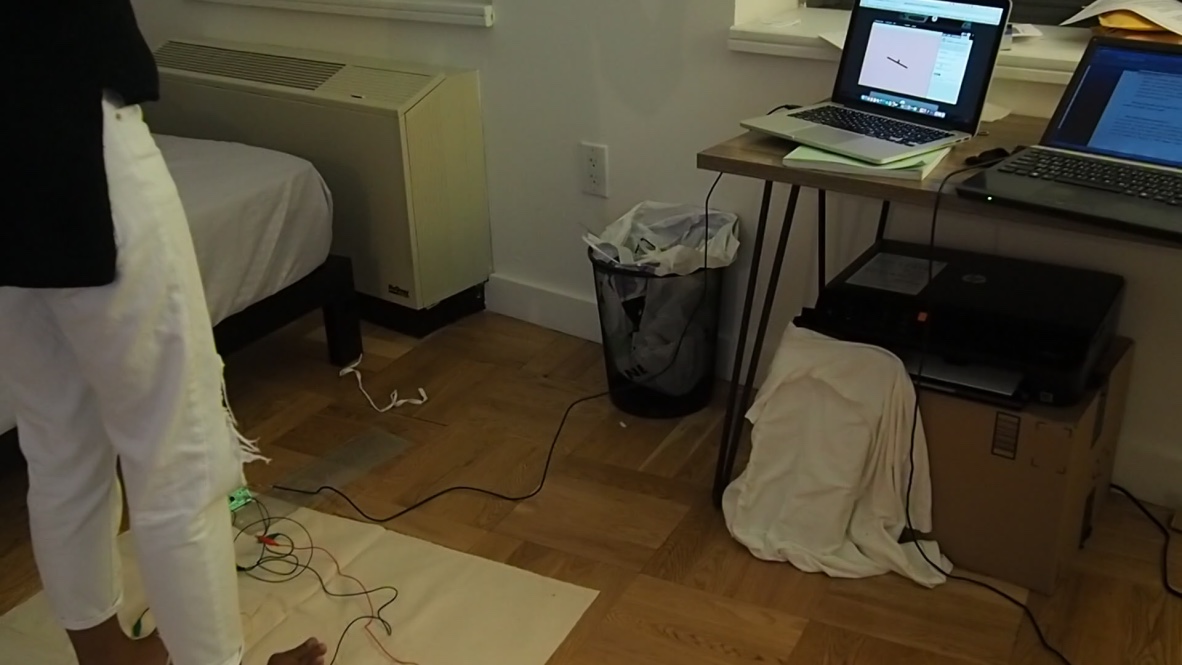
Keyboard Hacking
What I did is hacking a keyboard the left-right button as a controller to play game. You have to step on left to control left and step on the right panel to control right.
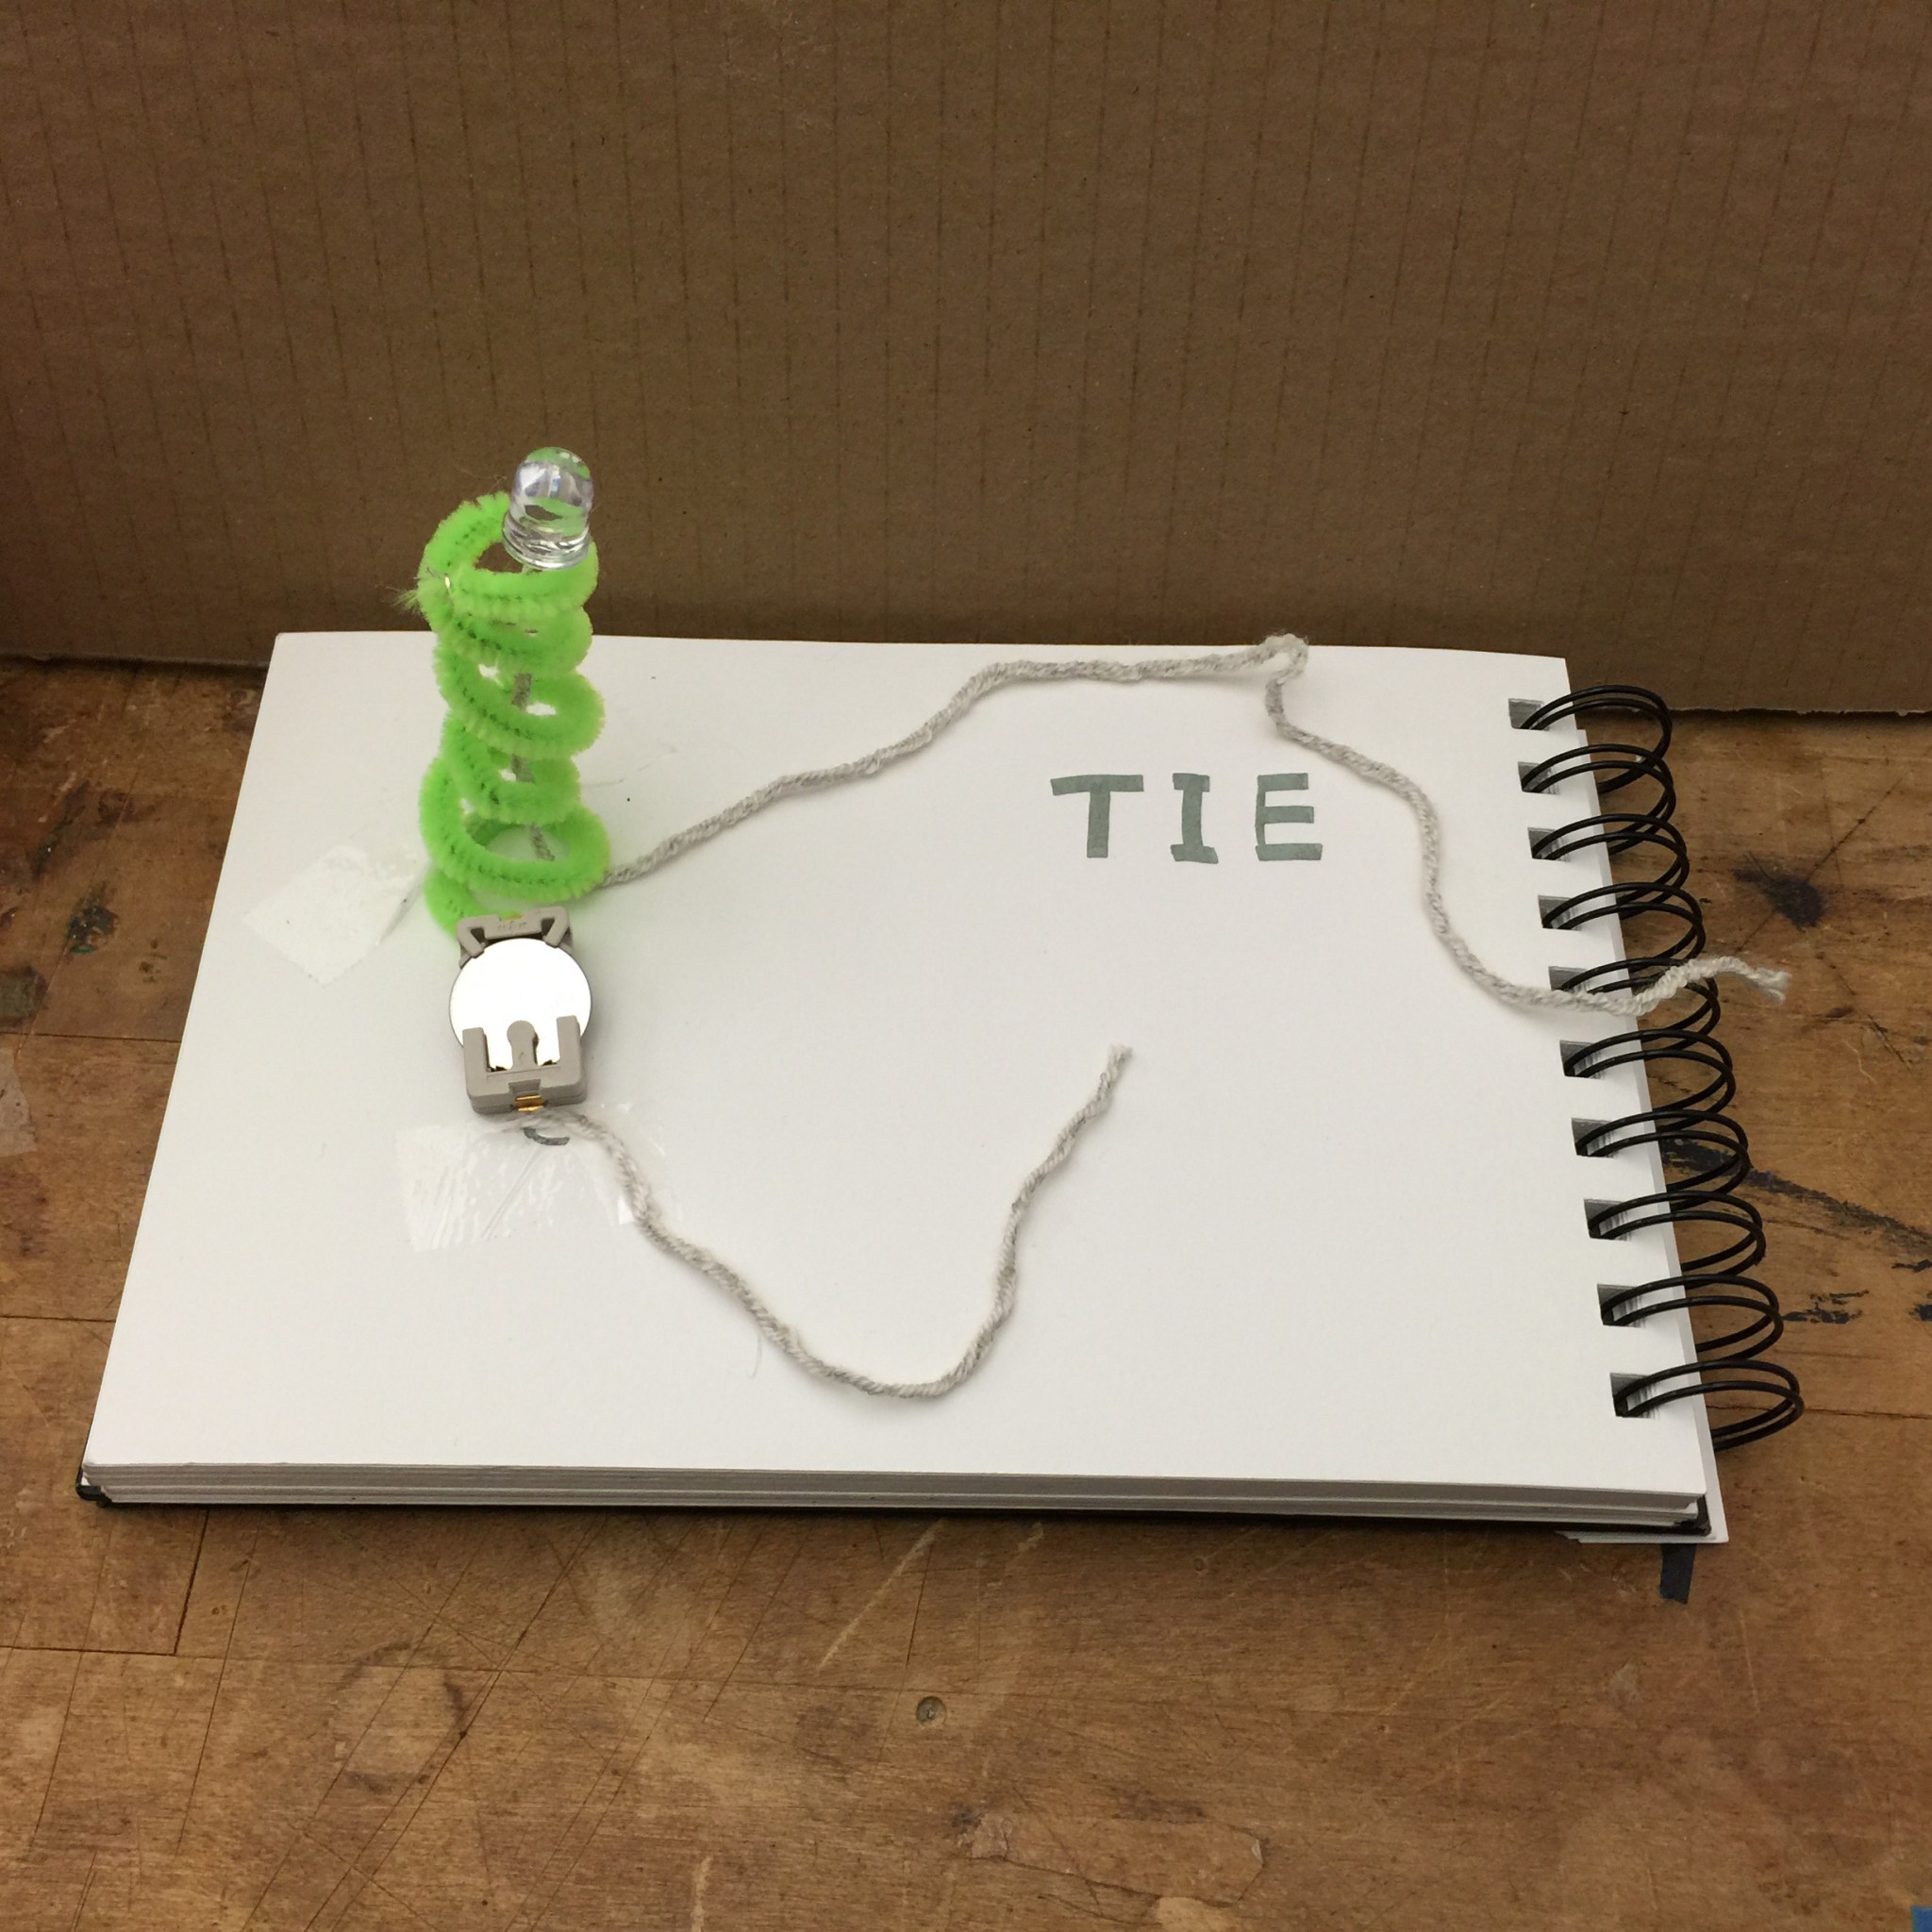
VERB: Drop
I created a switch that lights an LED using the verb “drop”. Conductive thread connects the positive side of a coin cell battery to the anode/positive leg of an LED. The cathode/negative negative leg of the LED is connected to a sheet of copper fabric on the ground. When the coin cell battery is dropped onto the copper fabric, the circuit is completed and the LED is turned on. The battery functions as a weight to improve drop accuracy in addition to being the circuit’s power source.
Materials:
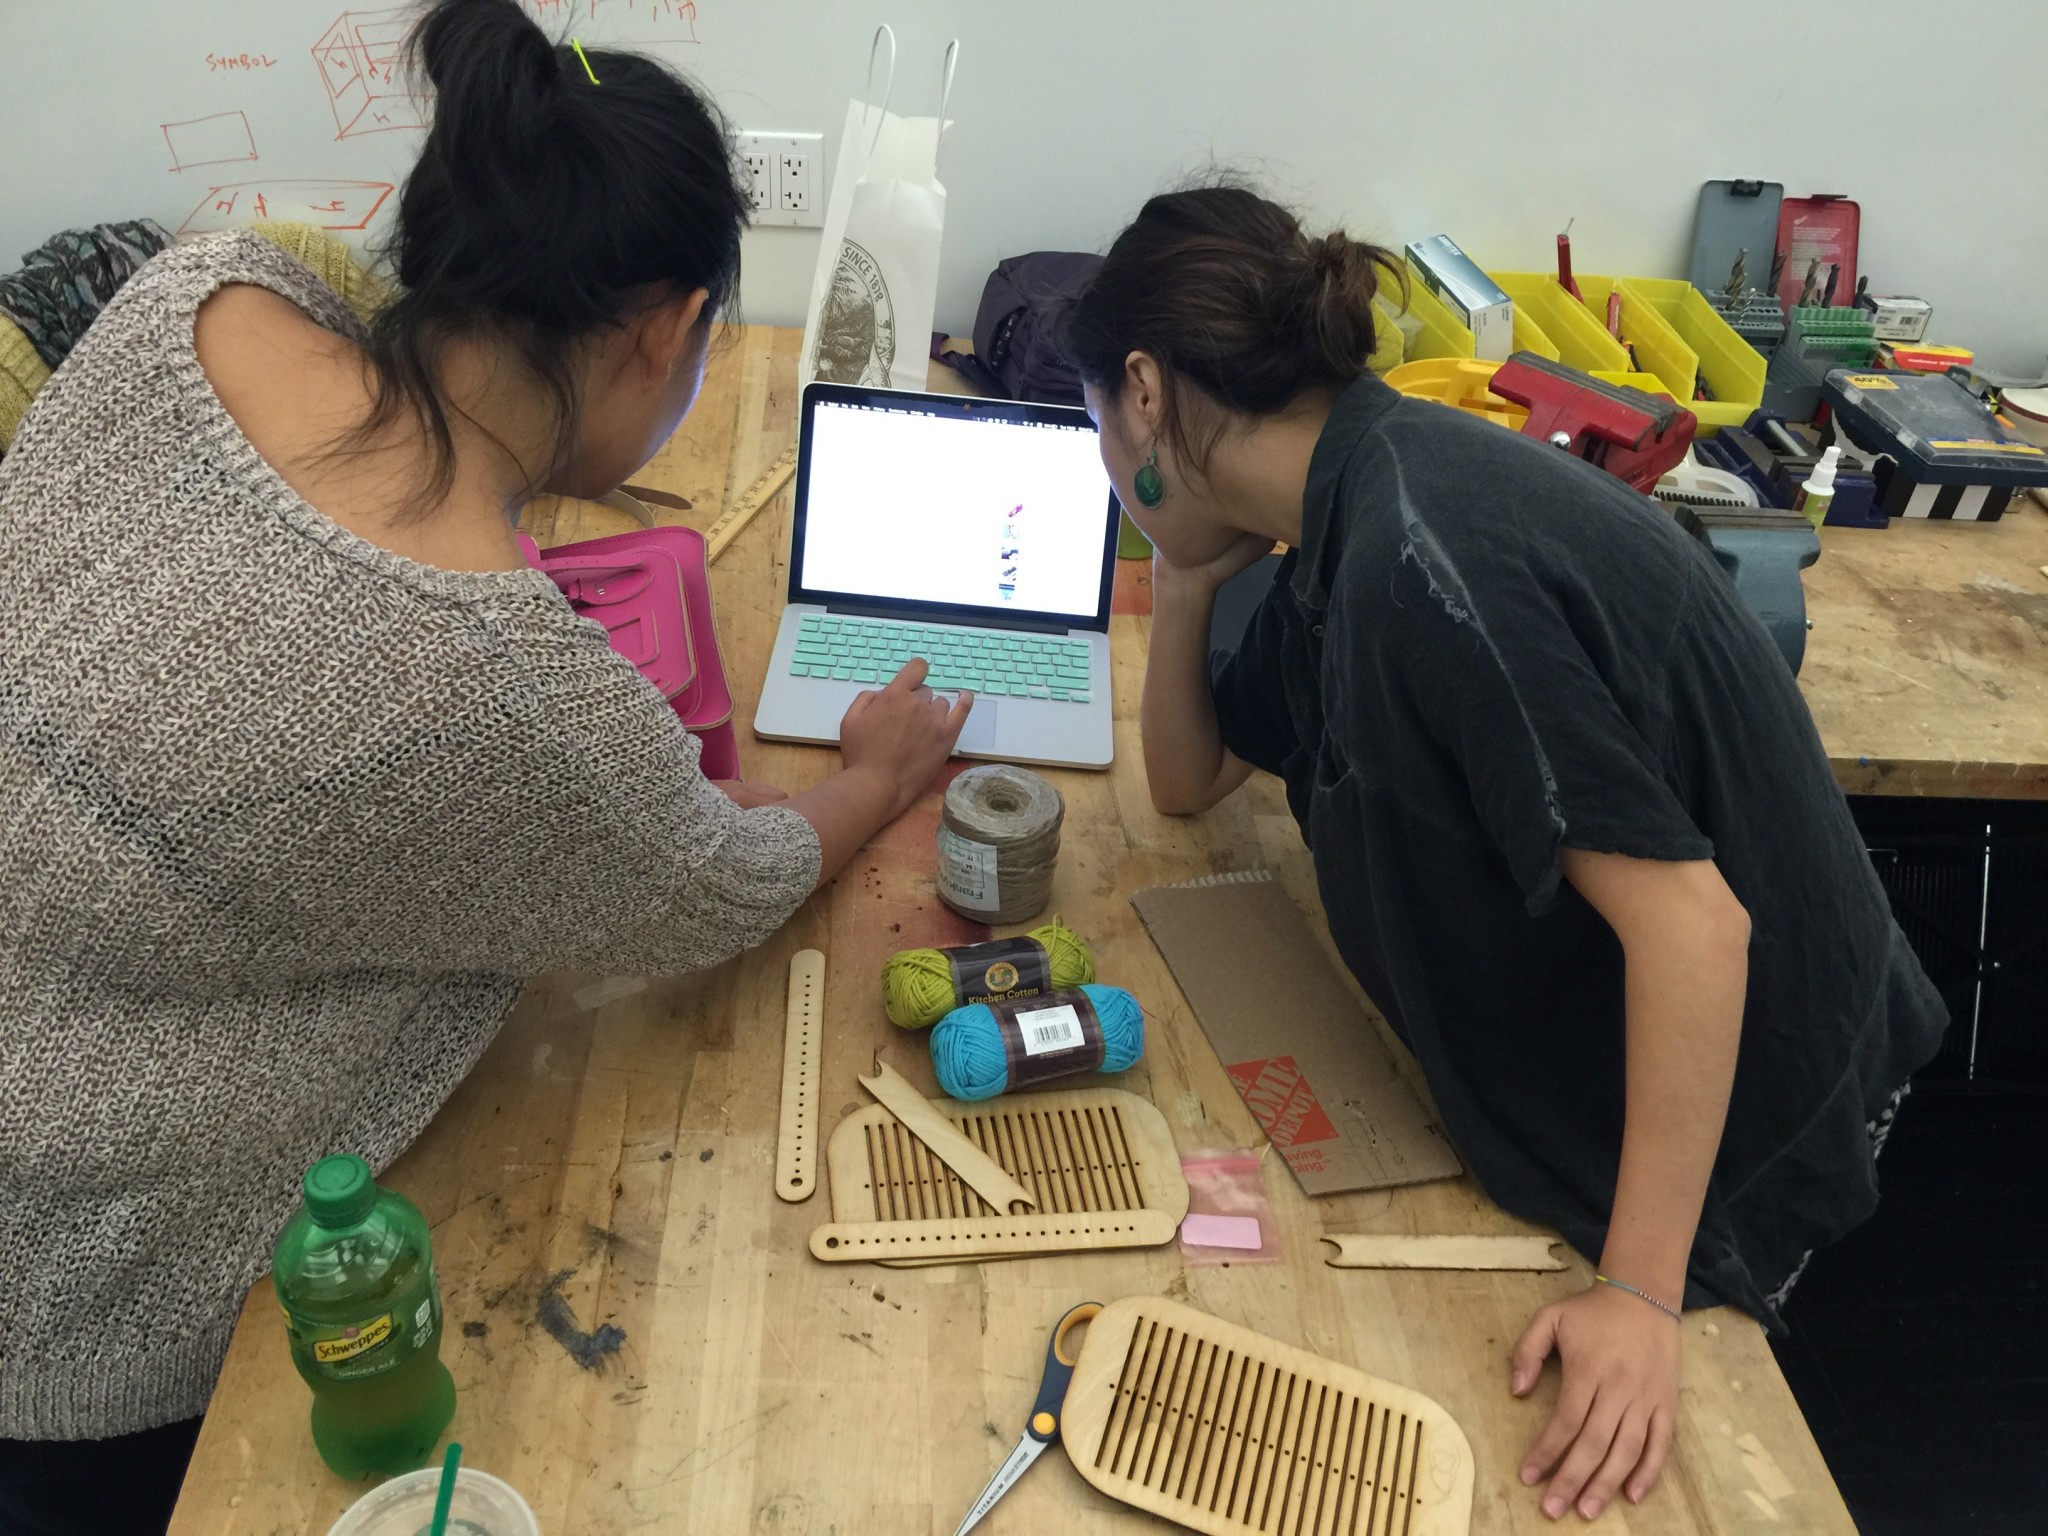
Group: Ike, Jaeyoung, Luobin, Haotian
Sign up for wood intro: http://resources.parsons.edu/equipment/intro-to-wood/
Things for protection:


Switch

Keyboard hacking


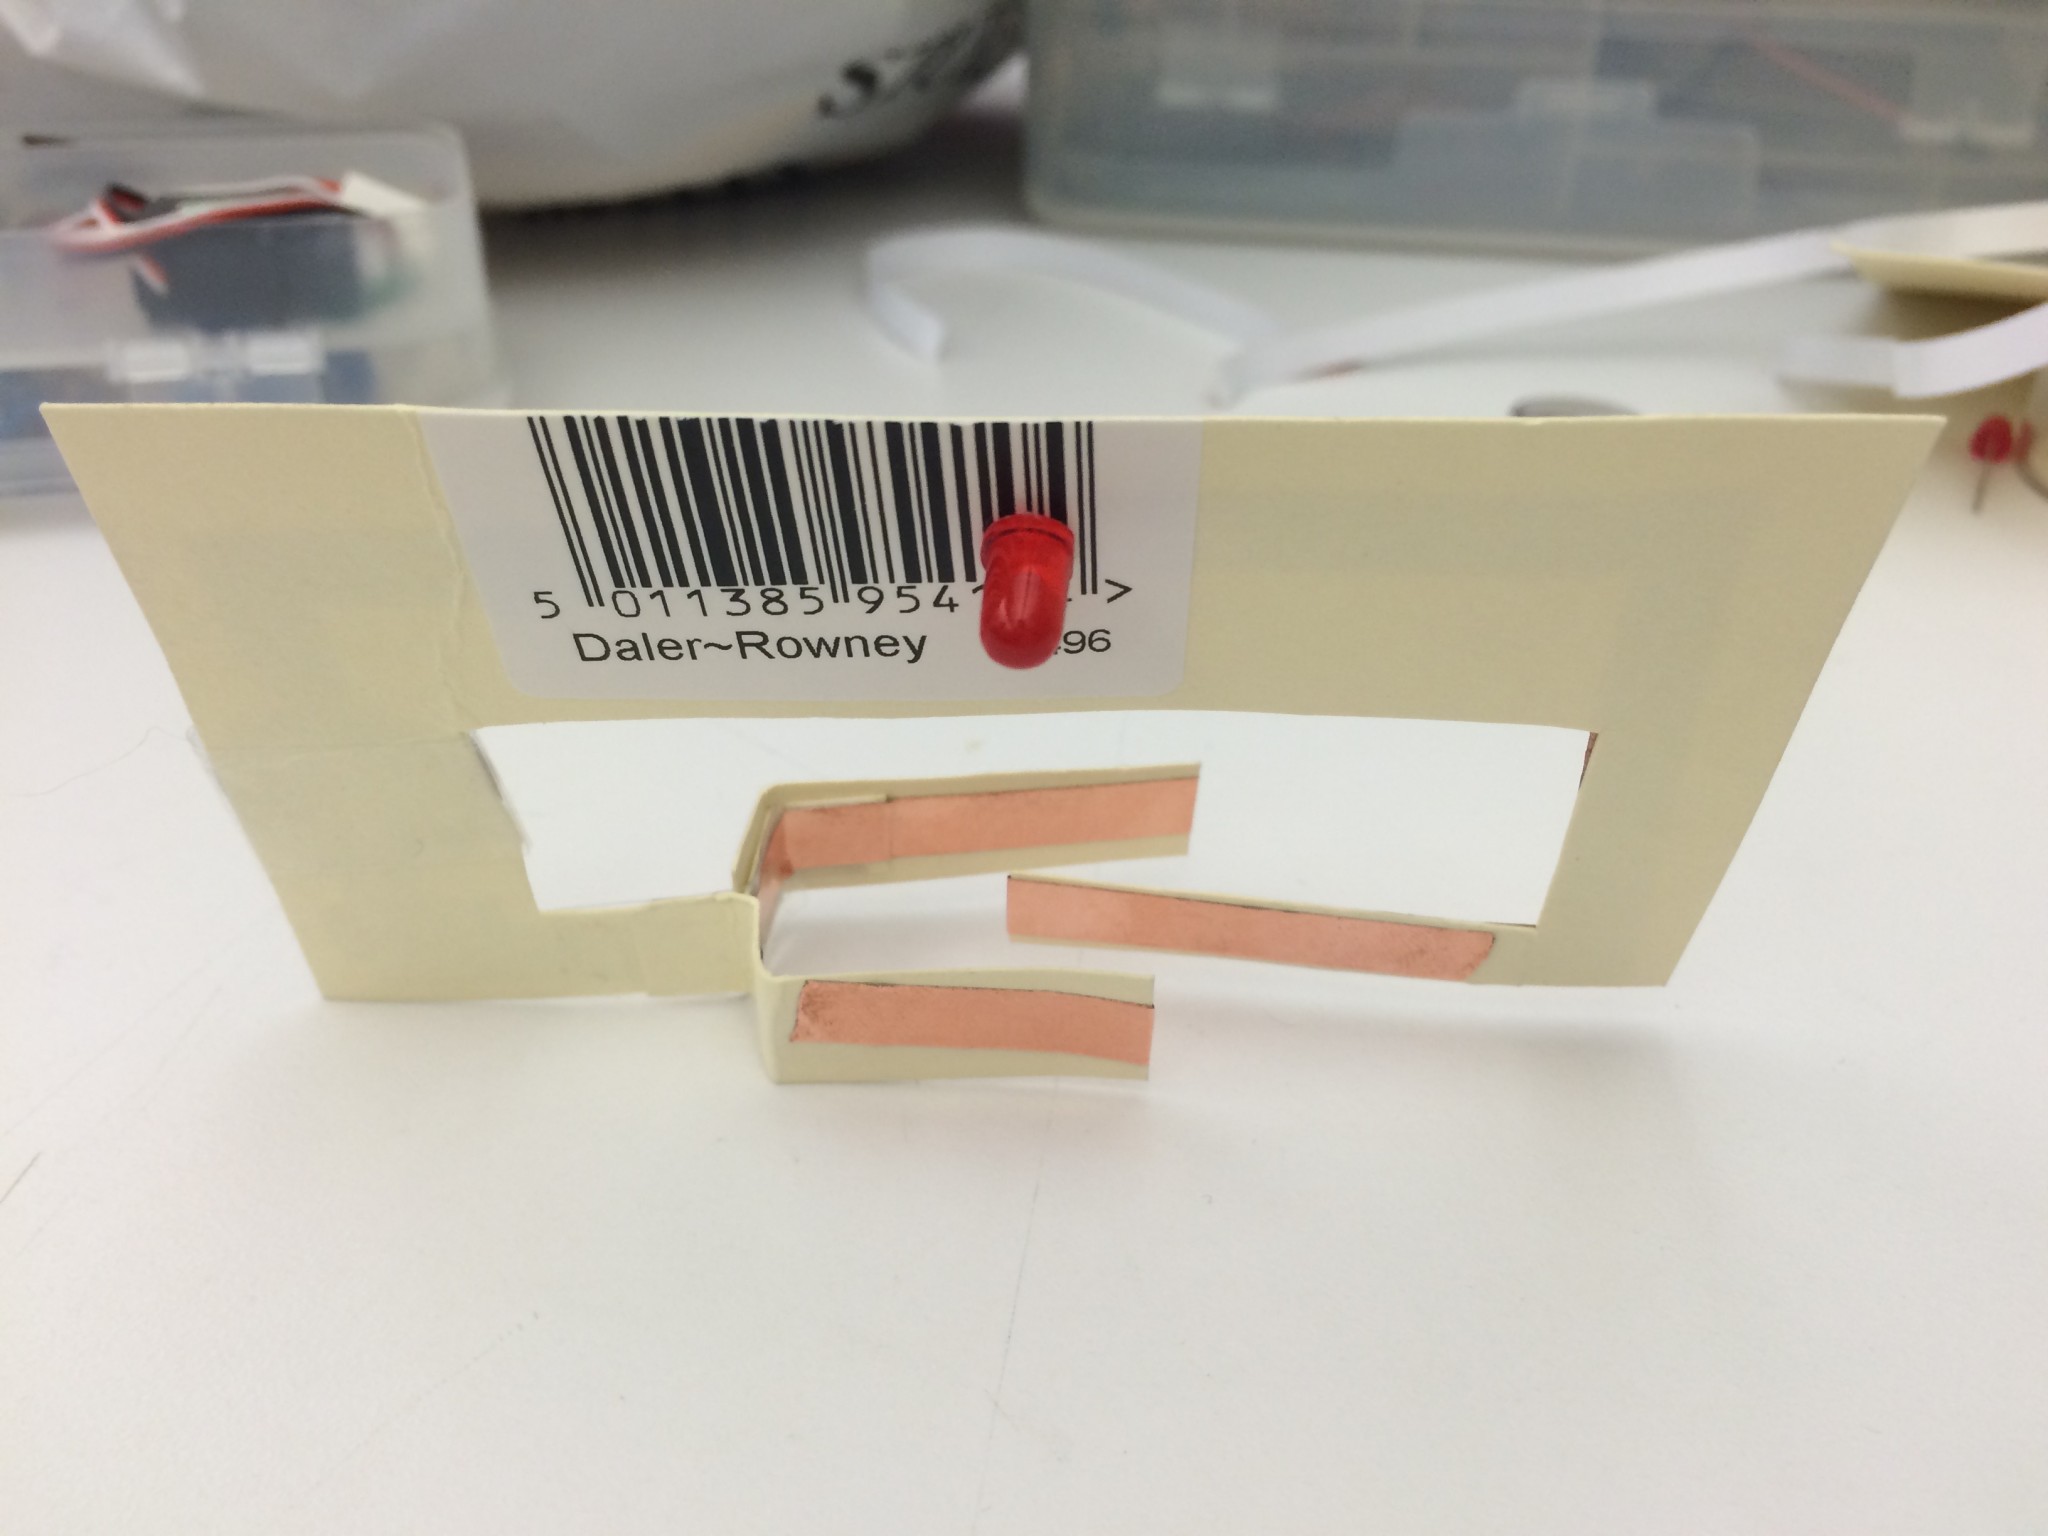
I made this little rotating paper switch. When you match the arrow to the line, you complete the circuit, turning on the red light!

Here is the switch on “off” mode
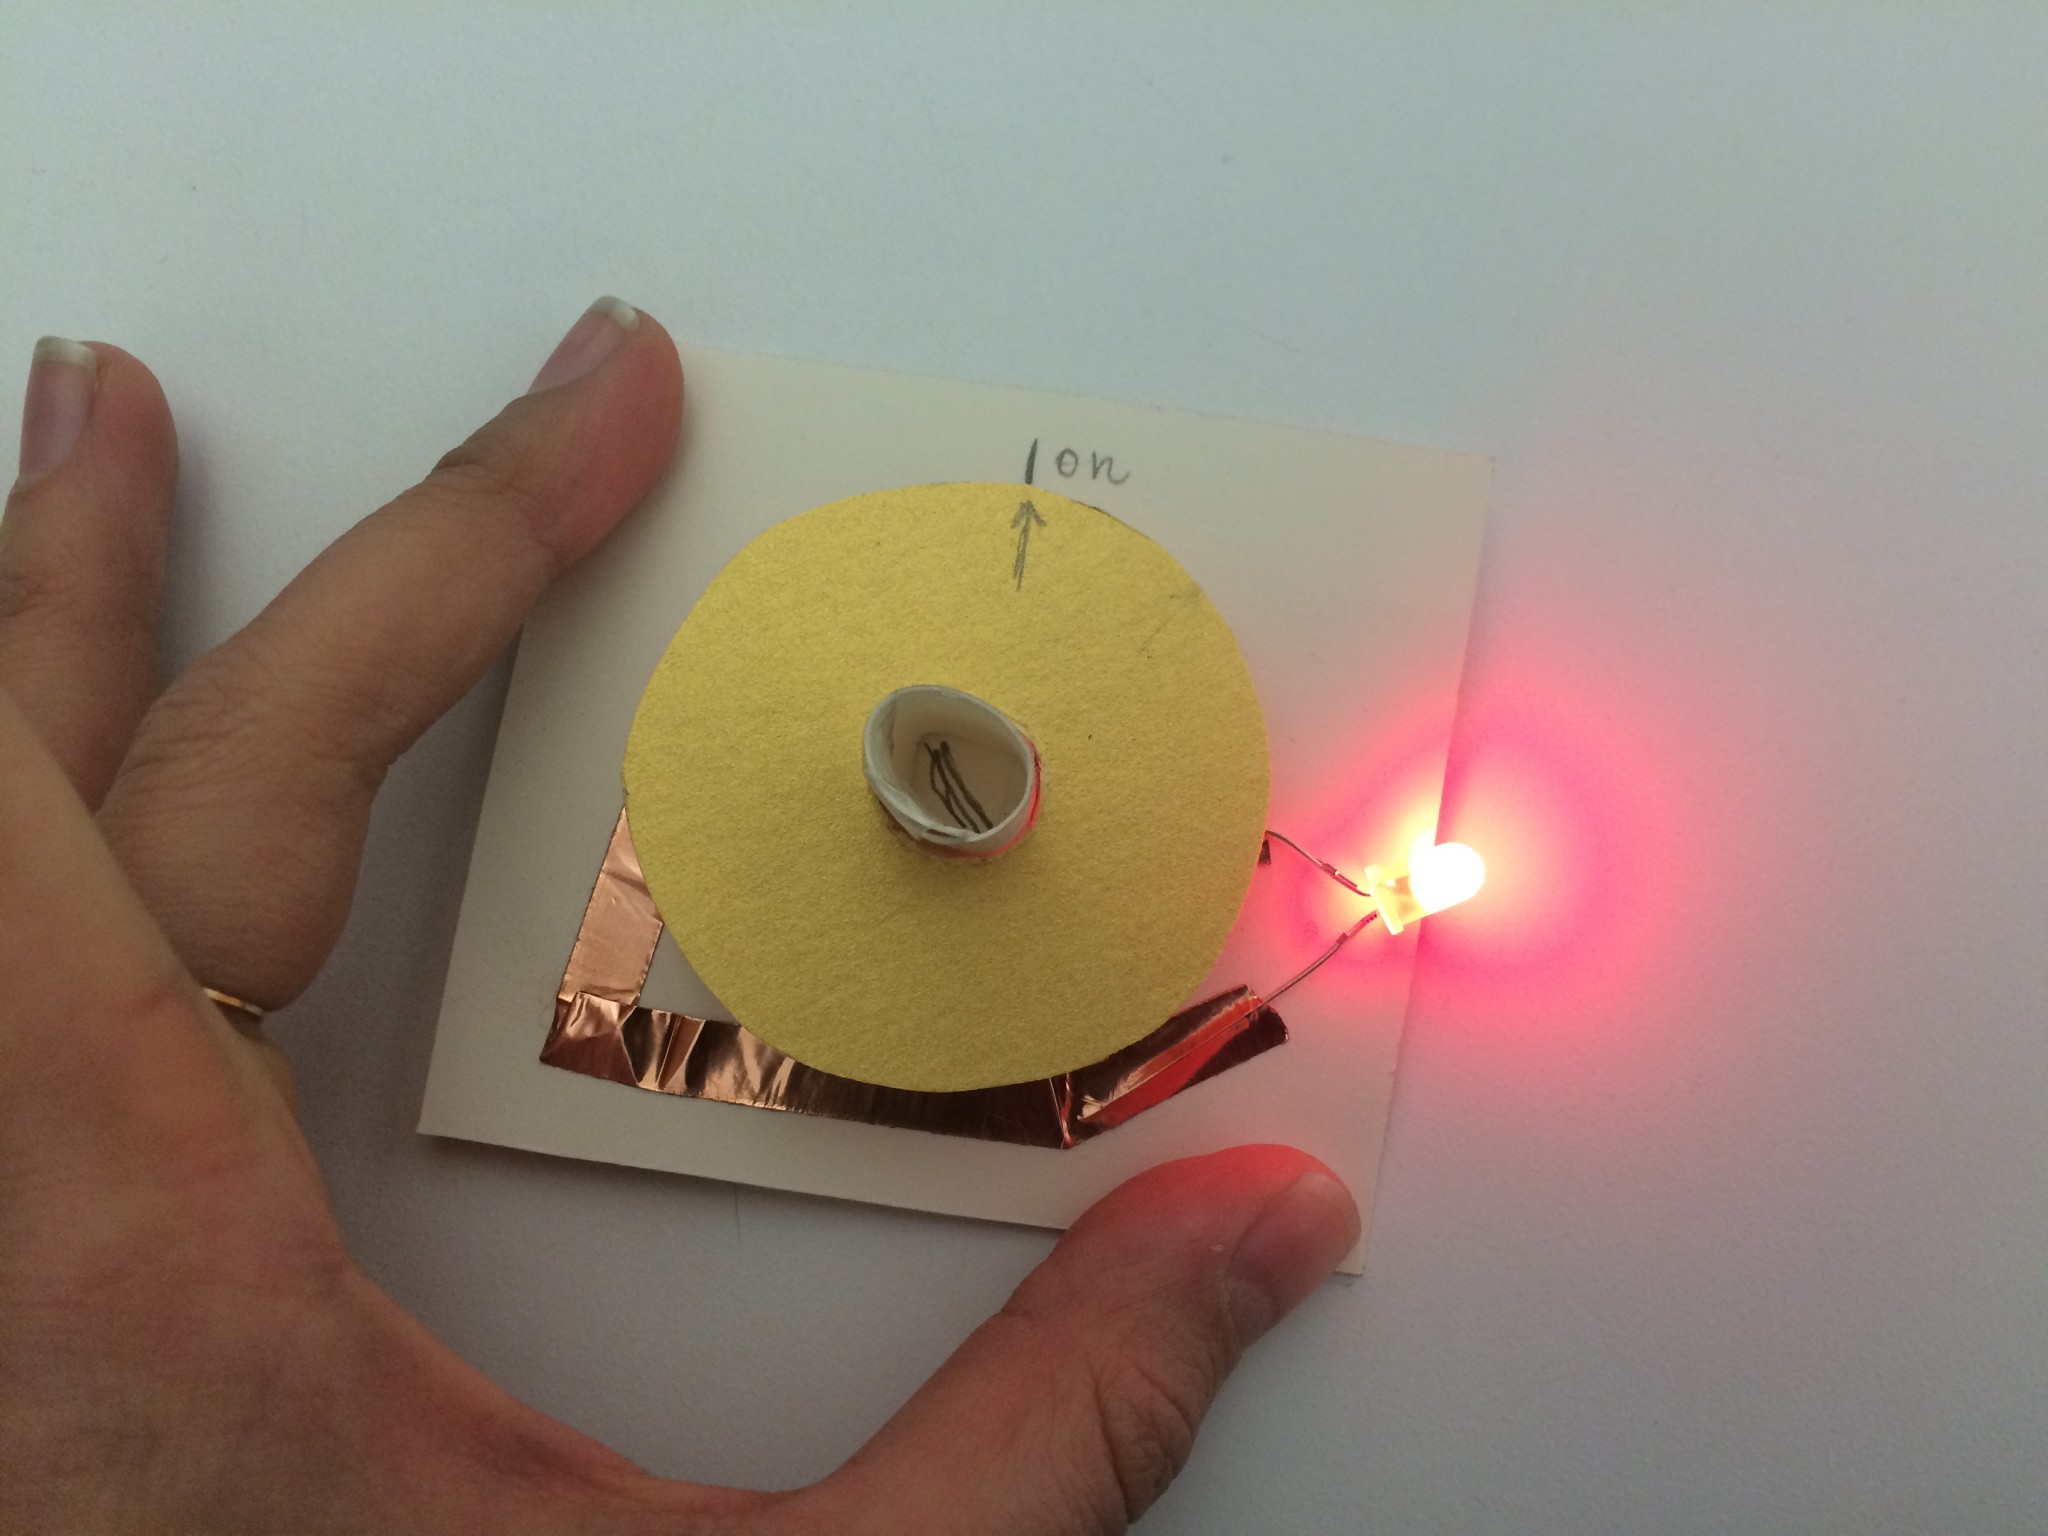
Here is the rotating switch when it is on.

Here, you can see the battery and conductive pieces. When the conductive pieces match, positive to positive and negative to negative, the light turns on.