Here’s our final presentation!
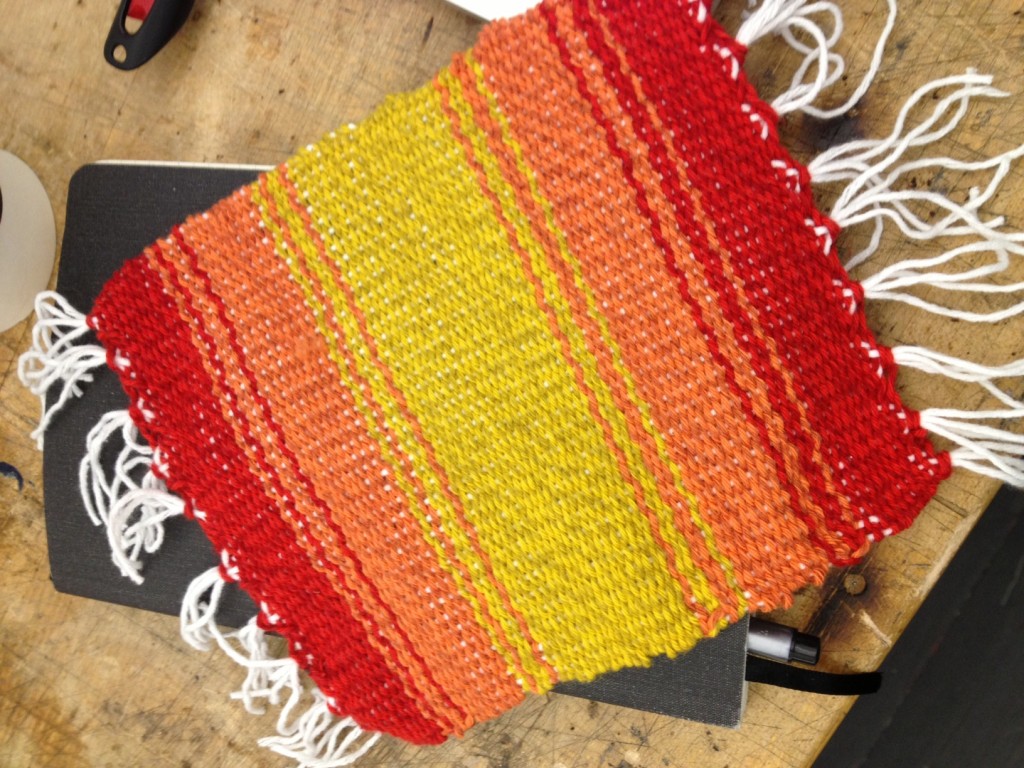
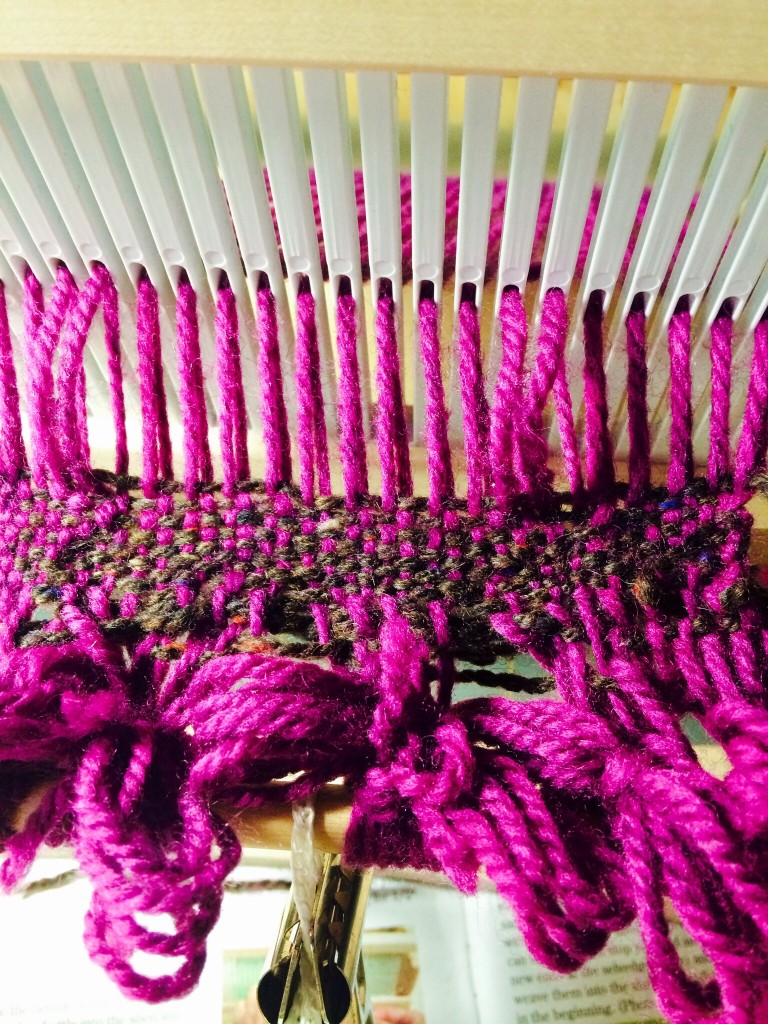
Here’s a video how to use the laser cut loom: https://www.youtube.com/watch?v=bNfyFykGJBM
-Kristin & Jessica
Here’s our final presentation!
Here’s a video how to use the laser cut loom: https://www.youtube.com/watch?v=bNfyFykGJBM
-Kristin & Jessica
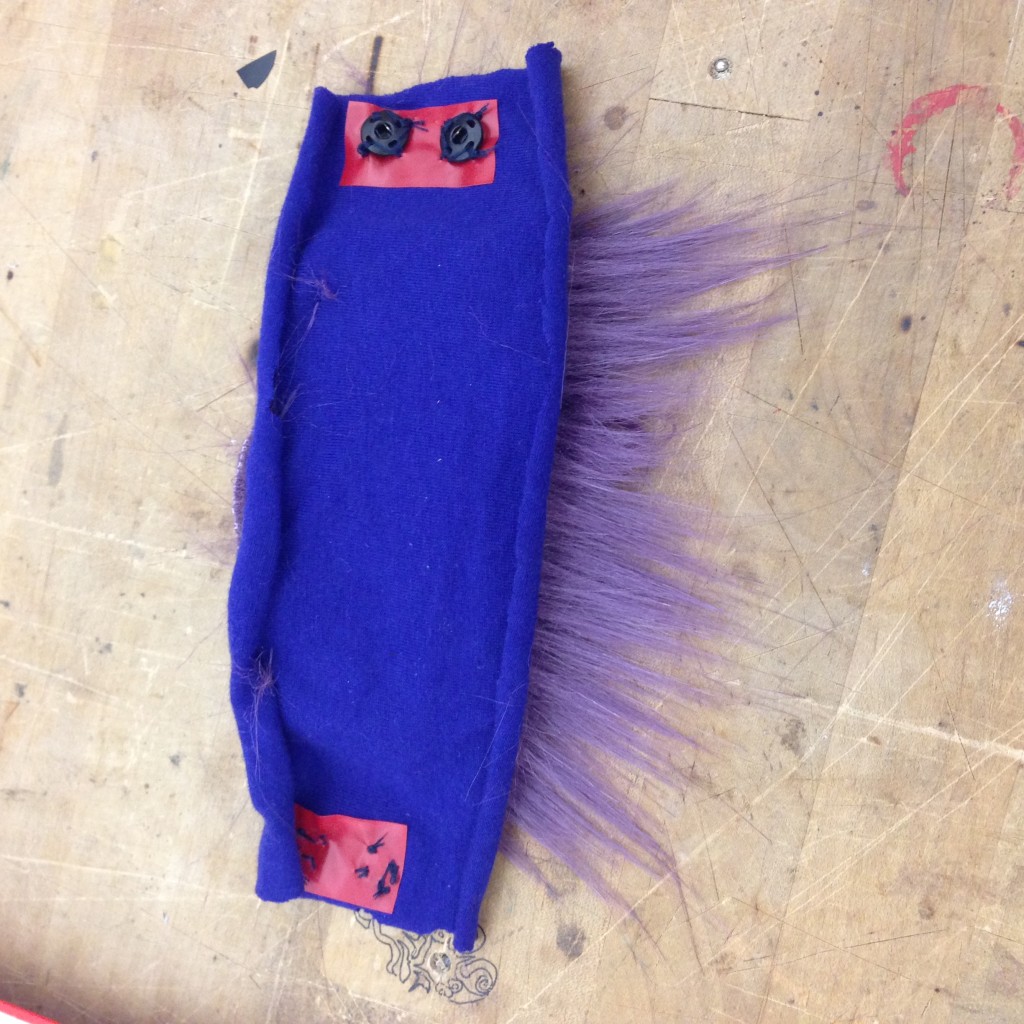
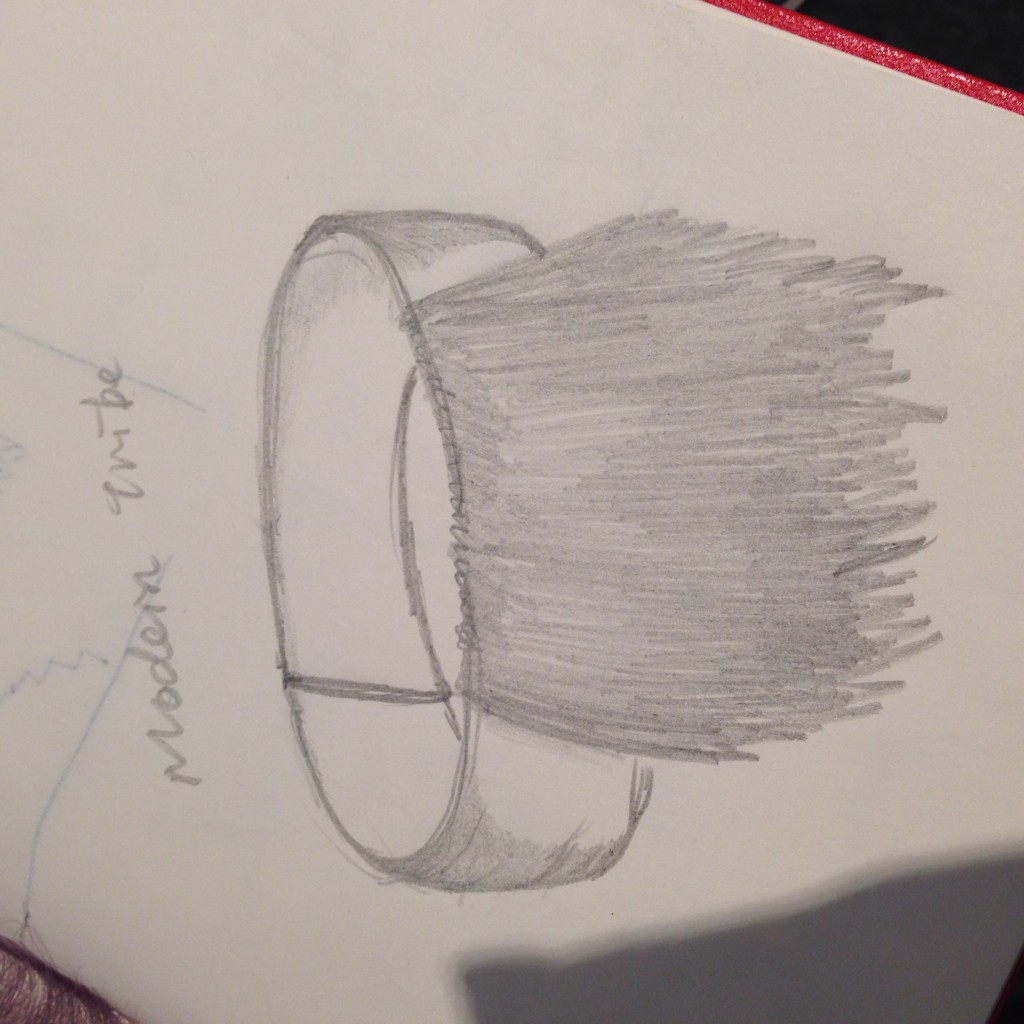
Group Member: Grace Tingshan Gou, Elena Yang Wang, Tim Xiaofeng Lin
Description:
Our group wants to start something really basic and normal, no fun no technologies at all. The result is a pillow. We bought one yard material from Mood and a 14″ x 14″ pillow as a start.
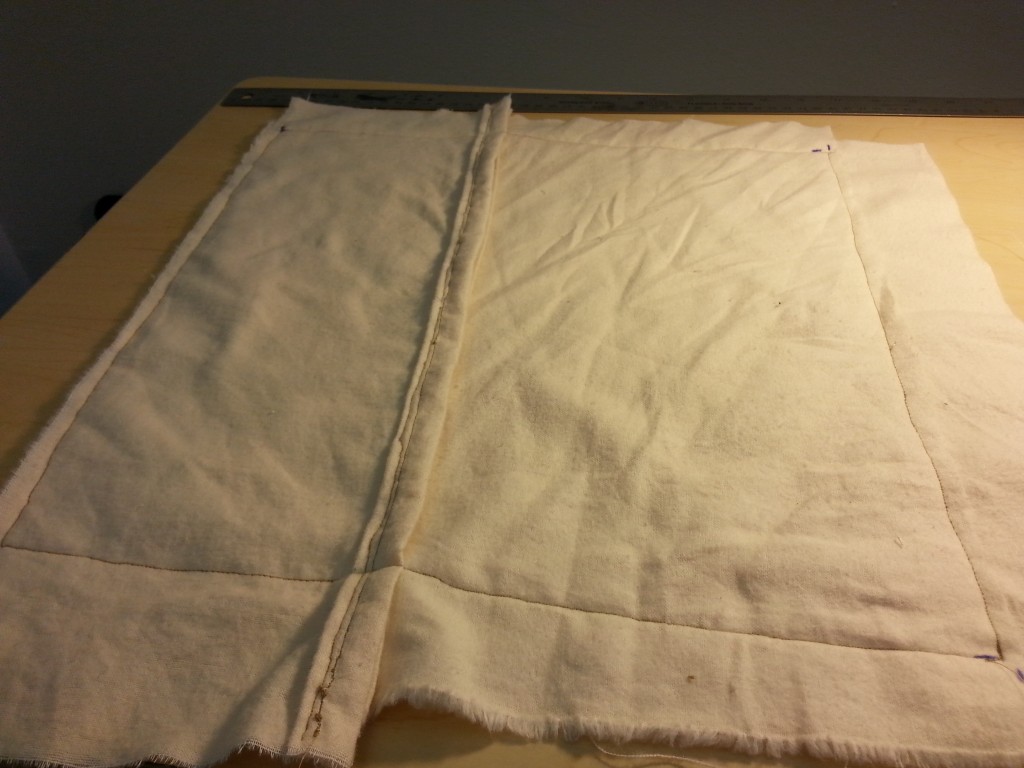
1. We cut the materials into three pieces: 15″ x 15″, 15″ x 10″, 15″ x 8″, and folded the edges half inch inside and sewed them two times.
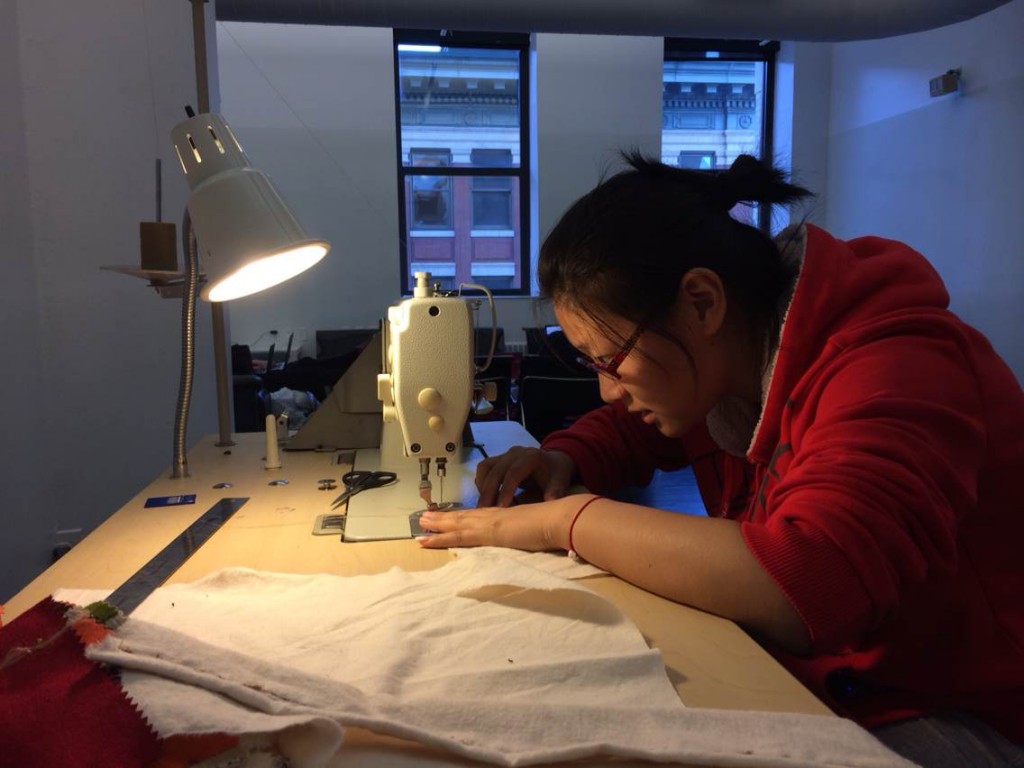
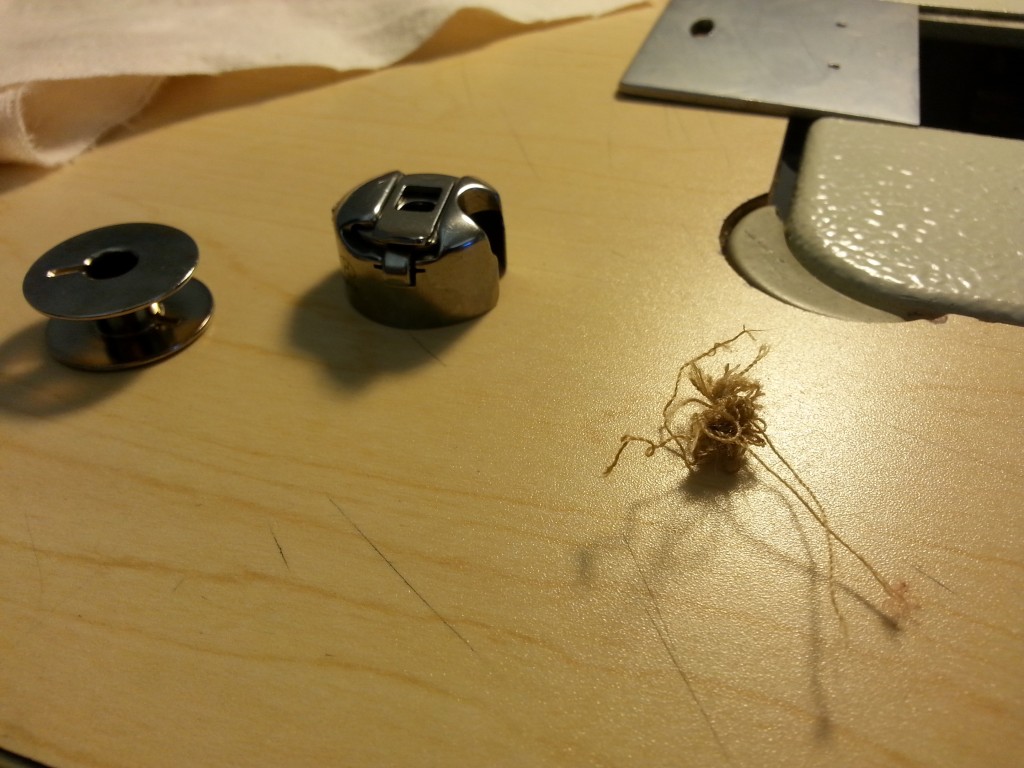
2. At first the pace of my foot and the speed moving the material didn’t fit each other, so the threads were messed up and stuck into each stitch along sewing.
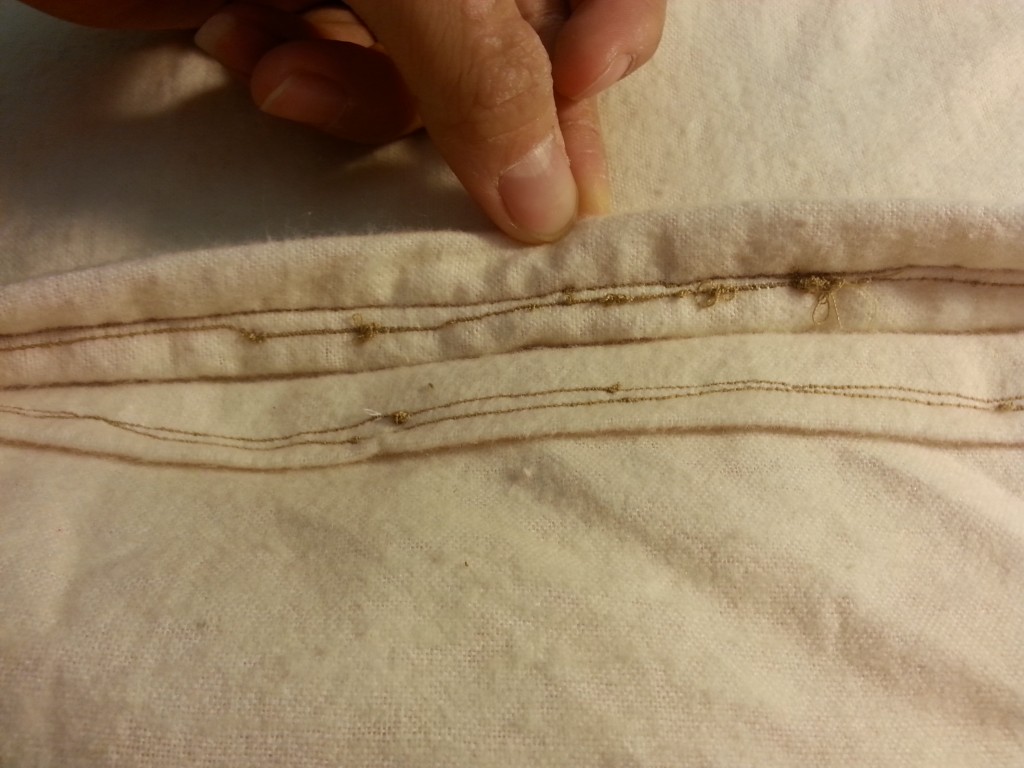
3. But then when we find the right pace everything came along. Apart from the pace, lining them straight was also very difficult. As can be seen below, it was not a perfect square.
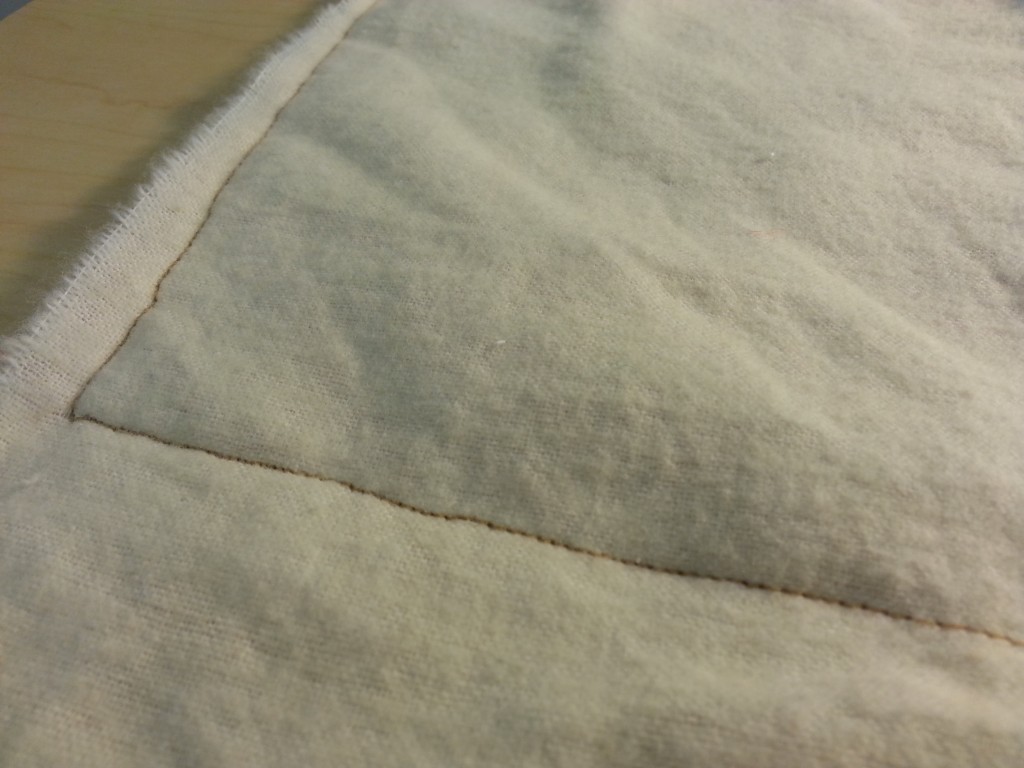
4. Done! When we folded them inside out, everything looked perfect again. We wanted to manually sew some decorations onto this little pillow and give it to someone as a gift:)
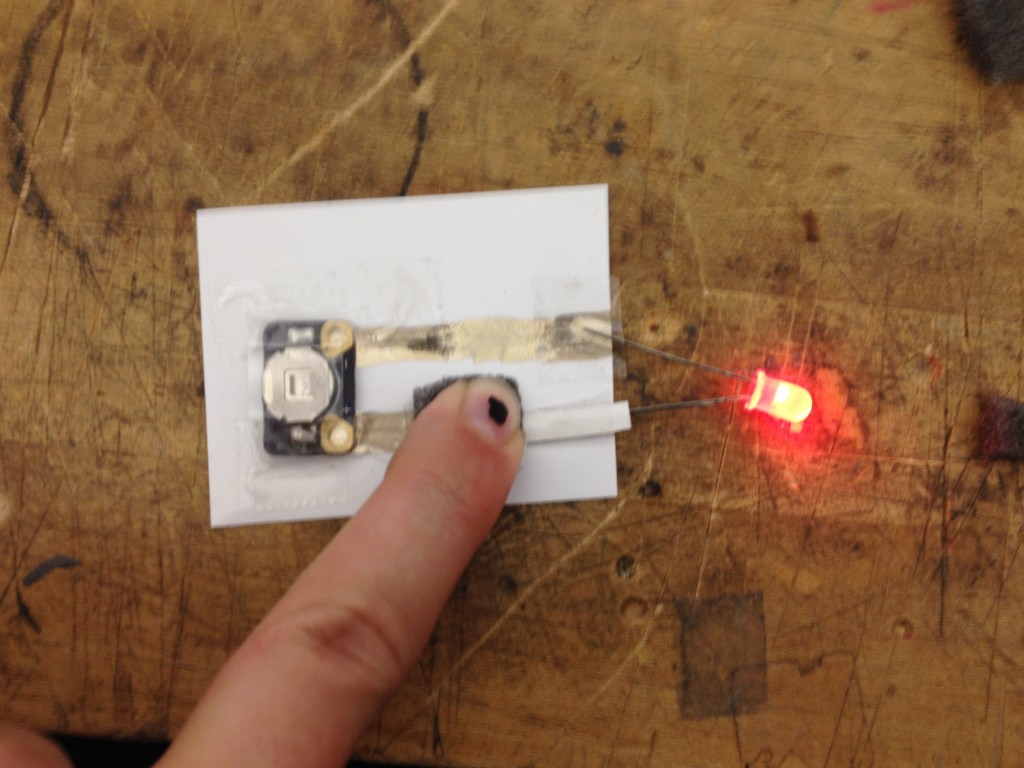
I decided to go about testing distance with various materials. The first material I used was velostat. I taped a strip to a ruler with electrical tape and connected on end to a battery and led, with the other end connected through a paperclip. the distance was also measurable on the other side. As I had anticipated, this material produced the largest change in resistance by distance.
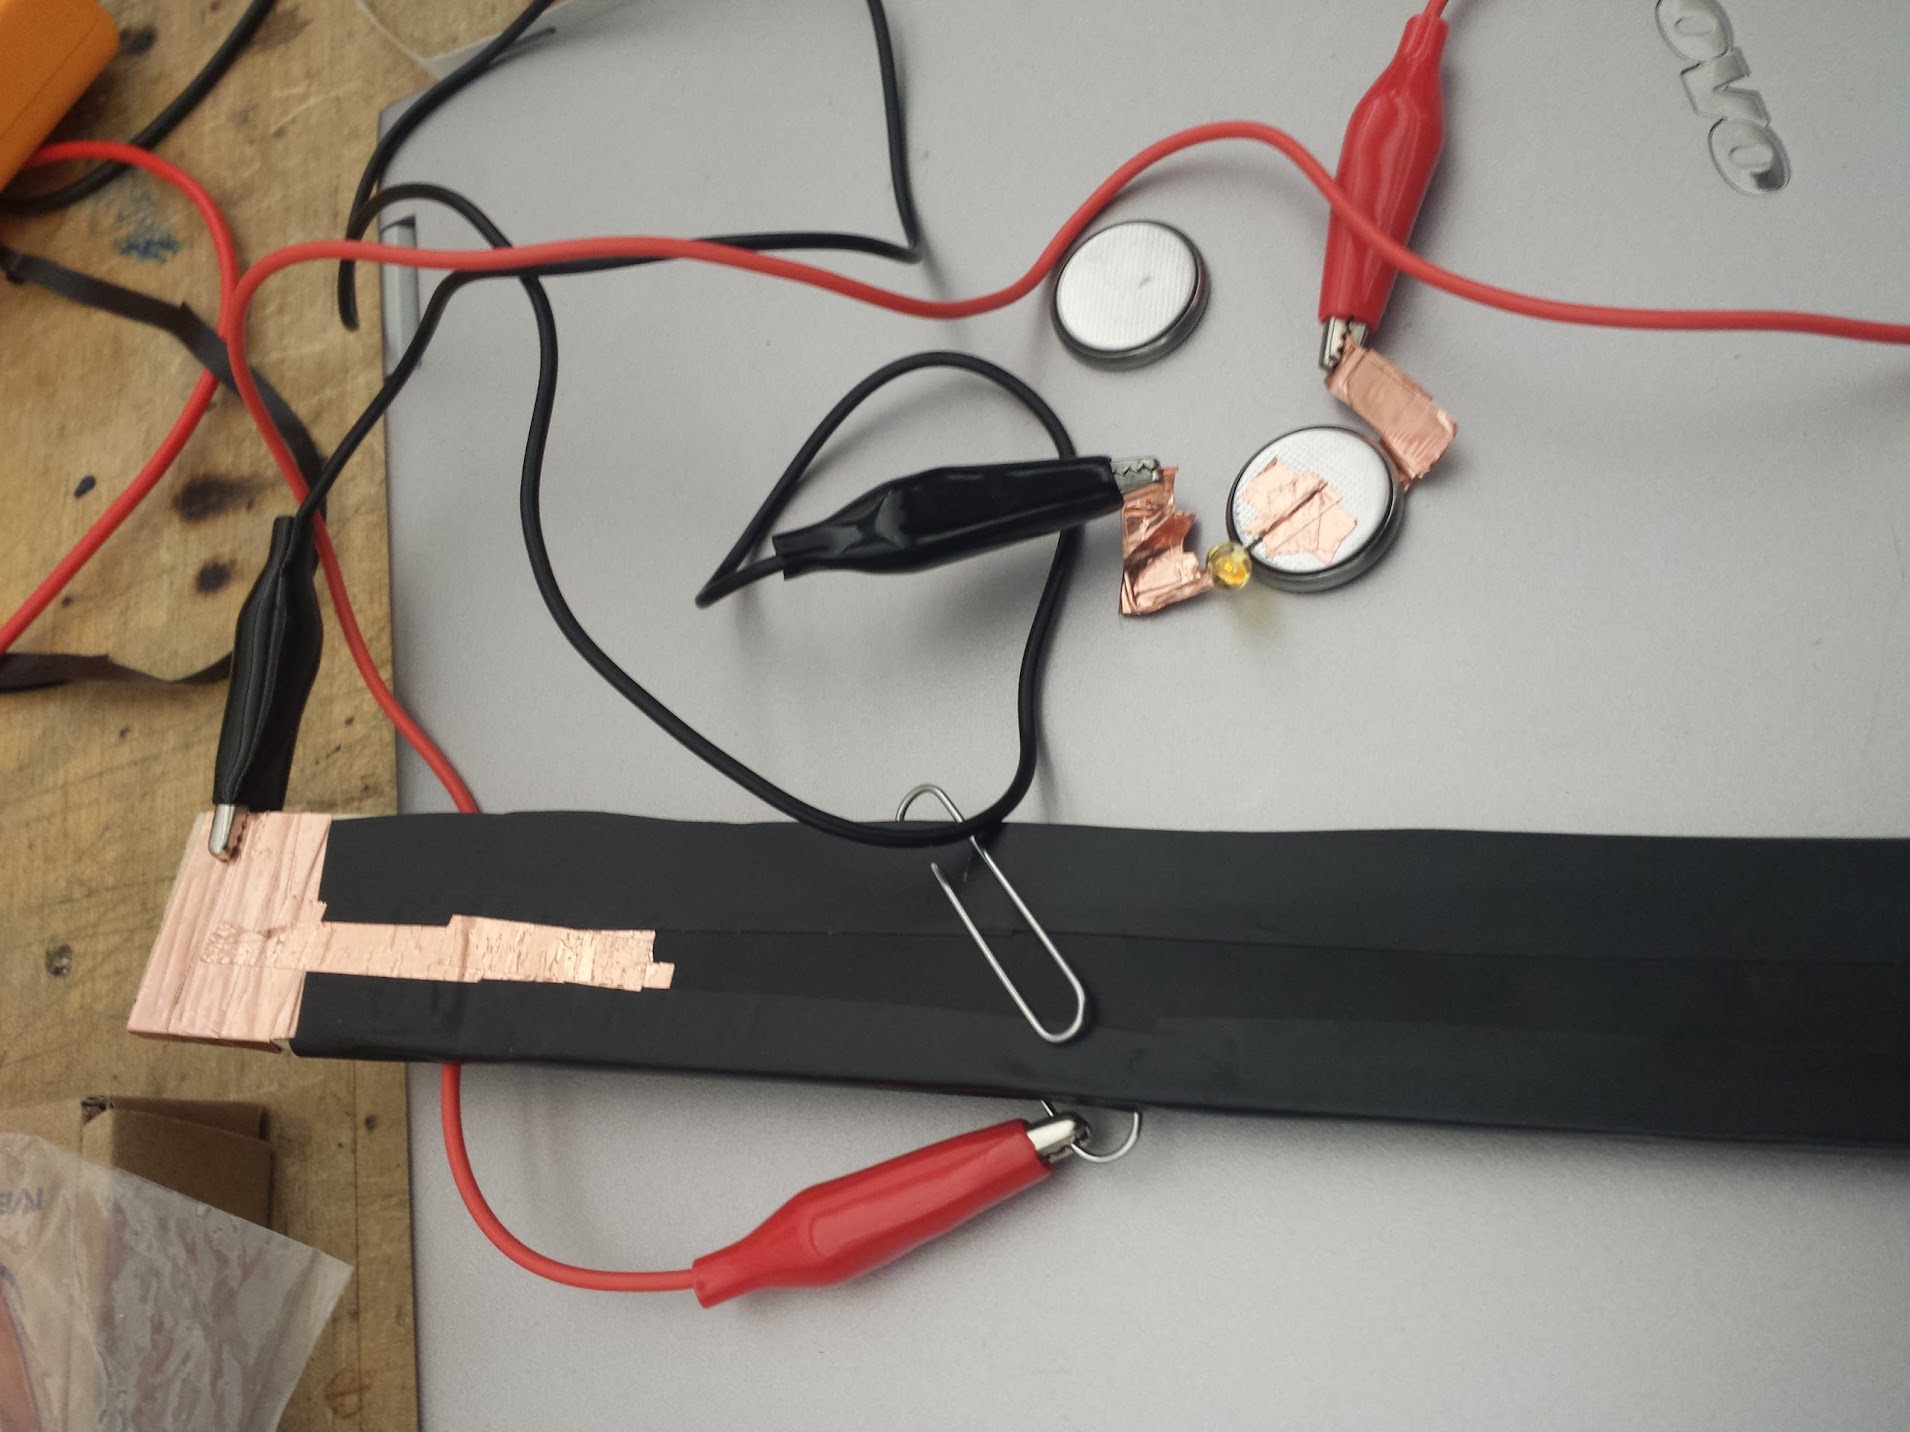
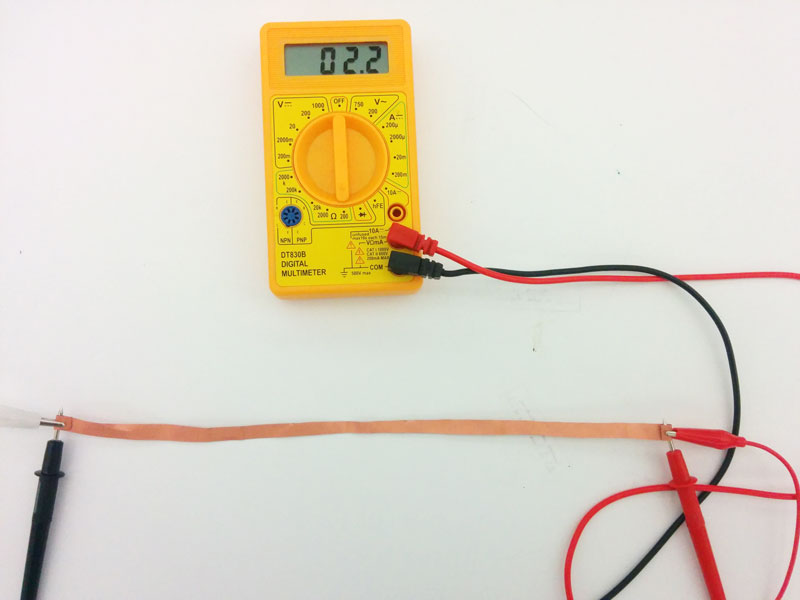
Next, I tried copper tape. Testing the 3 different lengths proved negligible to the LED.

The third was the copper colored conductive material. The change in brightness also seemed negligible. Although the increased distance seemed to actually be a bit brighter, I’m assuming any differences were circumstantial.


Team member: Joselyn McDonald, Xinhe Feng, Kieun Kim

(Needles for sewing machine)
Password: thankyouaneta
1stprototype
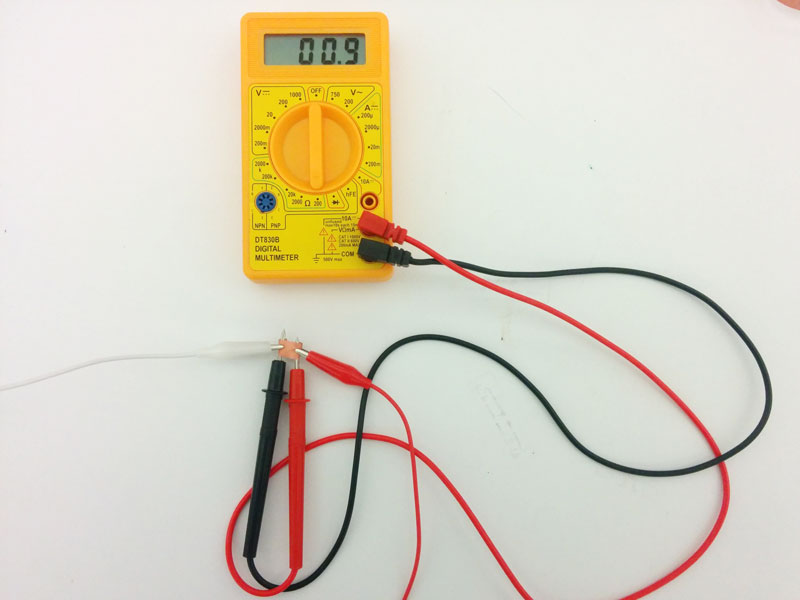
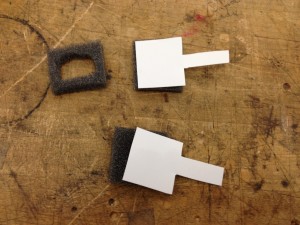
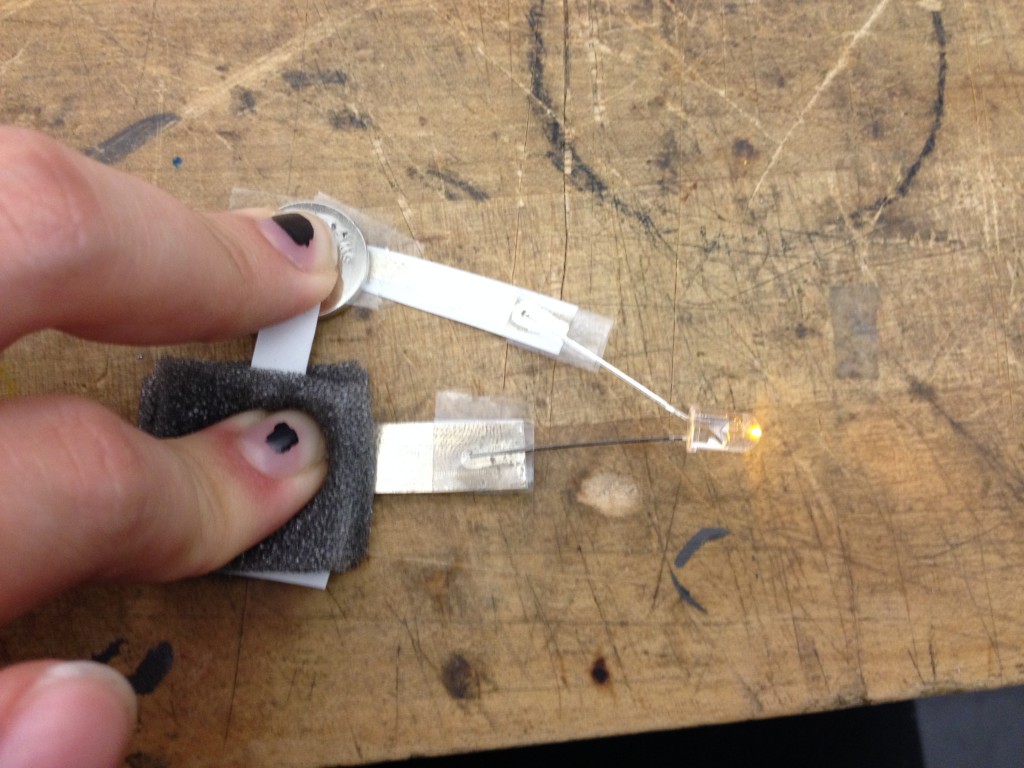
We decided to give a try to use AGIC Silver Ink Master as a conductor to make a pressure sensor. So we paint the square papers with using silver ink for the conductivity. We use sponge as nonconductive material to give the sense of pressure. What we realize is that once we start to press the sponge, led lights up. The only thing changes the led’s brightness is that how we squeeze the battery.
Ps: AGIC Silver Ink works perfectly!!!
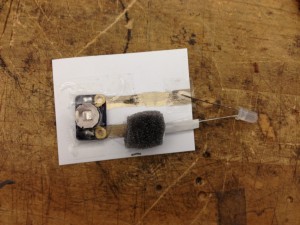
2nd prototype
After realizing the brightness is changing depending on how we squeeze the battery.
We decided the use this pcb battery holder(which I found on Maker Faire) and i stick the battery really tight. In that, this time we don’t have to squeeze the battery to have a more bright LED.
ORIGAMI project
GROUP name : hell yeah paper
members : GI SUNG LEE, ALEC MCCLURE, XIAOQI LIU
introduction of paper:
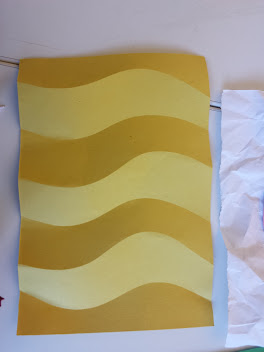
uncoated papers : carried by art stores and paper distributors. There are colored papers and embossed finishes. Their fibers align in one direction, making folding easy.
Coated Papers : highly smooth surfaces on one or both sides and are available in gloss or dull finishes of various brightness. The colored papers are good for torn sculptural effects or collage. because they reveal an attractive white edge when torn.
Handmade papers : are generally produced from cotton or linen rags and used by watercolor and etching artists. They are available from art supply stores and handmade paper companies. Their sculptural qualities are superb, because the fibers occur in a random pattern.
Specialty papers : include crepe, tracing and corrugated papers – in fact, all of the papers that fall outside of the other three groups.
history of the paper
paper derived from papyrus, the name of ancient egyptian material used to as a medium for writing
egyptian map is the earliest known folding of paper (same as modern road map)
wood-pulp based papers in china allowed intricate designs, first invented by Cai Lun in the 2nd century bce
first Japanese origami dated to 6th century ad
requirements
super thick card stock paper (50-110 lb)???????(medium thick)
printer
scissors
ruler
cutting pad
x-acto knife
glue gun or liquid glue
folding bone
cut line vs mountain fold vs valley fold

different examples of different kinds
-3d torso
http://www.mymodernmet.com/profiles/blogs/paper-torso-with-removable-organs
-anatomical cross-sections
-geometric forms from matthew shlian
http://www.thisiscolossal.com/2012/08/new-geometric-paper-art-from-matthew-shlian/
Mafoombey Acoustic Space by Martti Kalliala and Esa Ruskeepaa
http://mydesignfix.com/2009/12/14/mafoombey-acoustic-space-martti-kalliala-esa-ruskeep/
what we made


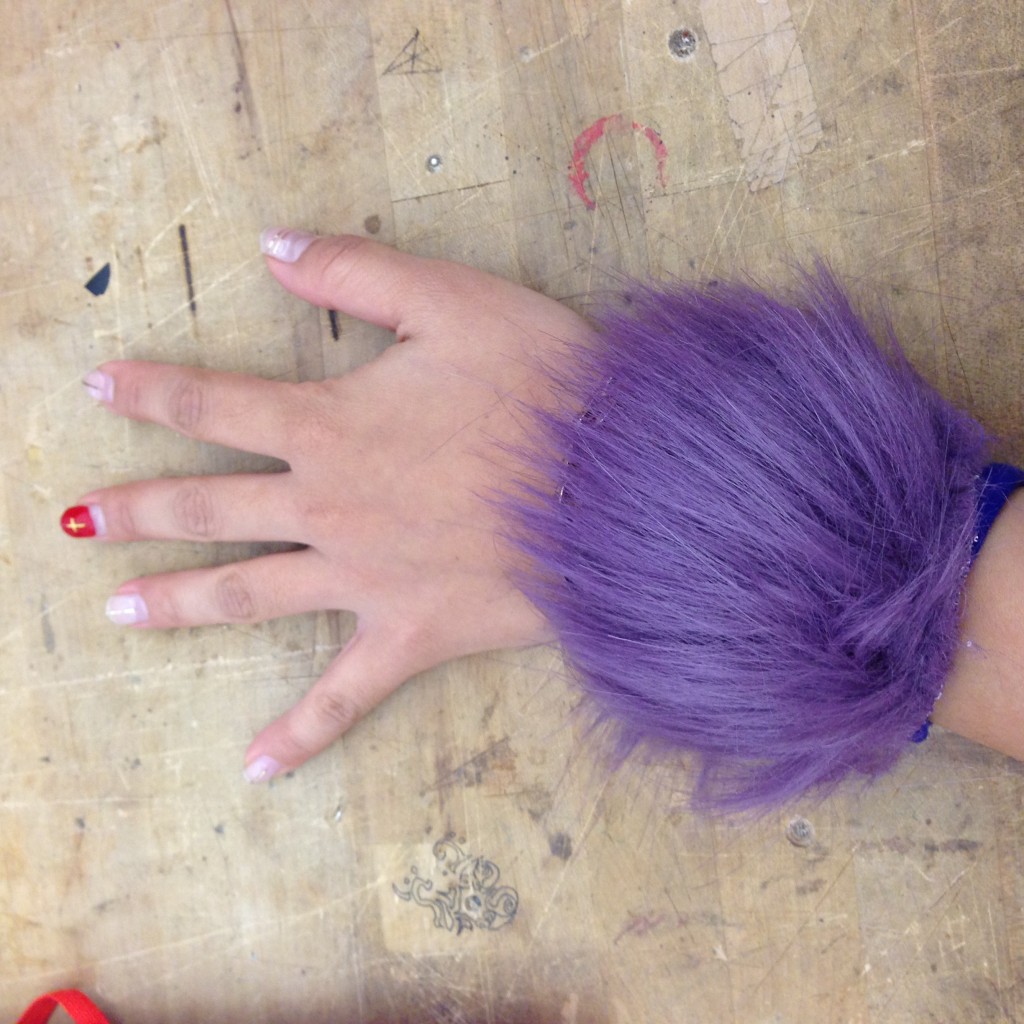
Test 1: Sponge, LED, two pieces of conductive fabric
In this test, the LED just lights on and off according to the palm pressor.
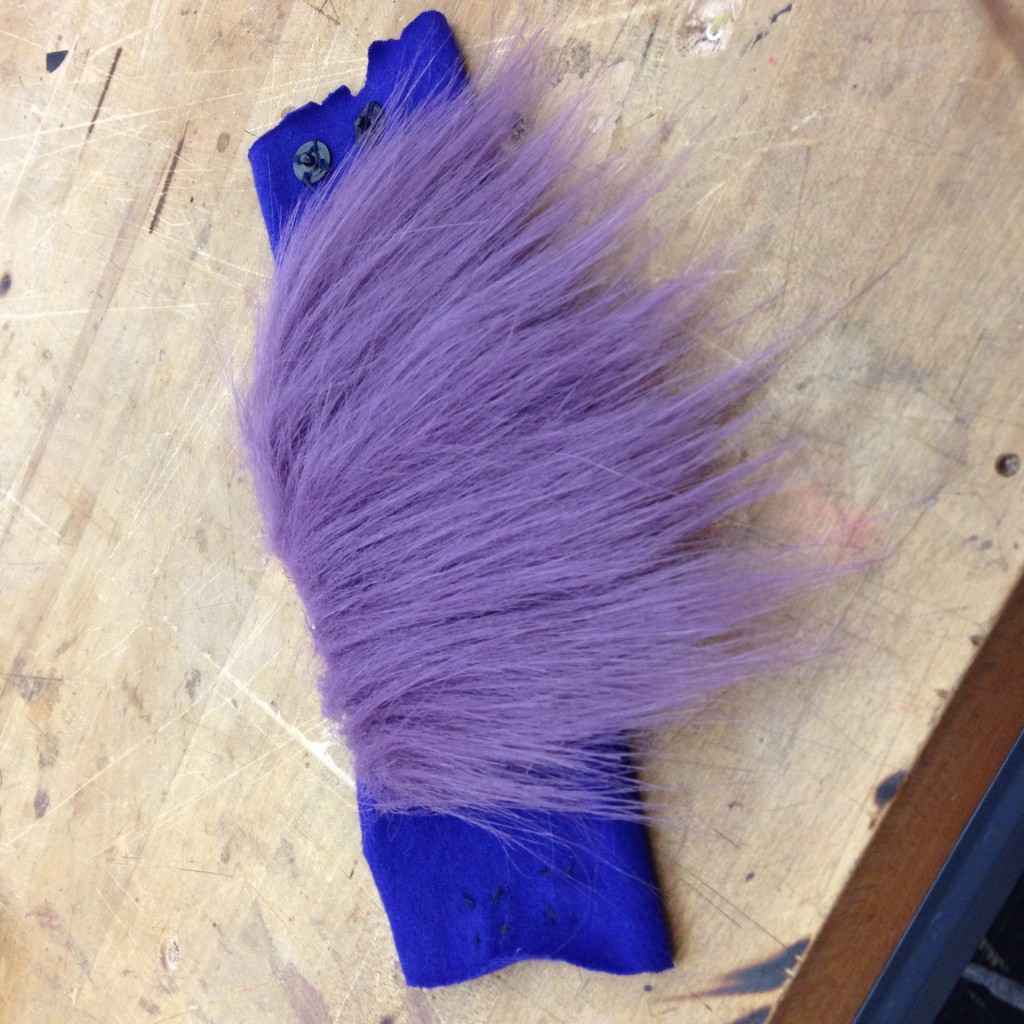
Test 2: Sponge, LED, two pieces of conductive fabric, a piece of velostat
As you can see, in this one, the LED has adjusting brightness by the palm pressor because of a piece of velostat. The velostat should be placed between the two small conductive fabrics.
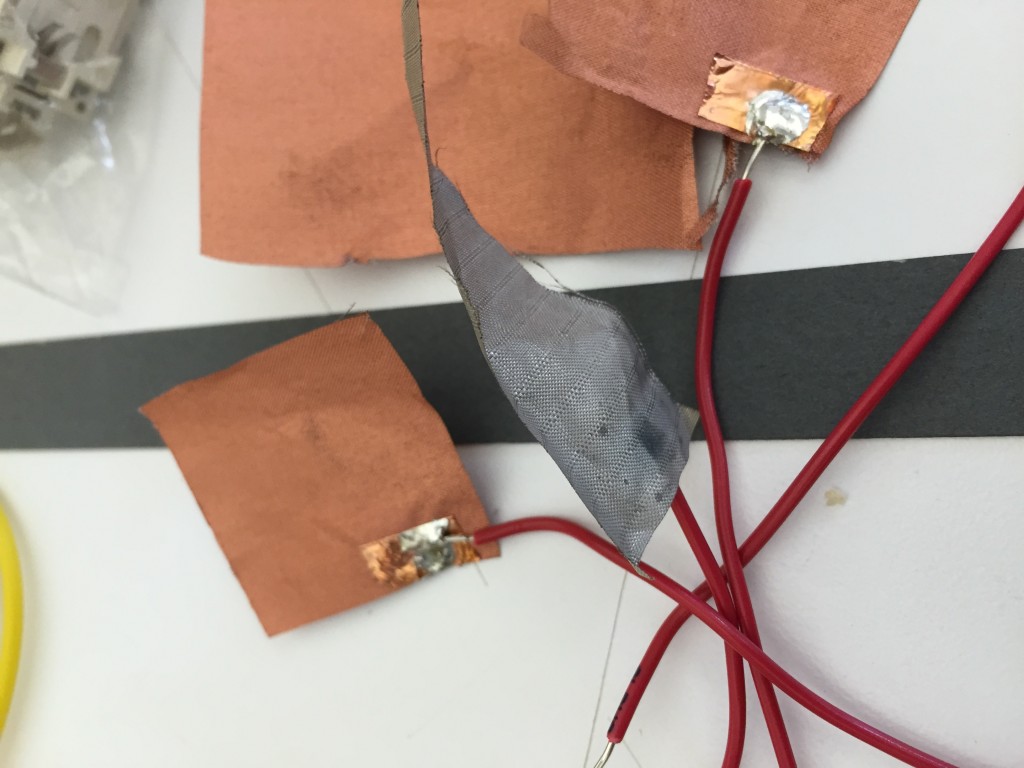
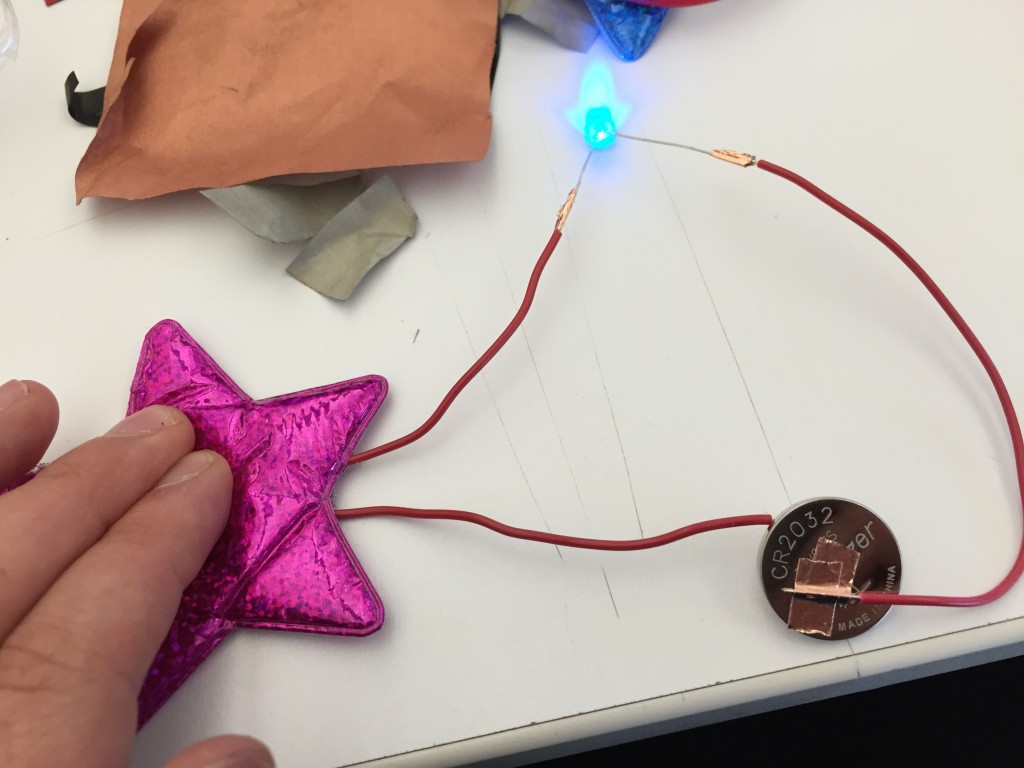
I made pressure sensors using sponge-filled craft stars, velostat, copper tape, wires, leds, coin batteries, solder, and three different types of conductive material (copper taffeta [.05 ohms/sq], metallized nylon [< .02 ohms/sq], and copper tape over paper [.05 ohms/sq]). Before making the stars, I tried those three materials and liquid graphite, pure graphite pencil, bare conductive paint, and the electroinks conductive pen. I couldn’t get it to work with the pencil, paint, or graphite. They were too resistive for the velostat. The conductive pen worked, but it would have needed a much thicker layer to be reliable. Based on the resistance levels, I assumed the taffeta and copper tape would yield the same results, and the nylon would shine brighter. I found the nylon to be the worst, which makes no sense to non-math comprehending brain.