Prototyping:
Outcome // video link: https://vimeo.com/114611342
Instructable: http://www.instructables.com/id/For-the-West-Bank-to-Gaza-Vol-1-Restriction-of-Mov/
Prototyping:
Outcome // video link: https://vimeo.com/114611342
Instructable: http://www.instructables.com/id/For-the-West-Bank-to-Gaza-Vol-1-Restriction-of-Mov/
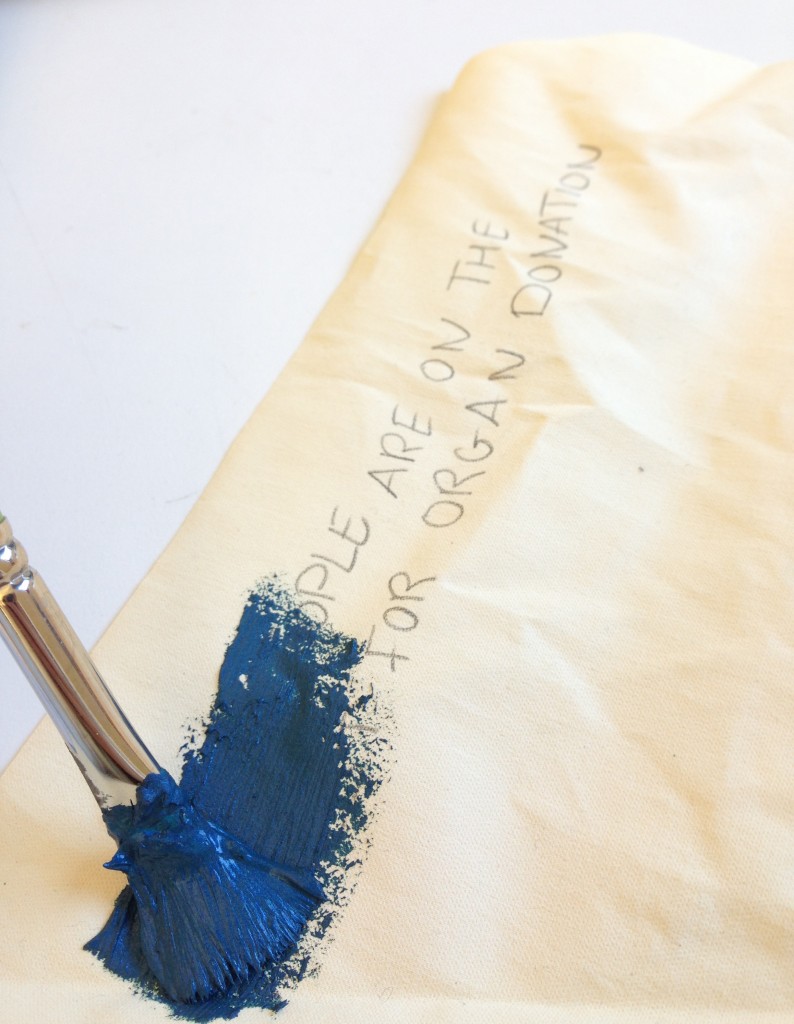
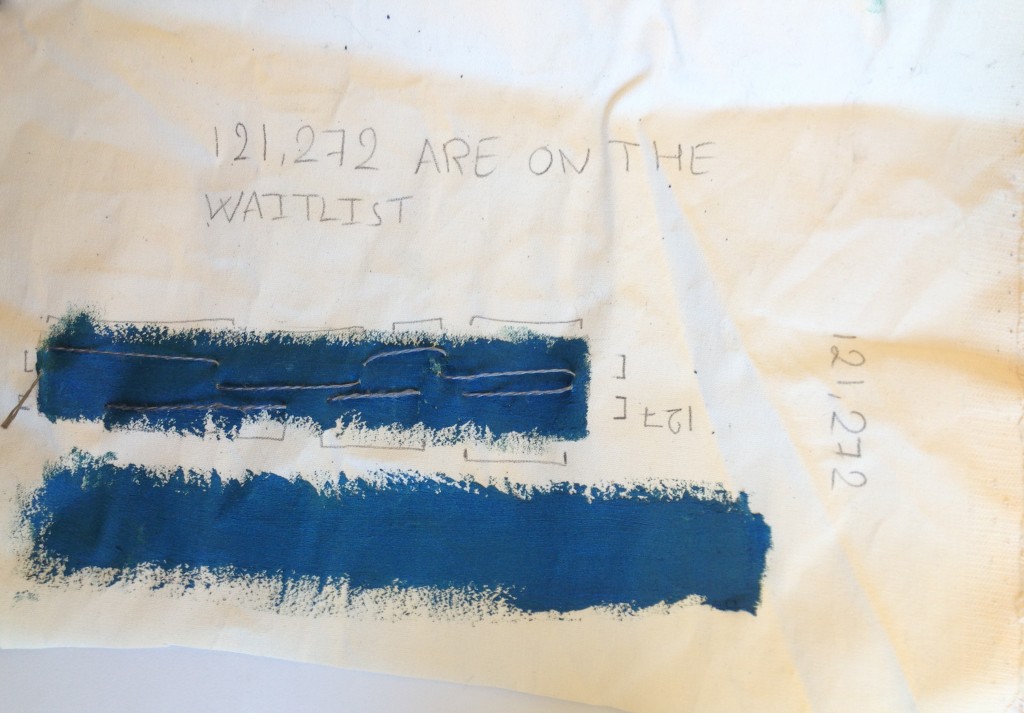
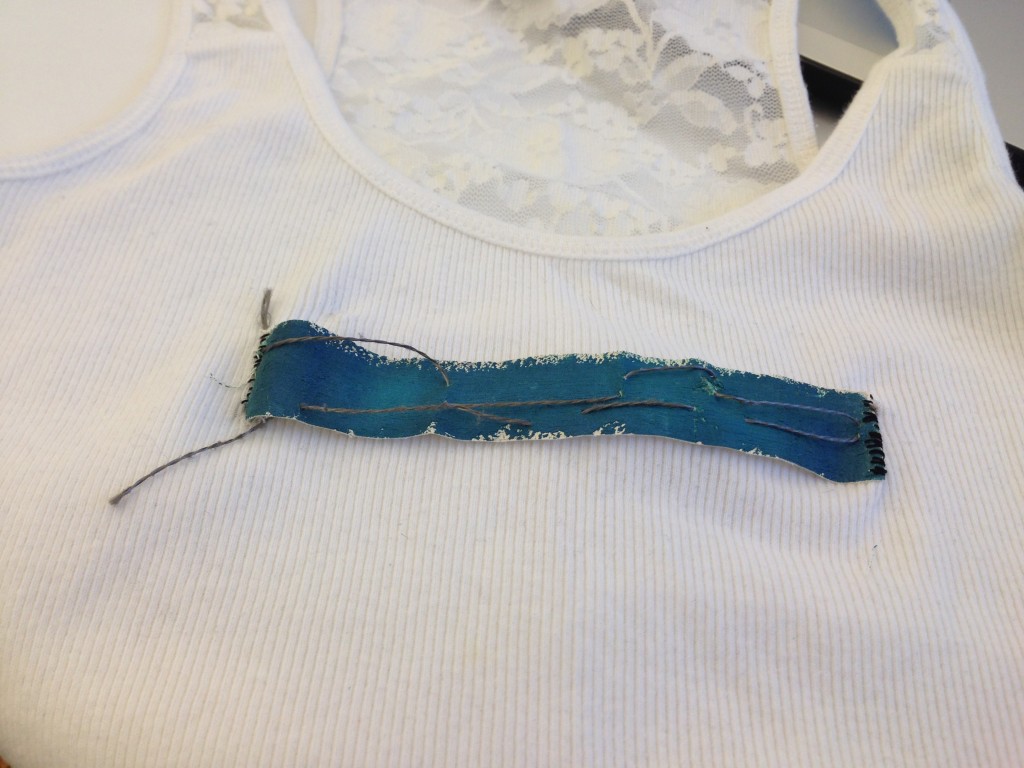
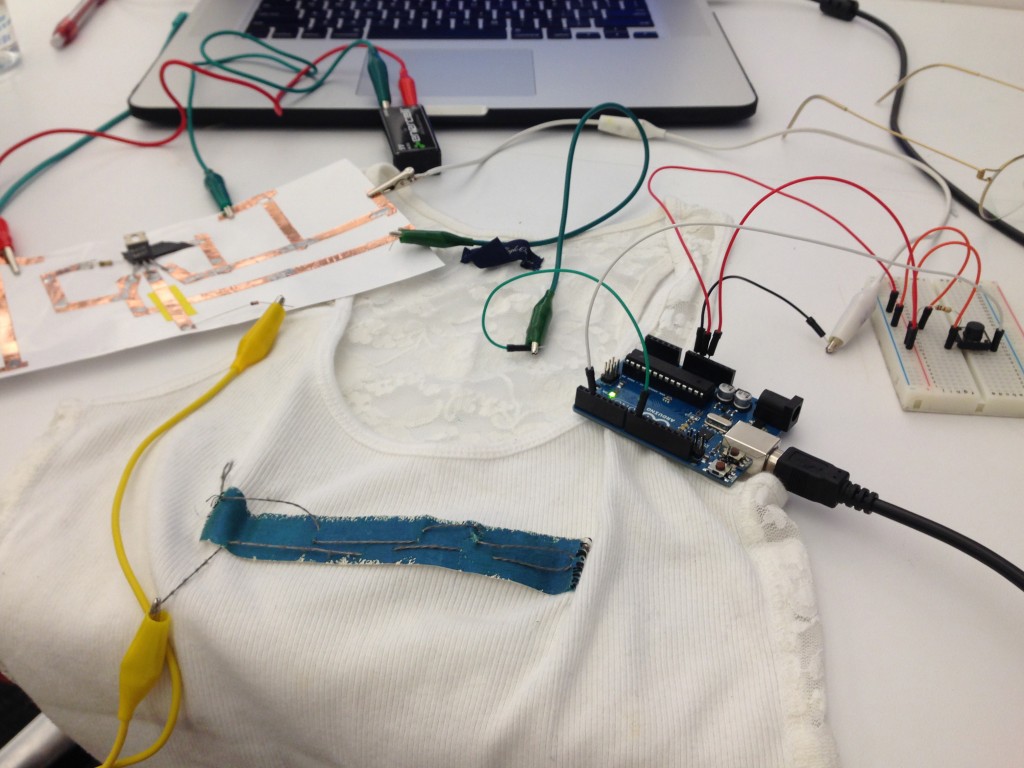
For this project, I decided to have the message revealed to be raise awareness about the importance of organ donation. The fact that someone has to push a button to see the message symbolizes the effect of individual contribution. I mixed thermochromic pigment with blue acrylic and painted over the message I wrote on a piece of canvas. I sewed around the words with conductive thread and stitched it to a shirt. After connecting the circuit I did not see any result but I am not sure exactly where the error is.
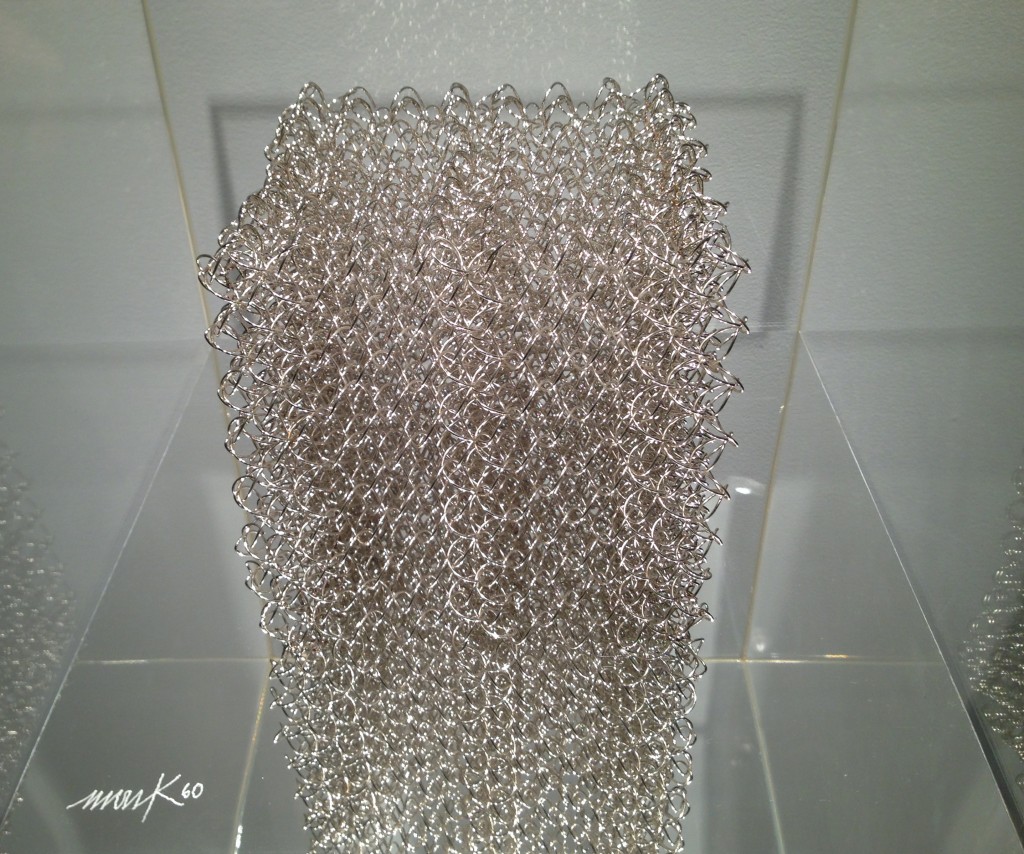
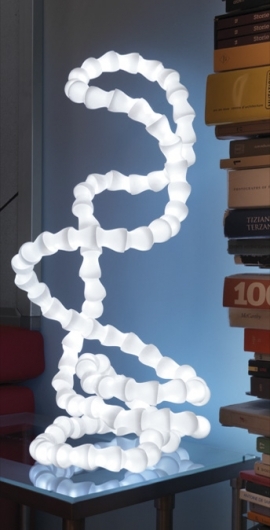
1. Aluminum Grape spiral
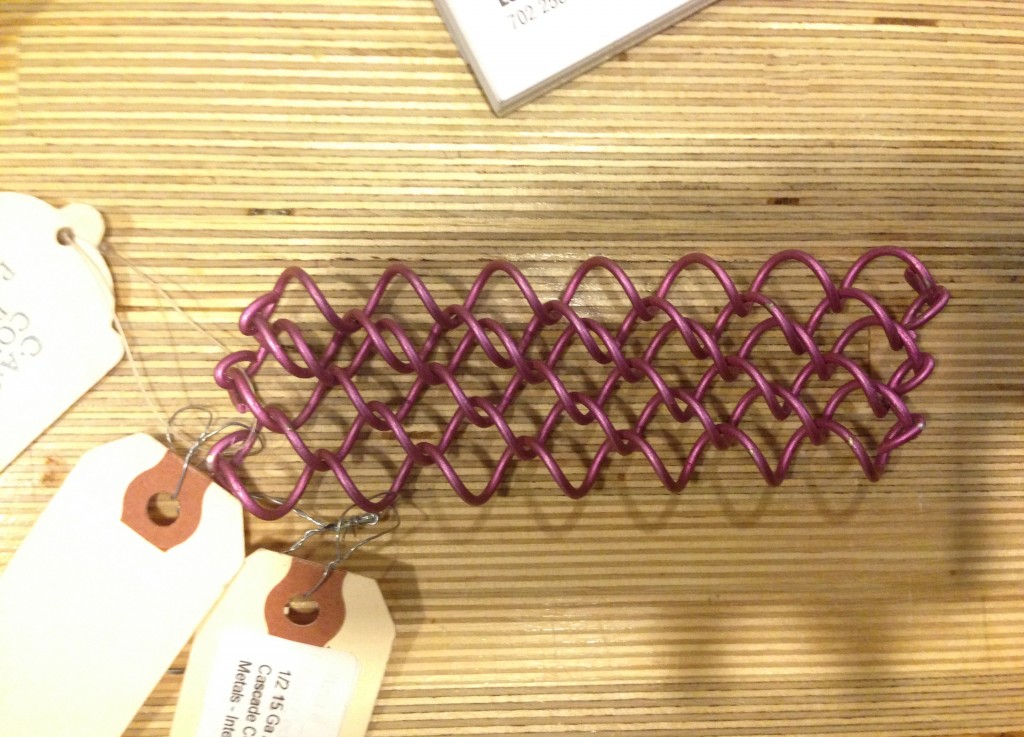
What I found interesting about this material is that it can be resized easily. It can be integrated into an interactive piece. Last week I encountered one of the pieces of Heinz Mack at the Sperone Westwater gallery that reminded of this material.
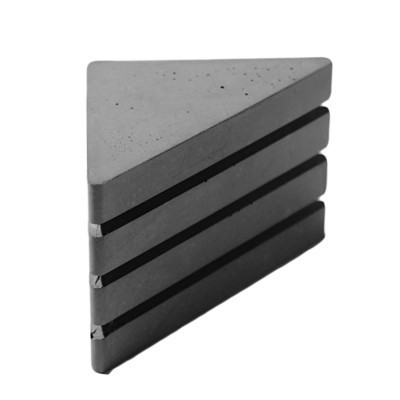
2. Samples of Italian leather
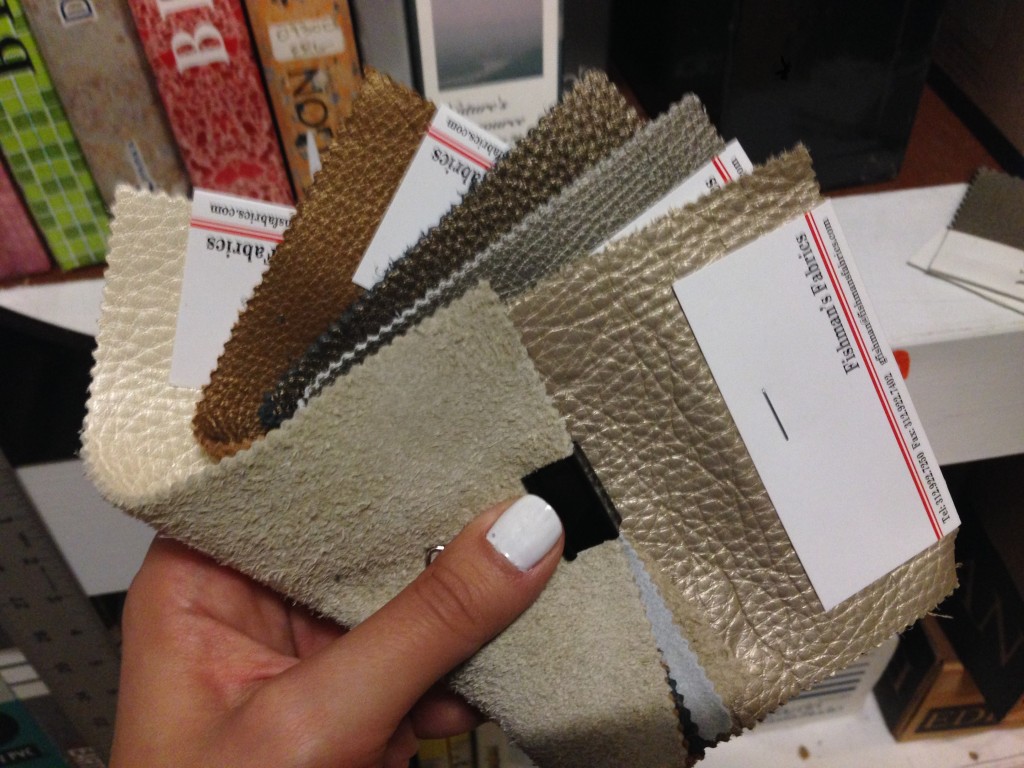 In addition to the fact that leather is a very beautiful material especially in wearables and accessories, I found it interesting how leather has two different textures on opposite sides.
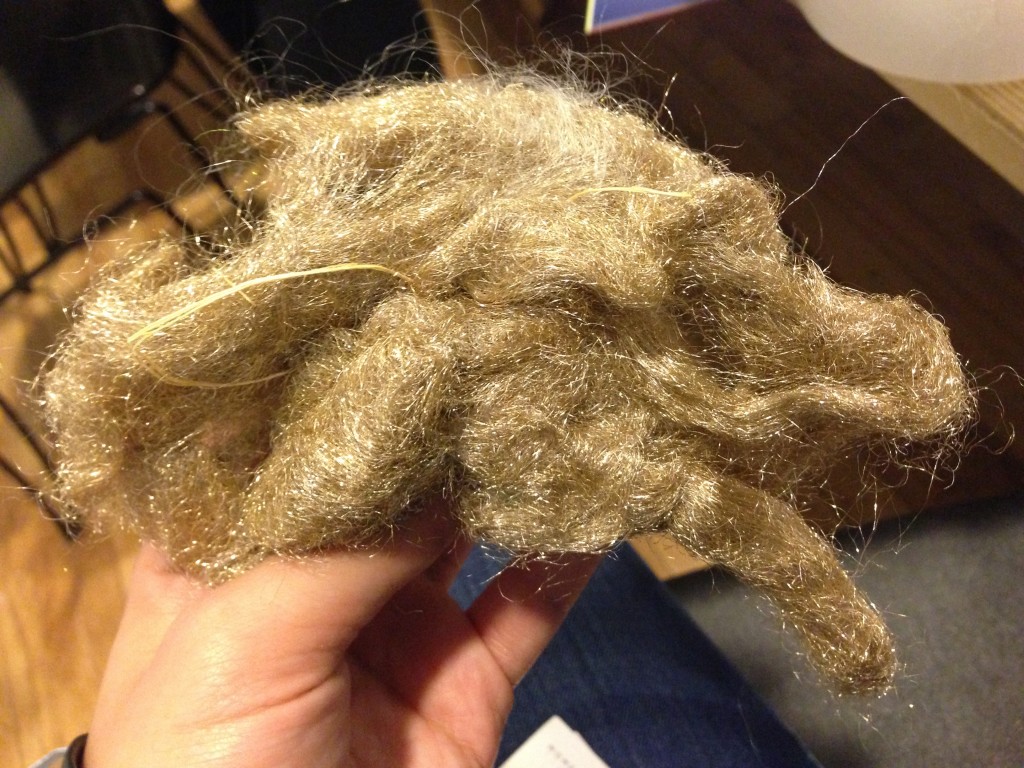
3. Conductive sponge looking metal
I forgot the name of this material but it is highly conductive plus aesthetically pleasing.
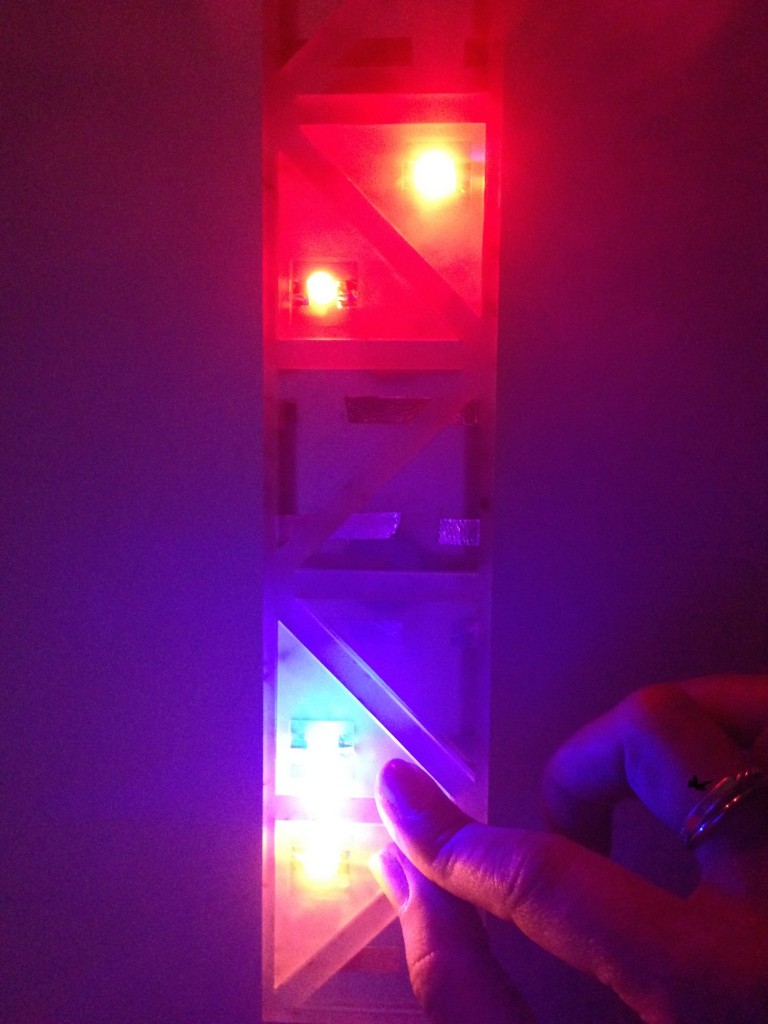
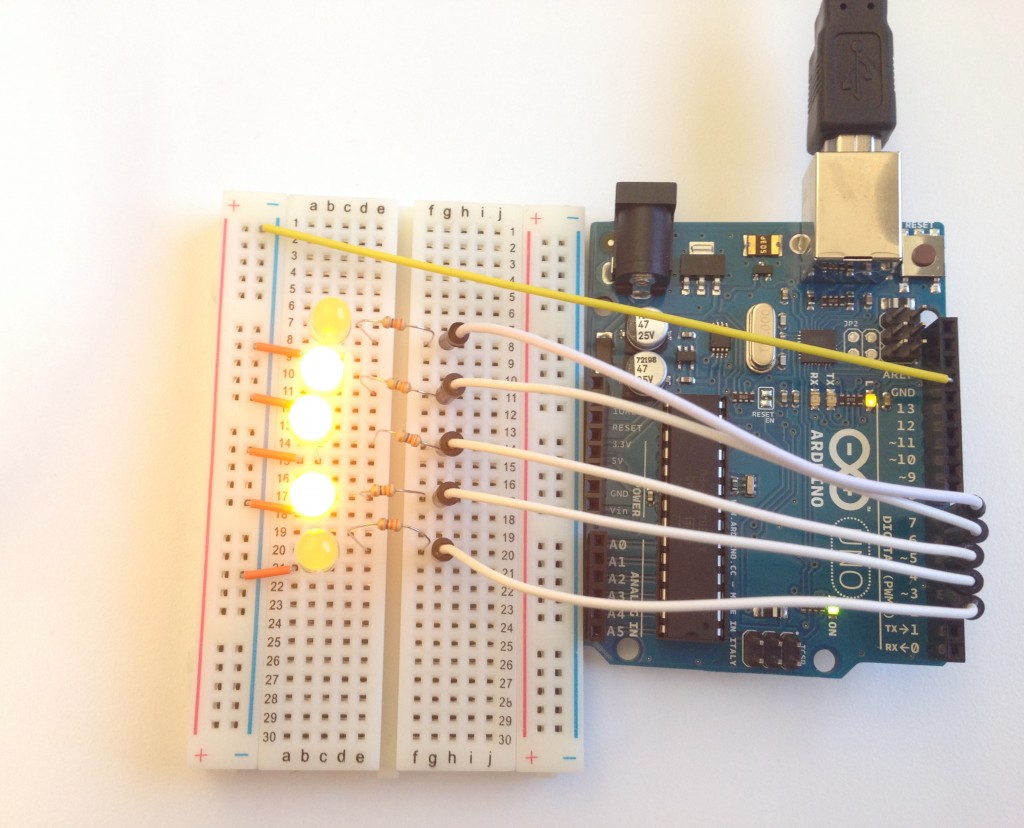
https://www.youtube.com/watch?v=OsP26bBU6zY&feature=youtu.be For the LED emotion homework I decided to manipulate the code of the Arduino in a way to have several LEDs in an automatic on/off manner. I covered it with craft cotton paper that diffused the light and made it look like a jelly fish. As the LEDs alternate between on and off, the Jelly fish appears that it’s breathing. 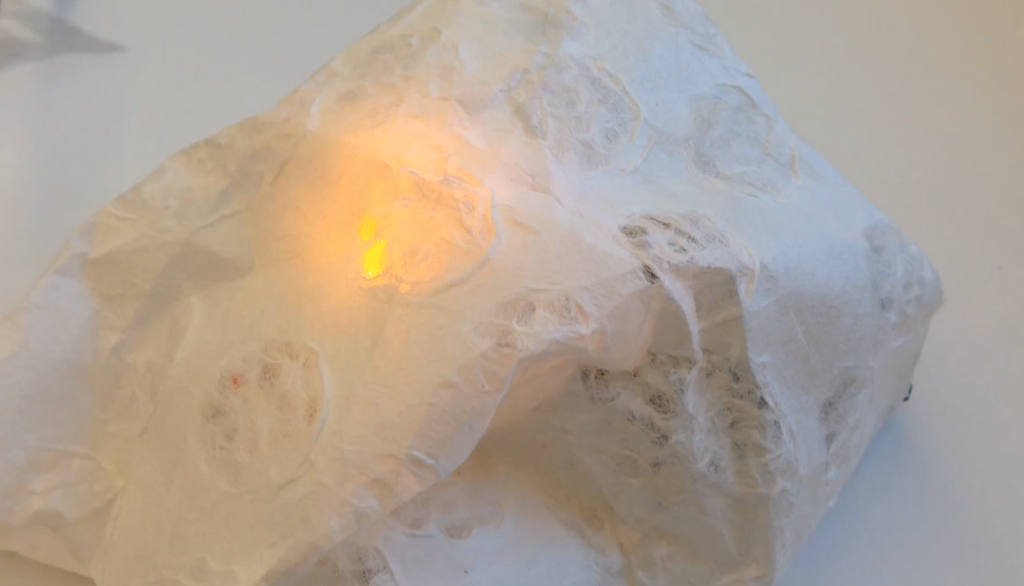
Lego Lamp
1) Prototype
(more pics soon)
2) Concept and design goal (What does your design seek to accomplish? Who are you designing for?
This lamp is an interactive design product. It is a rectangular base that can hold in multiple light boxes that complete the circuit and light up. It gives users the power to manipulate the design and change the lights based on several situations.
3) Materials list
- LED lights or LED strip
- Battery
- Copper tape
- On/ off switch
- Plexi glass
- Methylene chloride as glue
4) Prior art and precedents that inspired your design and direction.

Team // Denah Emerson, Lama Shehadeh, Nicole Messier, Niki Selken
We found this project to be really interesting. Each one of us took a different approach because we wanted to expand more the subject. We all had similar experiences even though we did different techniques. Patience, the right choice of material, and scoring the folds were lessons we learned the hard way.
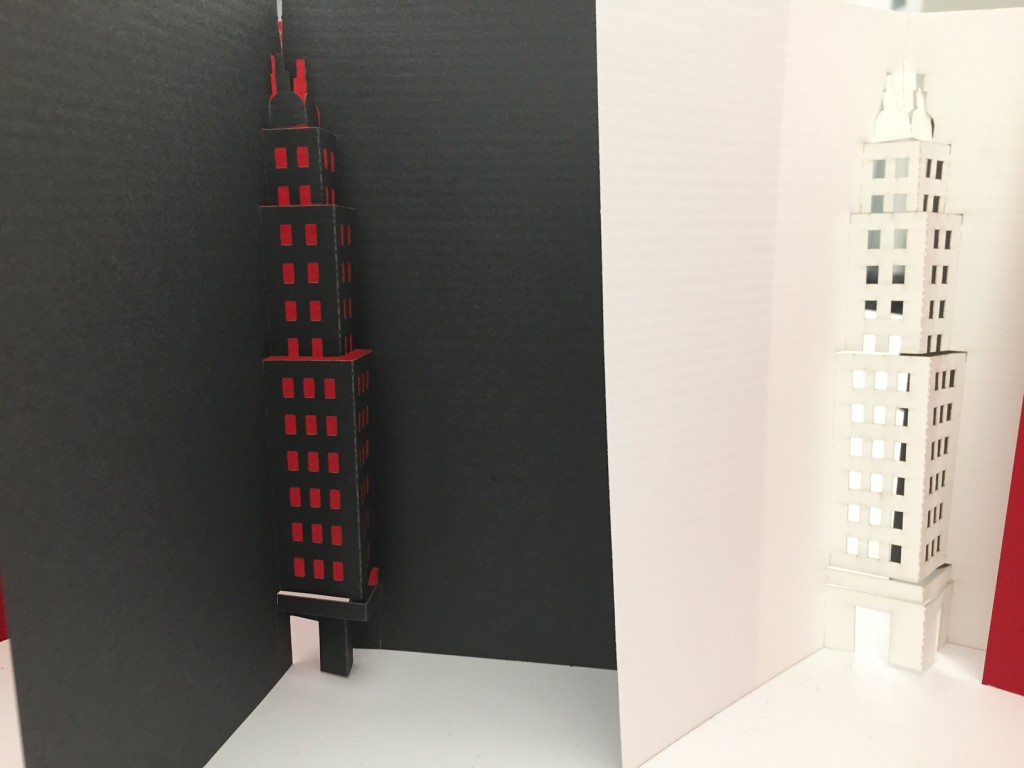
1. Pop-up technique //
The building was done in Illustrator and then laser cut with scoring, which makes it deceptively simple to build. You probably want to ease up on the scoring, so that it is less fragile.
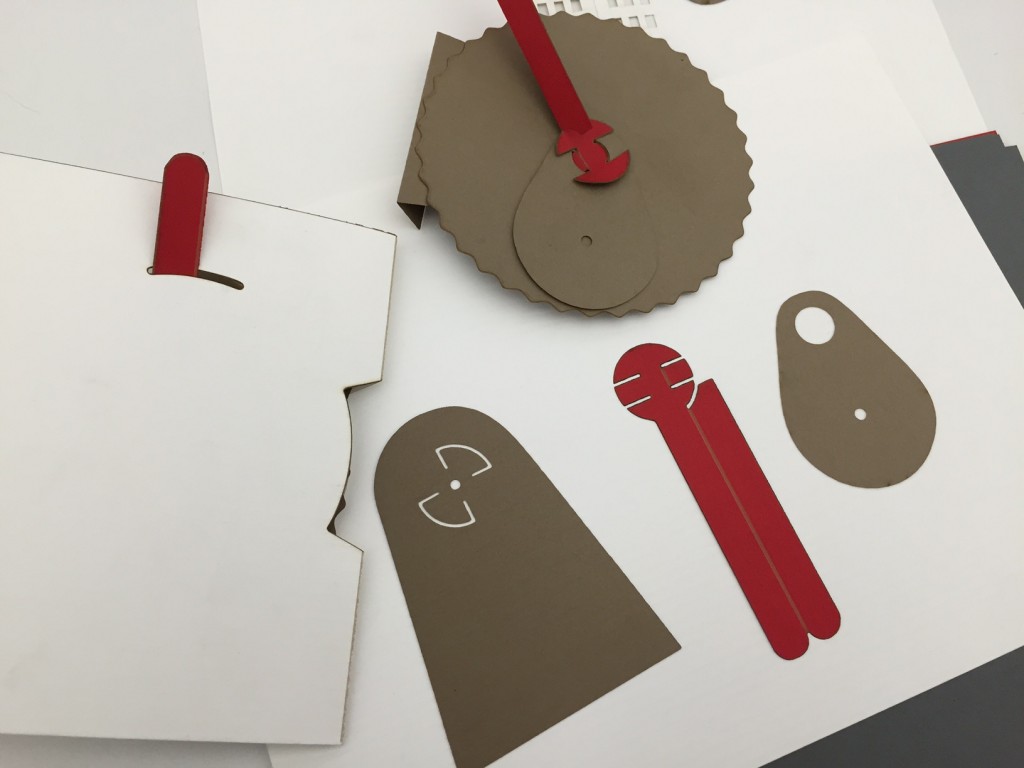
The pop-up book element (wheel with cam and rotating arm) is near impossible by hand, but quite wonderful when laser cut. You can attach some little figure to the rotating arm and then it goes back and forth like a little party as you wind the wheel. I love the little pivots. They’re secretly ingenious.
The red laser cutters are worlds better than the grey. Stay away from grey.
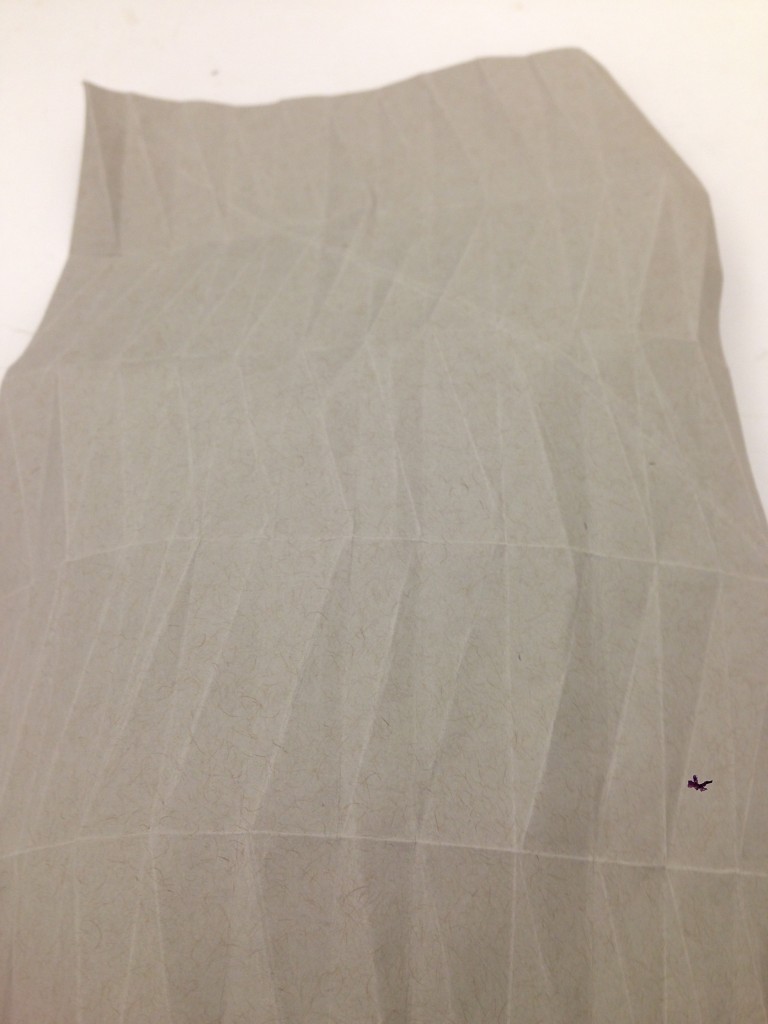
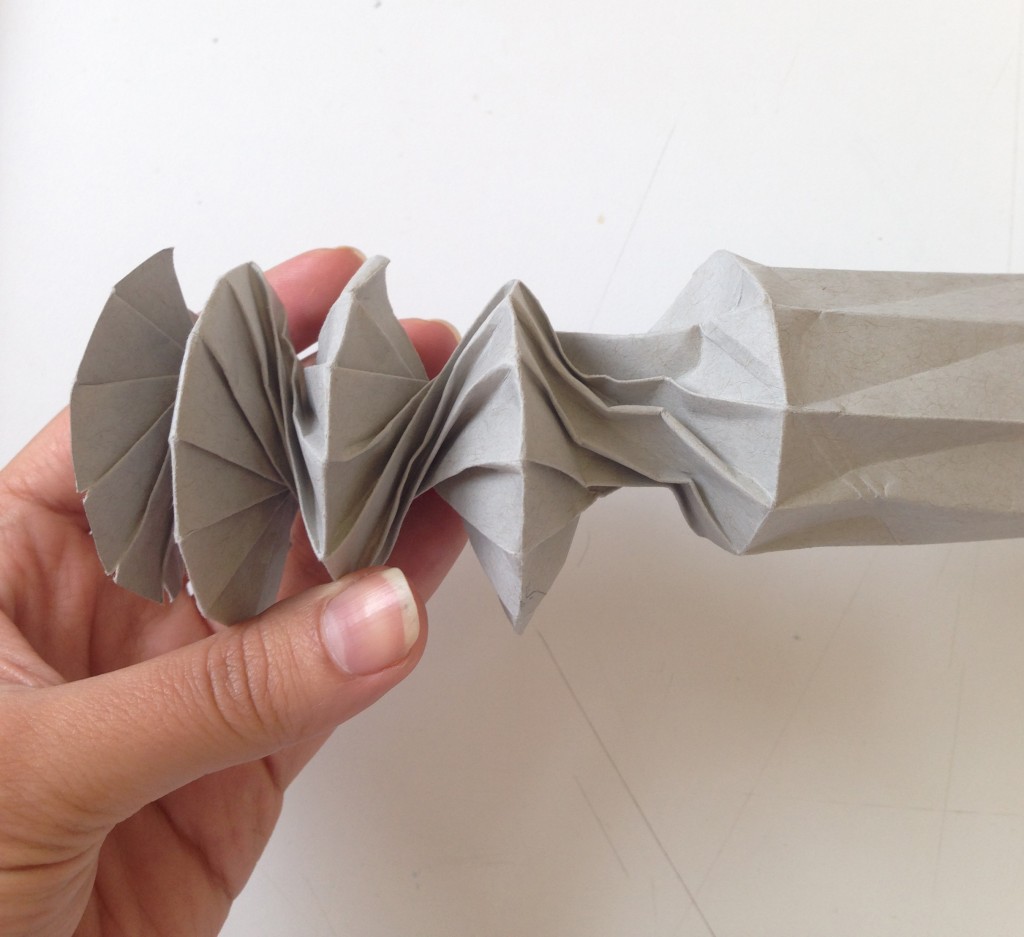
2. Dynamic Origami //
A star that transforms into a circle.
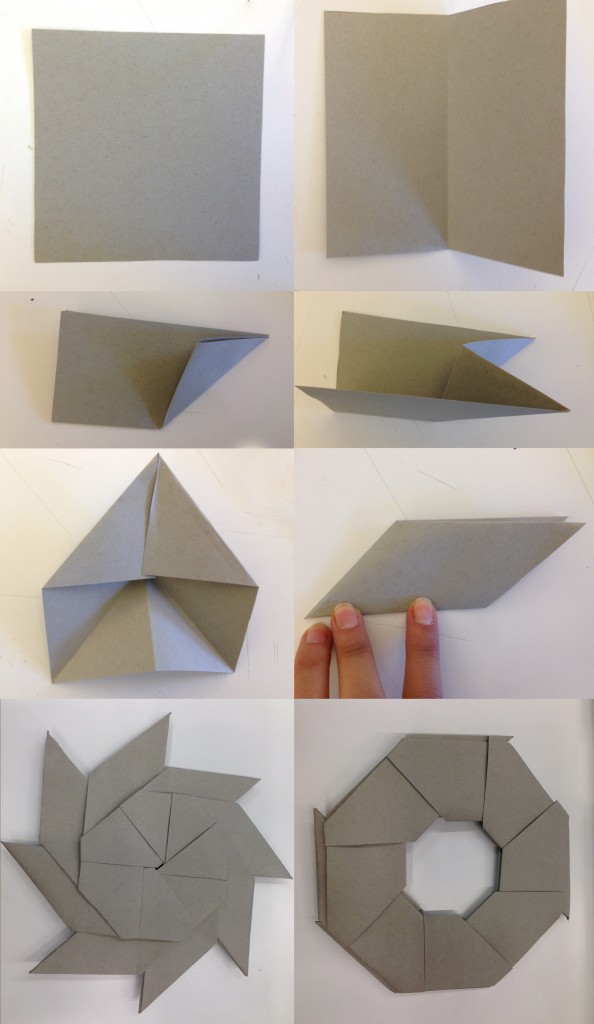
At first I tried to do a a cylinder that can compress and decompress, but the choice of paper made it impossible to have a neat execution. I tried three weights and it still failed, but it is still worth experimenting.
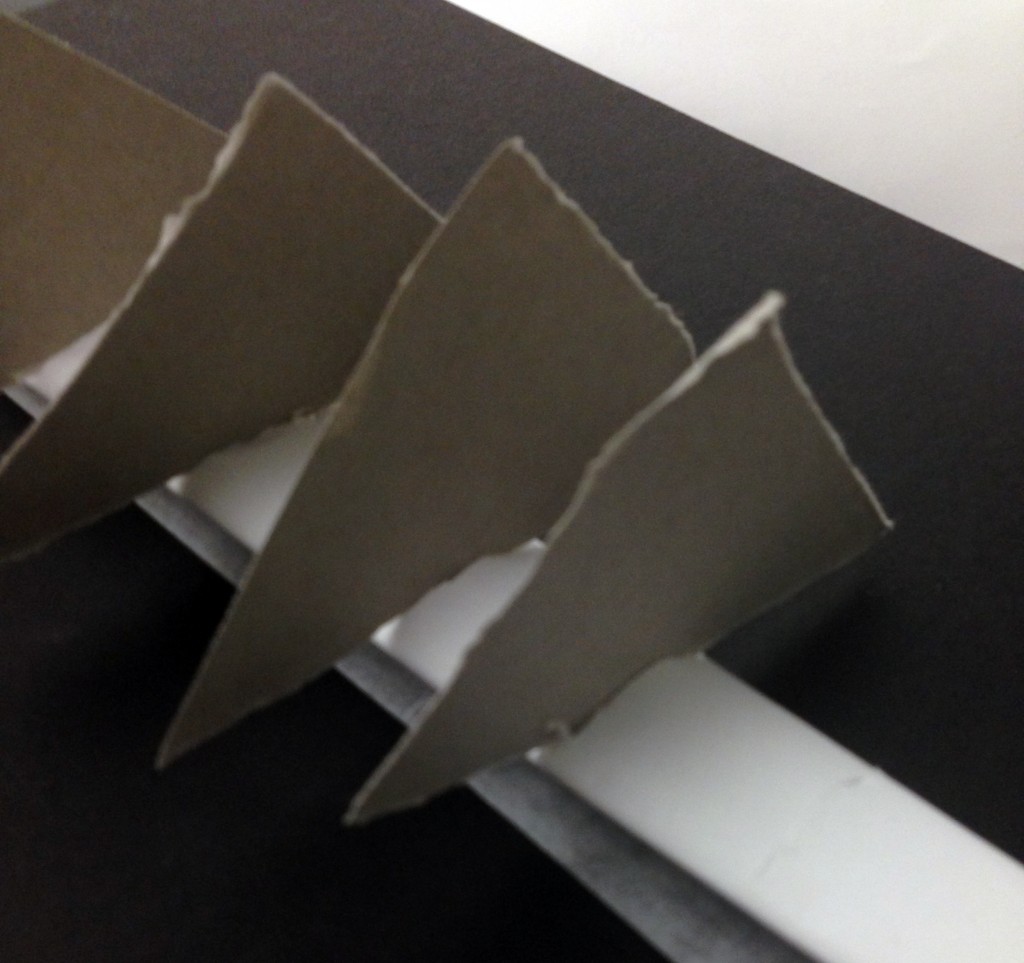
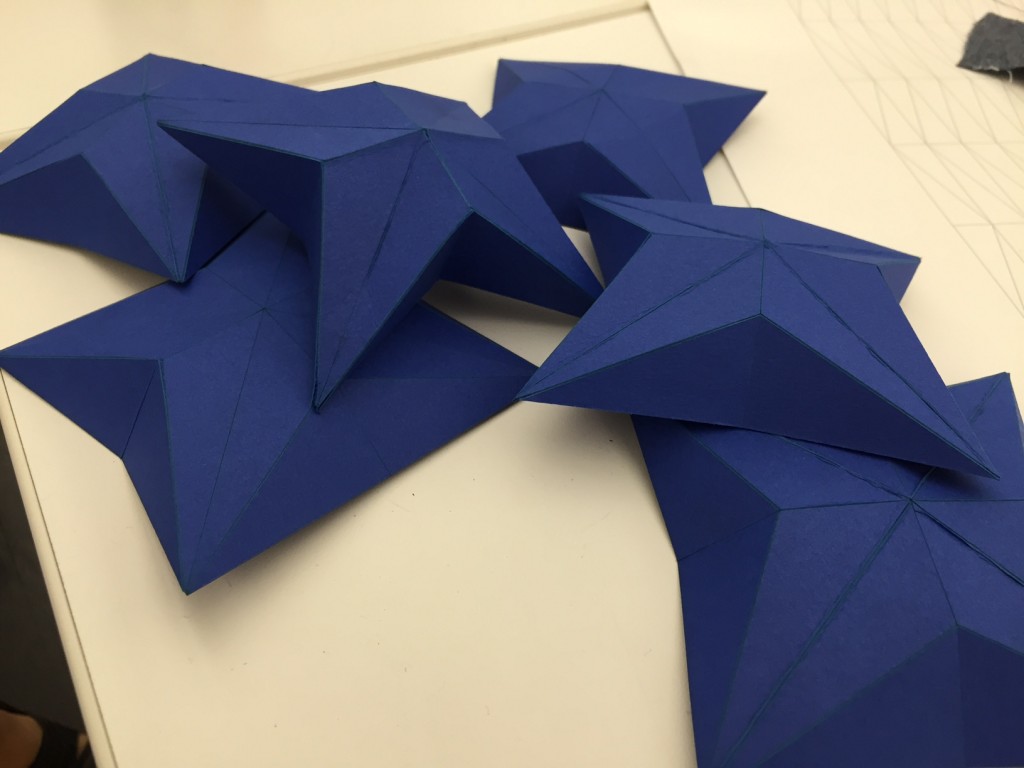
3. 3D Star //
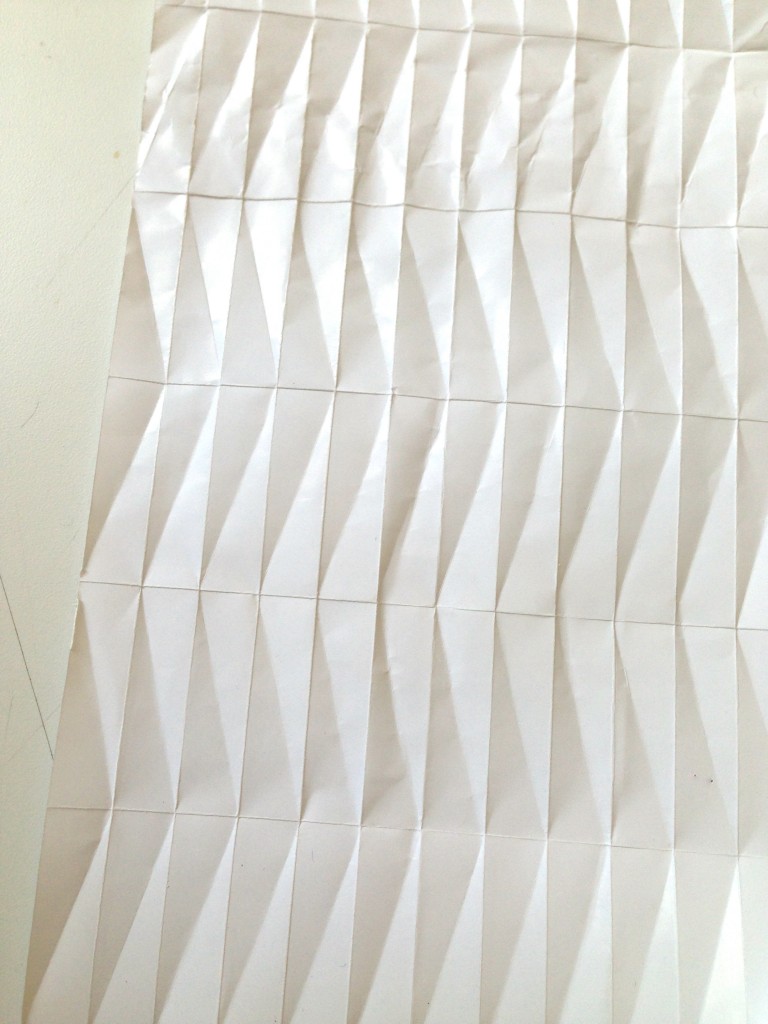
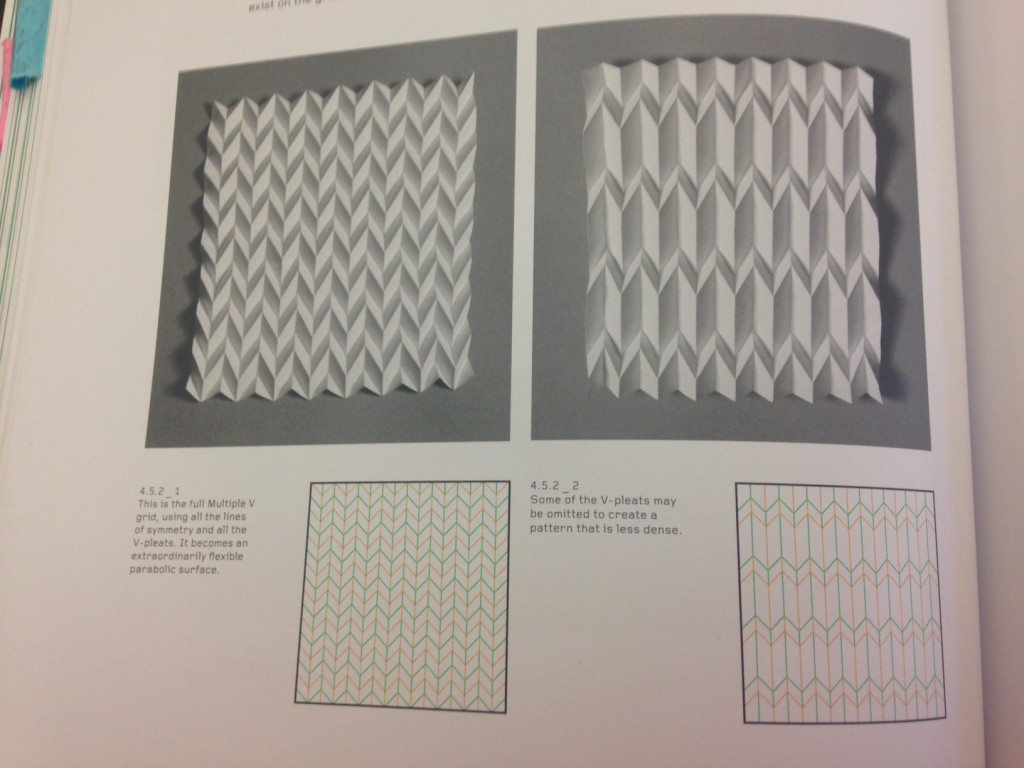
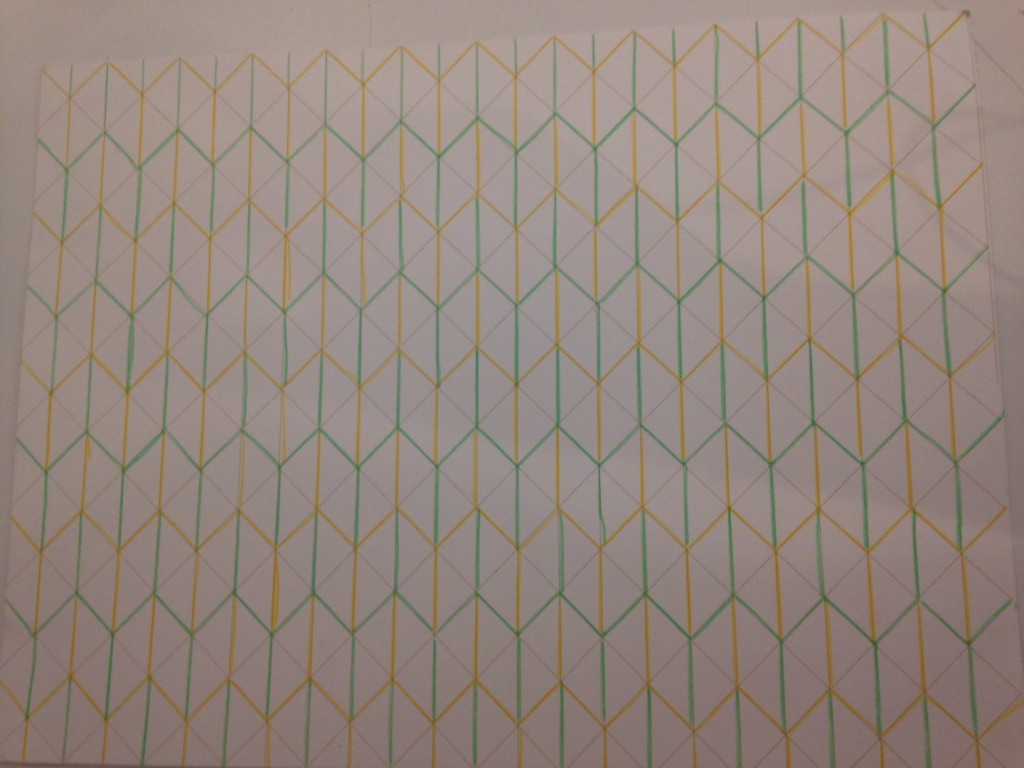
4. 3D Pattern //

I decided to use the conductive material as my variable. I used an LED light, alligator wires, wires, a coin battery, a piece of regular fabric, velostat, and 3 conductive materials: copper tape, copper fabric, and med tex fabric. I first assumed that the fabrics would be more conductive than the tape thus allowing the LED to shine more, but surprisingly the light was just as bright.
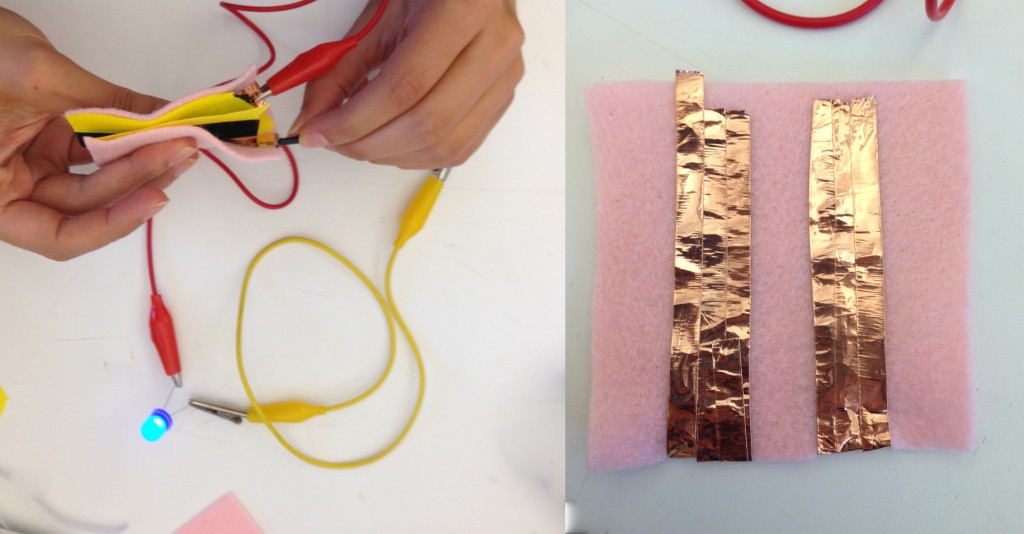


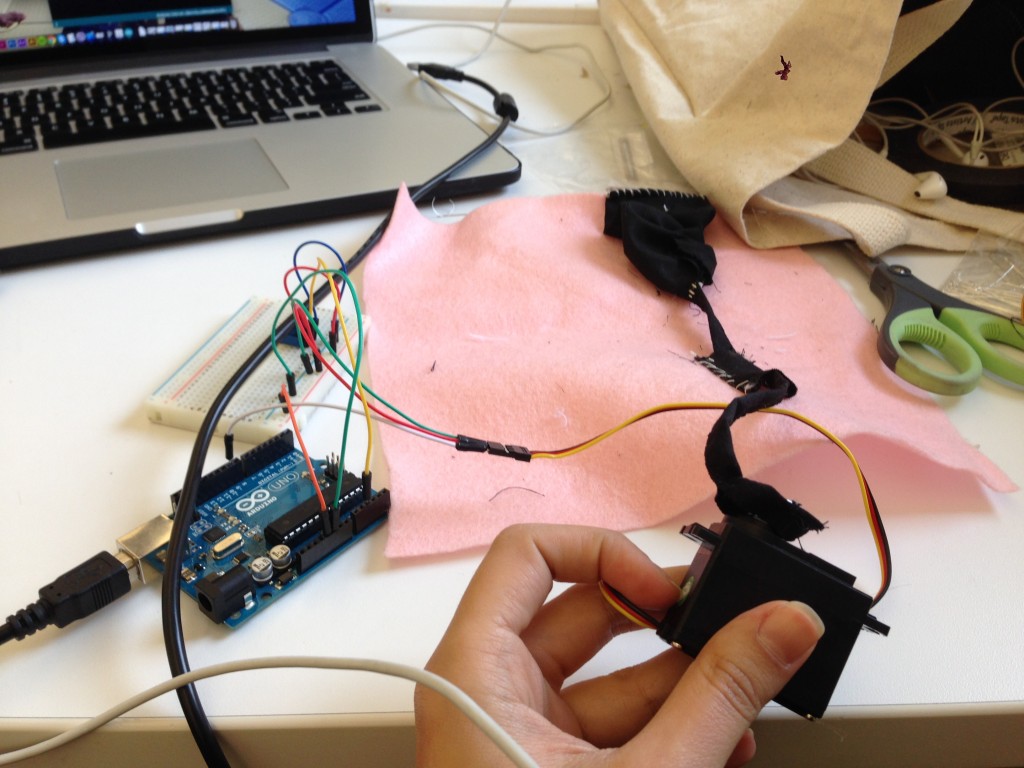
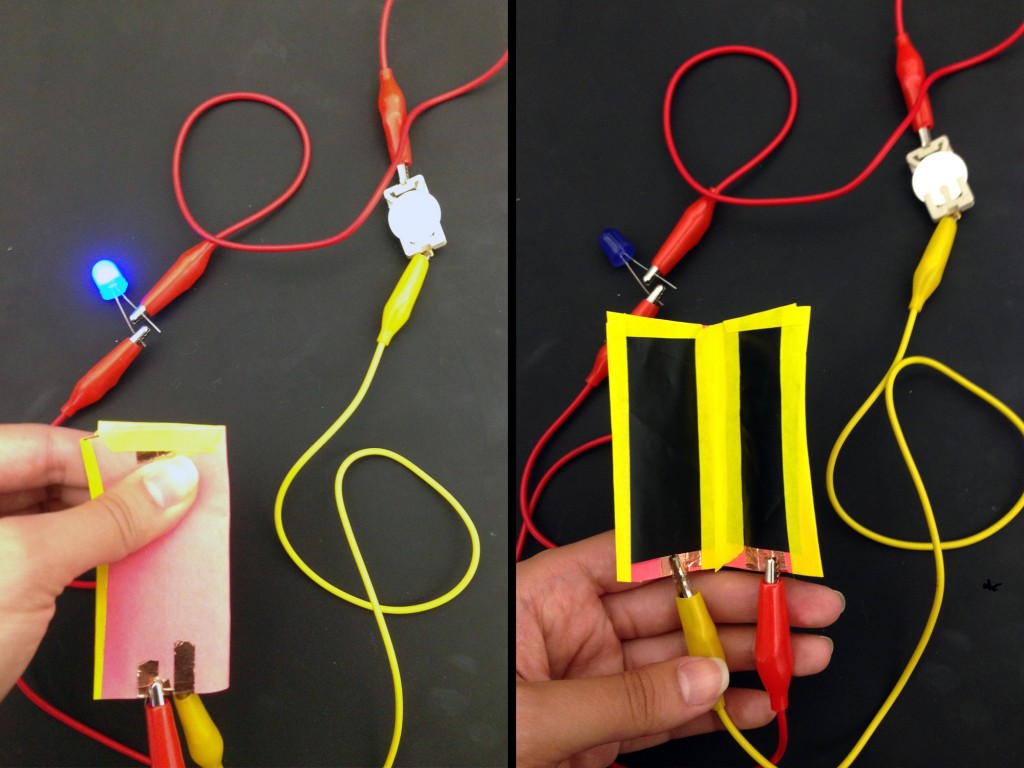
I constructed two pressure sensors
1. Fabric based pressure sensor
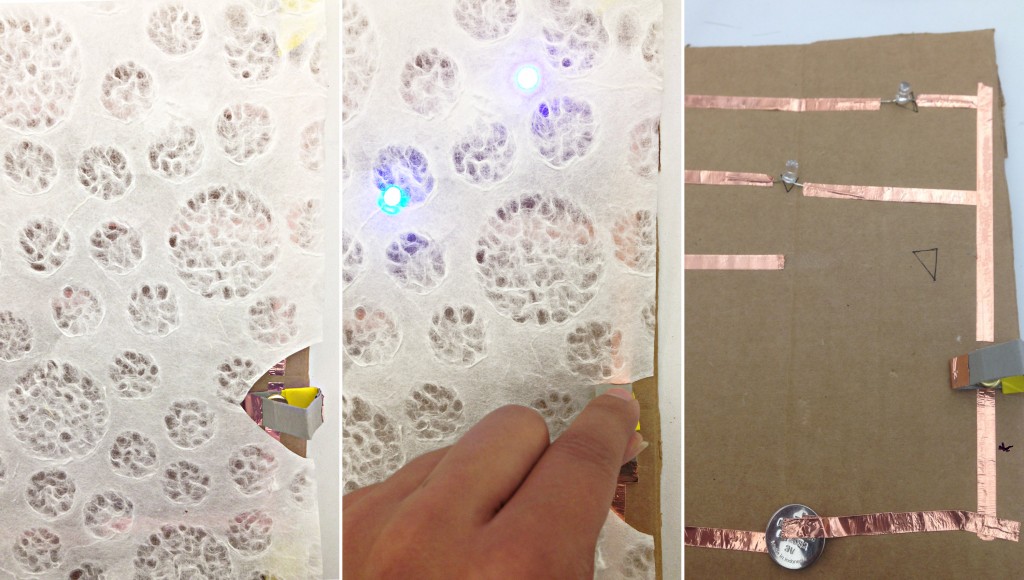
2. Paper based pressure sensor
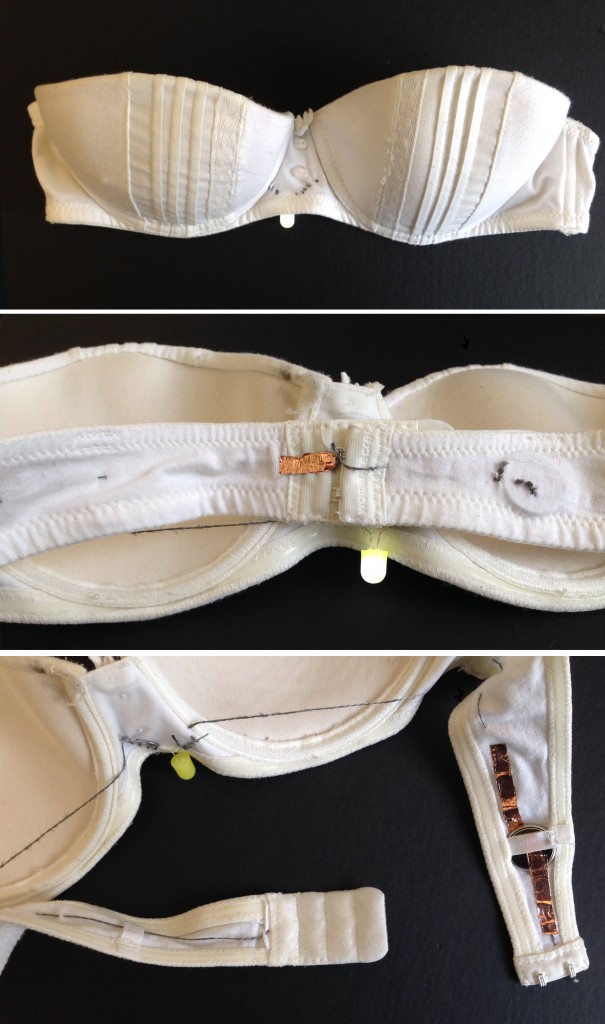
1. Power Bra // Snap Switch
When the bra is hooked, the LED lights up. When the hook is snapped open, the LED turns off.
2. Traffic Light // Pull Switch
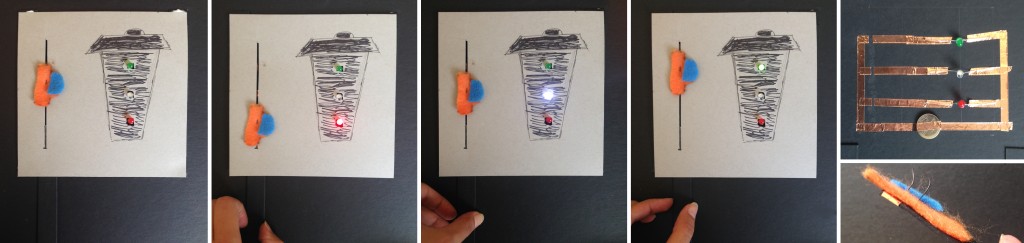
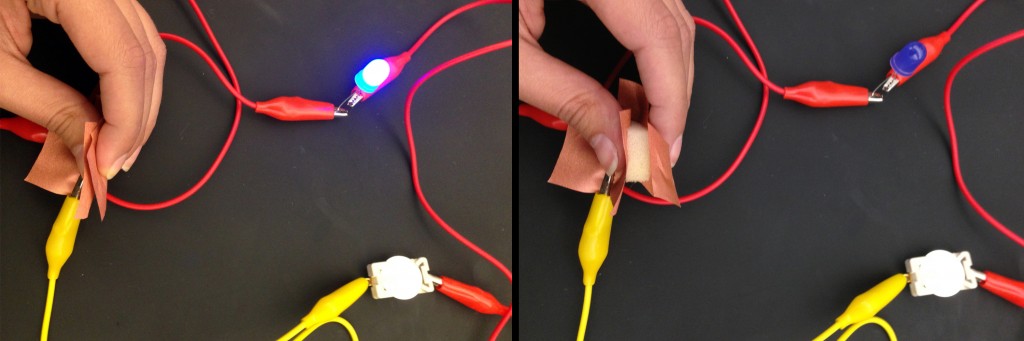
3. Surprise Light // Knob Switch
I was testing with layers of material. The twisting of the knob switch turns the LED light on and off under the translucent paper.