Sensor Homework

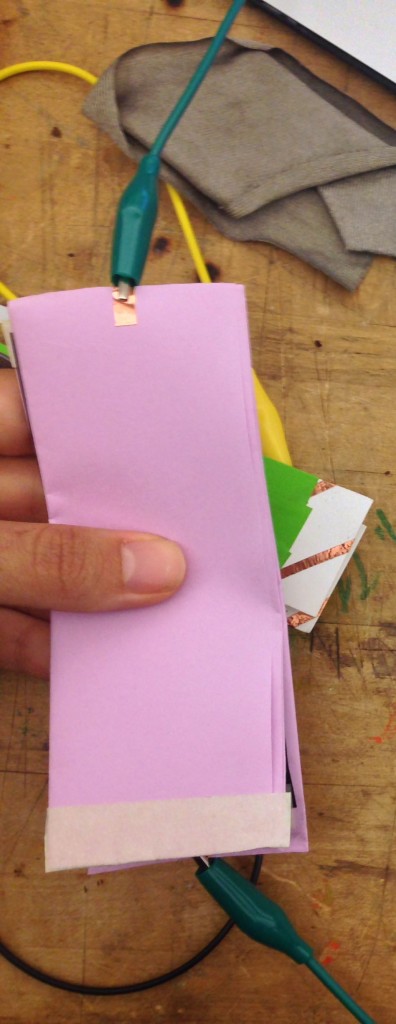
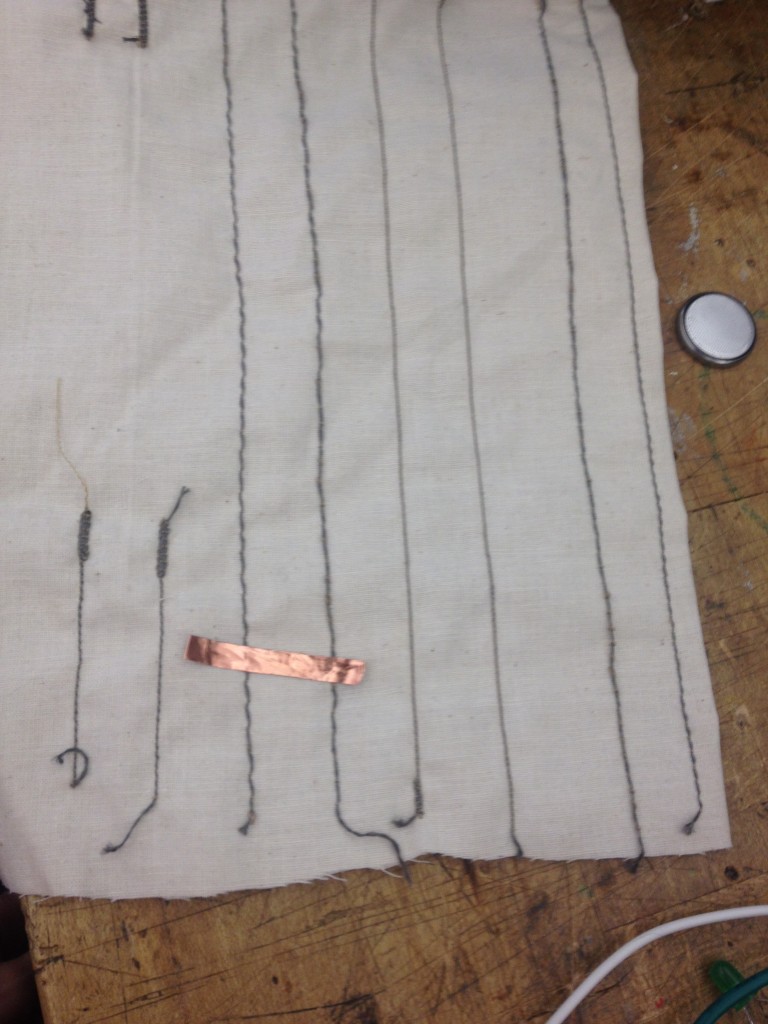
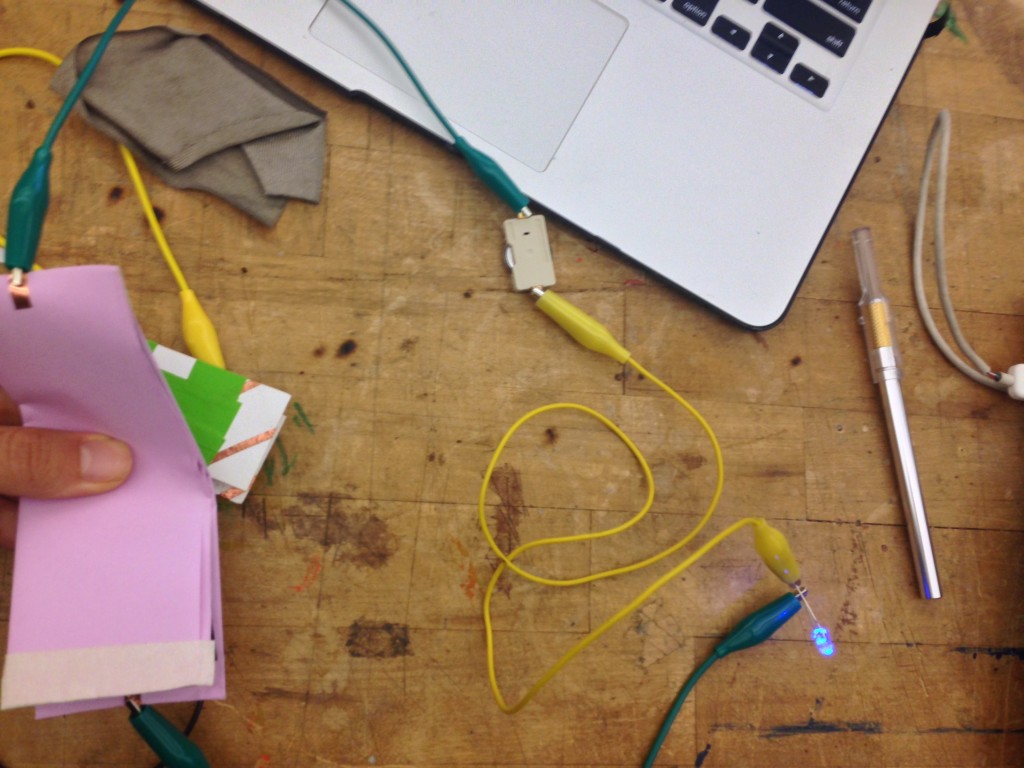
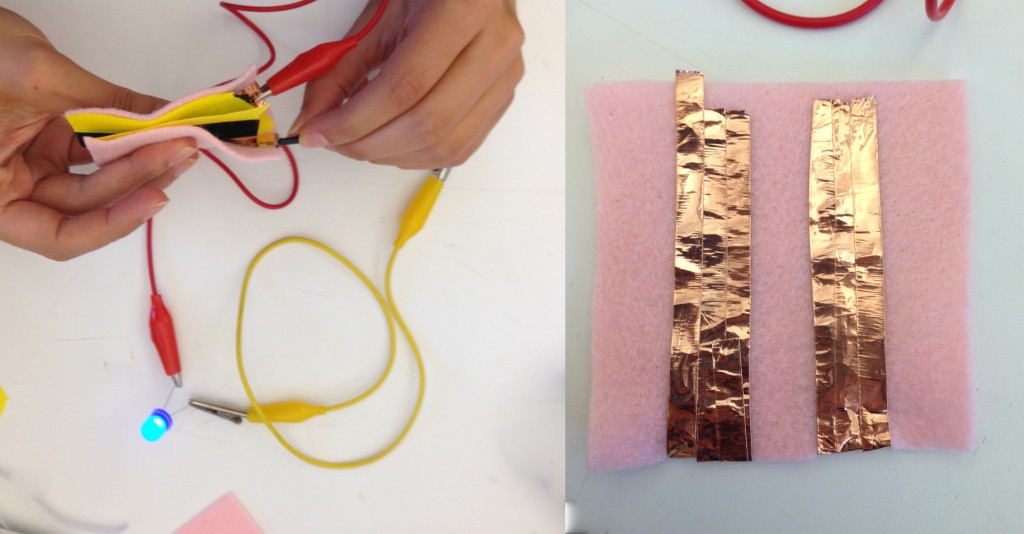
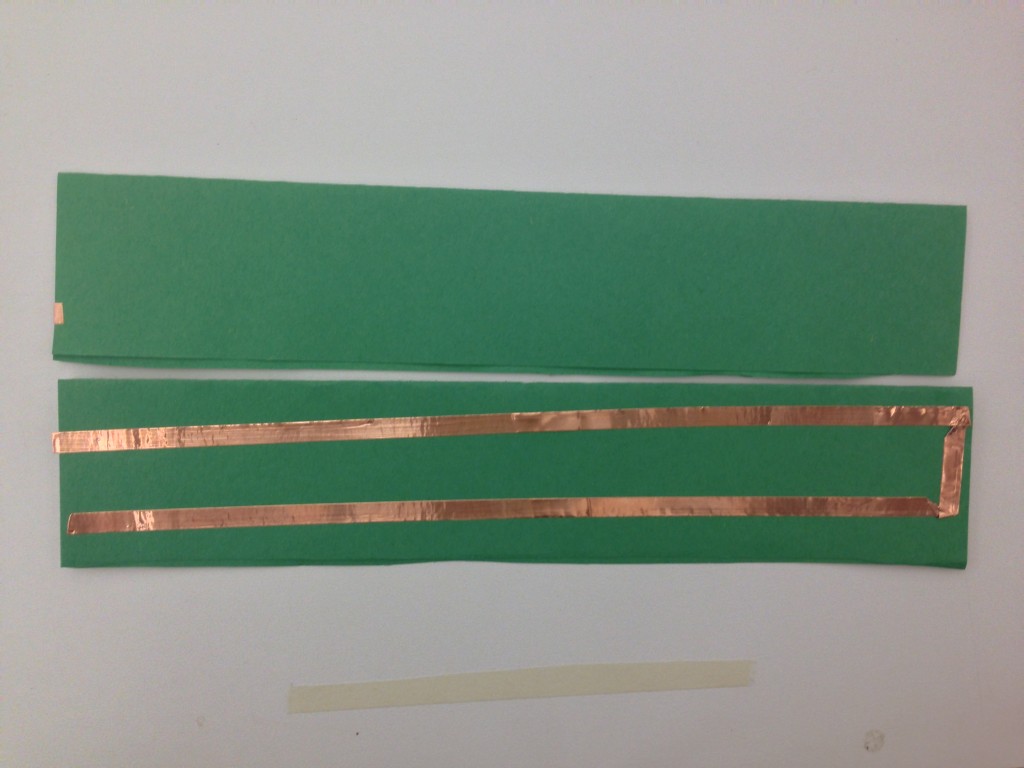
I tested making flex sensors with paper, copper tape, and velostat.  I tested how the number of rows of copper tape effected the sensitivity of the sensor.

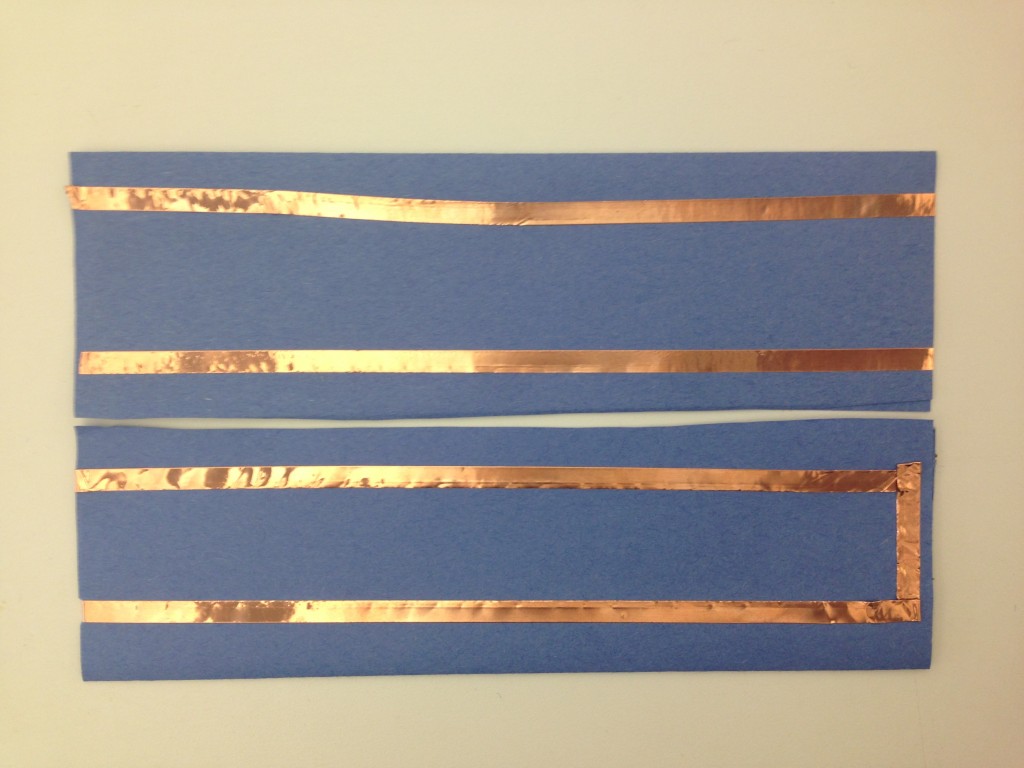
Hypothesis:  (1) Increasing the number of rows of copper tape on one side of the paper will make the flex sensor more sensitive.  (2) If you wrap the rows around to both sides of the paper, it will decrease the sensitivity.
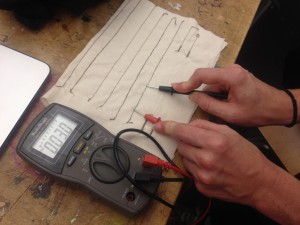
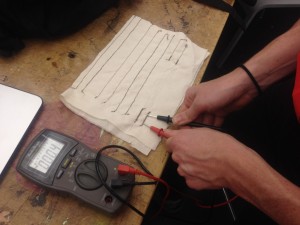
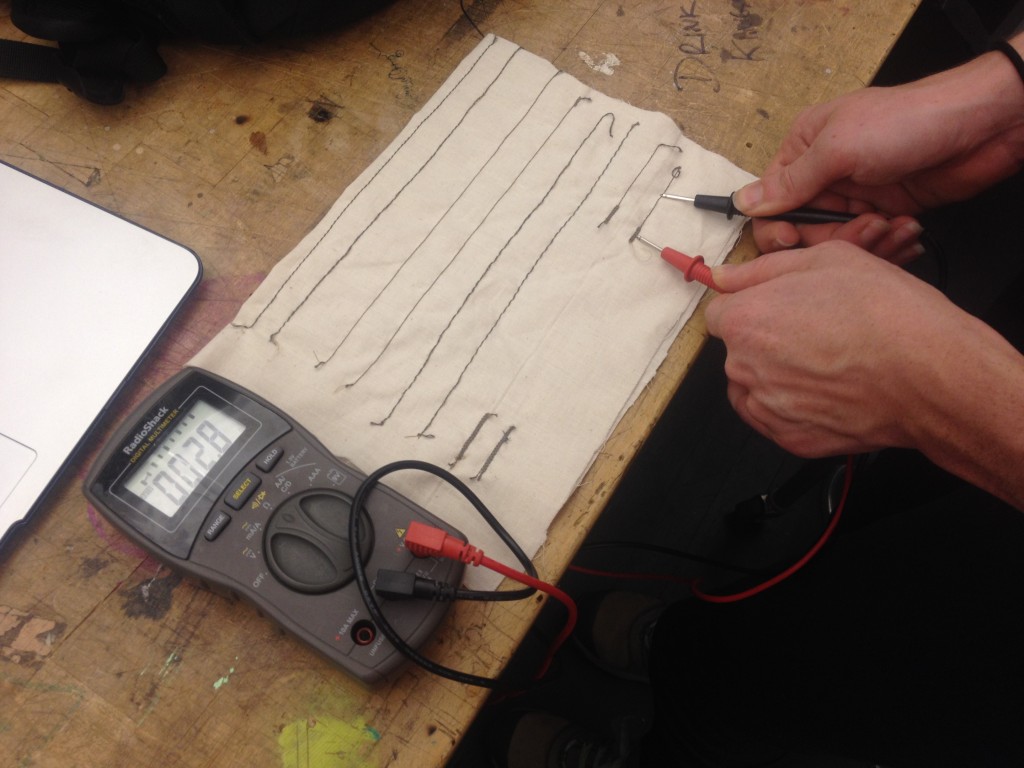
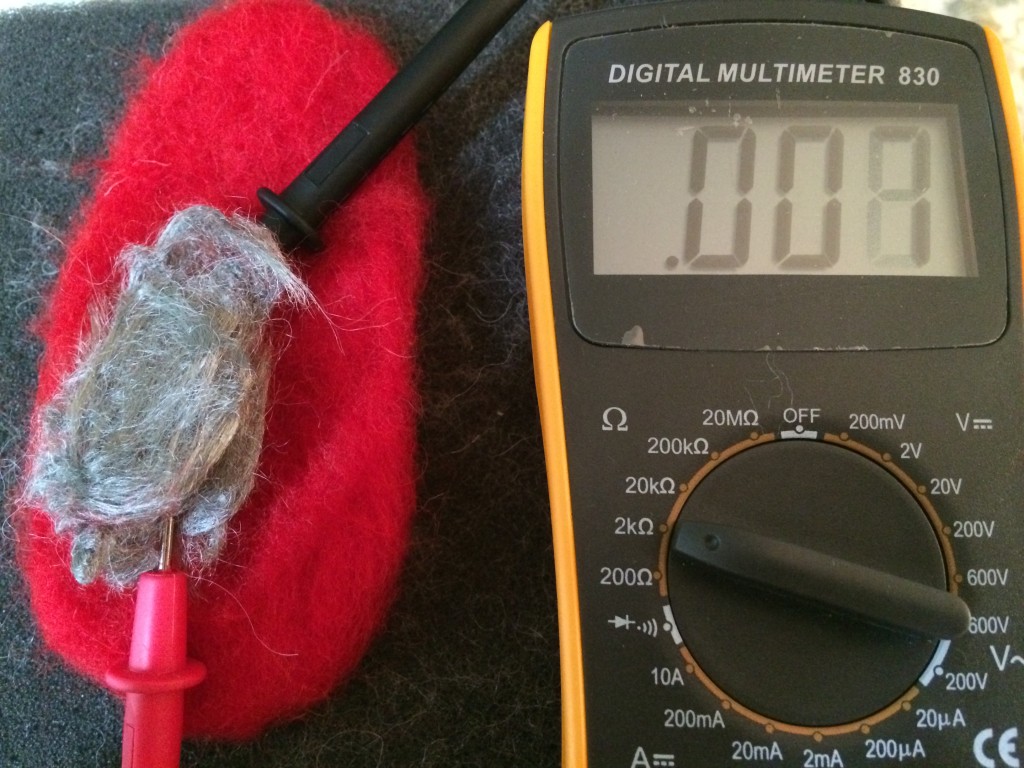
Results:

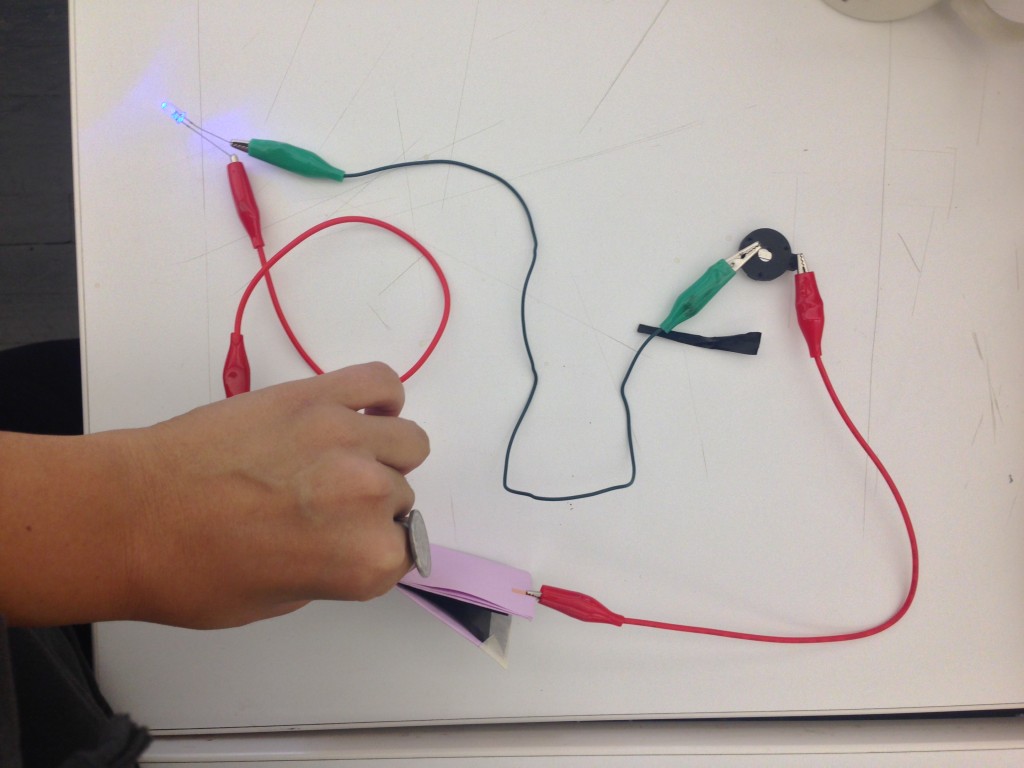
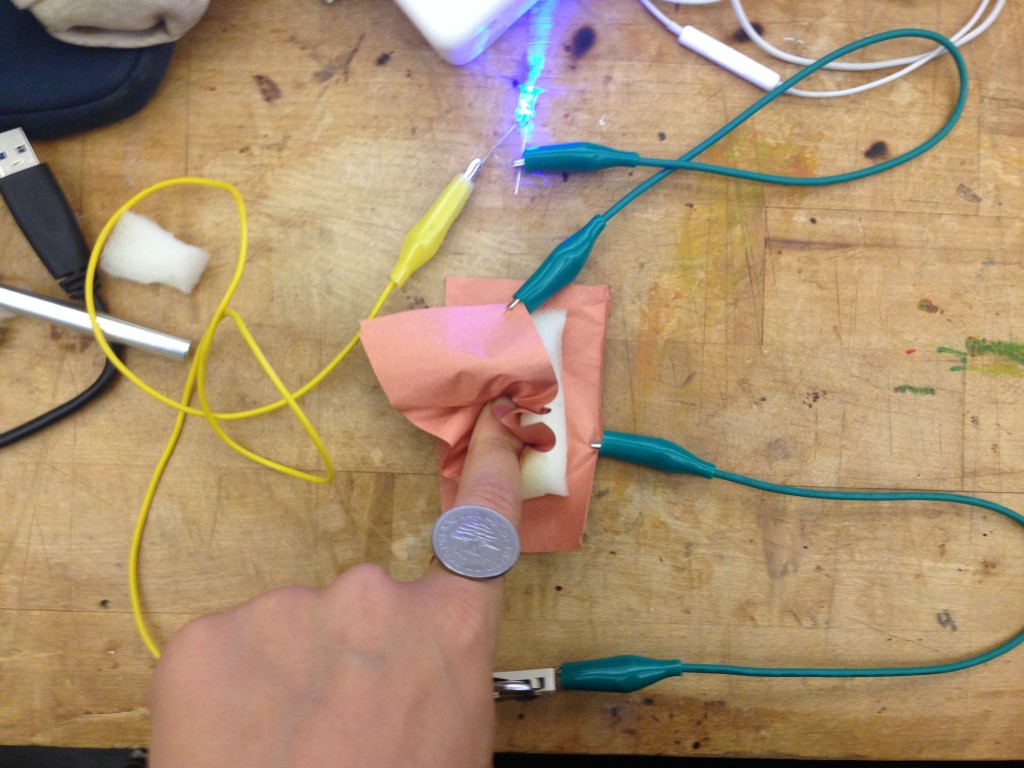
Tape on both needs of the paper made the sensor more sensitivity; therefore, the user does not need to bend or squeeze the sensor very much to see the full brightness of the LED.

sensorTest1 sensorTest5


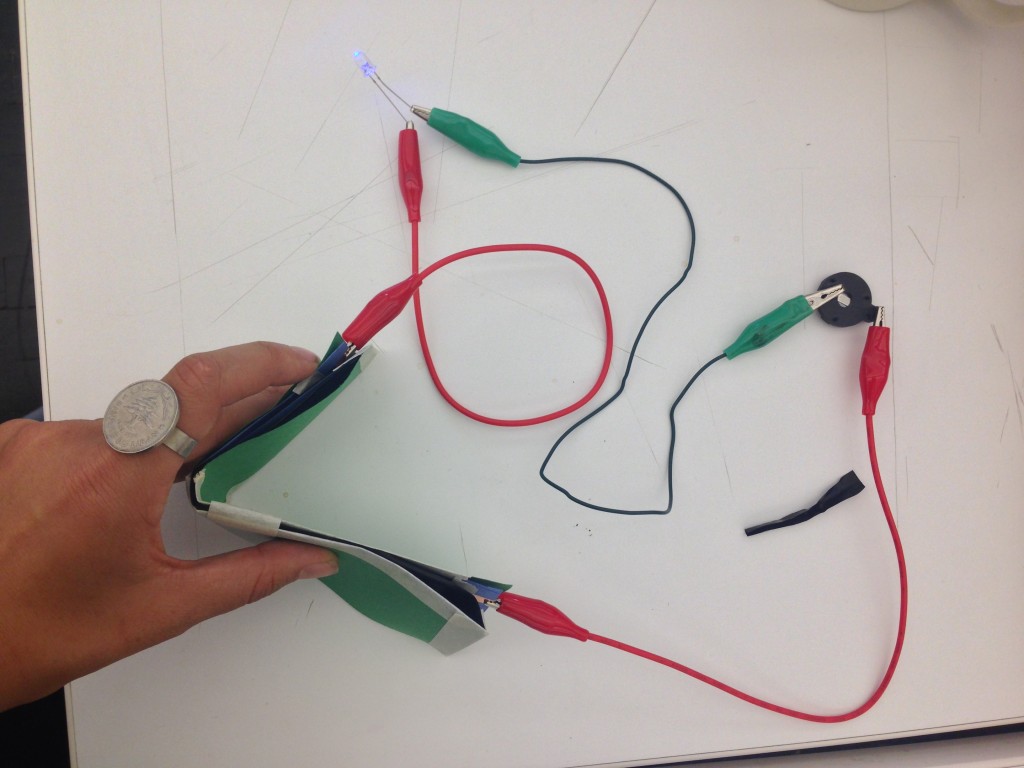
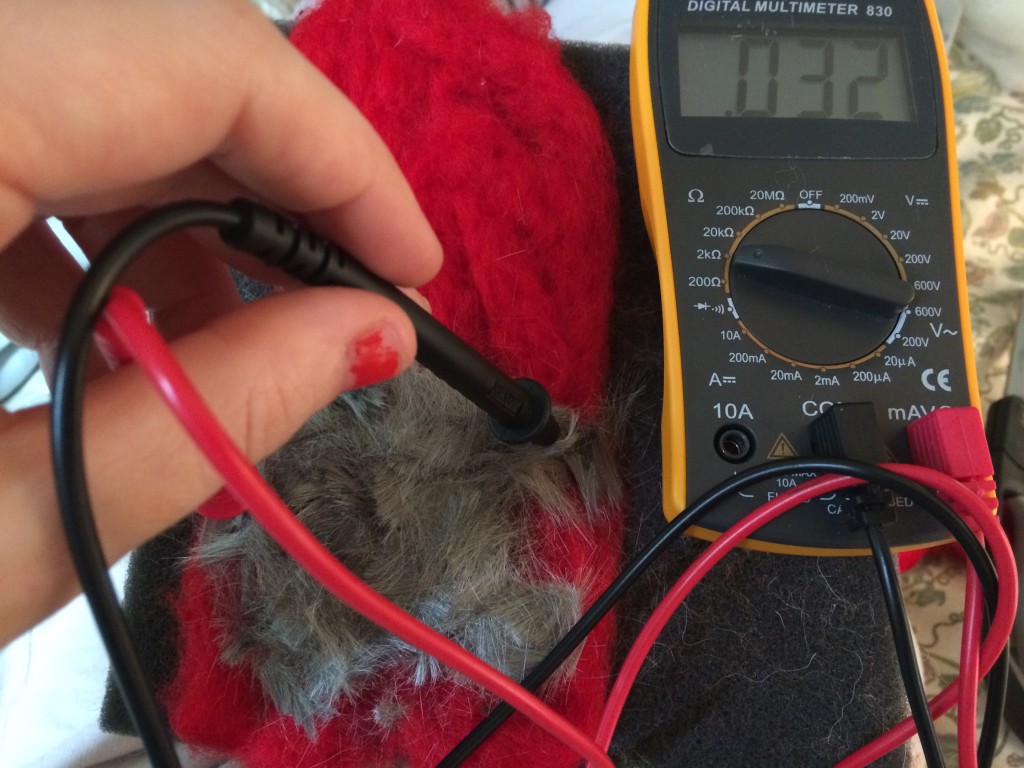
Tape on one side of the paper created the best sensor in terms of not being too sensitive and not sensitive enough.


sensorTest2sensorTest4


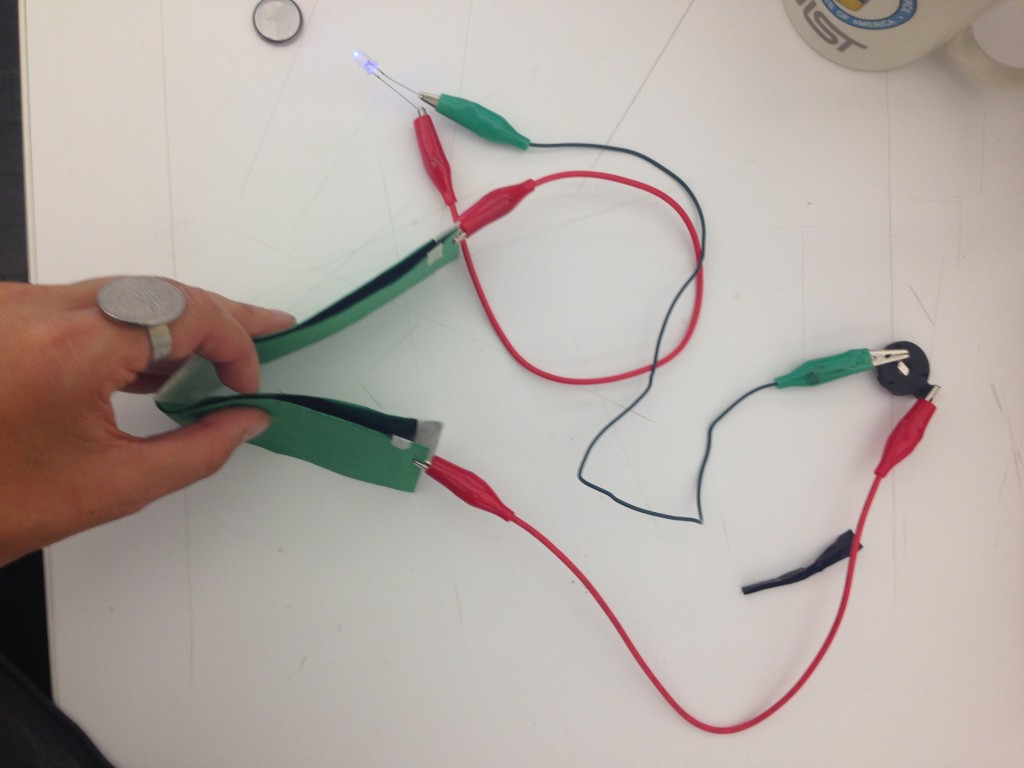
One row of tape was the least sensitive sensor, and the user needed to bend the sensor a lot.  Even if the sensor was bent in half, the sensor did not .  However, you could squeeze the sensor very tightly to see the full brightness of the LED.

sensorTest3sensorTest6

New Craft // Paper Engineering

Team // Denah Emerson, Lama Shehadeh, Nicole Messier, Niki Selken

We found this project to be really interesting. Each one of us took a different approach because we wanted to expand more the subject. We all had similar experiences even though we did different techniques. Patience, the right choice of material, and scoring the folds were lessons we learned the hard way.

1. Pop-up technique //

The building was done in Illustrator and then laser cut with scoring, which makes it deceptively simple to build. You probably want to ease up on the scoring, so that it is less fragile.

The pop-up book element (wheel with cam and rotating arm) is near impossible by hand, but quite wonderful when laser cut. You can attach some little figure to the rotating arm and then it goes back and forth like a little party as you wind the wheel. I love the little pivots. They’re secretly ingenious.

The red laser cutters are worlds better than the grey. Stay away from grey.

IMG_0115

IMG_0119

IMG_0120

2. Dynamic Origami //

A star that transforms into a circle.

origami

At first I tried to do a a cylinder that can compress and decompress, but the choice of paper made it impossible to have a neat execution. I tried three weights and it still failed, but it is still worth experimenting.

IMG_3868

IMG_3900IMG_3901

3. 3D Star //

IMG_0121

4. 3D Pattern //

IMG_0633

IMG_0635

IMG_0637


Sensor Tests

Here is a sensor test that I conducted. I sewed paths of conductive thread down muslin. The conductive thread is only on one side of the muslin. I used a multimeter to test how conductive the thread is. Perfect conductivity, like that of a steel wire, is at 0.0 resistance.

2014-09-23 19.02.40


Below: Here is a test of conductive thread of wide-stitched thread. The result is 3.3 ohms resistance.

2014-09-23 20.13.27

Below: Here is a test of conductive thread of tight-stitched thread. The result is 3.3 ohms resistance.

2014-09-23 20.13.17

Below: Here is a test of conductive thread of medium-stitched thread. The resistance is 2.8 ohms.

2014-09-23 20.13.58

Below: Here is a test of conductive thread that was run backwards and forwards multiple times. The resistance is 0.4 ohms.

2014-09-23 20.14.18

Below: Here is a test of conductive thread that was run backwards and forwards multiple times at the ends to allow for alligator clamping. The resistance is 2.8 ohms.

2014-09-23 20.14.38


by Joselyn McDonald

Week 5 Slides

Screen Shot 2014-09-24 at 10.47.54 PM

Here are the *updated* slides from this week. Please note that to keep things simple, we will only be dealing with pull-up resistors. For further learning around this check out these sites from Make, Sparkfun, and Berkley.

Week 5: Assignment

1) Behavior story! Pick a behavior (breathing, talking, etc) or emotion (sad, lazy, existential, etc) and create a circuit that exhibits this using the Arduino (or Lilypad), a switch (not sensors!), and an LED (or 2 or 3…). You should construct your switch and circuit traces using the techniques we have been learning in class. It should NOT be on a breadboard and you will probably need alligator clips.

2) Tell a story about your object. What is it feeling? How do you display this through code?

3) Bring your sensors from the previous week. We will plug them into Arduino.

Assignment 4 // Sensors

I decided to use the conductive material as my variable. I used an LED light, alligator wires, wires, a coin battery, a piece of regular fabric, velostat, and 3 conductive materials: copper tape, copper fabric, and med tex fabric. I first assumed that the fabrics would be more conductive than the tape thus allowing the LED to shine more, but surprisingly the light was just as bright.

Copper tape

Copper Fabric

Med Tex fabric

In-Class assignment – Sensors

I redid my sensor test using conductive fabric. I hypothesized that the greater the surface area, the greater the Ohms when tested with a multimeter.

The result was the following:

Conductive fabric multimeter test

Smaller amount of conductive wool: .007 Ohms

Larger amount of conductive wool: 0.32 Ohms

Larger amount of conductive wool: 0.32 Ohms