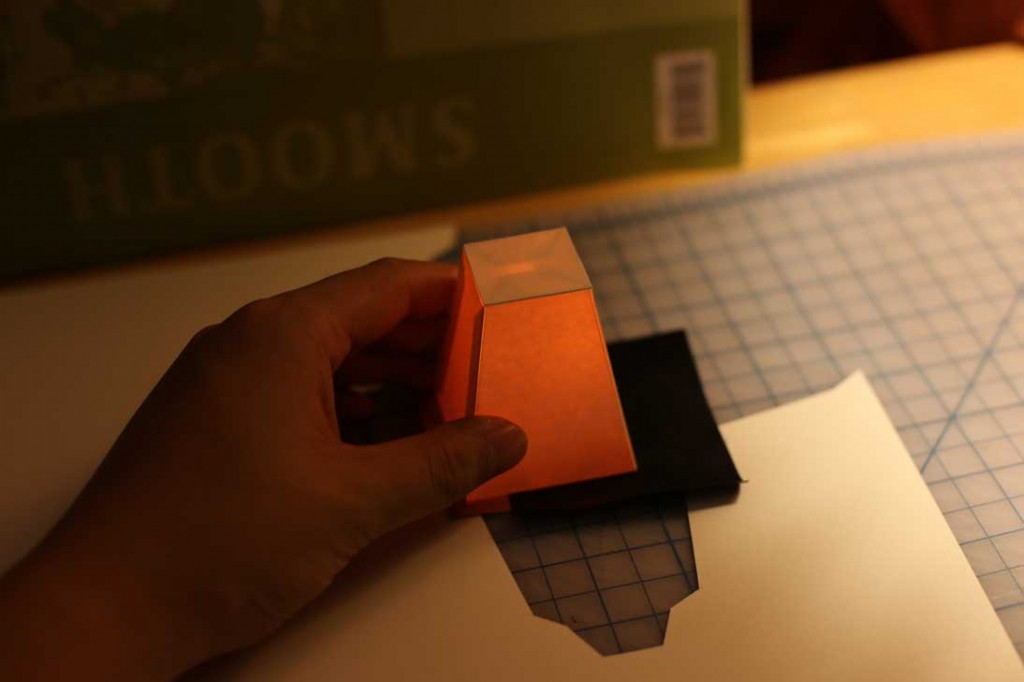
A lantern that breathes!
Category Archives: Assignments
Assignment 5 – Anthropomorphization with LEDs
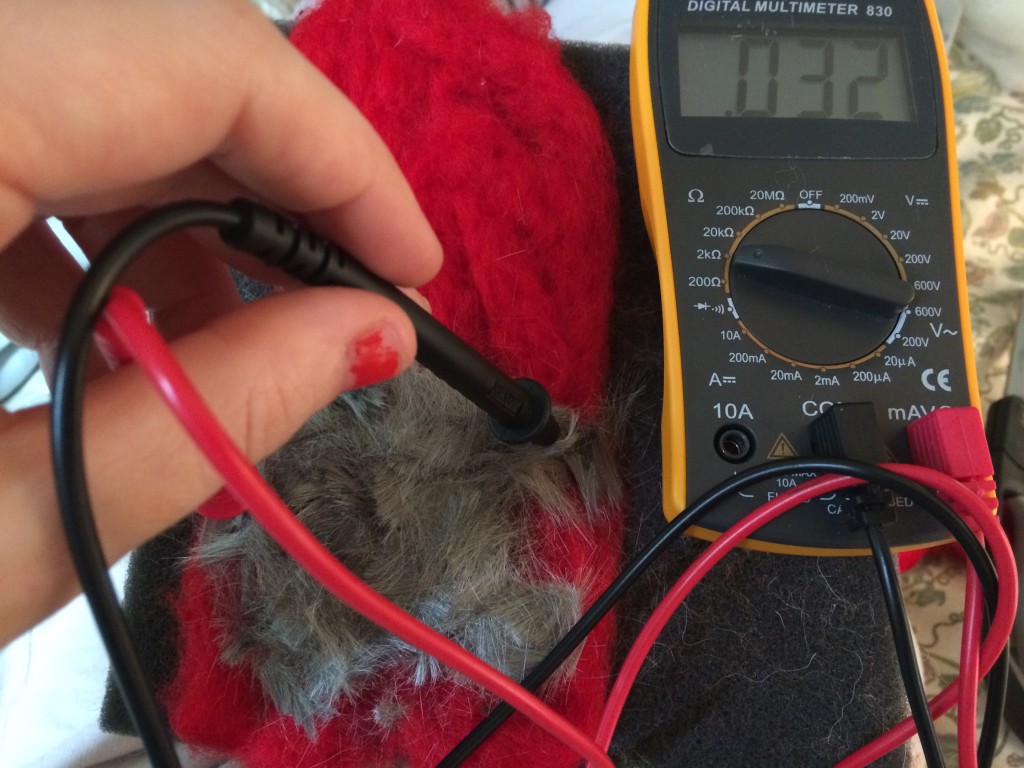
This is a hand needle felted dancing Kitsune, a Japanese mythical creature whose tail lights up. Kitsune are known for being tricksters, at times malicious ones, but generally are playful. The rapid lighting of the LED (controlled by Arduino) signifies that this is a playful Kitsune.
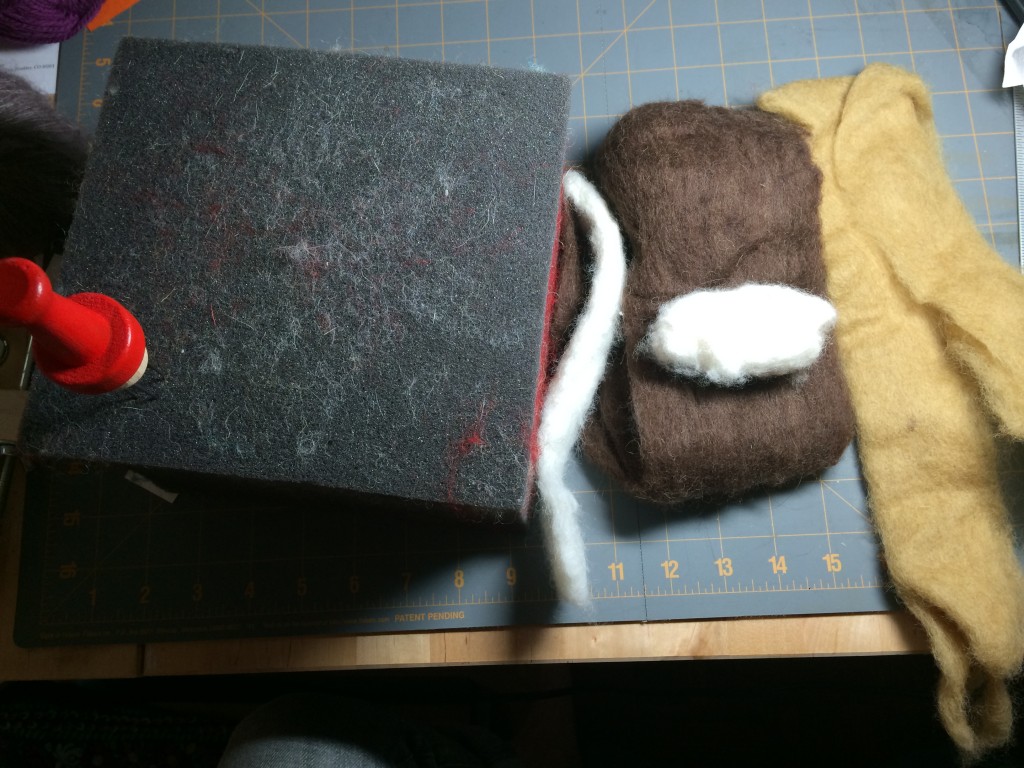
felting needles, felting block, wool roving
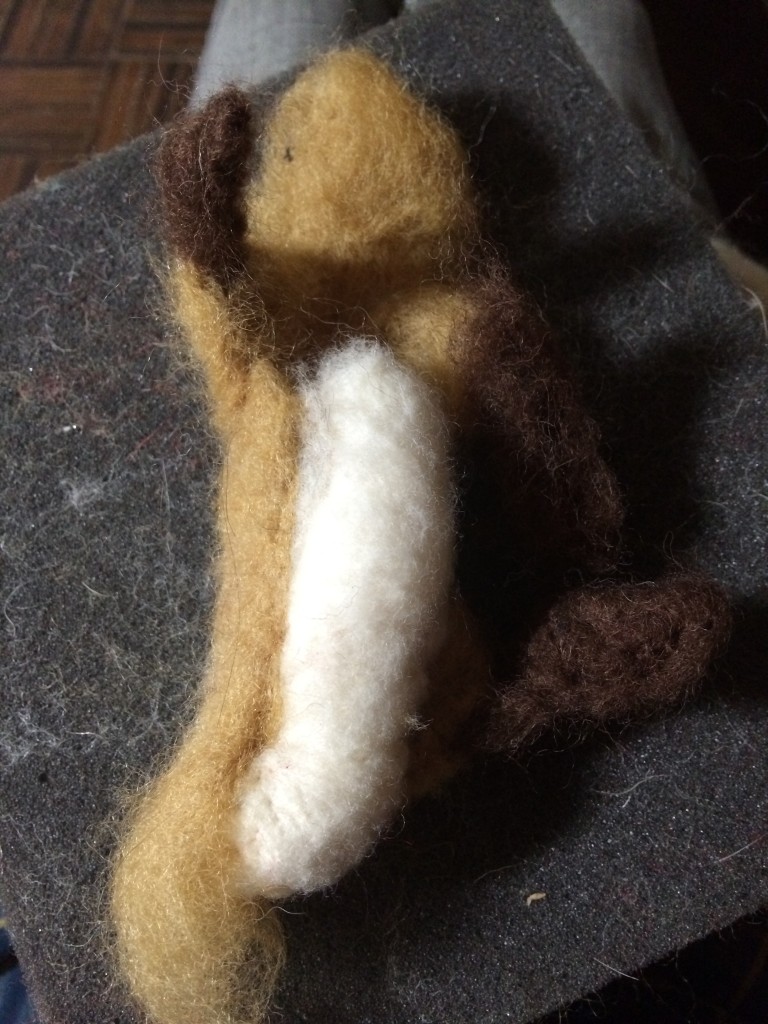


wires felted inside the tail
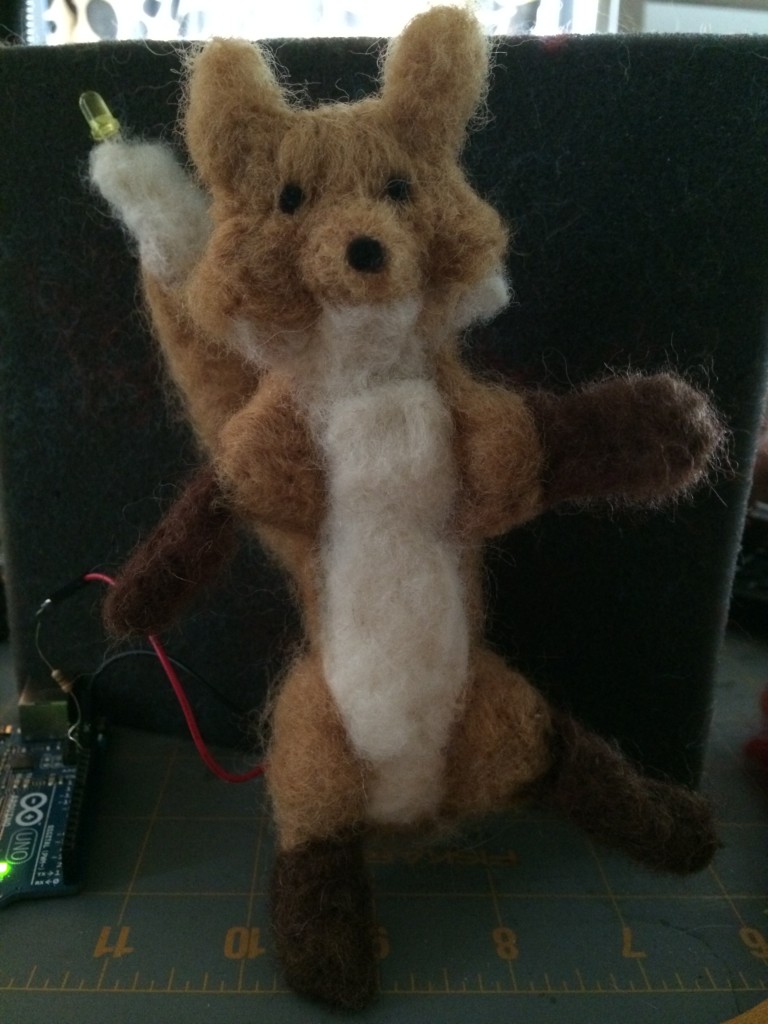
Completed Dancing Kitsune
Playful Dancing Kitsune (no switch)
Week5: Emotional LEDs
Title: Midterm is coming… T—T
Let’s cheer up, all! ^—^ v
Arduino set up (8 x LEDs, 8 x 330ohm, 10 x wires), Embroidery floss for lines, Chenille stems for eyes on two layers, a piece of traditional Korean paper and a piece of blue fabric
Week 4 – Sensor
I created a pressure sensor with paper, conductive fabric, and velostat. The more pressure the velostat has, the brighter the led becomes.

Directly connected without velostat: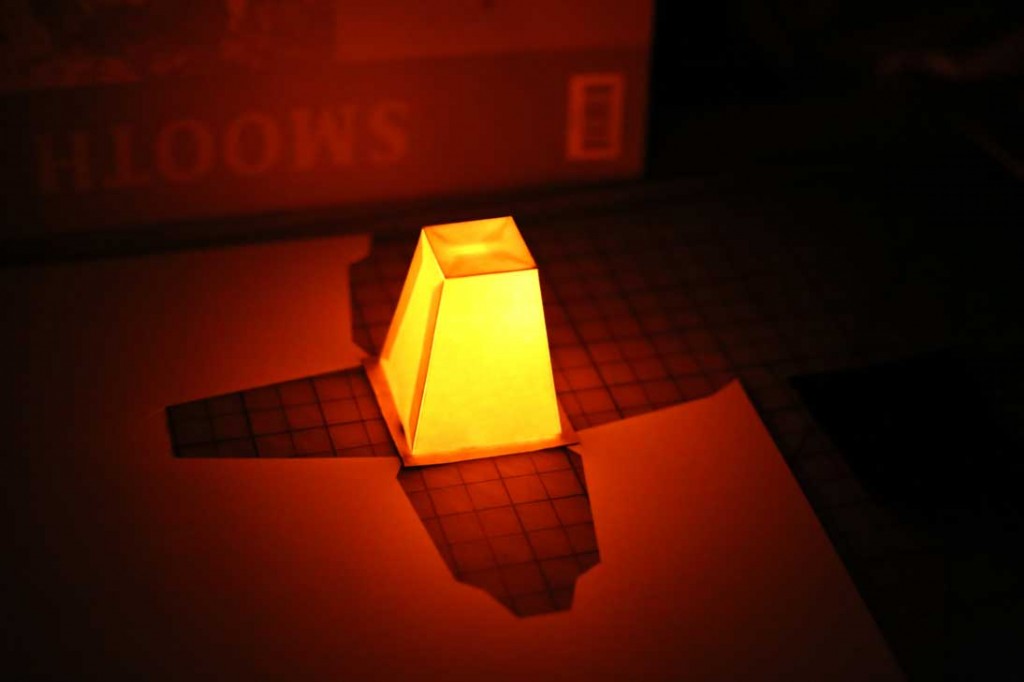
Sensor Tests
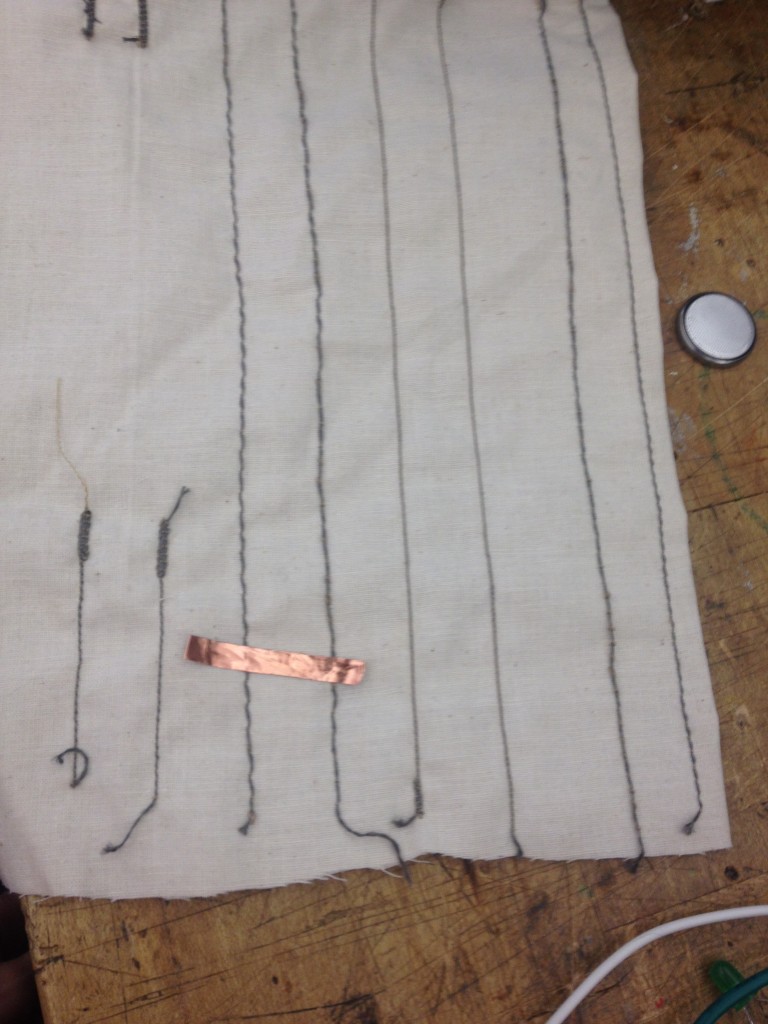
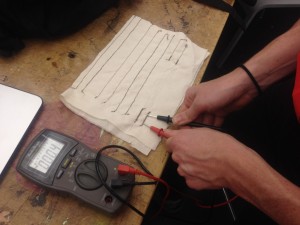
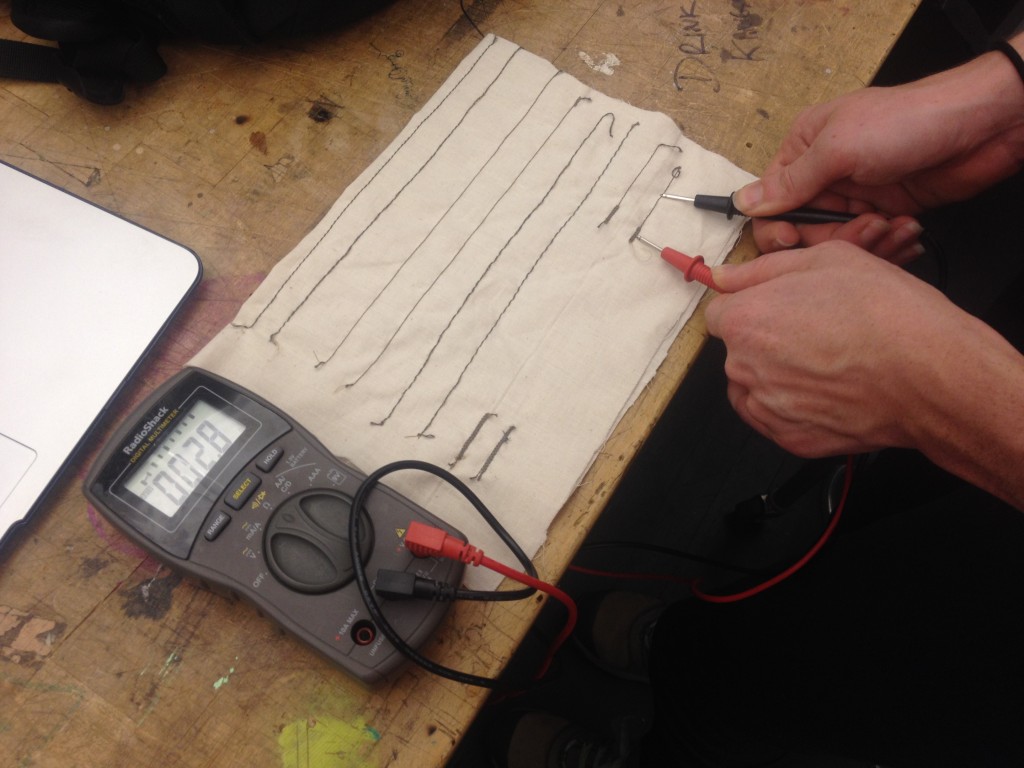
Here is a sensor test that I conducted. I sewed paths of conductive thread down muslin. The conductive thread is only on one side of the muslin. I used a multimeter to test how conductive the thread is. Perfect conductivity, like that of a steel wire, is at 0.0 resistance.
Below: Here is a test of conductive thread of wide-stitched thread. The result is 3.3 ohms resistance.
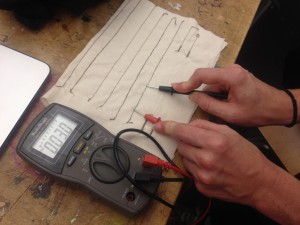
Below: Here is a test of conductive thread of tight-stitched thread. The result is 3.3 ohms resistance.

Below: Here is a test of conductive thread of medium-stitched thread. The resistance is 2.8 ohms.

Below: Here is a test of conductive thread that was run backwards and forwards multiple times. The resistance is 0.4 ohms.
Below: Here is a test of conductive thread that was run backwards and forwards multiple times at the ends to allow for alligator clamping. The resistance is 2.8 ohms.
by Joselyn McDonald
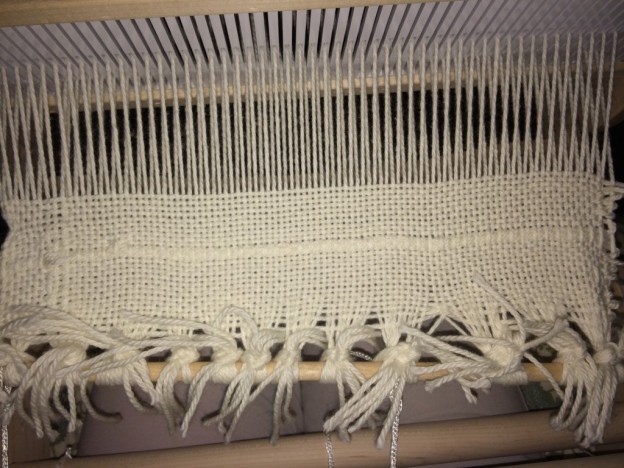
Weaving, part two: after watching the YouTube video a million times
I watched the YouTube video on a loop until I finally got the loom warped correctly.
Week 5: Assignment
1) Behavior story! Pick a behavior (breathing, talking, etc) or emotion (sad, lazy, existential, etc) and create a circuit that exhibits this using the Arduino (or Lilypad), a switch (not sensors!), and an LED (or 2 or 3…). You should construct your switch and circuit traces using the techniques we have been learning in class. It should NOT be on a breadboard and you will probably need alligator clips.
2) Tell a story about your object. What is it feeling? How do you display this through code?
3) Bring your sensors from the previous week. We will plug them into Arduino.
In-Class assignment – Sensors
I redid my sensor test using conductive fabric. I hypothesized that the greater the surface area, the greater the Ohms when tested with a multimeter.
The result was the following:
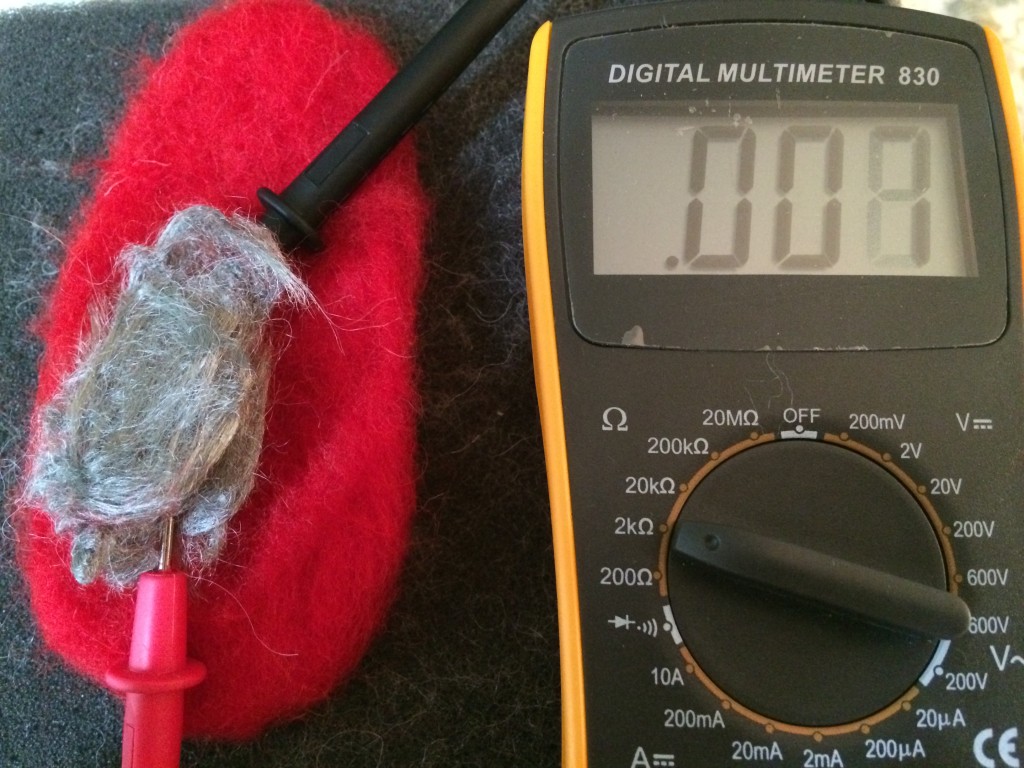
Smaller amount of conductive wool: .007 Ohms
Larger amount of conductive wool: 0.32 Ohms
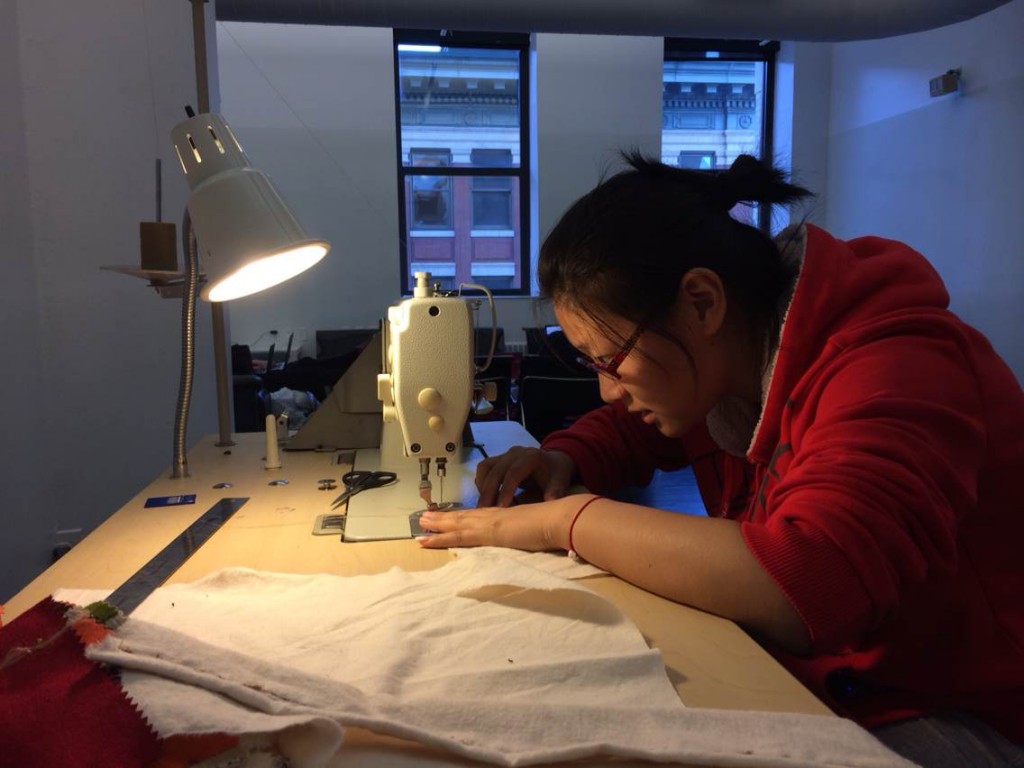
Week 4 – Learning New Craft – Sewing – Group
Group Member: Grace Tingshan Gou, Elena Yang Wang, Tim Xiaofeng Lin
Description:
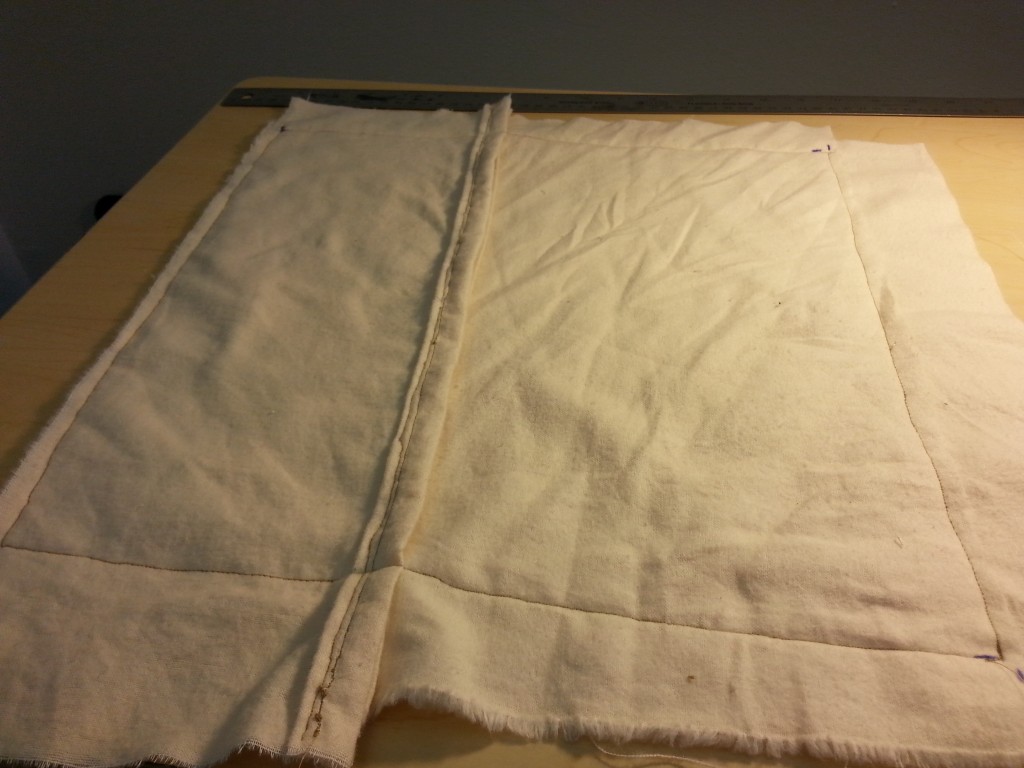
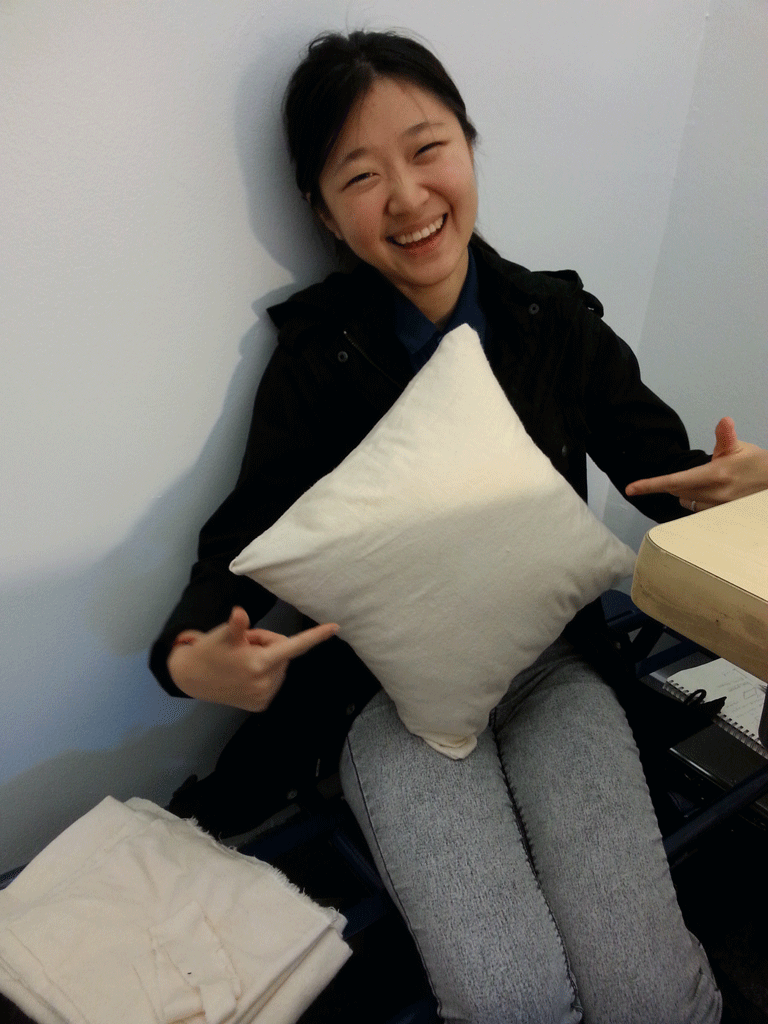
Our group wants to start something really basic and normal, no fun no technologies at all. The result is a pillow. We bought one yard material from Mood and a 14″ x 14″ pillow as a start.
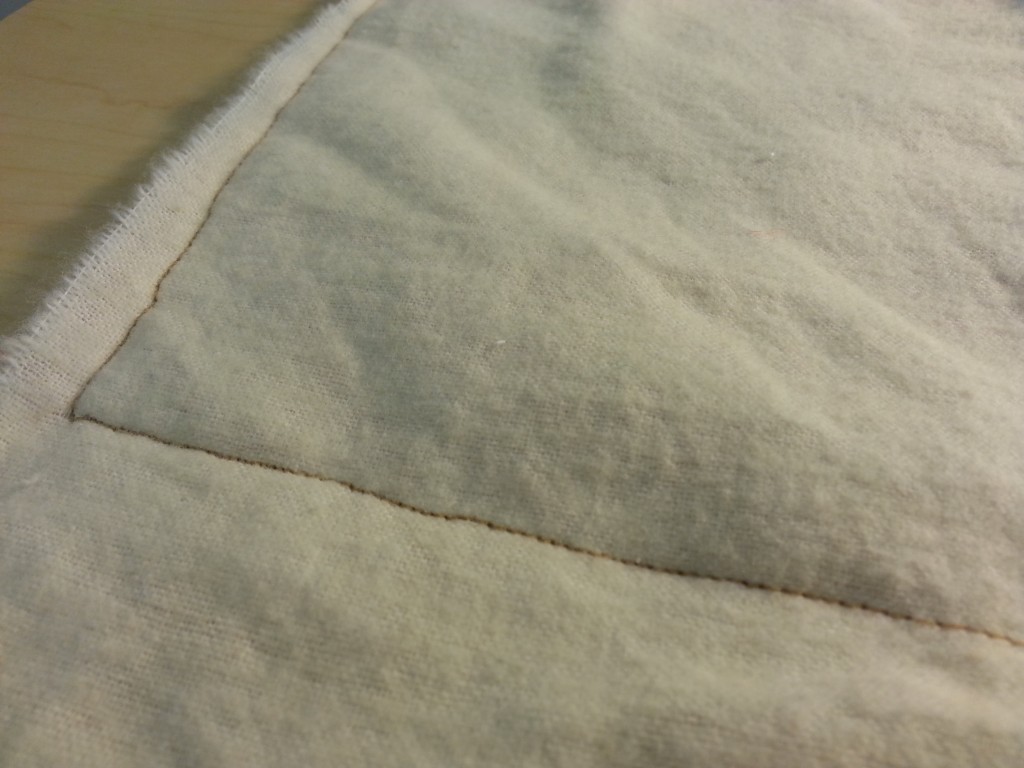
1. We cut the materials into three pieces: 15″ x 15″, 15″ x 10″, 15″ x 8″, and folded the edges half inch inside and sewed them two times.
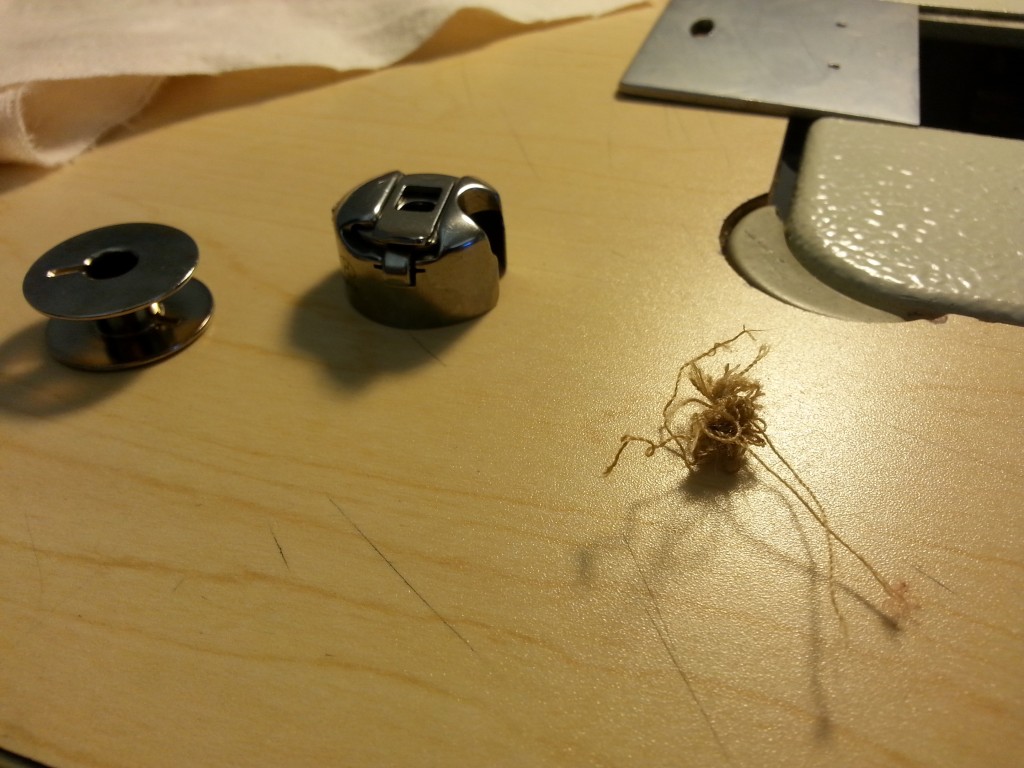
2. At first the pace of my foot and the speed moving the material didn’t fit each other, so the threads were messed up and stuck into each stitch along sewing.
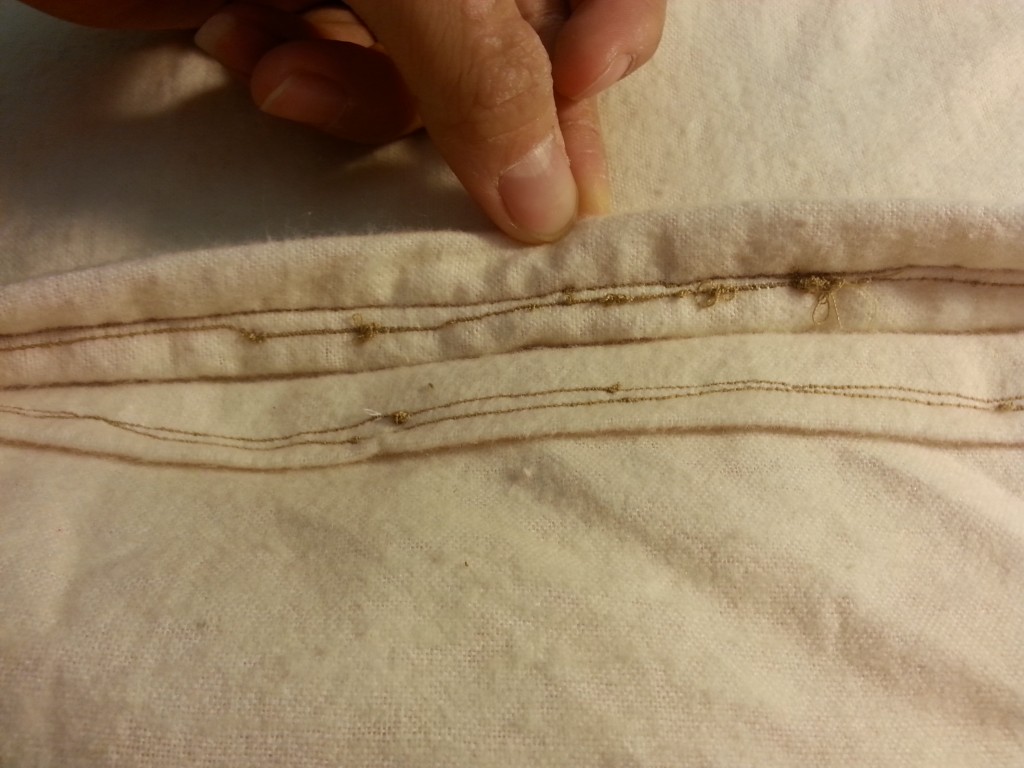
3. But then when we find the right pace everything came along. Apart from the pace, lining them straight was also very difficult. As can be seen below, it was not a perfect square.
4. Done! When we folded them inside out, everything looked perfect again. We wanted to manually sew some decorations onto this little pillow and give it to someone as a gift:)
sensor materials
I decided to go about testing distance with various materials. The first material I used was velostat. I taped a strip to a ruler with electrical tape and connected on end to a battery and led, with the other end connected through a paperclip. the distance was also measurable on the other side. As I had anticipated, this material produced the largest change in resistance by distance.
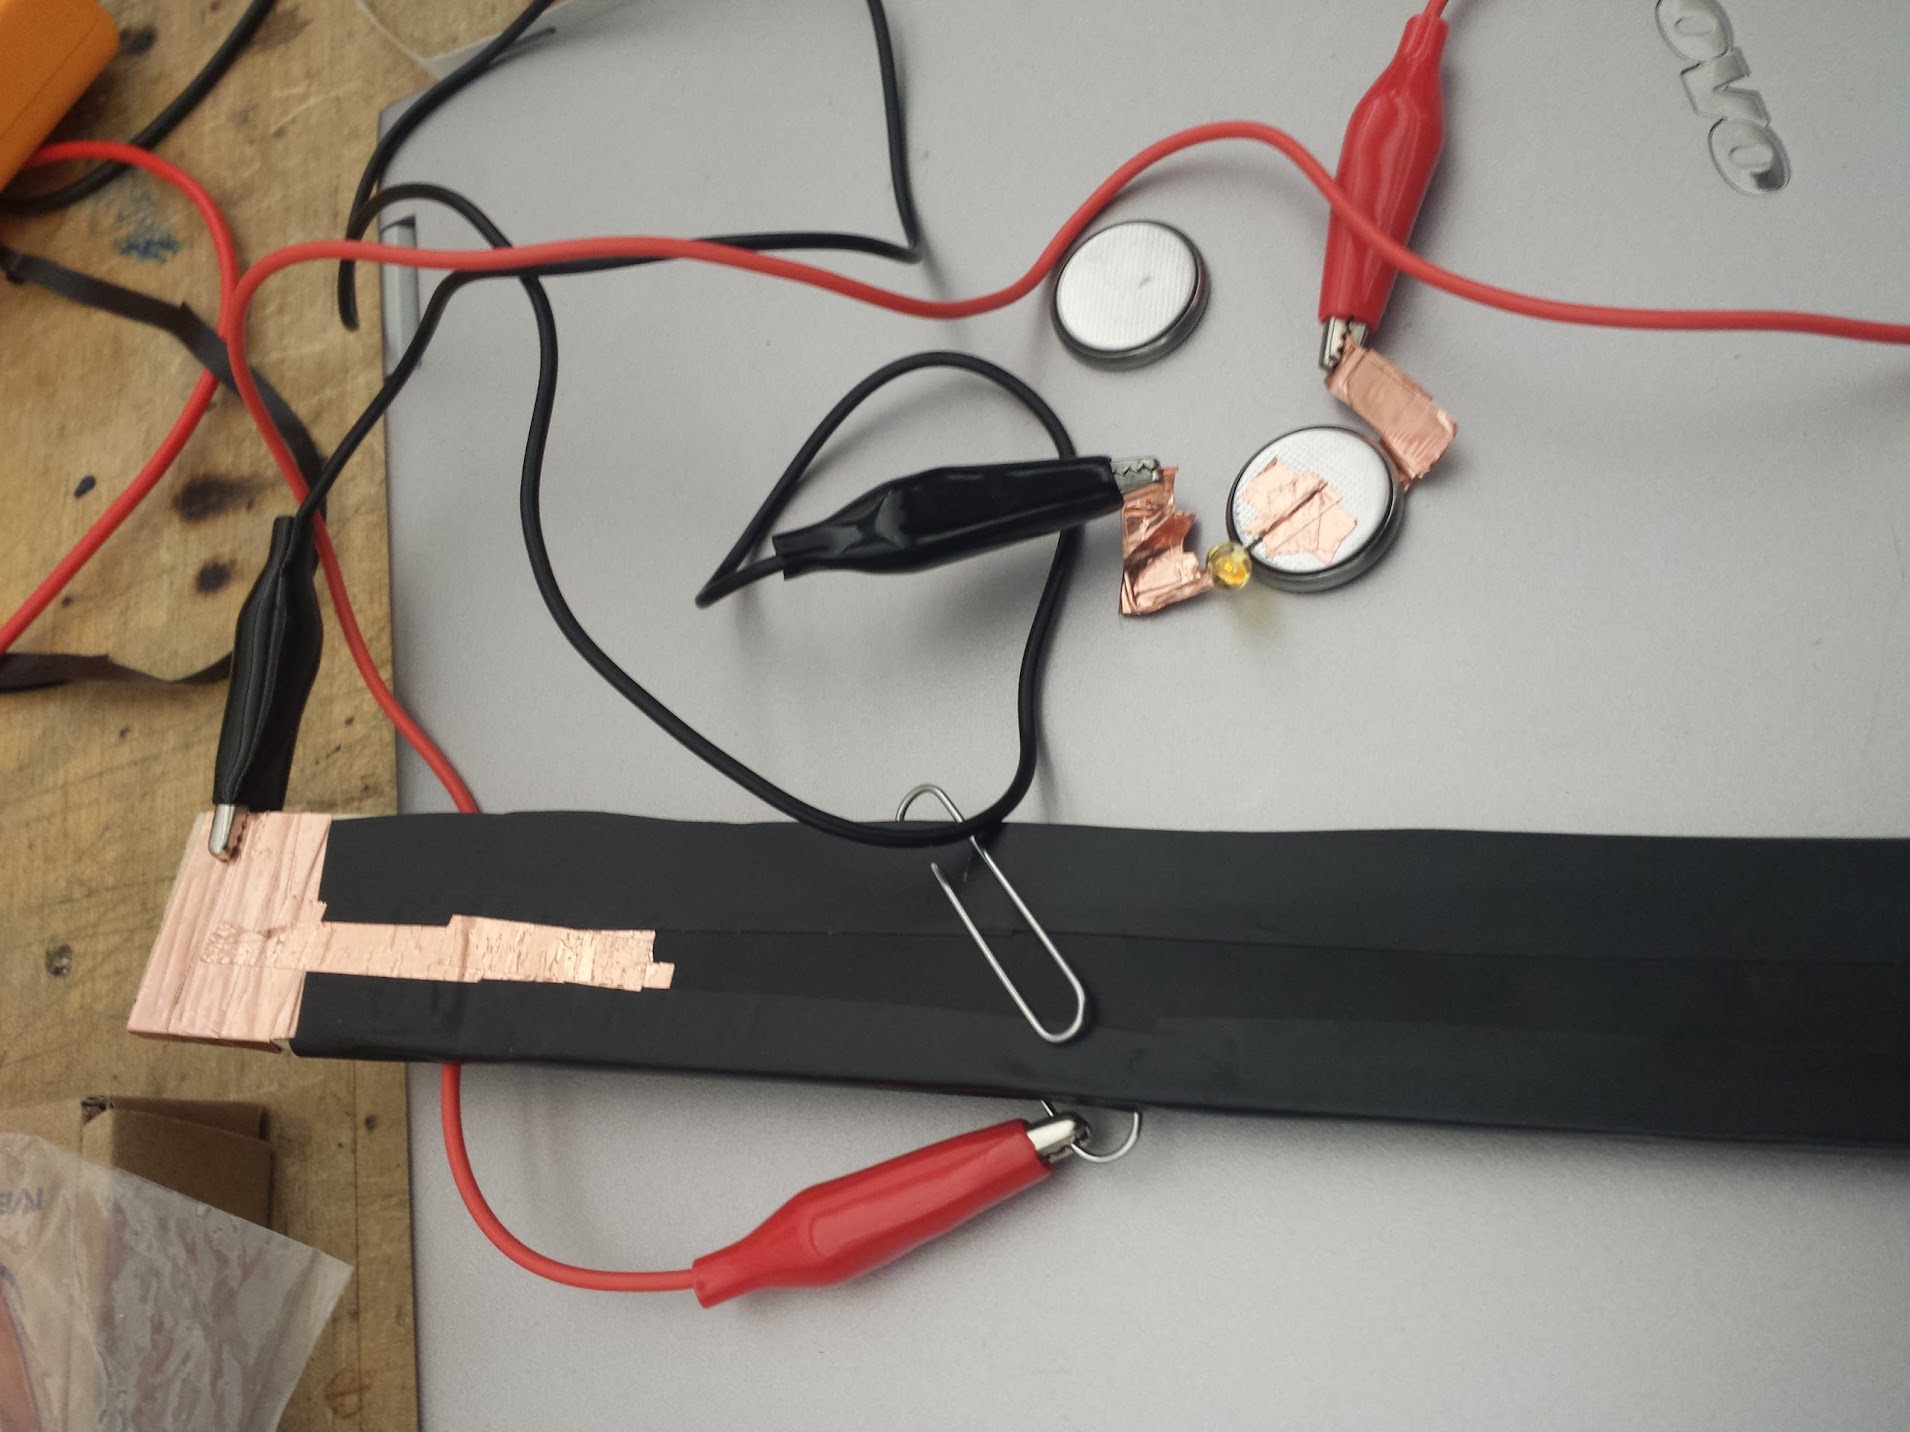
Next, I tried copper tape. Testing the 3 different lengths proved negligible to the LED.

The third was the copper colored conductive material. The change in brightness also seemed negligible. Although the increased distance seemed to actually be a bit brighter, I’m assuming any differences were circumstantial.
