Category Archives: Assignments

New testing materials

ORIGAMI project


GROUP name : hell yeah paper

members : GI SUNG LEE, ALEC MCCLURE, XIAOQI LIU


introduction of paper:

uncoated papers : carried by art stores and paper distributors. There are colored papers and embossed finishes. Their fibers align in one direction, making folding easy.

Coated Papers : highly smooth surfaces on one or both sides and are available in gloss or dull finishes of various brightness. The colored papers are good for torn sculptural effects or collage. because they reveal an attractive white edge when torn.

Handmade papers : are generally produced from cotton or linen rags and used by watercolor and etching artists. They are available from art supply stores and handmade paper companies. Their sculptural qualities are superb, because the fibers occur in a random pattern.

Specialty papers : include crepe, tracing and corrugated papers – in fact, all of the papers that fall outside of the other three groups.


history of the paper

paper derived from papyrus, the name of ancient egyptian material used to as a medium for writing

egyptian map is the earliest known folding of paper (same as modern road map)

wood-pulp based papers in china allowed intricate designs, first invented by Cai Lun in the 2nd century bce

first Japanese origami dated to 6th century ad


requirements 

super thick card stock paper (50-110 lb)???????(medium thick)

printer

scissors

ruler

cutting pad

x-acto knife

glue gun or liquid glue

folding bone

cut line vs mountain fold vs valley fold

http://wp.robertsabuda.com/wp-content/gallery/tiger/fold-types.jpg


different examples of different kinds

-3d torso

http://www.mymodernmet.com/profiles/blogs/paper-torso-with-removable-organs

-anatomical cross-sections

http://www.thisiscolossal.com/2012/02/anatomical-cross-sections-made-with-quilled-paper-by-lisa-nilsson/


-geometric forms from matthew shlian

http://www.thisiscolossal.com/2012/08/new-geometric-paper-art-from-matthew-shlian/

Mafoombey Acoustic Space by Martti Kalliala and Esa Ruskeepaa

Mafoombey Acoustic Space – Martti Kalliala & Esa Ruskeepää

http://mydesignfix.com/2009/12/14/mafoombey-acoustic-space-martti-kalliala-esa-ruskeep/

book recommended:
Paper Craft School:

Paper: Tear, Fold, Rip, Crease, Cut
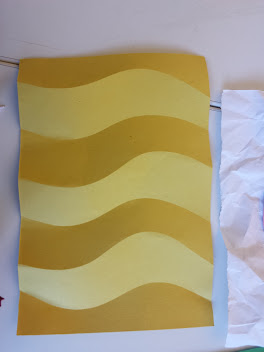
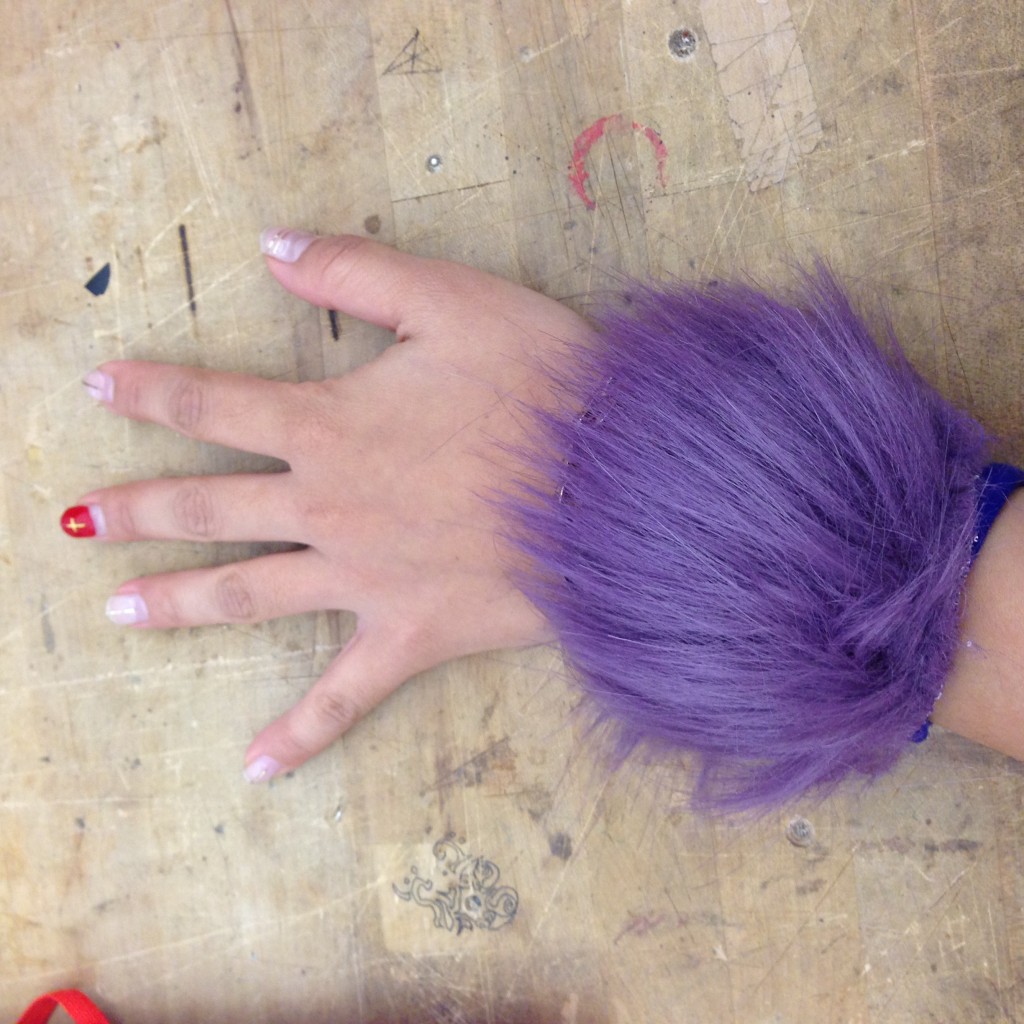
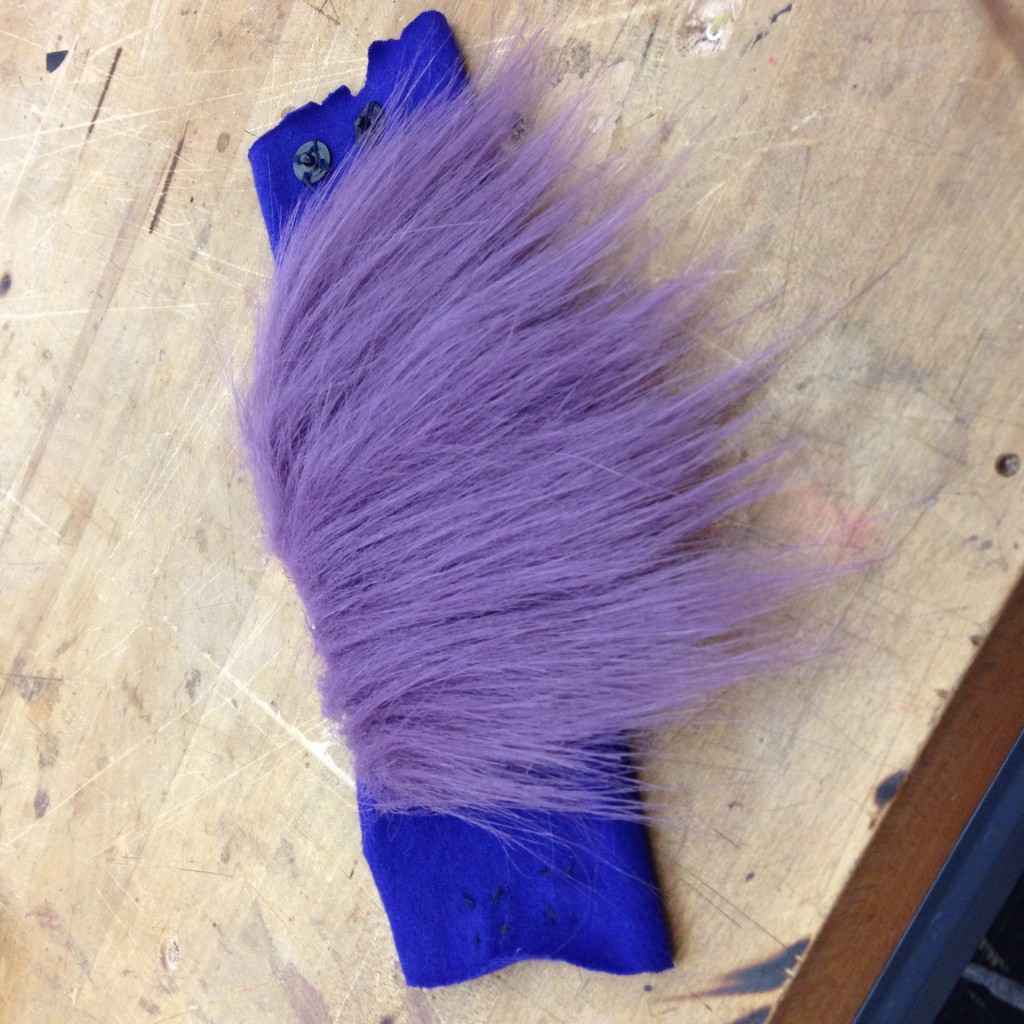
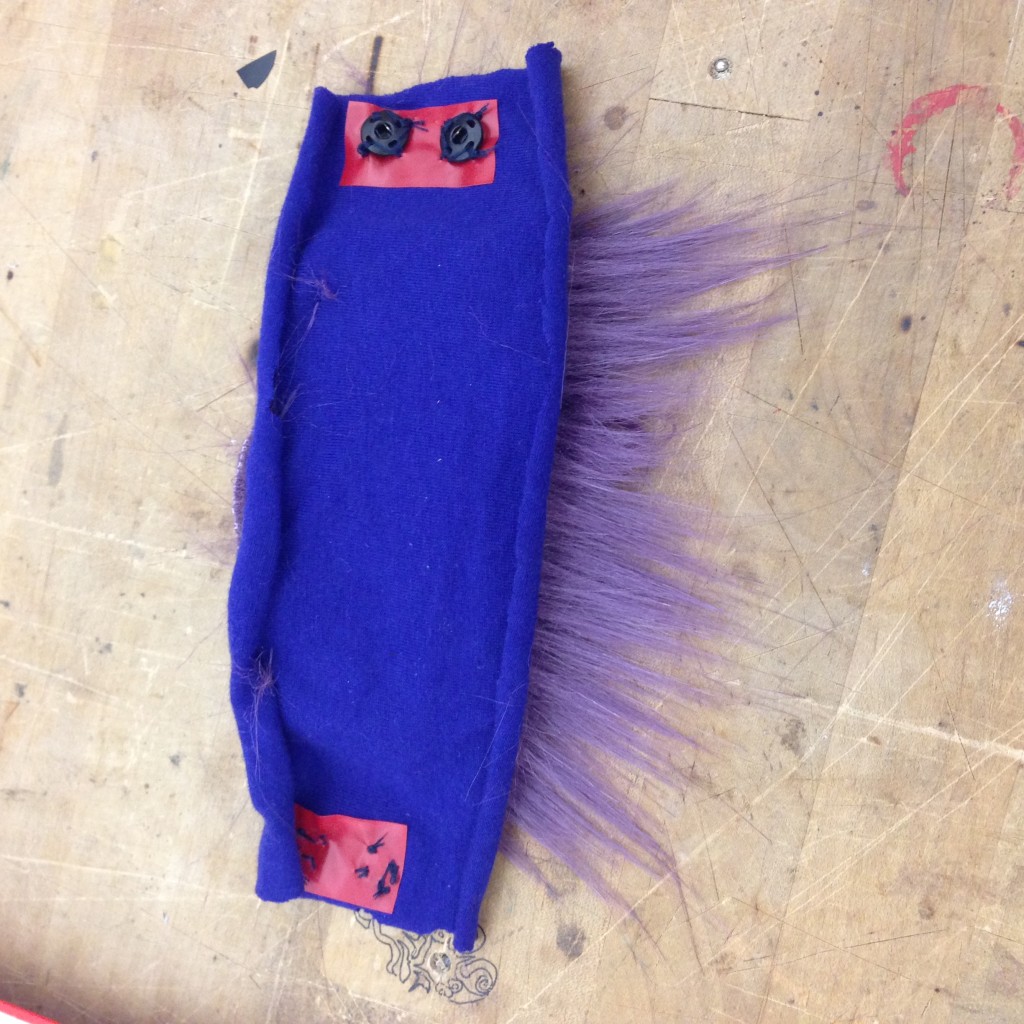
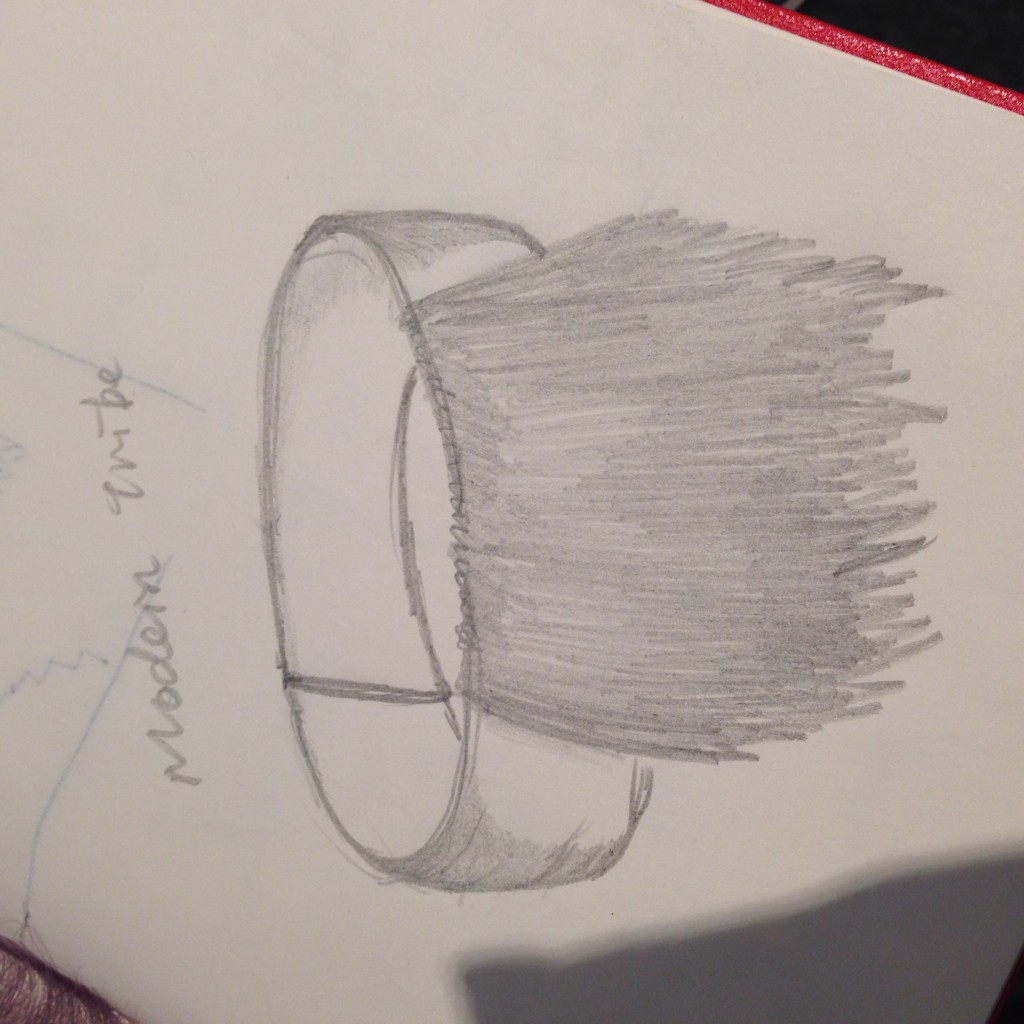
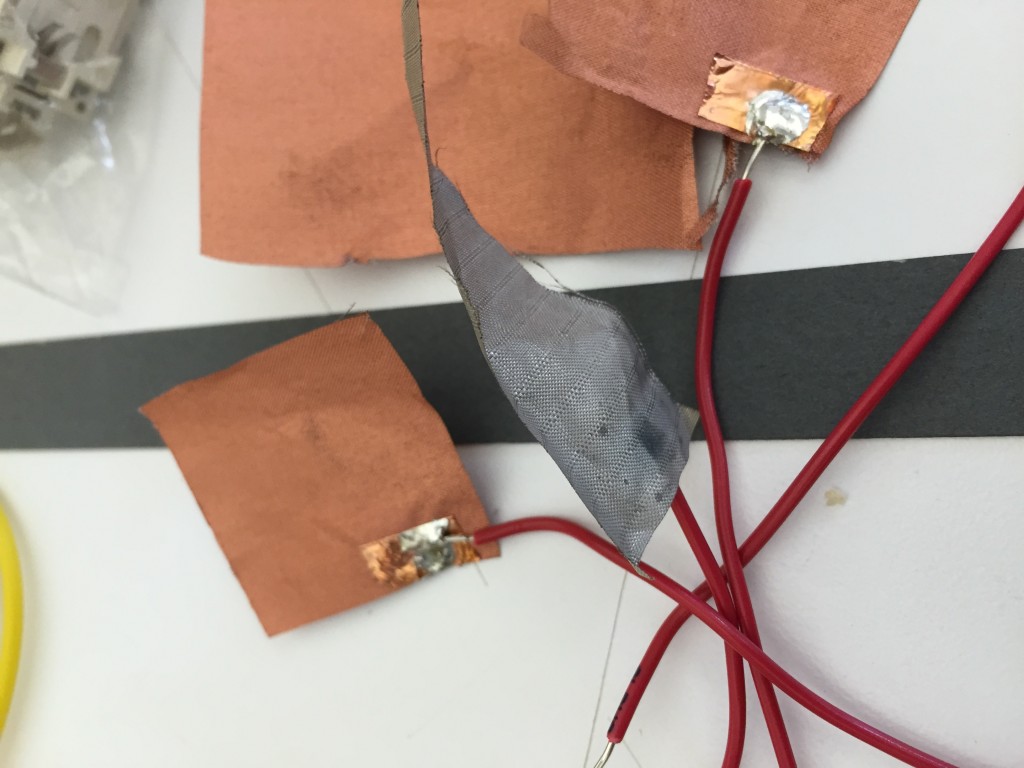
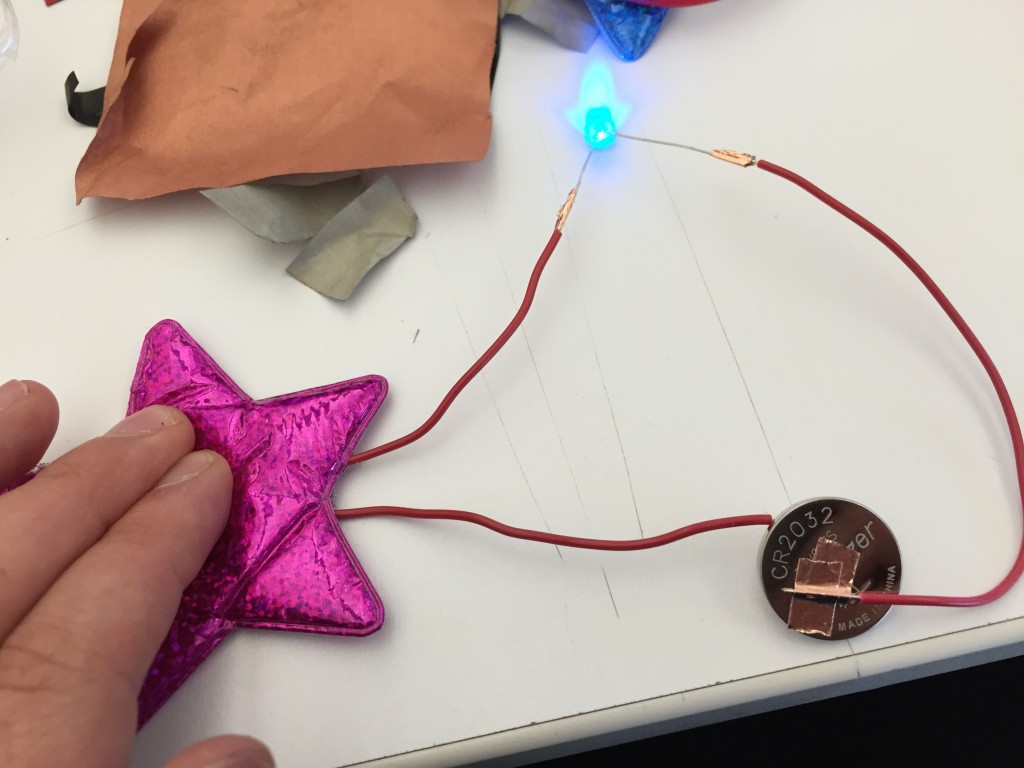
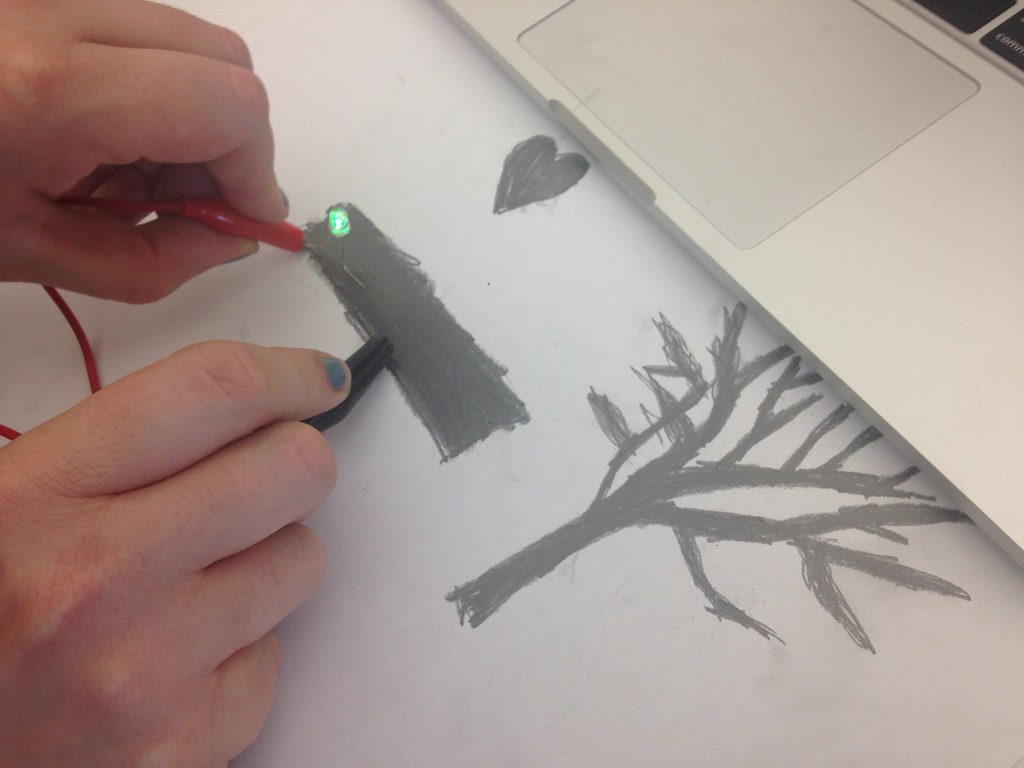
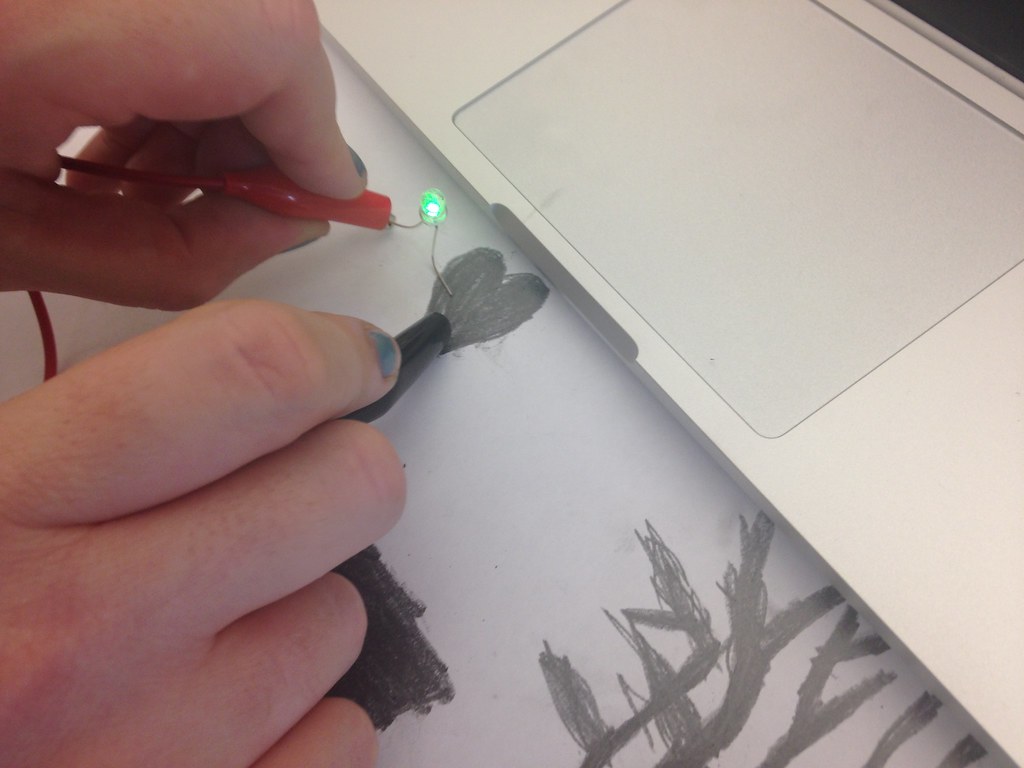
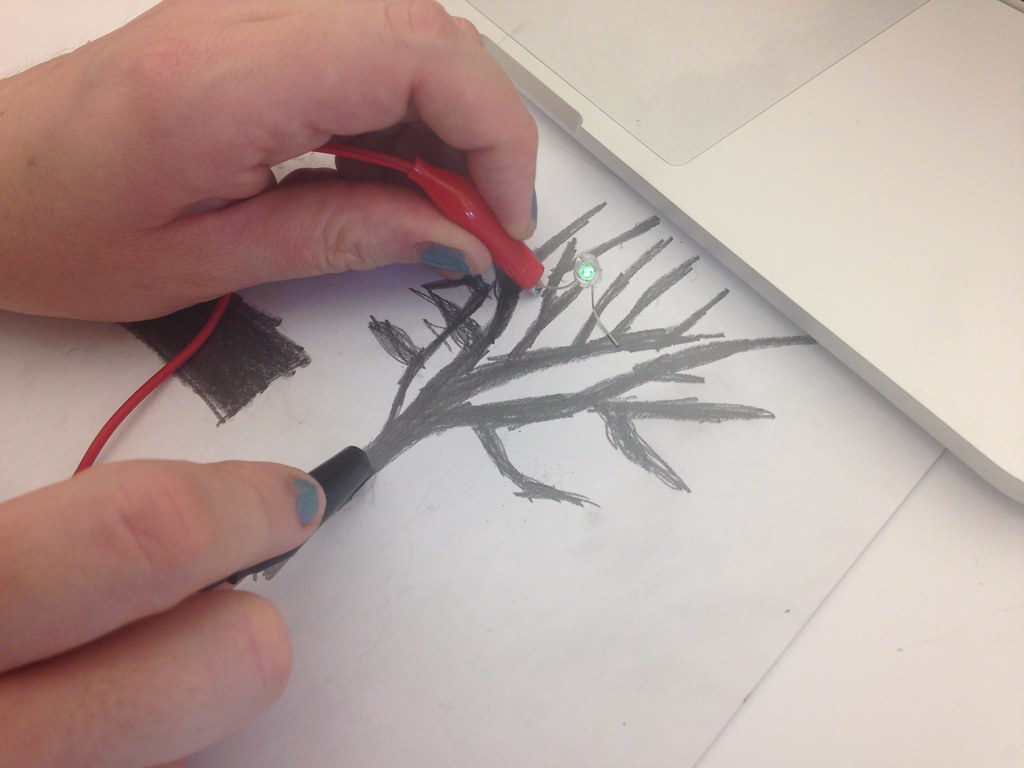
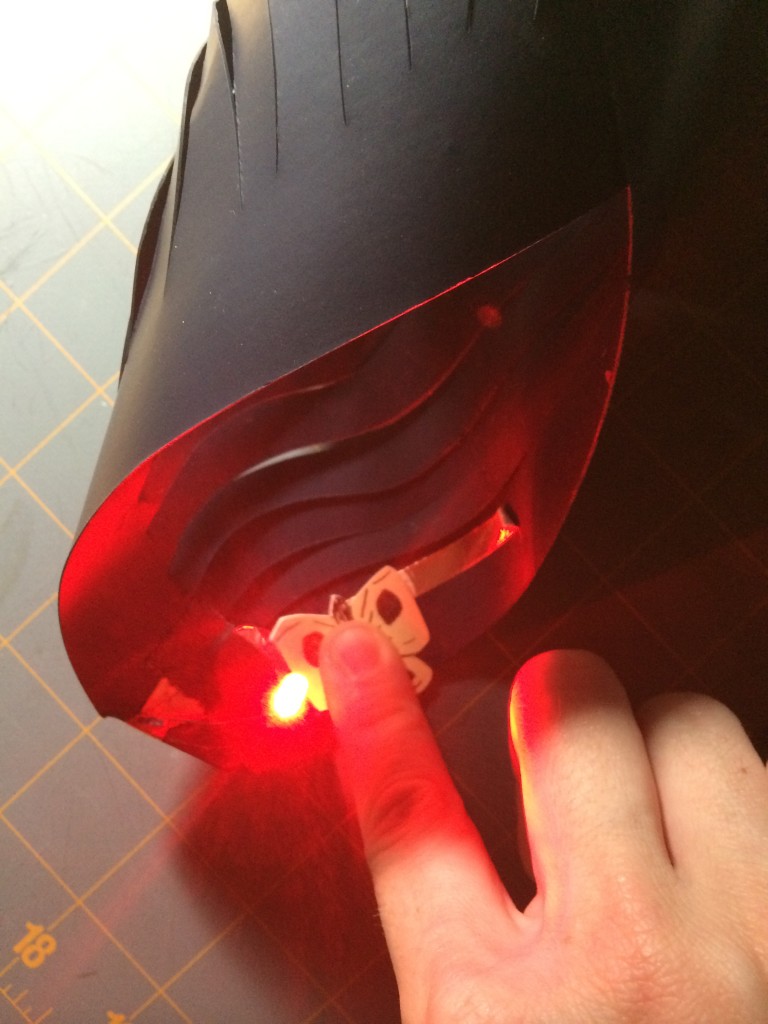
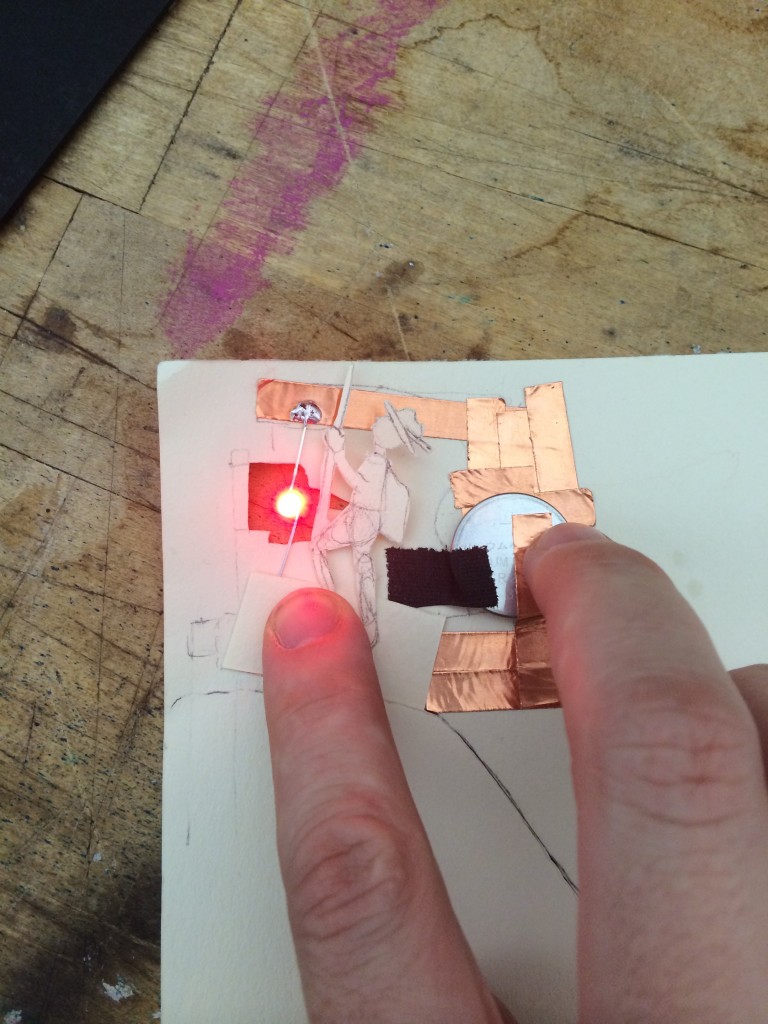
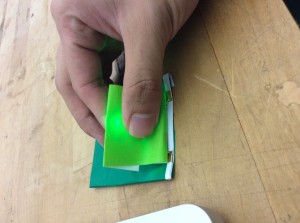
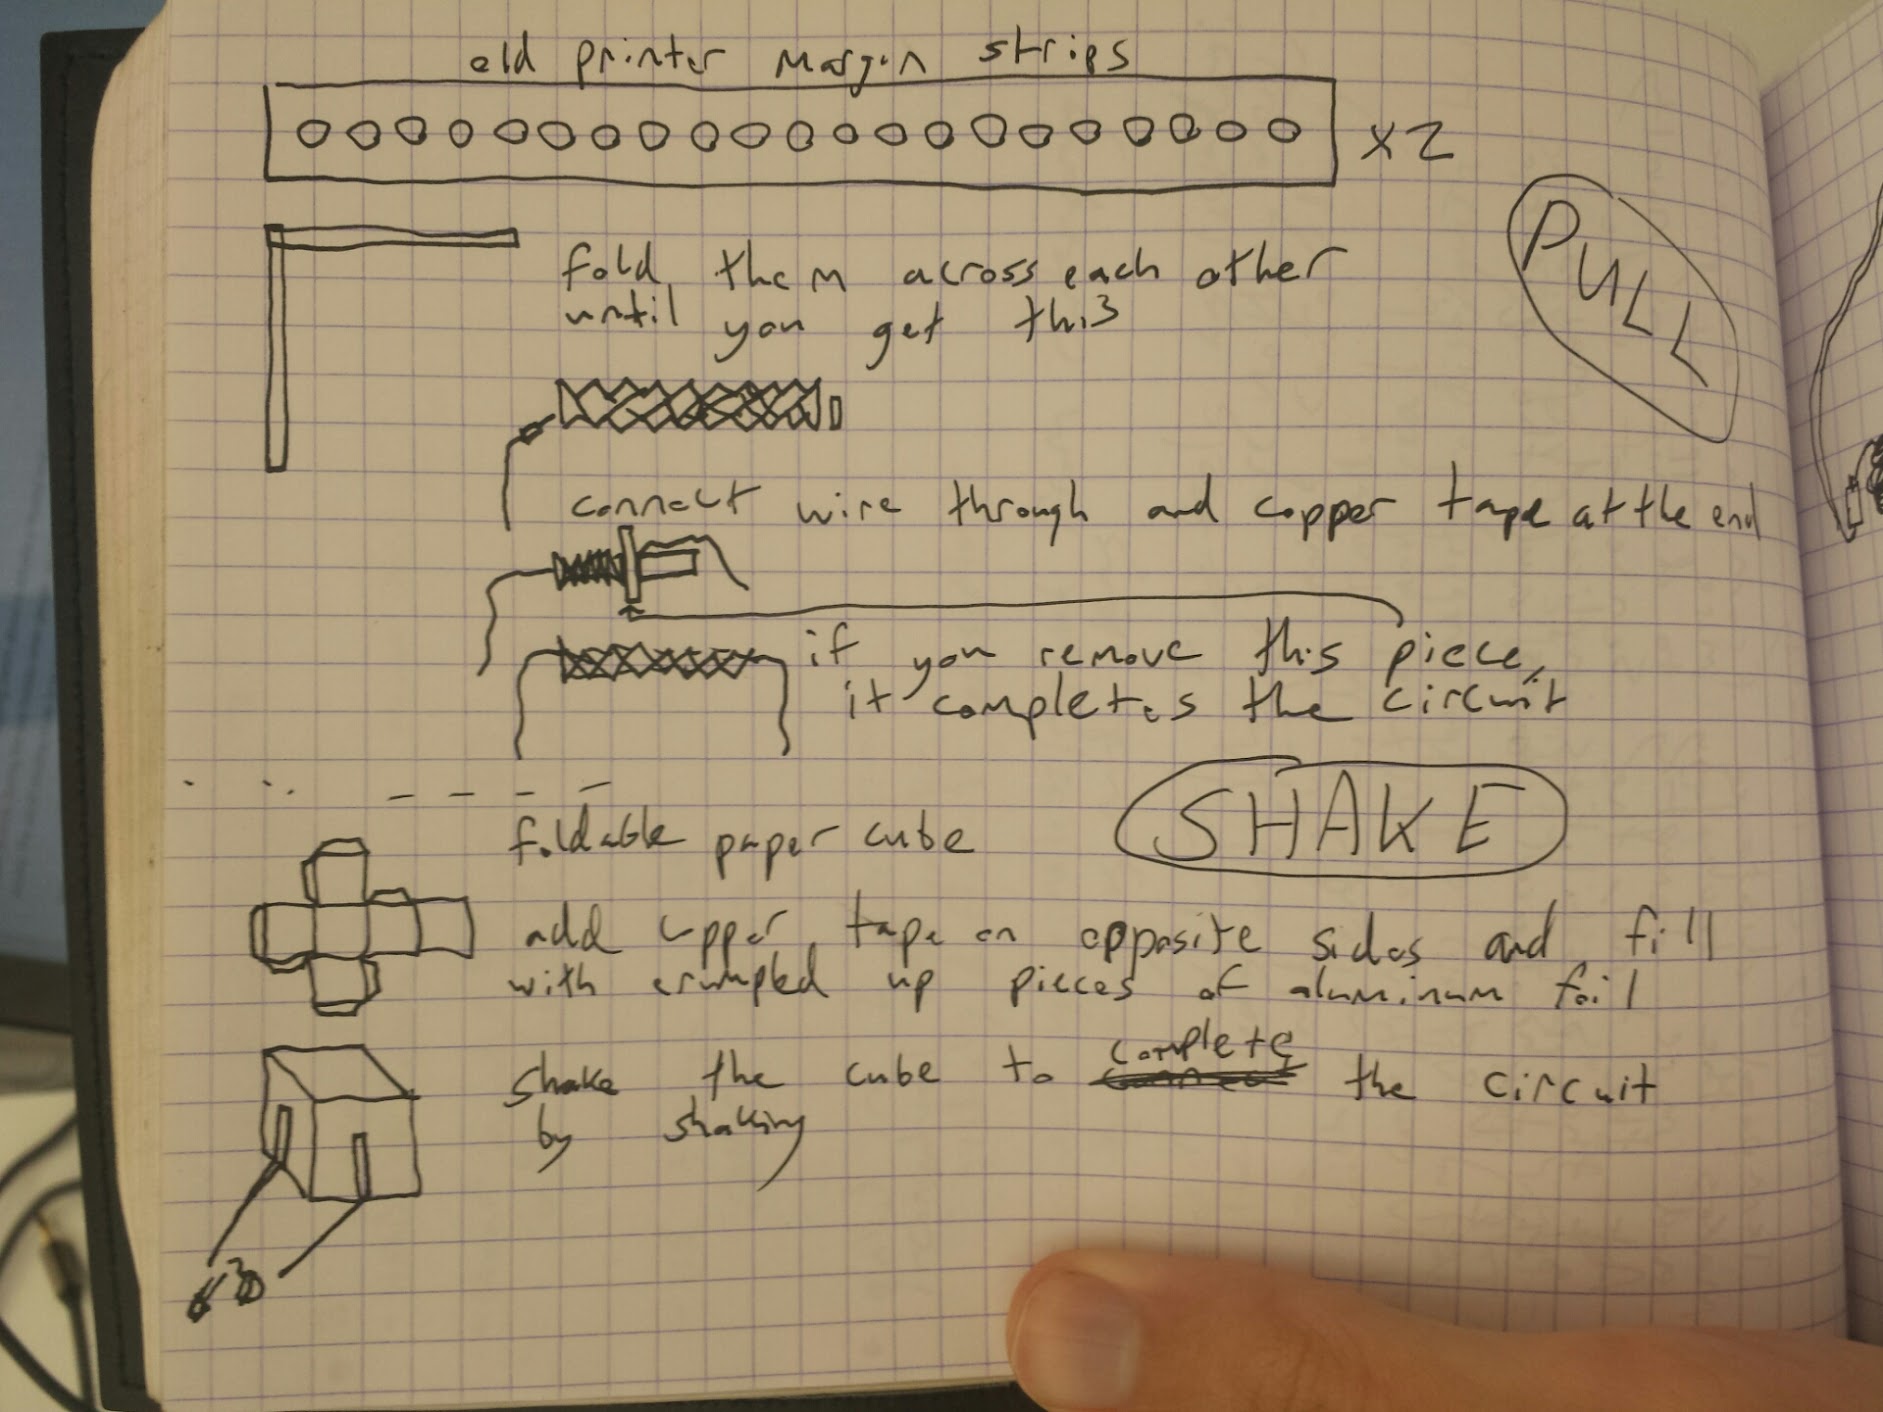
http://www.amazon.com/Paper-Tear-Fold-Rip-Crease/dp/1906155585/ref=sr_1_1?s=books&ie=UTF8&qid=1411499726&sr=1-1&keywords=paper+tear+fold+rip+crease+cut


what we made


Week4: Analog Pressure Sensors

Test 1: Sponge, LED, two pieces of conductive fabric

In this test, the LED just lights on and off according to the palm pressor.

Test 2: Sponge, LED, two pieces of conductive fabric, a piece of velostat

As you can see, in this one, the LED has adjusting brightness by the palm pressor because of a piece of velostat. The velostat should be placed between the two small conductive fabrics.

Shooting Stars: Analog Pressure Sensors

I made pressure sensors using sponge-filled craft stars, velostat, copper tape, wires, leds, coin batteries, solder, and three different types of conductive material (copper taffeta [.05 ohms/sq], metallized nylon [< .02 ohms/sq], and copper tape over paper [.05 ohms/sq]). Before making the stars, I tried those three materials and liquid graphite, pure graphite pencil, bare conductive paint, and the electroinks conductive pen. I couldn’t get it to work with the pencil, paint, or graphite. They were too resistive for the velostat. The conductive pen worked, but it would have needed a much thicker layer to be reliable. Based on the resistance levels, I assumed the taffeta and copper tape would yield the same results, and the nylon would shine brighter. I found the nylon to be the worst, which makes no sense to non-math comprehending brain.

IMG_0066IMG_0068IMG_0069IMG_0071

Paper and pencil Resistance Sensors

I have struggled to use a paper hand drawn image with graphite to complete a circuit. I have the notion that the darkest and most covered surface area would create the brightest LED, by having the least resistance. I also wanted to test weather I could use a more complicated image, like a tree to light up the LED at a greater distance from the banana clip to the LED pin.

To test this I created three hand drawn shapes. A rectangle, a heart, and a tree. I tested with one banana clip connected to a 3 volt coin cell battery on the positive side to the positive LED leg and one clip connected to the negative side of the battery. The drawing on white paper with a pure graphite pencil then acted as a resistance sensor and completed the negative side of the circuit. I found that my hypothesis was partially correct and the rectangle and the heart both created bright LEDs. This means that both of them had less resistance than the tree image. The tree only gave the faintest light to the LED, and that light got dimmer as I moved up the branches and further from the negative clip. This tells me that the graphite has some resistance and the thinner the lines of graphite, the more energy is dropping off of the circuit.

I also tried it in various configurations, the only one that worked was having the positive side of the LED connected directly to the battery with a clip and having the negative side passing through the graphite and paper.

The Rectangle: Very bright LED

The Heart: Very bright LED

The Tree: The LED got dimmer as I moved up the branches.

Week 4 Assignment

(1) Choose one variable to test (distance, surface area, conductive material, substrate, etc) and make three sensors to test that variable. Make a hypothesis about each test BEFORE you construct the sensor then document your result.
For example, my variable is surface area. I will make three sensors out of papper, copper tape, and velostat, but I will change the surface area of the copper tape in each sensor. I hypothesize that the more surface area for copper tape…. (complete your own thought :))

> Be sure to answer the following questions in your documentation:
> What conductive materials are used? What non-conductive materials are used?
> How much of each material is used?
> What state changes occurred in the LED if any?
> What is the resistance of the conductive material?

(2) Make sure you bring your Arduino Uno and a breadboard to the next class. You can also bring a Lilypad, Flora, Mini, etc in addition to the Arduino Uno.

(3) You are *highly* encouraged to go to Maker Faire.

(4) Watch Masimo Banzi’s TED talk

(5) Learn a New Craft Project DUE NEXT CLASS