Category Archives: Workshops

ATTINY-LAMP.WEEK7

IMG_7944

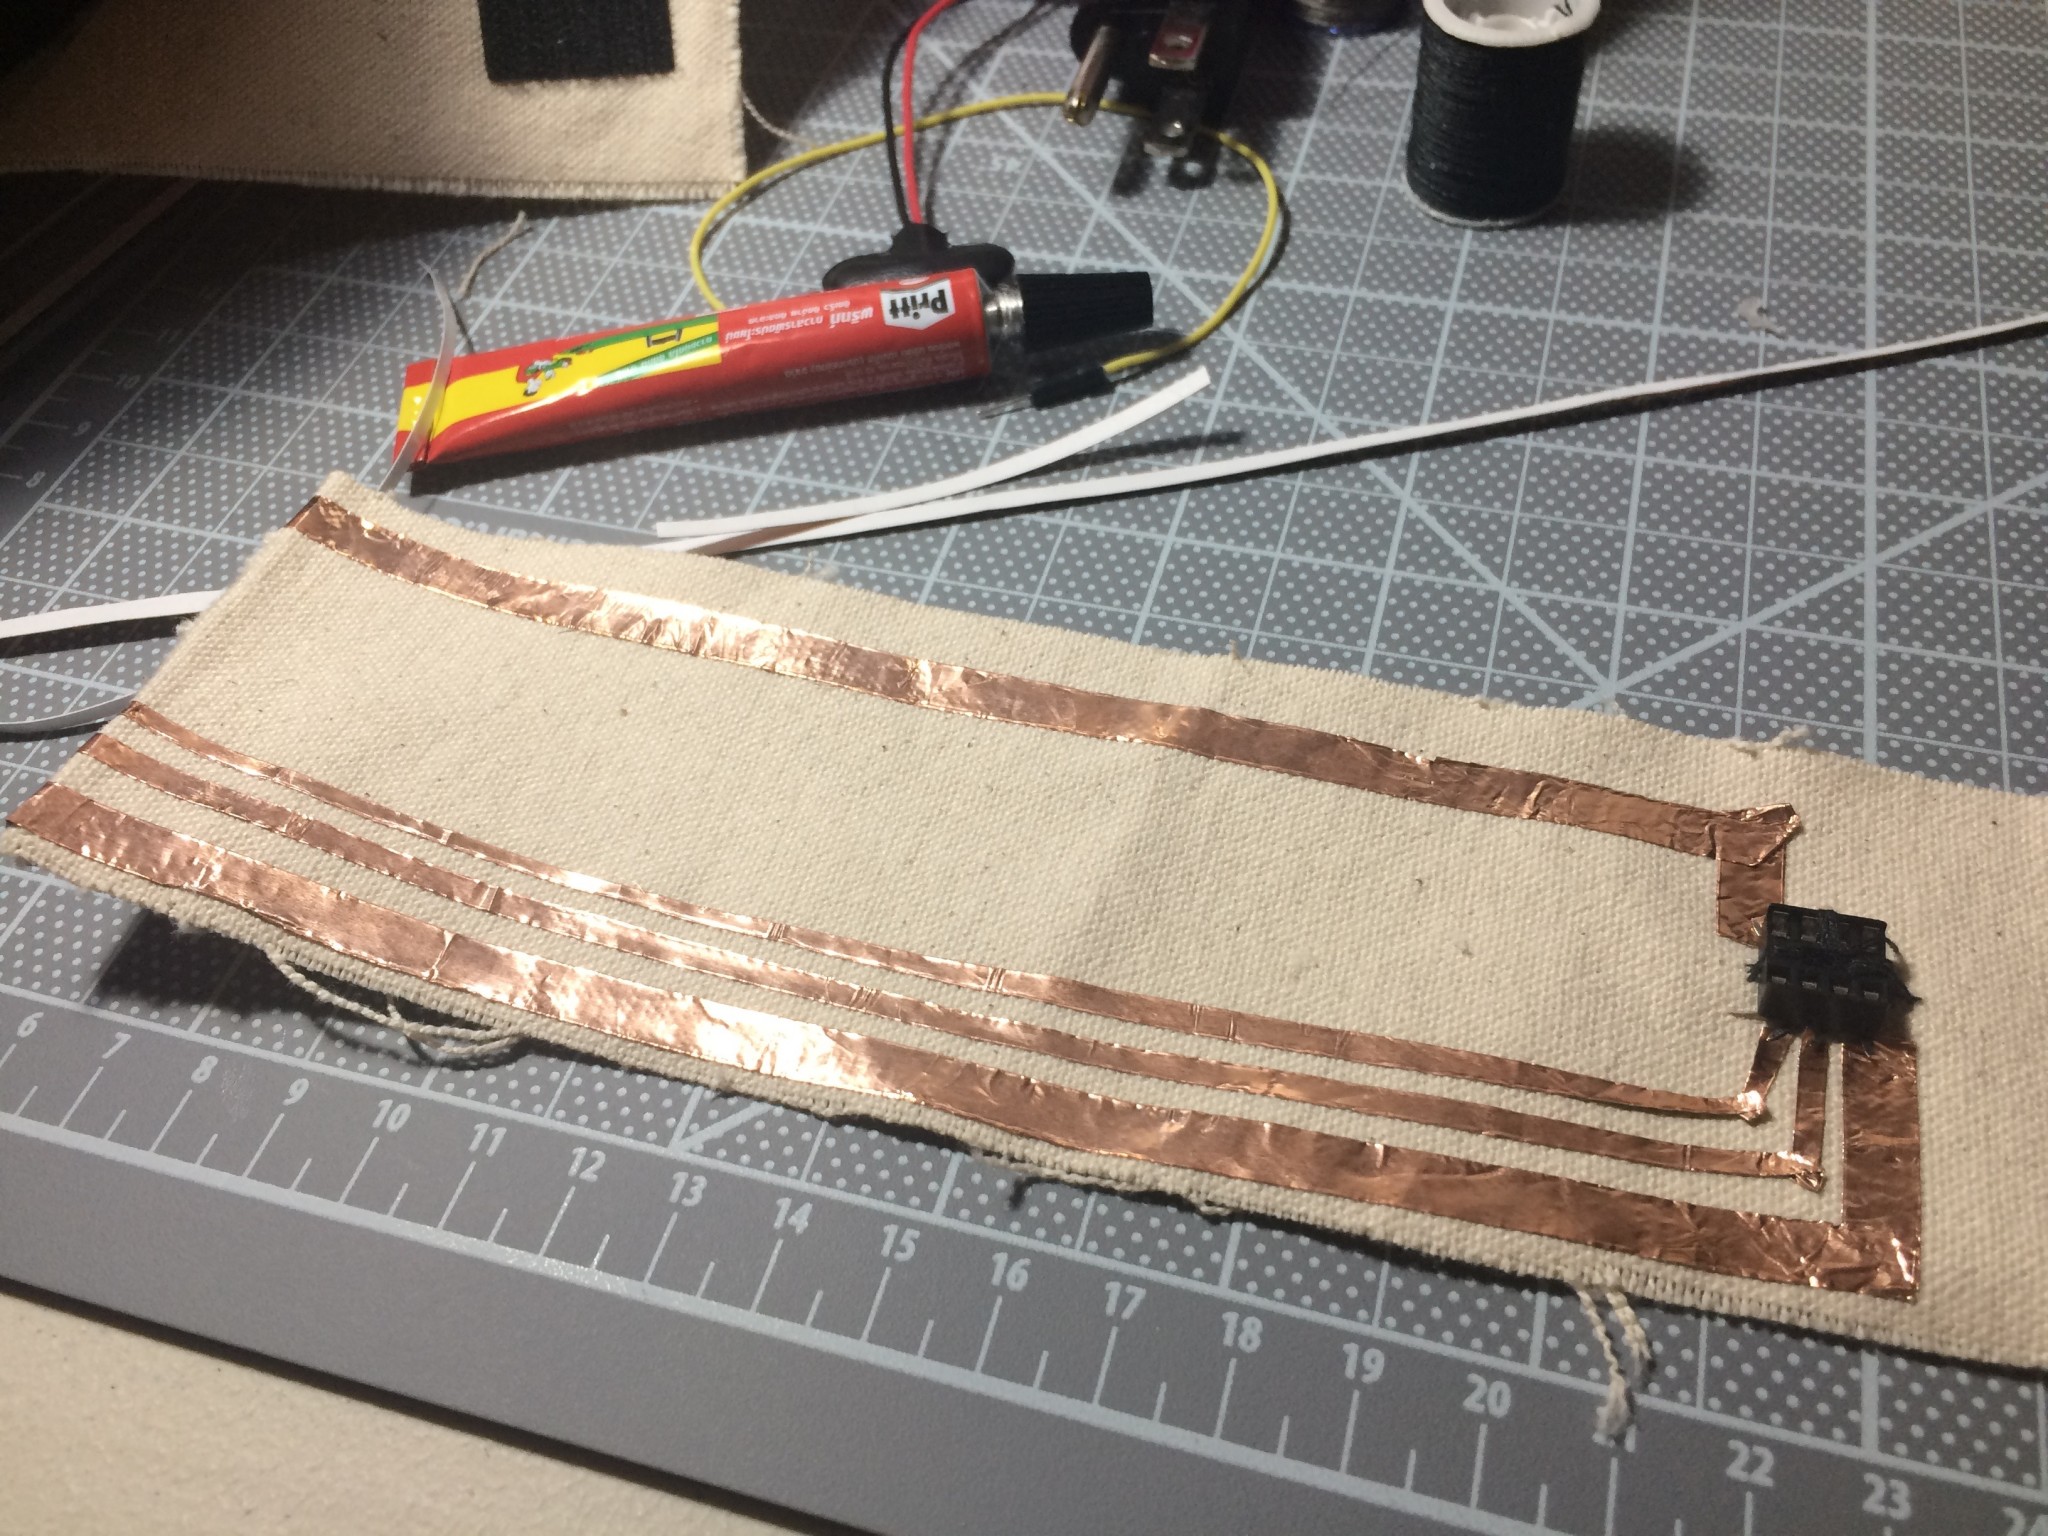
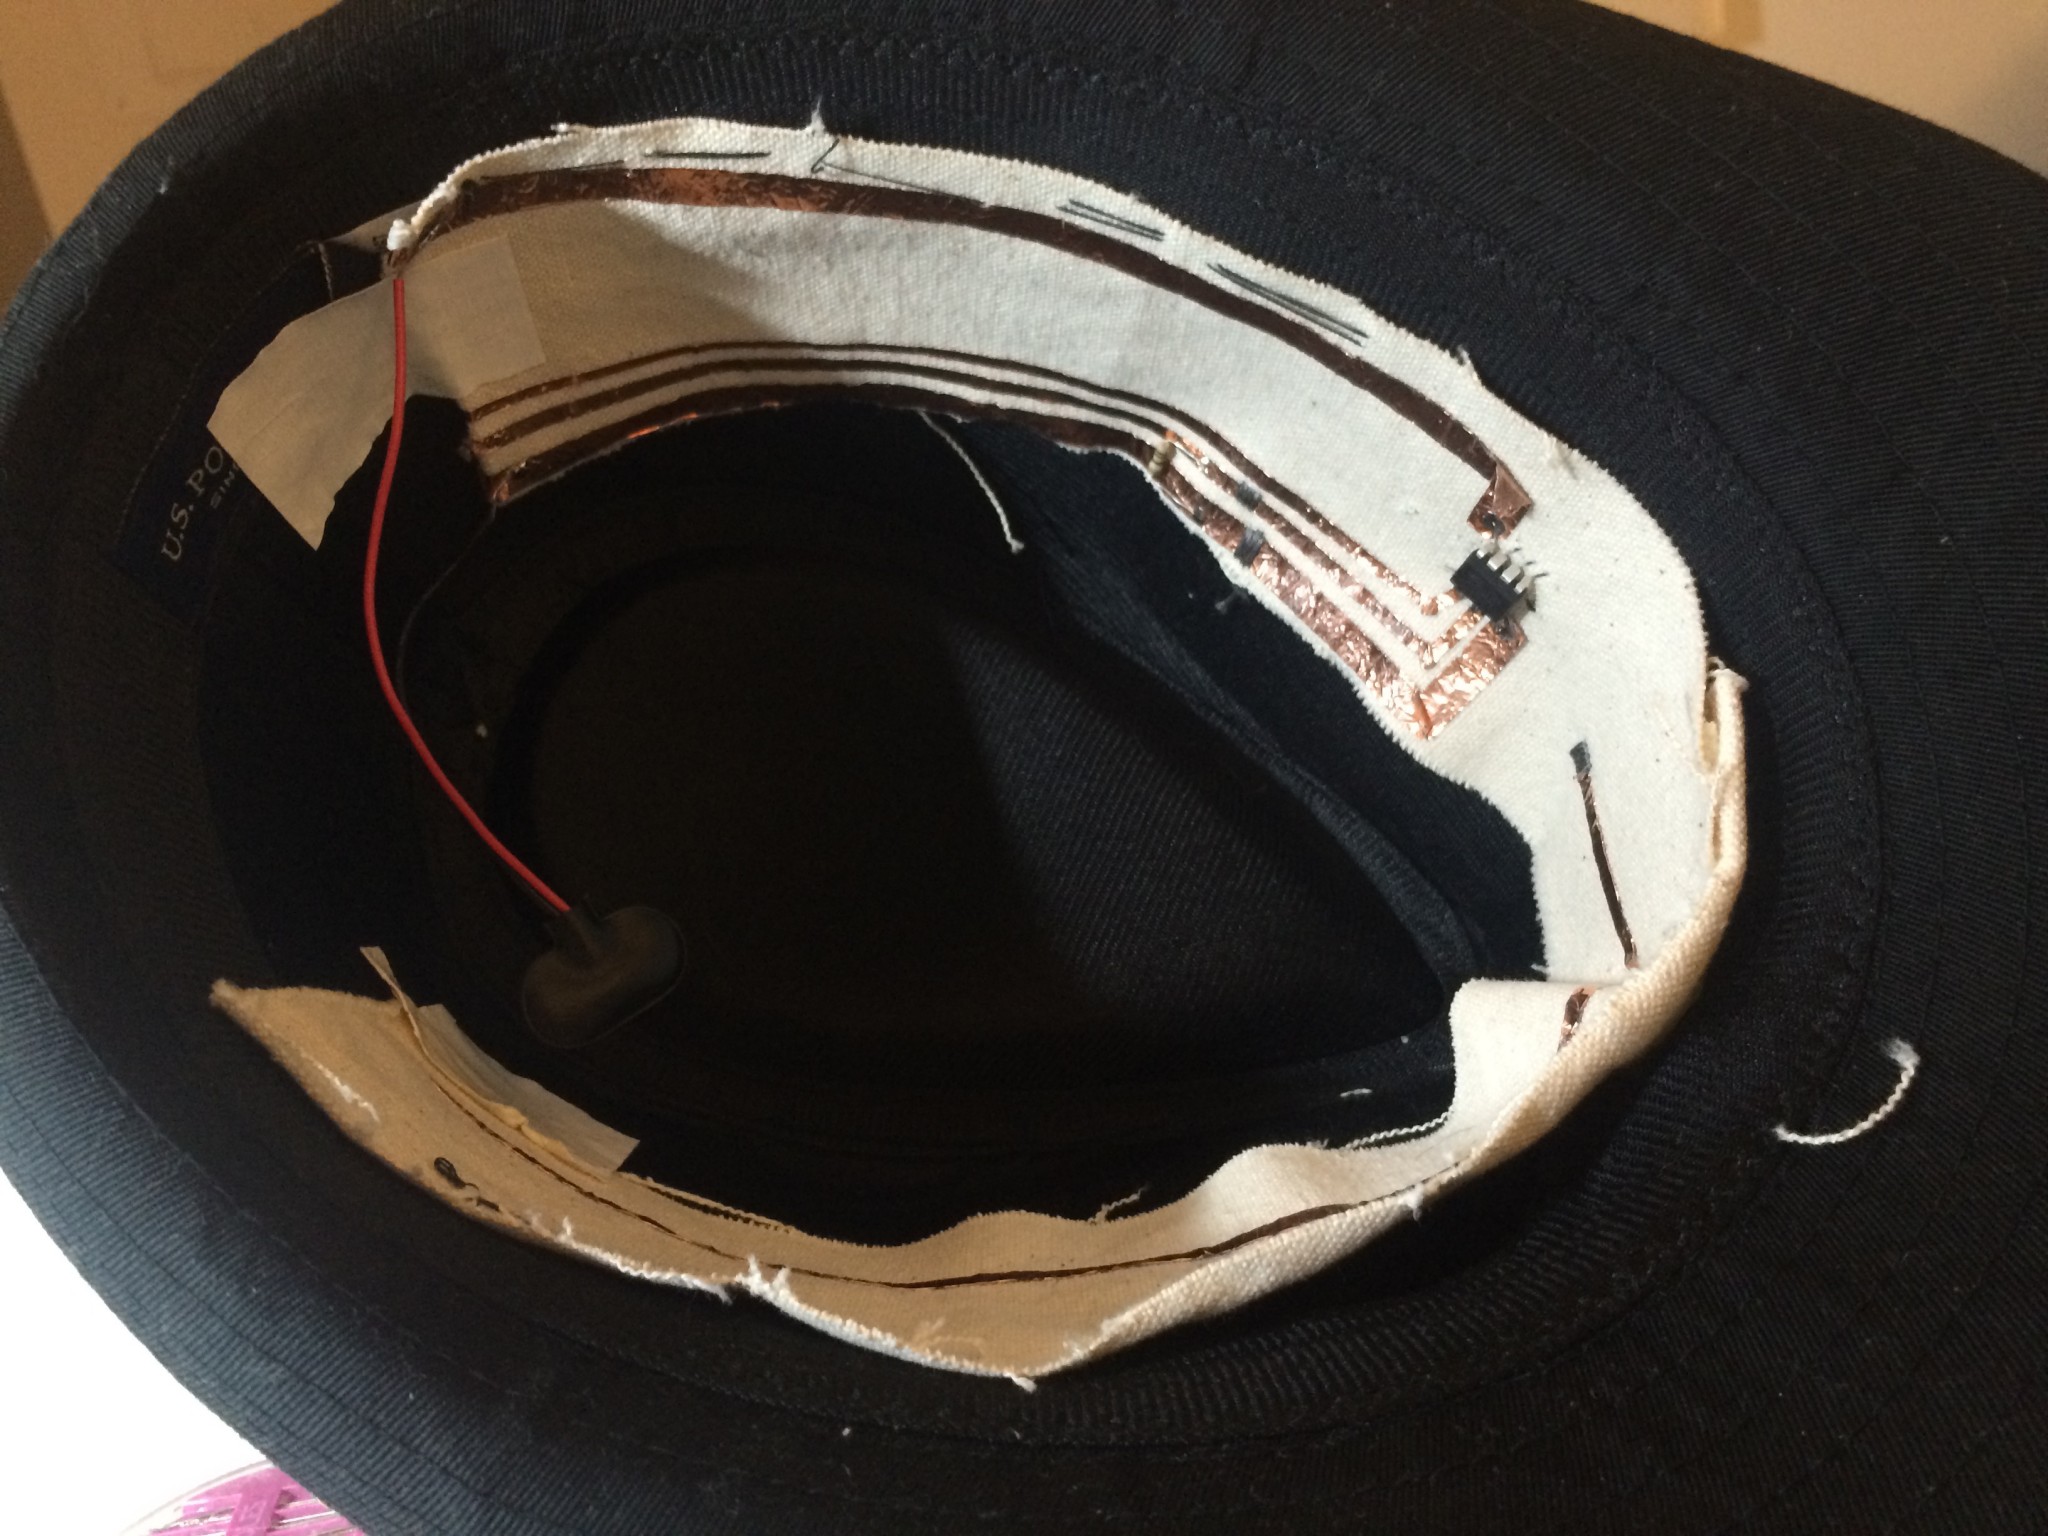
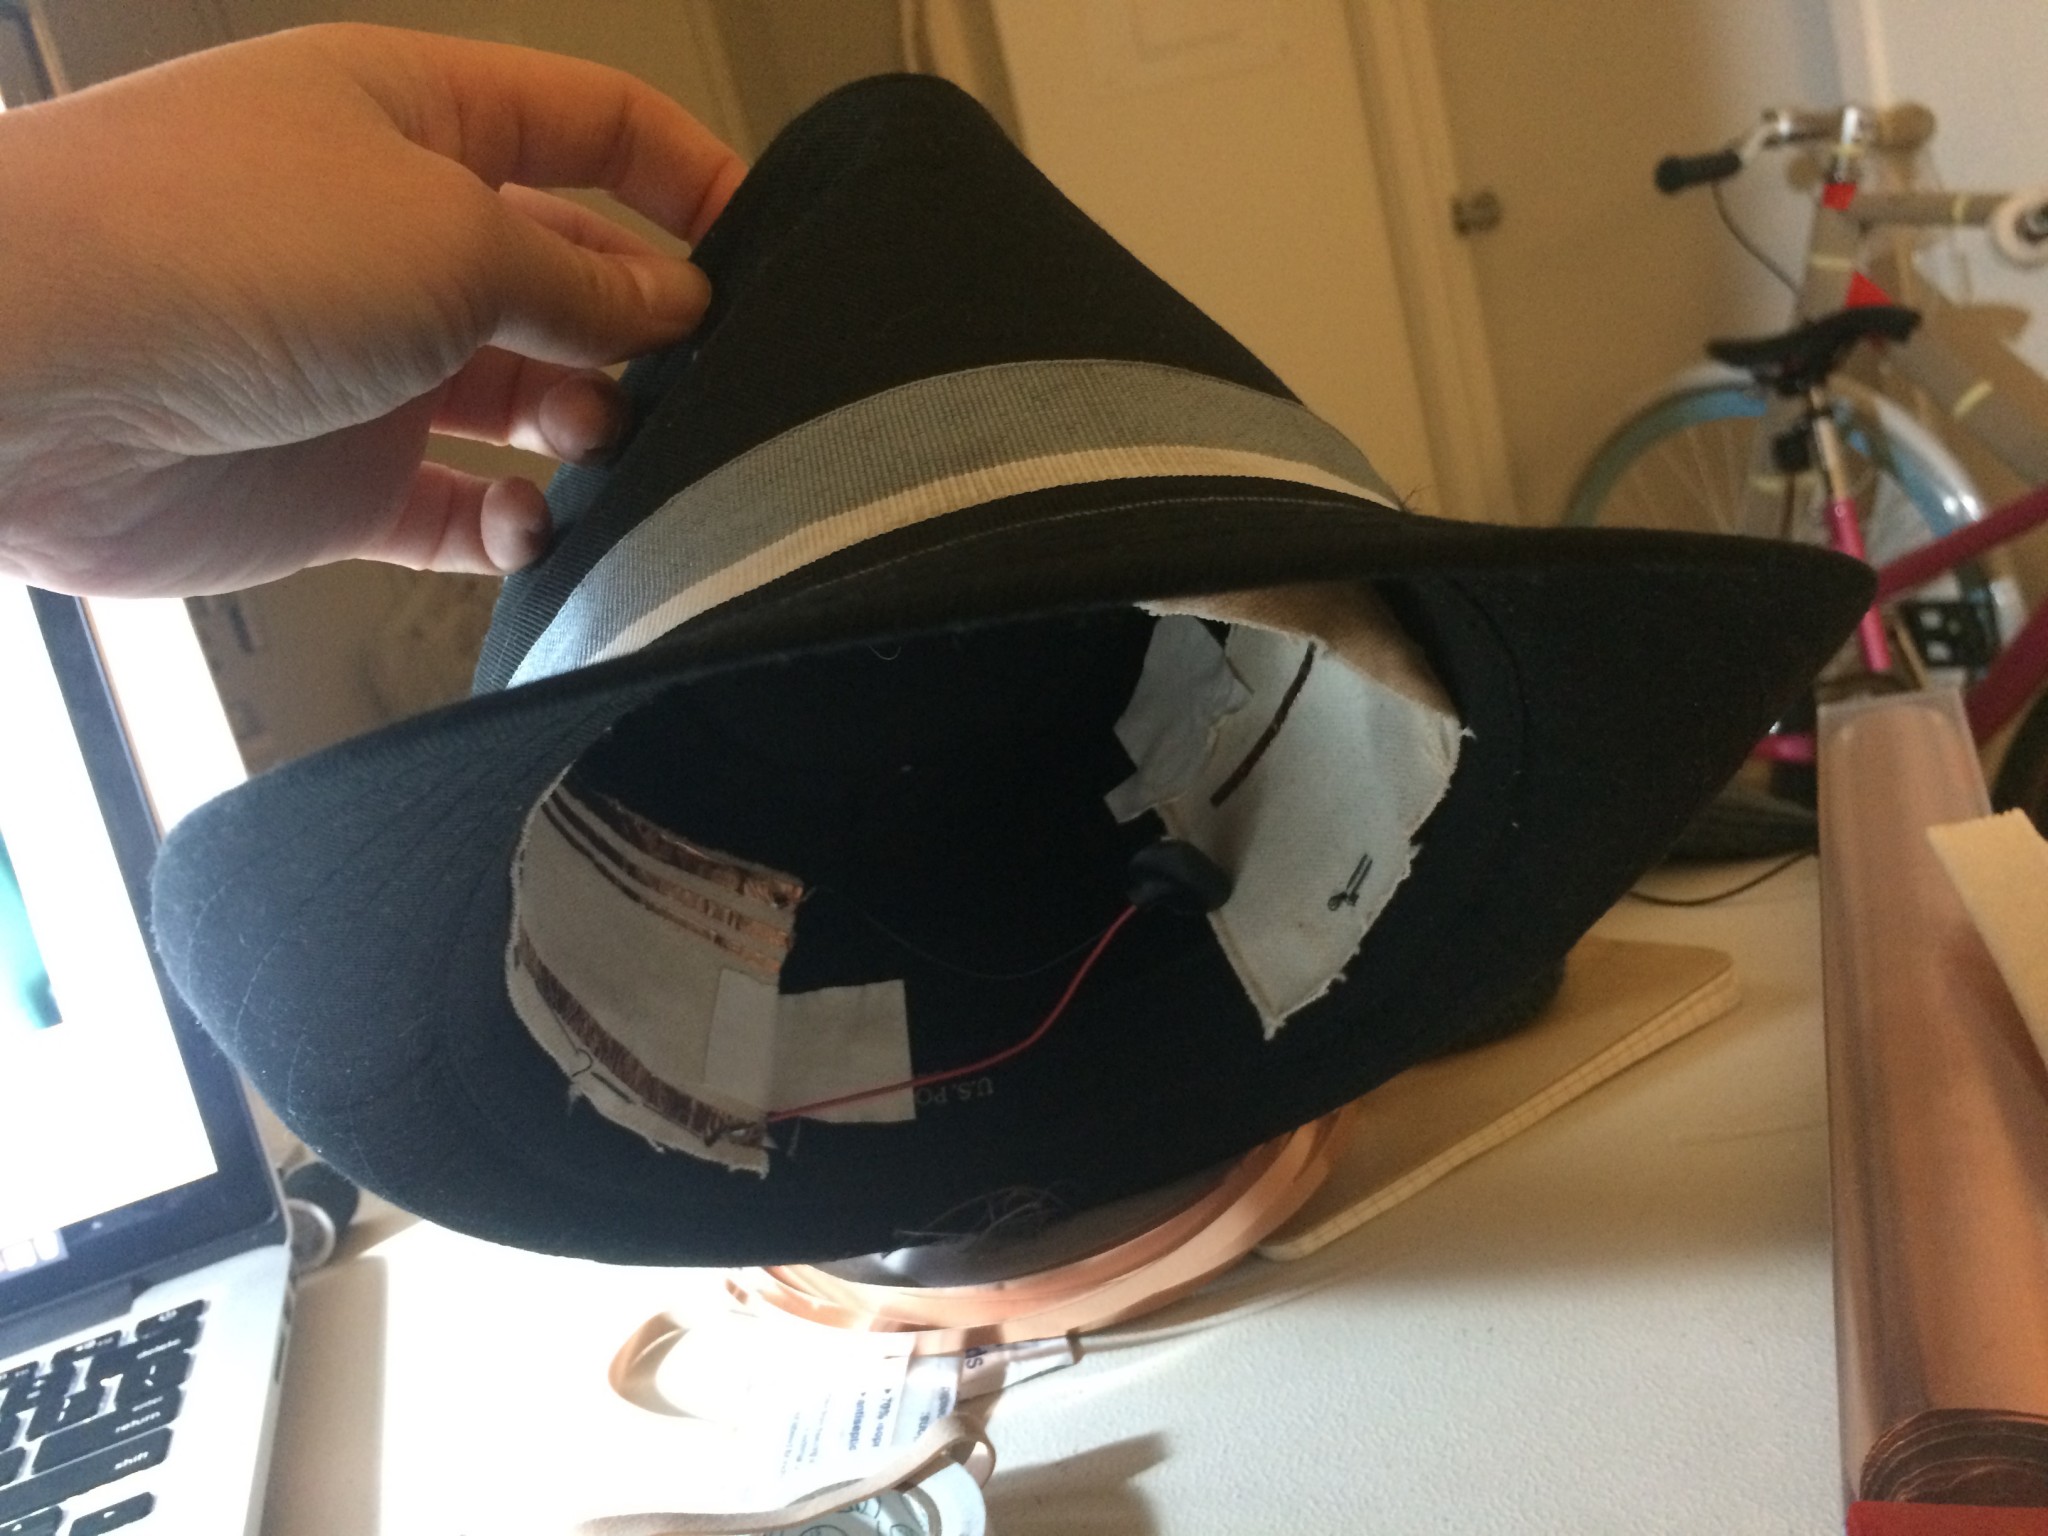
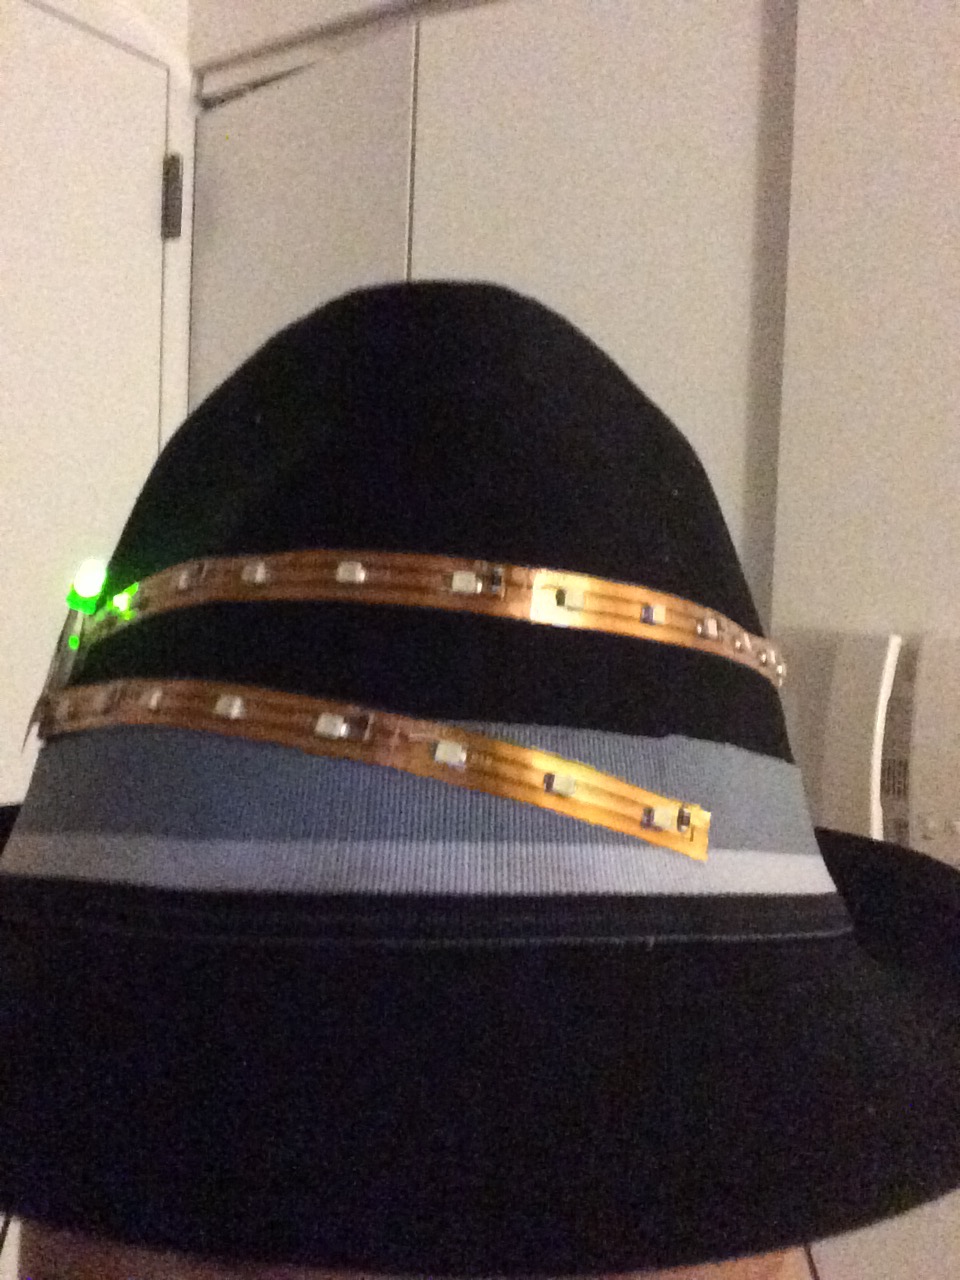
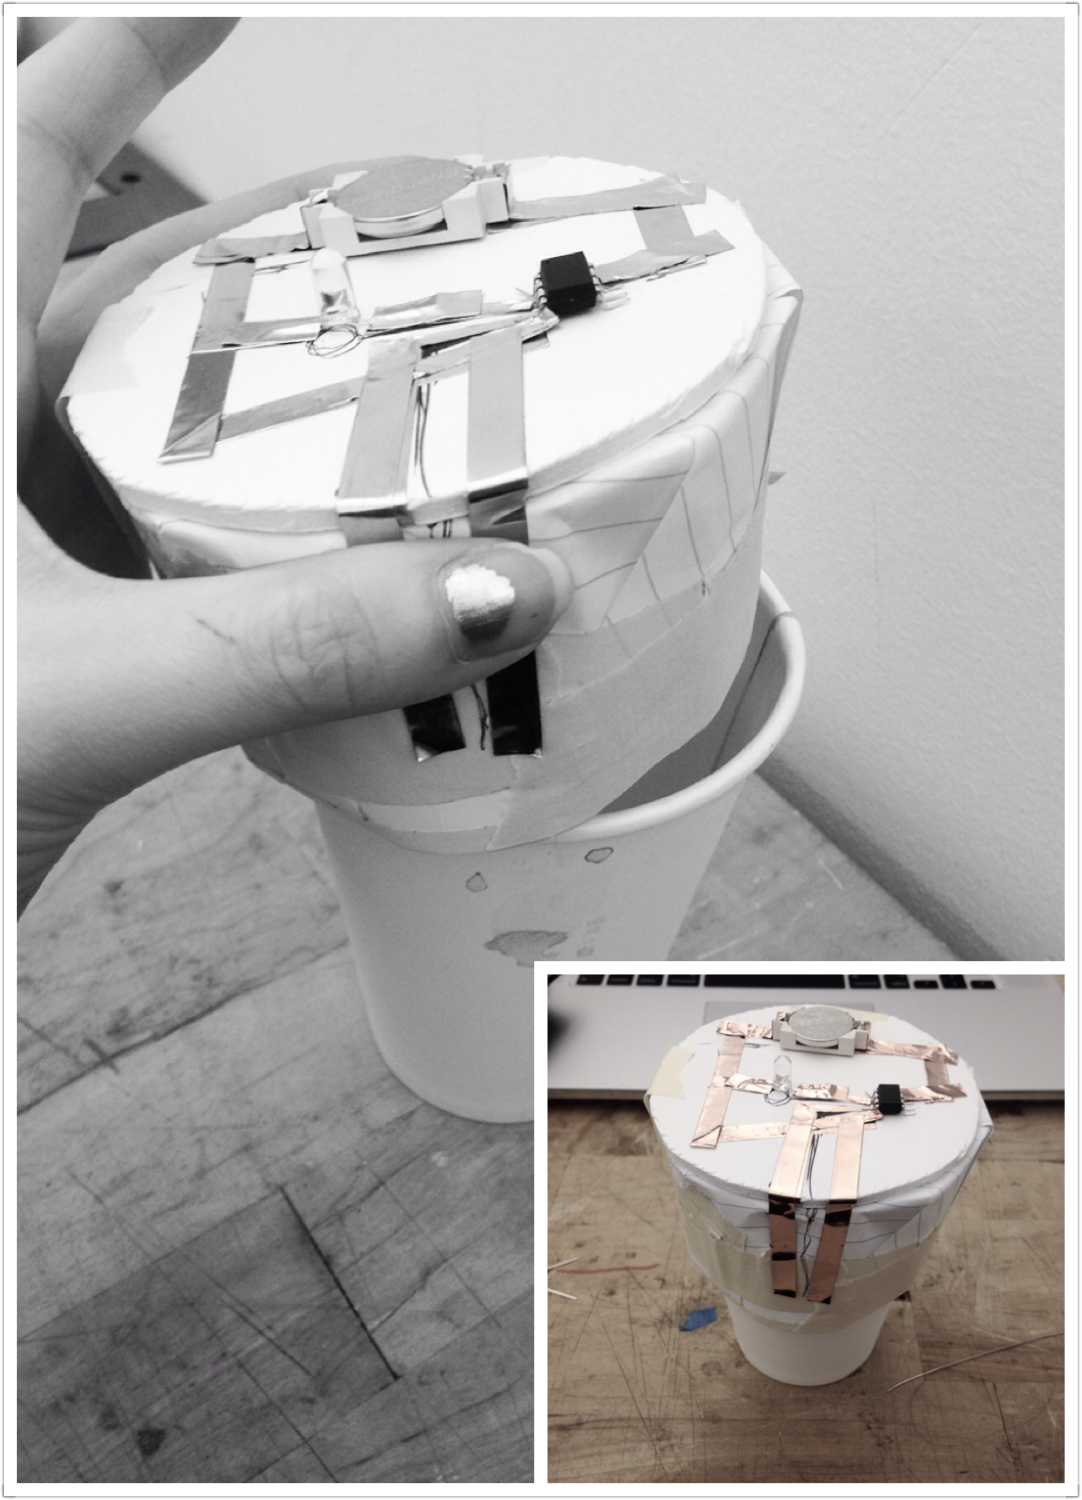
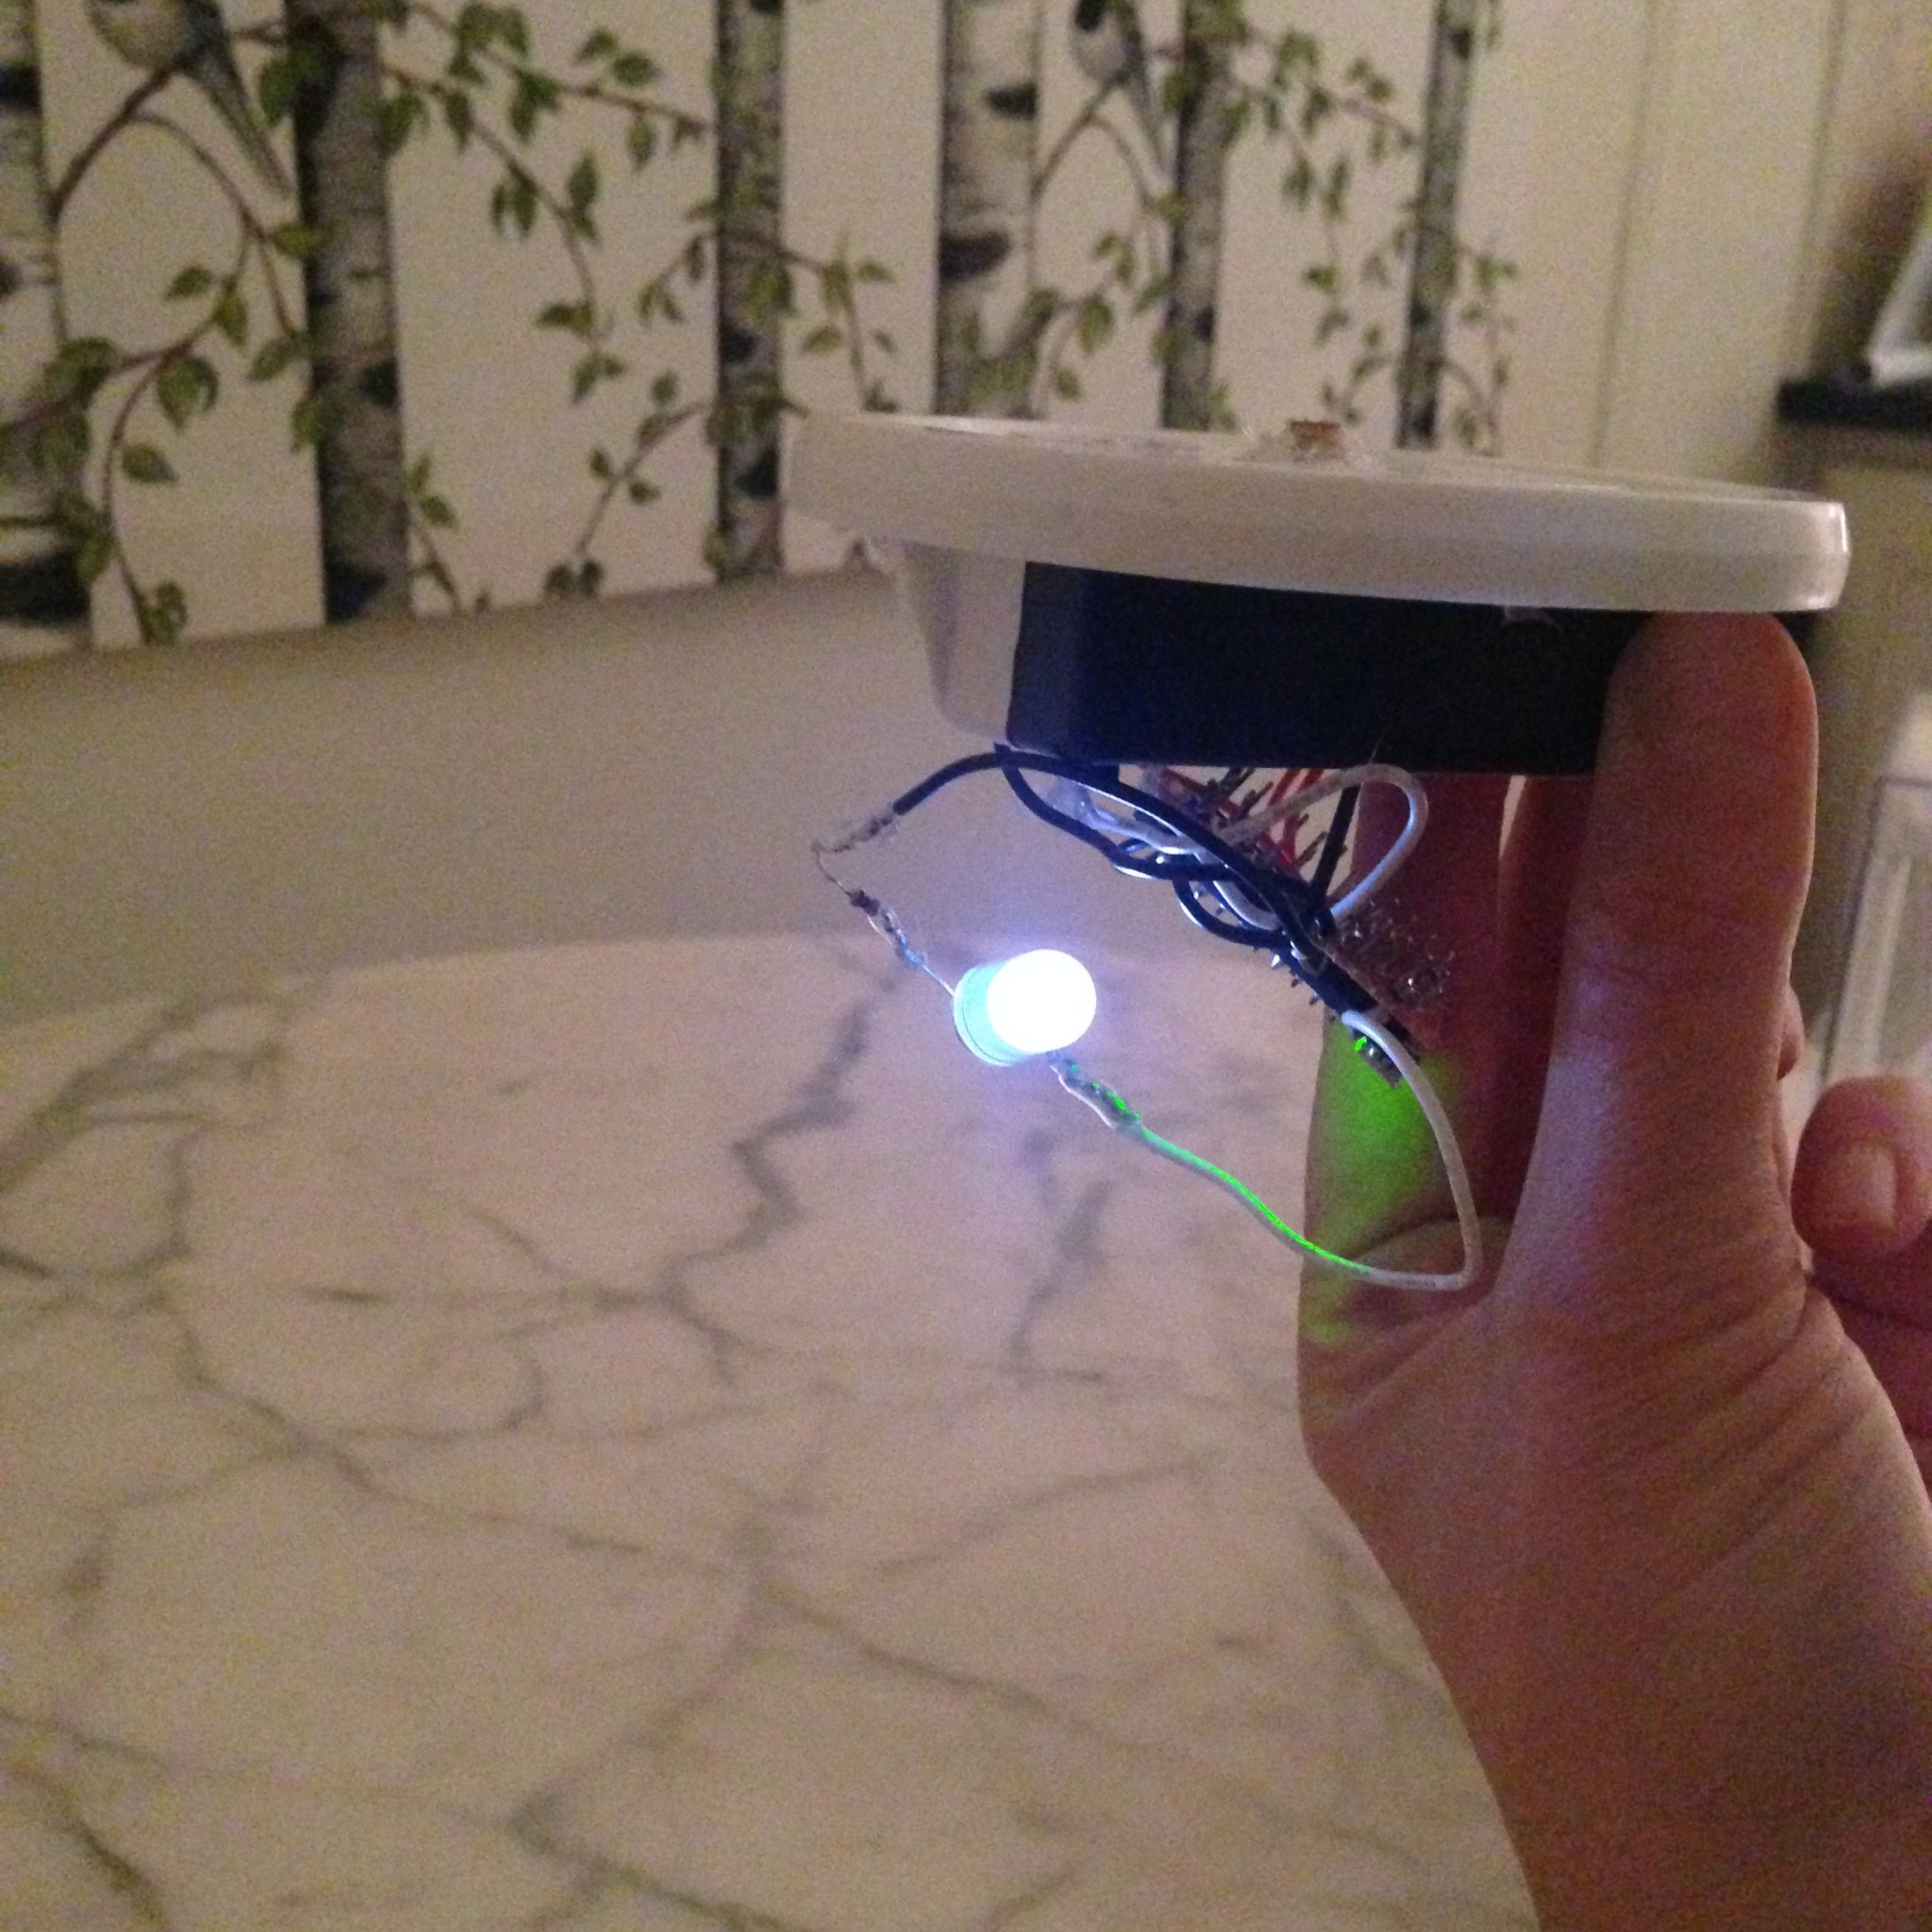
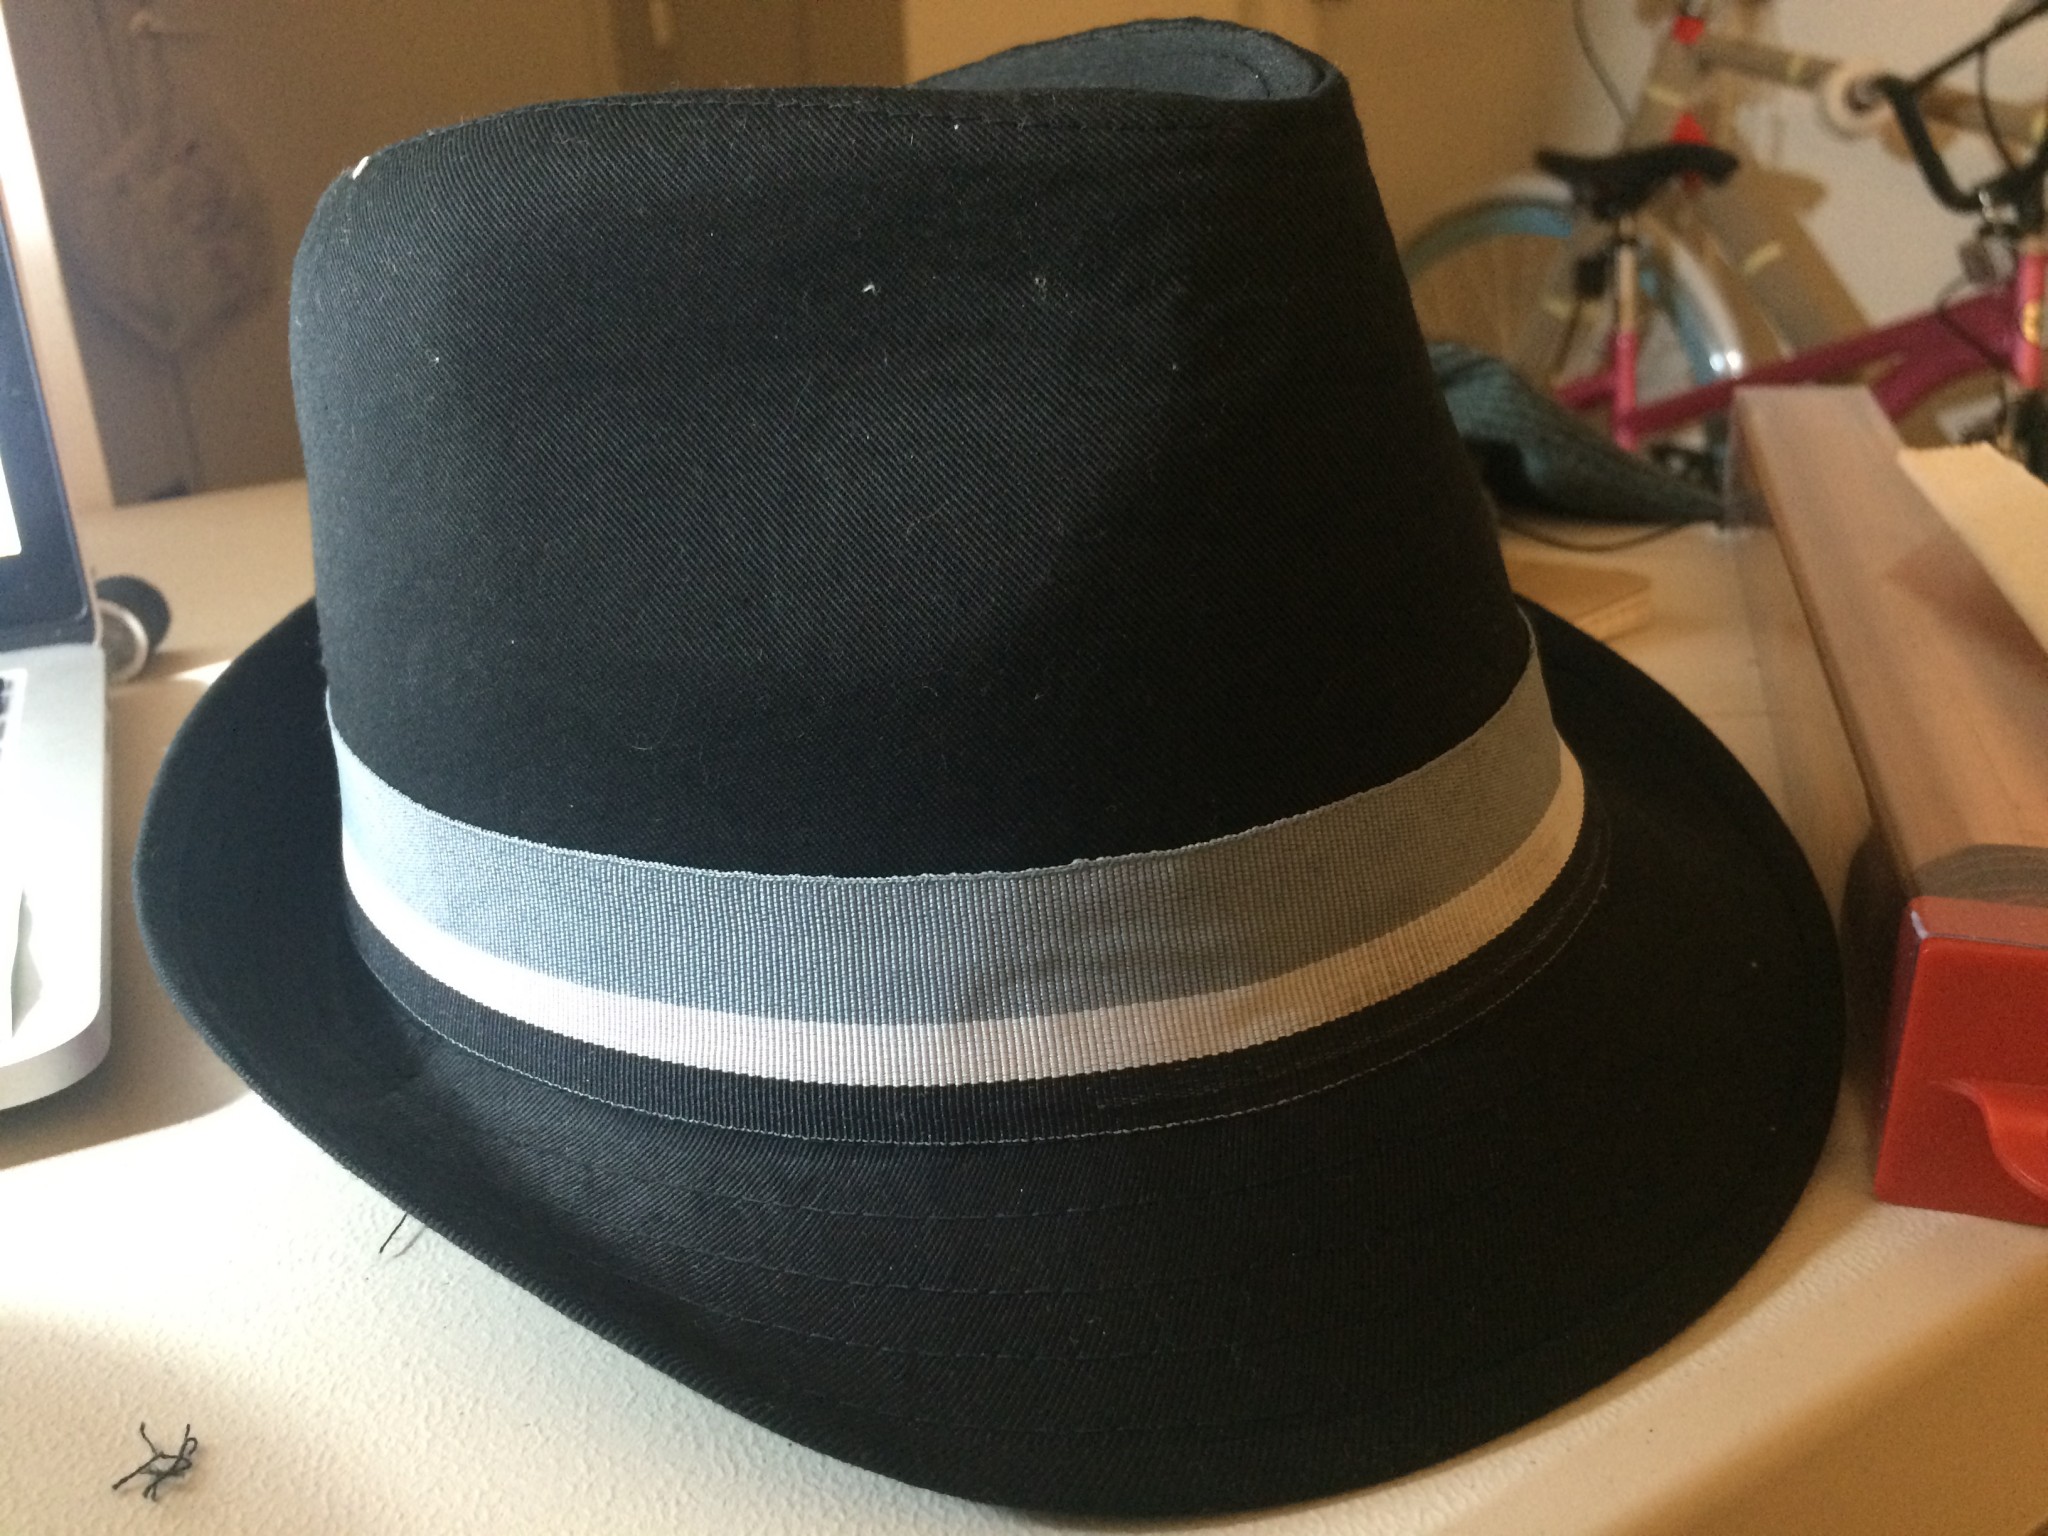
LAMP HAT

IMG_7938

IMG_7943 IMG_7946 IMG_7954


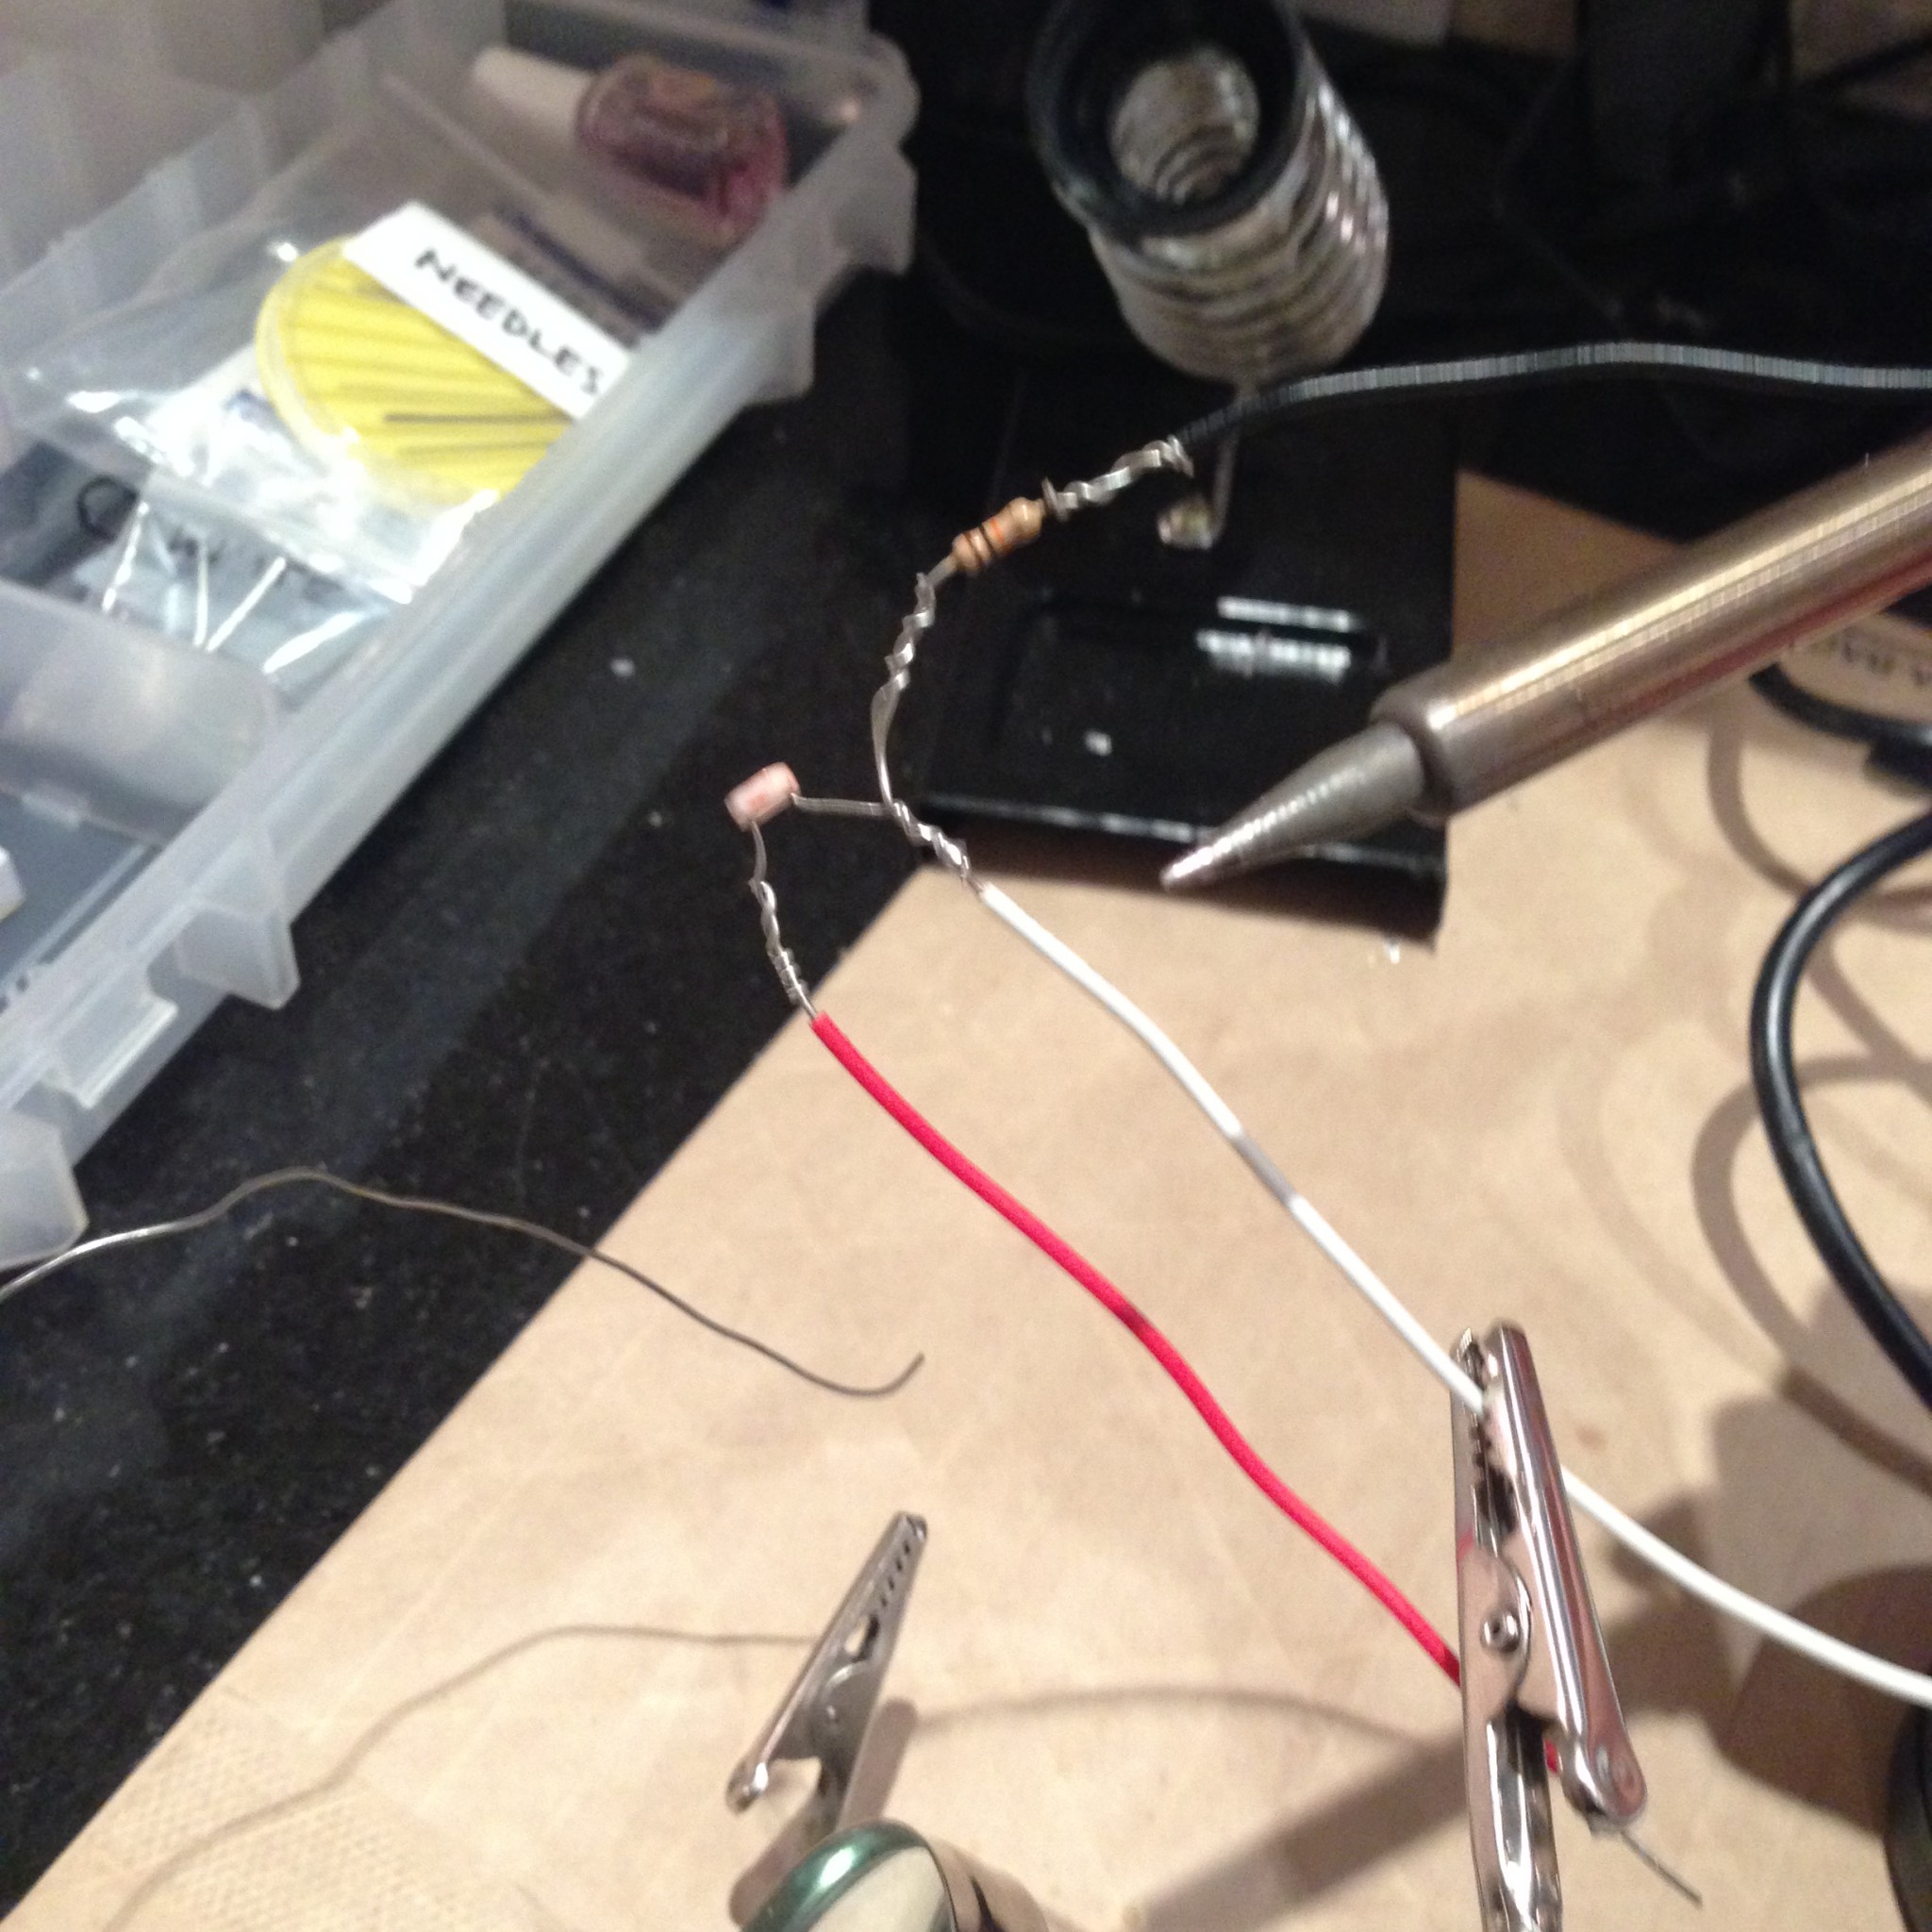
I use head as a switch button for turning on/off, every time someone put this hat on the it will light up. You can wear this hat at night and day time. When you need the light at night you just put the hat on then you will see the light. I use LED strip rap around this hat where it connect to the circuit inside the hat.

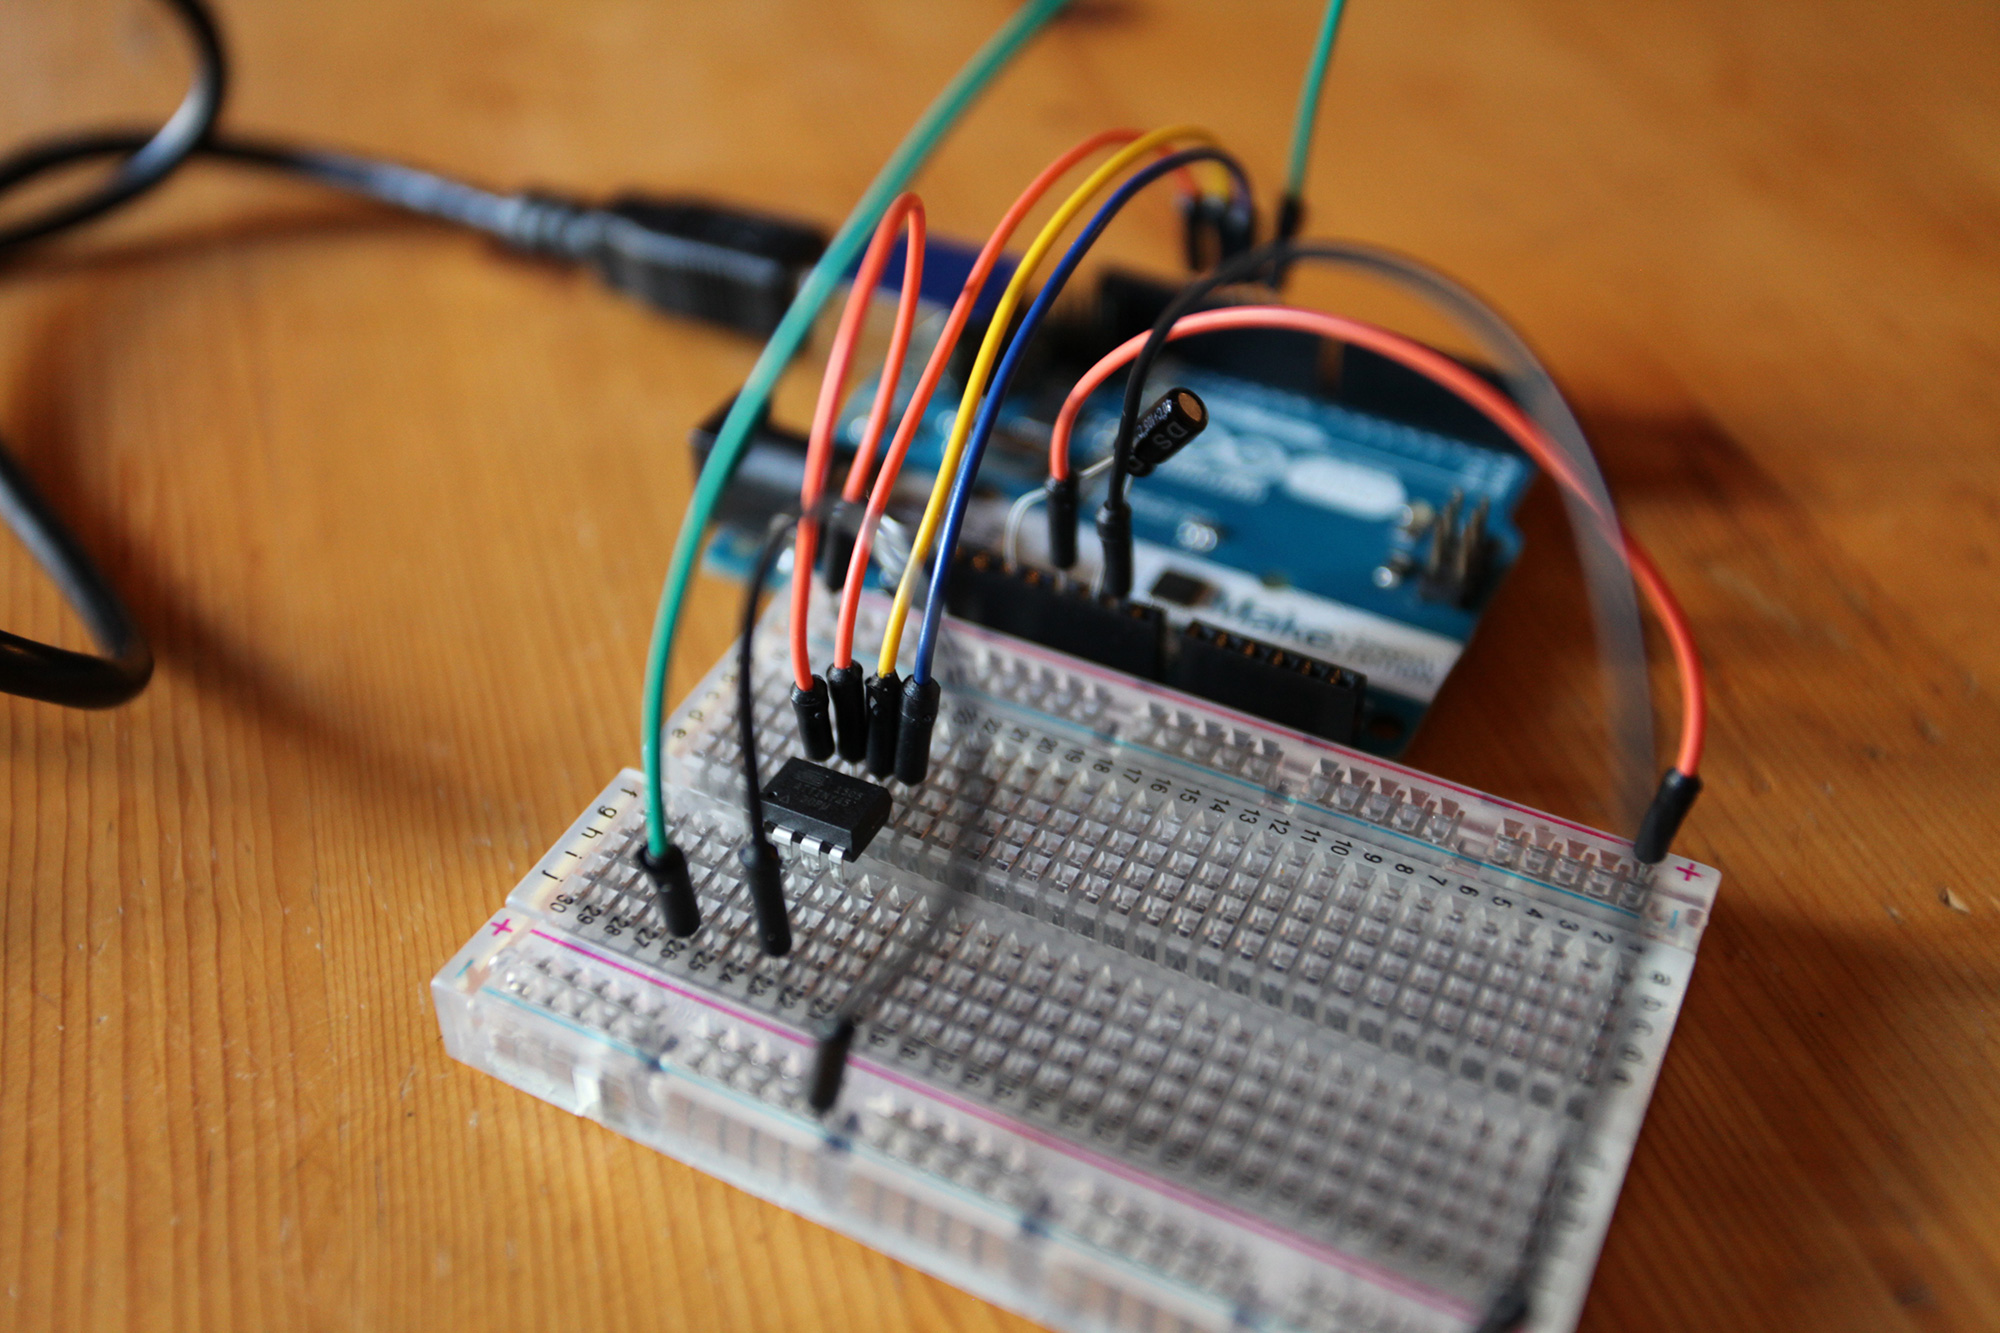
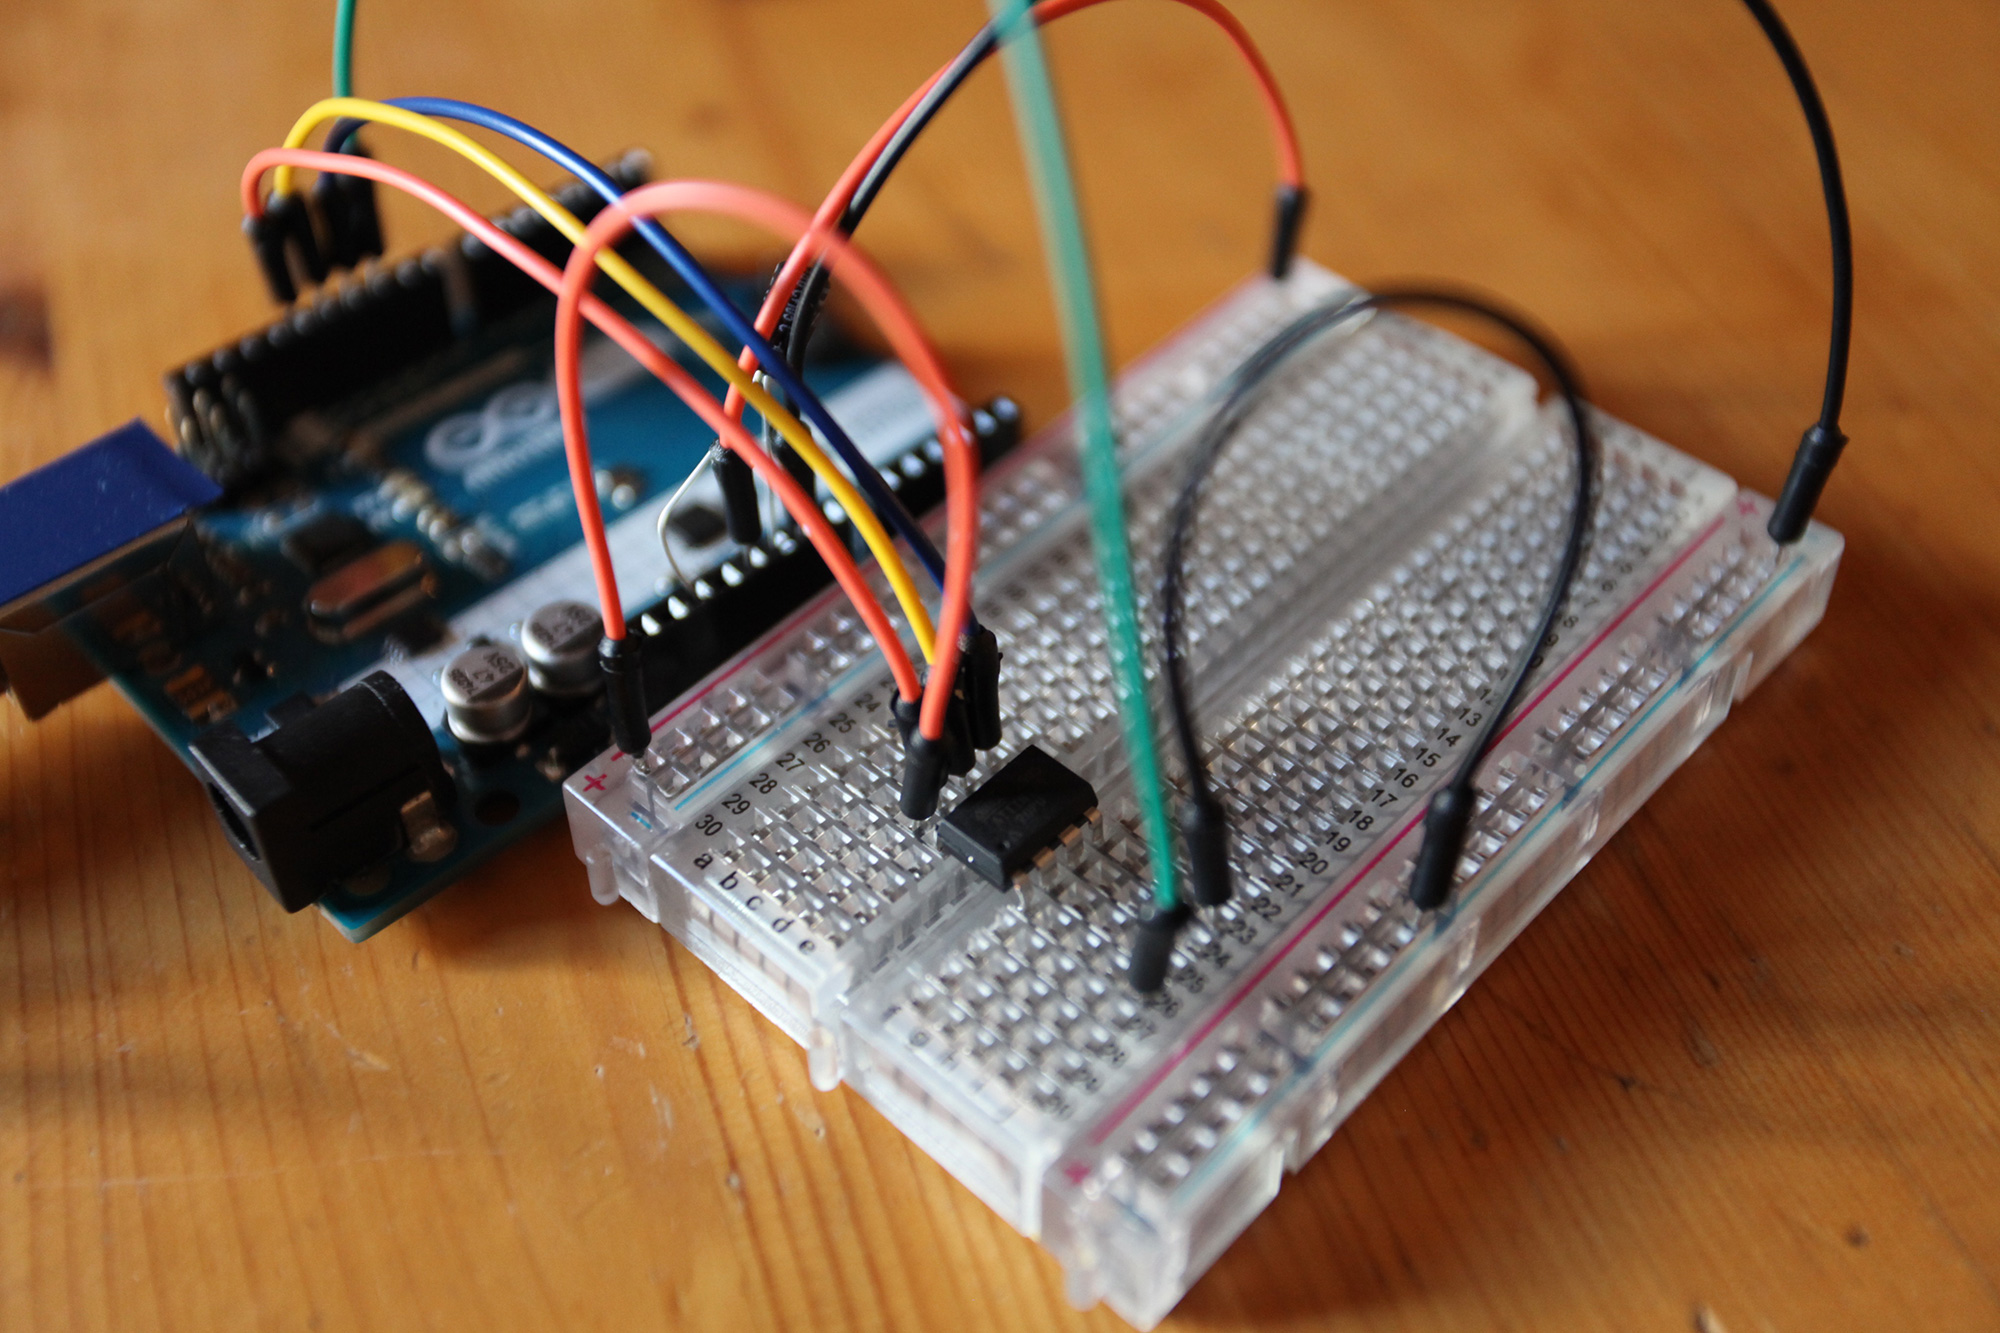
WEEK 7 ATtiny Code (UPDATED)

HOW TO:
Download the zip file. Place in it your Arduino folder (probably in your Documents folder) and unzip it:

Week7_Code_Examples

GETTING STARTED:
Here is the VERY HELPFUL getting started tutorial for working with the ATtiny.

INCLUDED:
Code and schematics for each
Capacitive Sensing
1) CapSense_Arduino_with_LED
Use this with Arduino

2) CapSense_ATTiny
Use this with the ATtiny

3) CapSense_ATTiny_SoftwareSerial
Use this to read sensor values from ATtiny. Here is a helpful tutorial.

Human Circuit
1) HumanCircuit_with_Arduino_LED
Use this with Arduino. Can adapt to ATtiny

2) Touch_ATtiny_Mellis
Use this with ATtiny. Has been finicky for some. Here is the documentation.

Midterm Assignment (Due Nov.3)

You have been commissioned to create a piece for an exhibition entitled [Light/Dark].

From myths of making fire to harnessing the flame with wax to electrical incandescence, the presence of light impacts our daily lives in a functional, metaphorical, and aesthetic way.

APPROACH
One possible methodology
Step 1: Imagine a possible or plausible future 400 years from now. Who will we be? What values will we hold? What everyday objects will we use? How will we communicate? How will we dress? How will we work? What is our currency? How does it make you FEEL?
Step 2: Brainstorm your light object within the context of your future.
Step 3: Write a narrative that contextualizes your light object that addresses the questions in step 2.
Step 4: Construct a prototype of your light object. Be ready to explain where it is in it’s evolution.

DELIVERABLES
> Physical prototype
> Description of your future (no less than two paragraphs, no more than two pages)
> Proof of concept video or images (show us how it works in context – not just documentation)
> Description of your piece for the exhibition (shortened version of the above description)
> Documentation on Instructables

DUE DATES
Tuesday October 27 – Concept + Prototypes
Friday October 30 – Exhibition description due
Tuesday November 3 – Final prototypes + Narrative + Exhibition
Tuesday November 10 – All documentation up (Must be in Instructables format)

RULES
1) Be critical.
2) Be playful.
3) Be human.
4) Tell stories.
5) Have fun.

More inspiration coming soon…
Book_Lamp_Isabella_(week_7)

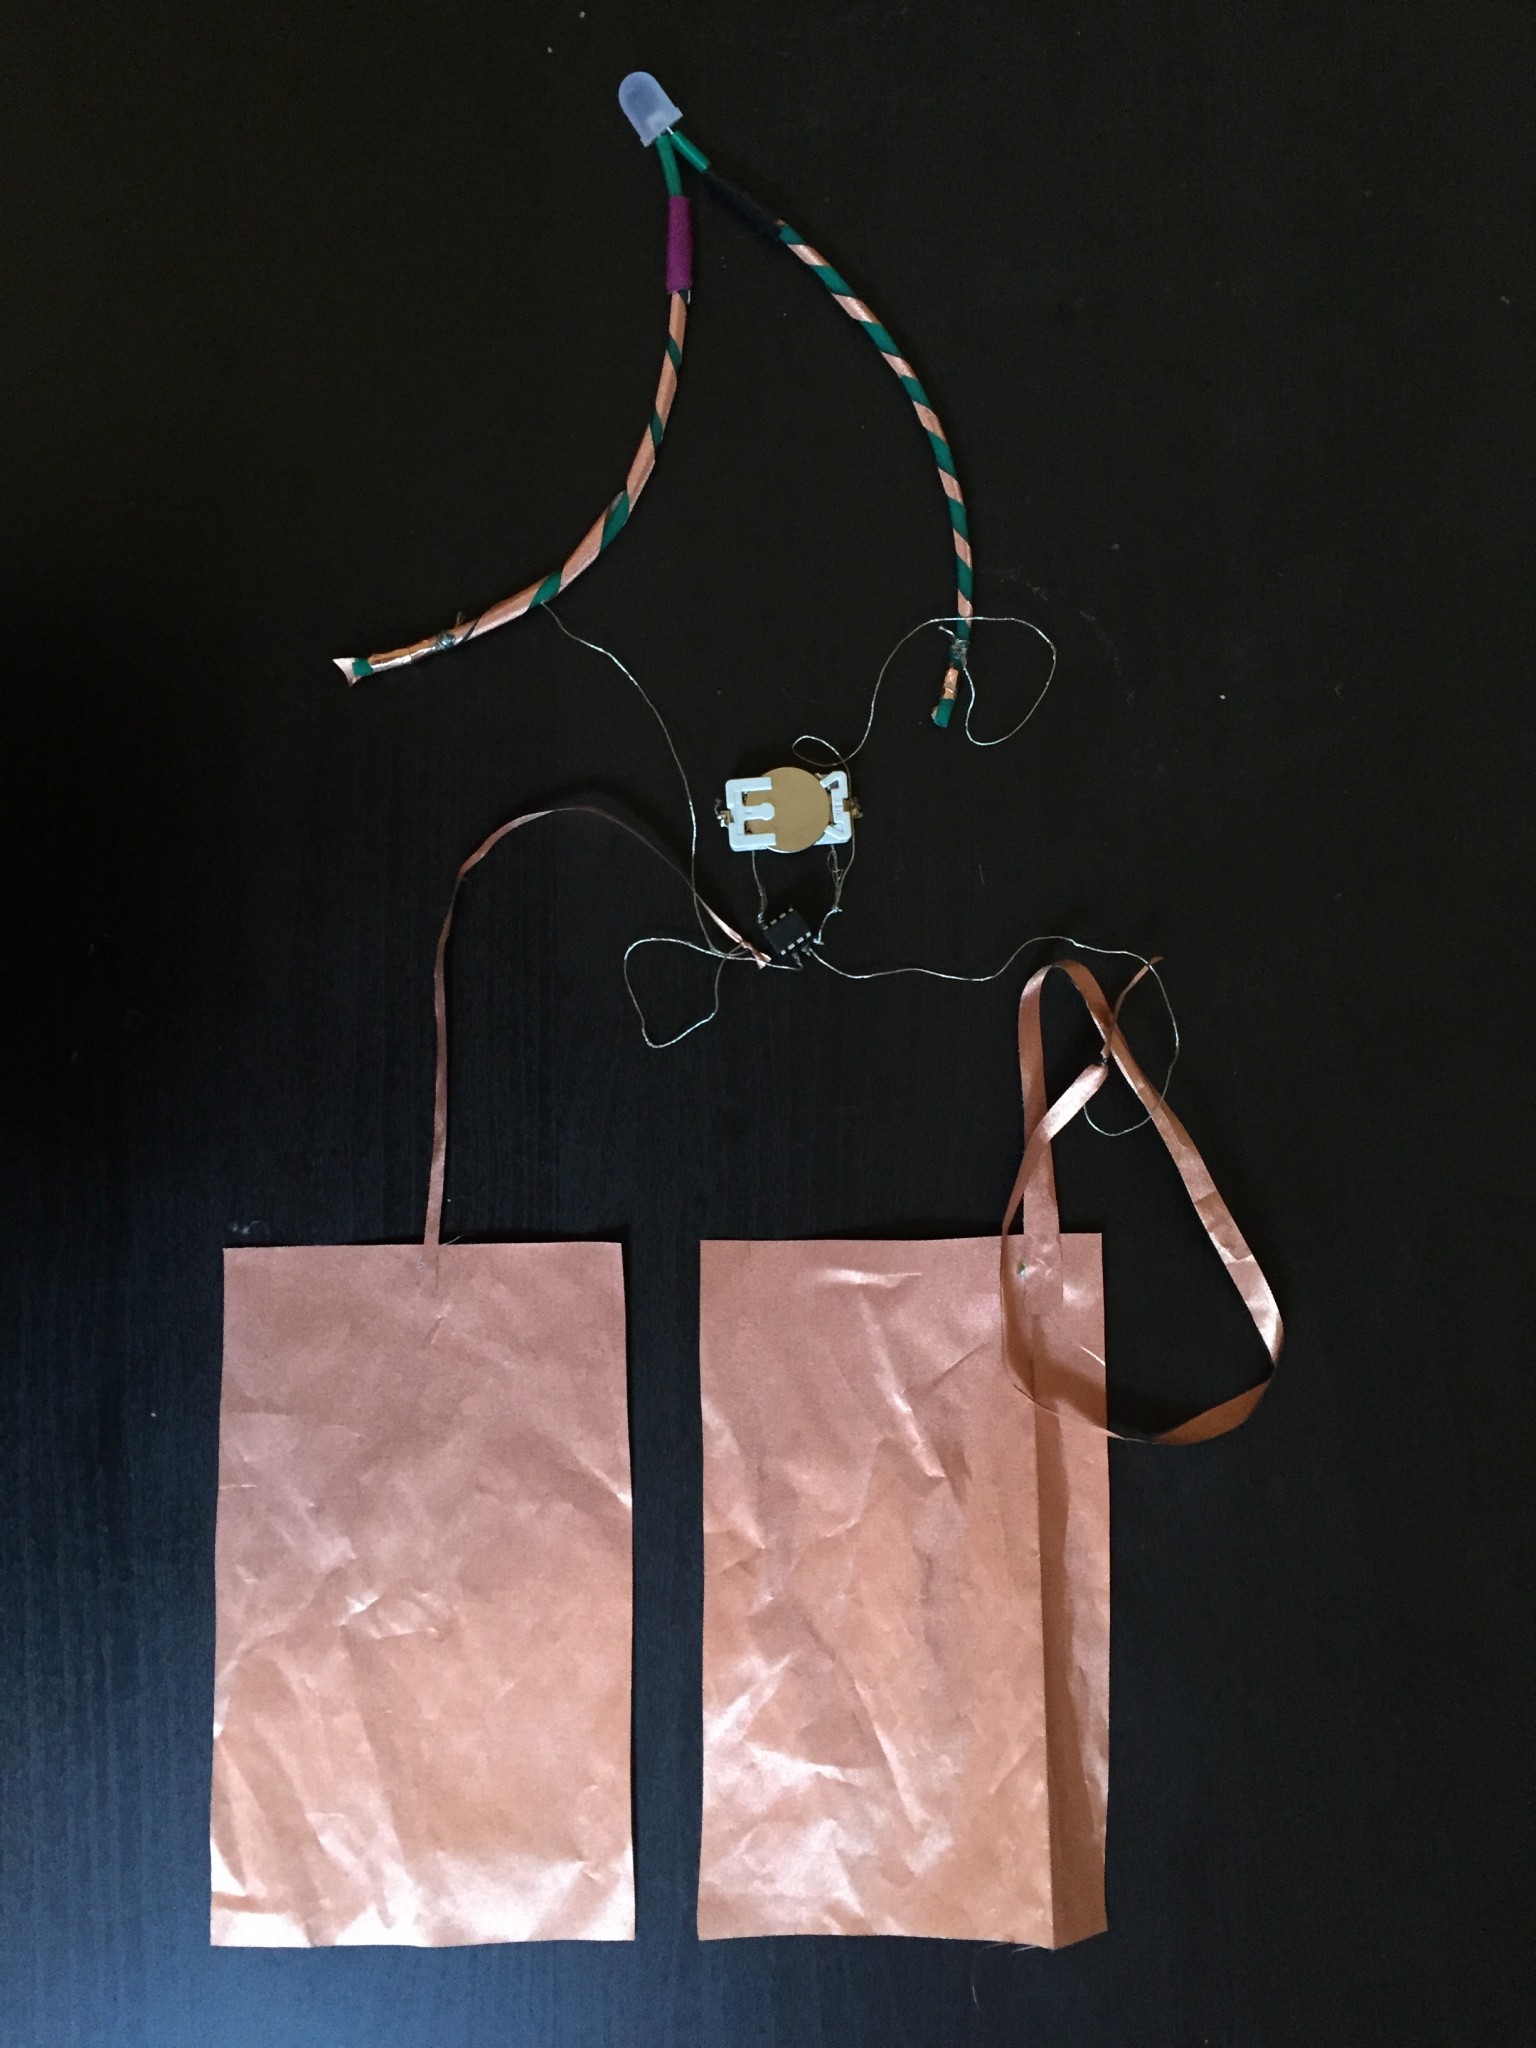
A book lamp that turns on when one sits down and puts their forearms in the armchairs.


MATERIALS
– copper fabric
– conductive thread
– copper tape
– 3V battery
– LED
– solder
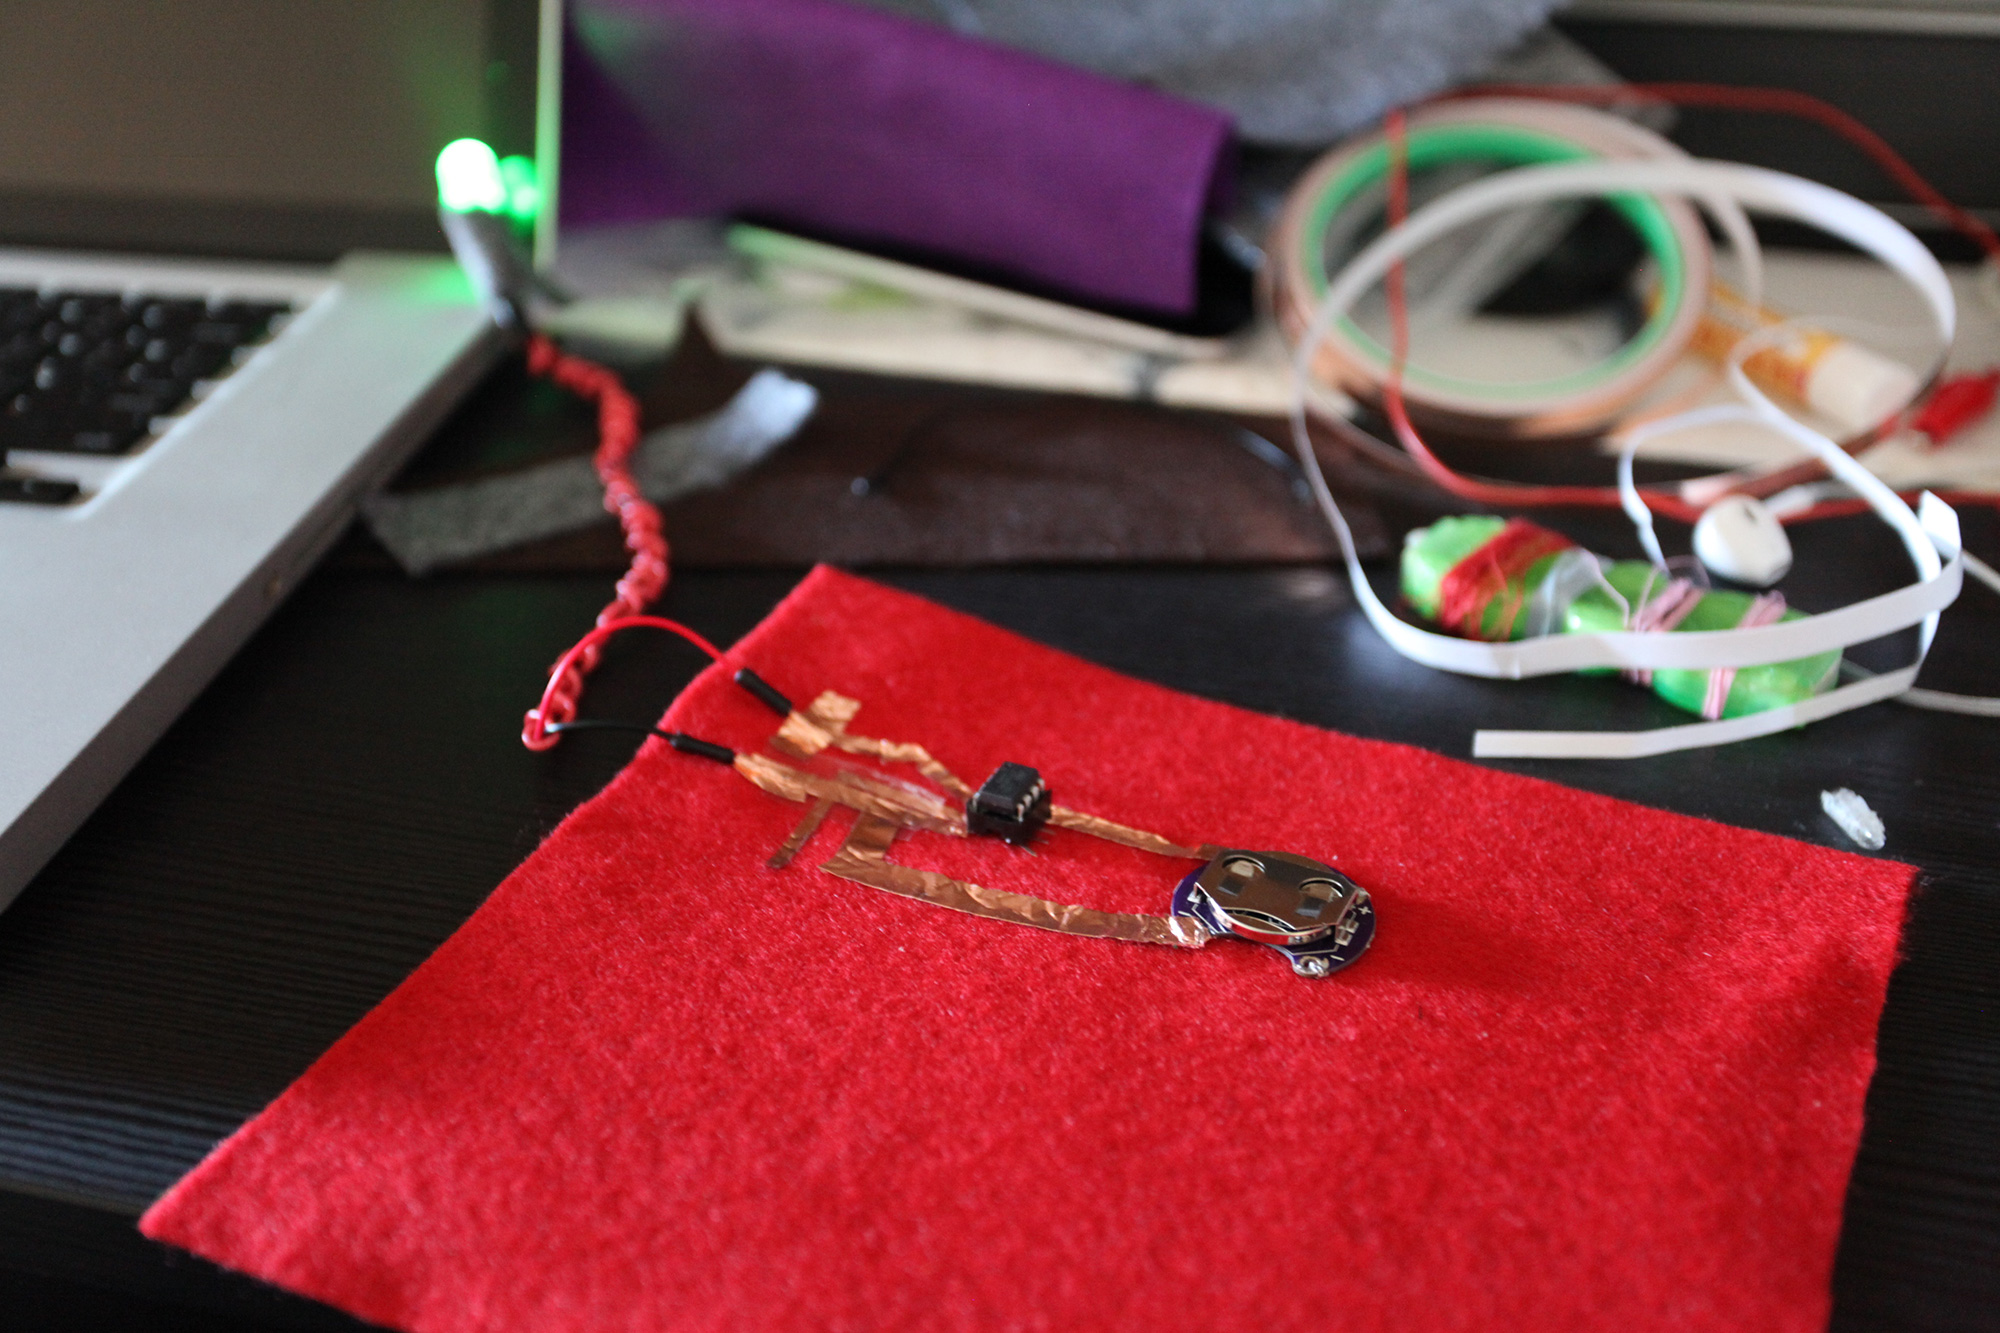
– ATtiny45 (human circuit code)

IMG_3053

PROCESS

ATtiny + capacitive sensing code w/reset

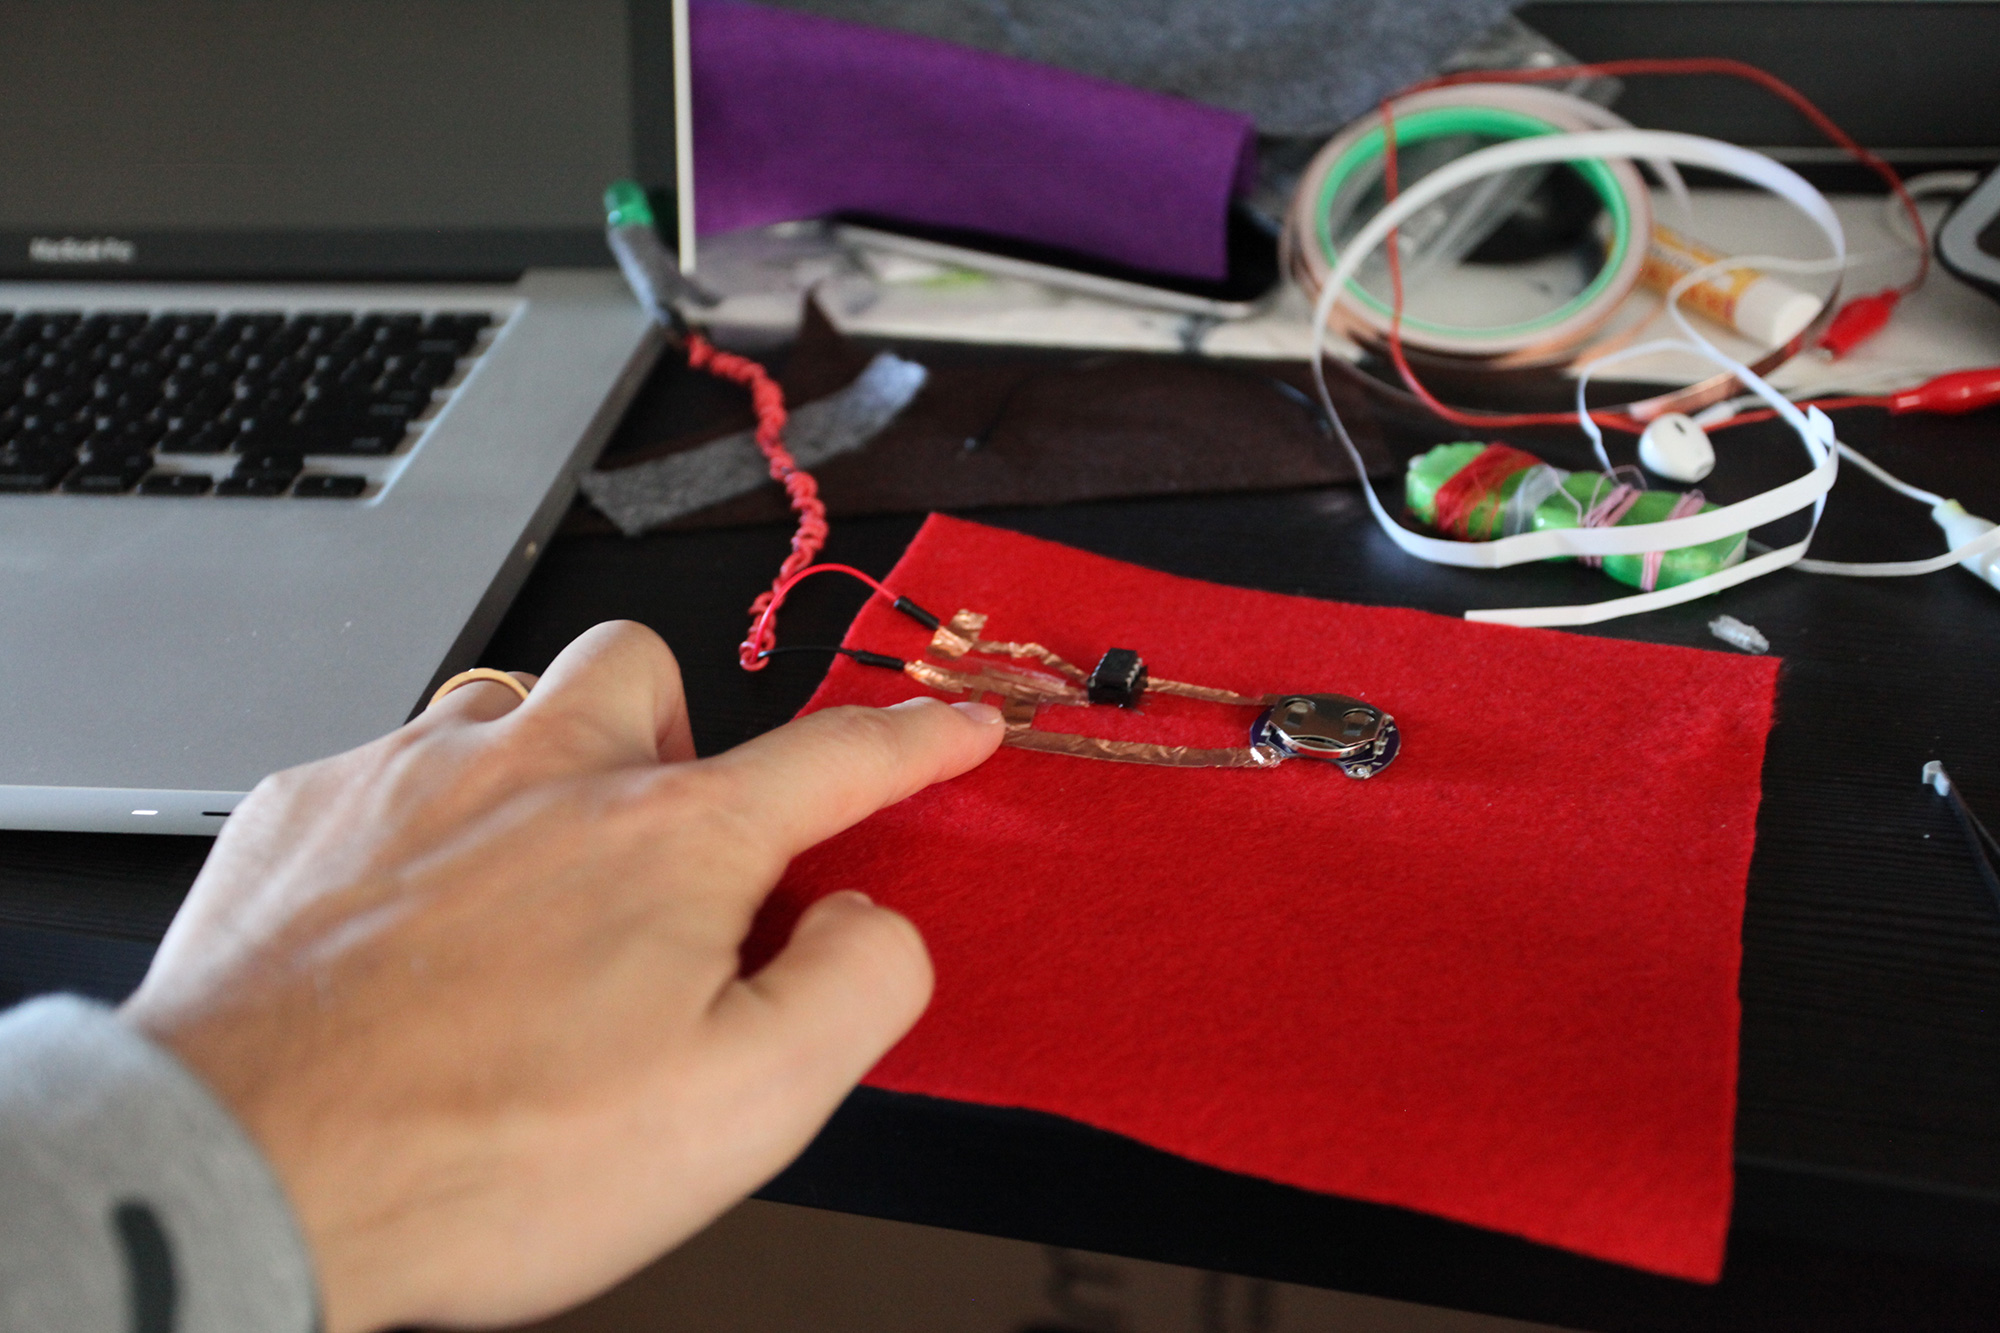
ATtiny + human circuit code (for some reason it was working just touching one wire and once I built the soft circuit for it, I had to touch the two wires in order to get it to work). This is the one I ended up using for the book lamp.


Sunglasses Lamp (WEEK7)

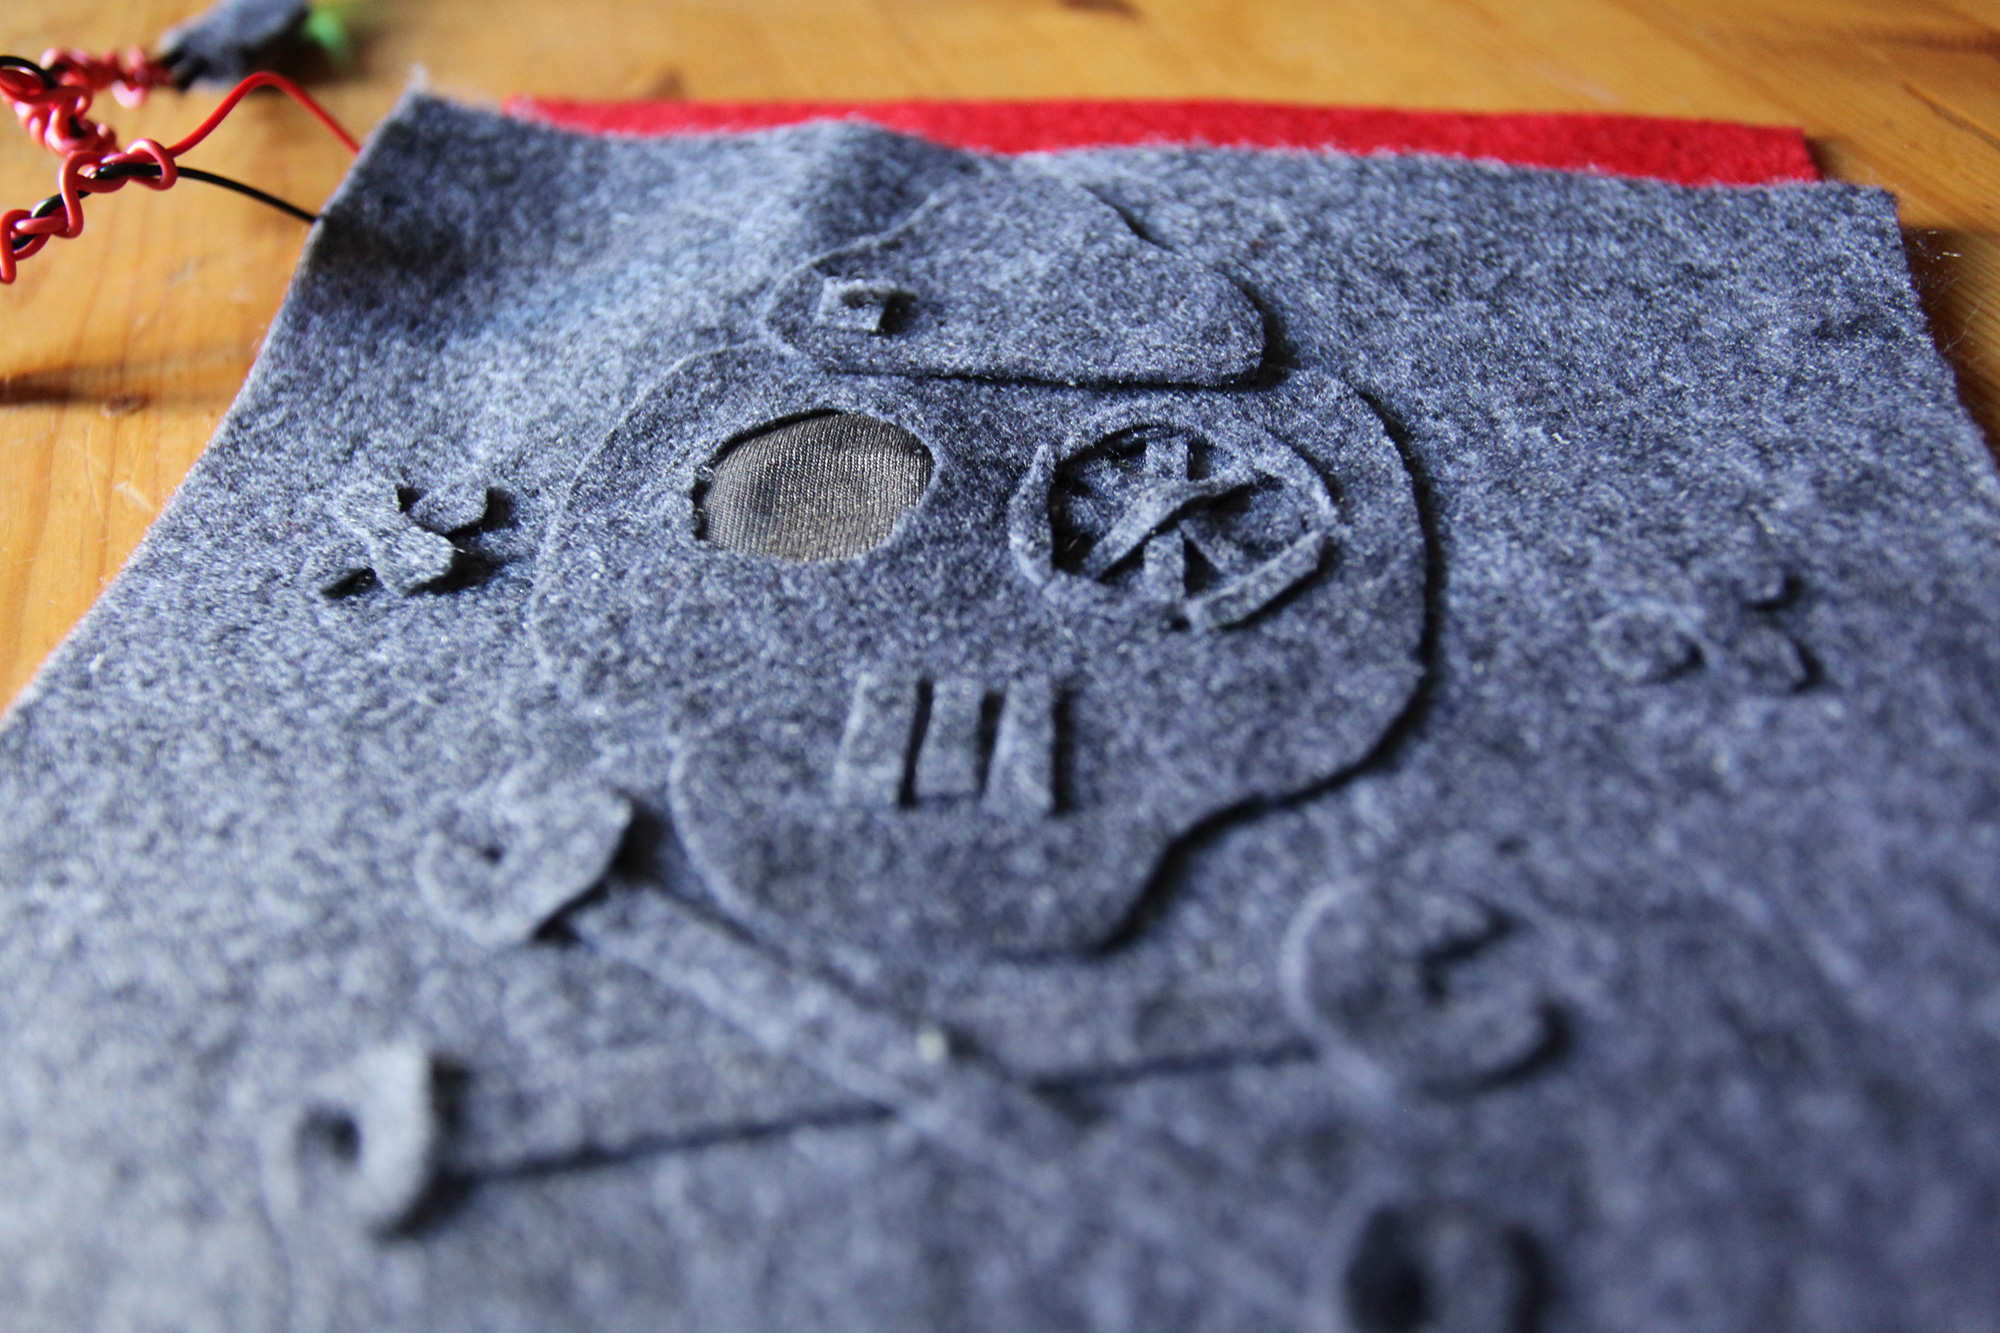
It is a glasses lamp. When the sensor touches the wearer’s face the LED turns on.

Materials: 1megaohm resistor, ATtiny, Battery, LED, Conductive tape

I applied the basic capacitive sensor circuit on a sunglasses by connecting the sensor pin to the top of the glasses where touches the wearer’s eye bone.

Pillow Lamp

It’s a pillow lamp.

In my original idea, this lamp could light up automatically when environment getting dark. When users laying heads on it, the light turns off.

But there is some problem with ATTiny. Finally the lamp can be turned off when laying heads on it. But it can’t light up automatically when environment getting dark.

IMG_7038_2 IMG_7037_2IMG_7038_2 IMG_7040_2 IMG_7045_2 IMG_7055

Circuit Prototype

IMG_7033 IMG_7035 IMG_7087 IMG_7091 IMG_7092 IMG_7097


Behavior Story (Week 6)

Soothing/Comforting/Purring Pet (Or rather: The Angry Firefly)

IMG_0013

Don’t wake up the angry firefly…

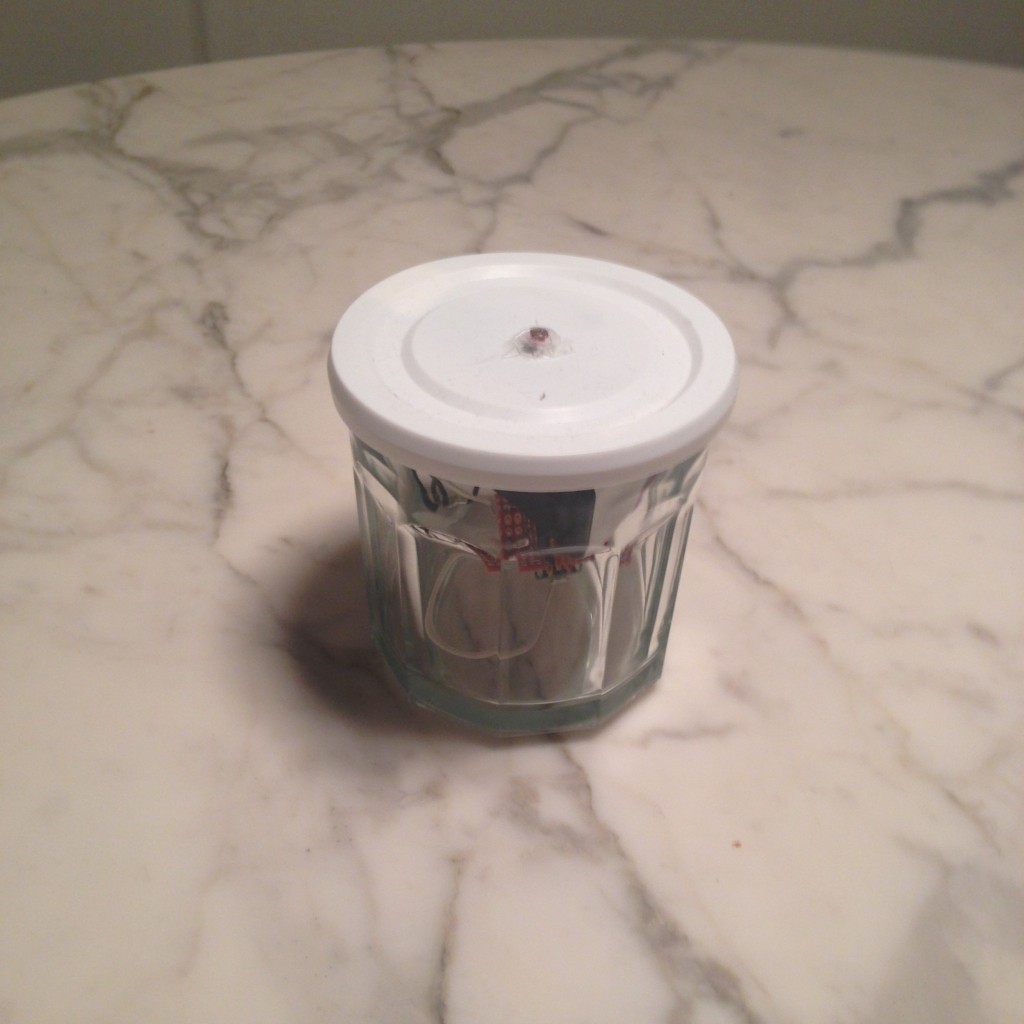
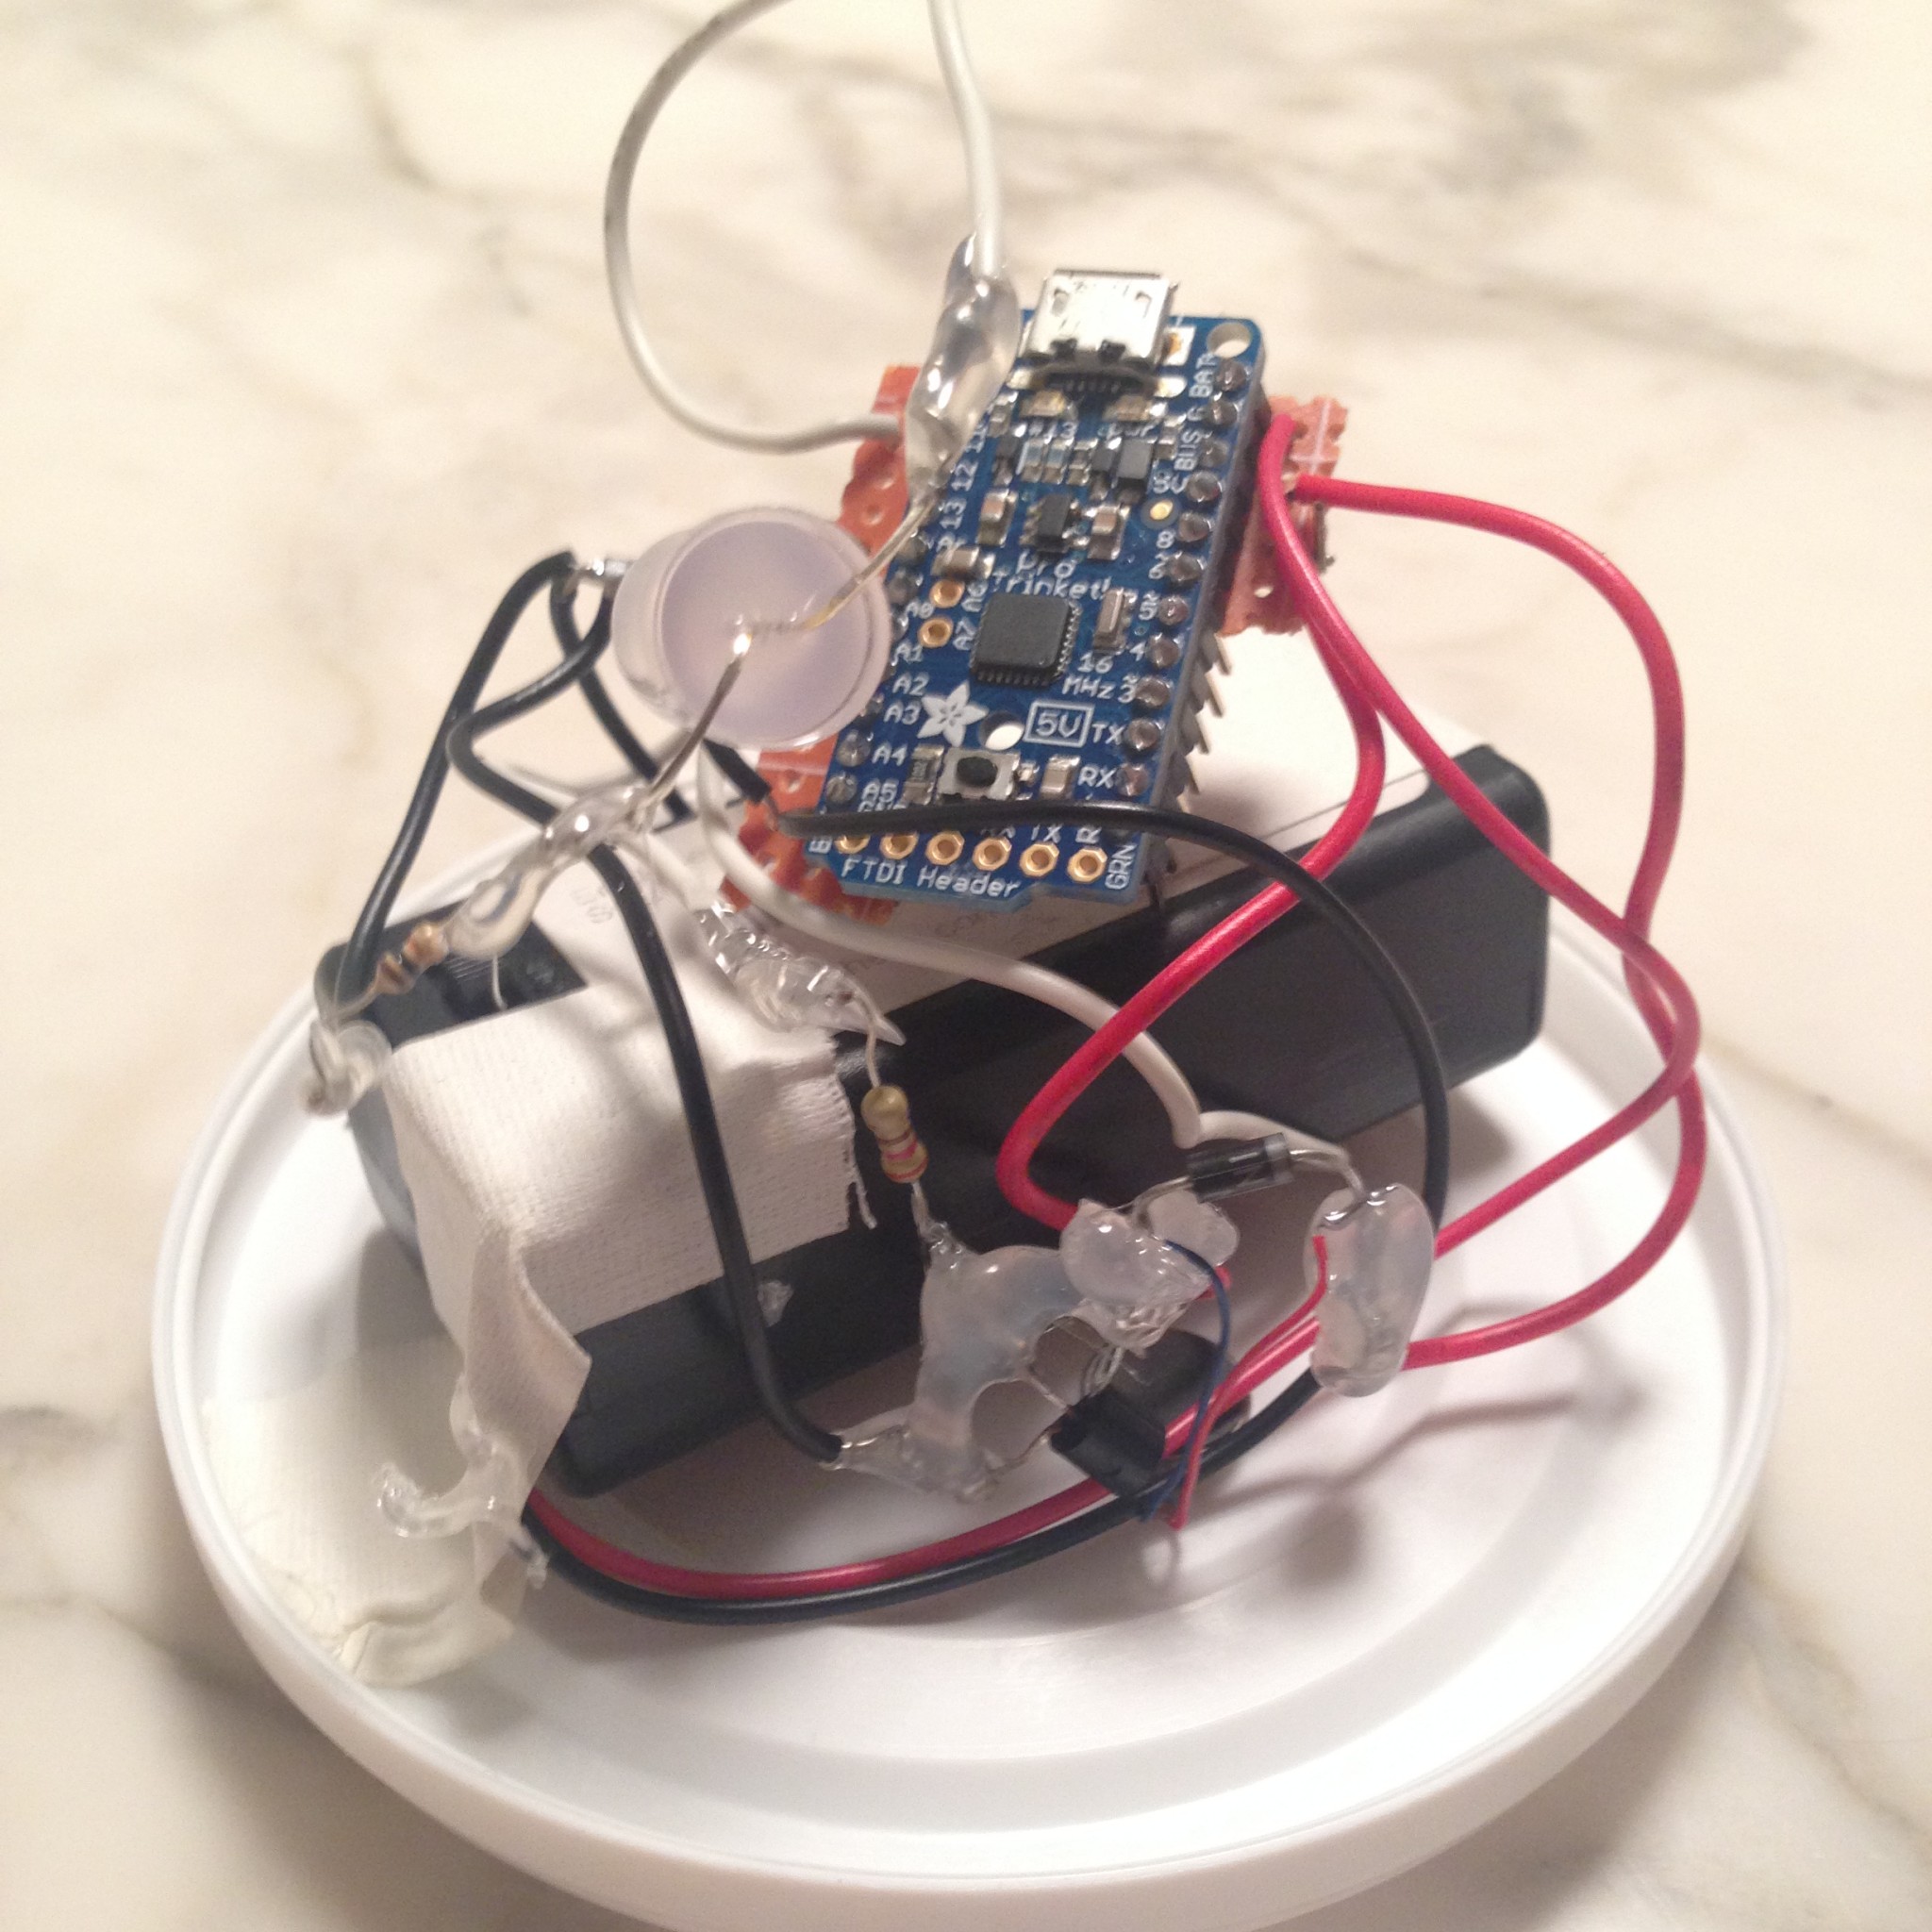
The plan for my Behavior Story took a detour when I underestimated how loud/strong the vibration from the mini vibe motor could be. I had initially planned on making a nice, soothing toy/object that created a gentle vibration and pulsing light when you put your hand on it. Instead what I got was an angry cricket/firefly that was irritated when you bothered it.

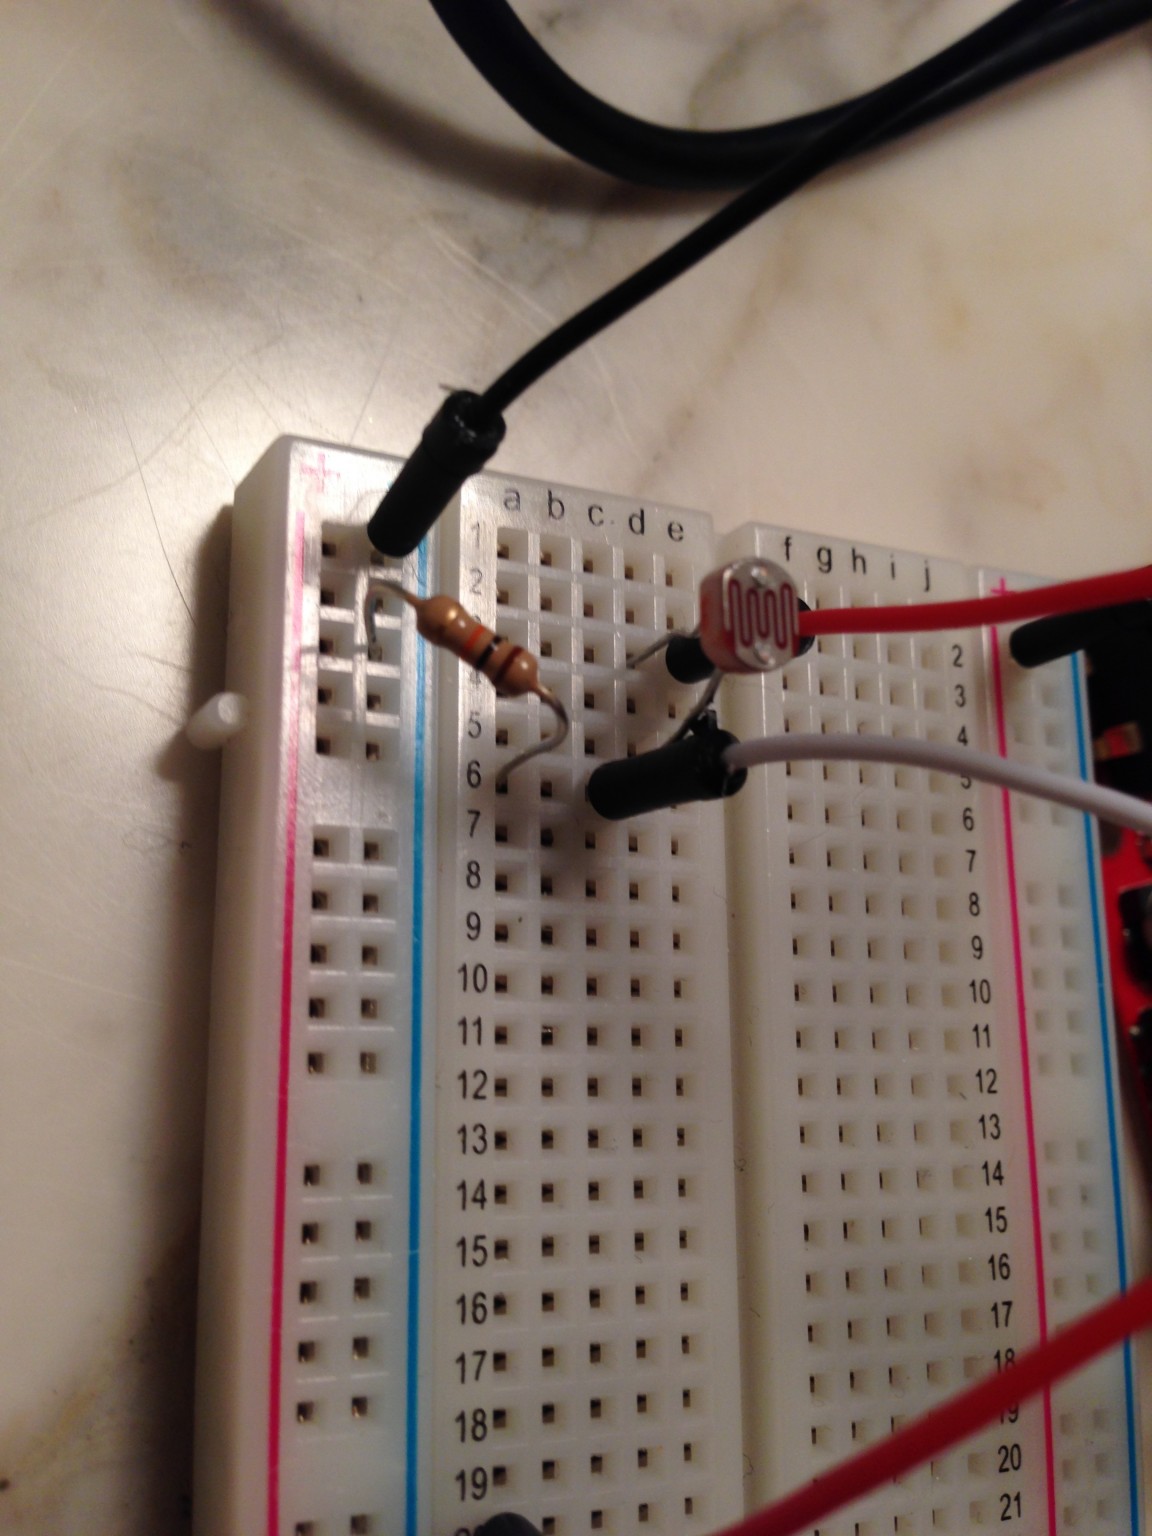
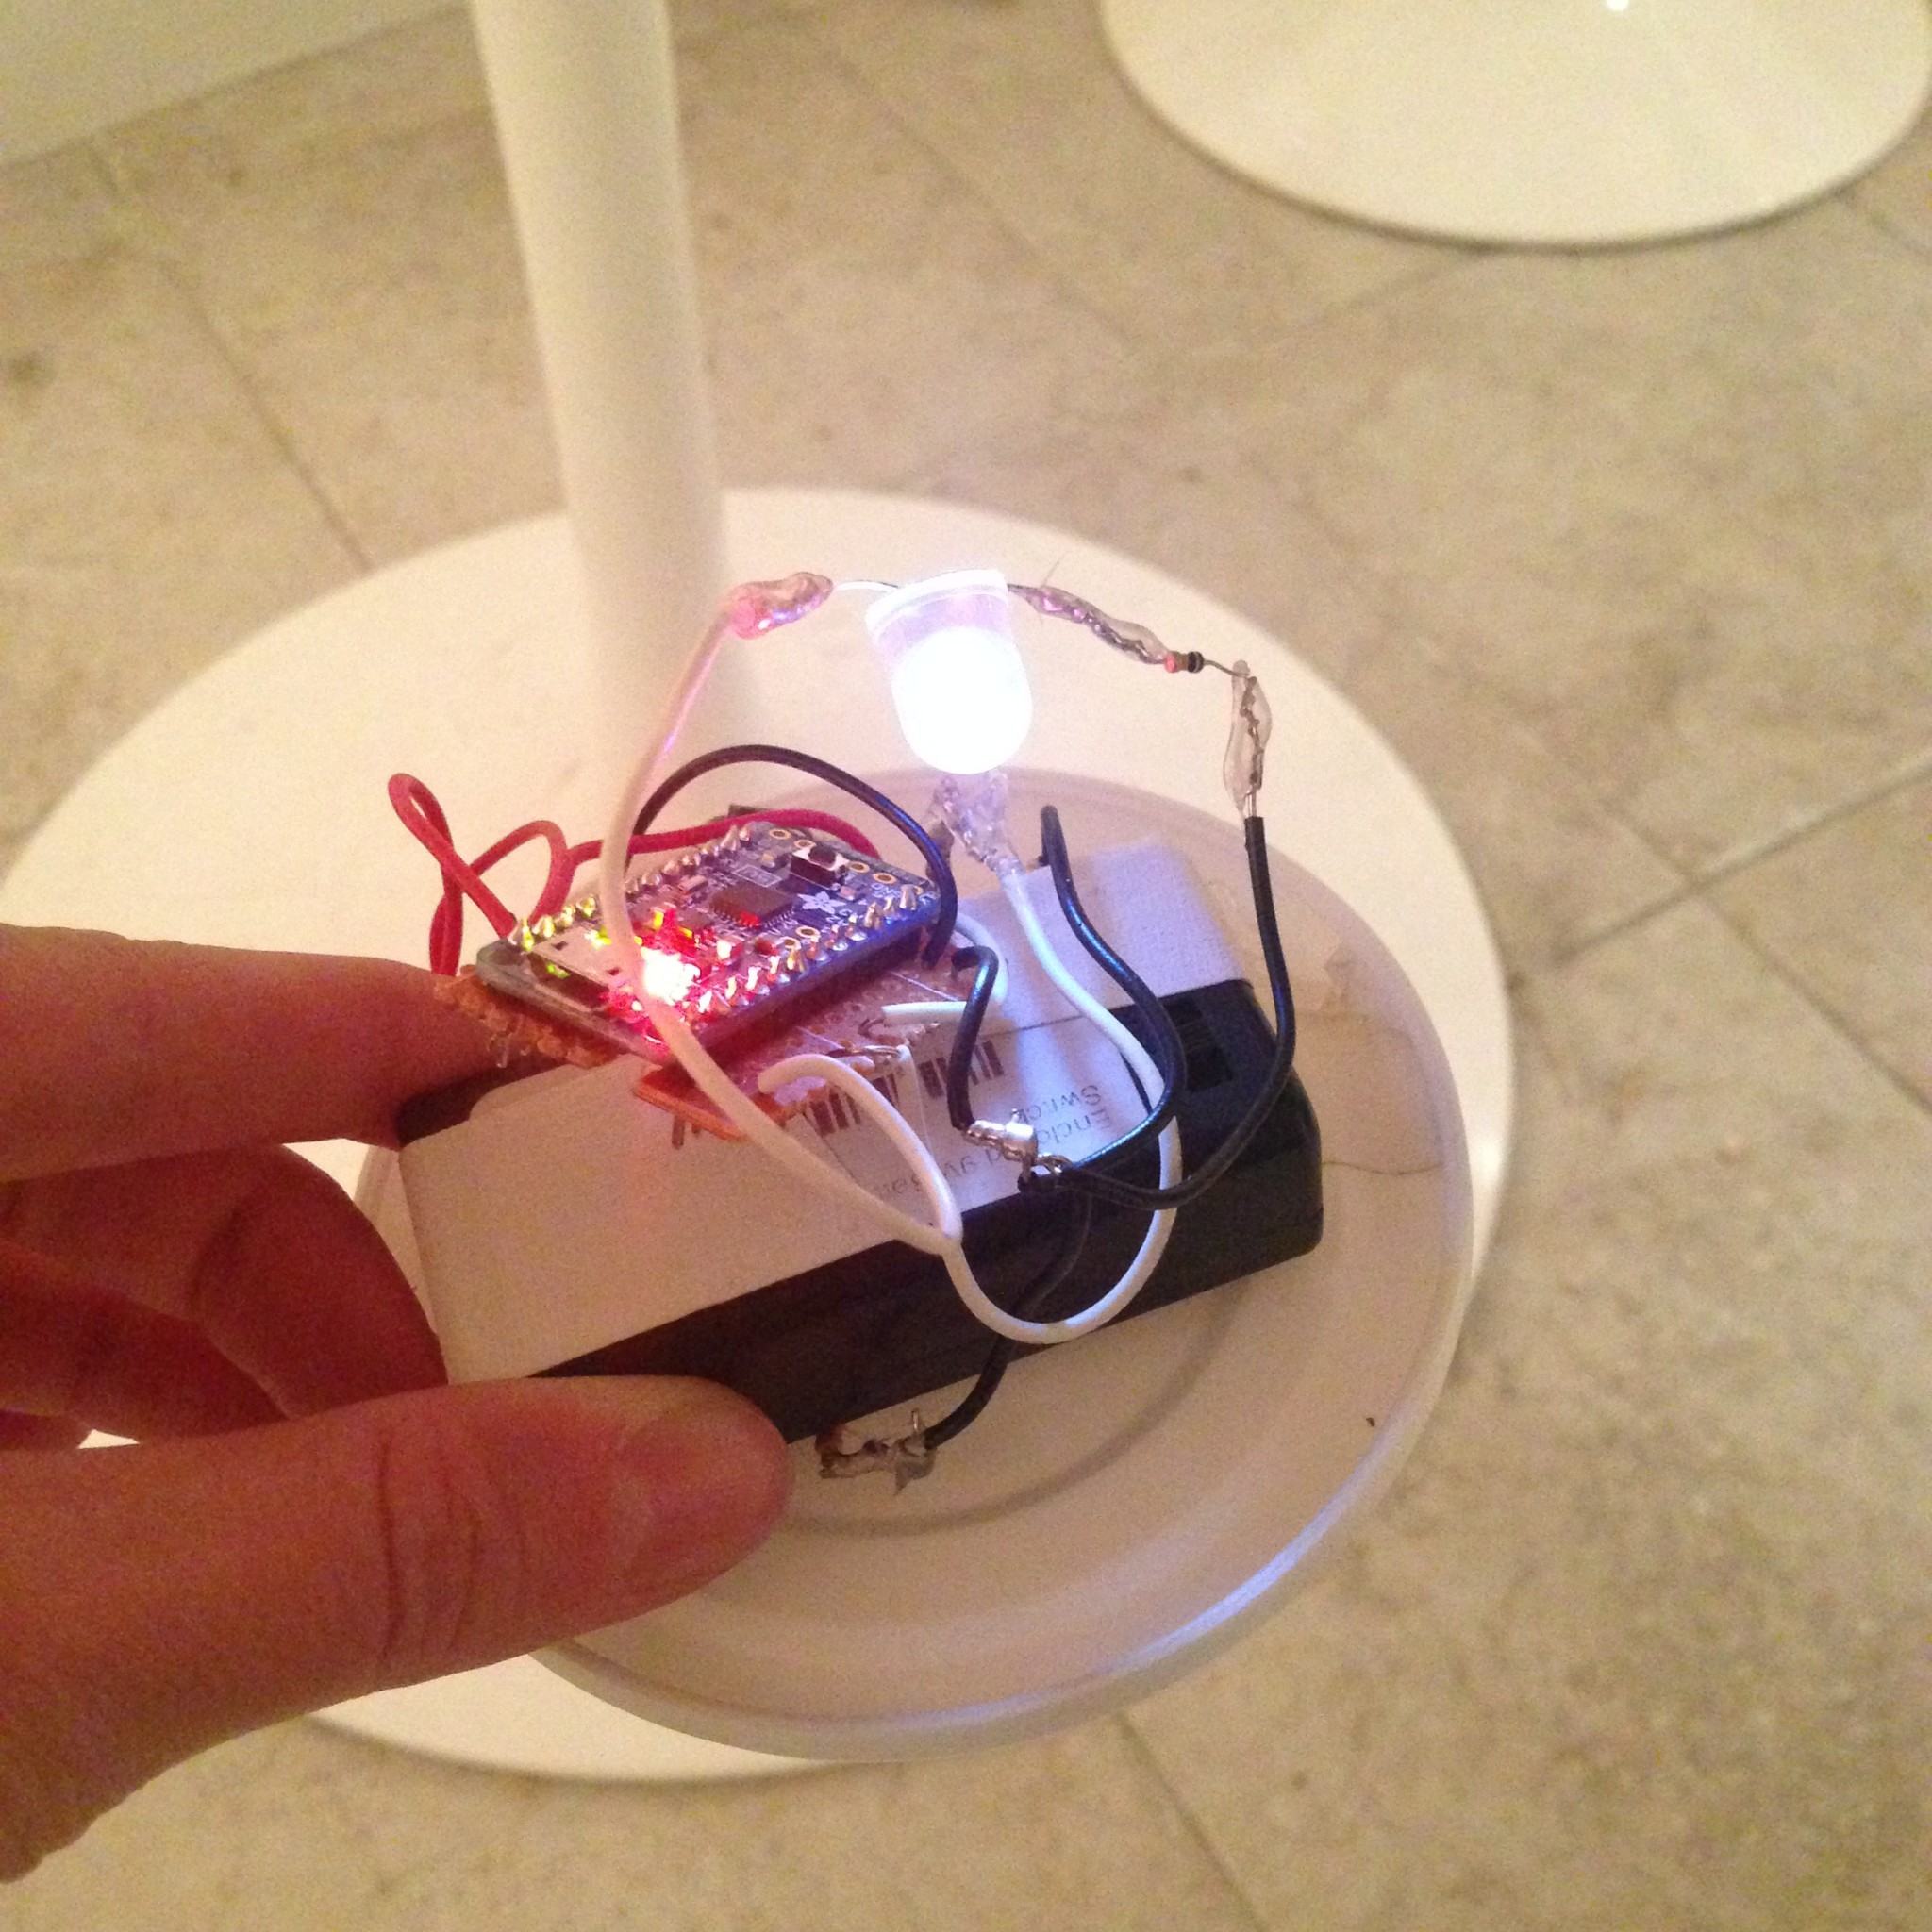
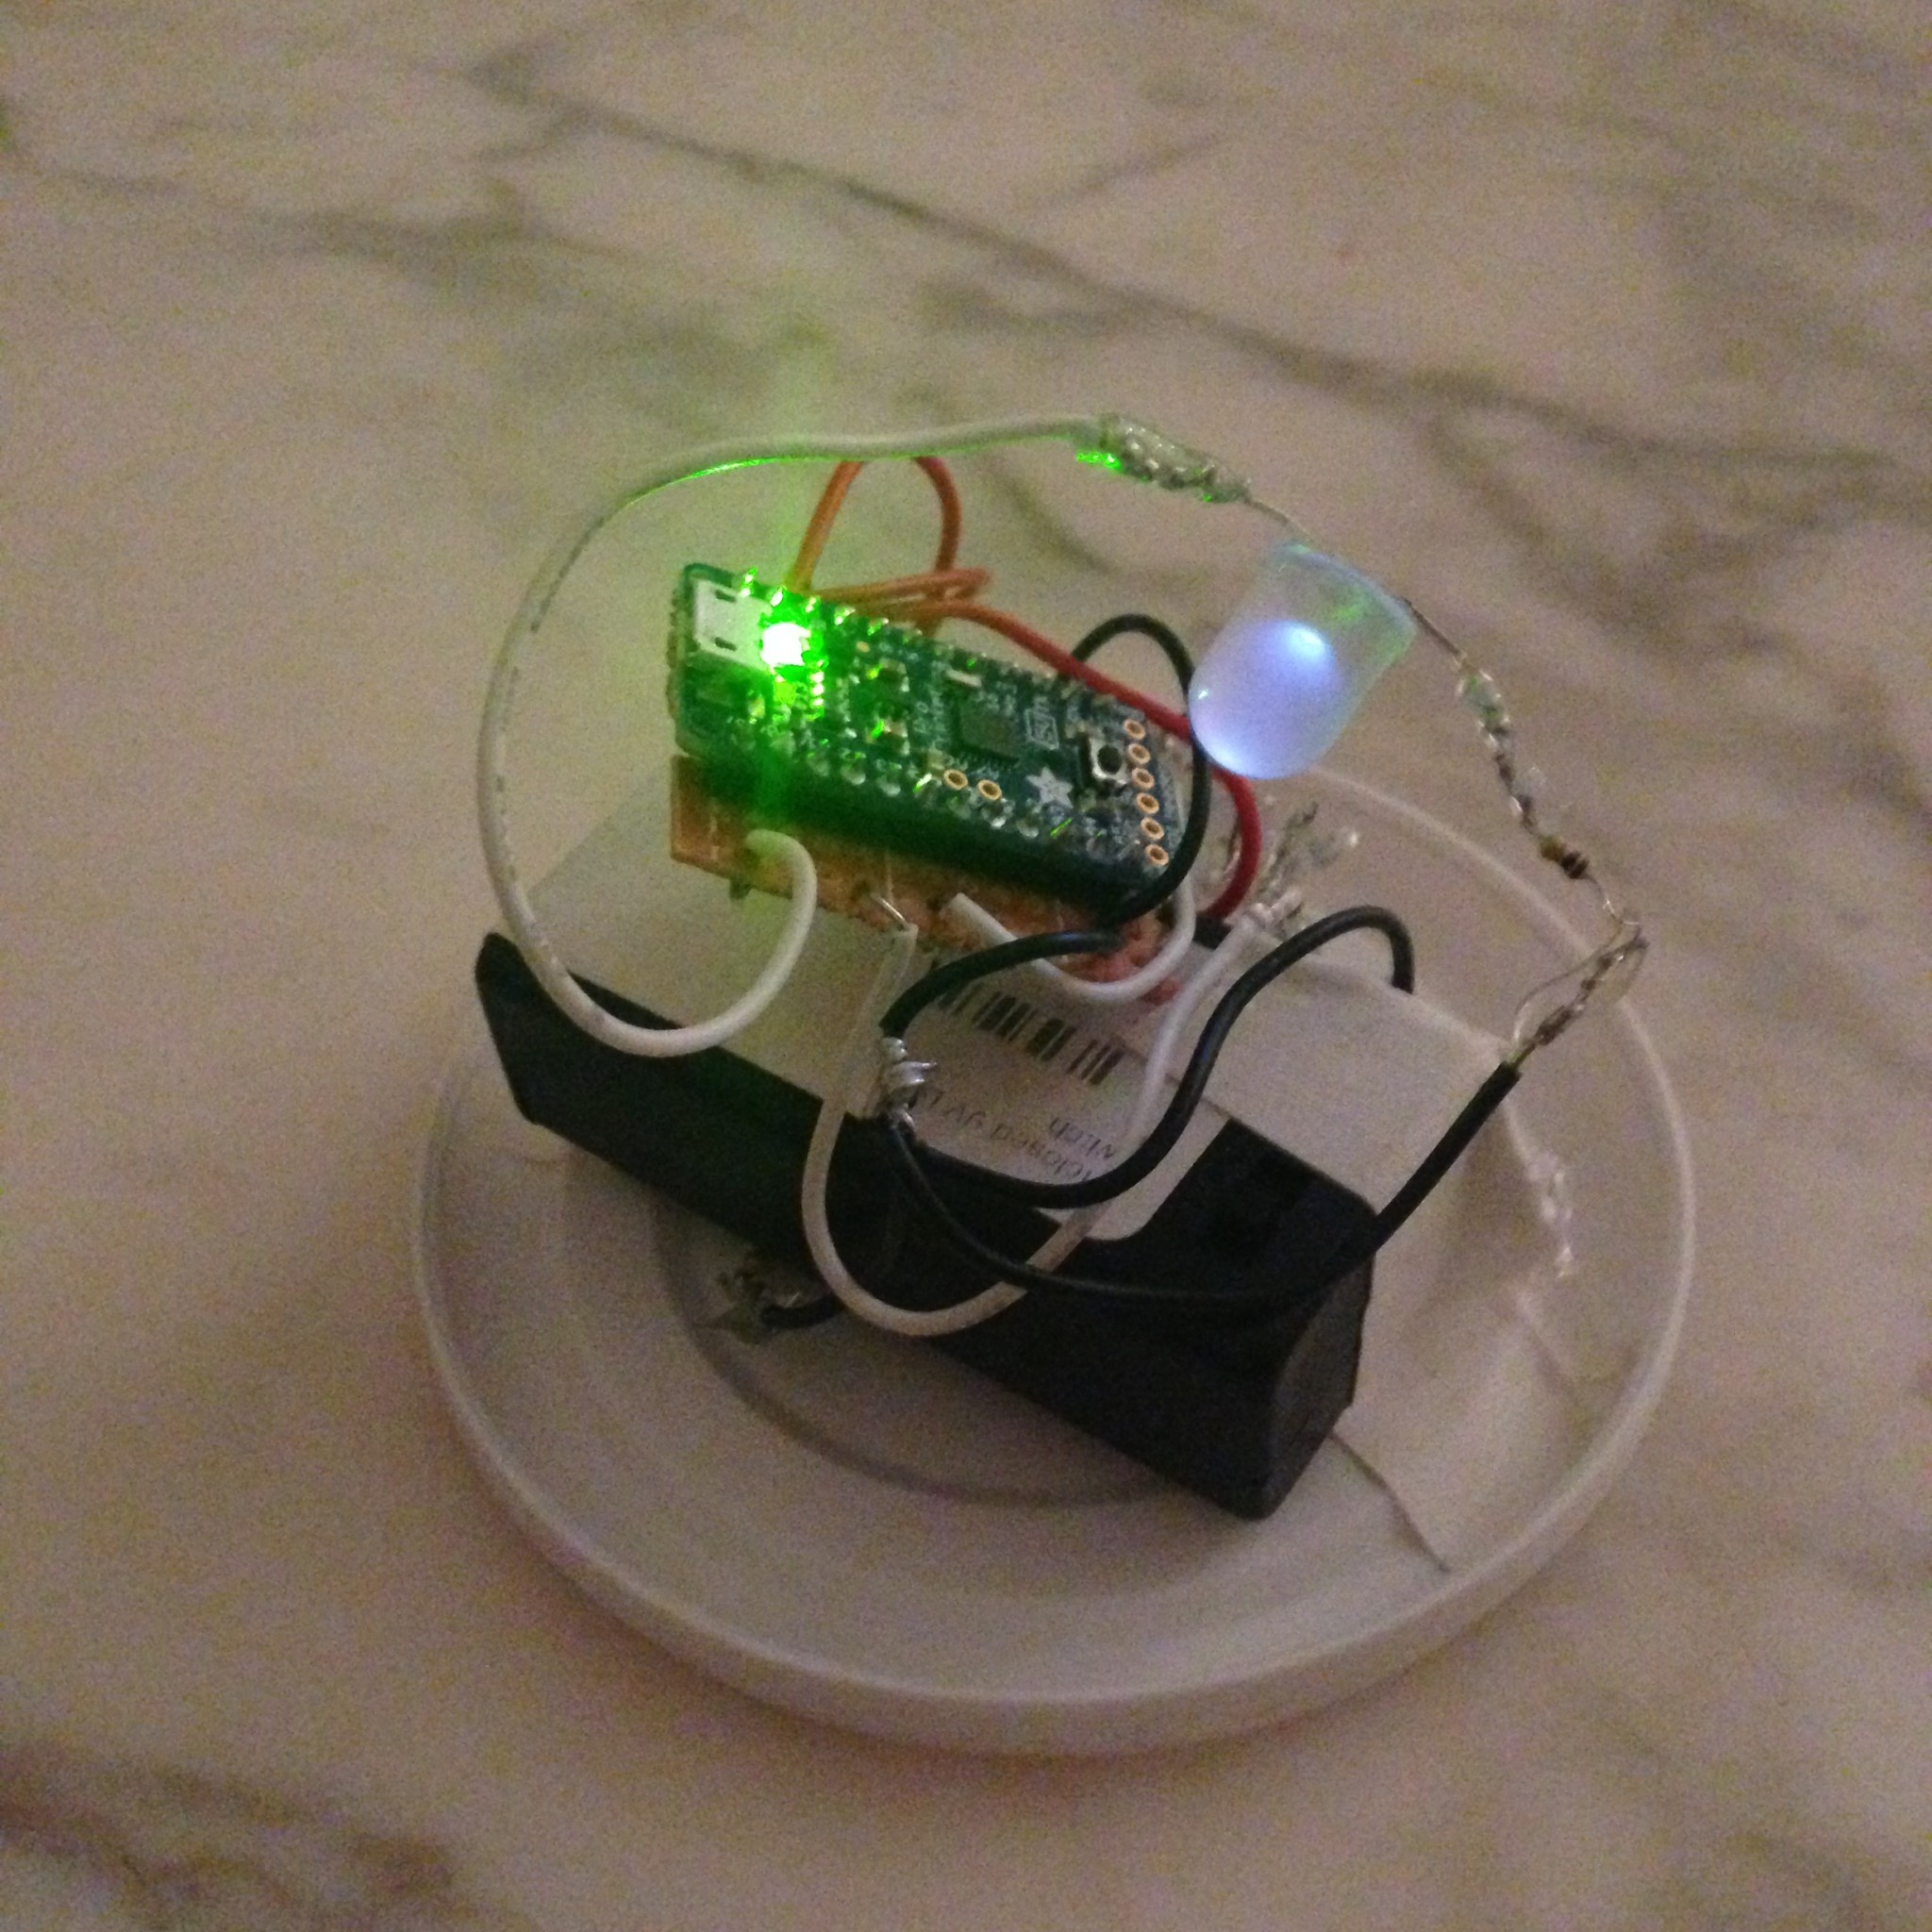
A photoresistor at the top of the jar detects when the user places his or her hand above it, causing the angry firefly inside to wake up (lighting an LED and powering a mini vibe motor in short pulses) until the user’s hand is removed.

Materials:

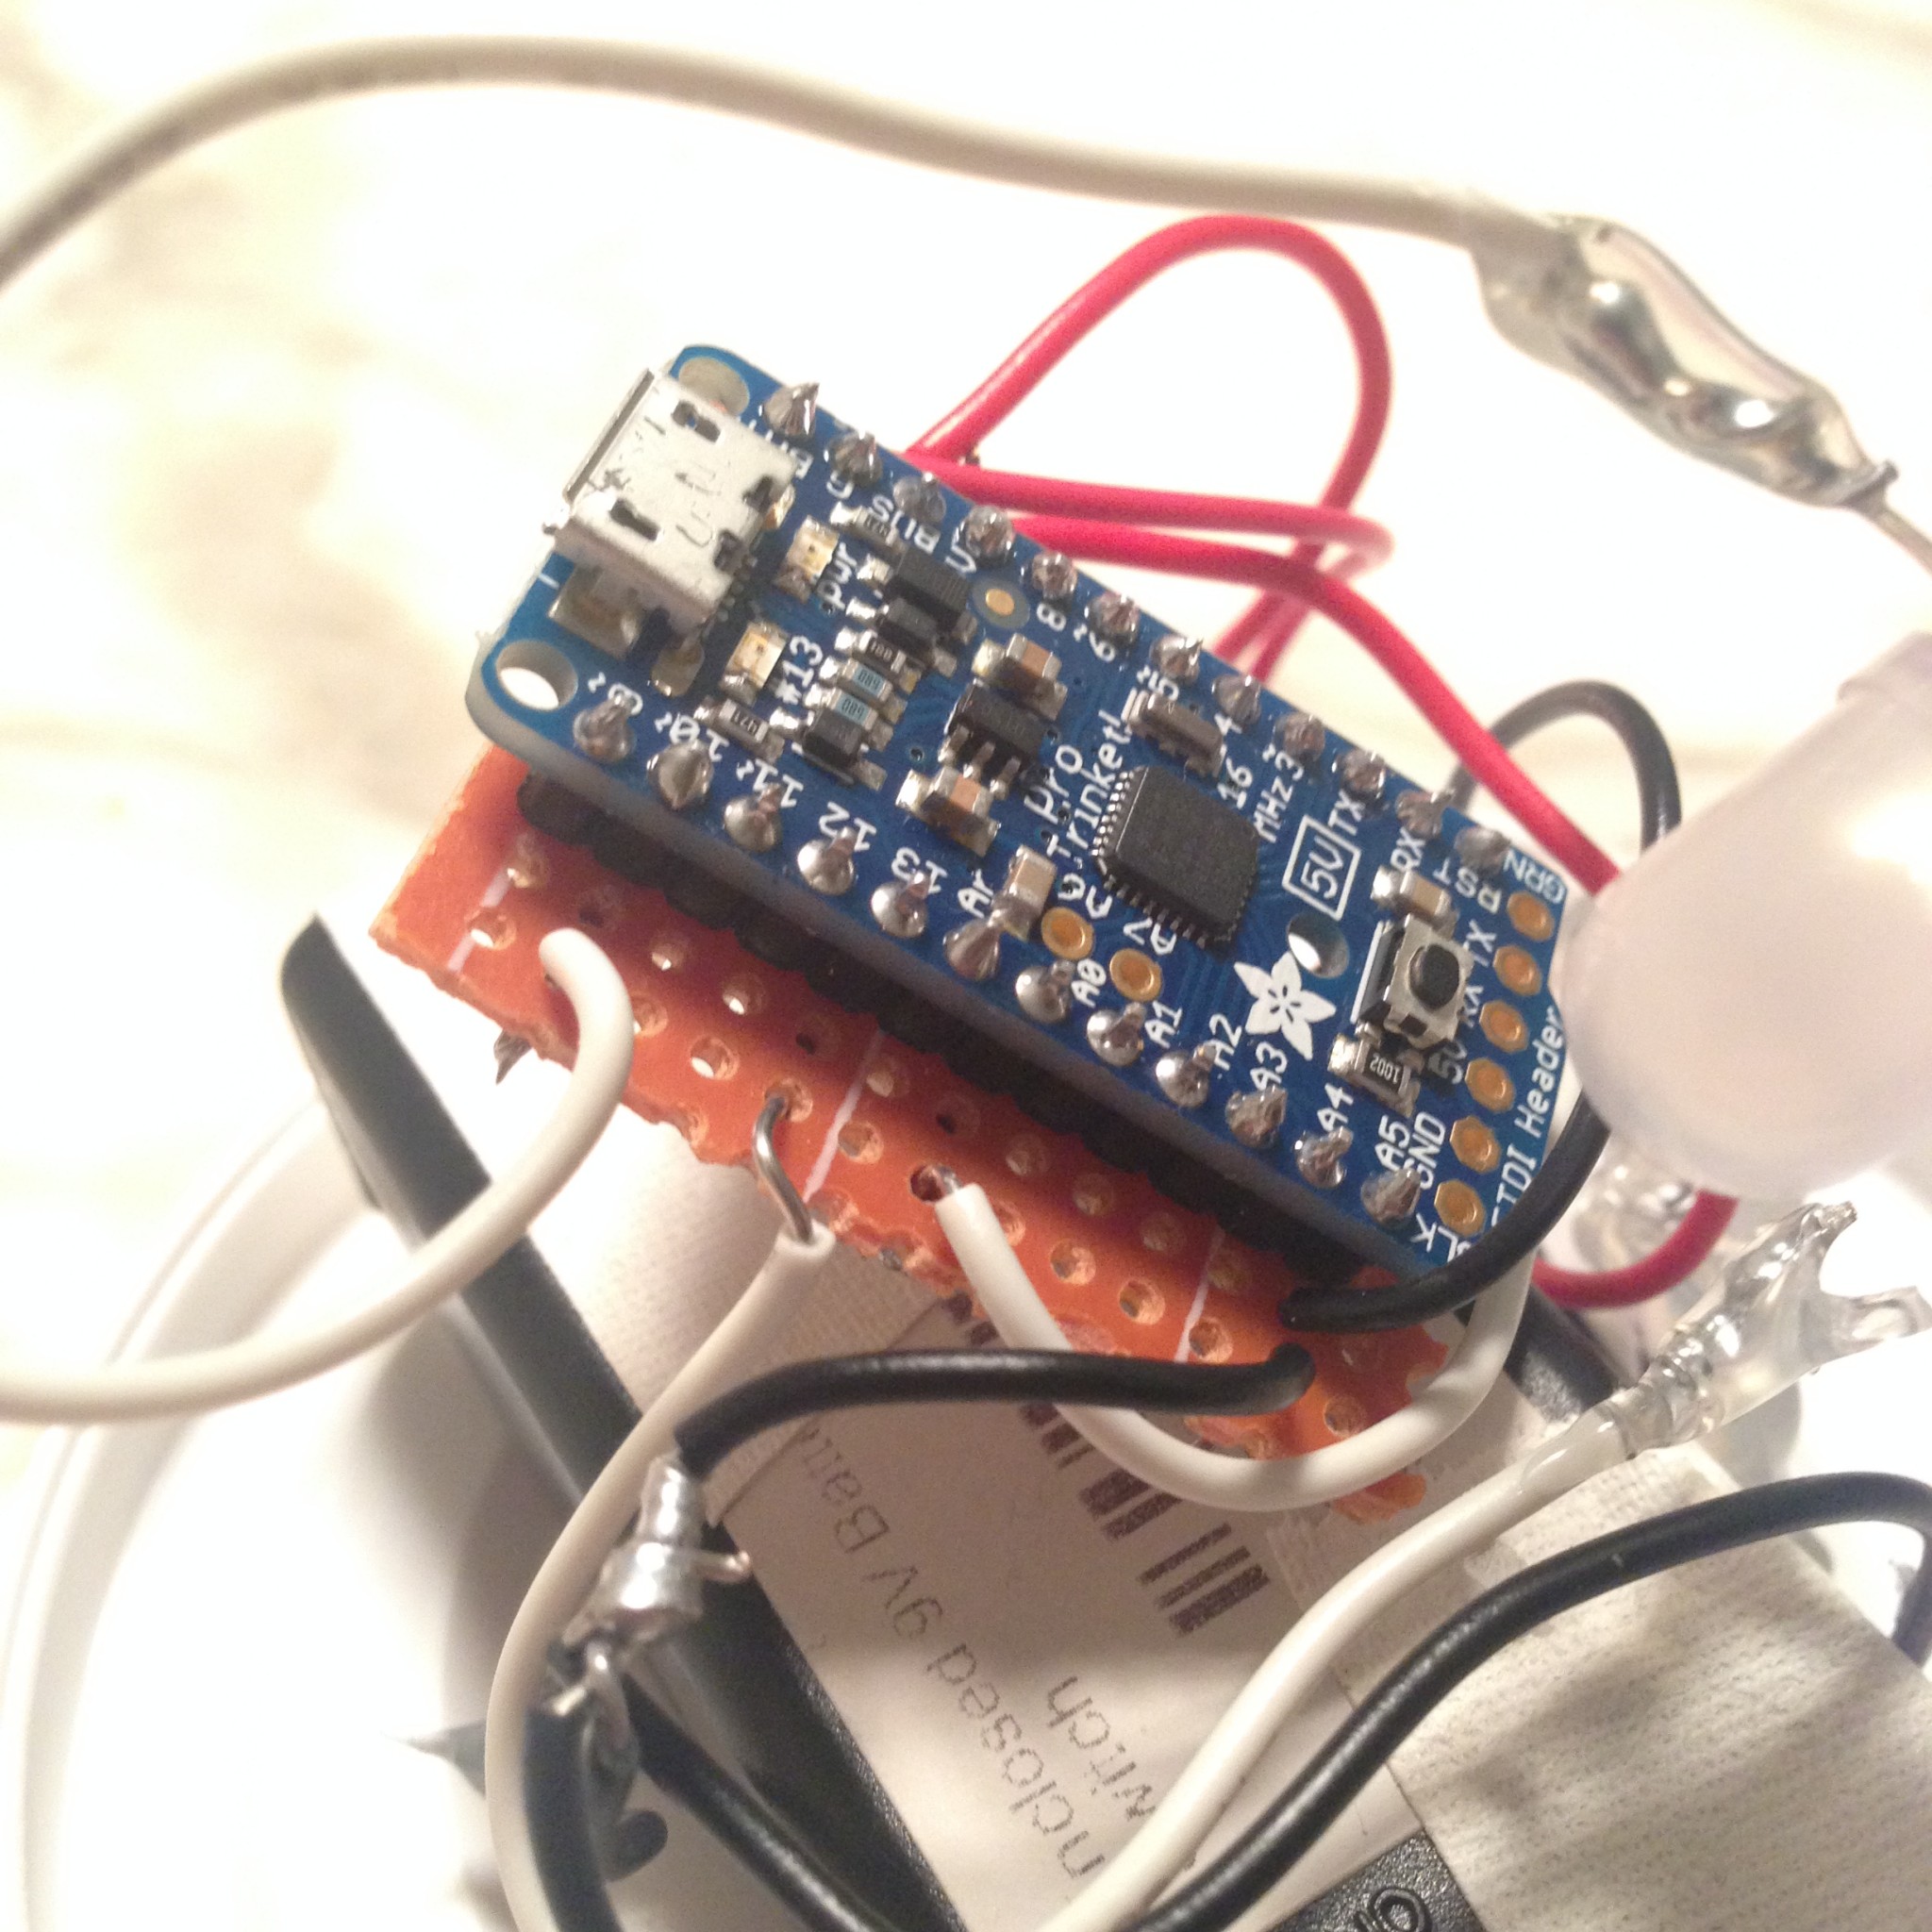
  • 1x Adafruit Trinket Pro 5V (or any other microcontroller that fits in the container of your choice – in this case I was using a glass jar with a plastic lid and needed something compact)
  • 1x Photocell/Photoresistor/LDR
  • 1x 5mm LED (bright white)
  • 1×1300 mAh LiPo Battery* (+battery “backpack” to connect it to microcontroller) *used 9v battery instead – bulkier, but still works
  • 1x 100 ohm resistor (for LED)
  • 1x 100k ohm resistor (for LDR/photocell)
  • Hookup wire/conductive thread + solder + soldering iron etc.

for the vibe motor circuit:

  • 1x NPN Transistor
  • 1x 1k ohm resistor
  • 1x 1N4001 Diode
  • 1x capacitor
  • 1x 33 ohm resistor
  • 1x mini vibe motor


The project is my first attempt at using a Trinket microcontroller with soldered connections – something I tried in order to keep the components as compact as possible. However, the project still required a 9v battery to work effectively (the vibe motor requires a decent amount of power), making it bulkier than intended.

IMG_9686 IMG_9689  IMG_9692IMG_0014IMG_0015IMG_0016IMG_0018IMG_0019IMG_9690IMG_9691


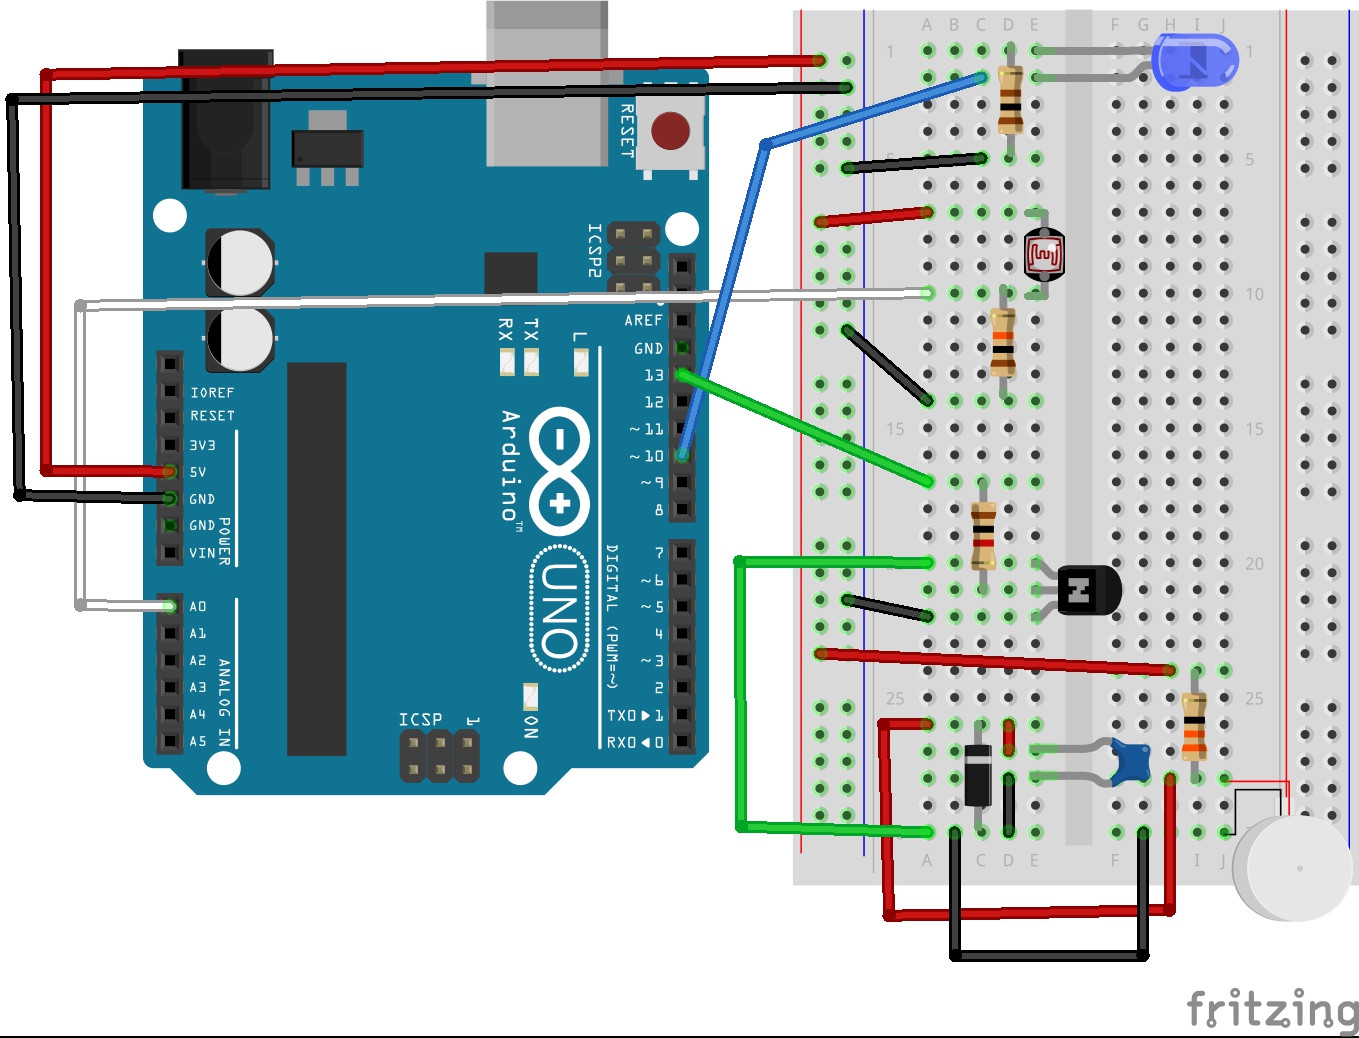
Fritzing Diagram / Breadboard Circuit:

Vibe-LED-LDR_bb


for Arduino code, see below:
Continue reading