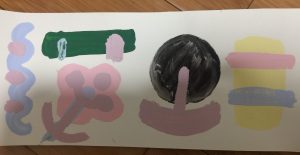
In this class, we have learnt the how to make color change when heats up.
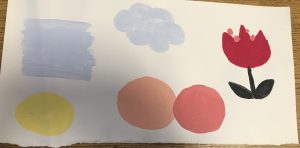
I have tested all kinds of mixing pigment, however, the effect is not that obvious. Some of the painting are too thick, so cannot see the effect when heats up.
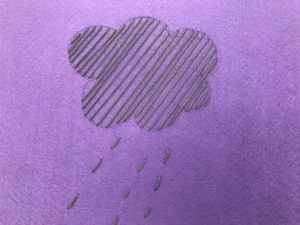
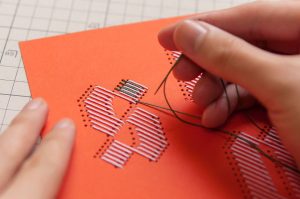
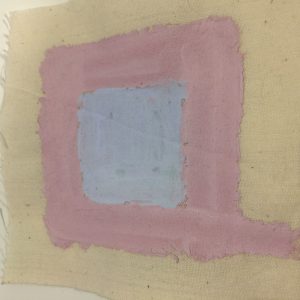
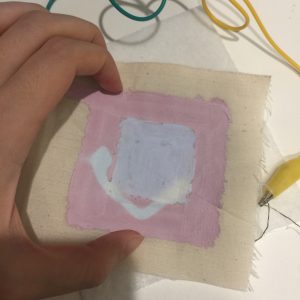
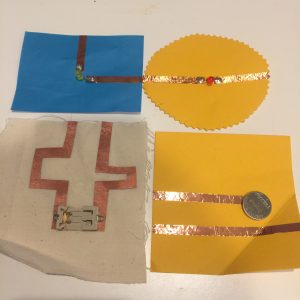
I found out the blue pigment mixed with white Acrylic is the most obvious one. So I painted it on a bigger size of paper, and made a sewing graphic of the cloud+ rain.
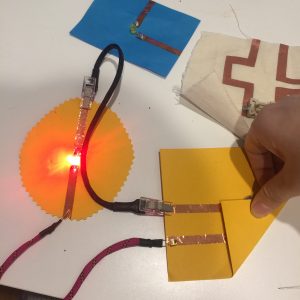
Finally, the blue color changed pretty well even people just make their hands on it. The color changed obviously. However, it does not work well when I layer down the cloudy graphic with the heat power.
What I have learnt?
The gap between the sewing graphic needs to be smaller, or even sew it in cross-lined. Because in this way, when power up the battery, the heat will not diffuse that quickly. If this layer can keep the heat well, then the cloudy graphic can be seen successfully.
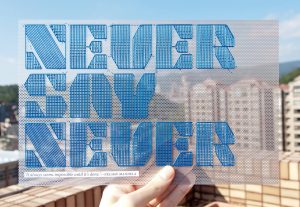
For the final concept, I start with a concept of making an embroidery project because I was inspired by this following work.
— by showshowcraft
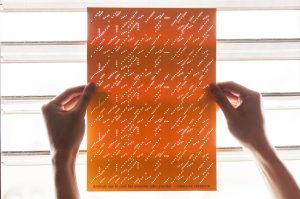
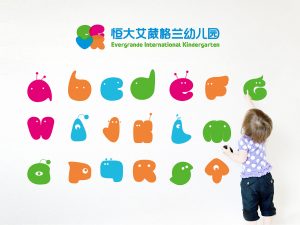
However, I cannot find a good way to combine the tech part with this craft. After talking to Liza, I end up with making an interactive storybook. The following are some precedents:
1.
I love children a lot. And I like to make graphic both are simple and colorful. It makes me energetic.
2.
–by Jie Qi
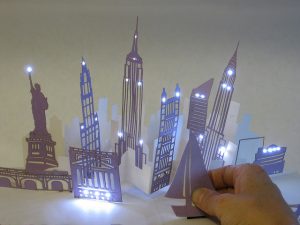
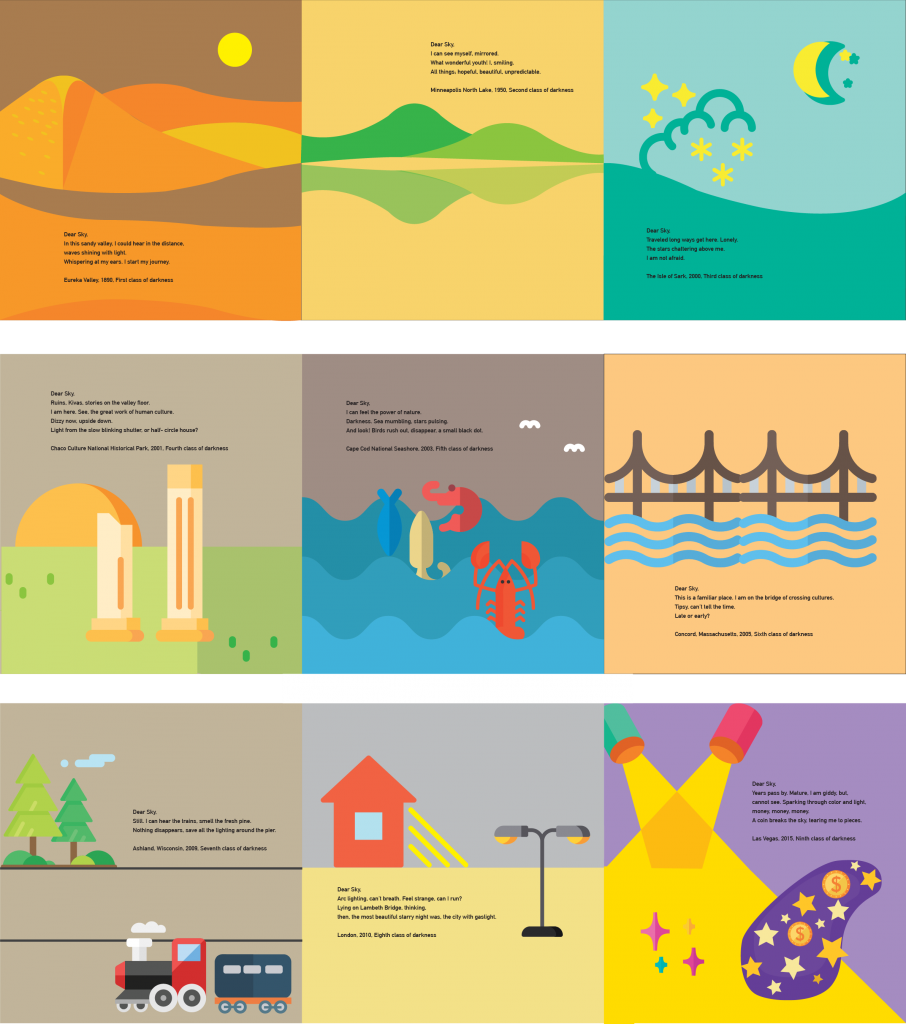
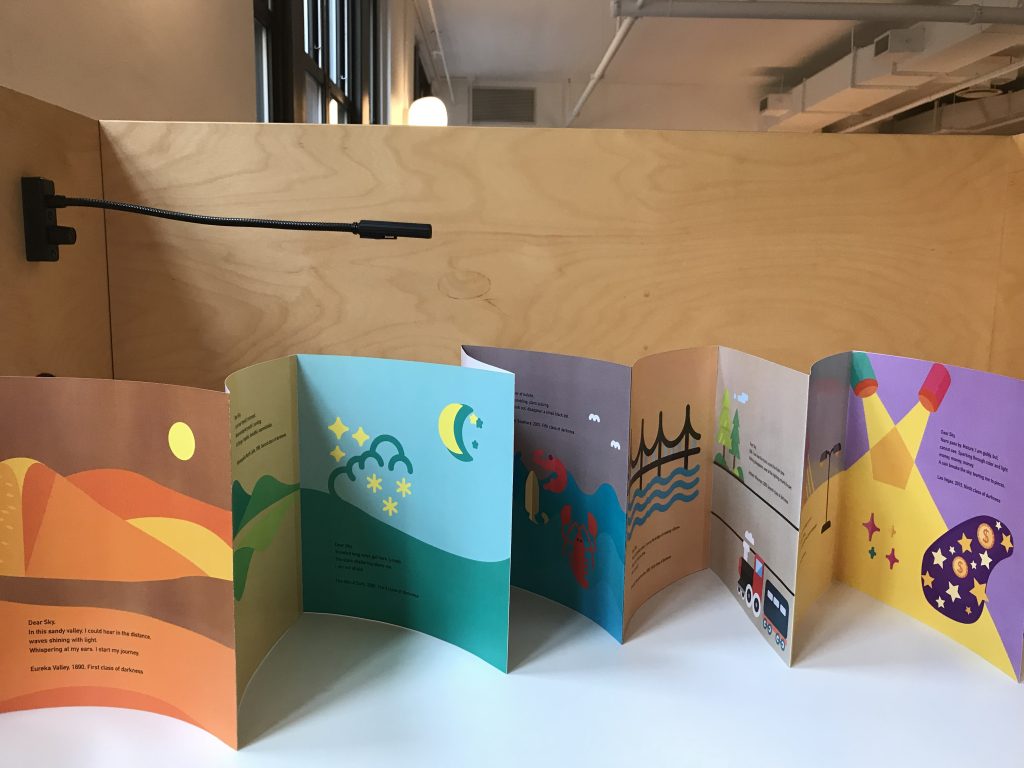
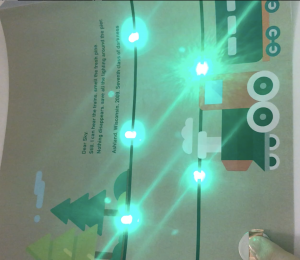
Concept: This is a storytelling that create an immersive feeling of the Bortle Scales of dark sky, using poetry and graphics to represent the nine scales of places in first person. In this storybook, I hope I can rise people’s awareness in the field of Light Pollution.
Target audience: Children
Style: Colorful+ Playful
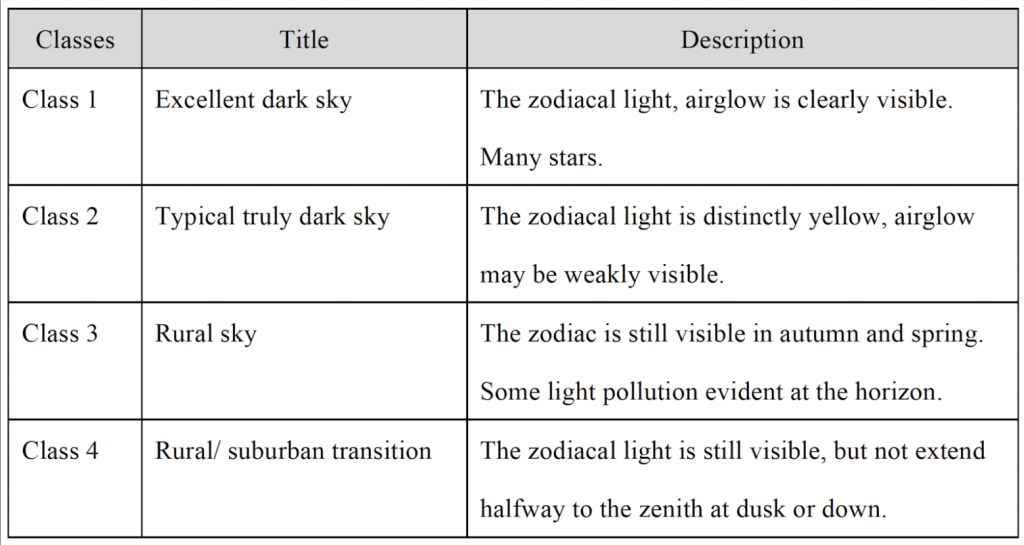
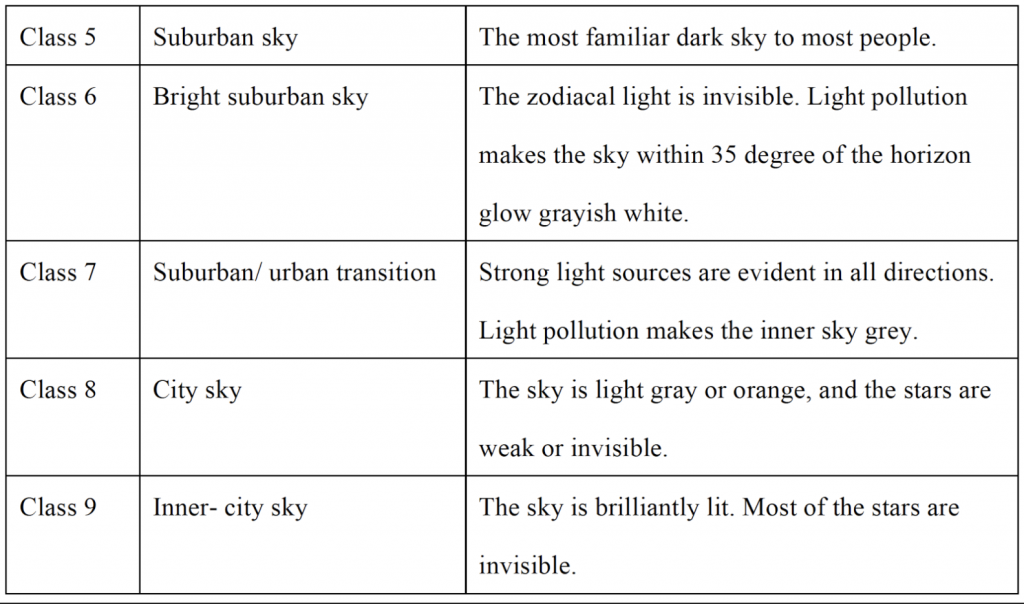
The Bortle Scale— The definition of the nine classes of dark sky:
I drew the nine stories of the Bortle Scale.
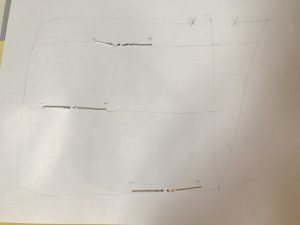
Working process:
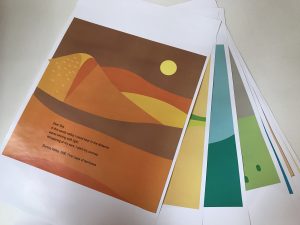
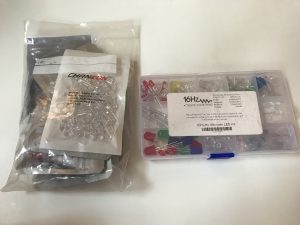
Print out on pro-color paper and make it a booklet.
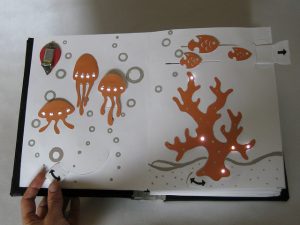
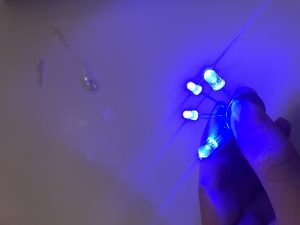
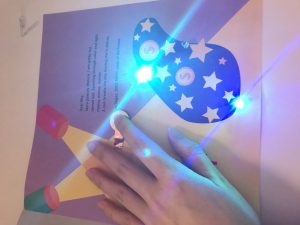
2. Test out the LEDs. Organize how many LEDs each page should have, and also, what color should be, to represent the feeling of the poetry that matches the scale.
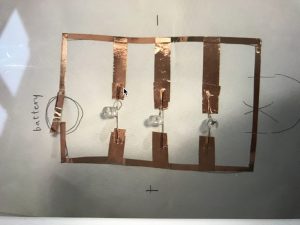
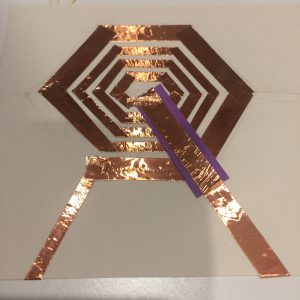
3. Test on one circuits first. And then draw all the nine circuits in the back.
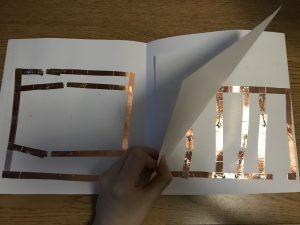
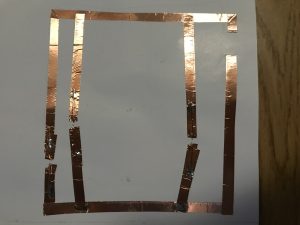
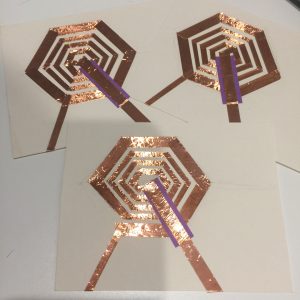
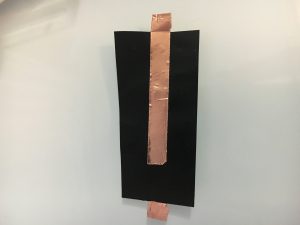
4. Make the circuits completed with the copper tape. Also, reinforce on the connections with soldering.
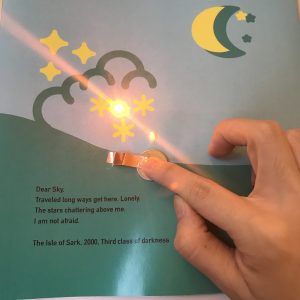
5. Final testing
6. Video Demo
The nine poetry:
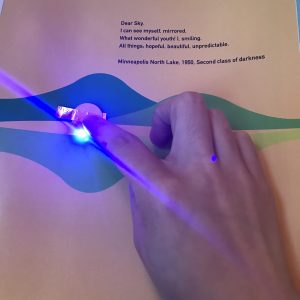
Dear Sky,
In this sandy valley, I could hear in the distance,
waves shining with light.
Whispering at my ears. I start my journey.
Eureka Valley, 1890, First class of darkness
Dear Sky,
I can see myself, mirrored.
What wonderful youth! I, smiling.
All things; hopeful, beautiful, unpredictable.
Minneapolis North Lake, 1950, Second class of darkness
Dear Sky,
Traveled long ways get here. Lonely.
The stars chattering above me.
I am not afraid.
The Isle of Sark, 2000, Third class of darkness
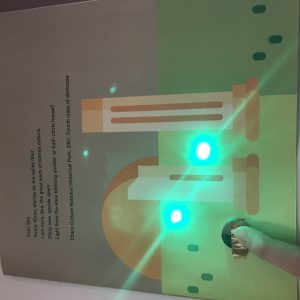
Dear Sky,
Ruins, Kivas, stories on the valley floor.
I am here. See, the great work of human culture.
Dizzy now, upside down.
Light from the slow blinking shutter, or half- circle house?
Chaco Culture National Historical Park, 2001, Fourth class of darkness
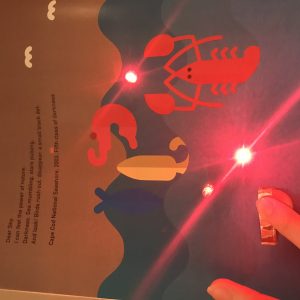
Dear Sky,
I can feel the power of nature.
Darkness. Sea mumbling, stars pulsing.
And look! Birds rush out, disappear, a small black dot.
Cape Cod National Seashore, 2003, Fifth class of darkness
Dear Sky,
This is a familiar place. I am on the bridge of crossing cultures.
Tipsy, can’t tell the time.
Late or early?
Concord, Massachusetts, 2005, Sixth class of darkness
Dear Sky,
Still. I can hear the trains, smell the fresh pine.
Nothing disappears, save all the lighting around the pier.
Ashland, Wisconsin, 2009, Seventh class of darkness
Dear Sky,
Arc lighting, can’t breath. Feel strange, can I run?
Lying on Lambeth Bridge, thinking,
then, the most beautiful starry night was, the city with gaslight.
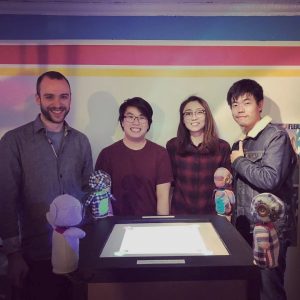
Concept: We constructed an alternative controller that explores physical gesture and its relationship to playful experiences.
Description: Owl Prowl is a four player competitive game played with alternative controllers. The four players must play as an owl character in the game space. Their goal is to catch the most mice before the time runs out. Each player uses a plushie owl to control their game owl. The game is played in the center of the frame, where the game is reared projected from a projector housed inside the structure. Each player stands on a corner of the structure, which also corresponds to their game space owls’ homes.
Reflection: Overall I had a lot of fun making Owl Prowl. I learned a lot of new skills such as learning how to use the sewing machine, learning how to make a plushie, and learning that people will be very aggressive even when playing with little owl dolls. It was very sad to see the plushies break after a few hours into the event at Babycastle, but it was an invaluable experience. I learned that people don’t really like to read the rules (or maybe we had to much text and it would be better to have rules in visual form) and that making controllers to appear more intuitive. We noticed players were using the controllers has joysticks rather than spinning their head maybe because the soft owl heads made it more joystick-like.
Challenges: Making the plushies as sturdy as possible. Deciding on the game. We spent 13 hours trying to figure out what the game would be (we were trying to make a game with flip dots). In the end, we planned on creating something that would be way too much to do within the allotted time.
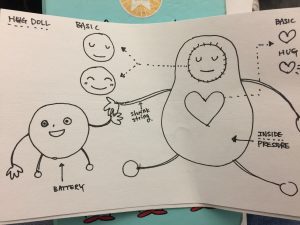
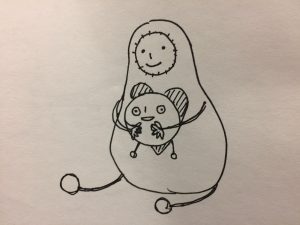
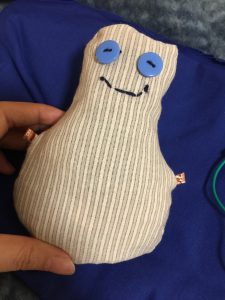
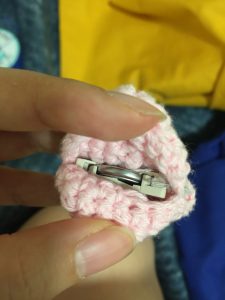
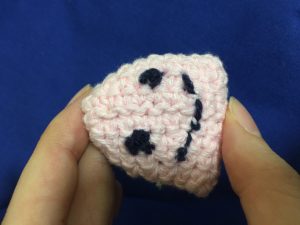
Concept/ idea sketch: Hug doll for children. Children can play with the doll and can understand how a basic circuit works.
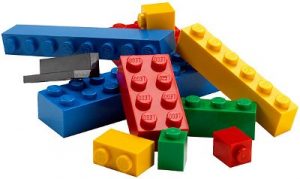
Inspiration: I inspired by Lego block and Hug doll. I like Lego blocks because users can build anything from tiny blocks but blocks have to be put together to build something. Children can learn a message of working together. Although I like Lego blocks, I don’t like the texture because it’s too hard and sometimes cold so I use fabrics and yarns to show soft and warm feeling.
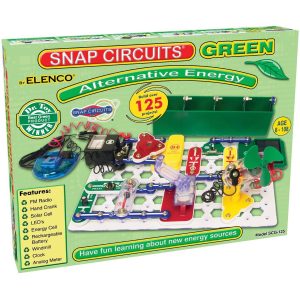
Precedents: Snap Circuits Alternative Energy Green / This precedent is an electronic kit for kids. Kids can learn about “Green Energy” options and they can build over 125 projects by using different parts in the kit. It contains over 40 parts. also, a paper instruction is included in the kit so kids can learn the theory with the projects. I think this precedent is really useful for children who like to learn basic electronic circuits but I don’t like texture and design because it’s only focused on training circuits.
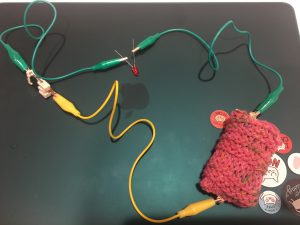
User testing + feedback: I did the user testing on 3 people. All of them really likes the design and textures.
user A: Love the texture and design of the dolls but the connectors can be more developed in hand shape so it feels like friends are holding hands.
user B: She likes that it doesn’t look like and feel like a circuit. Even small girls will be very interested in the play.
user C: She likes that children can easily make a story with this dolls. While they play with this dolls they can naturally know how a basic circuit works but she mentioned that I could change the battery to 9V so the users can connect everything together.
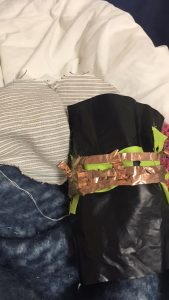
Challenges you faced: It was really hard to make all different parts into dolls because I avoid mechanical feelings. It was really time-consuming project to build most parts by just hand sewing and crochet.
Future iterations: I like to develop more parts such as a temperature sensor doll, a sound making doll or a servo doll. Also, I want to develop the connector design to look like hands.
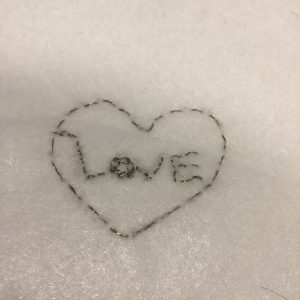
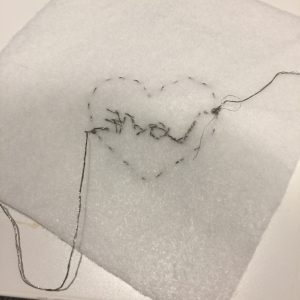
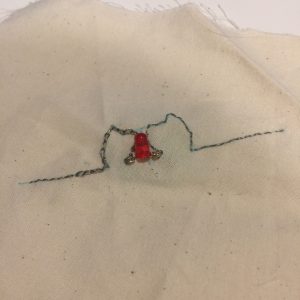
In the class, I tested as many thermochromic inks as I can. for the homework, I decided to do embroidery. I embroidered a heart with the letter love by using conductive thread. Everything was connected and I used 9V battery. for the result, It was really hard to see the details on the thermochromic painted fabric. maybe it was because i made the pattern so small.
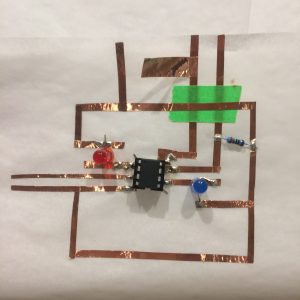
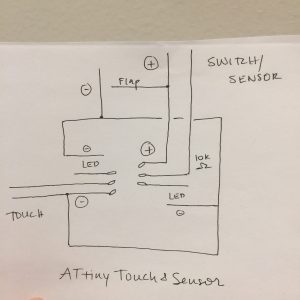
I finished the ATtiny Sensor based on the drawing. It was really tricky to solder everything because the circuit was so small.
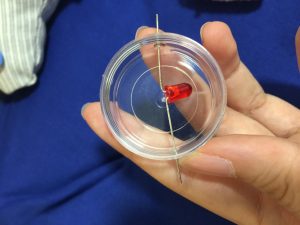
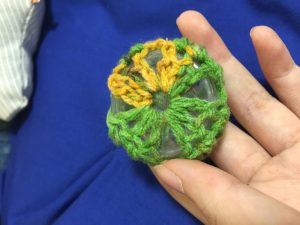
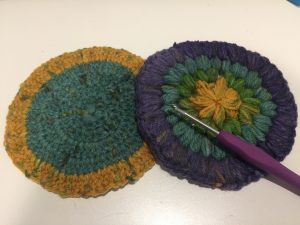
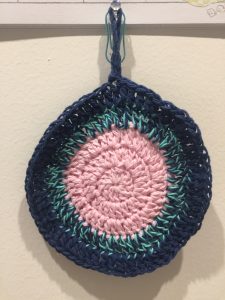
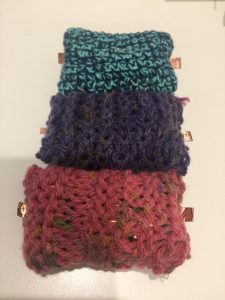
for learning new crafting skill, I learned to crochet. I already knew how to knit but crochet was a very different skill. Not like knitting, the really good thing about the crochet skill is easy to make round shape. I had a hard time making a flat cup coaster. I had to count every line and remember the right number to make a perfect pattern. After practicing, I used to the skill and play around with making different patterns. It’s harder than knitting but much useful for making a pattern such as lace, cover, and blanket.
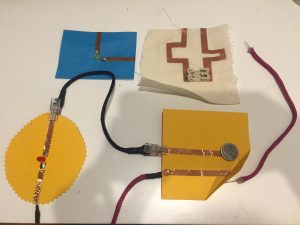
for making three swatches, I made three pressure sensors by knitting. I knitted cover first. I put a sponge inside the swatch and wrapped the bare wire around the sponge. Next, I covered the sponge with the Pressure-Sensitive Conductive Sheet and attached the copper tape at the end of the bare wire. inside the cover that I knitted, I attach the copper tape. for the last step, I put everything and sew the cover to close the swatch. At outside, I left the small copper tape part that I connected at the end of the bare wire and inside the cover so I can connect each part to the power source.
Concept: To illustrate the anticipation of when the clock strikes twelve through an LED skirt based on Cinderella.
Audience: Cosplay adults.
Description: The skirt stays turns on and then starts blinking when the clock strikes twelve, as if it’s and alarm or reminder for Cinderella to go home.
Challenges: Couldn’t figure out how the pressure sensor would work best. At first, I want it to be placed on her waist as when the prince is dancing with her, but that would require too much pressure. Also, I couldn’t figure out how the have LED shut off after a certain period of time. The sewing was also challenging, because some of the conductive thread crossed each other, and this was also my first time making a skirt. I should have used a sewing machine, but I did everything by hand.
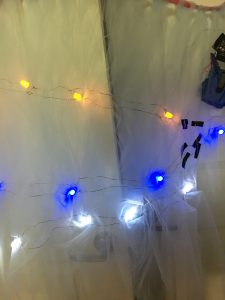
Future Iteration: I was use a different fabric, because I used cotton, and it wasn’t light enough. I was like to use more technology, just like how my precedent did with the IBM Watson dress used tweets to change the color of the LEDs on the dress. I also need to practice with the sewing machine so that I’m comfortable using it. The LED colors that I have the skirt are Yellow, Blue , and White, but the only color that really shows is blue. Next time I would like to change the colors, and keep them all blue.
Materials:
FLORA by Adafruit
3xAA Battery Pack Holder
3 AA batteries
MicroUsb Cable
Conductive Thread
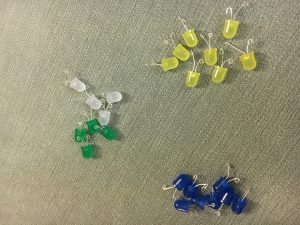
10mm Tinted LEDs Yellow, Blue, White
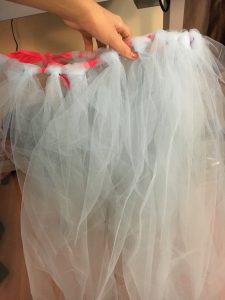
3 yards Tulle Fabric
4 yards 100% Cotton Fabric
Sewing thread
Scissors
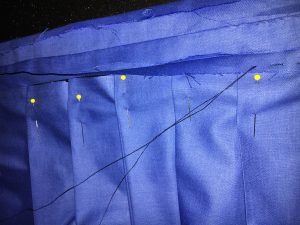
Pins (to keep the pleats together)
Ribbon (to tie Tulle around)
Non-Conductive Tape (I used fabric tape)
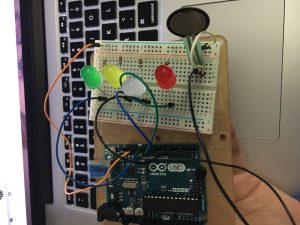
Step 1: Test LED with Arduino, and get sequence to blink with pressure sensor.
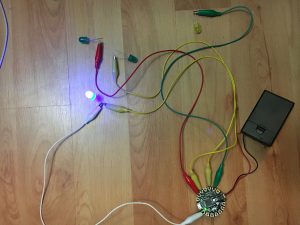
Step 2: Step up and test FLORA and LED with Alligator clips
This is the pressure sensor I was going to use, but Arduino code didn’t work.
Step 3: Cut and tie Tulle around ribbon.
Step 4: Cut fabric and set up pleats with pins, and sew together.
Step 5: Curl ends of LEDs
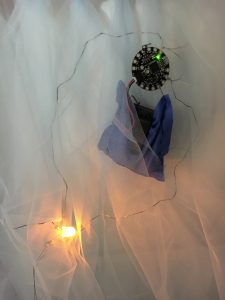
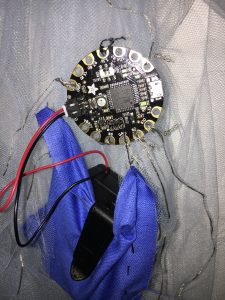
Step 6: Sew FLORA and pocket for battery pack. Test one LED first to make sure it’s working. One Conductive thread is attached to the Ground, the other is connected to pin. Each pin needs it own Ground. Luckily, the FLORA has three Grounds.
Close up of FLORA with the connected conductive thread.
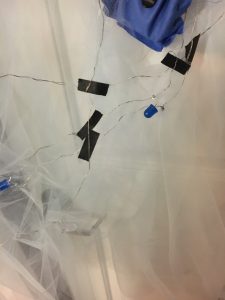
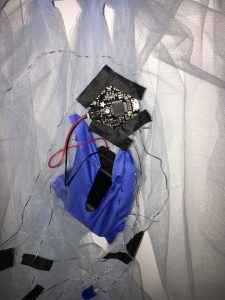
Step 7: Put tape wherever the conductive thread crosses to avoid interruption of LEDs not working.
Step 8: I had too put tape on the FLORA to apply to the Ground and Pin for a stronger connection.