For the final project, I decided to make an interactive installation that is inspired by the enchanted rose in Beauty and the Beast. When user interact with the installation, the rose will be changed to another color.
[Precedent || Inspiration]
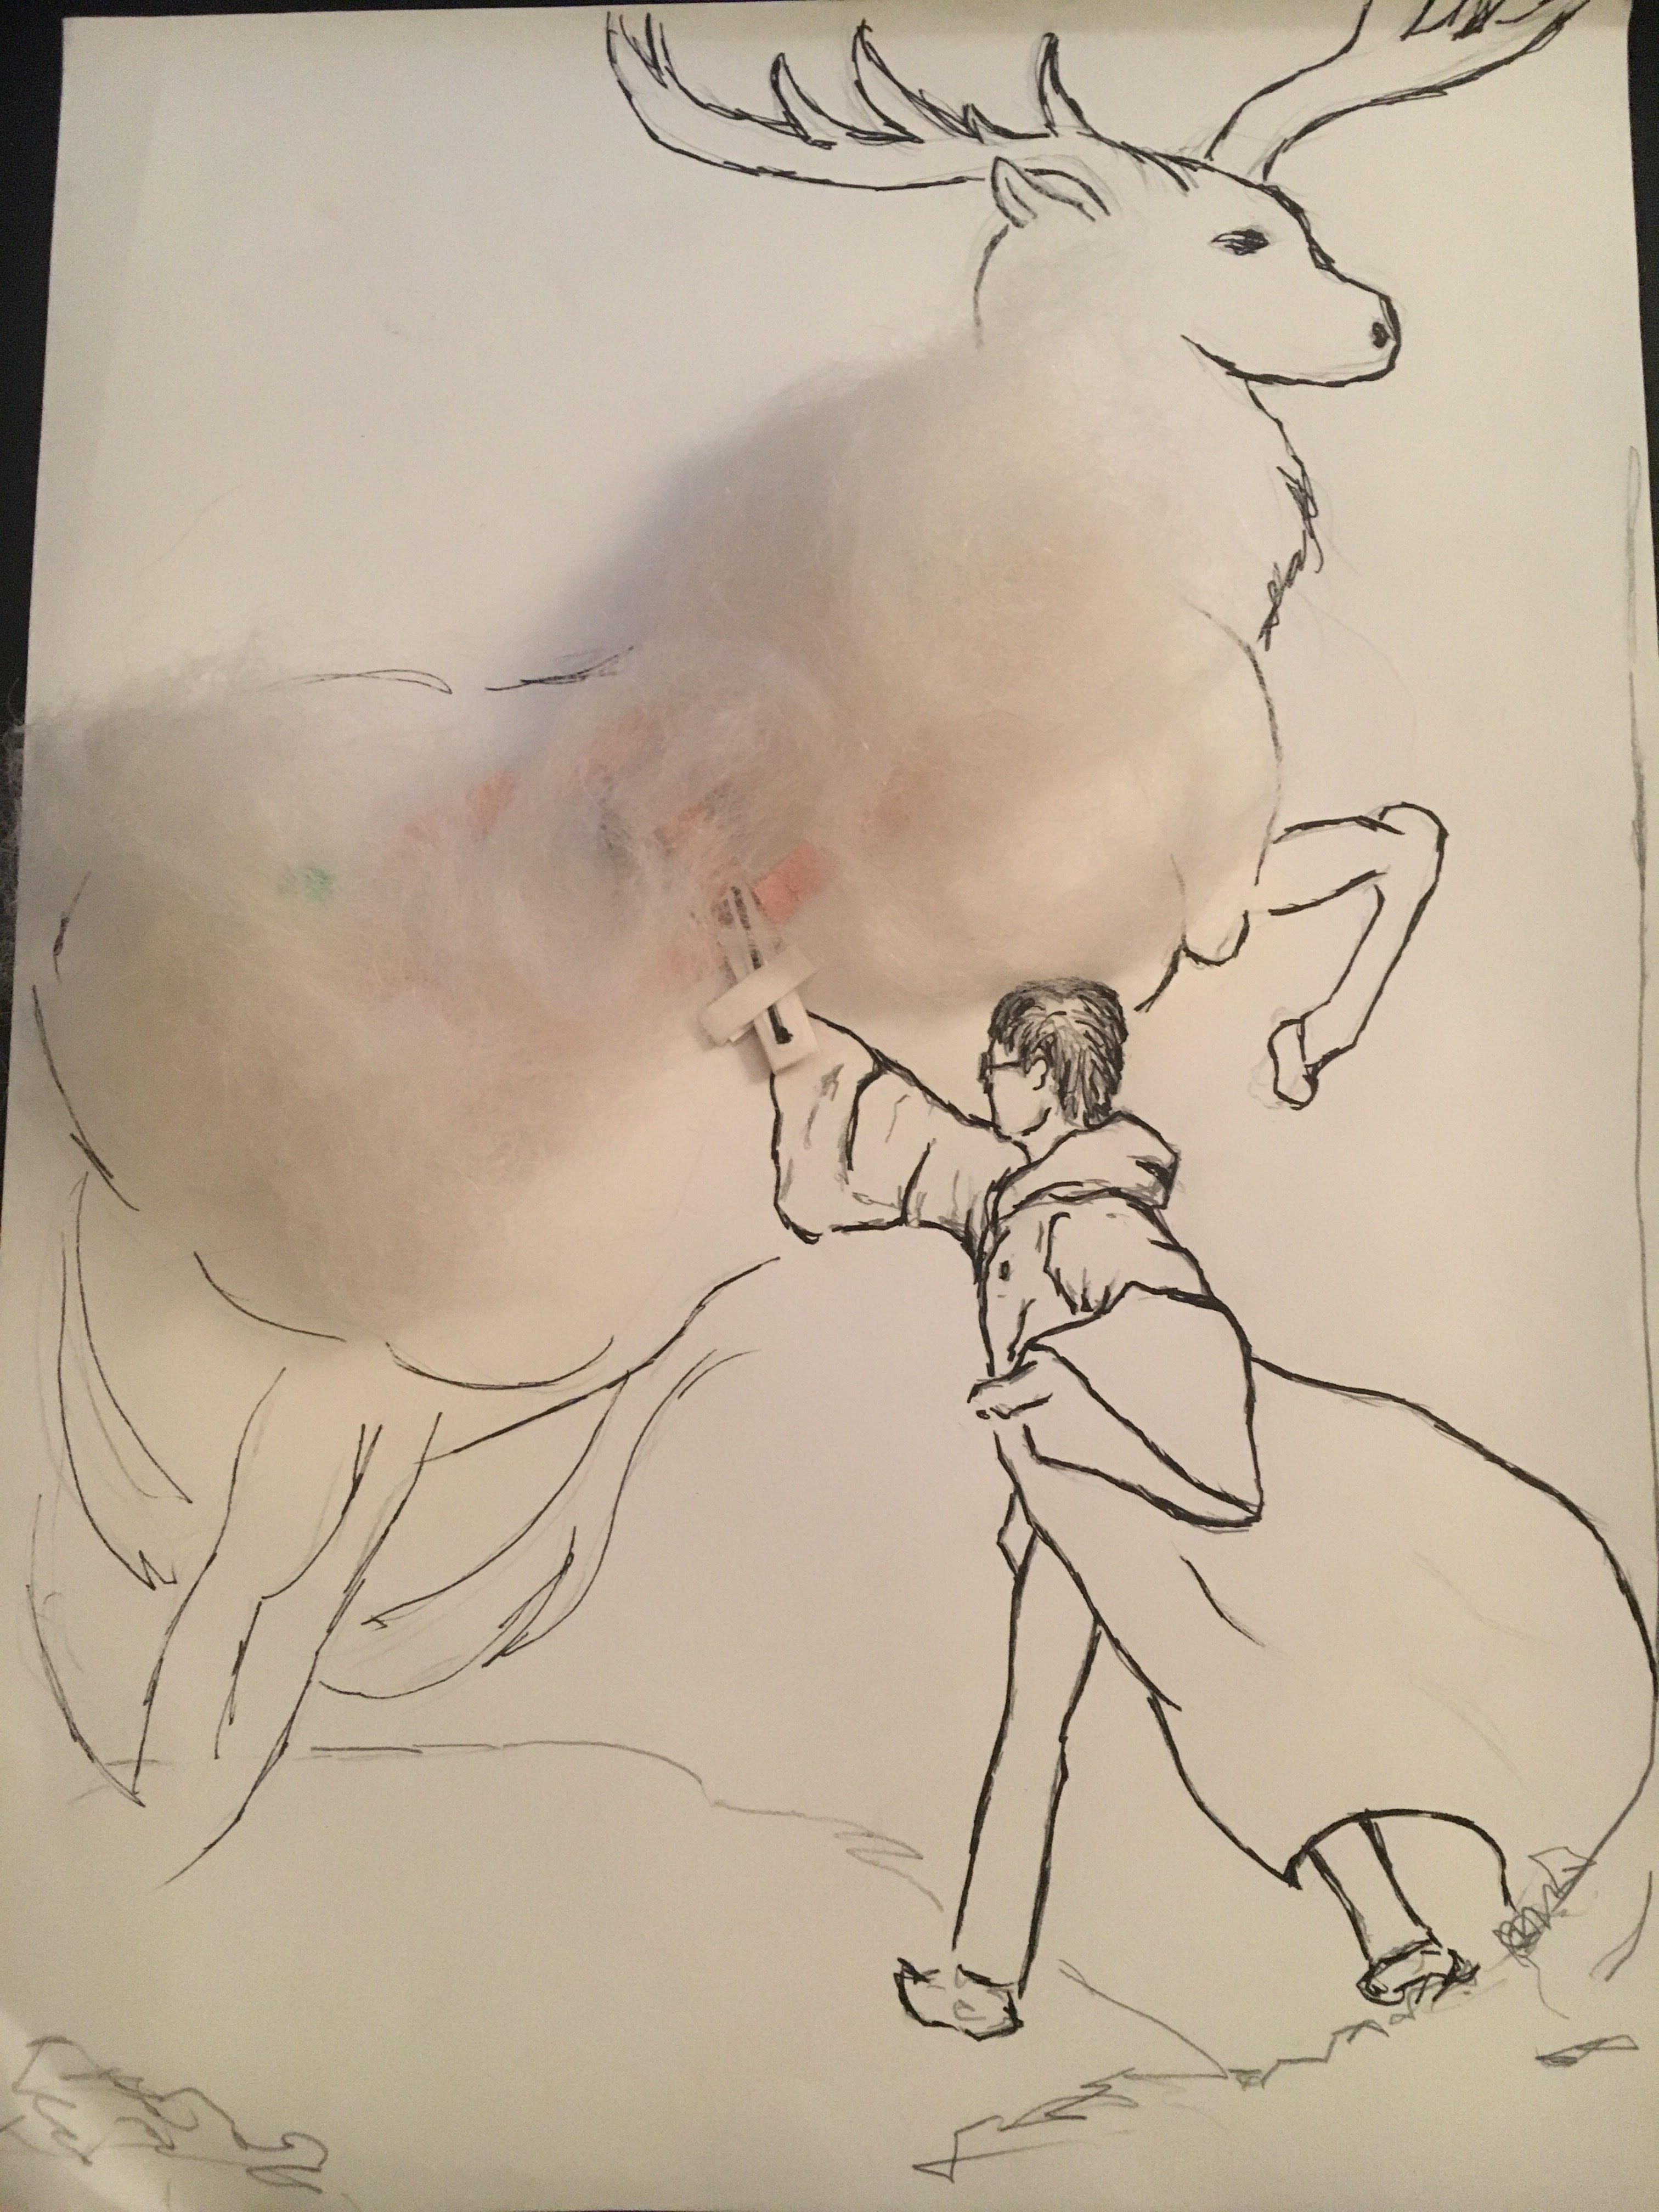
I was inspired by the enchanted rose from beauty and the beast. The rose was the symbol of the ability to ever love anyone more than the beast himself. In the original story, the rose was awoke by belle from almost losing the last petal. And so does the beast.

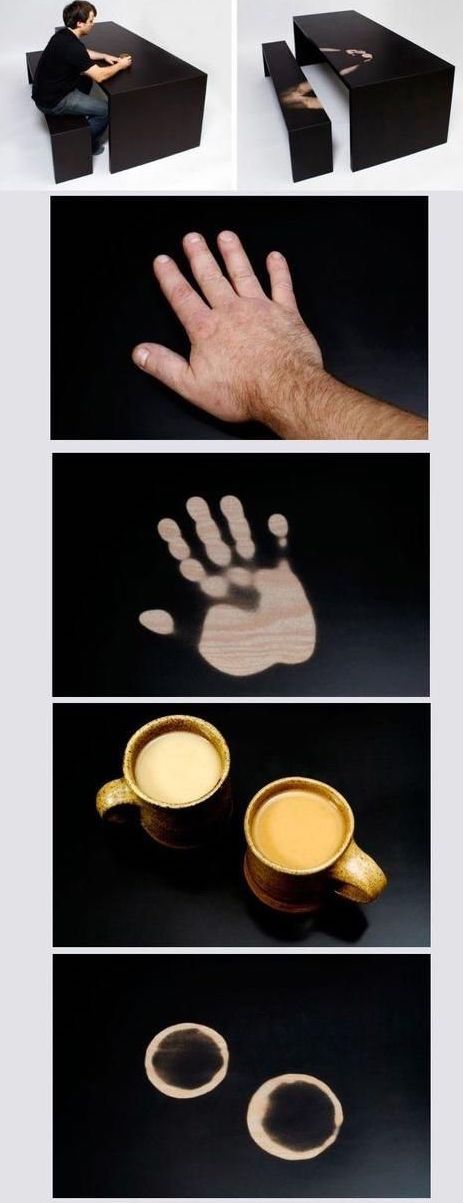
Another precedent for my project is the thermochromic ink table set. When you sit for a while, you will leave a mark over the table that could show you have been here for a while. It demonstrate the existence of a human being.
[Materials]
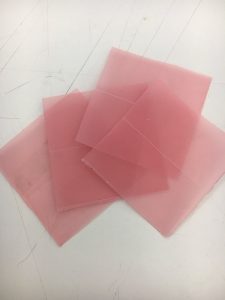
Pink craft paper
Conductive Thread & Needle
Yarn
Conductive fabric
Thread
Glue Gun || Hot Glue
Thermochromic pigment
Glass Dome Cover
[Technology || Documentation]
I was very interested by the thermochromic pigment, so I had this idea of combining thermochromic pigment with the enchanted rose, and try to recreate the reborn of the rose.
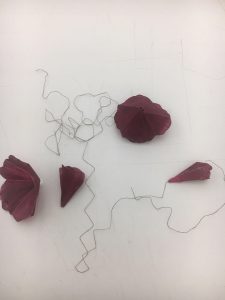
I bought some pink craft papers from michaels to make the petals.
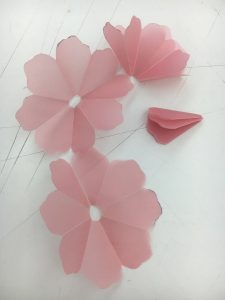
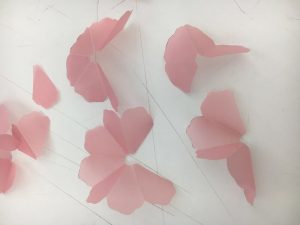
After that, I used thermochromic paints to cover all the petals. The material of the craft paper creates a very natural shape of petals.

and I just hot glued the conductive thread onto the petals to create a pattern that will eventually cover the whole rose.
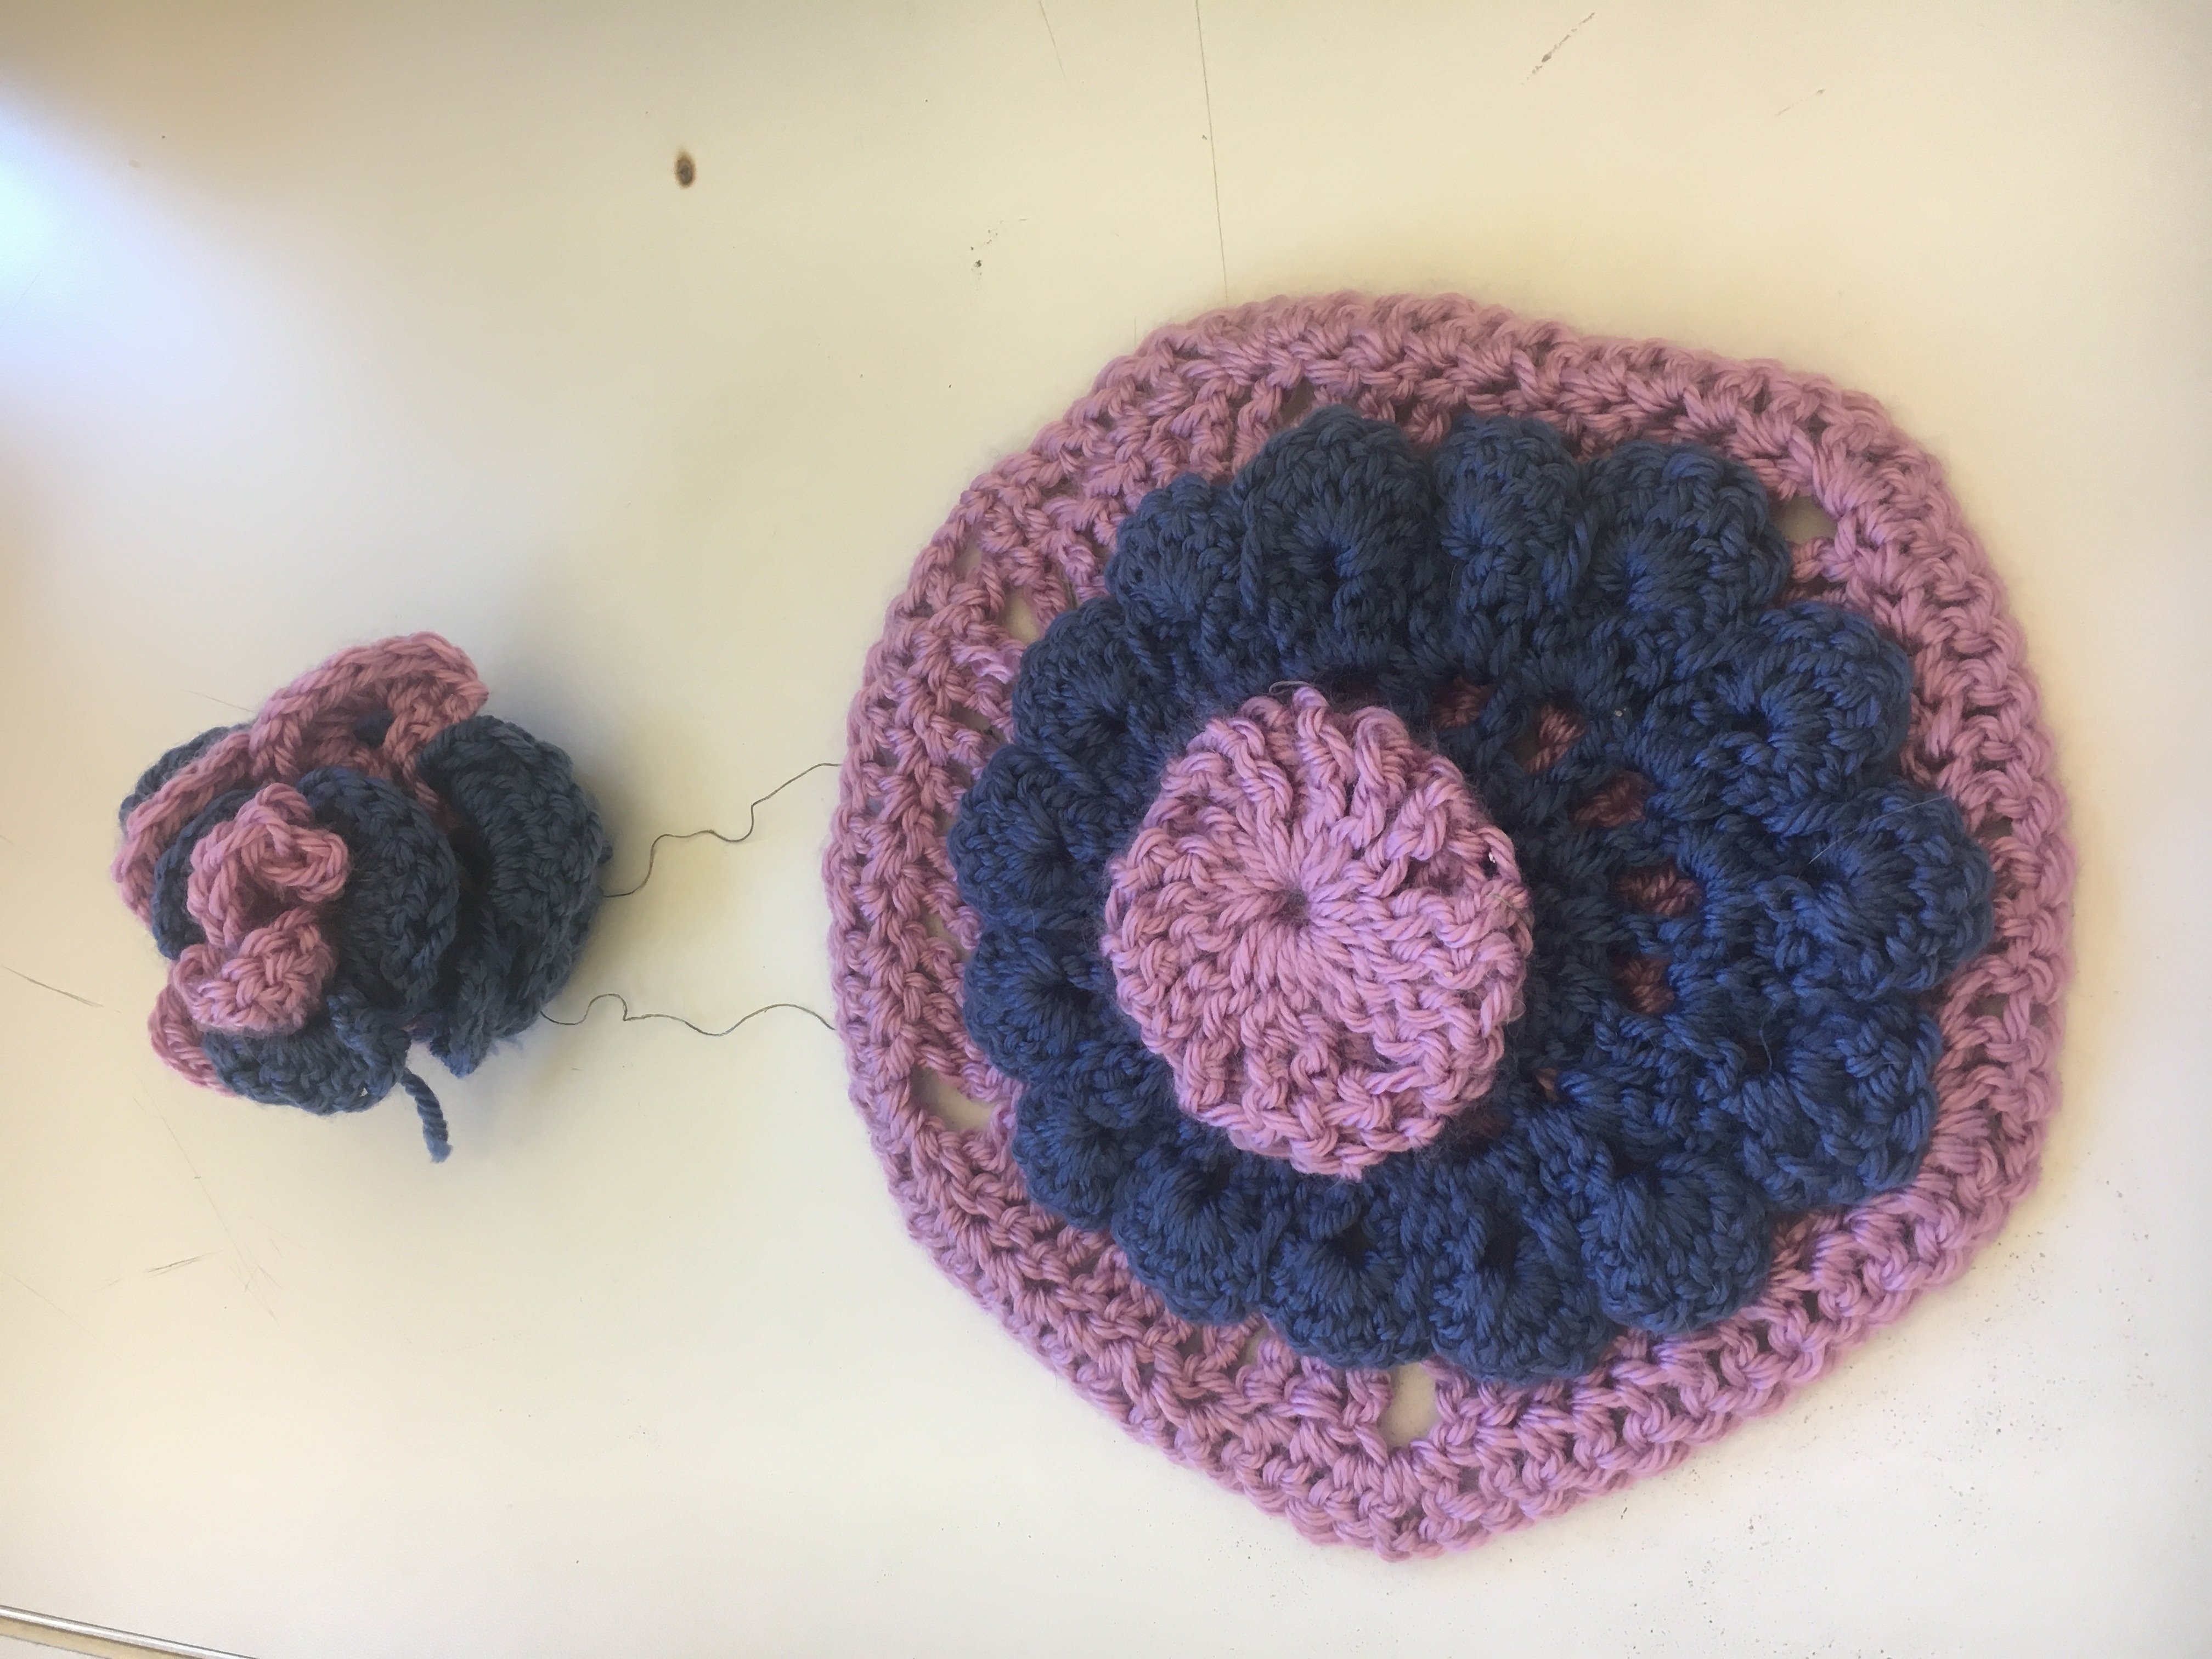
Then, I worked on a 3d heart crochet and stuffed cotton inside. 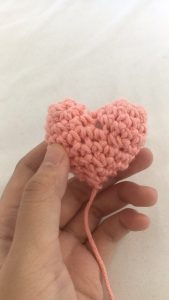
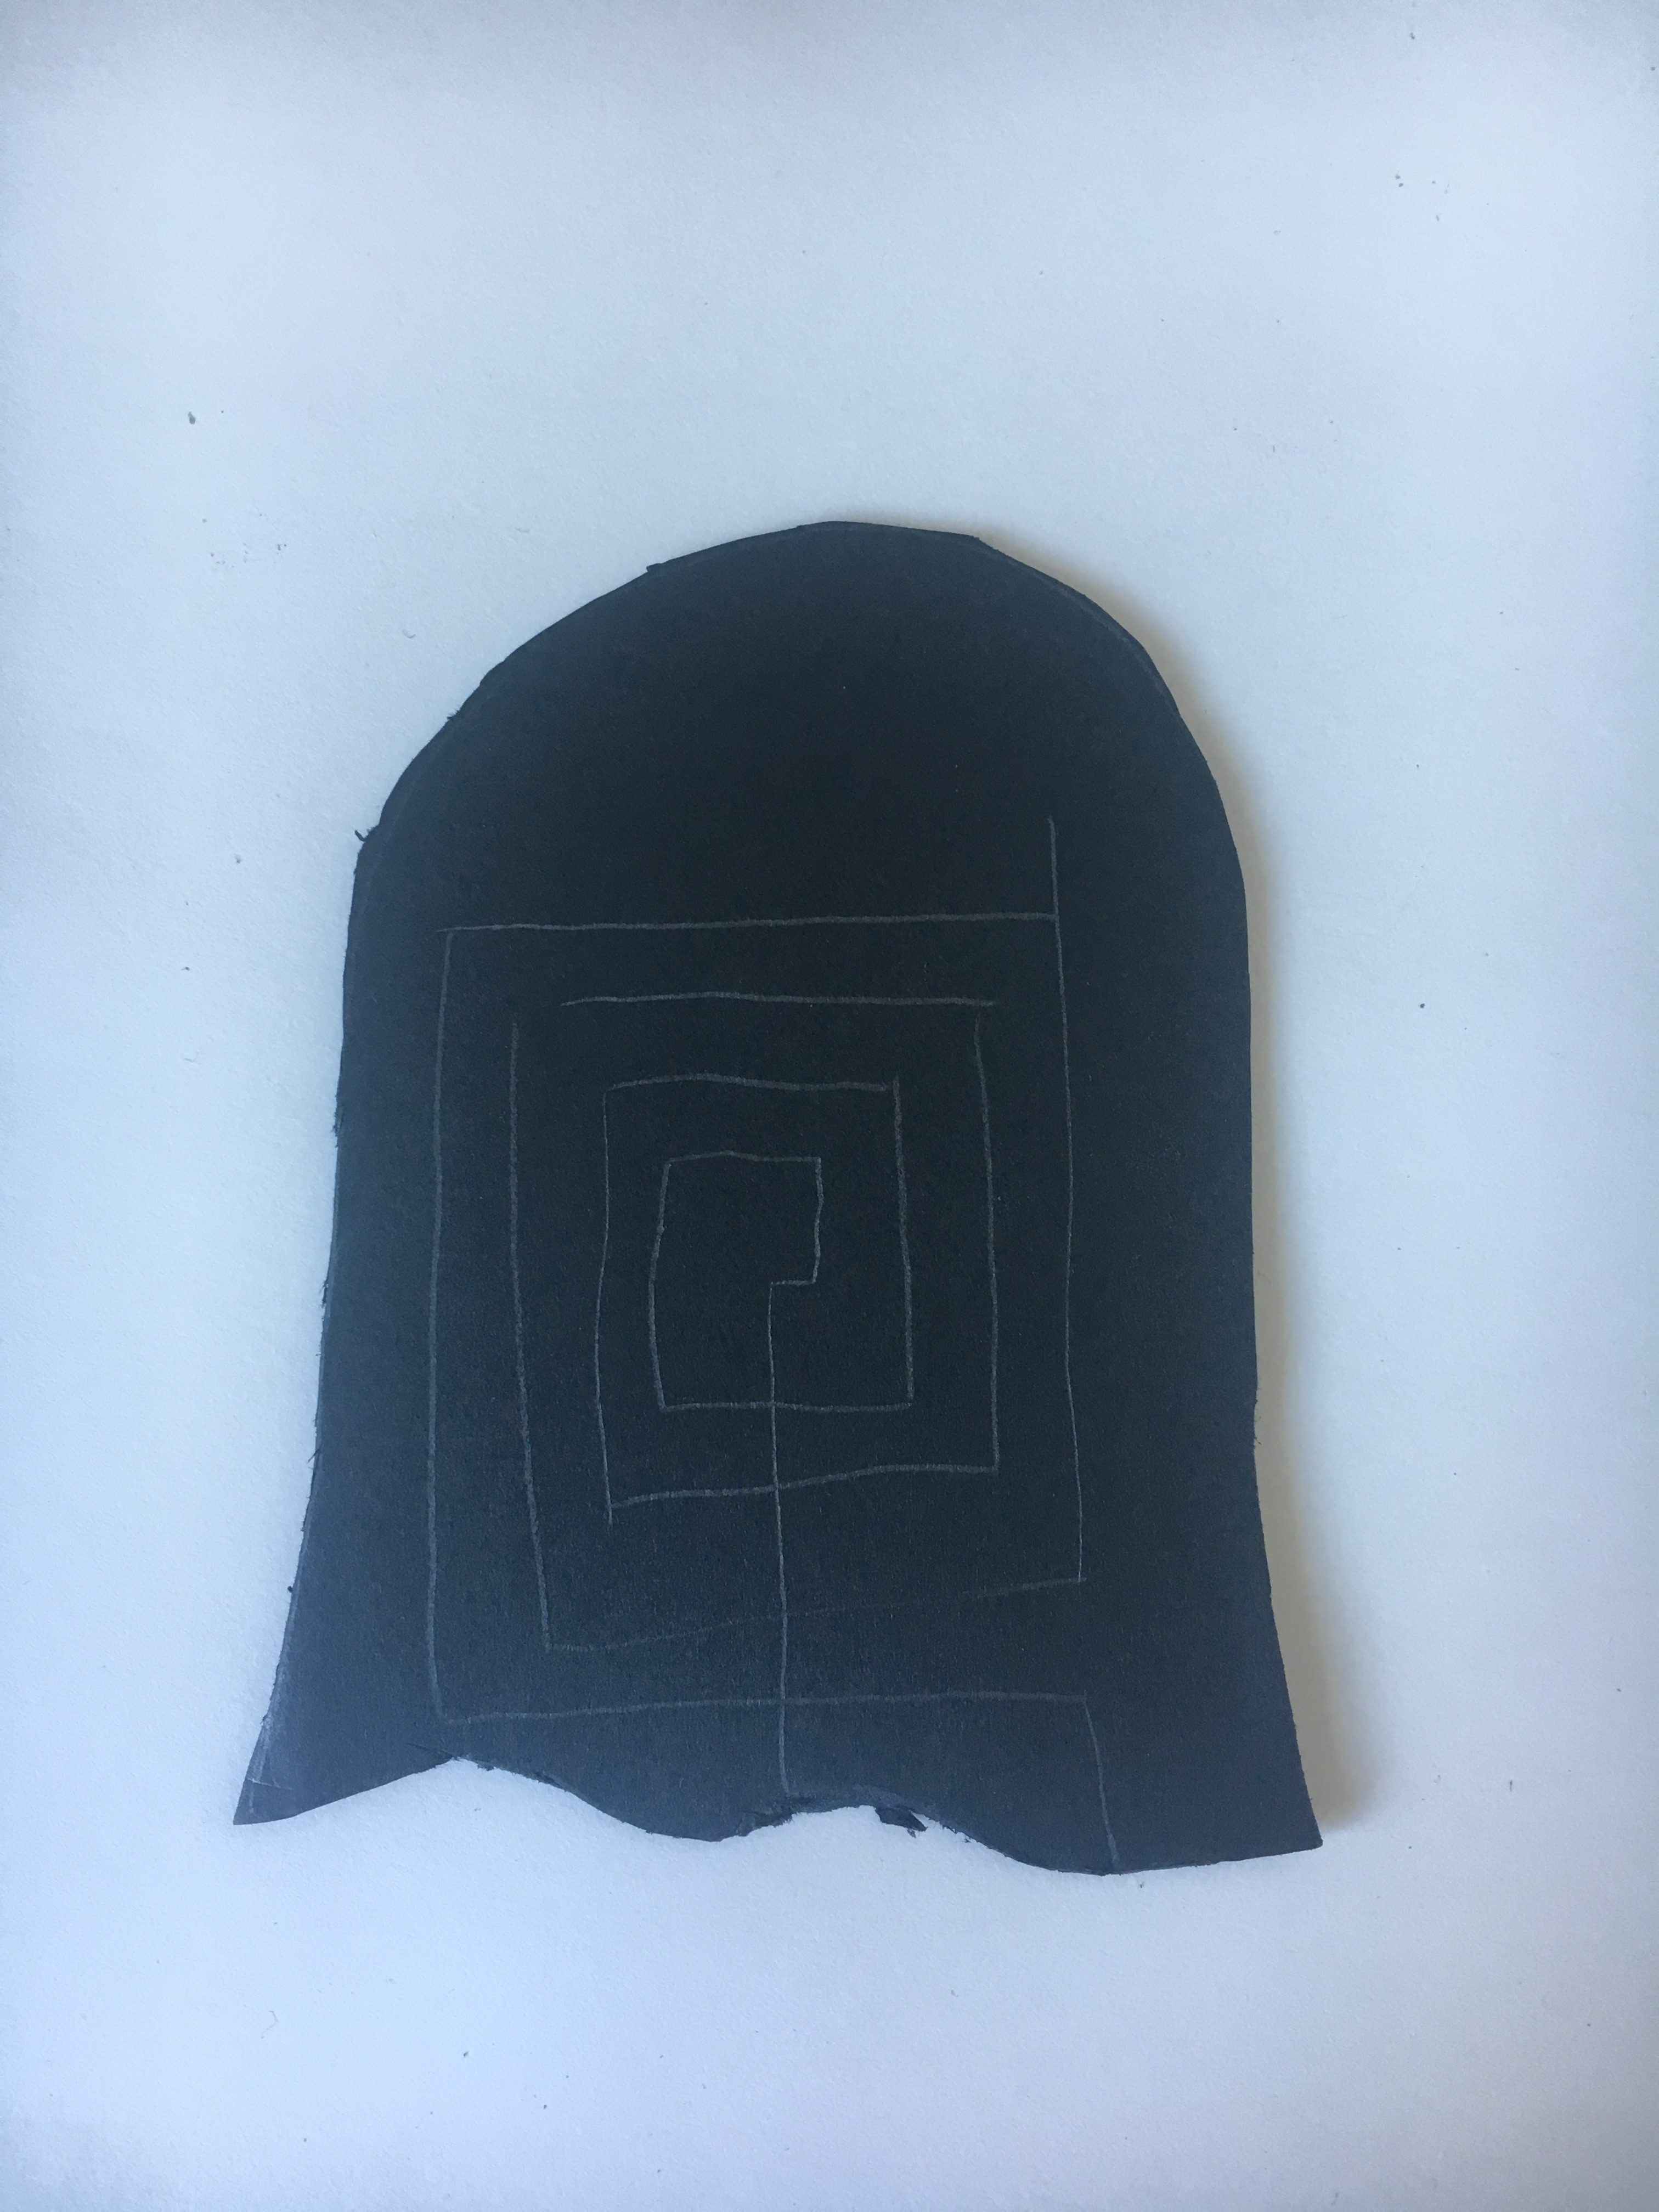
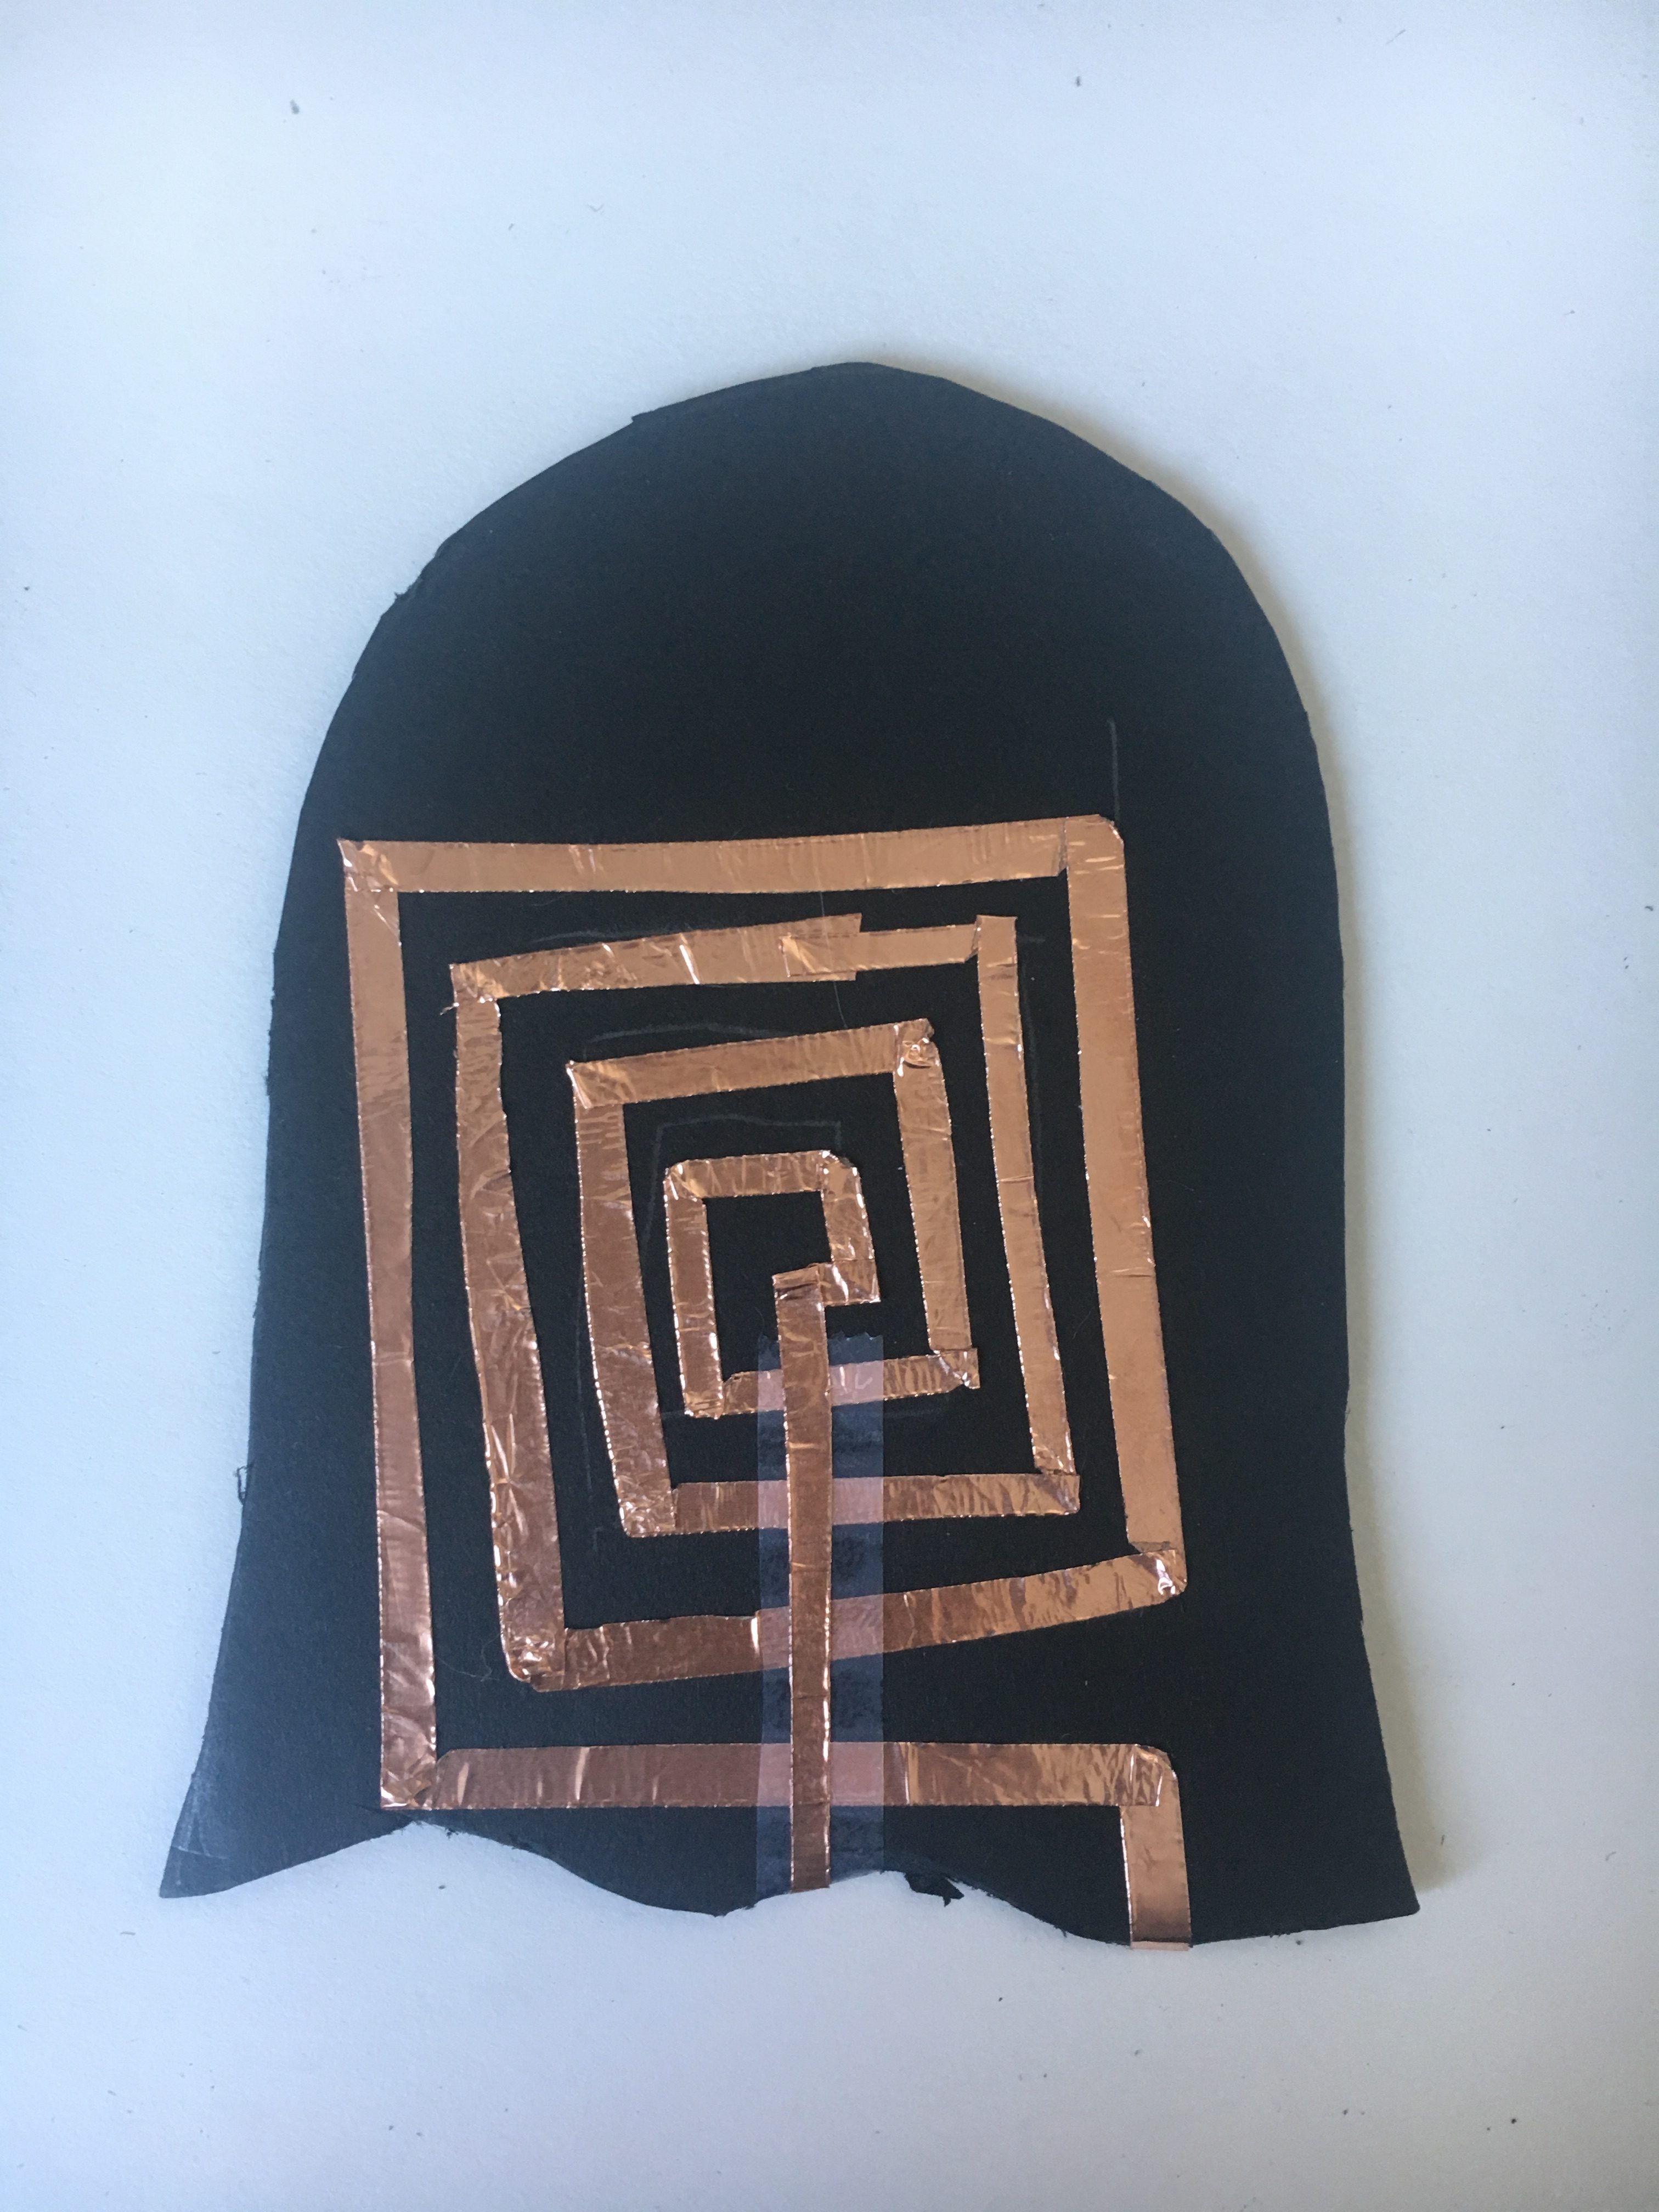
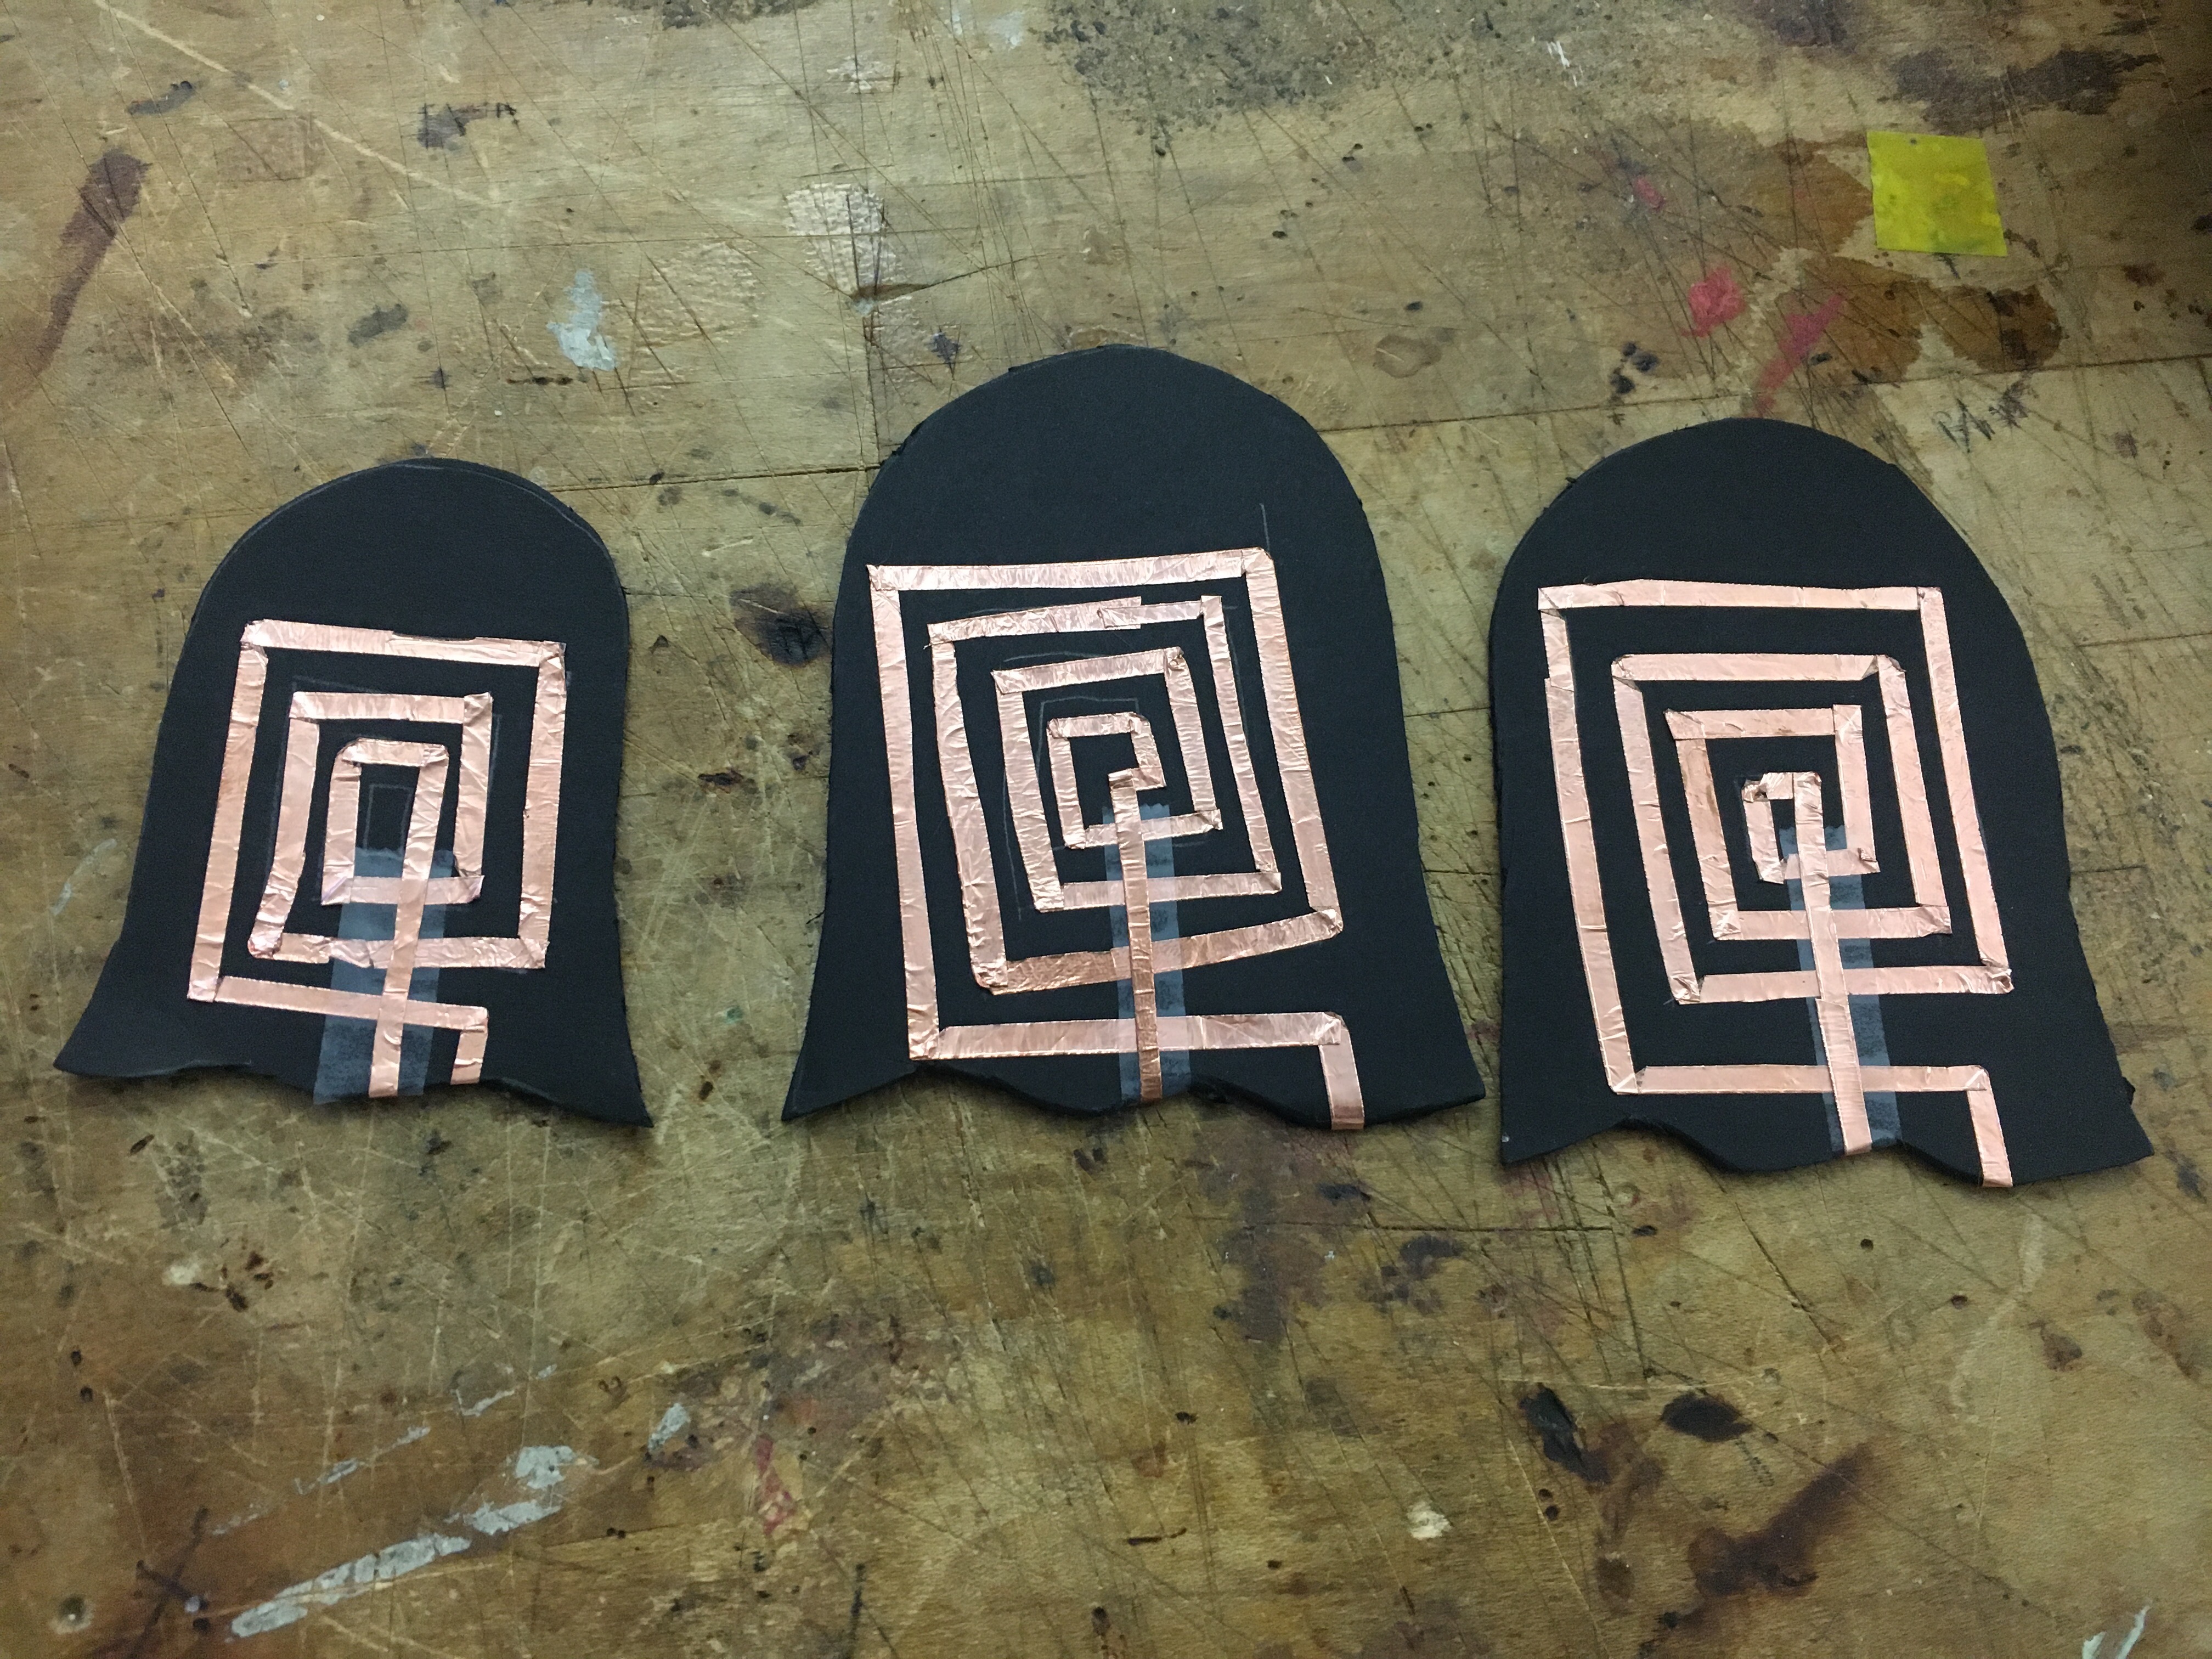
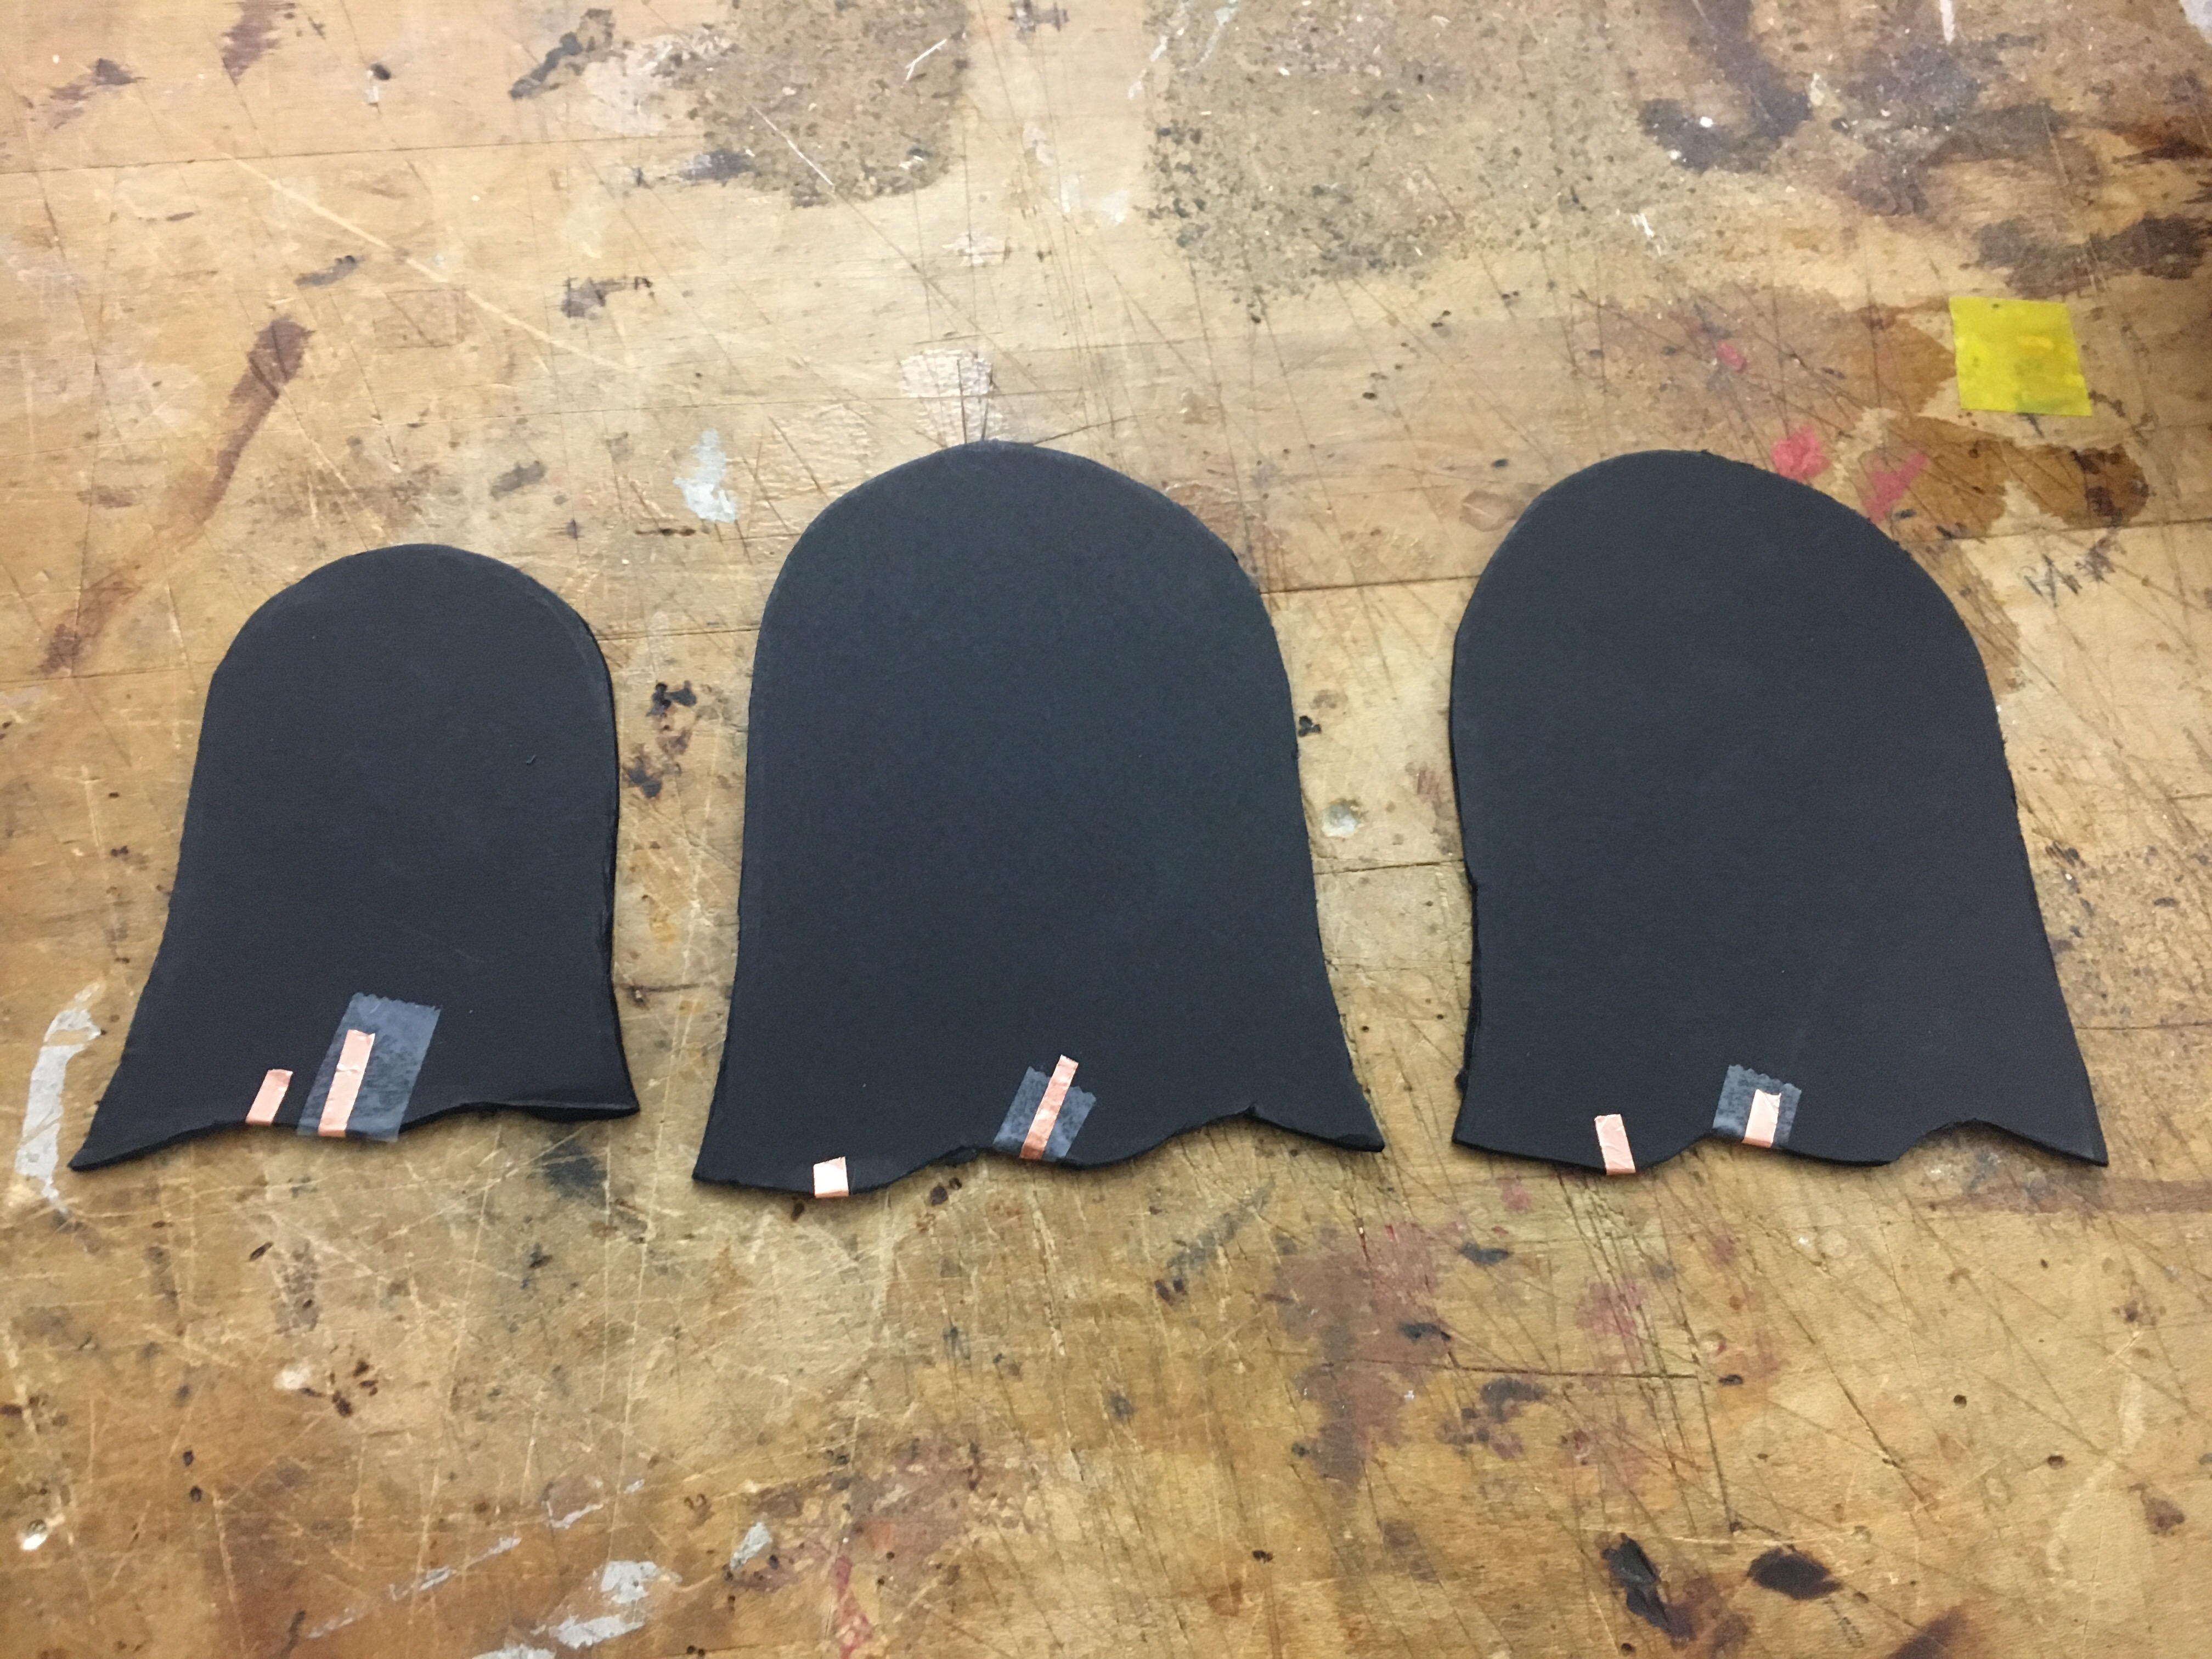
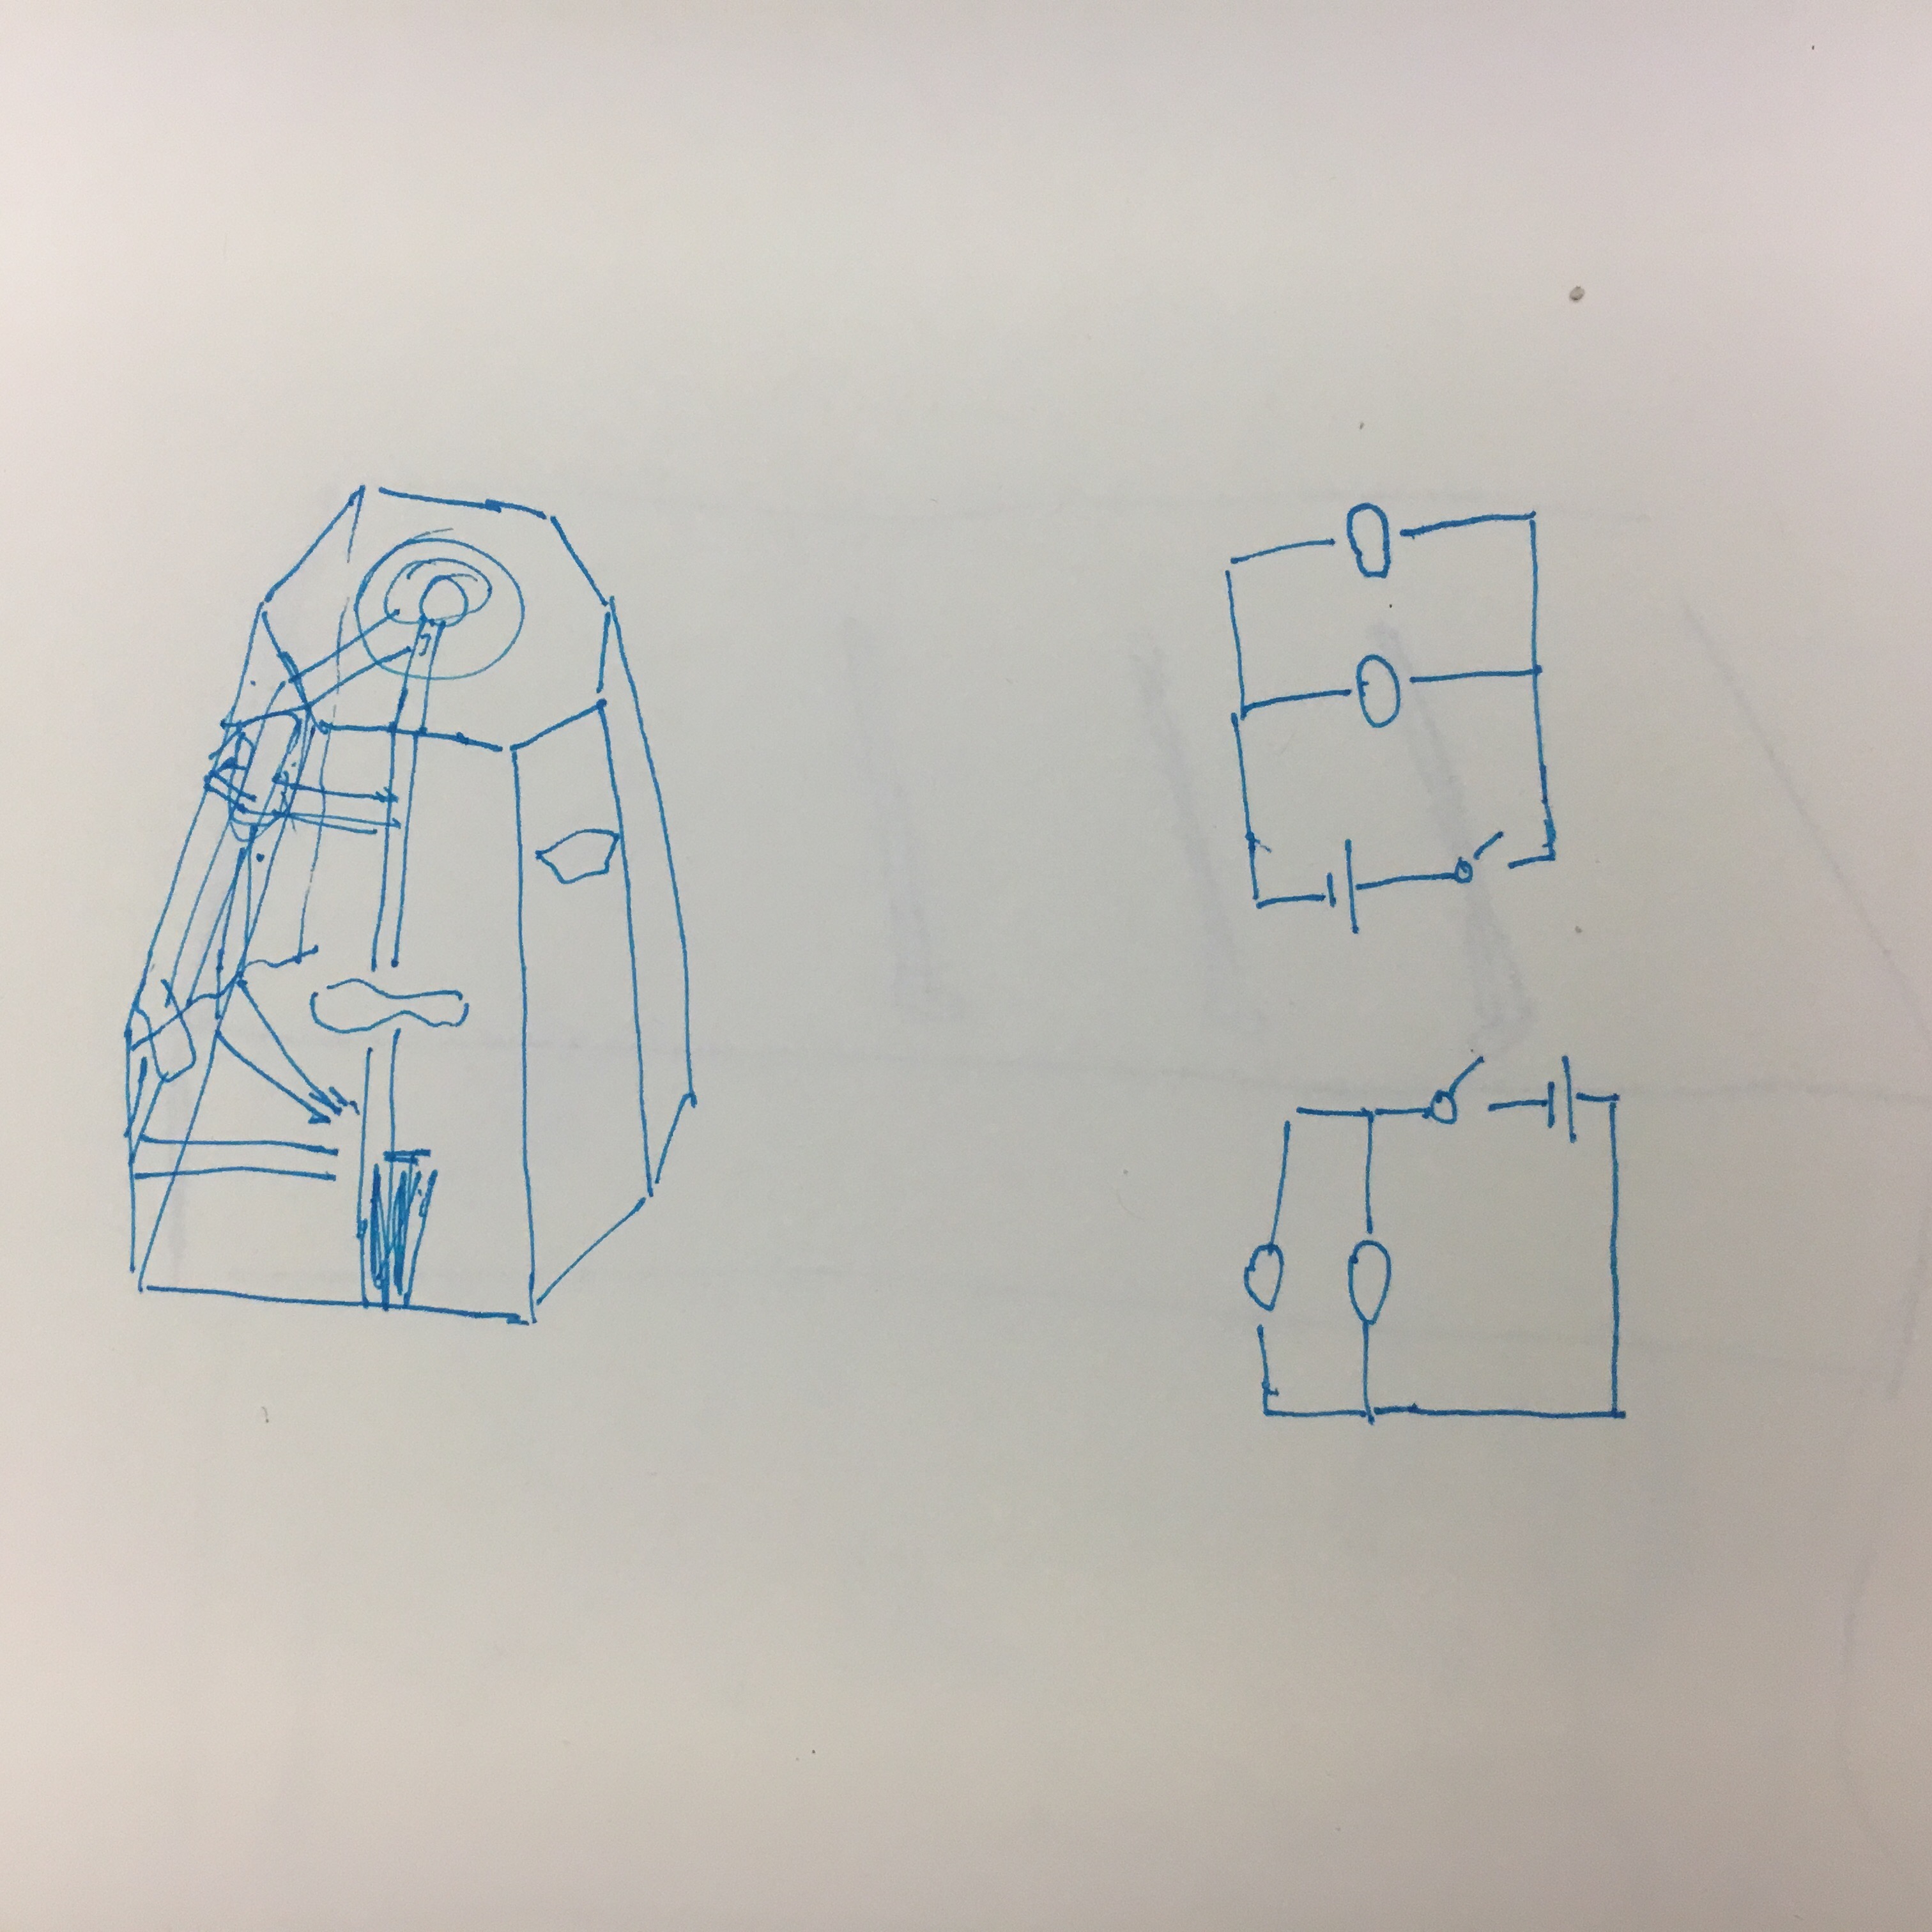
And I sew a piece of conductive fabric on to the heart, and made a tray with circuit made by copper tape on it and left an opening on the circuit. So when you put the heart over the circuit, it completed by the piece of conductive fabric. This is the switch for my project.
I first attached a button battery and it doesn’t work. I thought there’s a circuit problem at that time, but then found out it’s because of the battery doesn’t have enough power. So I changed the battery to two 9V batteries and it works well.
[DEMO VIDEO]