Category Archives: Final

Final Project – Eye Fishing

Link to insturctables: https://www.instructables.com/id/Eye-Fishing-Tea-Candle-Holder/

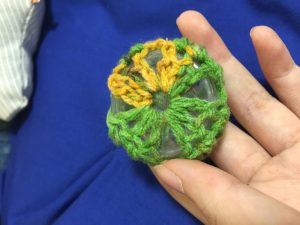
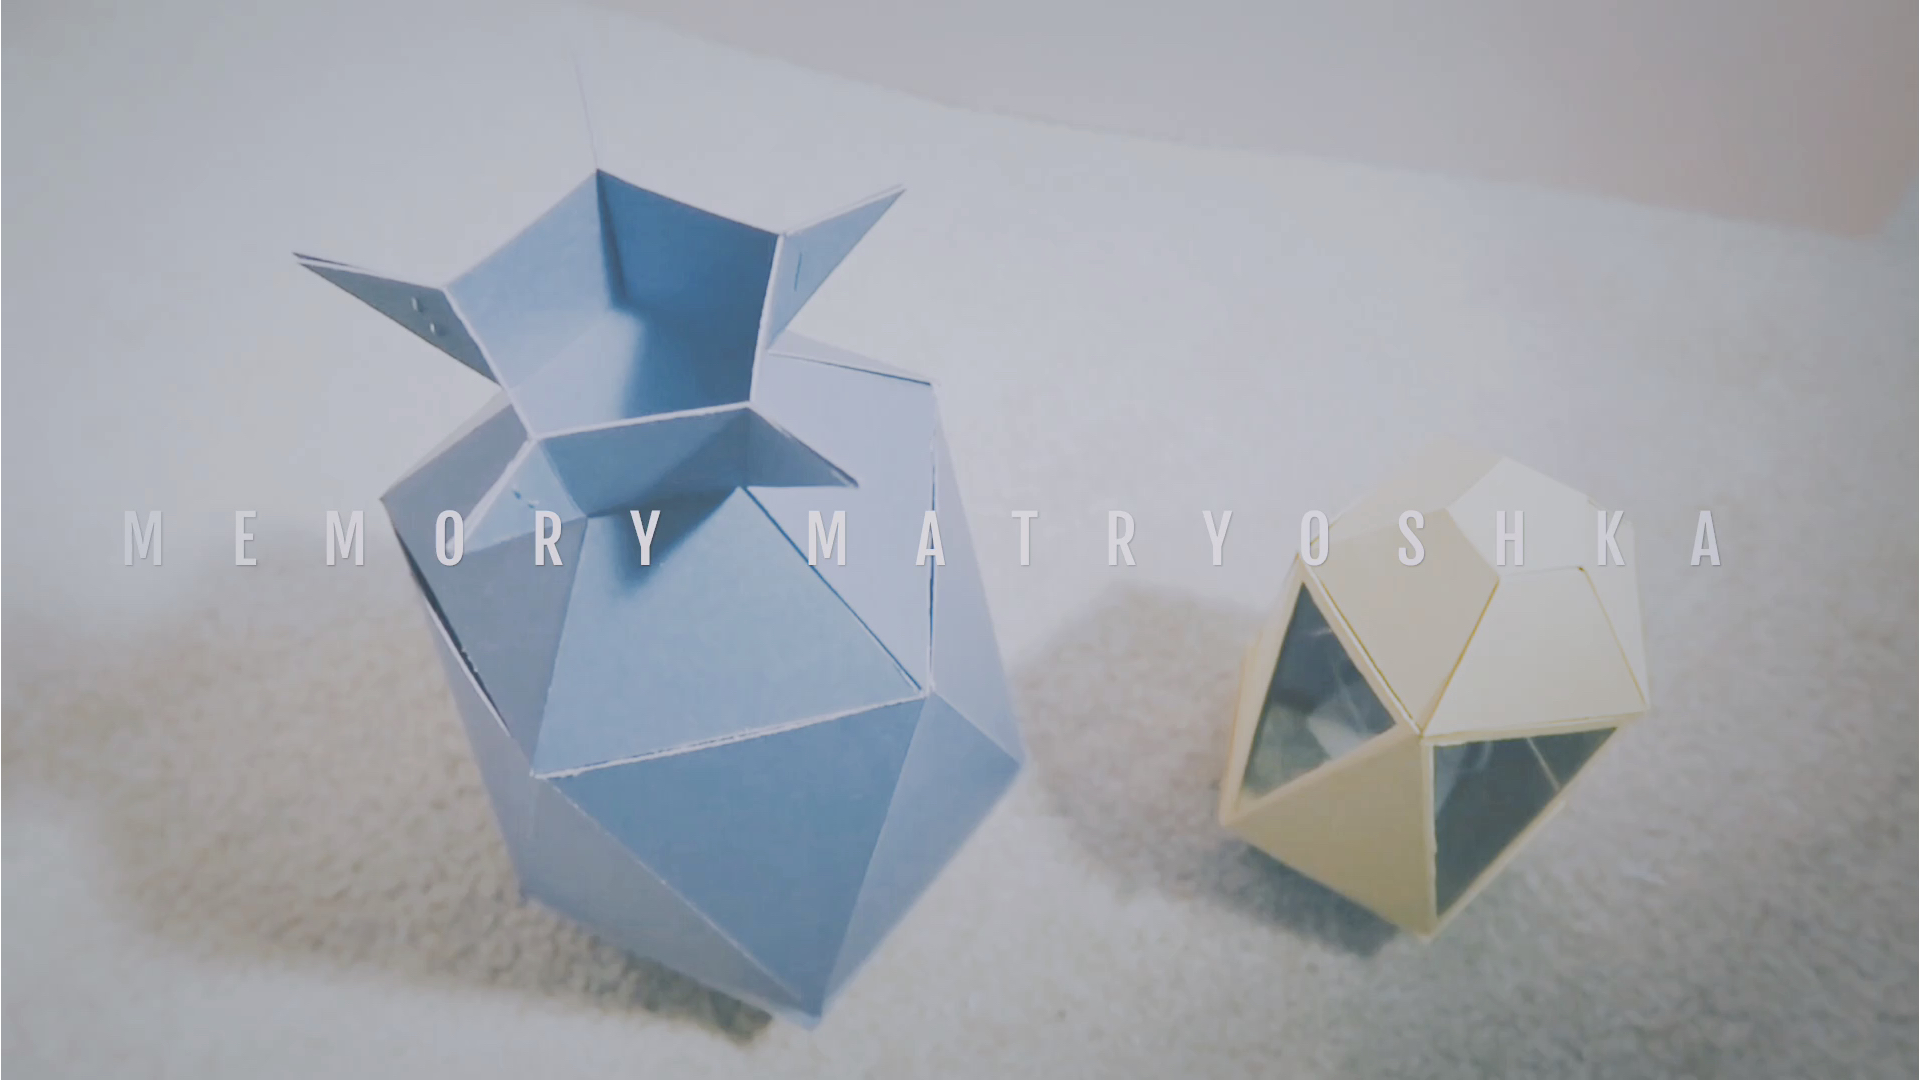
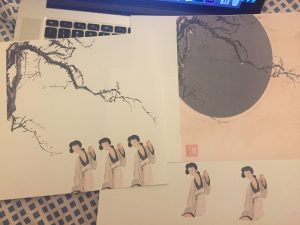
I made a tea candle holder that will reveal some messages when its top is being heated.

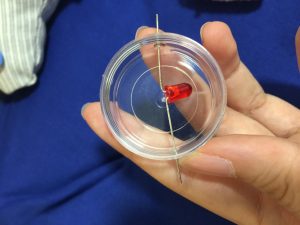
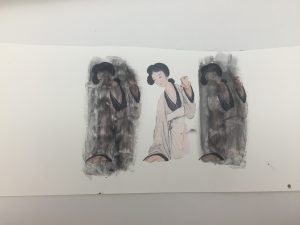
I used theromochromic pigment to achieve the revealing of the messages. This type of pigment will be transparent under a higher temperature and be normal again when the temperature is lower.

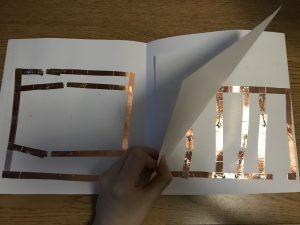
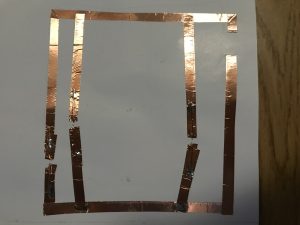
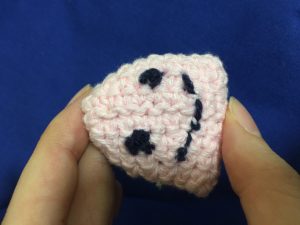
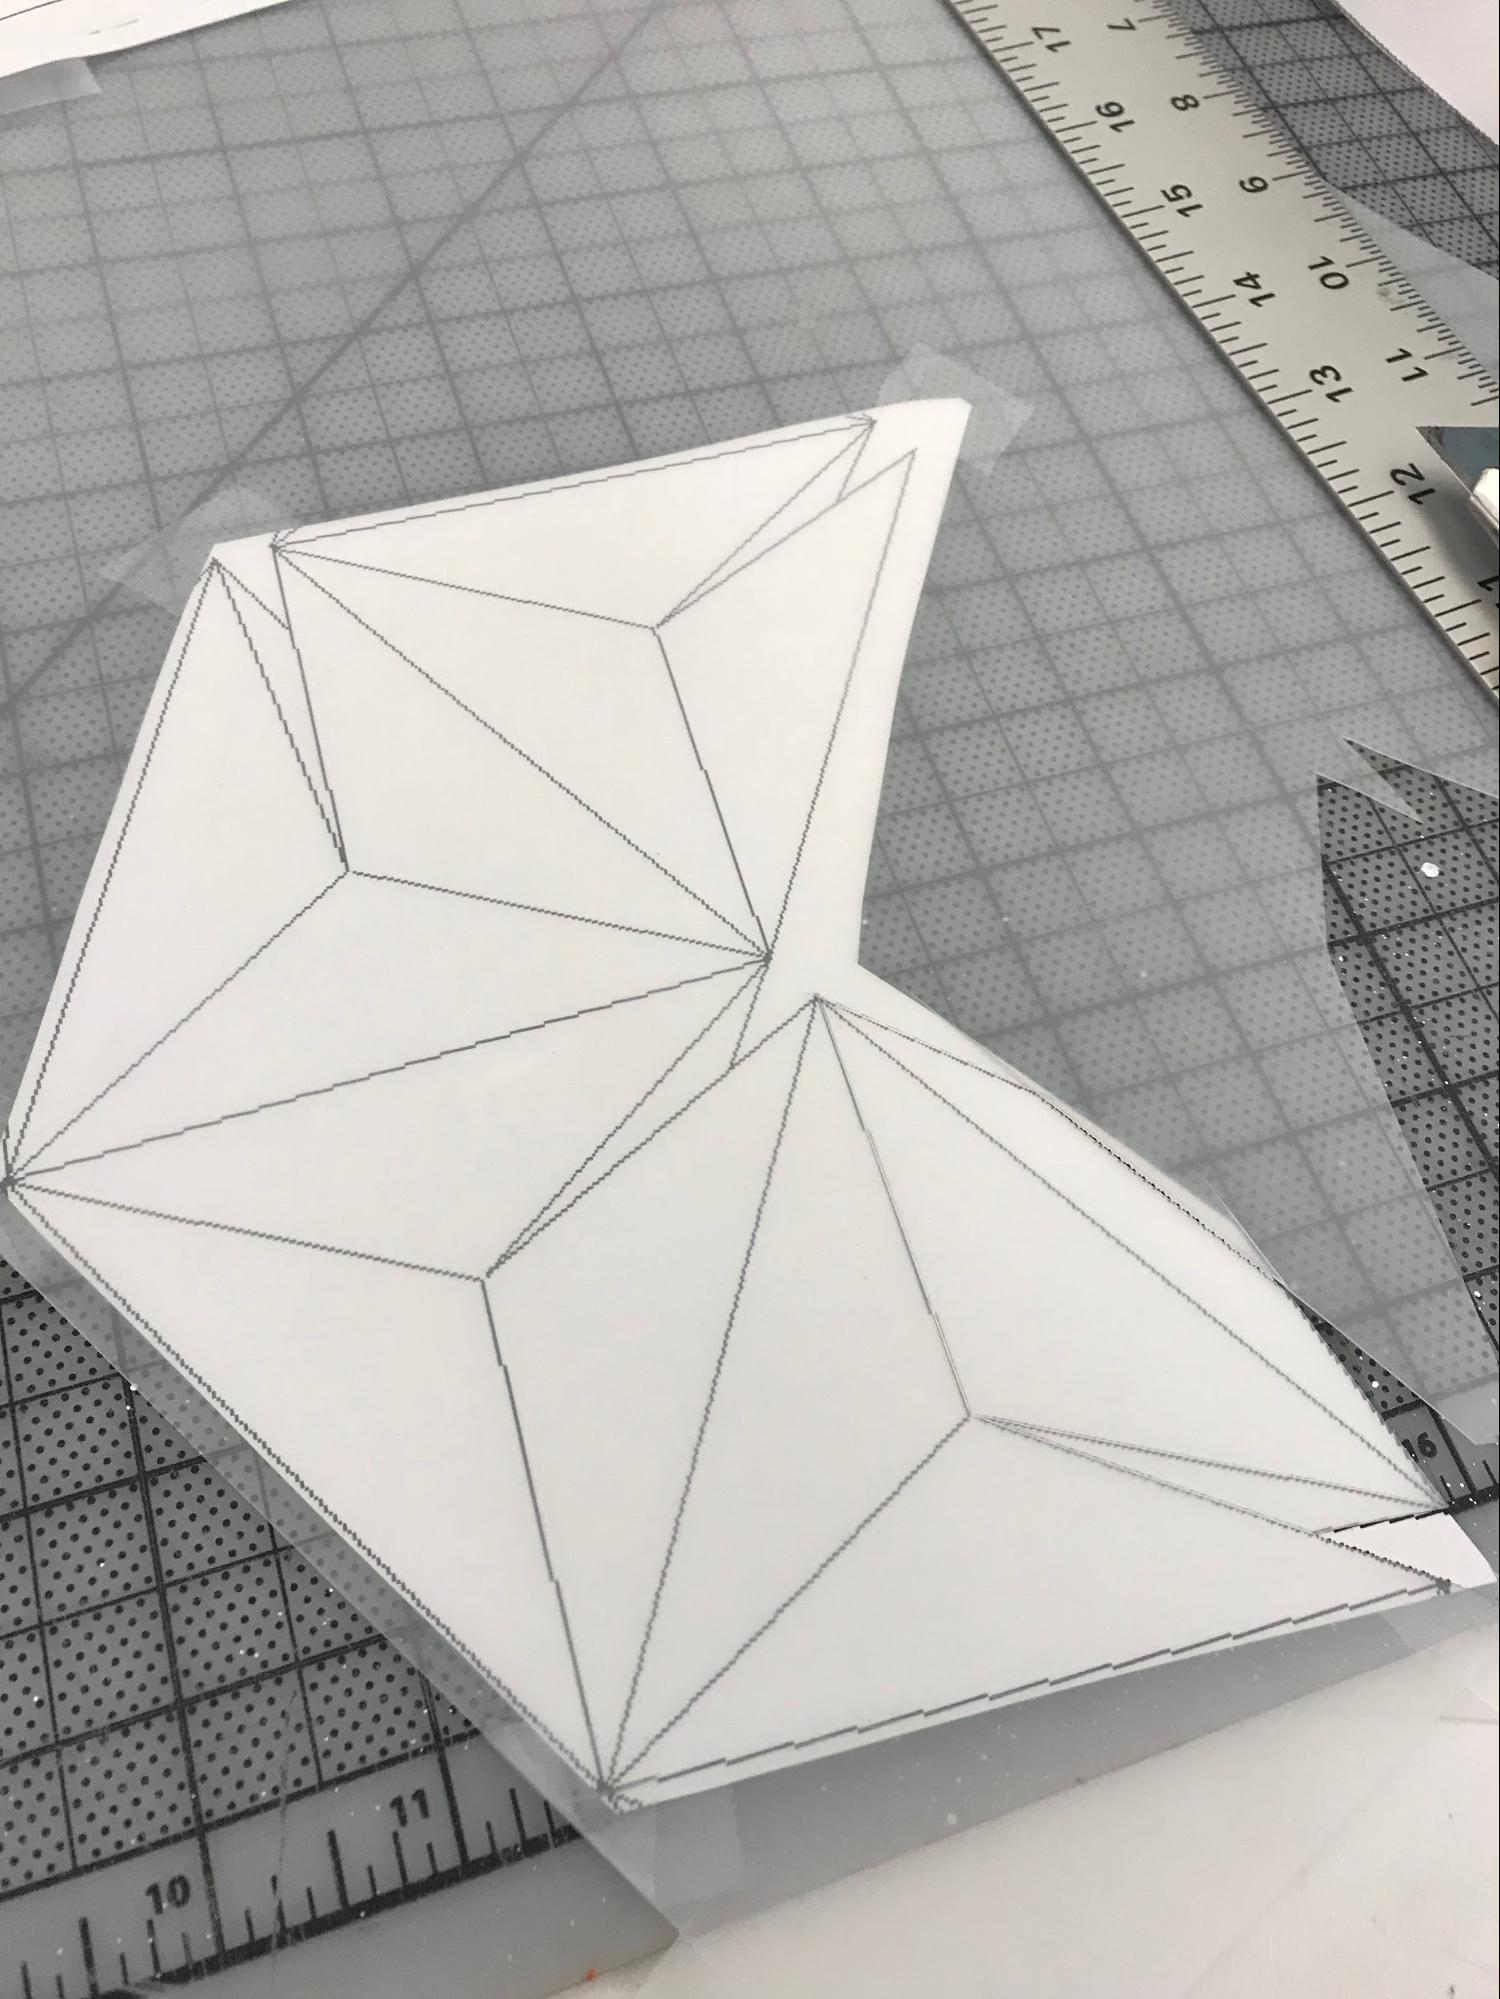
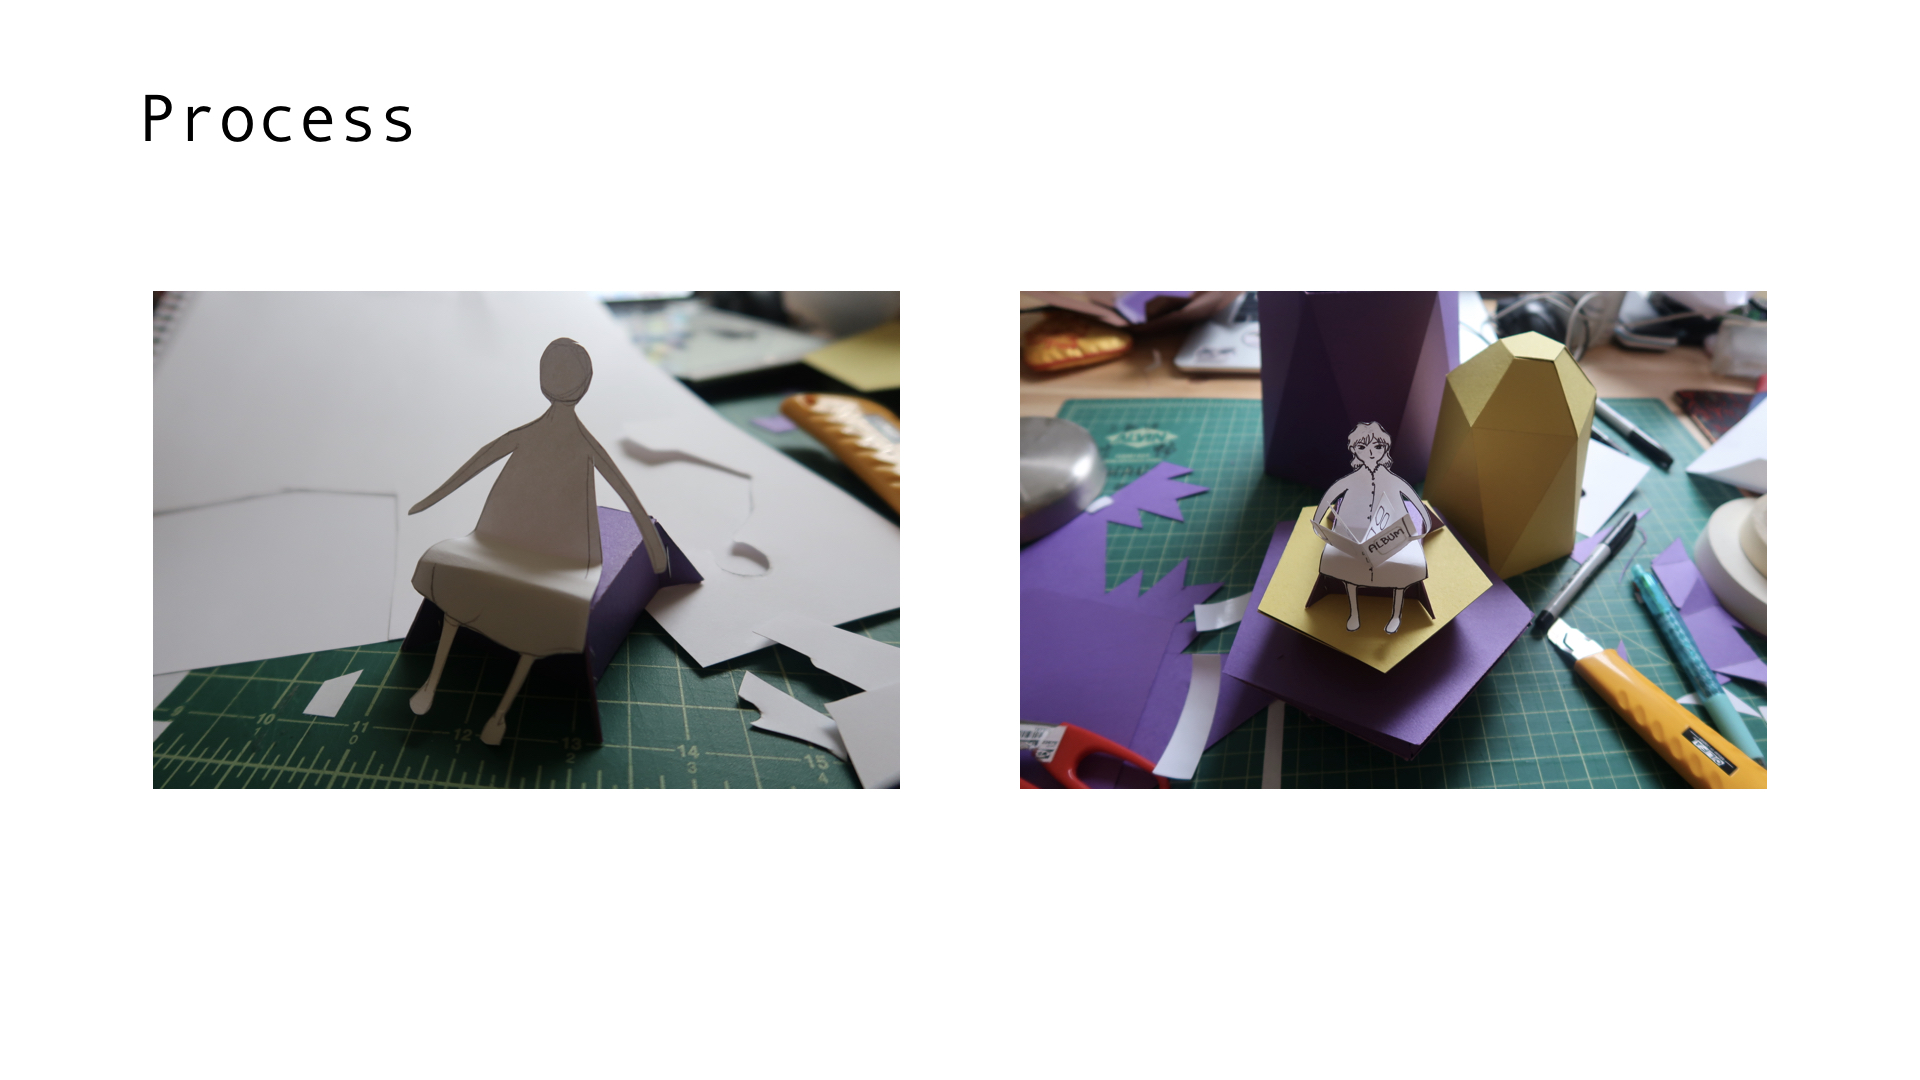
The concept is about memory and eyes. The cover of this candle holder is designed to be a ‘lake’ of eyes (shown by the patterns), and there is a small character fishing eyes for himself. Yet while he is fishing and when the candle is lighten up, there are things revealed on the surface of the lake suggesting he might fish something else rather than eyes which are what he wants. The things revealed has relations to eyes but are not the first things that come up to our mind when we think about eyes.

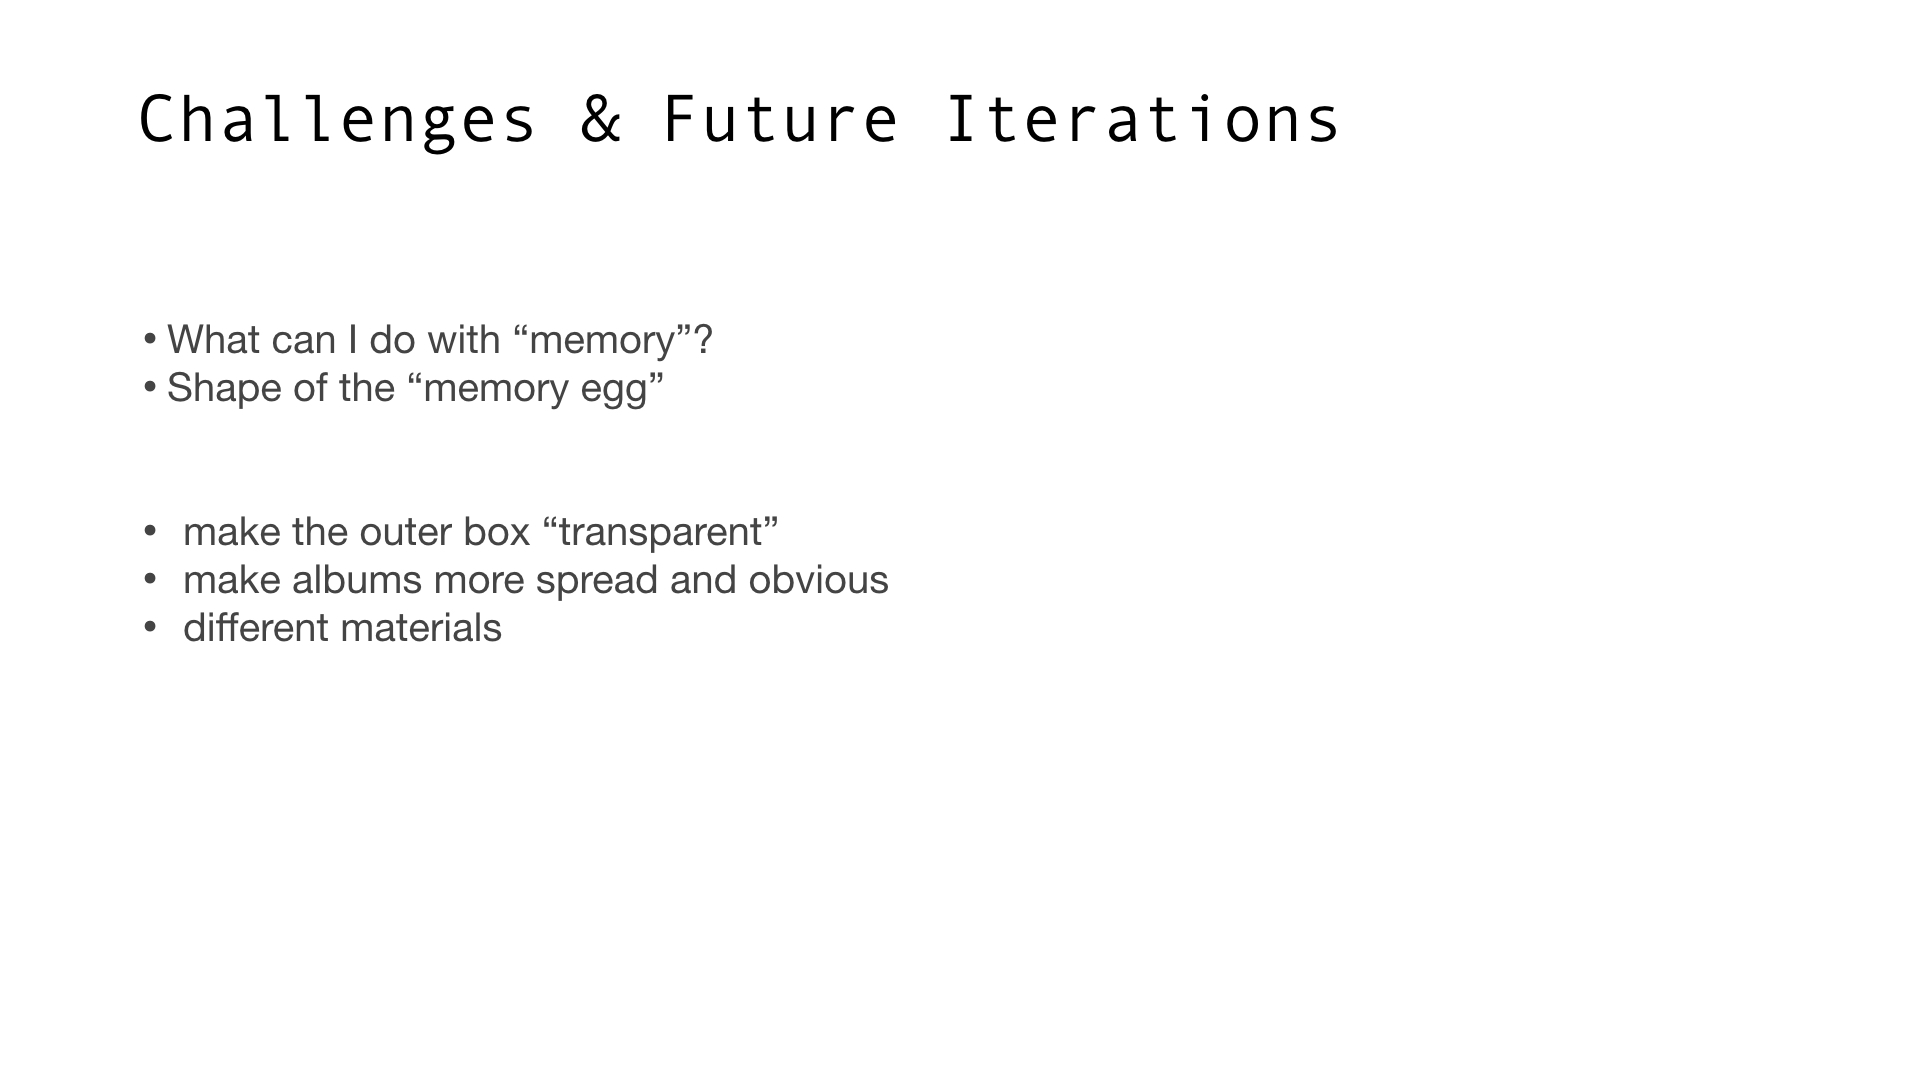
Reflections and further steps:

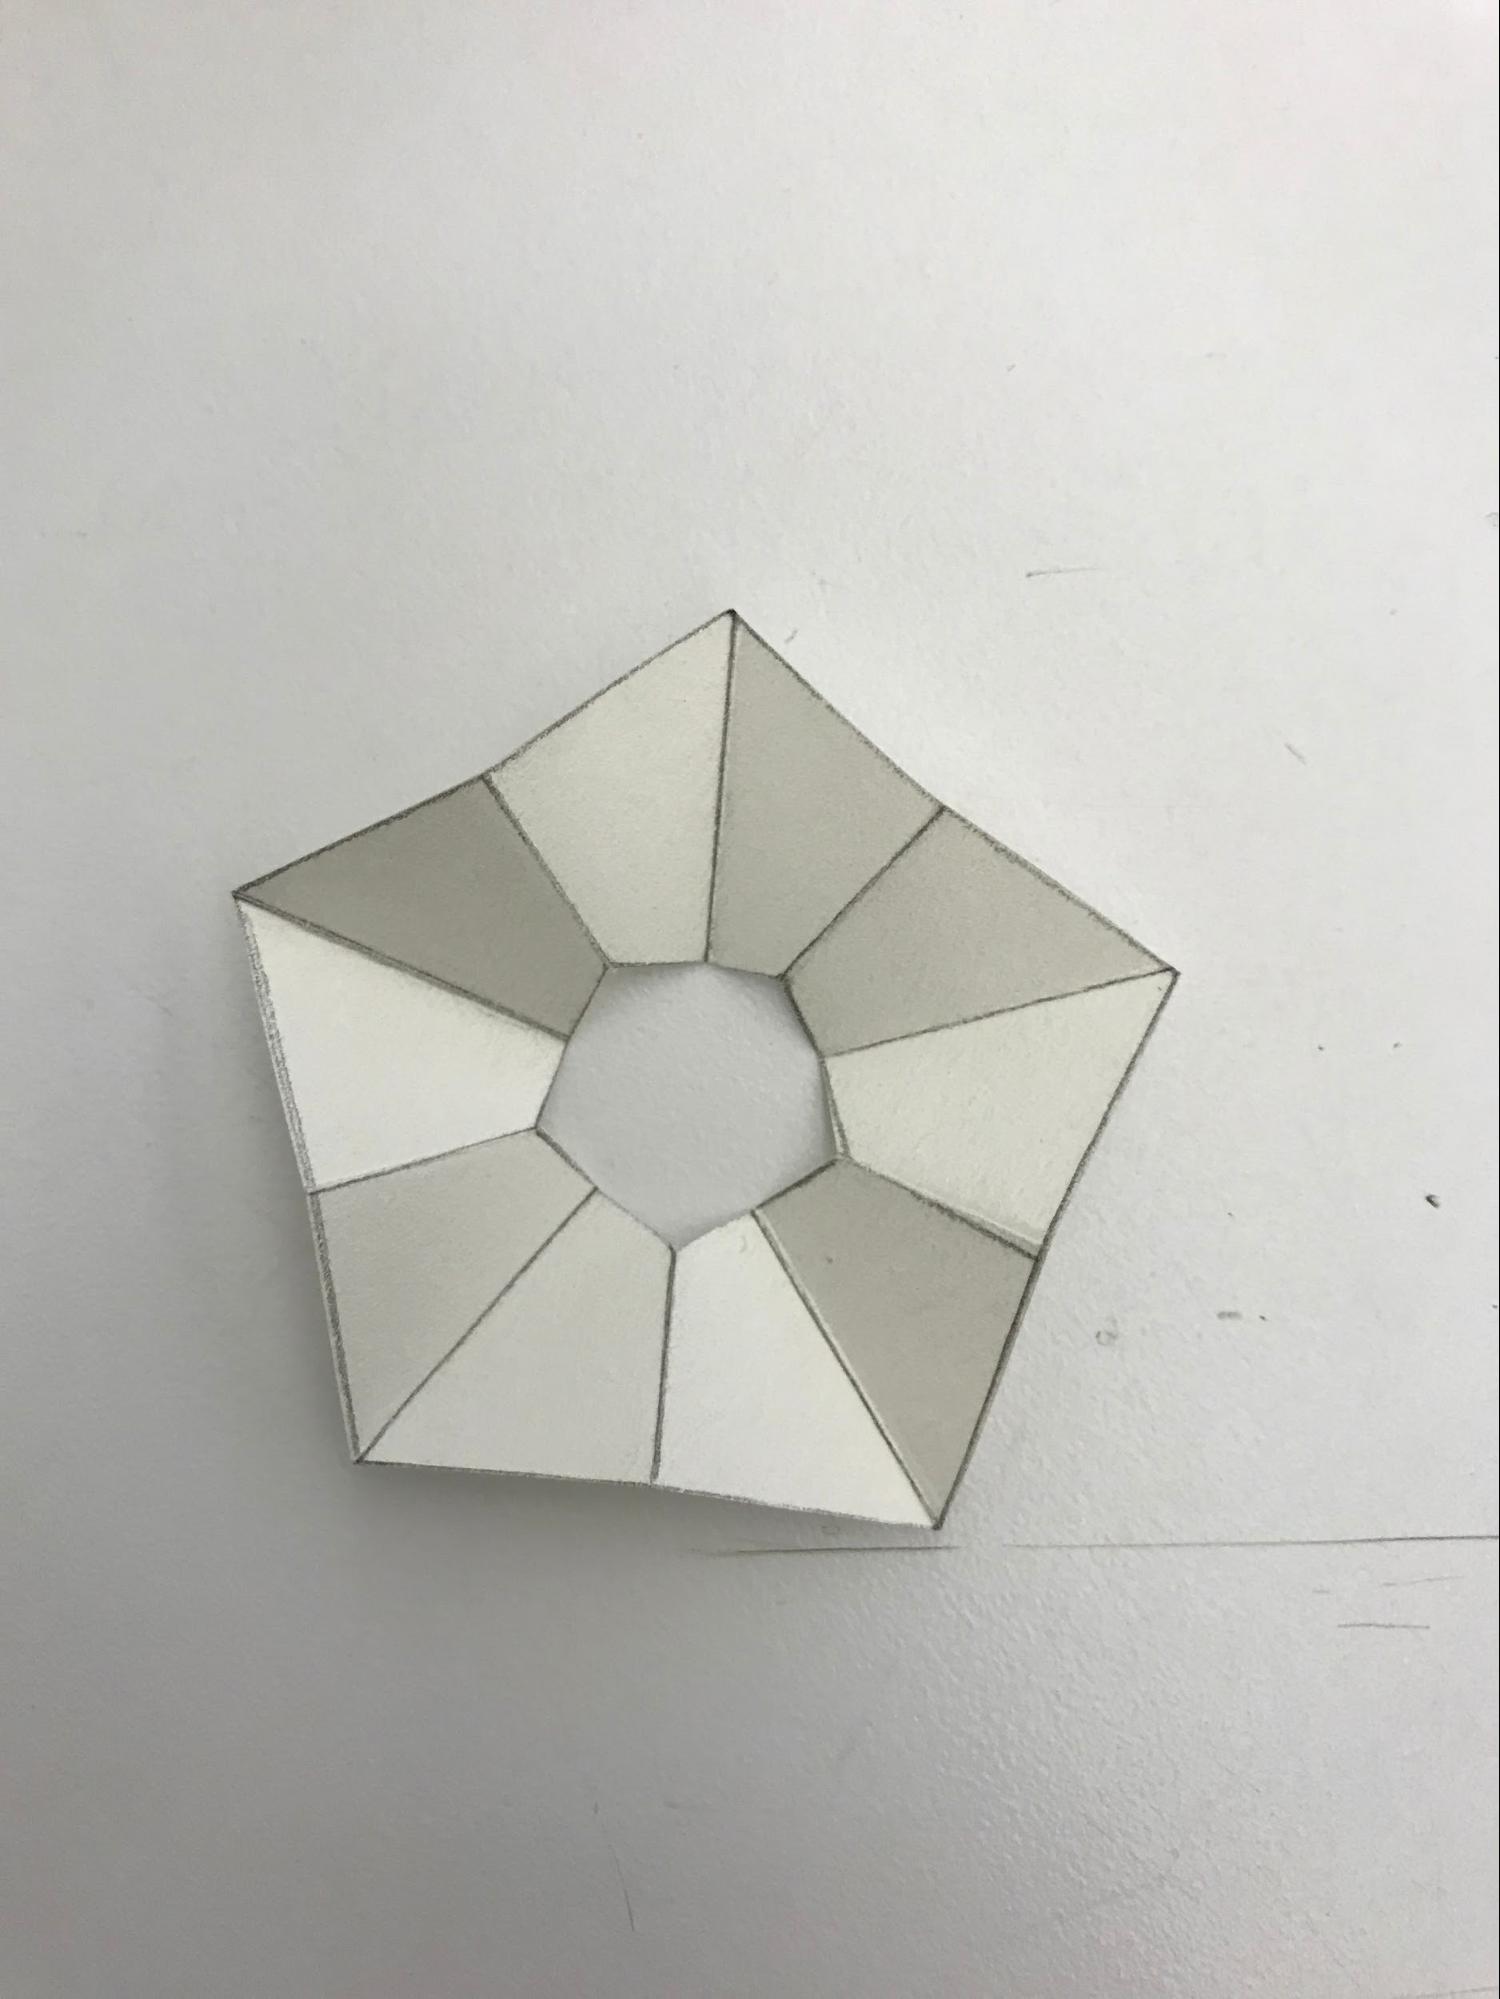
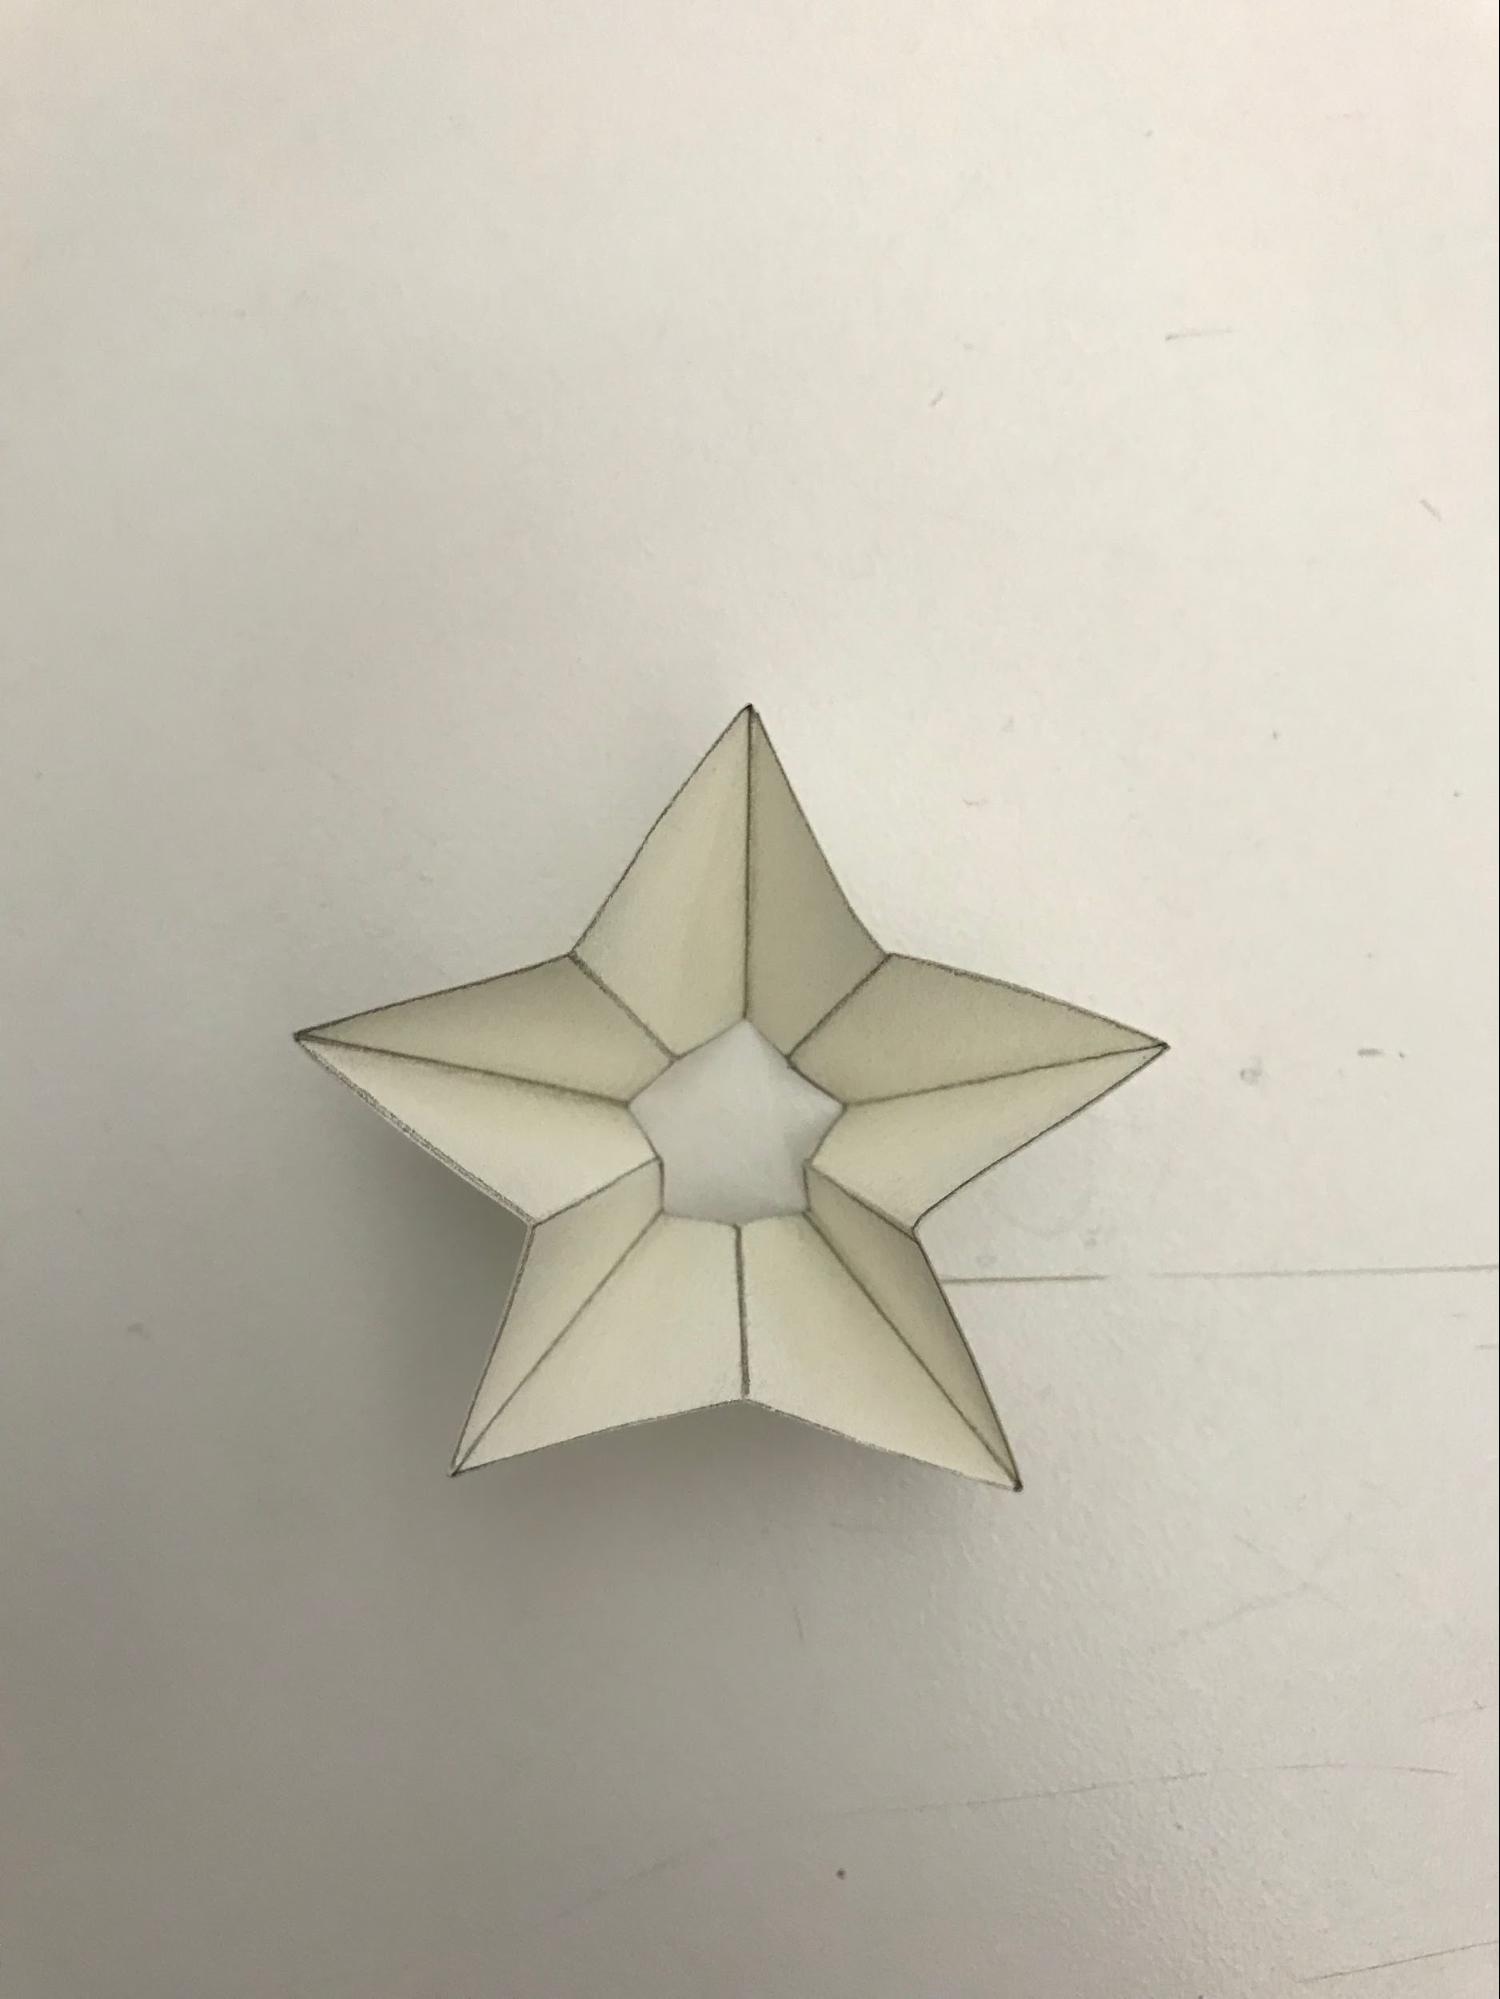
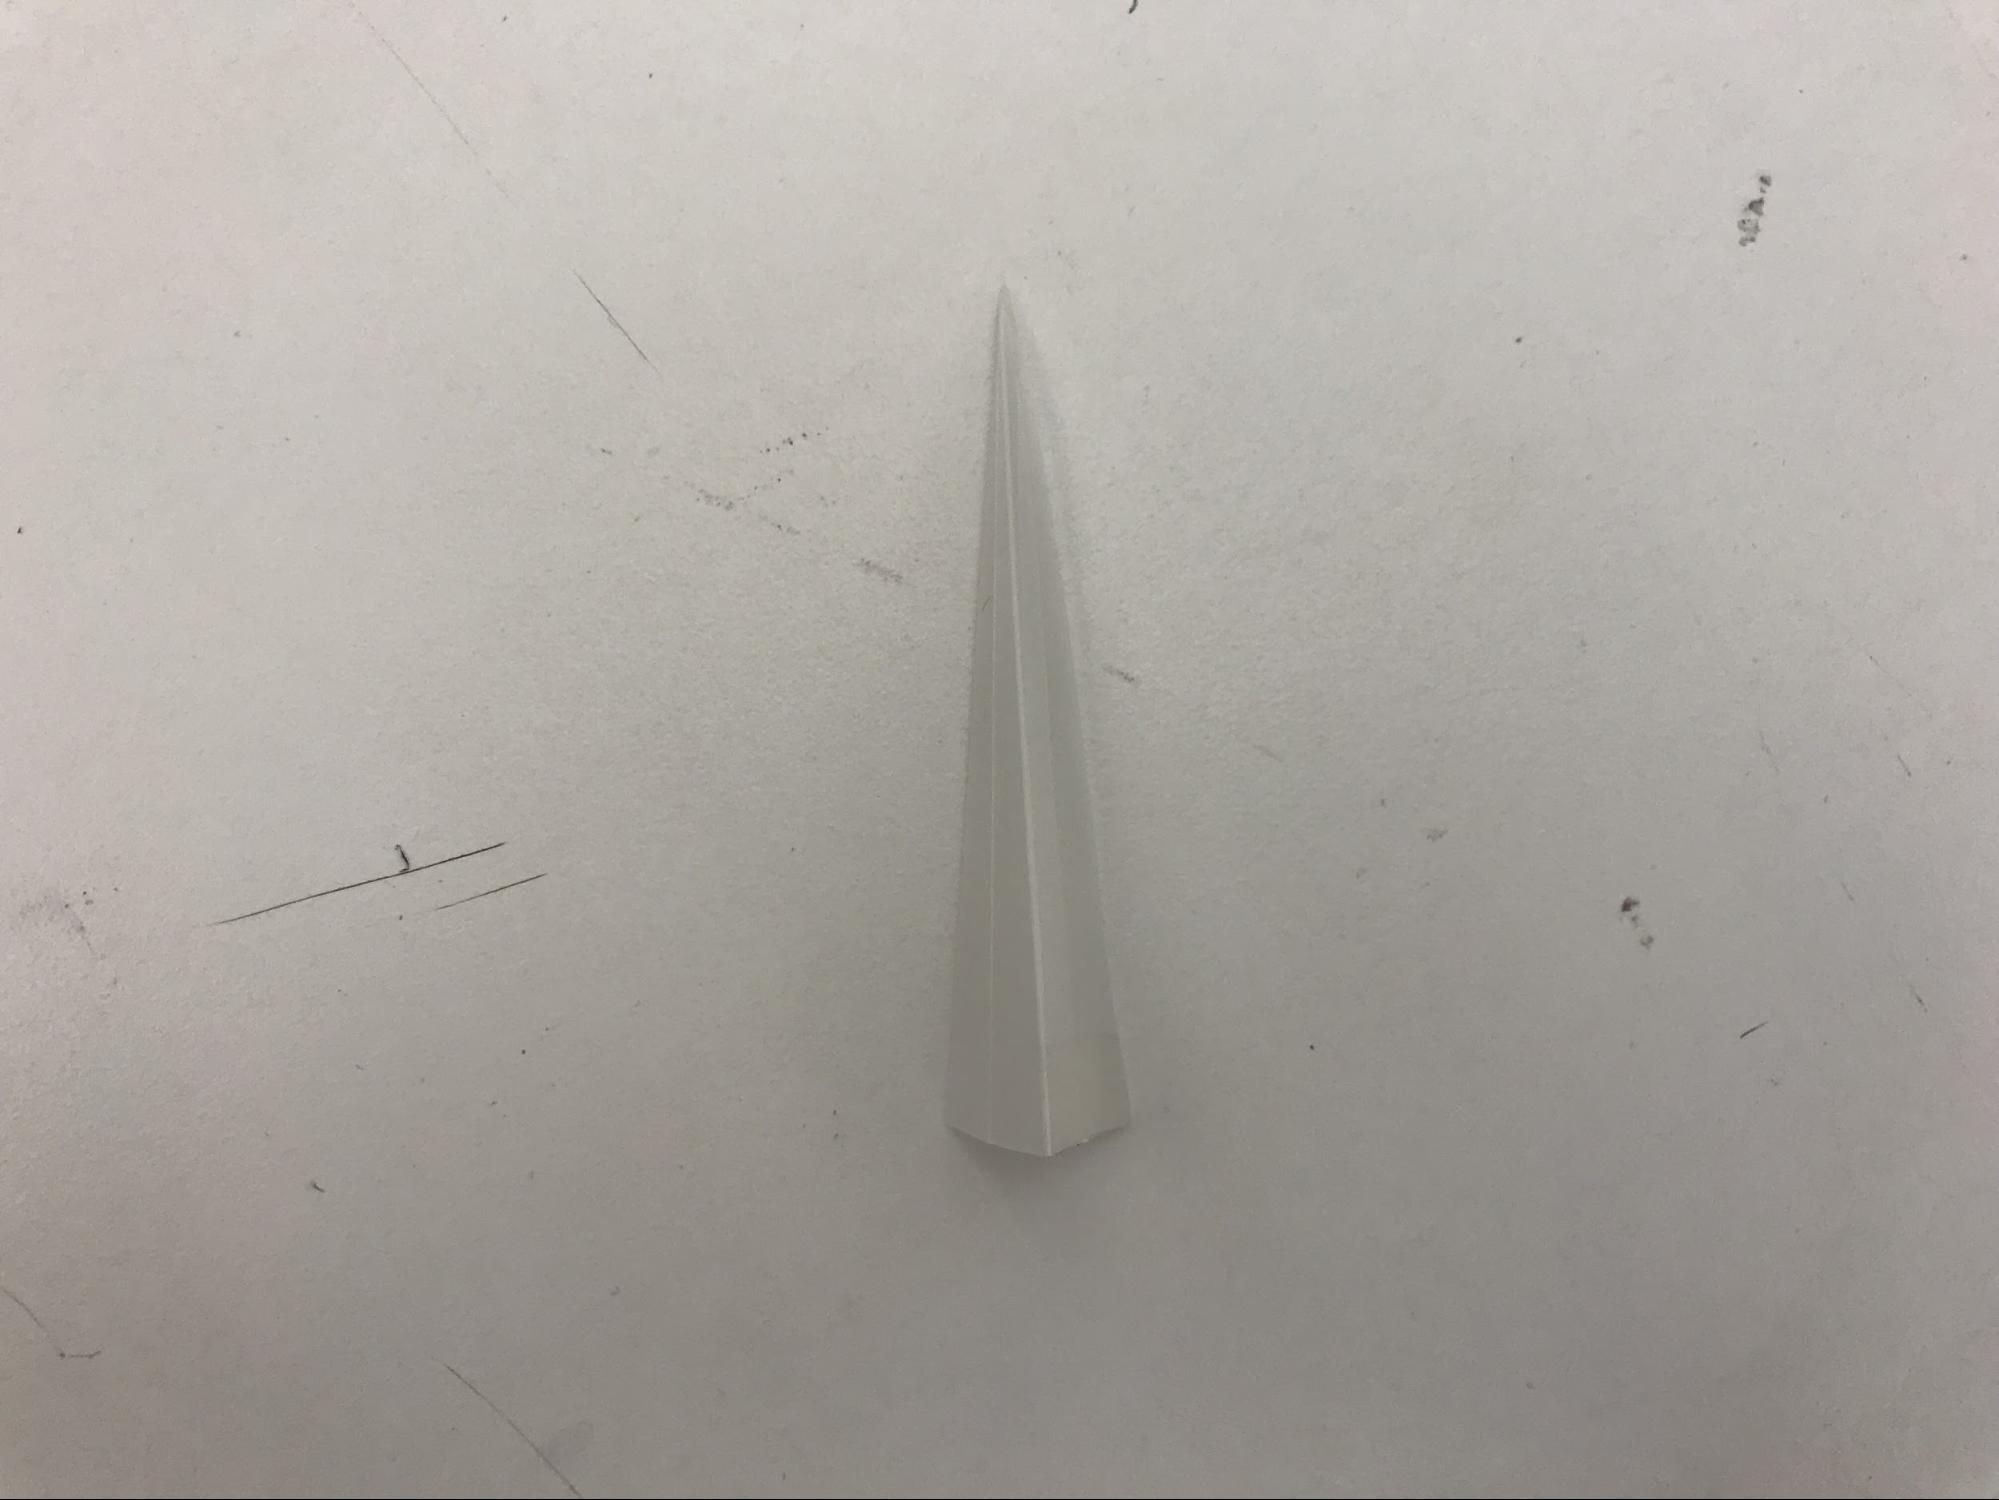
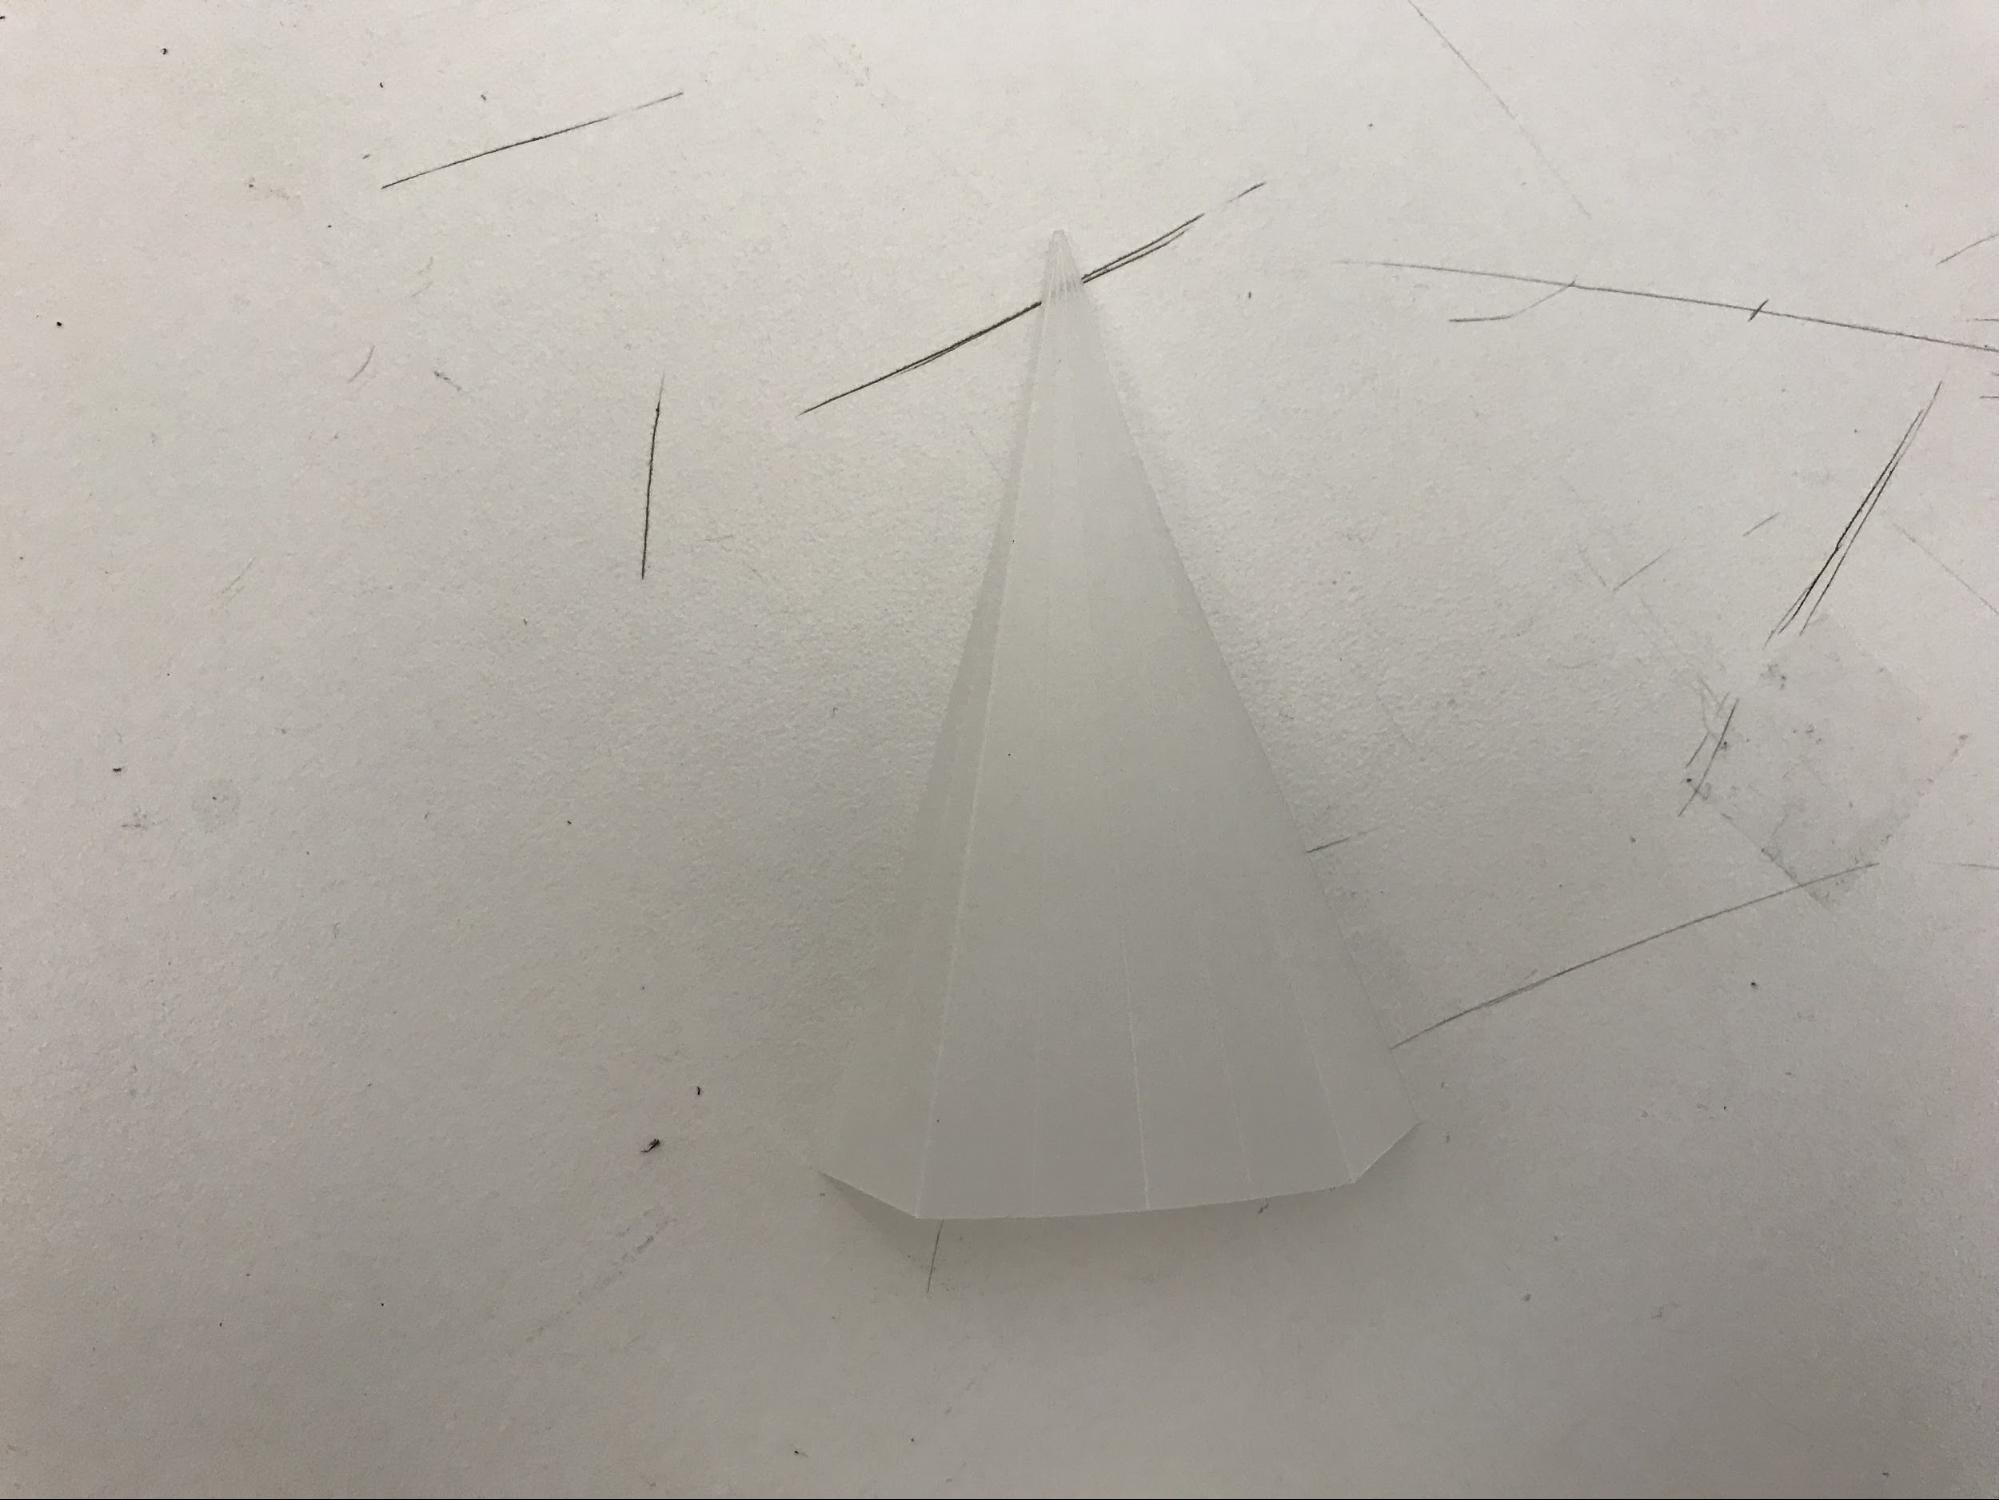
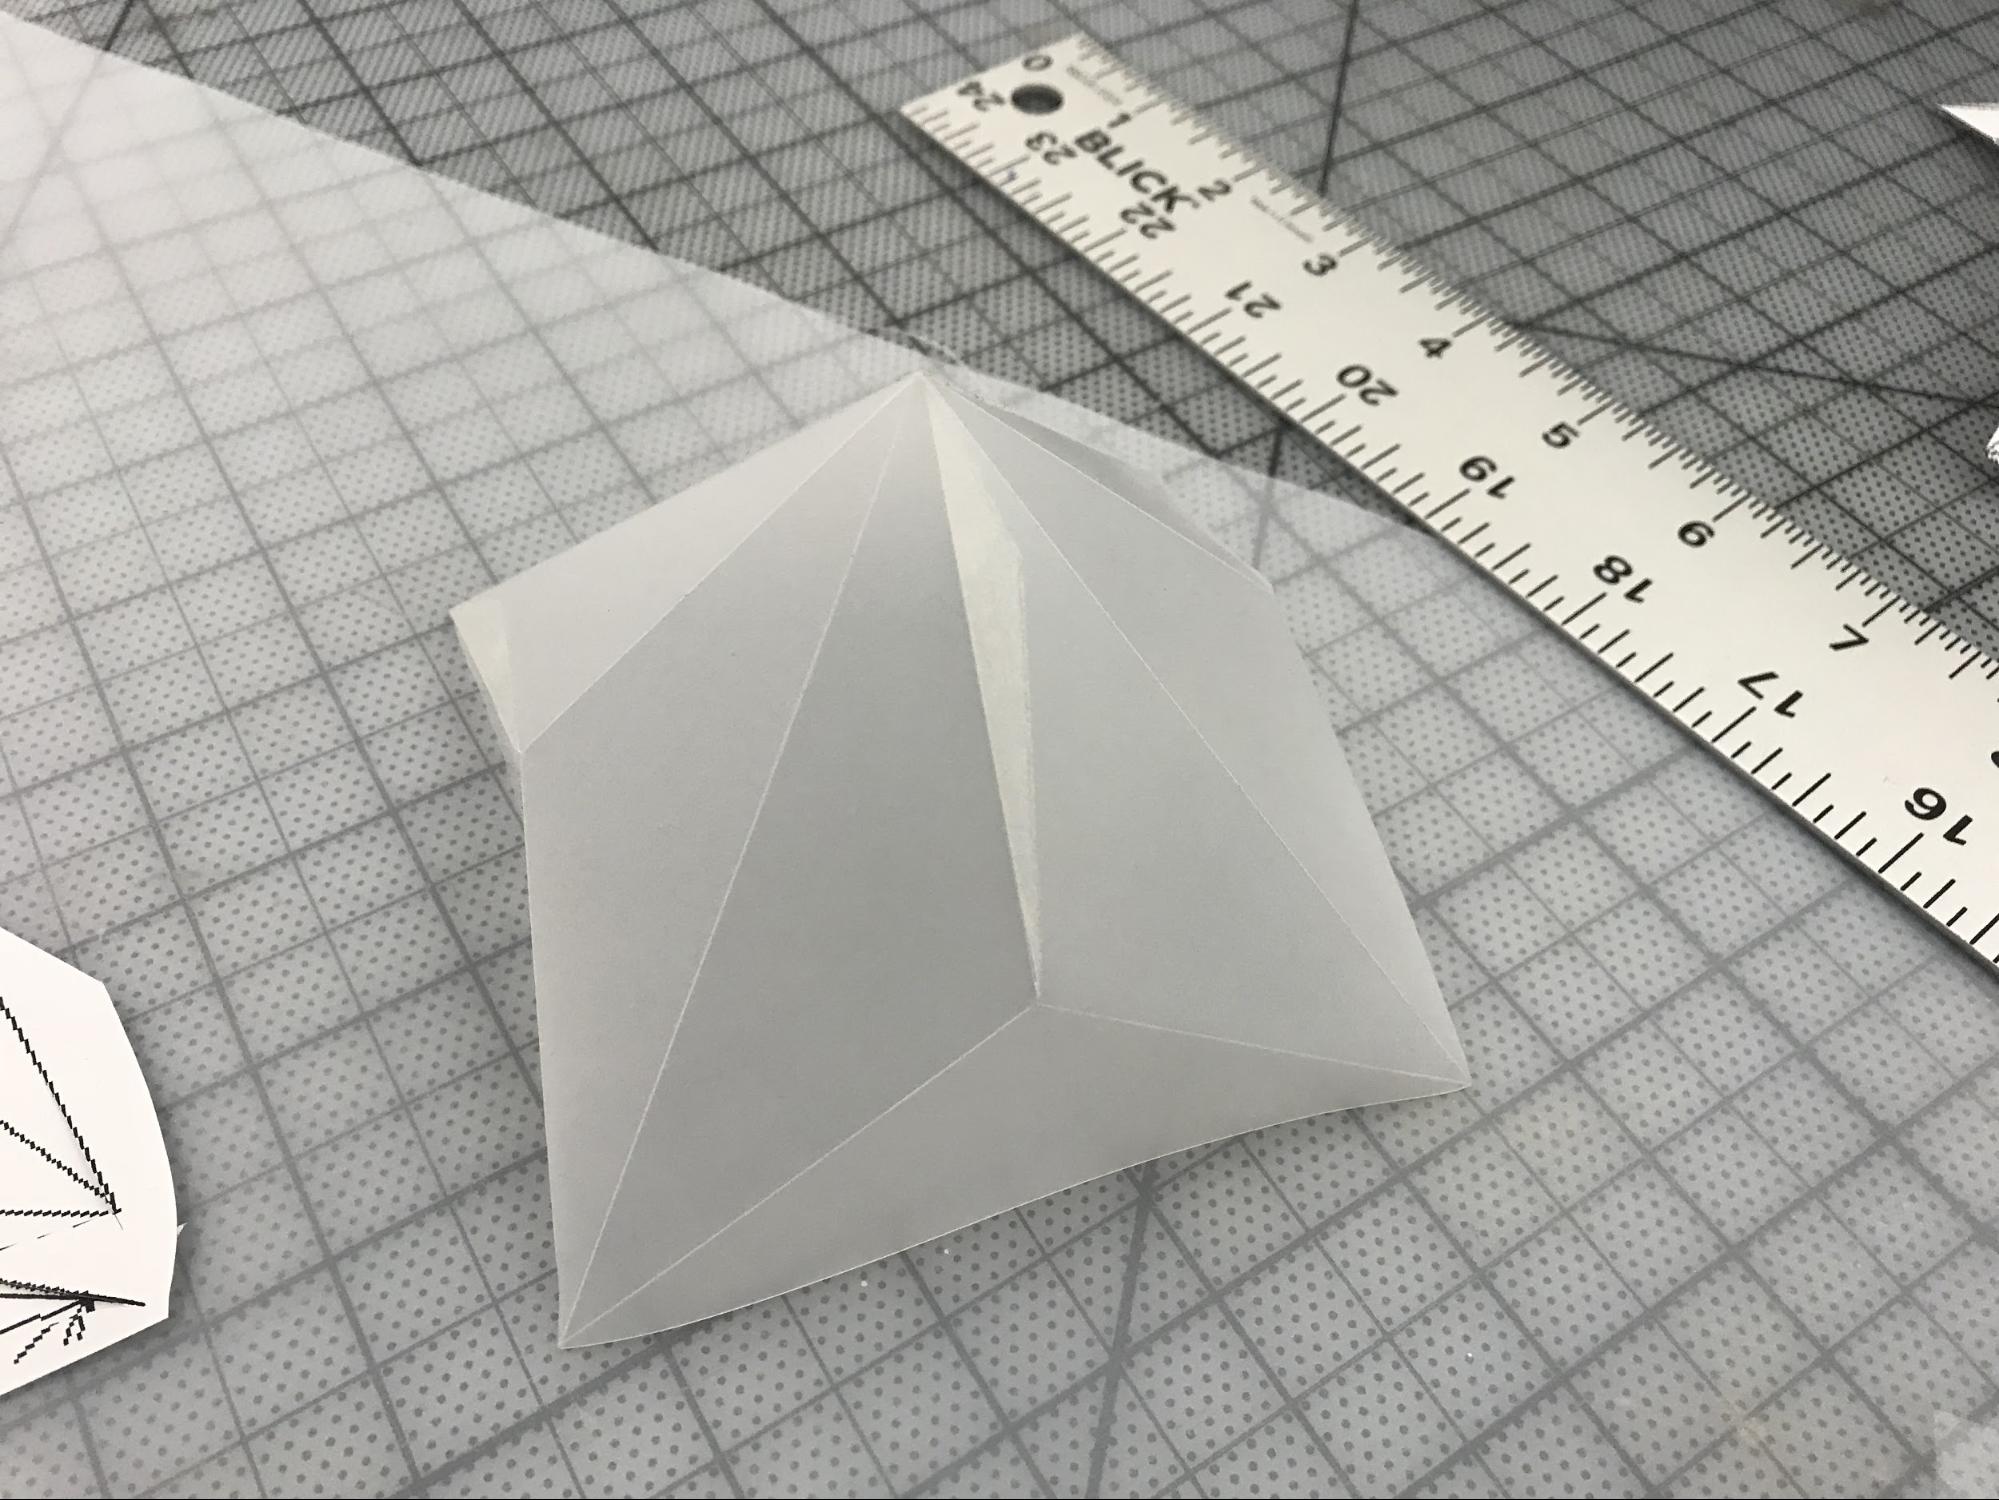
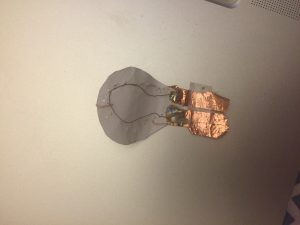
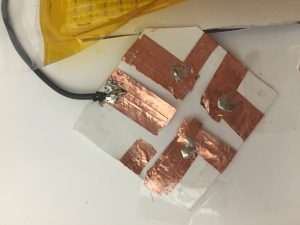
At first I did not use transparent acrylic for the top of the candle holder and it was proved to be dangerous, less attractive and fragile. So I replaced it with an acrylic piece and painted again. It works perfectly now.

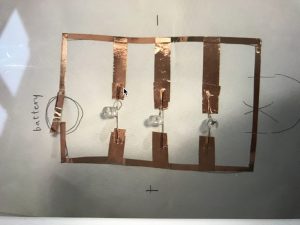
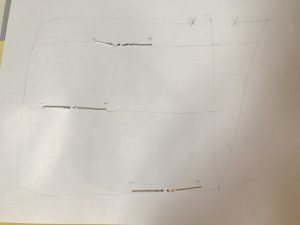
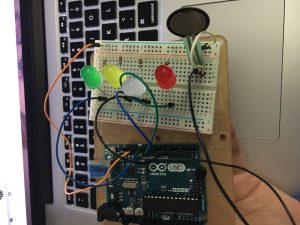
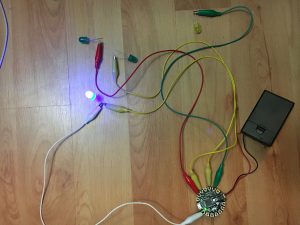
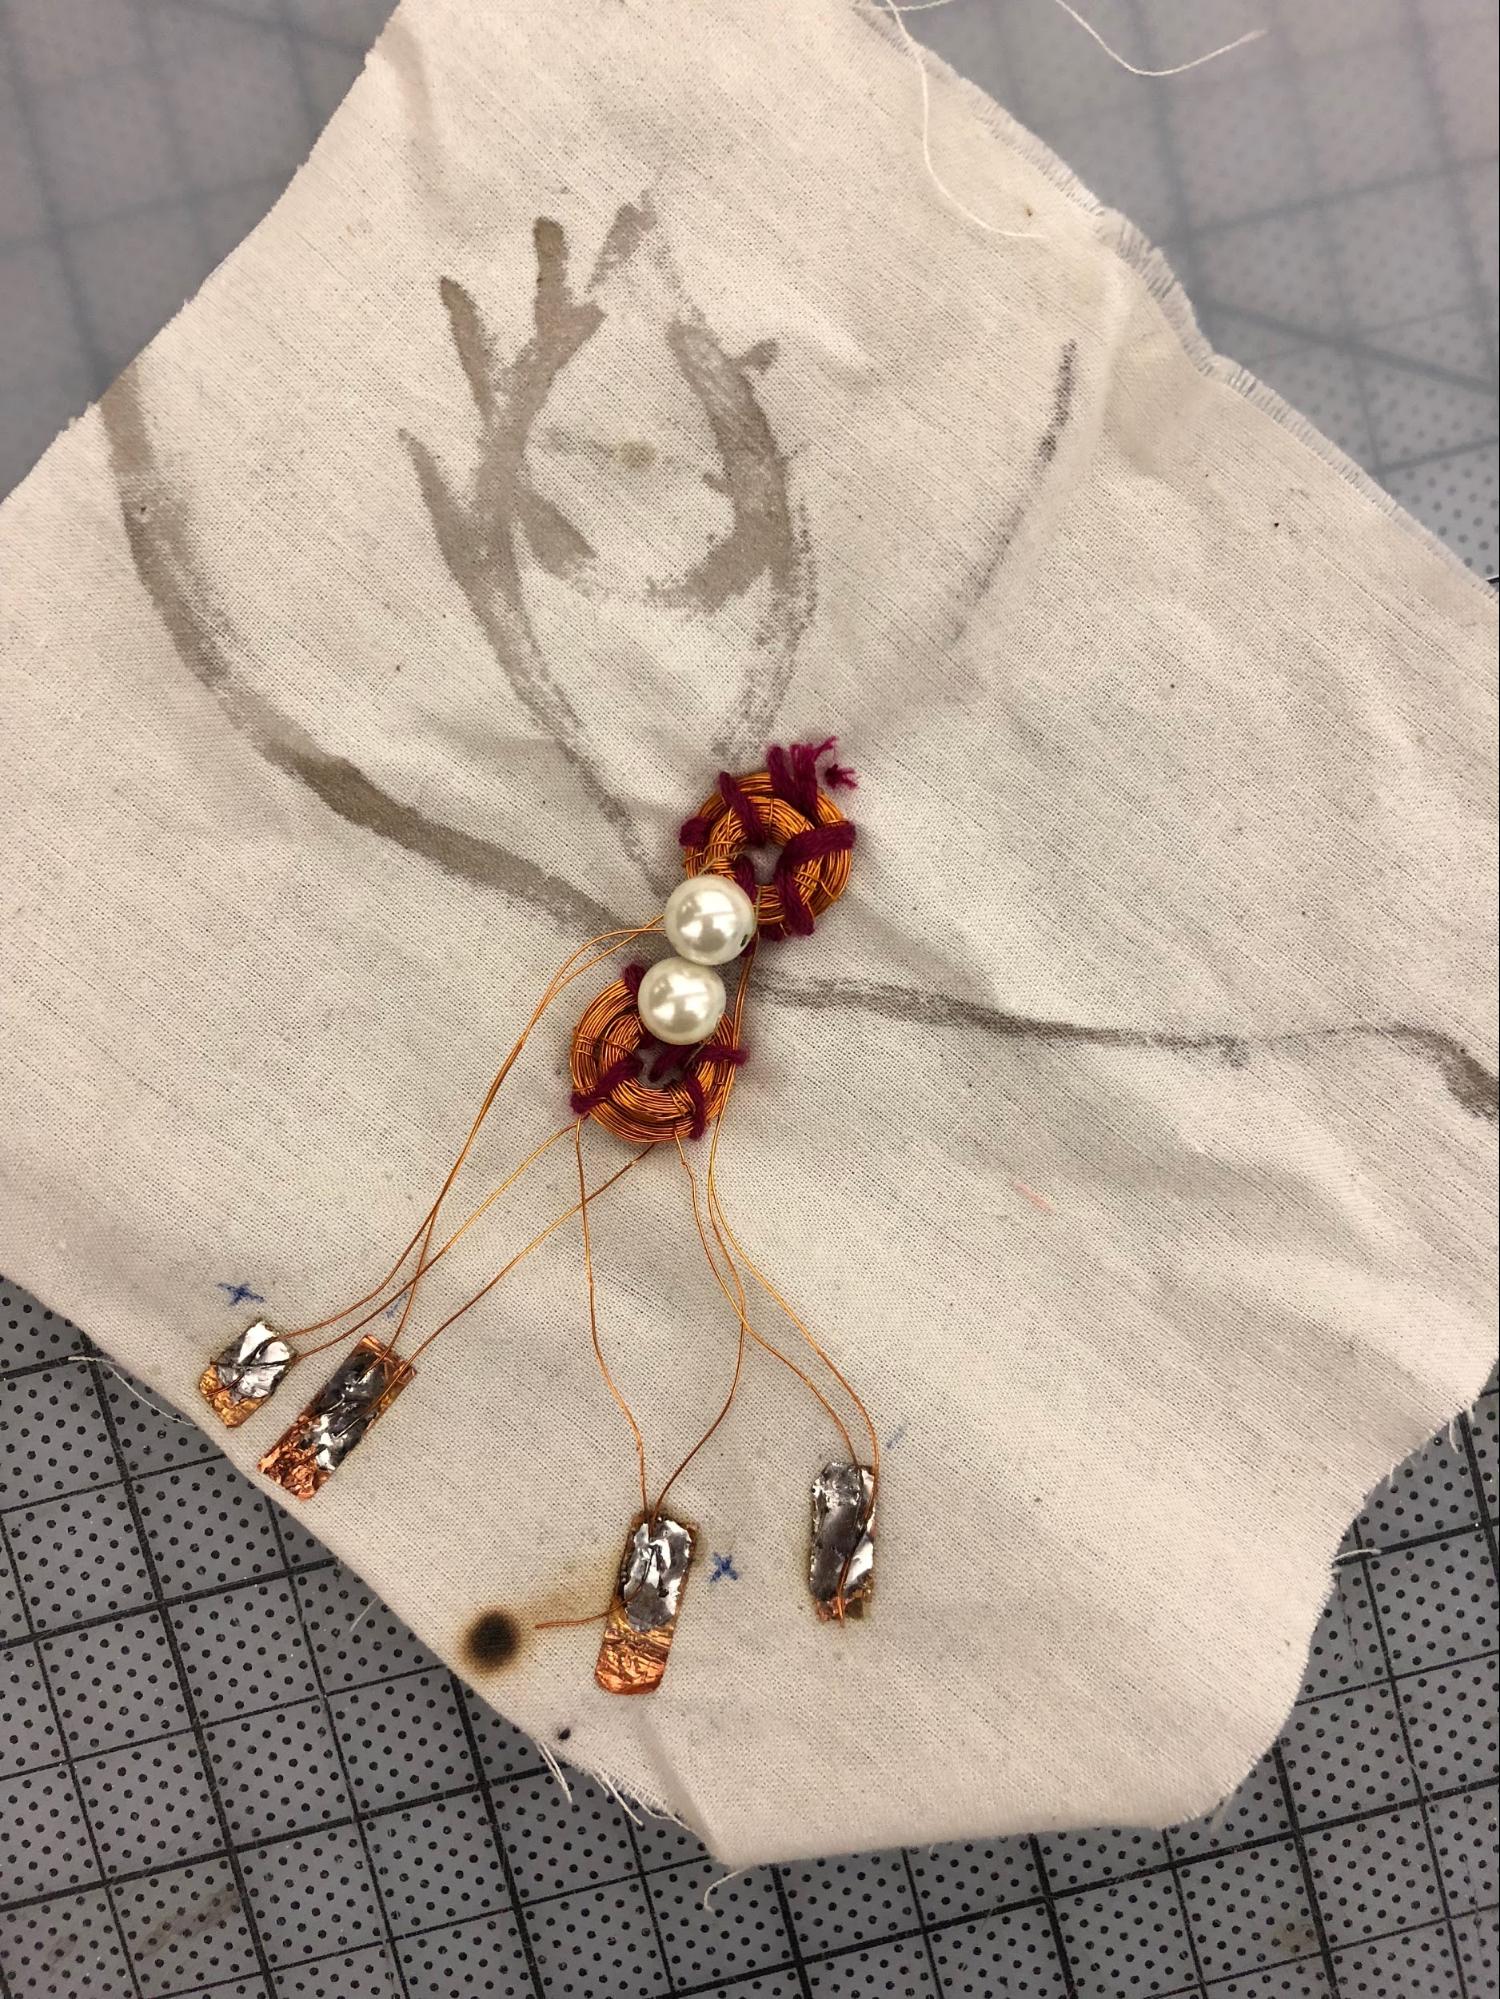
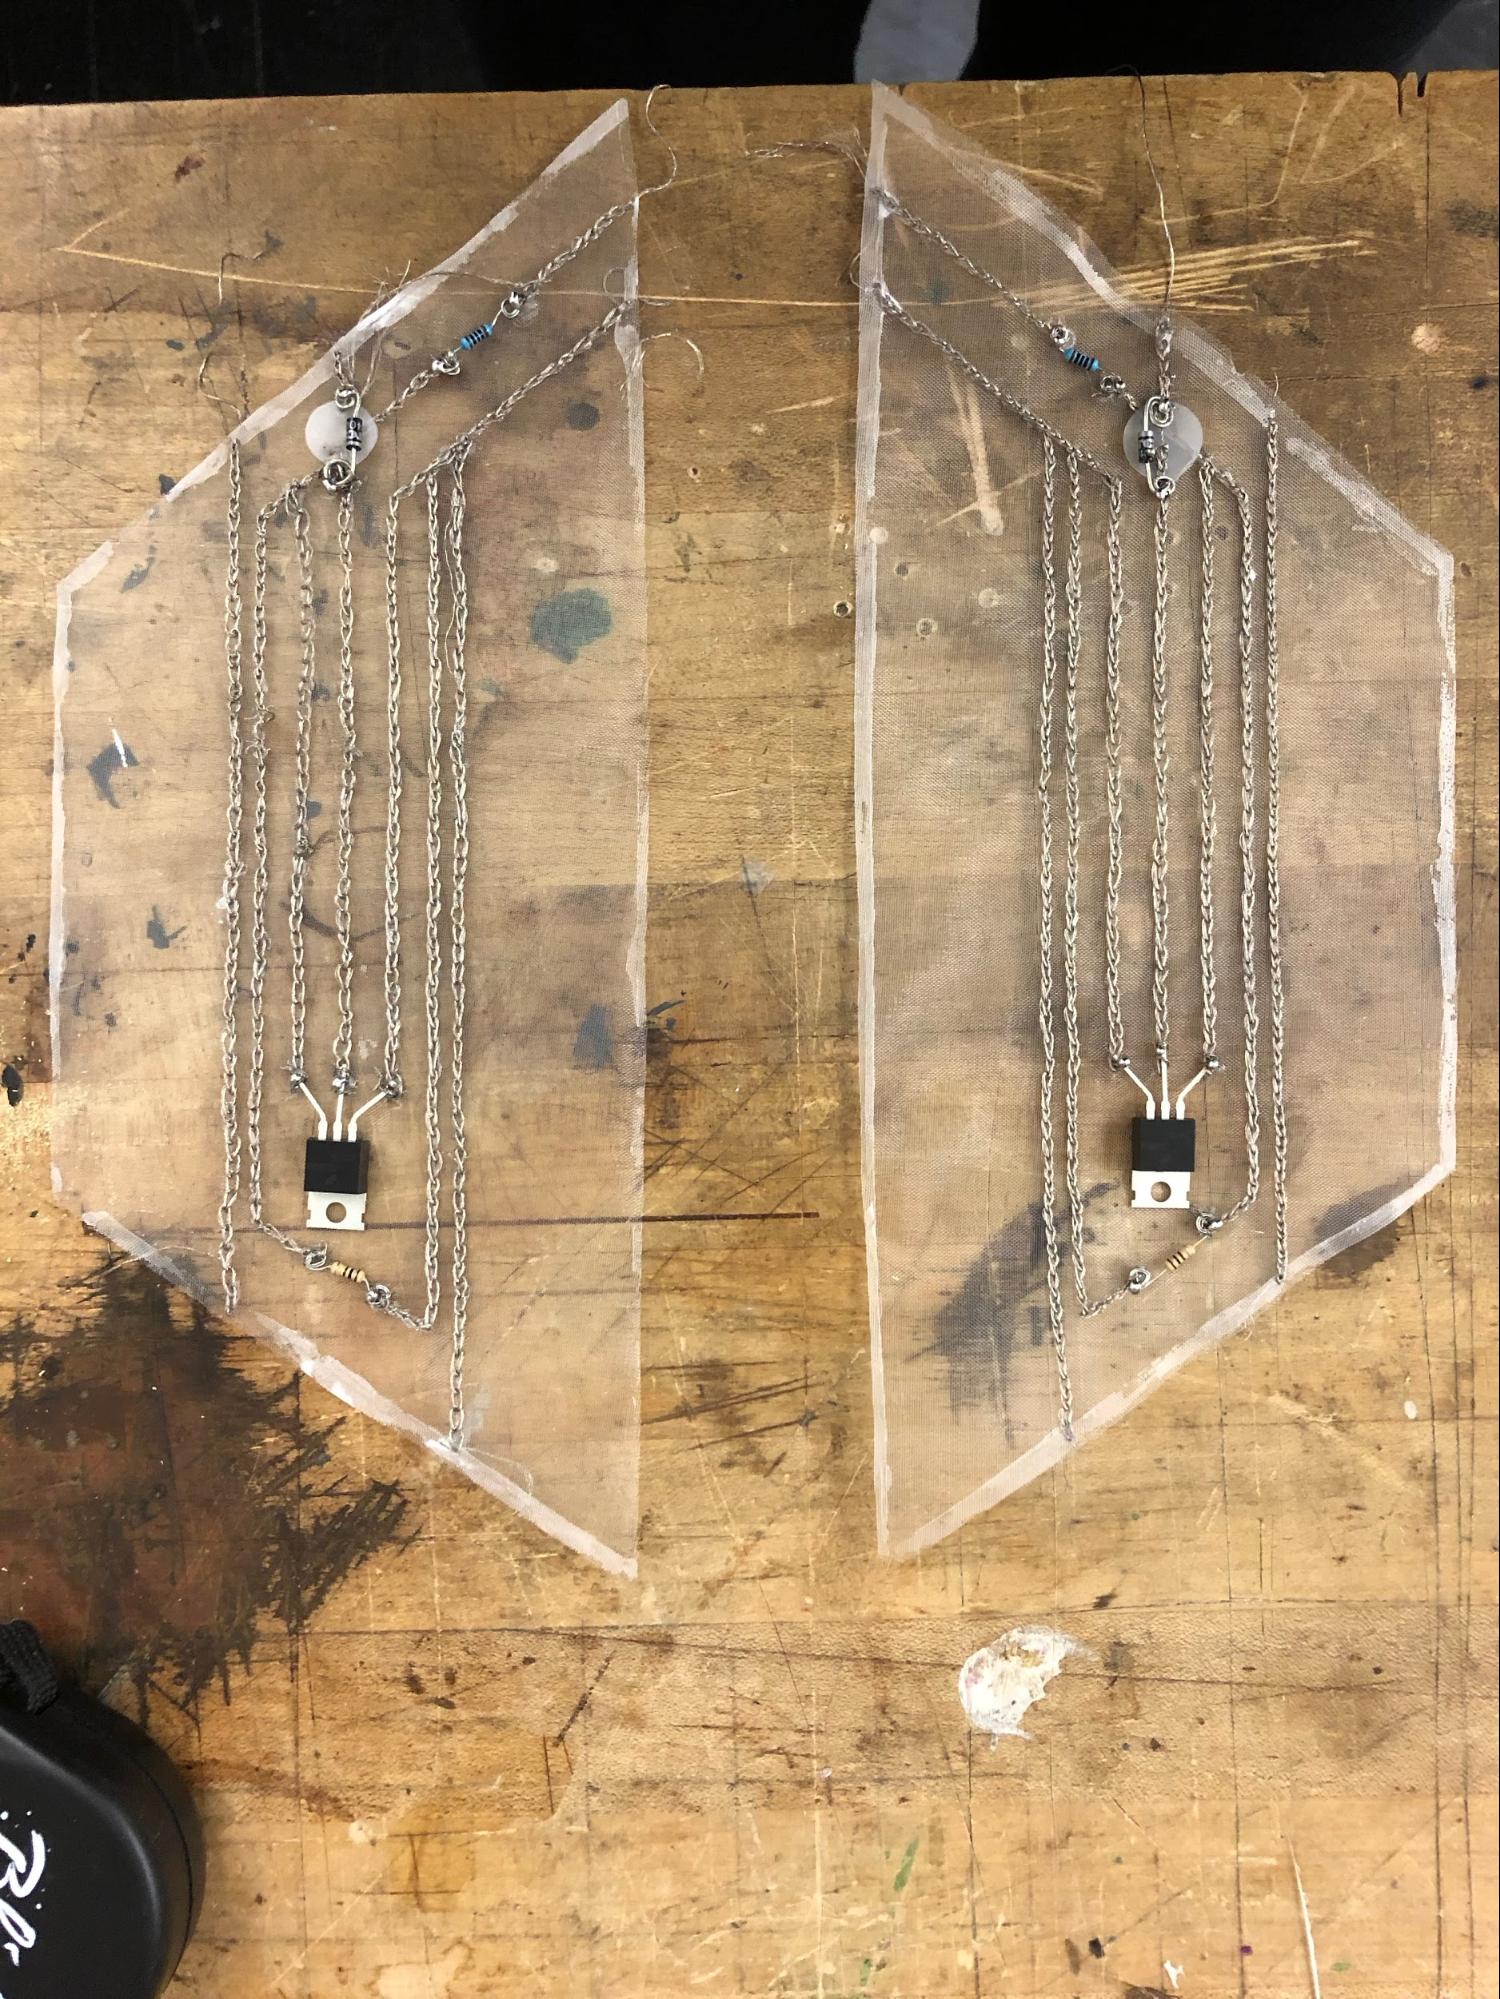
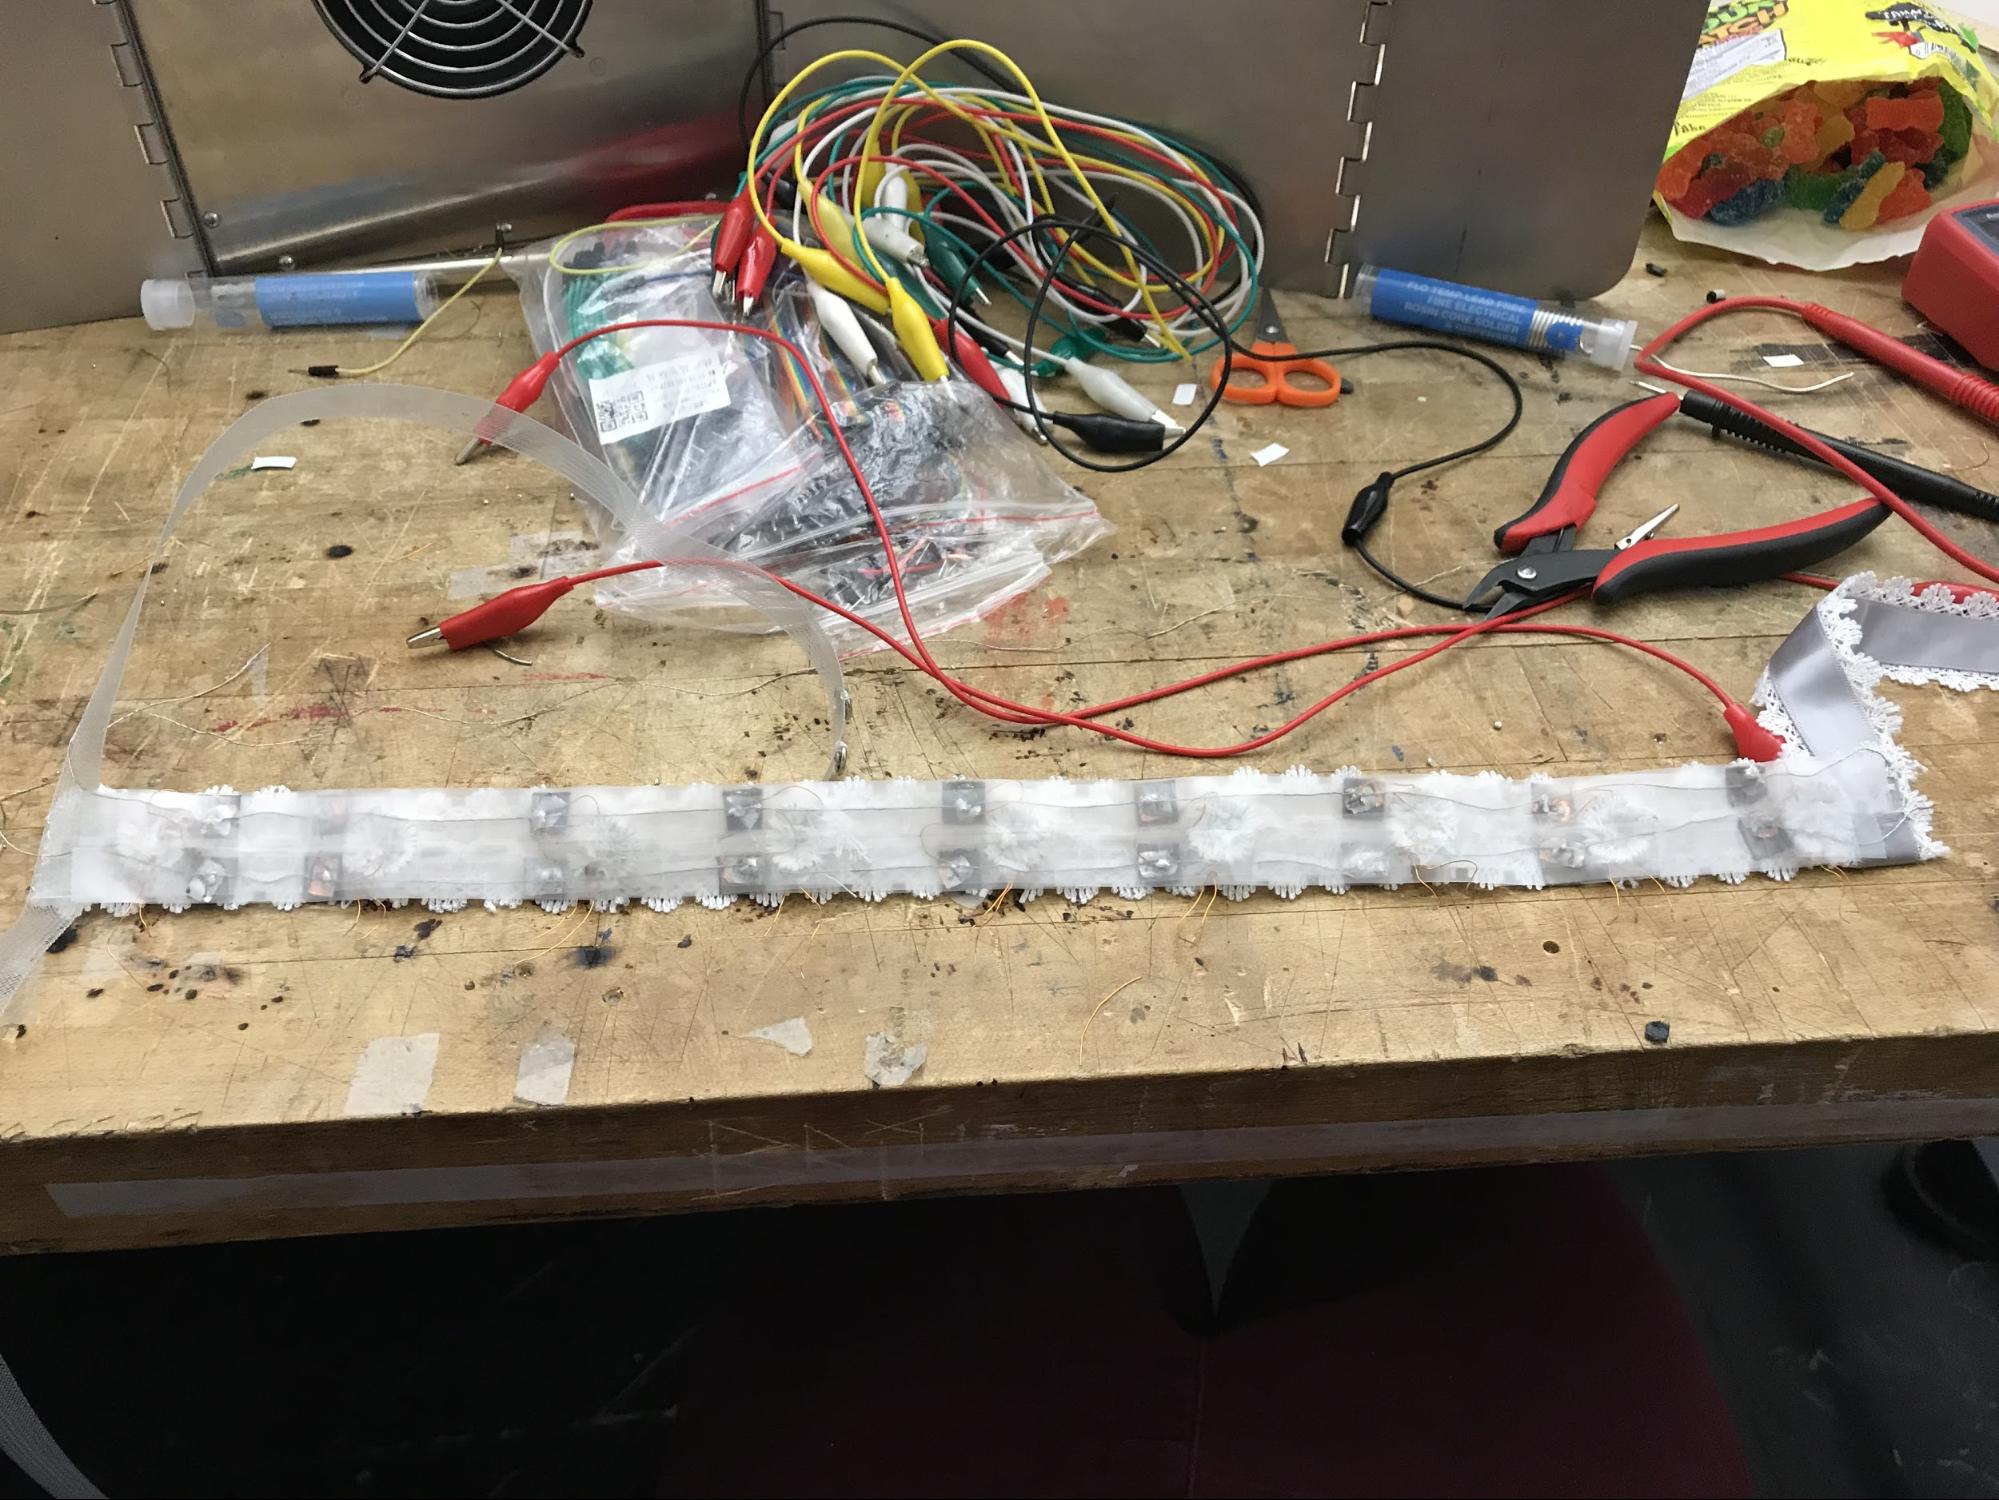
At first I wanted to make something that is easy to use and does not have to be linked to wires and battery every time so this is the final result. I think maybe in the future I can come up with a more complex structure and make all the wires and battery being well covered and controlled with switches. Yet I am very happy with the result of this attempt. I enjoyed the whole process, from designing it, making it to actually using it as a real candle holder.

Final Concept+ Project_ Elly Lin

For the final concept, I start with a concept of making an embroidery project because I was inspired by this following work.


— by showshowcraft


However, I cannot find a good way to combine the tech part with this craft. After talking to Liza, I end up with making an interactive storybook. The following are some precedents:

1.

I love children a lot. And I like to make graphic both are simple and colorful. It makes me energetic.


2.


–by Jie Qi


Concept: This is a storytelling that create an immersive feeling of the Bortle Scales of dark sky, using poetry and graphics to represent the nine scales of places in first person. In this storybook, I hope I can rise people’s awareness in the field of Light Pollution.

Target audience: Children

Style: Colorful+ Playful


The Bortle Scale— The definition of the nine classes of dark sky:


I drew the nine stories of the Bortle Scale.


Working process:

  1. Print out on pro-color paper and make it a booklet.

2.  Test out the LEDs. Organize how many LEDs each page should have, and also, what color should be, to represent the feeling of the poetry that matches the scale.


3. Test on one circuits first. And then draw all the nine circuits in the back.

4.  Make the circuits completed with the copper tape. Also, reinforce on the connections with soldering.

5. Final testing


6. Video Demo


The nine poetry:

Dear Sky,

In this sandy valley, I could hear in the distance,

waves shining with light.

Whispering at my ears. I start my journey.

Eureka Valley, 1890, First class of darkness


Dear Sky,

I can see myself, mirrored.

What wonderful youth! I, smiling.

All things; hopeful, beautiful, unpredictable.

Minneapolis North Lake, 1950, Second class of darkness


Dear Sky,

Traveled long ways get here. Lonely.

The stars chattering above me.

I am not afraid.

The Isle of Sark, 2000, Third class of darkness


Dear Sky,

Ruins, Kivas, stories on the valley floor.

I am here. See, the great work of human culture.

Dizzy now, upside down.

Light from the slow blinking shutter, or half- circle house?

Chaco Culture National Historical Park, 2001, Fourth class of darkness


Dear Sky,

I can feel the power of nature.

Darkness. Sea mumbling, stars pulsing.

And look! Birds rush out, disappear, a small black dot.

Cape Cod National Seashore, 2003, Fifth class of darkness


Dear Sky,

This is a familiar place. I am on the bridge of crossing cultures.

Tipsy, can’t tell the time.

Late or early?

Concord, Massachusetts, 2005, Sixth class of darkness


Dear Sky,

Still. I can hear the trains, smell the fresh pine.

Nothing disappears, save all the lighting around the pier.

Ashland, Wisconsin, 2009, Seventh class of darkness


Dear Sky,

Arc lighting, can’t breath. Feel strange, can I run?

Lying on Lambeth Bridge, thinking,

then, the most beautiful starry night was, the city with gaslight.

London, 2010, Eighth class of darkness


Dear Sky,

Years pass by. Mature, I am giddy, but,

cannot see. Sparking through color and light,

money, money, money.

A coin breaks the sky, tearing me to pieces.

Las Vegas, 2015, Ninth class of darkness


Final: Friends by Jaeky Cheong

Instructable link :

https://www.instructables.com/id/Friends-a-Circuit-Study-for-Kids/

  • Concept/ idea sketch: Hug doll for children. Children can play with the doll and can understand how a basic circuit works.


  • Inspiration: I inspired by Lego block and Hug doll. I like Lego blocks because users can build anything from tiny blocks but blocks have to be put together to build something. Children can learn a message of working together. Although I like Lego blocks, I don’t like the texture because it’s too hard and sometimes cold so I use fabrics and yarns to show soft and warm feeling.

  • Precedents:  Snap Circuits Alternative Energy Green / This precedent is an electronic kit for kids.  Kids can learn about “Green Energy” options and they can build over 125 projects by using different parts in the kit. It contains over 40 parts. also, a paper instruction is included in the kit so kids can learn the theory with the projects.  I think this precedent is really useful for children who like to learn basic electronic circuits but I don’t like texture and design because it’s only focused on training circuits.
  • User testing + feedback: I did the user testing on 3 people. All of them really likes the design and textures.
  • user A: Love the texture and design of the dolls but the connectors can be more developed in hand shape so it feels like friends are holding hands.
  • user B: She likes that it doesn’t look like and feel like a circuit. Even small girls will be very interested in the play.
  • user C: She likes that children can easily make a story with this dolls. While they play with this dolls they can naturally know how a basic circuit works but she mentioned that I could change the battery to 9V so the users can connect everything together.


  • Video of project demo

3V Battery + 1 LED + 1 Pressure sensor doll circuit demo

9V Battery + 2 LED + 1 Pressure sensor doll circuit demo


  • Challenges you faced: It was really hard to make all different parts into dolls because I avoid mechanical feelings. It was really time-consuming project to build most parts by just hand sewing and crochet.
  • Future iterations: I like to develop more parts such as a temperature sensor doll, a sound making doll or a servo doll. Also, I want to develop the connector design to look like hands.

Estee- Midnight Final

Midnight

Concept: To illustrate the anticipation of when the clock strikes twelve through an LED skirt based on Cinderella.

Audience: Cosplay adults.

Description: The skirt stays turns on and then starts blinking when the clock strikes twelve, as if it’s and alarm or reminder for Cinderella to go home.

Challenges: Couldn’t figure out how the pressure sensor would work best. At first, I want it to be placed on her waist as when the prince is dancing with her, but that would require too much pressure. Also, I couldn’t figure out how the have LED shut off after a certain period of time. The sewing was also challenging, because some of the conductive thread crossed each other, and this was also my first time making a skirt. I should have used a sewing machine, but I did everything by hand.

Future Iteration: I was use a different fabric, because I used cotton, and it wasn’t light enough. I was like to use more technology, just like how my precedent did with the IBM Watson dress used tweets to change the color of the LEDs on the dress. I also need to practice with the sewing machine so that I’m comfortable using it. The LED colors that I have the skirt are Yellow, Blue , and White, but the only color that really shows is blue. Next time I would like to change the colors, and keep them all blue.

Materials:

  • FLORA by Adafruit
  • 3xAA Battery Pack Holder
  • 3 AA batteries
  • MicroUsb Cable
  • Conductive Thread
  • 10mm Tinted LEDs Yellow, Blue, White
  • 3 yards Tulle Fabric
  • 4 yards 100% Cotton Fabric
  • Sewing thread
  • Scissors
  • Pins (to keep the pleats together)
  • Ribbon (to tie Tulle around)
  • Non-Conductive Tape (I used fabric tape)

Step 1: Test LED with Arduino, and get sequence to blink with pressure sensor.

Step 2: Step up and test FLORA  and LED with Alligator clips

This is the pressure sensor I was going to use, but Arduino code didn’t work.

Step 3: Cut and tie Tulle around ribbon.

Step 4: Cut fabric and set up pleats with pins, and sew together.

Step 5: Curl ends of LEDs

Step 6: Sew FLORA and pocket for battery pack. Test one LED first to make sure it’s working. One Conductive thread is attached to the Ground, the other is connected to pin. Each pin needs it own Ground. Luckily, the FLORA has three Grounds.

Close up of FLORA with the connected conductive thread.

Step 7: Put tape wherever the conductive thread crosses to avoid interruption of LEDs not working.

Step 8: I had too put tape on the FLORA to apply to the Ground and Pin for a stronger connection.

Step 9: Test with all LEDs on.

[The Enchanted Rose] – Yiying Xiao

For the final project, I decided to make an interactive installation that is inspired by the enchanted rose in Beauty and the Beast. When user interact with the installation, the rose will be changed to another color. 

[Precedent  ||  Inspiration]

I was inspired by the enchanted rose from beauty and the beast. The rose was the symbol of the ability to ever love anyone more than the beast himself. In the original story, the rose was awoke by belle from almost losing the last petal. And so does the beast.


Another precedent for my project is the thermochromic ink table set. When you sit for a while, you will leave a mark over the table that could show you have been here for a while. It demonstrate the existence of a human being.


[Materials]

Pink craft paper

Conductive Thread  &  Needle

Yarn

Conductive fabric

Thread

Glue Gun  ||  Hot Glue

Thermochromic pigment

Glass Dome Cover


[Technology  ||  Documentation]

I was very interested by the thermochromic pigment, so I had this idea of combining thermochromic pigment with the enchanted rose, and try to recreate the reborn of the rose.

I bought some pink craft papers from michaels to make the petals.

After that, I used thermochromic paints to cover all the petals. The material of the craft paper creates a very natural shape of petals.

and I just hot glued the conductive thread onto the petals to create a pattern that will eventually cover the whole rose.

Then, I worked on a 3d heart crochet and stuffed cotton inside. 

And I sew a piece of conductive fabric on to the heart, and made a tray with circuit made by copper tape on it and left an opening on the circuit. So when you put the heart over the circuit, it completed by the piece of conductive fabric. This is the switch for my project.

I first attached a button battery and it doesn’t work. I thought there’s a circuit problem at that time, but then found out it’s because of the battery doesn’t have enough power. So I changed the battery to two 9V batteries and it works well.


[DEMO VIDEO]

Rose Shell | Aim + Tong

How can we use technology to protect women?

Roses developed thorns after being abused by predators attracted to their sweet smell. Inspired by this defense mechanism, we have created an exoskeleton that allows women to protect themselves from sexual assaults.


Precedents

We looked into existing projects that touched on the theme of self-protection through wearables.

One of our biggest inspirations was the Spider Dress by Anouk Wipprecht. It plays with the idea of planting spider legs onto the shoulders of the wearable. If there are people nearby the dress, the legs of the spider would extend, sending the signal of “do not approach” to the outsiders. This dress inspired us with its biological yet mechanical movements as well as the play of integrating an animal mechanism into a wearable.


Another precedent that inspired us is Birce Ozkan’s Self Defense Wearable for Women. Inspired by hedgehogs, she wanted to create a wearable belt that imitates the movements of a hedgehog when it is prepared to defend itself.

Though we were inspired by these wearables and their incredible messages, we wanted to create something that was more discrete and feminine. We wanted our exoskeleton to be elegant and fierce looking.


Initial sketches

We were imagining the sensors to be activated through proximity or touch. So we were thinking of either adding a capacitive sensor or proximity sensor.


Prototyping


We begin the prototyping with seeing how the flip dot moves with a spike attached to it. Once we saw that its movement was what we wanted to achieve, we tried with 2 flip dots.


Then we started thinking about how the movement of the flowers on the neck would look like. We wanted the to become spikier once the flexinol wire shrinks too.


Making

The Spike


We made spikes to attach to the flip dots. However, the initial material we made the spikes from resulted to be too heavy for the flip dots, so we used rice paper for flip dots that do activate.

Diamond Shoulder


We also made 2 diamond shoulder pieces to contain the batteries and the Arduino UNO, and covered them with tulle to make the appearance softer.

Circuit


We also began to embroider the circuit into another piece of tulle in order to make it part of the back piece, as well as ease of access to connect to the batteries and Arduino on the shoulder.

Back piece


We attached the coils onto the lace with a plastic band to secure the movement and make sure the lace won’t break in the process of testing. We soldered the coils and attached them onto conductive threads. All top coils attached to left side of the circuit and all bottom coils are attached to the right side of the circuit.

Capacitive sensor

We also made a capacitive sensor onto the front of the choker and connected it to the Arduino through the back.

Assembling


Technology

Final Prototype Sketch

Circuit Sketch

Code

We used Arduino UNO and 2 9v batteries to power up the flip dots and capacitive sensor. There are 2 coils under each magnetic bead to facilitate the switching of power to activate the flip dots. The top coil would be controlled by one transistor and the bottom coil by another transistor. If the capacitive sensor is activated, then the top coil would activate and make the flip dots move downwards. Otherwise, it would remain upwards.

We had a lot of issues finding out how to power the 9 flip dots, as we were able to only move 5 with 18 volts of power. Once we tried applying more power, the conductive thread start sparkling at certain parts. One assumption we had is that there is too much resistance towards the tail of the back piece, making it hard for electricity to pass through. Another issue could have been that the sewing of the magnetic beads was wrong, so it is unable to move.

Final Outcome

Future Steps

We want to continue working on this project in order to make it a fully functional prototype. Moreover, the overall design of the exoskeleton made it difficult to test while assembling, so we need to rethink of a new way to allow the testing to be done while soldering the backpiece.

Final _ Chang Liu

Instructable link: https://www.instructables.com/id/Memory-Matryoshka/

https://www.youtube.com/watch?v=q8dxL_pPQu0

Concept

How can we think of each other by sharing different pieces of objects?

Memory Matryoshka is a set of 2 boxes that share the same idea with Russian nesting dolls of decreasing size placed one inside another. Each of them can be separated from an individual memory box, but the goal is to unite them together so that when the smaller one is set inside the bigger one, they will trigger changes.

Intended audience

This is a spiritual sustenance for people who are not living together or cannot see each other for a long time.

Materials list

1. white paper

2. cardboards (purple/ yellow)

3. LEDs

4. conductive tape

5. double-sided adhesive tape

6. 3V battery

7. soldering tools

Inspiration

I got the inspiration from the movie called “The Last Wizard of the Century”. In the movie, it shows a set of two eggs, which were the connection between Natsumi Kousaka’s grandmother and grandfather’s mementos. When the smaller egg put inside the bigger one, as the light turned on, eggs start to change. Because of the light mechanism, eggs start to project photos of their family. I think this is a really touch point of this movie and I also want to make something that can be like that.

Process

I tested out several kinds of boxes to choose the best shape of my “eggs”.

Color choice is also an important part of the model, if I choose a color like brown, then the egg would look just like a burger box.

Finally, I chose the box shaped like a pineapple since that is the best similar shape of an egg in a paper model.

Inside the smaller egg, I also cut out a little girl who is sitting inside and looking at the album.

Connect all the positive together and negative together by using conductive tape.

Cut a hole for the 3V battery.

Put the smaller egg into the bigger one, the light switch will be on.

Final- Neverdream

Instructable link: https://www.instructables.com/id/Neverdream/

Concept

Neverdream is an installation which reinterprets a traditional Chinese opera, The Peony Pavilion, using 3D electronic story object. The interaction allows exploration between dream and reality in the story. Neverdream attempts to make traditional Chinese opera relevant to contemporary audiences.

Story

Background: Song Dynasty

Characters: Du Liliang, the daughter of an important official

Liu Mengmei, a poor scholar

Du and Liu meet and fall in love with each other in their dreams. They reunite in the real world after experiencing separation, death, and revival.

Experience

The user plays the role of Liu in the story. The installation presents the scene, that Liu meets a girl under a plum tree in his dream.

Target Audiences:

Millennial audiences in the digital age

Precedents:

The story happened in the old times. I want to design an installation that can tell the story in an interactive, immersive way. the electronic objects may enrich the experience but maybe ruin the immersion. The precedents show that these two materials enable electronic objects to give responses in a natural, organic way.

  1. SMA project: blooming flower by Jie Qi

2. Animated Vines by Jie Qi

2. Fiat Voluptas Tua by Zoe Romano, Giorgia Petri, Laura Migliano

Process

1.Printing

2. Test and apply thermochromic pigment

3.Making petals with flexinol

4. Connecting petals in a series connection to make a flower

5. Building the circuit and assemblage

Aim + Tong – Final Proposal

For the final, Aim and I are creating a wearable that has its own self-defense mechanisms. We want to design this wearable in order to respond to the design question of: How do we reshape biologically after living a traumatic memory of sexual abuse?

Our wearable consists of 3 mechanisms, one situated on the spine, another on the neck and the last one on the palms. For the spine, we are thinking of creating moving spikes with 12 flip dots. For the neck, we will be using flexinol to make the shape change into sharper edges. The hands will consist of speakers that will produce sounds to scare the enemy away.


Final Project: Design Brief

Final times! Woohoo! Here are your final deliverables:

DUE TUESDAY, 12/12

1) WORKING PROTOTYPE
You MUST bring your prototype to show – even if it is not working. If you require a specific environment, please email me.

2) PRESENTATION
You will have 7 minutes to present. This includes time for feedback, so structure your presentation accordingly. Your should include the following in your presentation ( in whatever order you like):

  • Concept
  • Precedents
  • User testing + feedback
  • Process documentation
  • Video of project demo
  • Challenges you faced
  • Future iterations

3) VIDEO DOCUMENTATION
You should make a short video introducing your project. It should include the title of your piece, your concept, and a prototype demo.

DUE WEDNESDAY, 12/20 AT MIDNIGHT (I will not accept late submissions)

1) BLOG POST

  • Create a short post on the blog with The link to your Instructable.
  • Text of your project description from the Instructable
  • Any other documentation links.
  • A short reflection on your process. What were your wins, challenges? What did you learn?
  • Where would you take it next?

2) INSTRUCTABLE
Here are the components you should have:

  • Title. IMPORTANT: Make your title descriptive or catchy so it easy for people to find. If you have a more abstract title, include a subtitle. For example, Vague textiles VS Vague textiles: Using thermochromic ink to change fabric surfaces
  • Intended audience. Who is this for? Beginners? Textile coders of the 23rd century? Elementary afterschool STEAM club? Let people know what prior knowledge they need so they don’t have unreasonable expectations before jumping in.
  • Description of the project. Write a few sentences on why you made it, what it does, what you hoped to accomplish, challenges you might have faced, and where you would take it next.
  • Materials list. List the materials you used and link to where people can purchase. Here the materials list for the class. Email me if you cannot find a link to a material we used.
  • Video documentation. Include the video described above.
  • Steps to make it. Write all of the steps needed to recreate your project. Include images or diagrams to supplement.
  • Circuit diagram. Be sure to include a circuit diagram or drawing.


ASSESSMENT GUIDELINES

I will assess your project by the following criteria:

Ideation, Concept, and Design

  • Incorporates computational concepts discussed in class
  • Able to translate ideas/concepts into project form within a given environment
  • Thoughtful integration of design elements
  • Presents functioning prototype.
  • Presents working documentation if was unable to get working
  • Synthesizes design and technology to create interesting and contextually significant work that makes contributions to the domain

Process + Materials

  • Thoroughly documented according to class guidelines
  • Uses materials and processes learned in class
  • Synthesizes materials and processes to make relevant contributions to field
  • Iterated prototypes
  • Demonstrated effective problem-solving/ finding skills
  • Scoped approach to project and sculpted according to personal goals, strengths, and weaknesses

Presentation

  • Articulated concept and problem statement clearly
  • Prepared for presentation (slides ready and prototype set up)
  • Addresses all required elements for presentation
    • problem statement/question you are trying to answer
    • audience (who is this for? we are designers, which means we design for someone or something.)
    • concept statement
    • precedents/inspiration
    • process/prototypes
    • what you learned
    • where you would take the next iteration


OPTIONAL THEME: MEMORY
Questions and prompts from in-class activity:

  • How do we biologically alter memories to get rid of trauma?
  • How can we reflect on joyful moments from our memory?
  • Why are we fearful of losing our memory
  • What kind of memories do we cling on?
  • To what extent is memory uncomfortable?
  • How do memories help us progress through our lives?
  • Why do we need to remember things?
  • Why do fleeting moments bring nostalgic memories?
  • Why do memories make you feel lonely?
  • What is the point of remembering loved ones from the past?

Since we ran a little short on time, I am also including a few notes below that I hoped to incorporate into our discussion. They are meant to provoke ideas and questions:

Human memory
Most people would argue that it is our memories which comprise our sense of self, our values, habits, perspectives – our identity. There are three types of human memory: sensory, short term, and long term. Sensory handles information you receive in your immediate environment, such as the feeling paper or the smell of a burnt LED. Short-term memory allows you to hold some information for a short amount of time. Long-term memory goes deeper: it allows you to store vast amounts of information over long periods of time. These will influence who you perceive yourself and others to be. You may consciously build these memories or construct them without full self awareness. We have personal memories and collective memories, and they may not always align.

Digital Memory
Digital memory gives us the ability to store infinite amounts of information that we can retrieve at any moment. While digital memory may seem abstract and intangible, it cannot live without a physical component, the hardware of switches, ICs, capacitors, transistors, resistors, and so on. This hardware was not always small enough to fit into our hands. In the past, increased memory meant increased size. Now we are able to recall any piece of information anywhere. Some of this memory is volatile and lives on only when powered, while others are stored semi-permanently. Some memory allows users only to read or only to write or to both read and write new memories.

Material Memory
A material’s memory depends on its form and properties (tensile, mechanical, electrical, or otherwise). Softer materials like paper, textiles, and wood can be manipulated into new forms, storing new “memories” that redefine their functions (e.g. a piece of fabric sewn into a shirt, a piece of wood turned into a handle on the lathe, etc). Smart materials have the ability to change states by altering their properties and forms. SMAs return to a programmed shape when activated, thermochromic pigment disappears with heat, conductive fabric has electrical properties in addition to textile properties. The look and feel of a material impacts our sensory memory and contributes to the user’s overall experience with an object or environment.

Suggested Readings:

Becoming Materials: Material Forms and Forms of Practice by Jenny Bergström, Brendon Clark, Alberto Frigo, Ramia Mazé, Johan Redström, and Anna Vallgårda

Poetic Computation Reader by Taeyoon Choi
Ch 2: Memory: to remember and forget