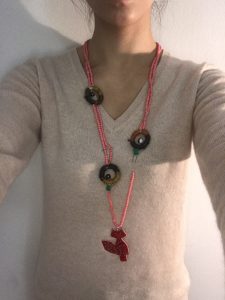
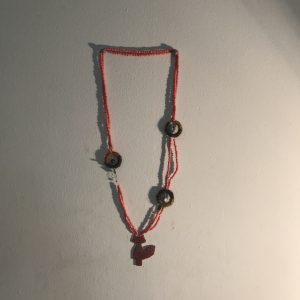
As the world around us swiftly changes to include data structure beside cityscape, so do we. Humans are made of flesh and bones, but are identified by our data. It consists of, but does not limit to, our location history on Google Maps, our friend list on Facebook and the different levels of how we interact with those friends, and our shopping habits and order history. Data isn’t visible or tangible, but it can surely have a physical impact on each of us. Therefore, I want to create something to remind people that our data is worth paying attention to and protecting for just like our physical bodies. In order to that, I want to represent data in a physical form that can attach to a human body to represent its weight and therefore remind about its importance. I name it Syndi, a wearable technology that acts as a bridge between the two identities or a portal from the physical to the digital worlds.
The dual aspect of the modern human being, as I mentioned, came from two realities: the reality that we live and breathe in, and the one that exists inside our smartphones. We are constantly pulled away from one reality to another, with just a touch to open a cellphone or by putting on a virtual reality headset. Many of us cannot take our eyes off our phones, or our laptops because of a fear of missing out important texts, or emails. We go online to connect. However we only go online to a gated community, and not yet a truly free and open one. With the net neutrality once again being at stake, going online is like disconnected from the real life in order to connect to a community that is disconnected from the rest of the world. Syndi’s second theme, disruption, will explore this dual meaning of disconnection as the user constantly switches from one reality to another.
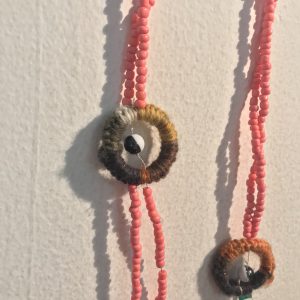
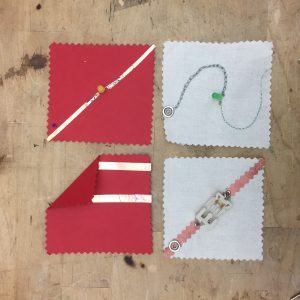
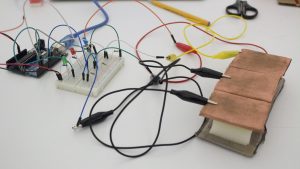
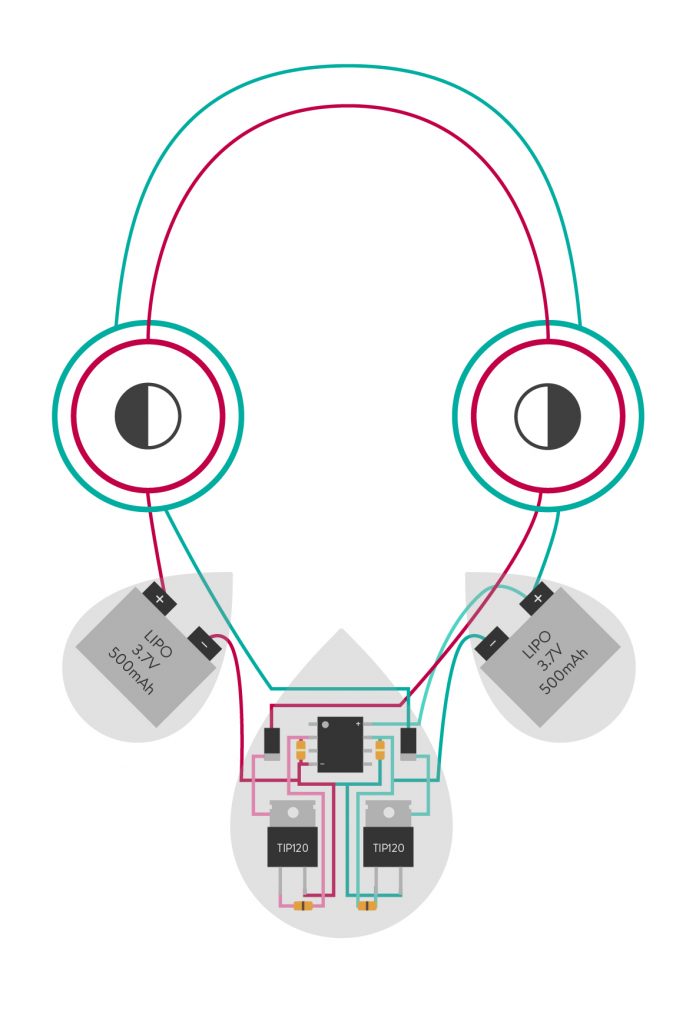
Syndi is a necklace that is made of two magnetic flip dots and a custom circuit board, powered by two Lipo batteries. Every time the user receives a notification, the flip dot will create a haptic movement that only the user can feel. Ideally, it will also include a Wifi module, allowing the micro controller to connect to the internet and gets the notification from social media channels.
I originally thought of making a necklace that lights up with each received notification. Nonetheless, as I thought more about it, I want Syndi to be an introspective project that makes the user think. With LED, it’s more about what other people can see while the wearer don’t necessarily feel the impact unless he or she is in a dark room. With flip dots, user can feel the haptic movement and can be reminded of the constant calls for attention from the digital world. The necklace’s tangibility, on the other hand, reminds the wearer of this physical reality. This product is made for tech-conscious minds like me, or people who want to be reminded of the impact of technology. Syndi is not meant to scare anyone. It doesn’t warn its user of any dystopian future, or stop them from going online. It only acts as a guardian between the two worlds. With Syndi, I hope that its user can think of the data that they emit and the limitation of each reality that they inhabit. After a period of using Syndi, I want the user to consider how and whether it is possible to consciously choose to stay in one reality despite the constant notifications and disruptions from others.
Throughout this project, I learned how to work with flip dots although I’m sure there’re still a lot to learn about this medium. I wish to connect Syndi to the internet using a wifi module and find a better power solution to reduce the size of the statement so that the necklace can have more flip dots.
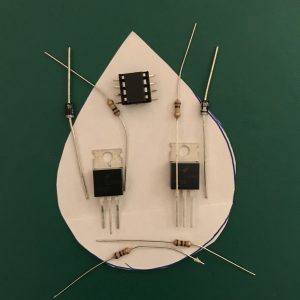
Material list:
- Magnetic beads (2)
- Magnet wire
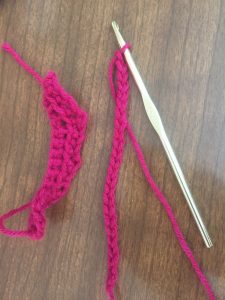
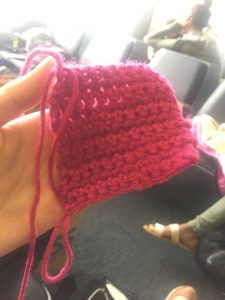
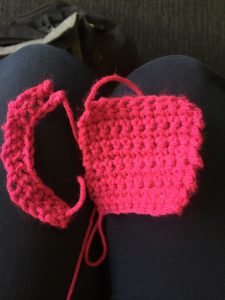
- Yarn & Crochet needle
- Large-hole beads
- Conductive thread
- Non-conductive thread
- ATtiny85
- Transistors (2)
- IN4001 Diode (2)
- 100K Ohm Resistors (2)
- 100 Ohm Resistors (2)
- 3.7V 500mAh Lipo batteries (2)
- JST sockets (2)
- Laser-cutable wood
- 120gsm papers: 2 colors green & blue
Tools:
- Soldering iron
- Soldering wire
- Laptop
- ATtiny programmer board (optional)
- Wire cutter
- Glue gun
Step-by-step:
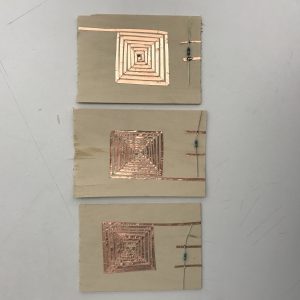
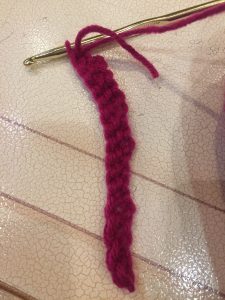
- Step 1: Make the two flip dots by creating 2 coils (each consists of at least 50 rounds) out of magnetic wire. Use extra wire to secure the two coils together. Use a non-conductive thread to tie a magnetic wire in between the two coils.
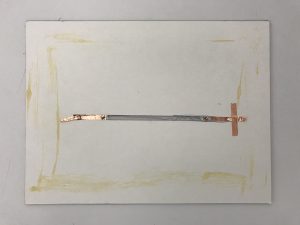
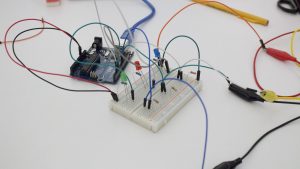
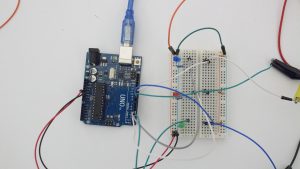
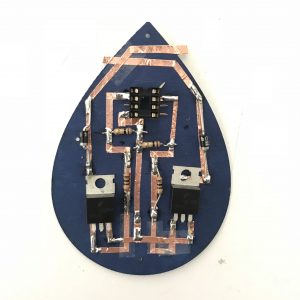
- Step 2: From this point on, refer to the schematic below. Connect the two flip dots according to the schematic. Tip: connect the bottom coils to each other, and the top coils to each other.
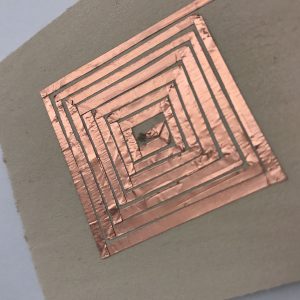
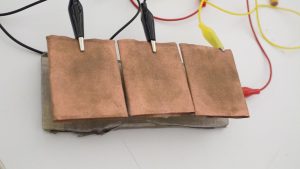
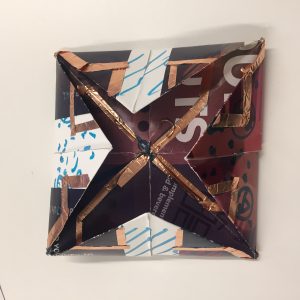
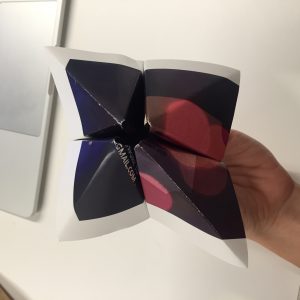
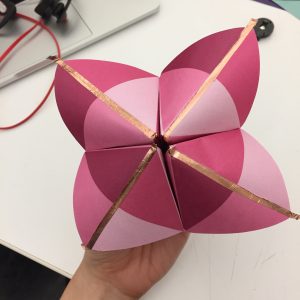
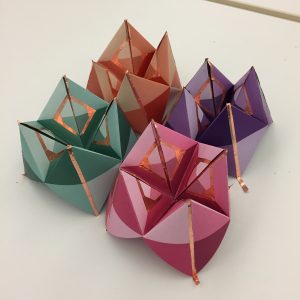
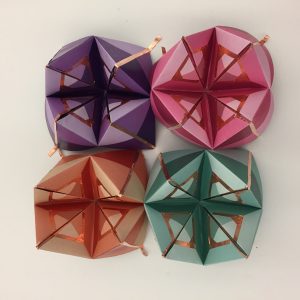
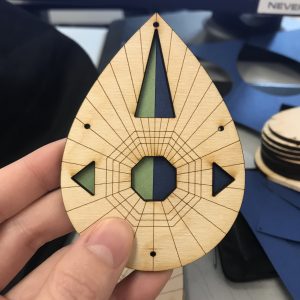
- Step 3: Laser cut the statement piece and the paper. Here I chose the tear drop shape to compliment the round shape of the flip dot. But the statement can take any form.
- Step 4: Use the programming board to upload the below code to the ATtiny:
void setup() {
// initialize digital pin LED_BUILTIN as an output.
pinMode(2, OUTPUT);
}// the loop function runs over and over again forever
void loop() {
digitalWrite(2, HIGH); // turn the LED on (HIGH is the voltage level)
delay(2000); // wait for a second
digitalWrite(2, LOW); // turn the LED off by making the voltage LOW // wait for a second
digitalWrite(3, HIGH); // turn the LED on (HIGH is the voltage level)
delay(2000); // wait for a second
digitalWrite(3, LOW); // turn the LED off by making the voltage LOW // wait for a second
}
- Step 5: Solder in the ATtiny, Transistors, diode, resistors and JST socket and connect the statement to the rest of the necklace
- Step 6: Plug in the battery and watch the flip dots flip!