Author Archives: cheoj043

Final: Friends by Jaeky Cheong

Instructable link :

https://www.instructables.com/id/Friends-a-Circuit-Study-for-Kids/

  • Concept/ idea sketch: Hug doll for children. Children can play with the doll and can understand how a basic circuit works.


  • Inspiration: I inspired by Lego block and Hug doll. I like Lego blocks because users can build anything from tiny blocks but blocks have to be put together to build something. Children can learn a message of working together. Although I like Lego blocks, I don’t like the texture because it’s too hard and sometimes cold so I use fabrics and yarns to show soft and warm feeling.

  • Precedents:  Snap Circuits Alternative Energy Green / This precedent is an electronic kit for kids.  Kids can learn about “Green Energy” options and they can build over 125 projects by using different parts in the kit. It contains over 40 parts. also, a paper instruction is included in the kit so kids can learn the theory with the projects.  I think this precedent is really useful for children who like to learn basic electronic circuits but I don’t like texture and design because it’s only focused on training circuits.
  • User testing + feedback: I did the user testing on 3 people. All of them really likes the design and textures.
  • user A: Love the texture and design of the dolls but the connectors can be more developed in hand shape so it feels like friends are holding hands.
  • user B: She likes that it doesn’t look like and feel like a circuit. Even small girls will be very interested in the play.
  • user C: She likes that children can easily make a story with this dolls. While they play with this dolls they can naturally know how a basic circuit works but she mentioned that I could change the battery to 9V so the users can connect everything together.


  • Video of project demo

3V Battery + 1 LED + 1 Pressure sensor doll circuit demo

9V Battery + 2 LED + 1 Pressure sensor doll circuit demo


  • Challenges you faced: It was really hard to make all different parts into dolls because I avoid mechanical feelings. It was really time-consuming project to build most parts by just hand sewing and crochet.
  • Future iterations: I like to develop more parts such as a temperature sensor doll, a sound making doll or a servo doll. Also, I want to develop the connector design to look like hands.

WEEK 10: by Jaeky Cheong


In the class, I tested as many thermochromic inks as I can. for the homework, I decided to do embroidery. I embroidered a heart with the letter love by using conductive thread. Everything was connected and I used 9V battery. for the result, It was really hard to see the details on the thermochromic painted fabric. maybe it was because i made the pattern so small.

WEEK5: by Jaeky Cheong

I finished the ATtiny Sensor based on the drawing. It was really tricky to solder everything because the circuit was so small.

for learning new crafting skill, I learned to crochet. I already knew how to knit but crochet was a very different skill. Not like knitting, the really good thing about the crochet skill is easy to make round shape. I had a hard time making a flat cup coaster. I had to count every line and remember the right number to make a perfect pattern. After practicing, I used to the skill and play around with making different patterns. It’s harder than knitting but much useful for making a pattern such as lace, cover, and blanket.

WEEK3 by Jaeky Cheong

for making three swatches, I made three pressure sensors by knitting. I knitted cover first. I put a sponge inside the swatch and wrapped the bare wire around the sponge. Next, I covered the sponge with the Pressure-Sensitive Conductive Sheet and attached the copper tape at the end of the bare wire. inside the cover that I knitted, I attach the copper tape. for the last step, I put everything and sew the cover to close the swatch. At outside, I left the small copper tape part that I connected at the end of the bare wire and inside the cover so I can connect each part to the power source.

WEEK 1 by Jaeky Cheong

NO)WHERE (NOW)HERE by ying gao is the most interesting project for me.

The project was inspired by the essay entitled “Esthétique de la disparition” (The aesthetic of disappearance), by Paul Virilio (1979). ” This garment is not just glowing. It changes its form continuously and glowing at the same time.  the layer of the texture is

also very interesting and beautiful. I love this project because it’s not just beautiful. It’s also functional at the same time. this moving garment feels like someone is wearing live creature. It works both in the dark environment and the daylight.

LAMP for Cats_Midterm by Jaeky Cheong

Instructables link : https://www.instructables.com/id/CATOYLAMP/

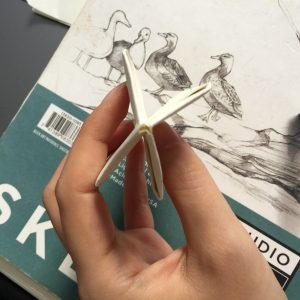
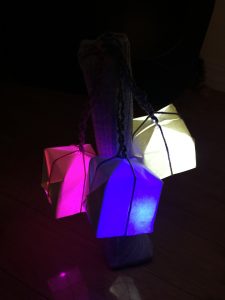
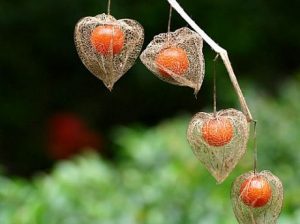
I was inspired by cat toys and the shape of ground cherries. I created this lamp project for my cat. When I couldn’t spend time with my cat and left her alone at home for long time. it makes me feel bad. especially, when I went out in the morning and came back to home at the night time. My cat left alone in the dark space. I couldn’t turn on the light and left home. That’s why I decide to make this lamp with a photocell sensor which senses the brightness. In my lamp, There is three lamps and lamp will be turn on by the brightness of its environment. for example. When It’s completely dark all 3 lights will be turn on. If it’s little bright then 2 lights will be light on. when it’s bright but little dark then 1 light will be turn on. when it’s really bright then no light will be turn on.

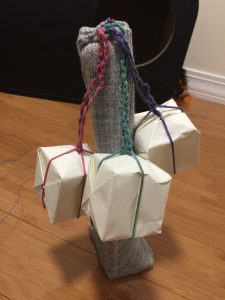
for materials,I try to use materials that cats like. I choose to make lamp shades with origami paper because cats like the sound of paper boxes. for the pole, I cover it with knitted fabric and braid wires with three different colors of normal yarns to give a soft feeling.
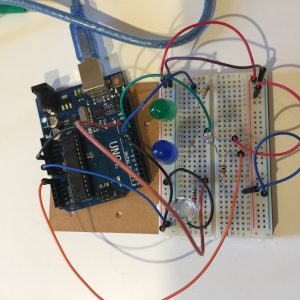
Prototype test

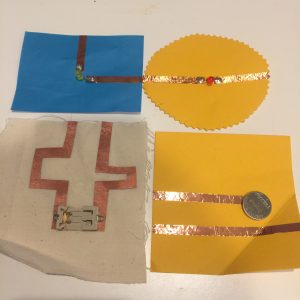
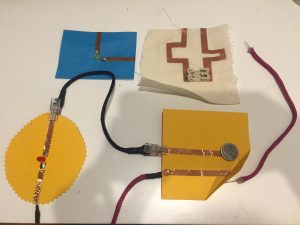
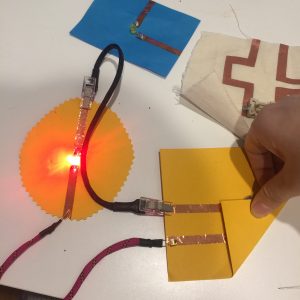
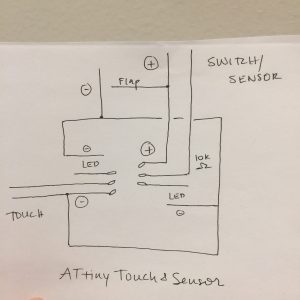
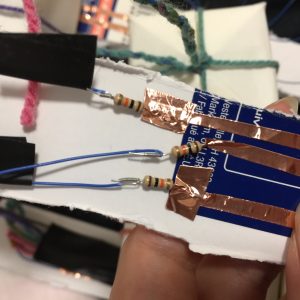
first I try to do prototype test with an Arduino and a bread board with 3 LED lights and a photocell sensor. I use 10k resistor for a photocell sensor and 220 resistor for each LED light.
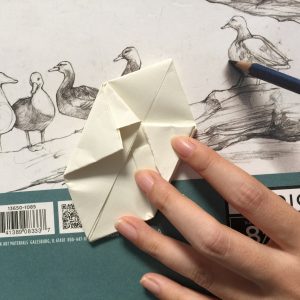
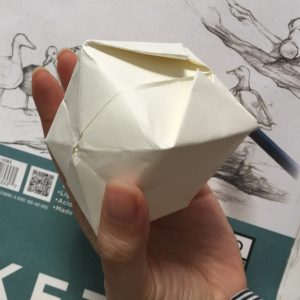
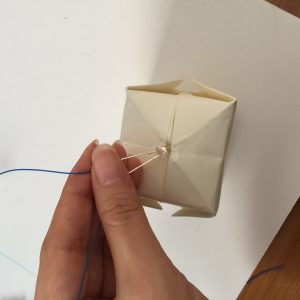
Origami Part
I made a paper box. I used a middim thick white paper so the lights can go trough the paper and the color of the LEDs can be shown from outside.
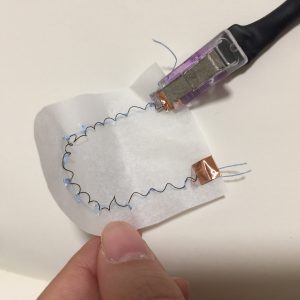
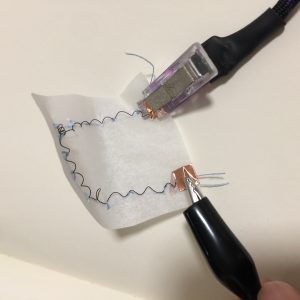
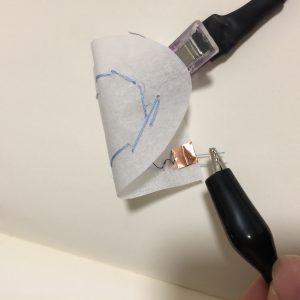
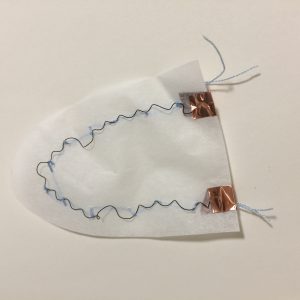
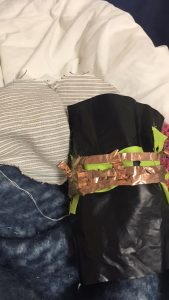
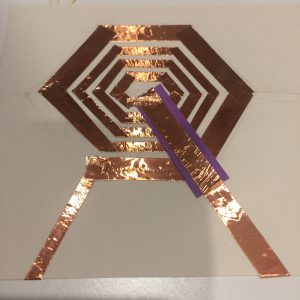
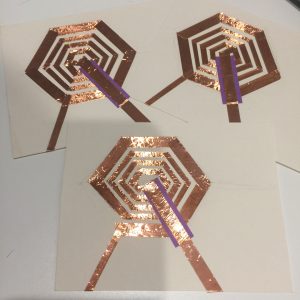
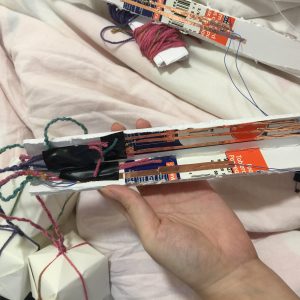
Structure inside
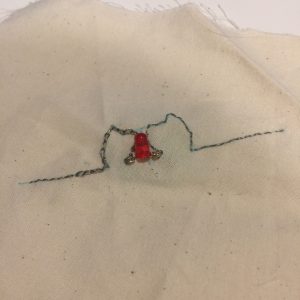
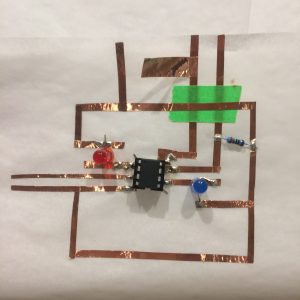
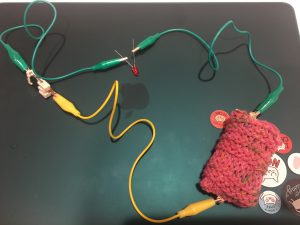
I made a inside circuit with a copper tape and for the outside, I braid wires with yarn to hide wires.
Final Results
 

 video link: https://youtu.be/1fqqH3f17iI

Assignment 4 by Jaeky Cheong + Yiying Xiao

circuit test video link :  https://youtu.be/7xN7Cr3xJxI

circuit explain for 5 year old :  https://vimeo.com/235579493

I use pressure sensor and set up 3 LED light in the circuit.

mesure range is 0~800.

if pressure is between 0~300 green LED is turn on

if pressure is between 300~500 red LED is turn on

if pressure is between 500~800 blue LED is turn on

-Jaeky Cheong