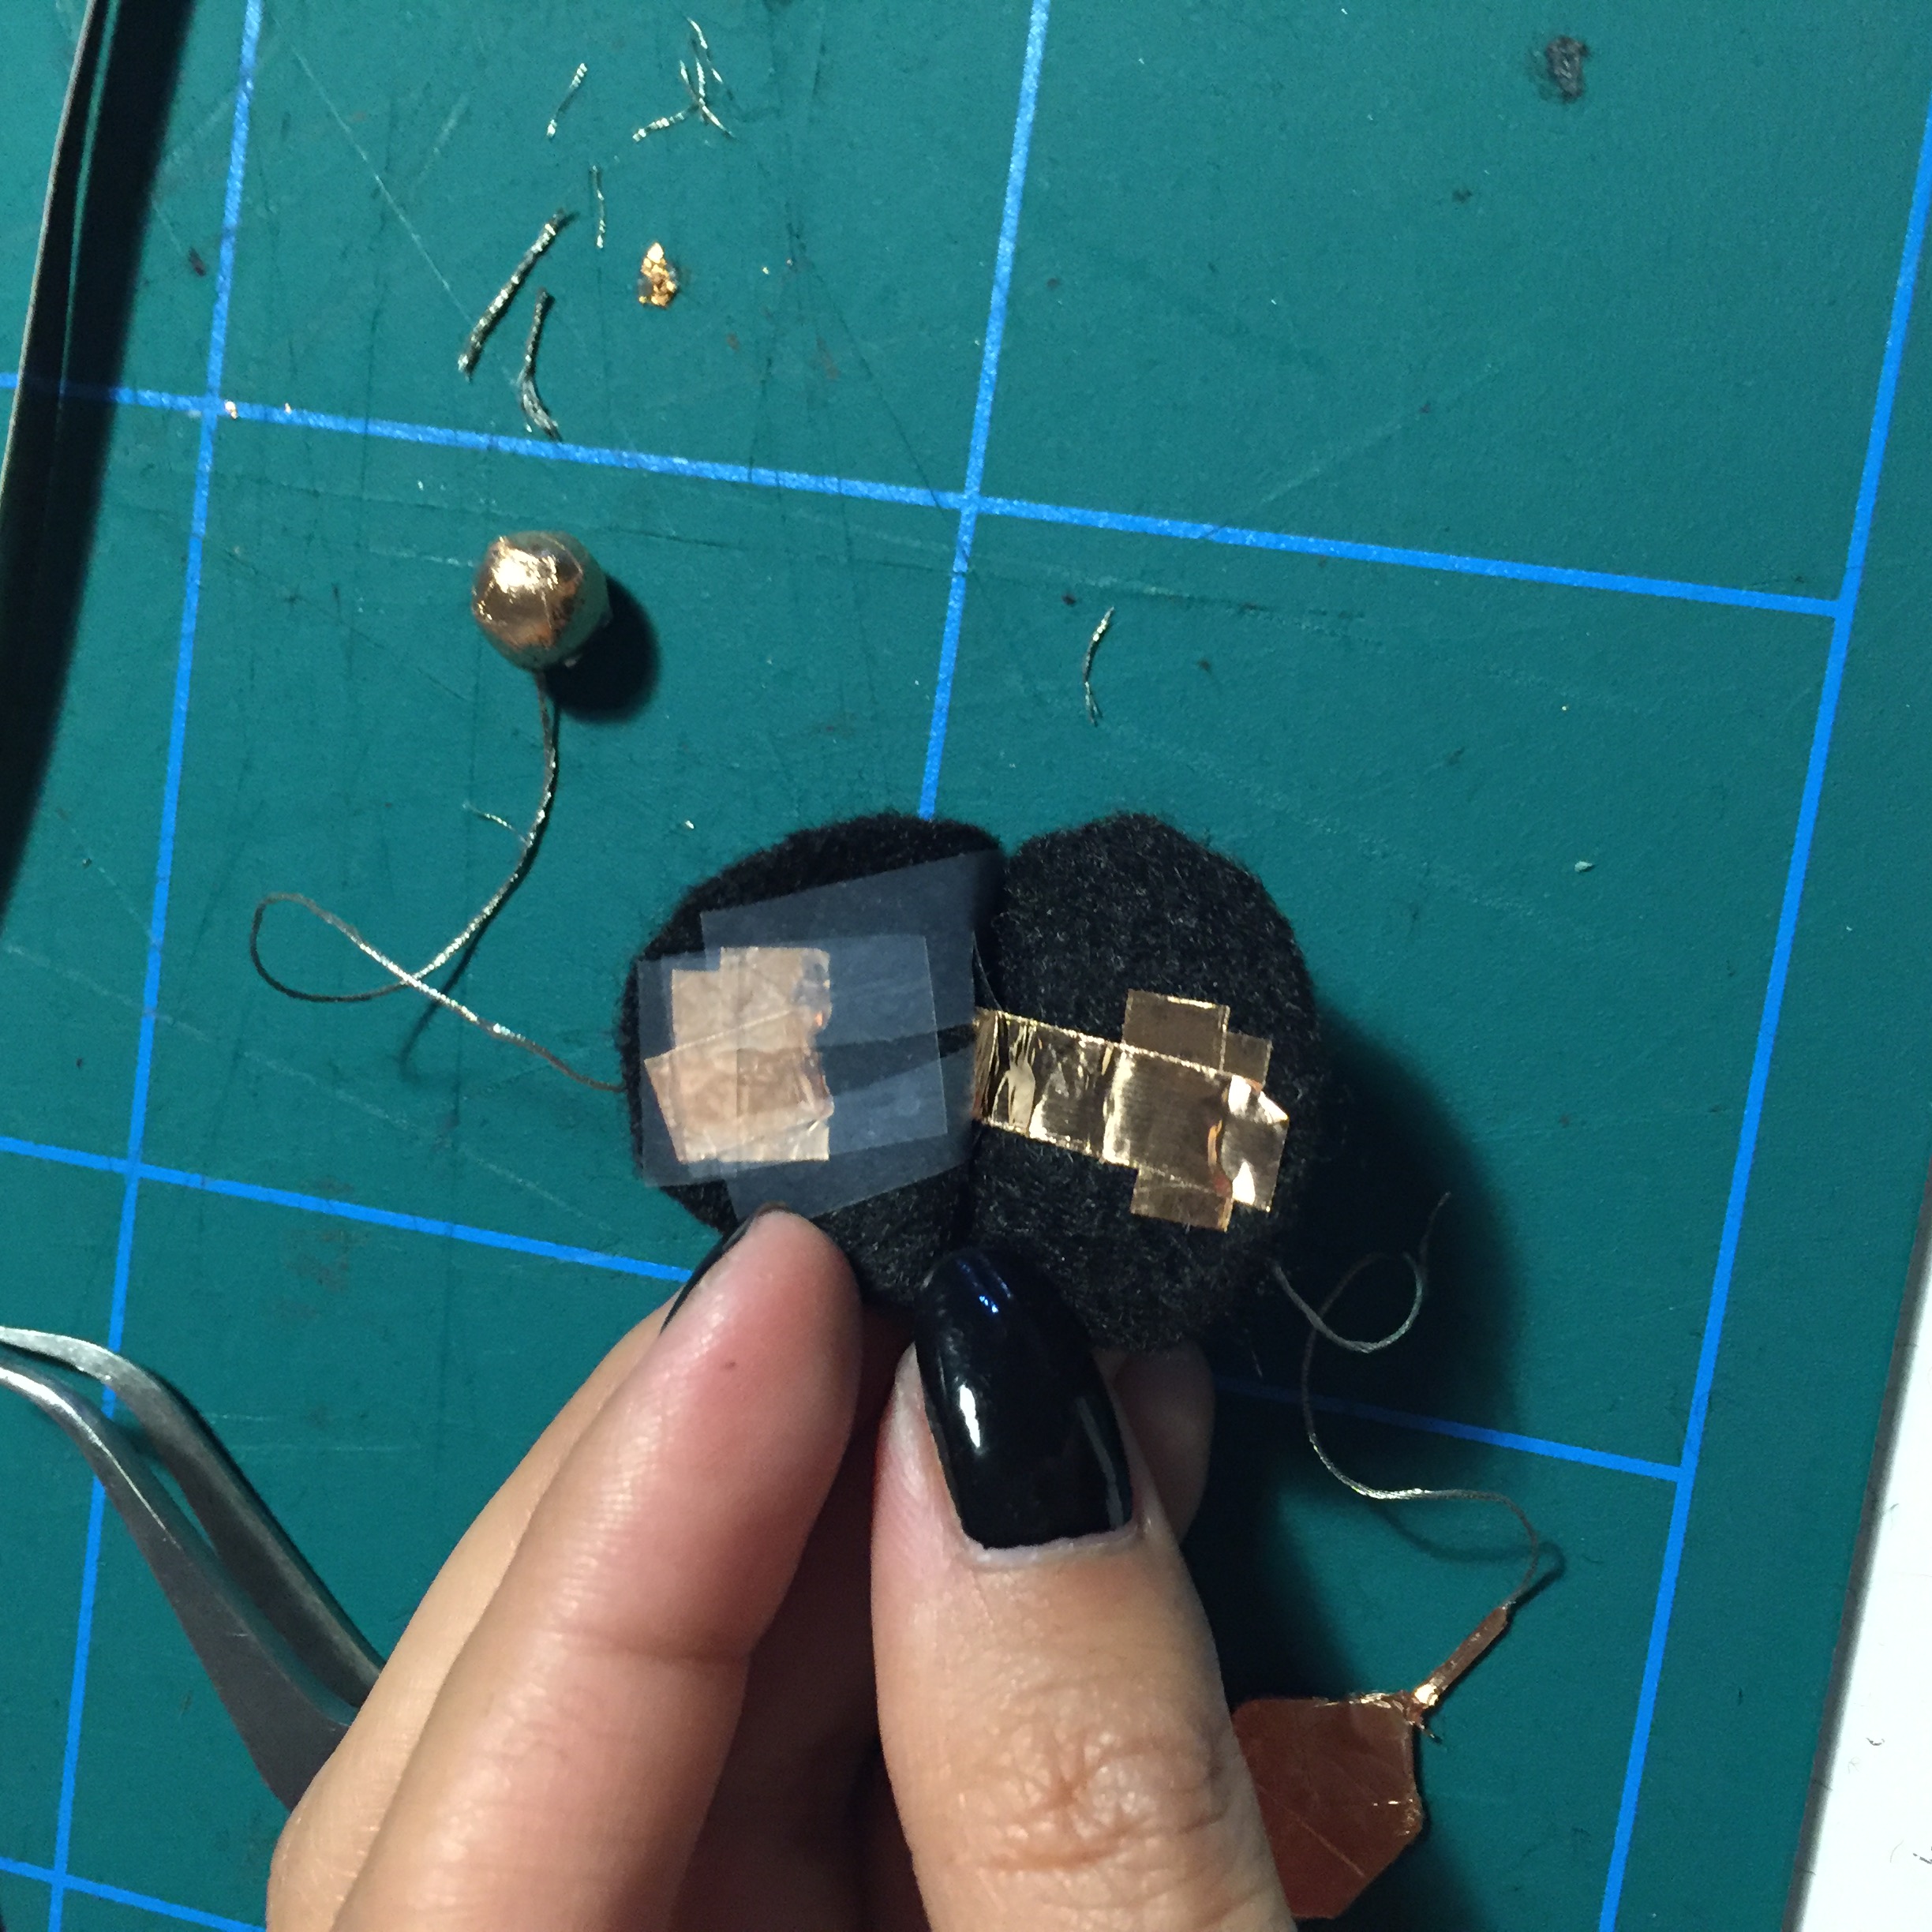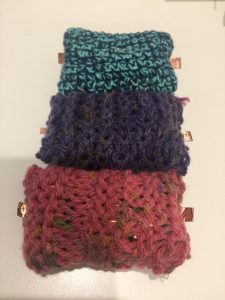
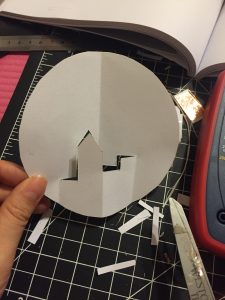
for making three swatches, I made three pressure sensors by knitting. I knitted cover first. I put a sponge inside the swatch and wrapped the bare wire around the sponge. Next, I covered the sponge with the Pressure-Sensitive Conductive Sheet and attached the copper tape at the end of the bare wire. inside the cover that I knitted, I attach the copper tape. for the last step, I put everything and sew the cover to close the swatch. At outside, I left the small copper tape part that I connected at the end of the bare wire and inside the cover so I can connect each part to the power source.
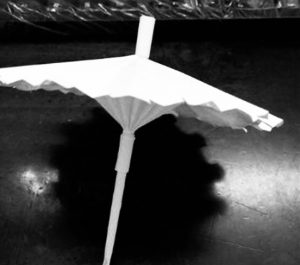
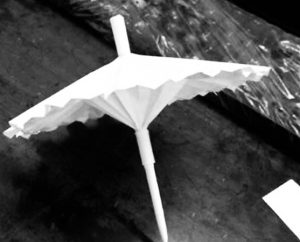
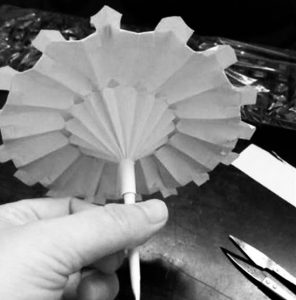

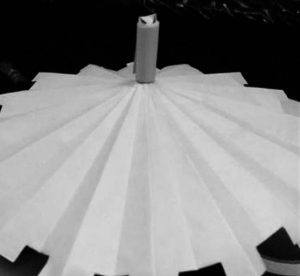

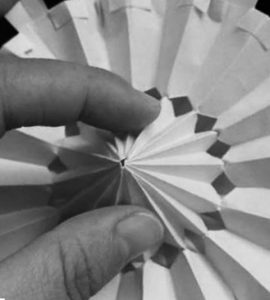
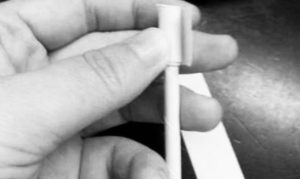
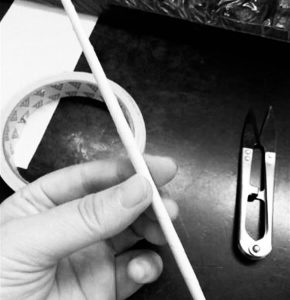
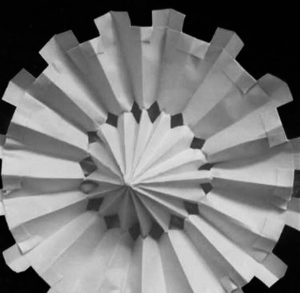
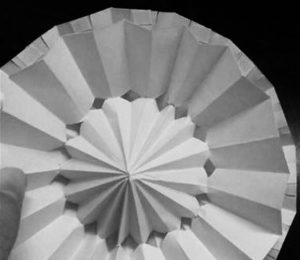
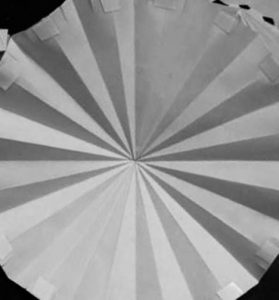
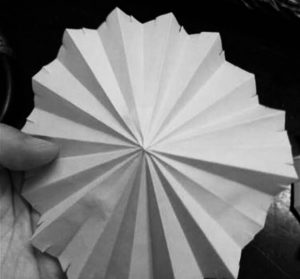
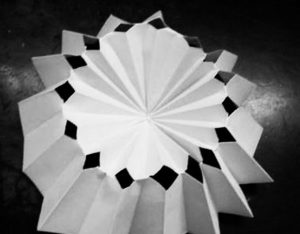
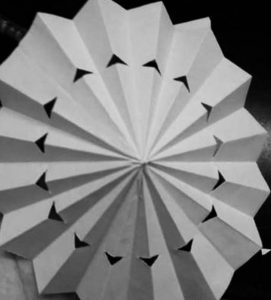


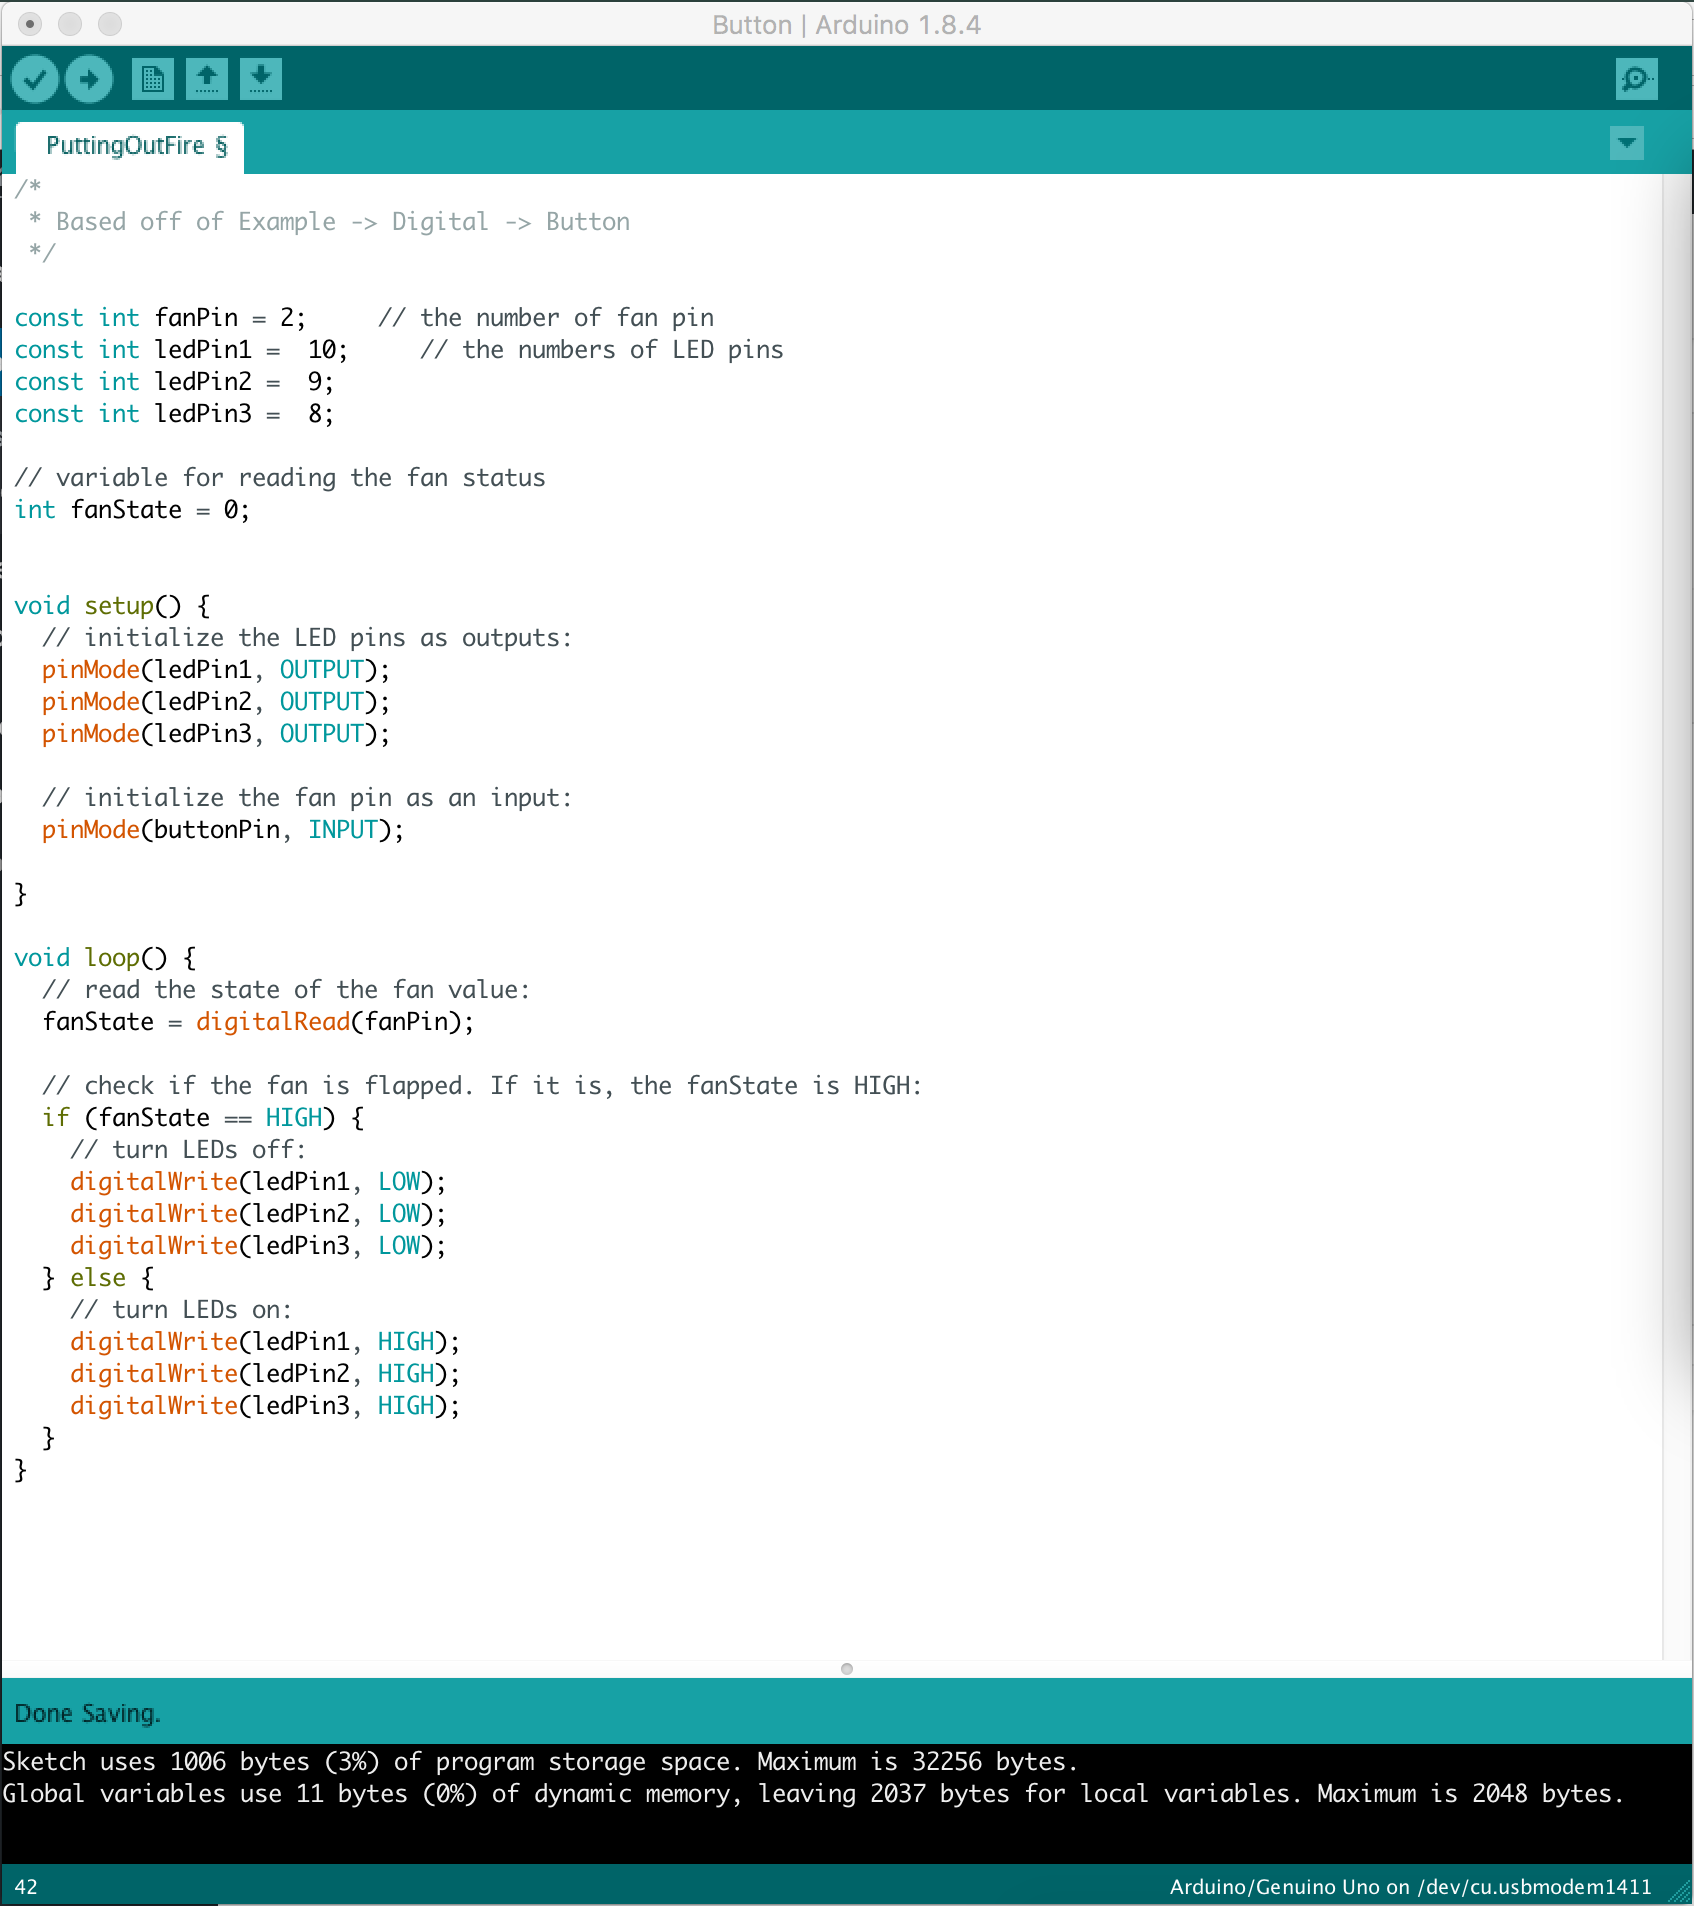
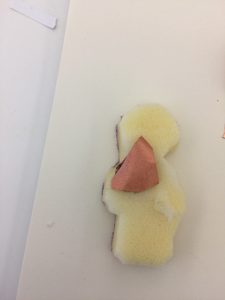
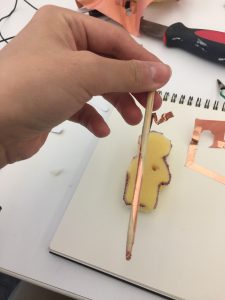
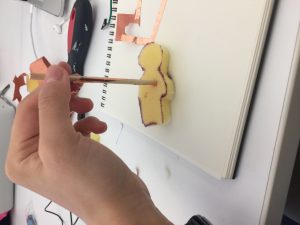
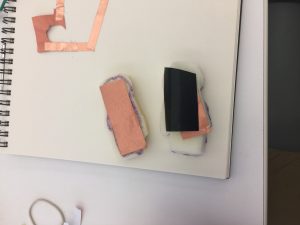
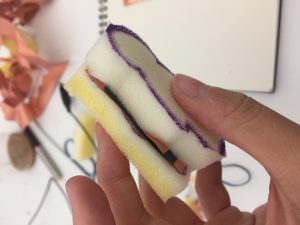
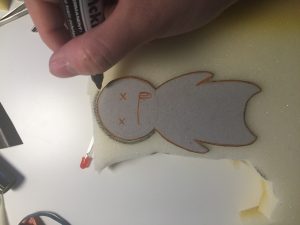
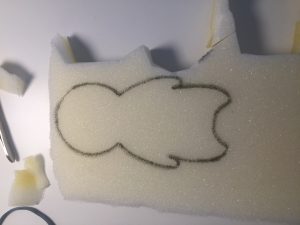
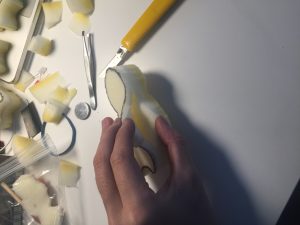
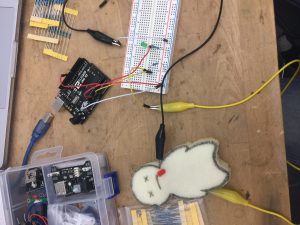
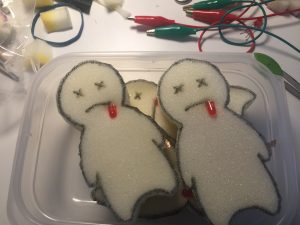
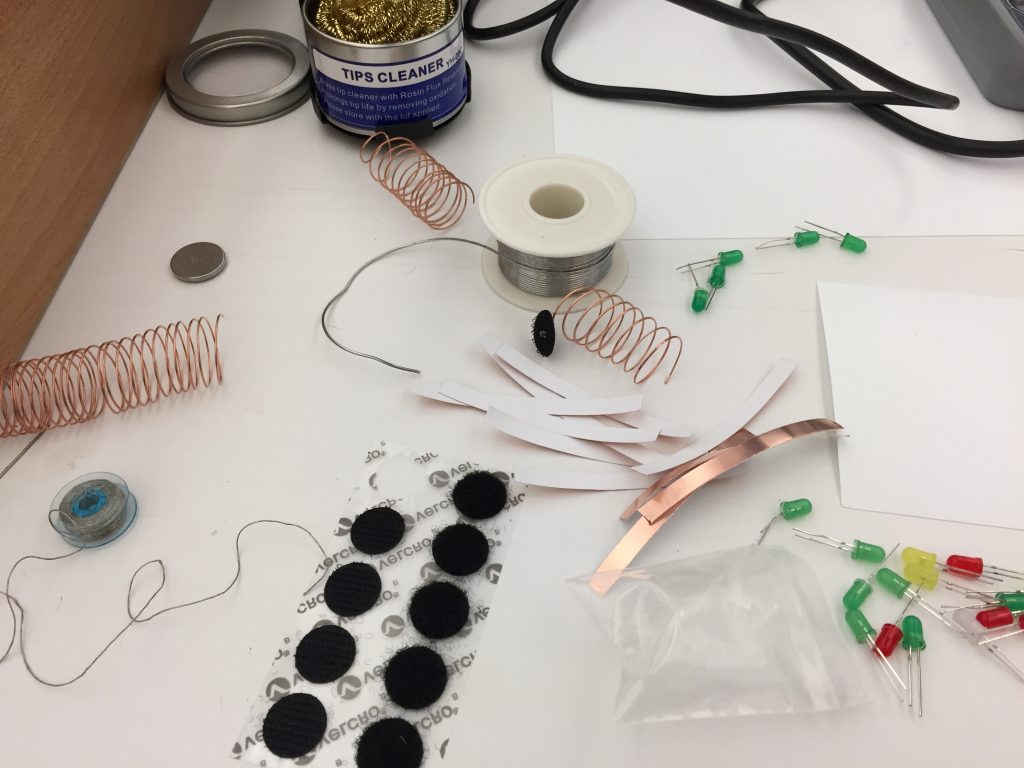
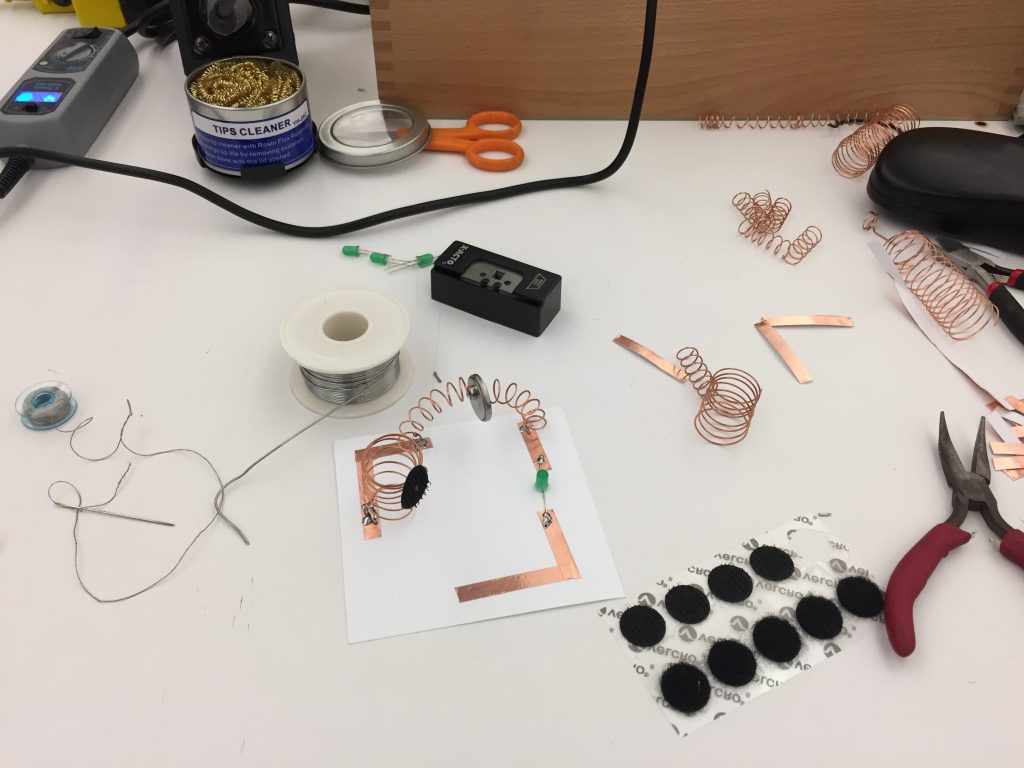
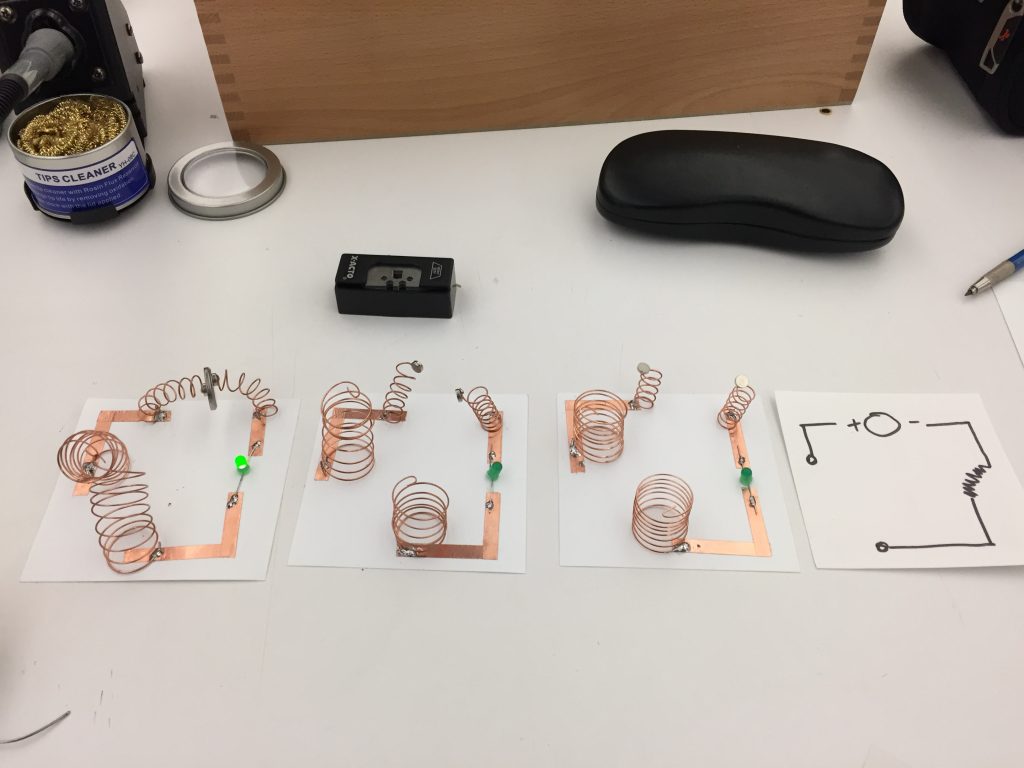
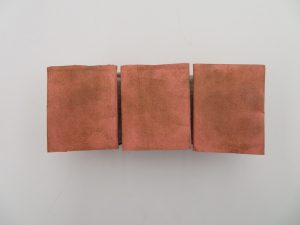
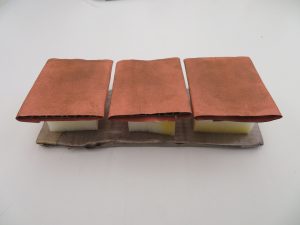
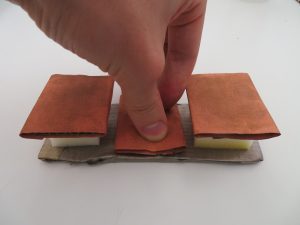
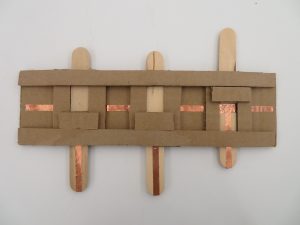
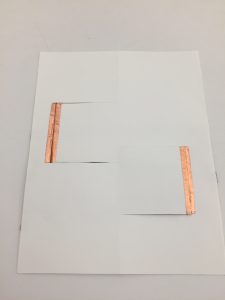
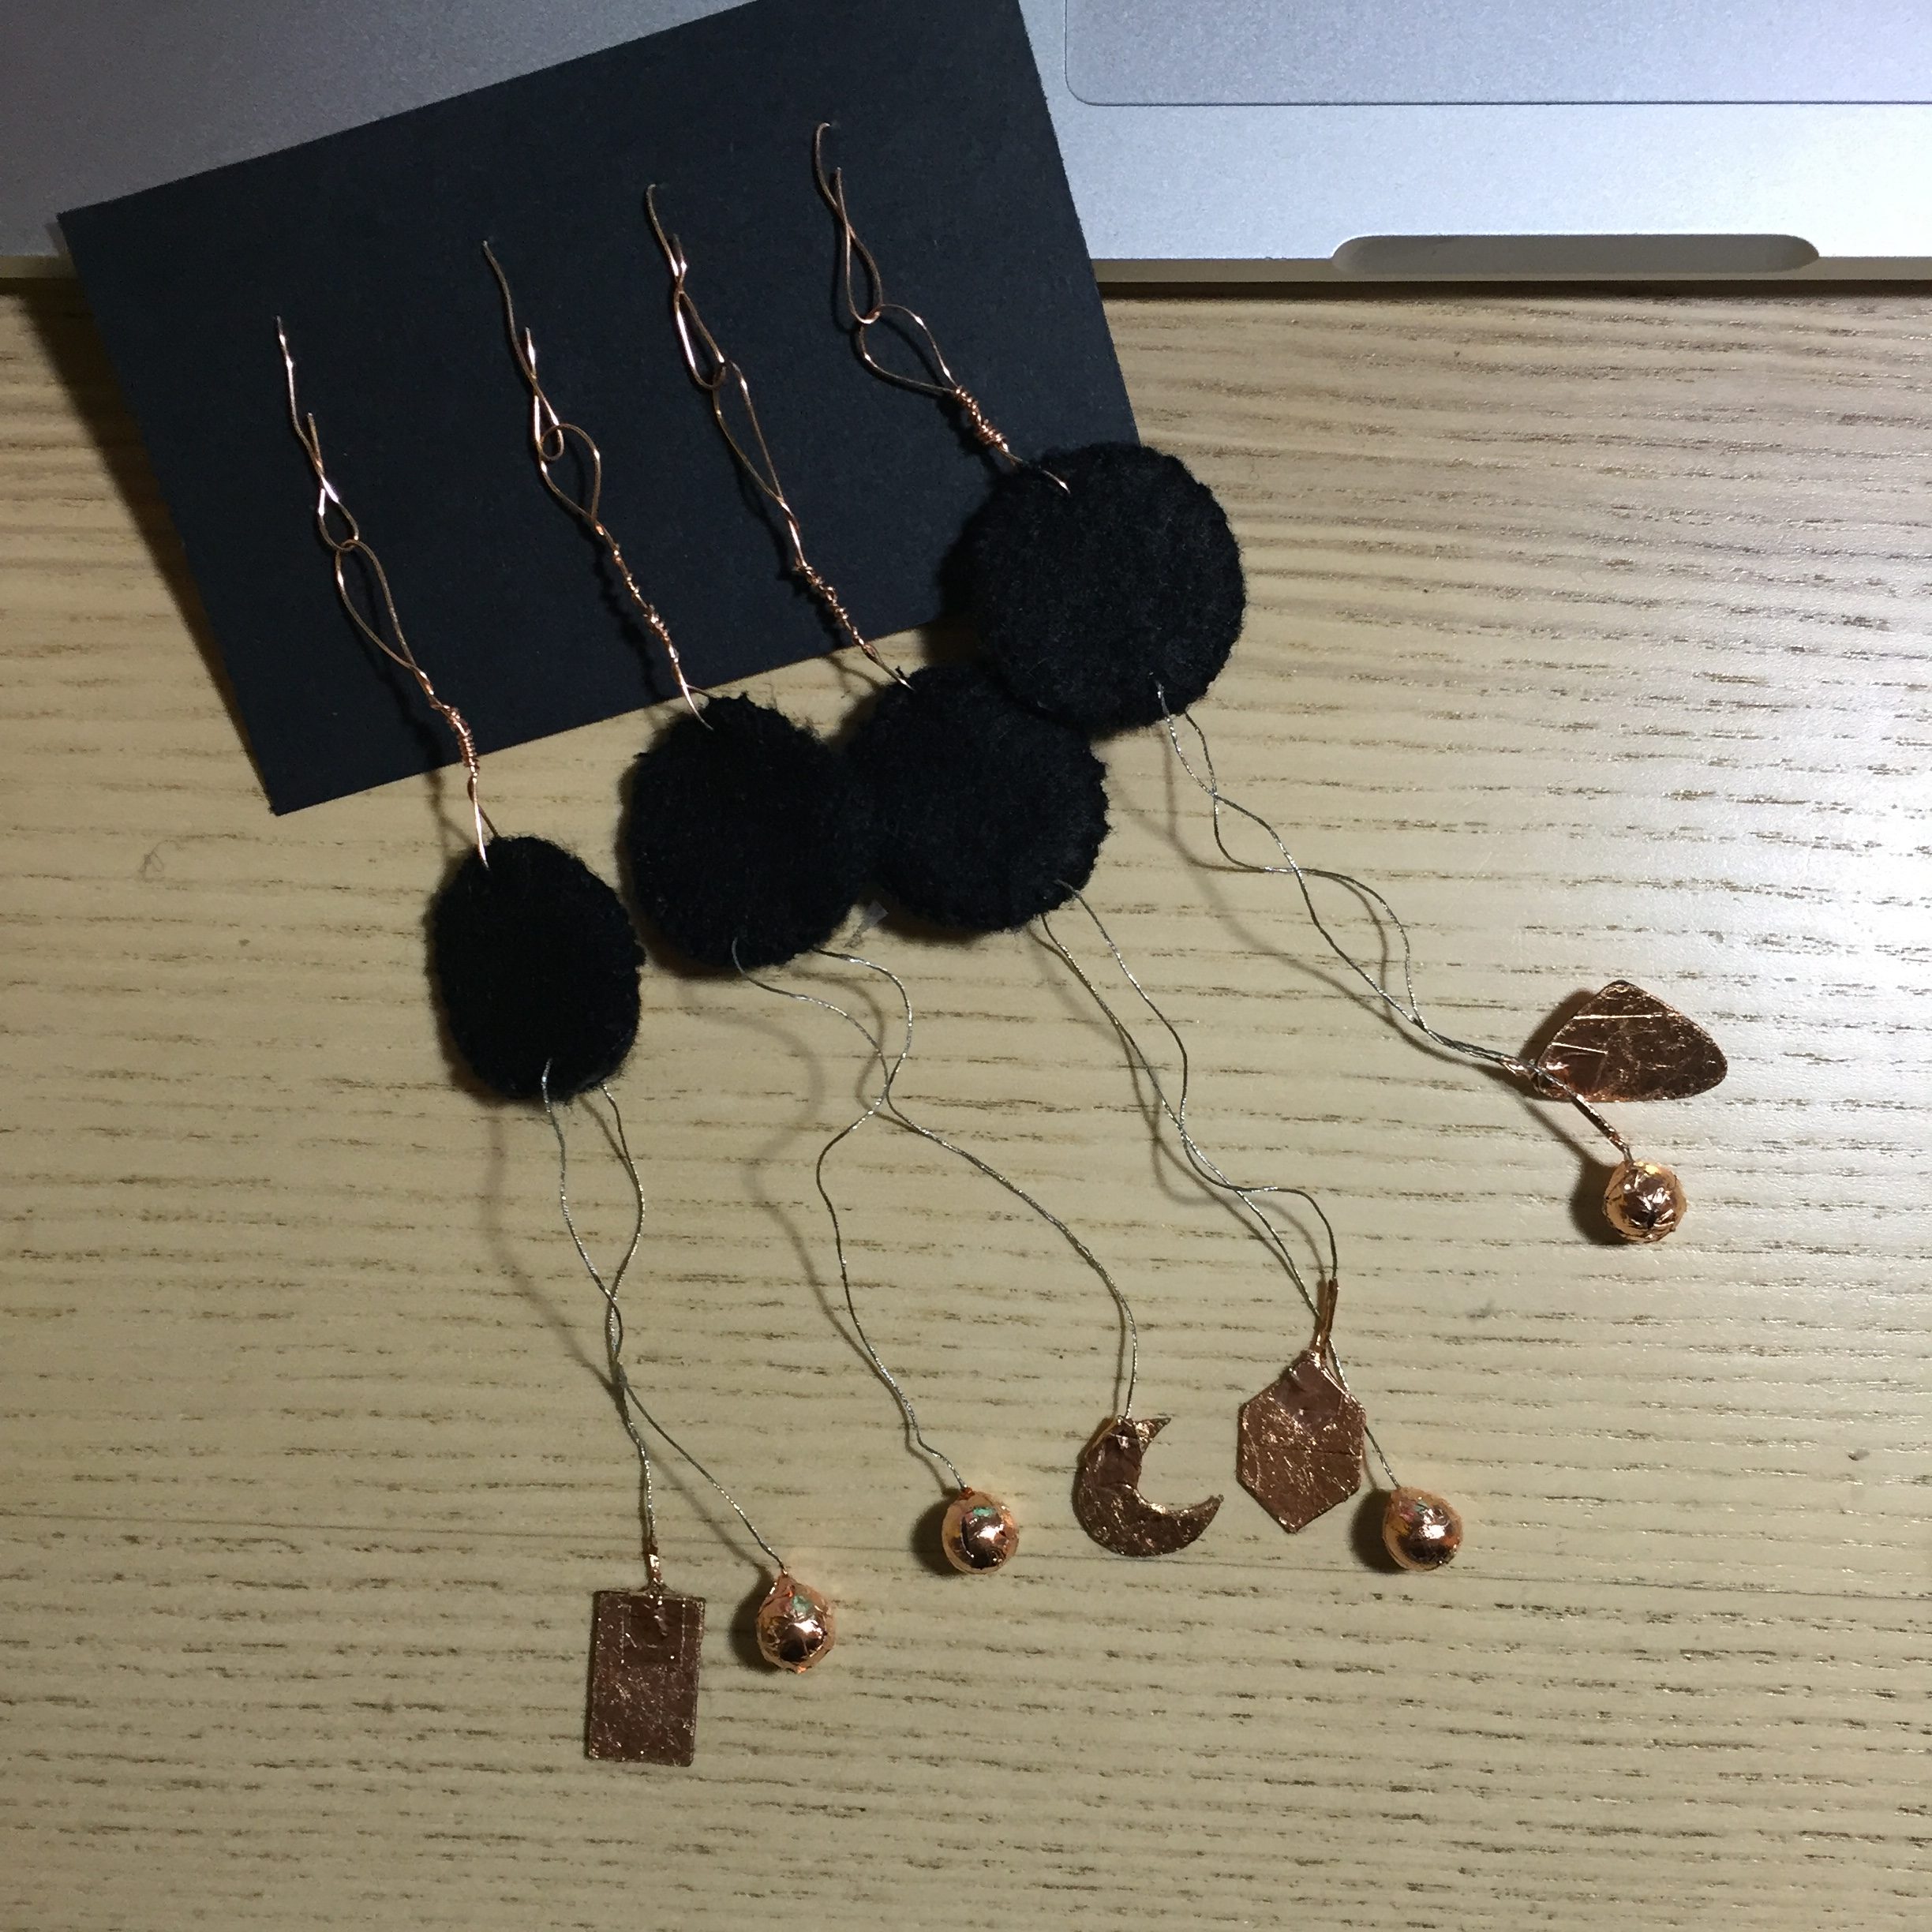
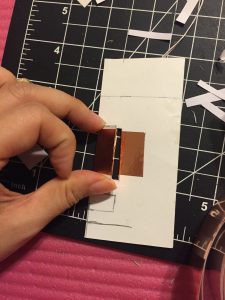 Fig.1
Fig.1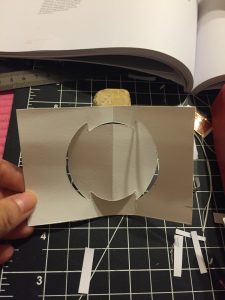
 F
F
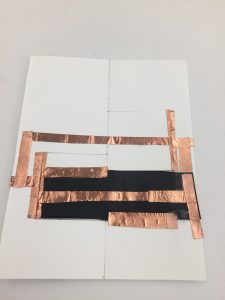
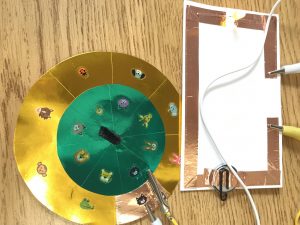
 Fig.5,6
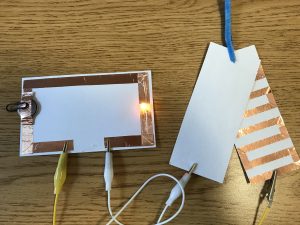
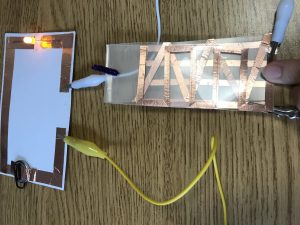
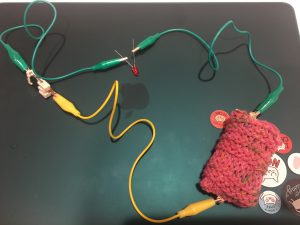
 Fig.7,8
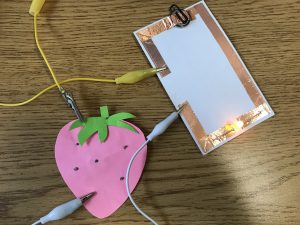
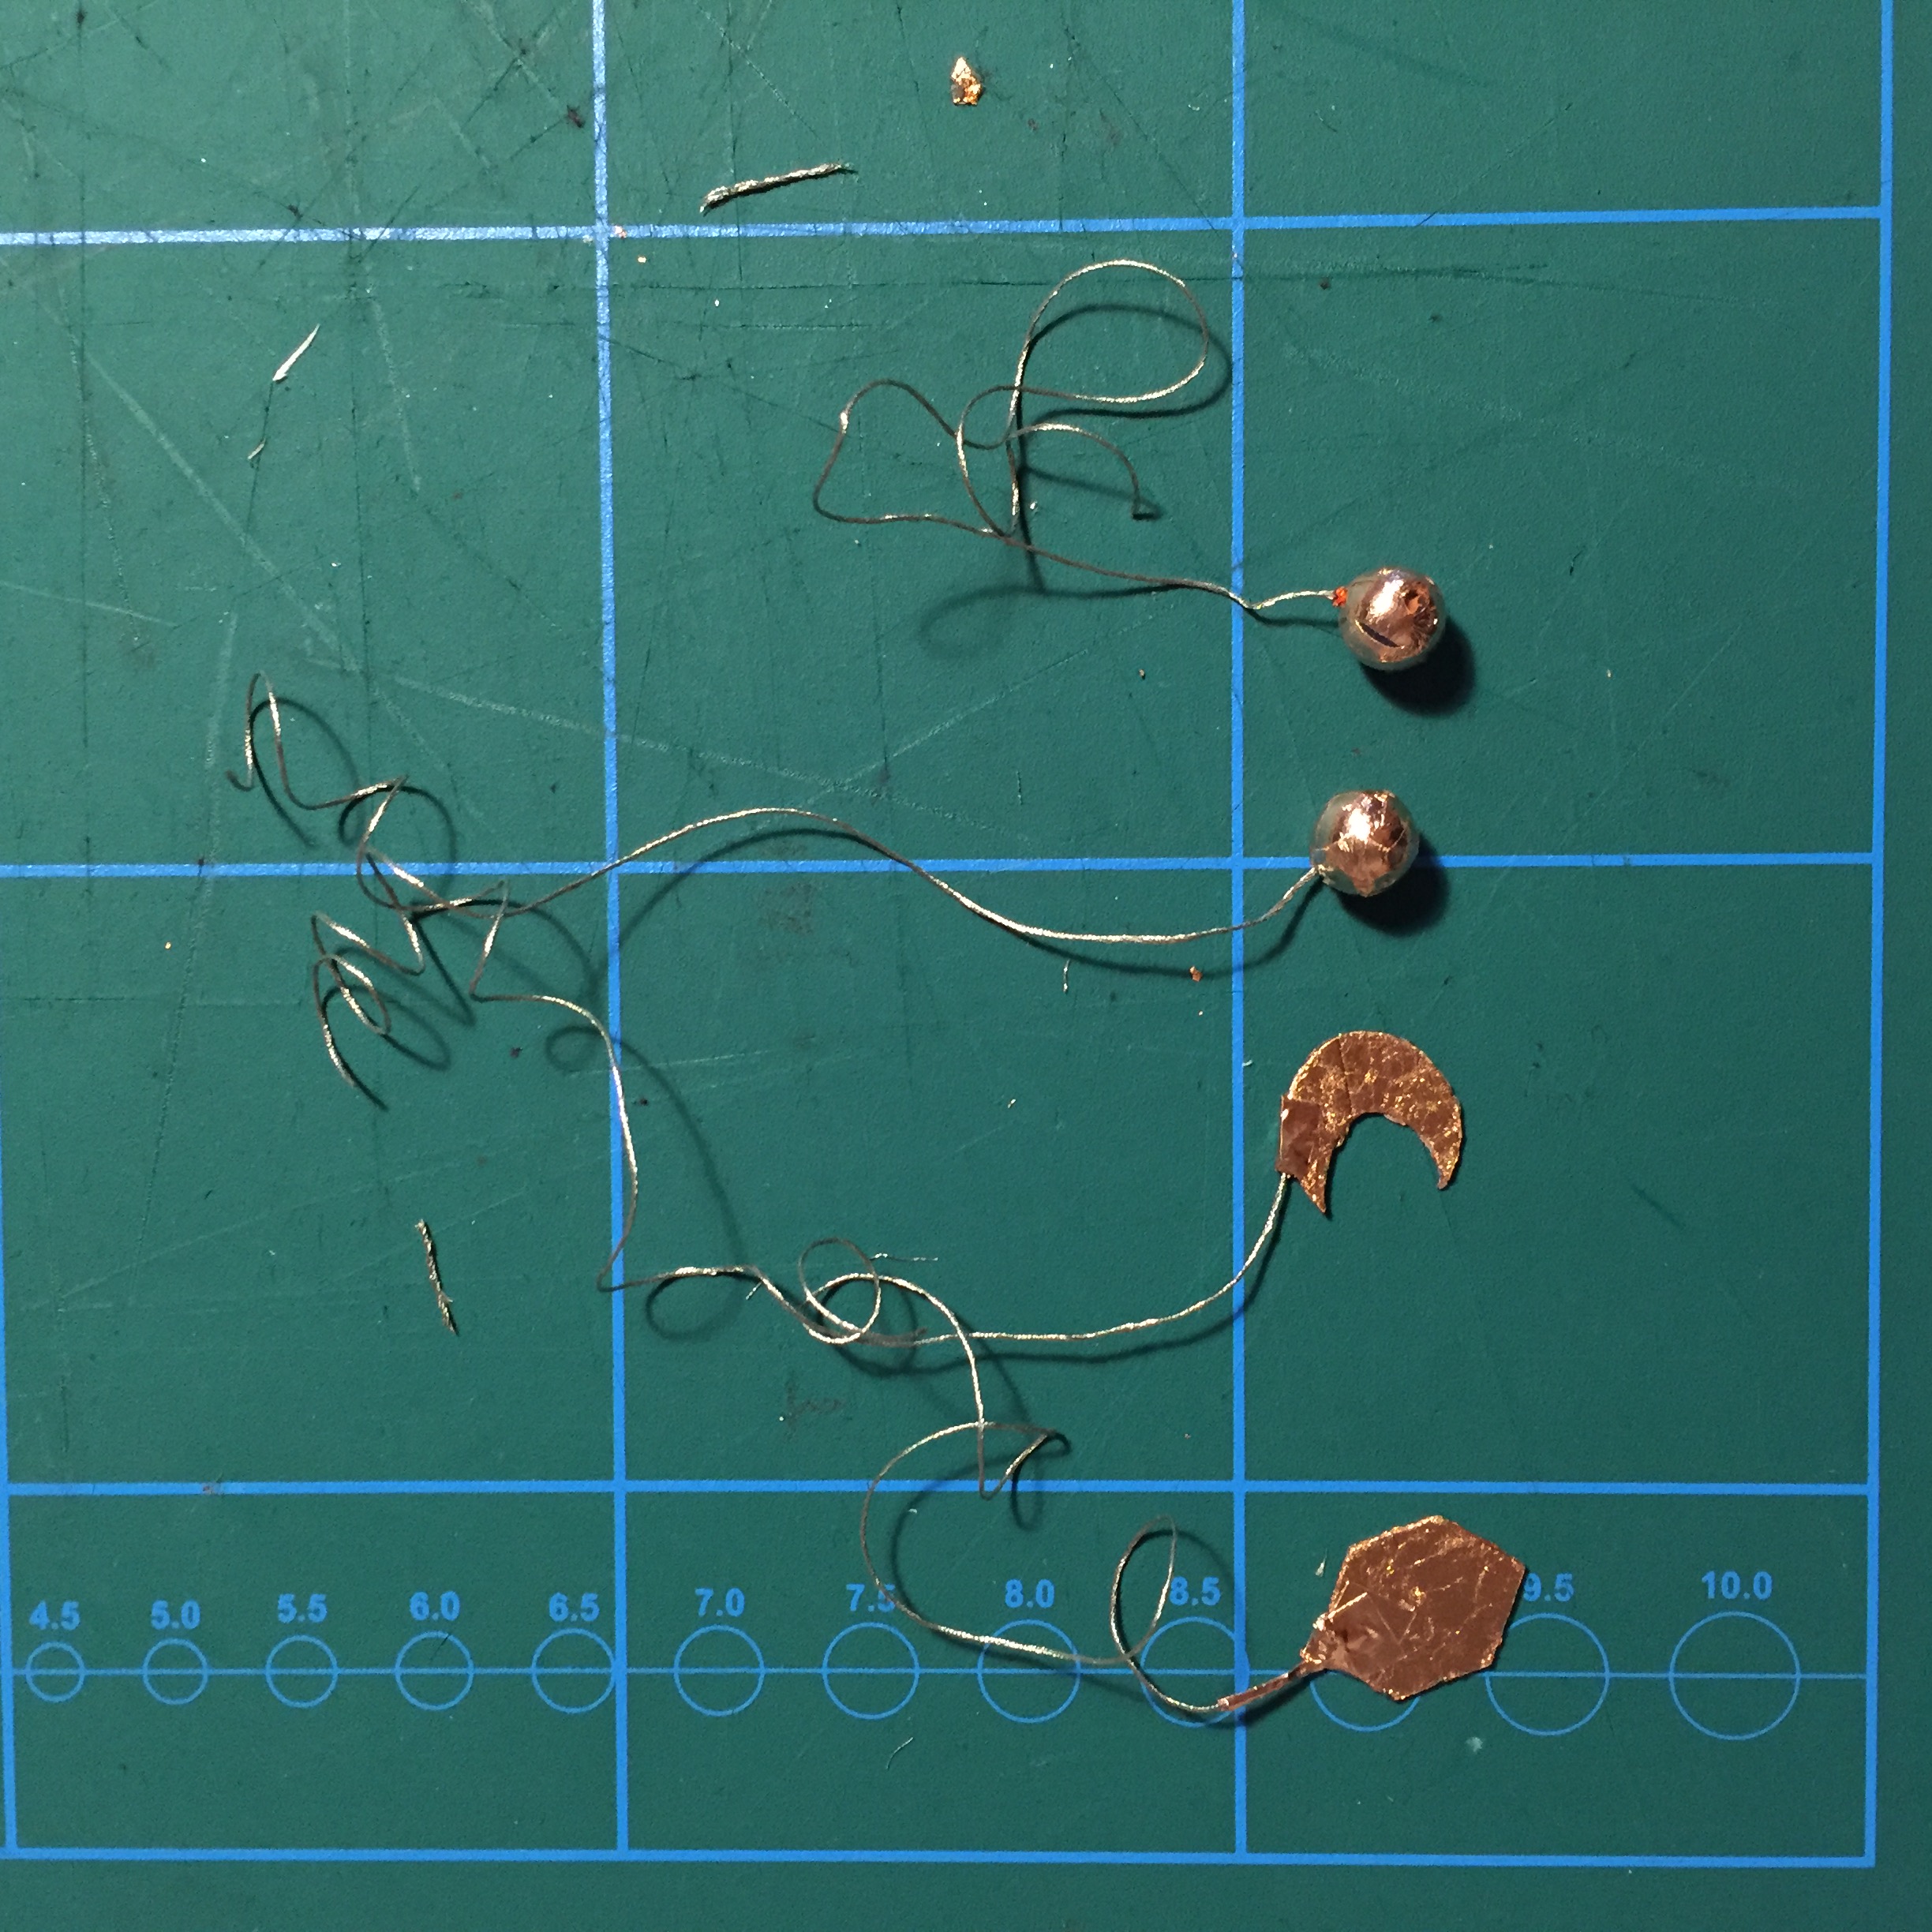
 Fig.9
Fig.9