Midnight
Concept: To illustrate the anticipation of when the clock strikes twelve through an LED skirt based on Cinderella.
Audience: Cosplay adults.
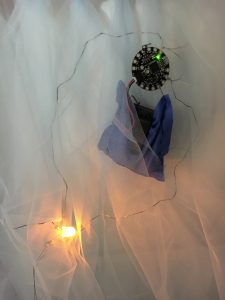
Description: The skirt stays turns on and then starts blinking when the clock strikes twelve, as if it’s and alarm or reminder for Cinderella to go home.
Challenges: Couldn’t figure out how the pressure sensor would work best. At first, I want it to be placed on her waist as when the prince is dancing with her, but that would require too much pressure. Also, I couldn’t figure out how the have LED shut off after a certain period of time. The sewing was also challenging, because some of the conductive thread crossed each other, and this was also my first time making a skirt. I should have used a sewing machine, but I did everything by hand.
Future Iteration: I was use a different fabric, because I used cotton, and it wasn’t light enough. I was like to use more technology, just like how my precedent did with the IBM Watson dress used tweets to change the color of the LEDs on the dress. I also need to practice with the sewing machine so that I’m comfortable using it. The LED colors that I have the skirt are Yellow, Blue , and White, but the only color that really shows is blue. Next time I would like to change the colors, and keep them all blue.
Materials:
- FLORA by Adafruit
- 3xAA Battery Pack Holder
- 3 AA batteries
- MicroUsb Cable
- Conductive Thread
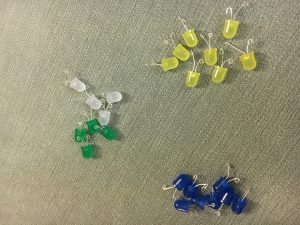
- 10mm Tinted LEDs Yellow, Blue, White
- 3 yards Tulle Fabric
- 4 yards 100% Cotton Fabric
- Sewing thread
- Scissors
- Pins (to keep the pleats together)
- Ribbon (to tie Tulle around)
- Non-Conductive Tape (I used fabric tape)
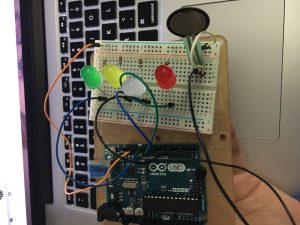
Step 1: Test LED with Arduino, and get sequence to blink with pressure sensor.
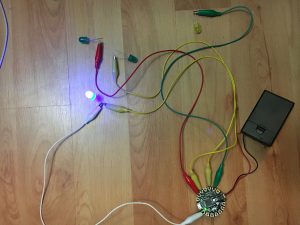
Step 2: Step up and test FLORA and LED with Alligator clips
This is the pressure sensor I was going to use, but Arduino code didn’t work.
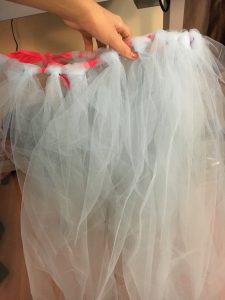
Step 3: Cut and tie Tulle around ribbon.
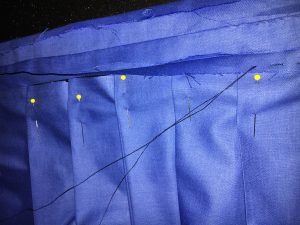
Step 4: Cut fabric and set up pleats with pins, and sew together.
Step 5: Curl ends of LEDs
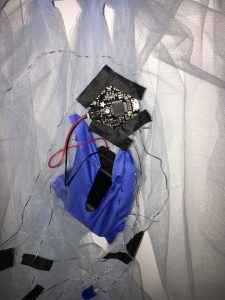
Step 6: Sew FLORA and pocket for battery pack. Test one LED first to make sure it’s working. One Conductive thread is attached to the Ground, the other is connected to pin. Each pin needs it own Ground. Luckily, the FLORA has three Grounds.
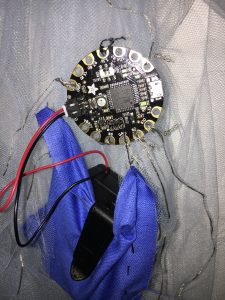
Close up of FLORA with the connected conductive thread.
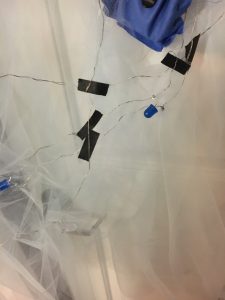
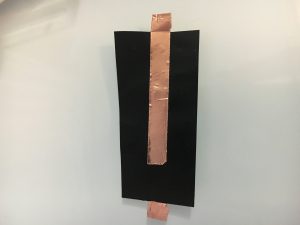
Step 7: Put tape wherever the conductive thread crosses to avoid interruption of LEDs not working.
Step 8: I had too put tape on the FLORA to apply to the Ground and Pin for a stronger connection.
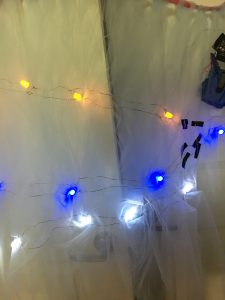
Step 9: Test with all LEDs on.