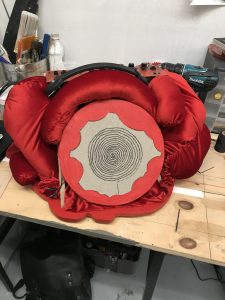
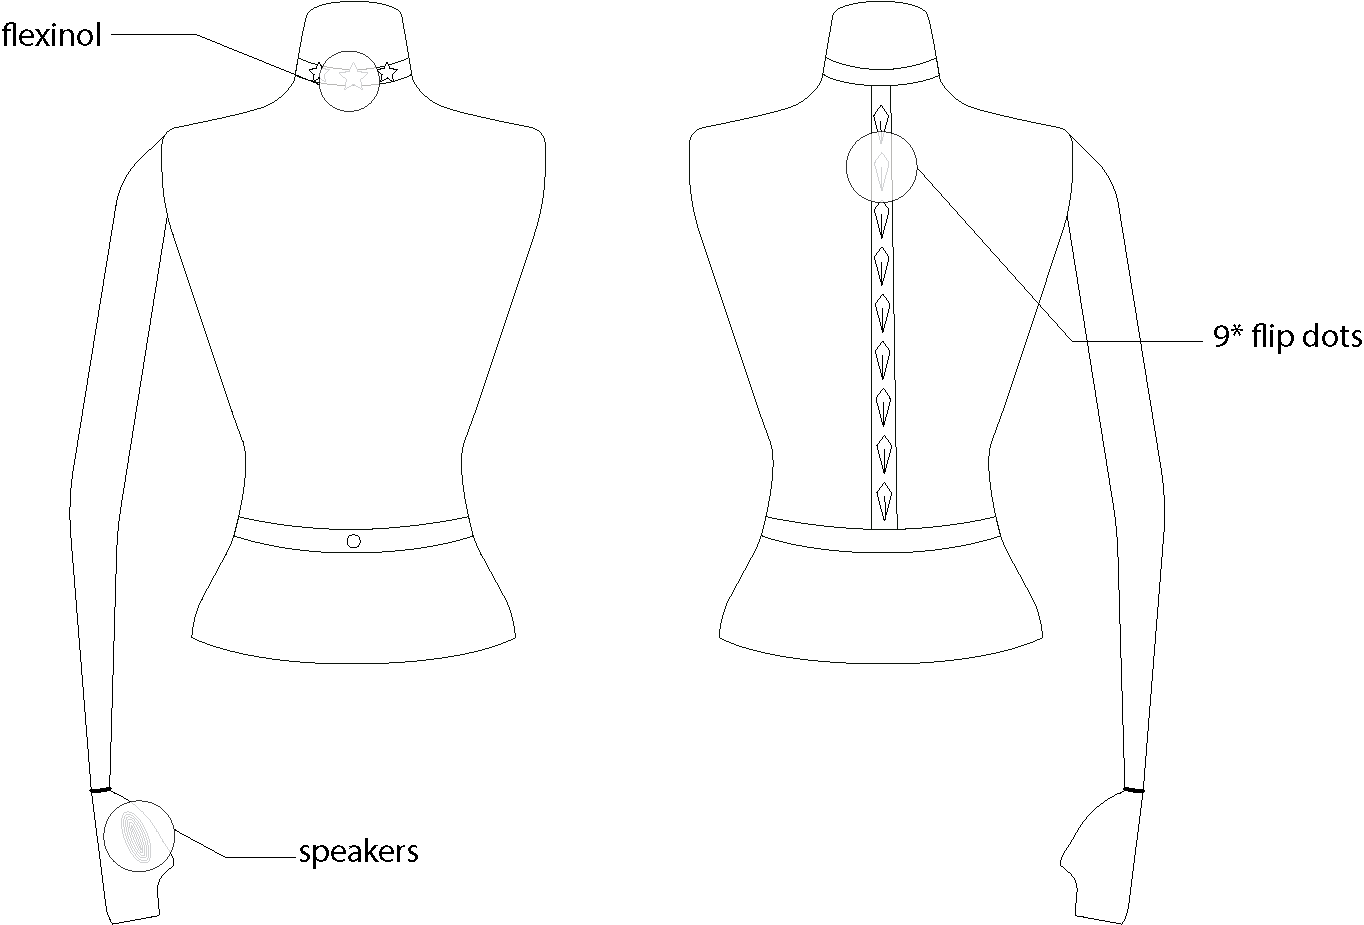
My goal for this project was to create a craft product for young girls to make, in
order to teach them about empowerment and the value of code:
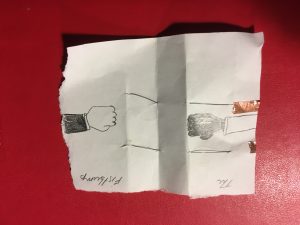
I wanted the Neo Pixels and LED’s to glow bright once the pressure sensors touched.
Precedence:


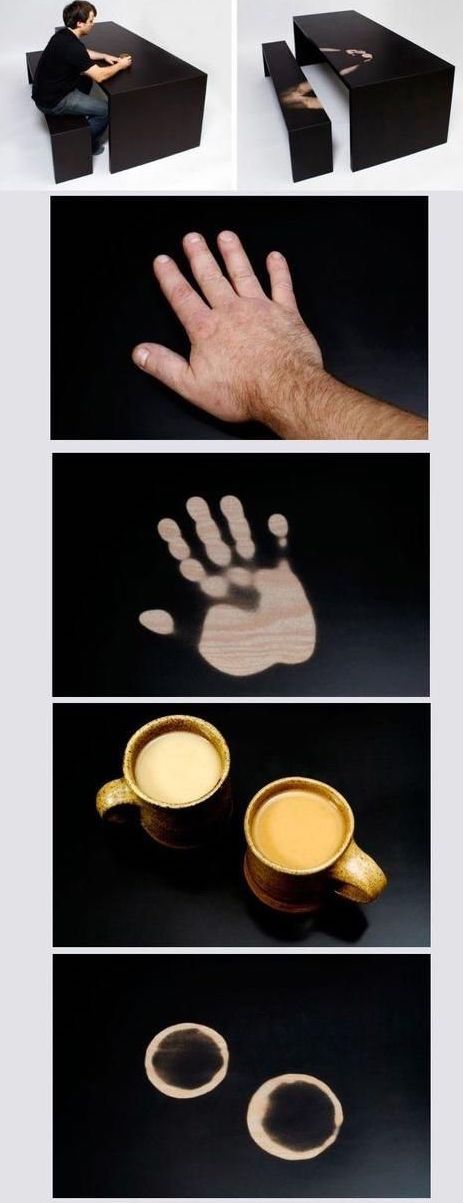
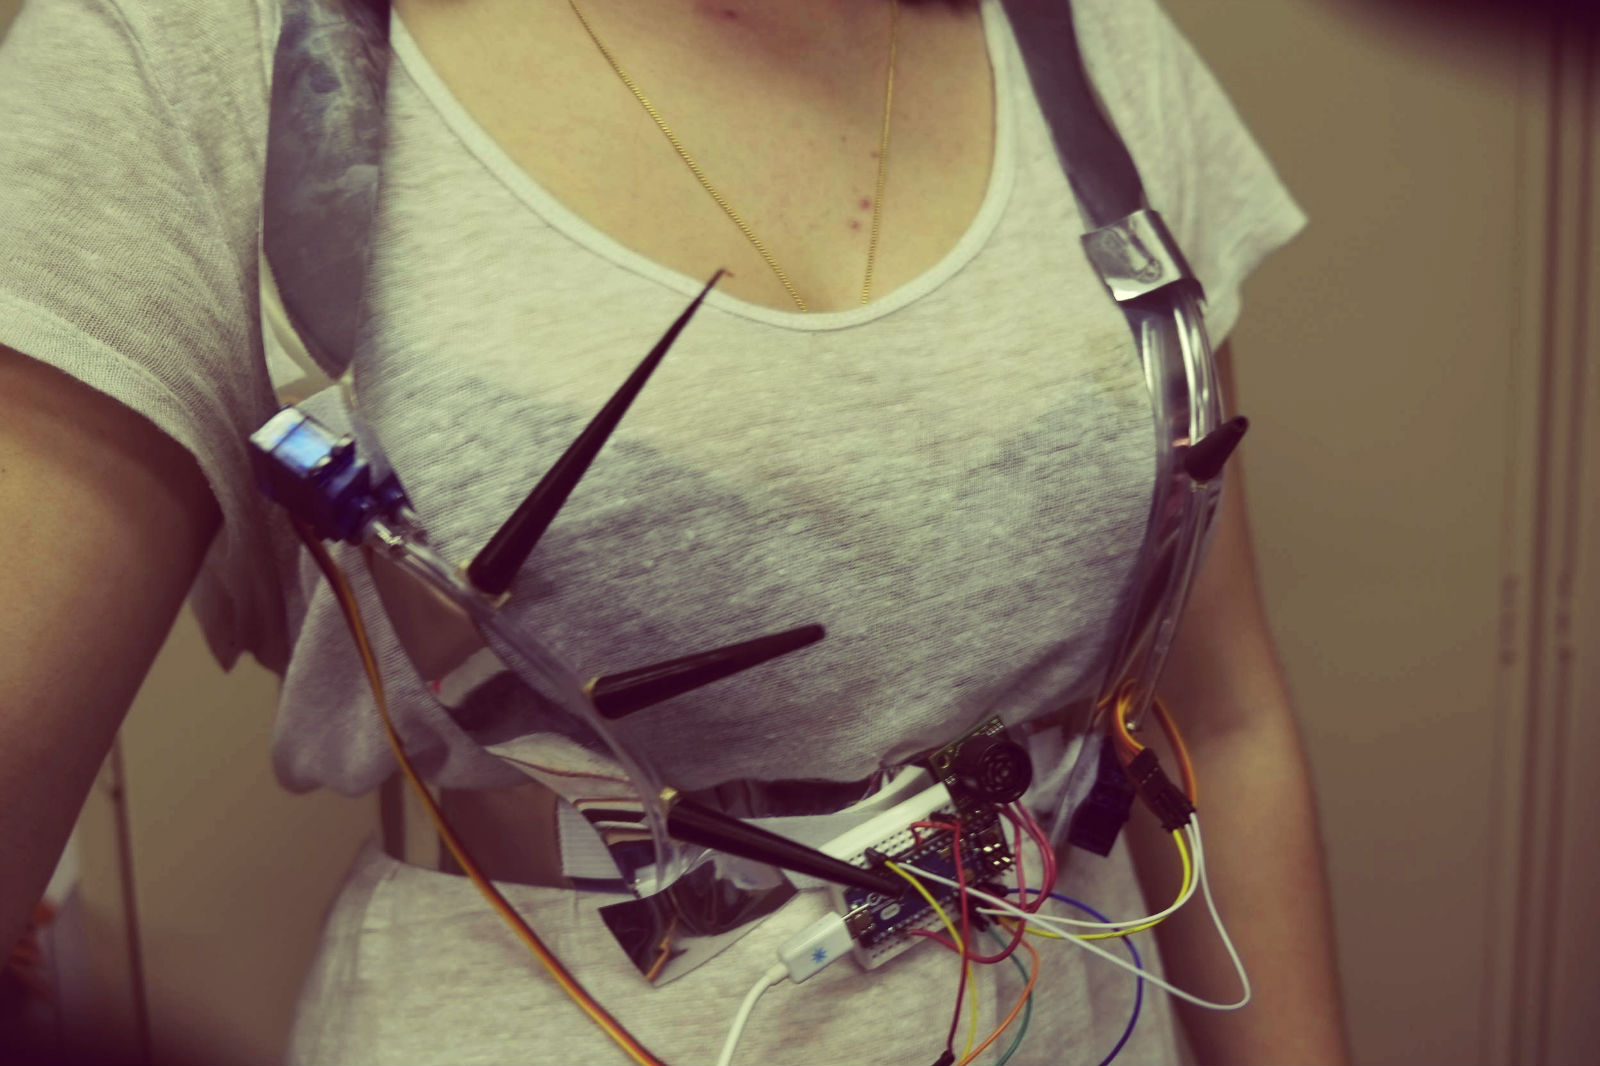
Sound Reactive Equalizer Skirt
————————–
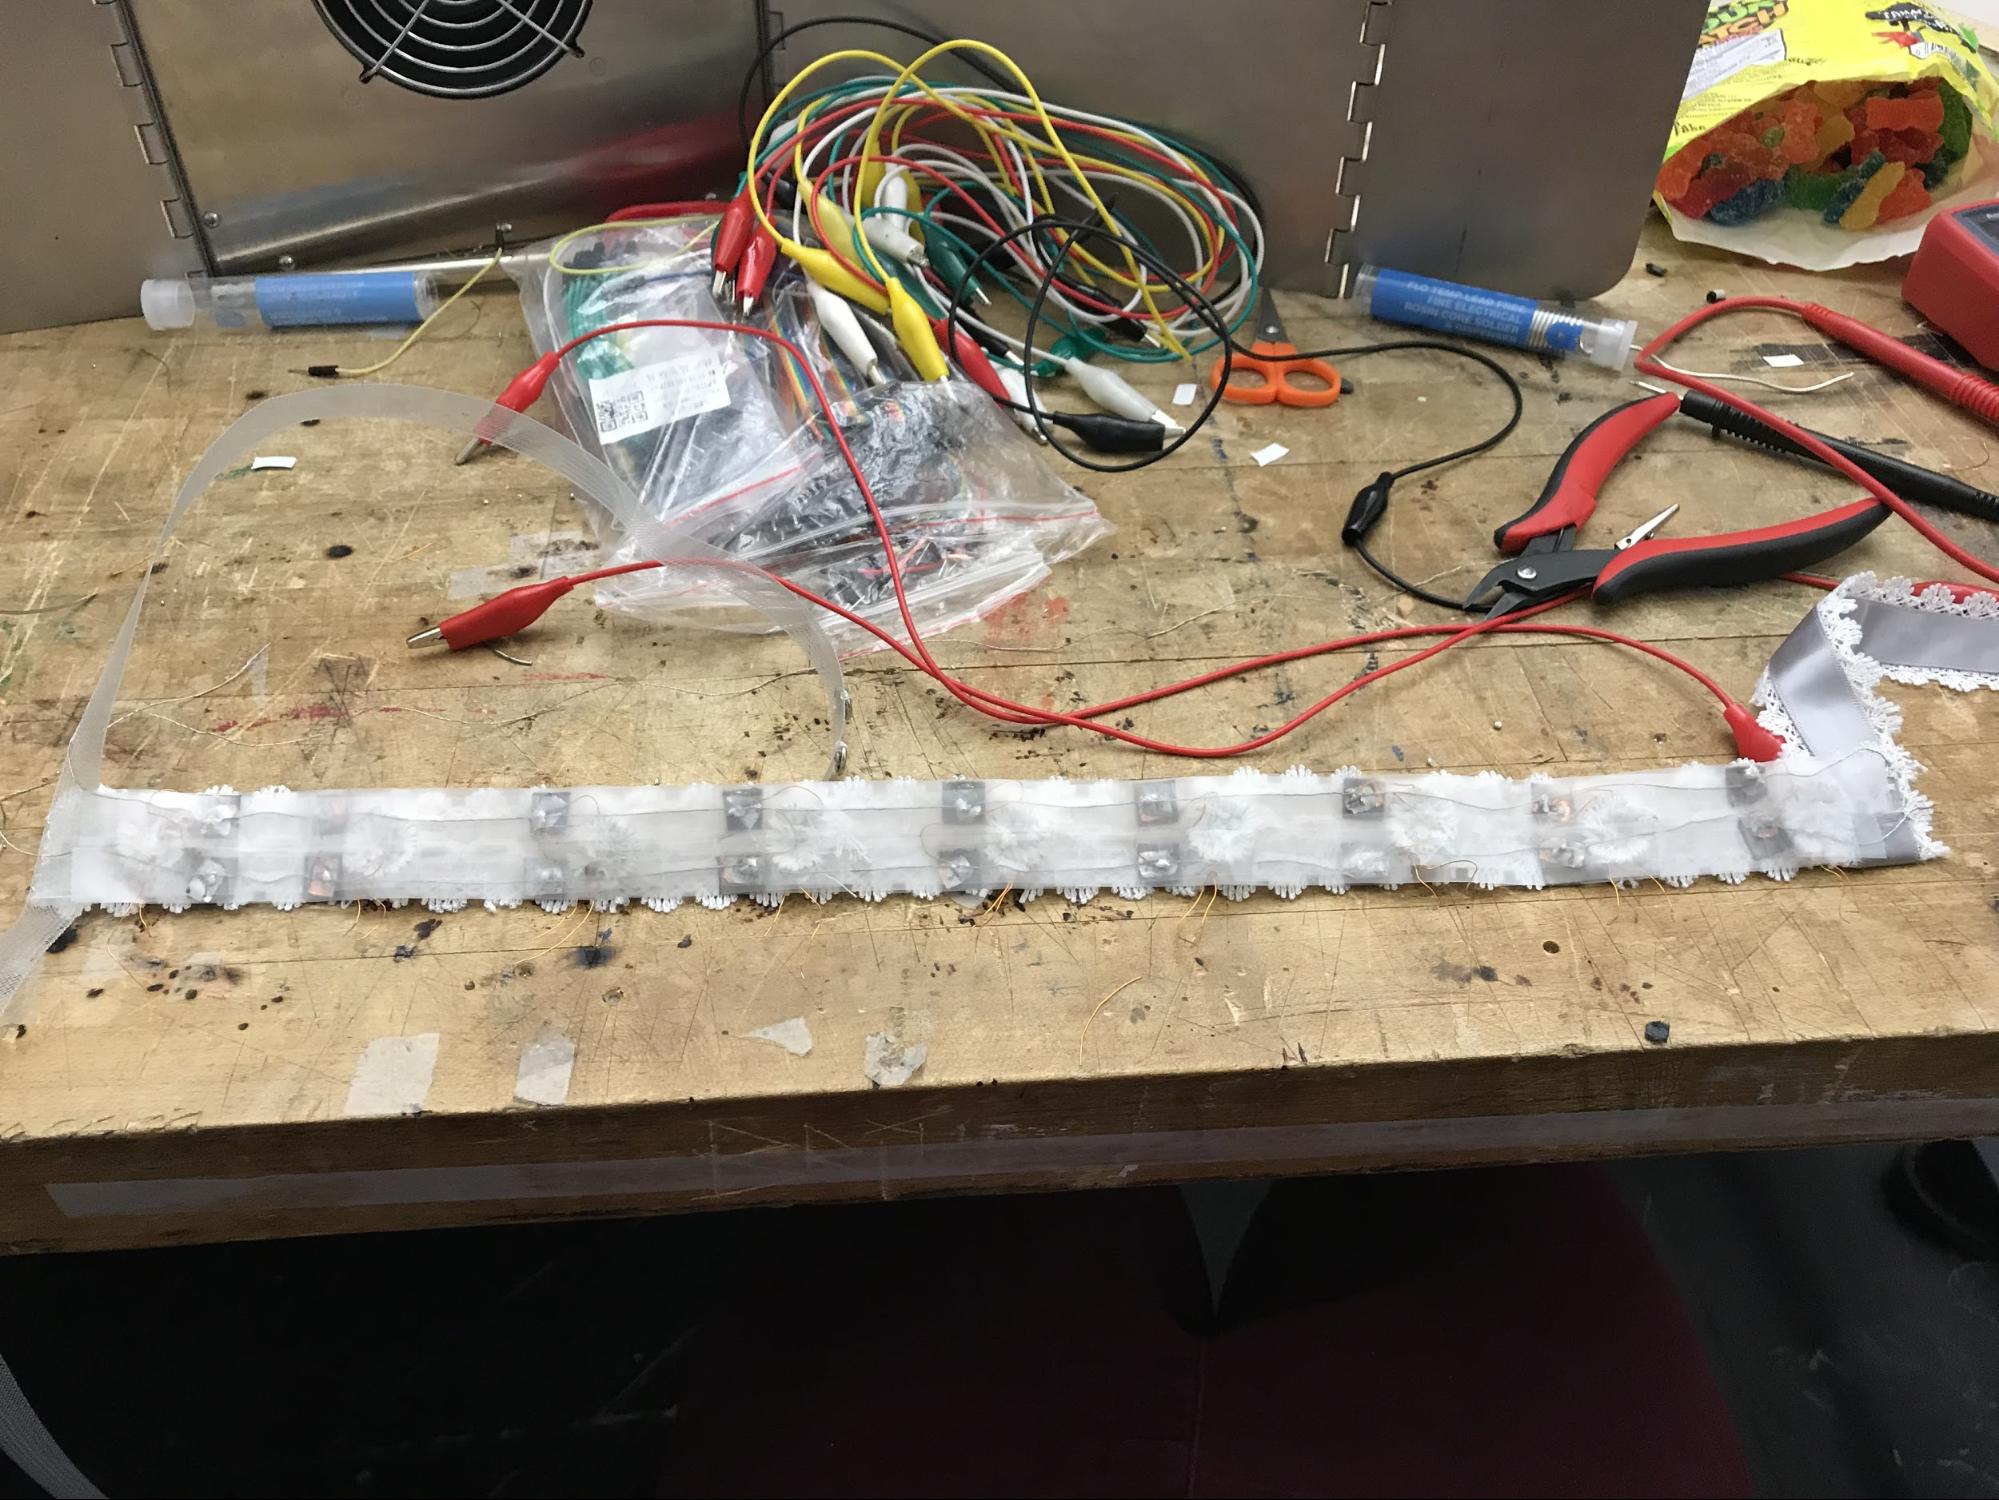
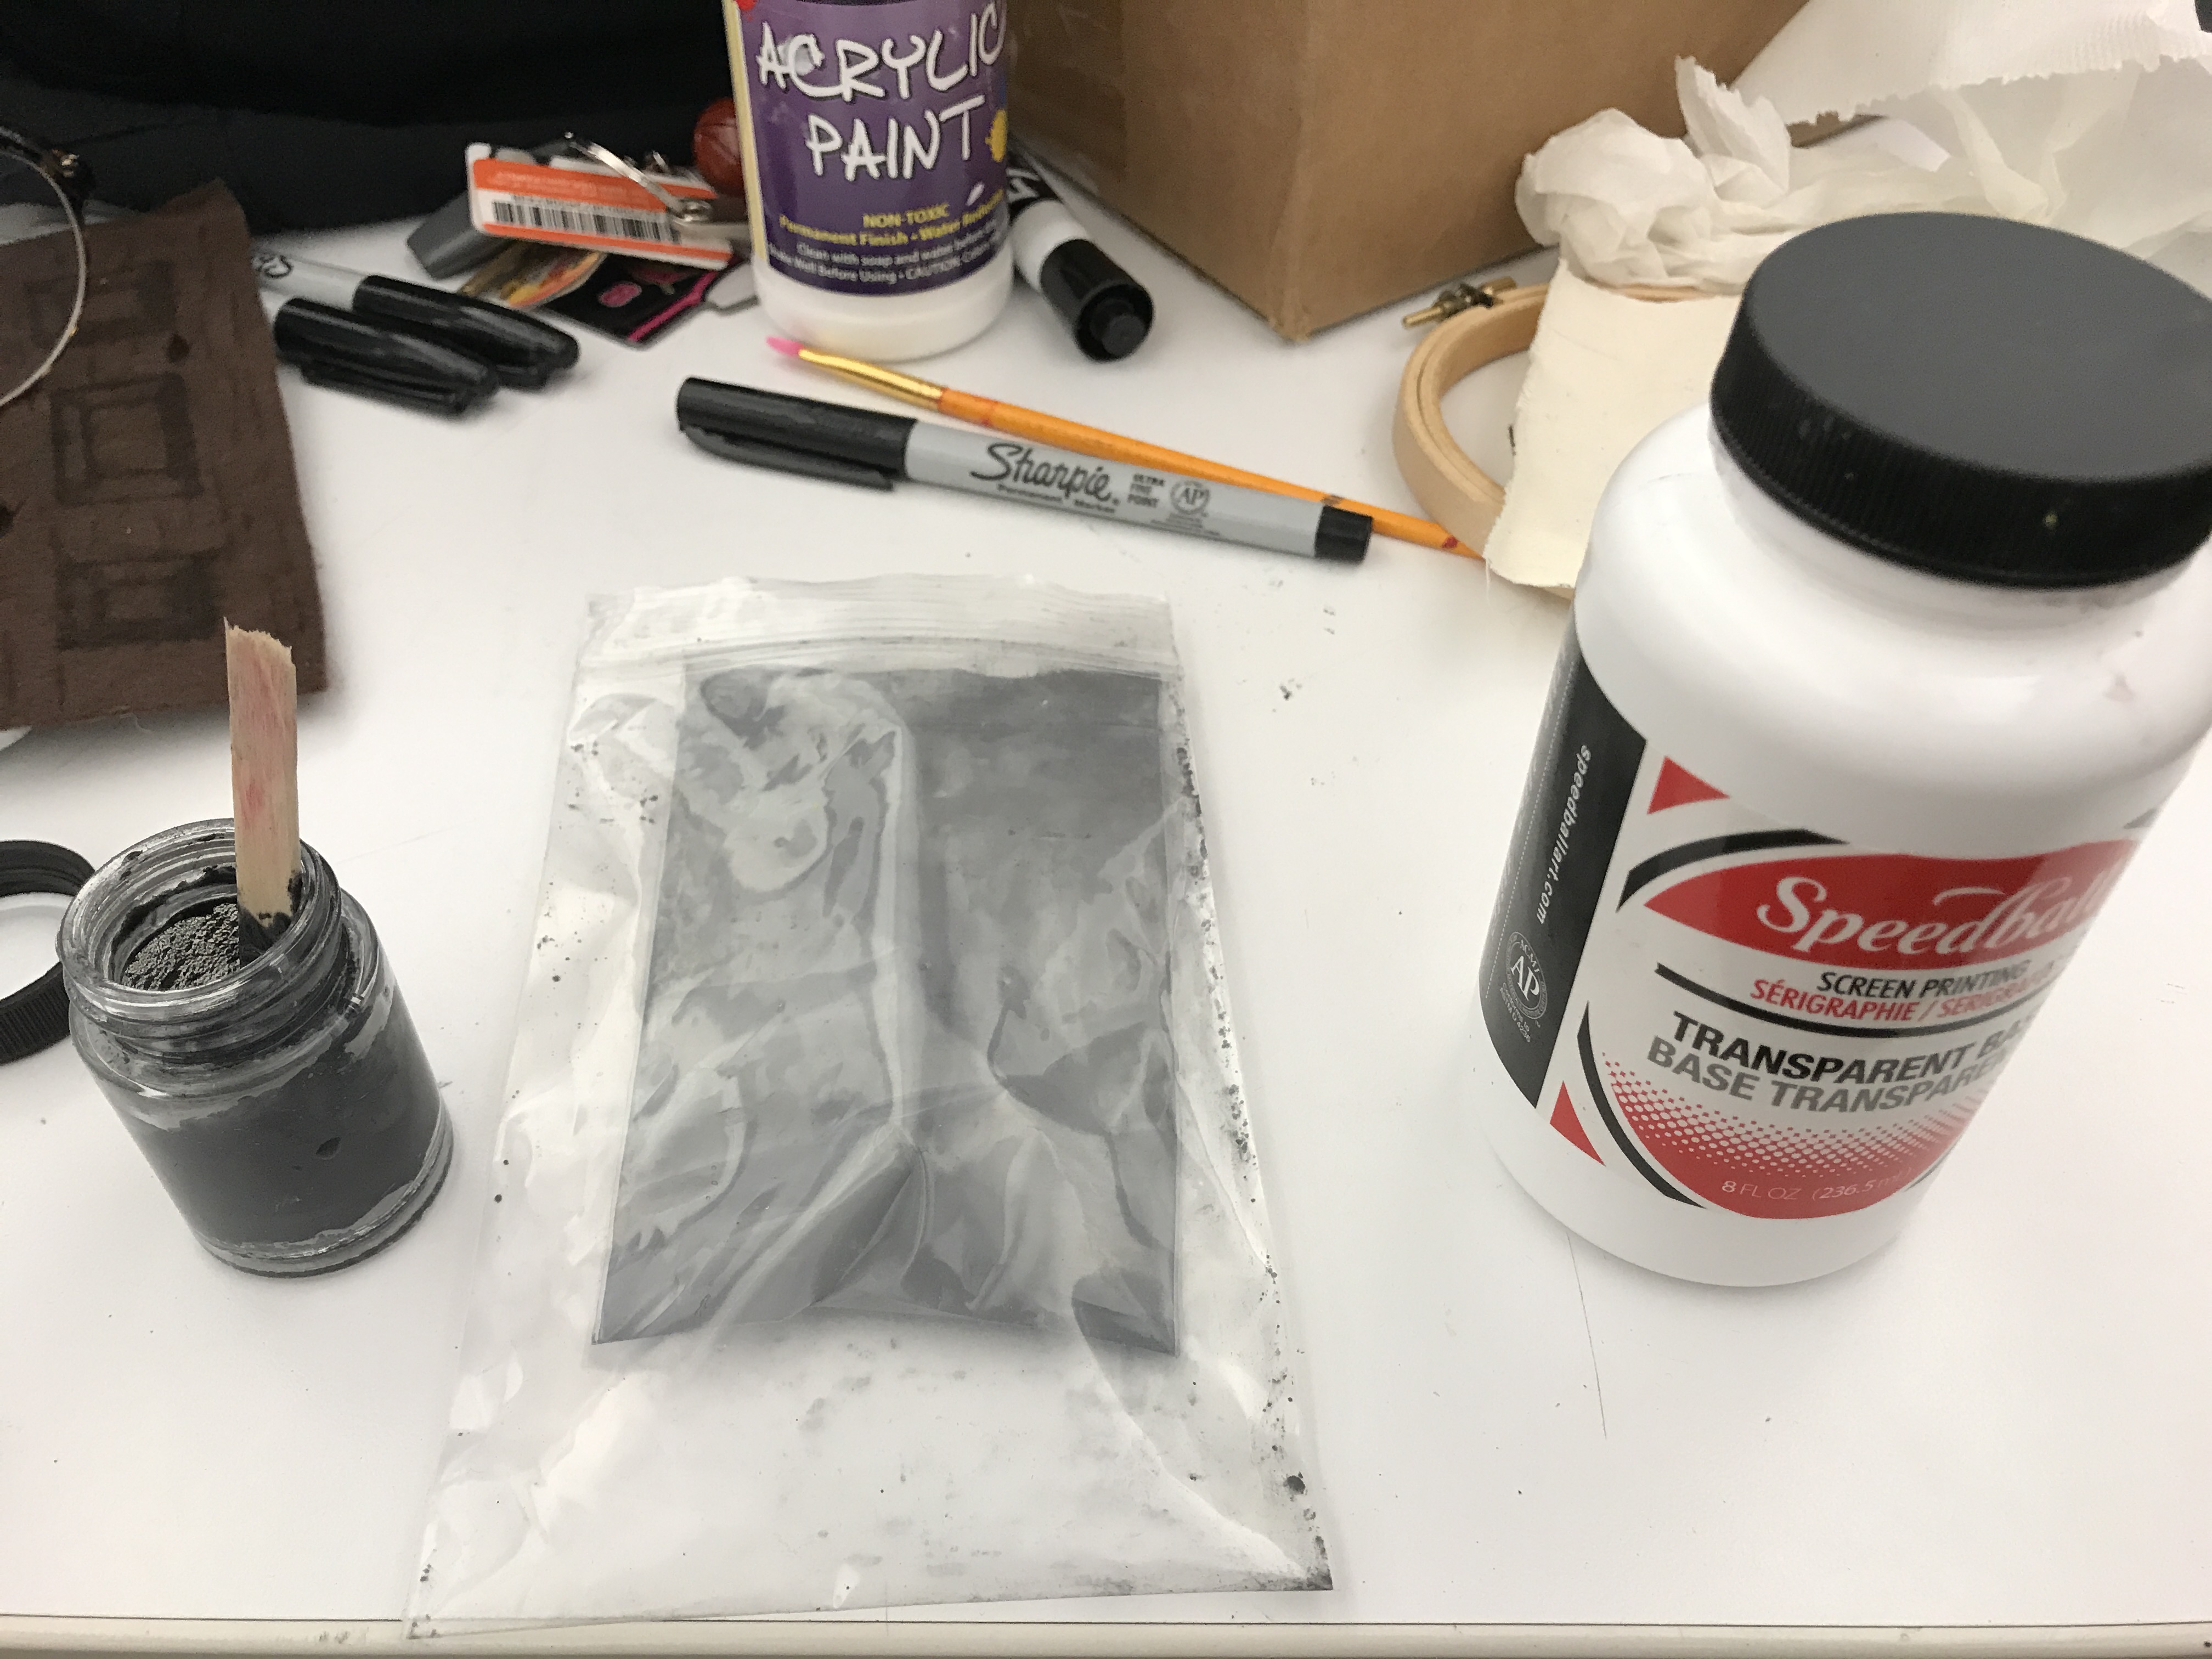
Working with the following materials:
• Gemma
• Neo Pixels
• 8ohm – speaker
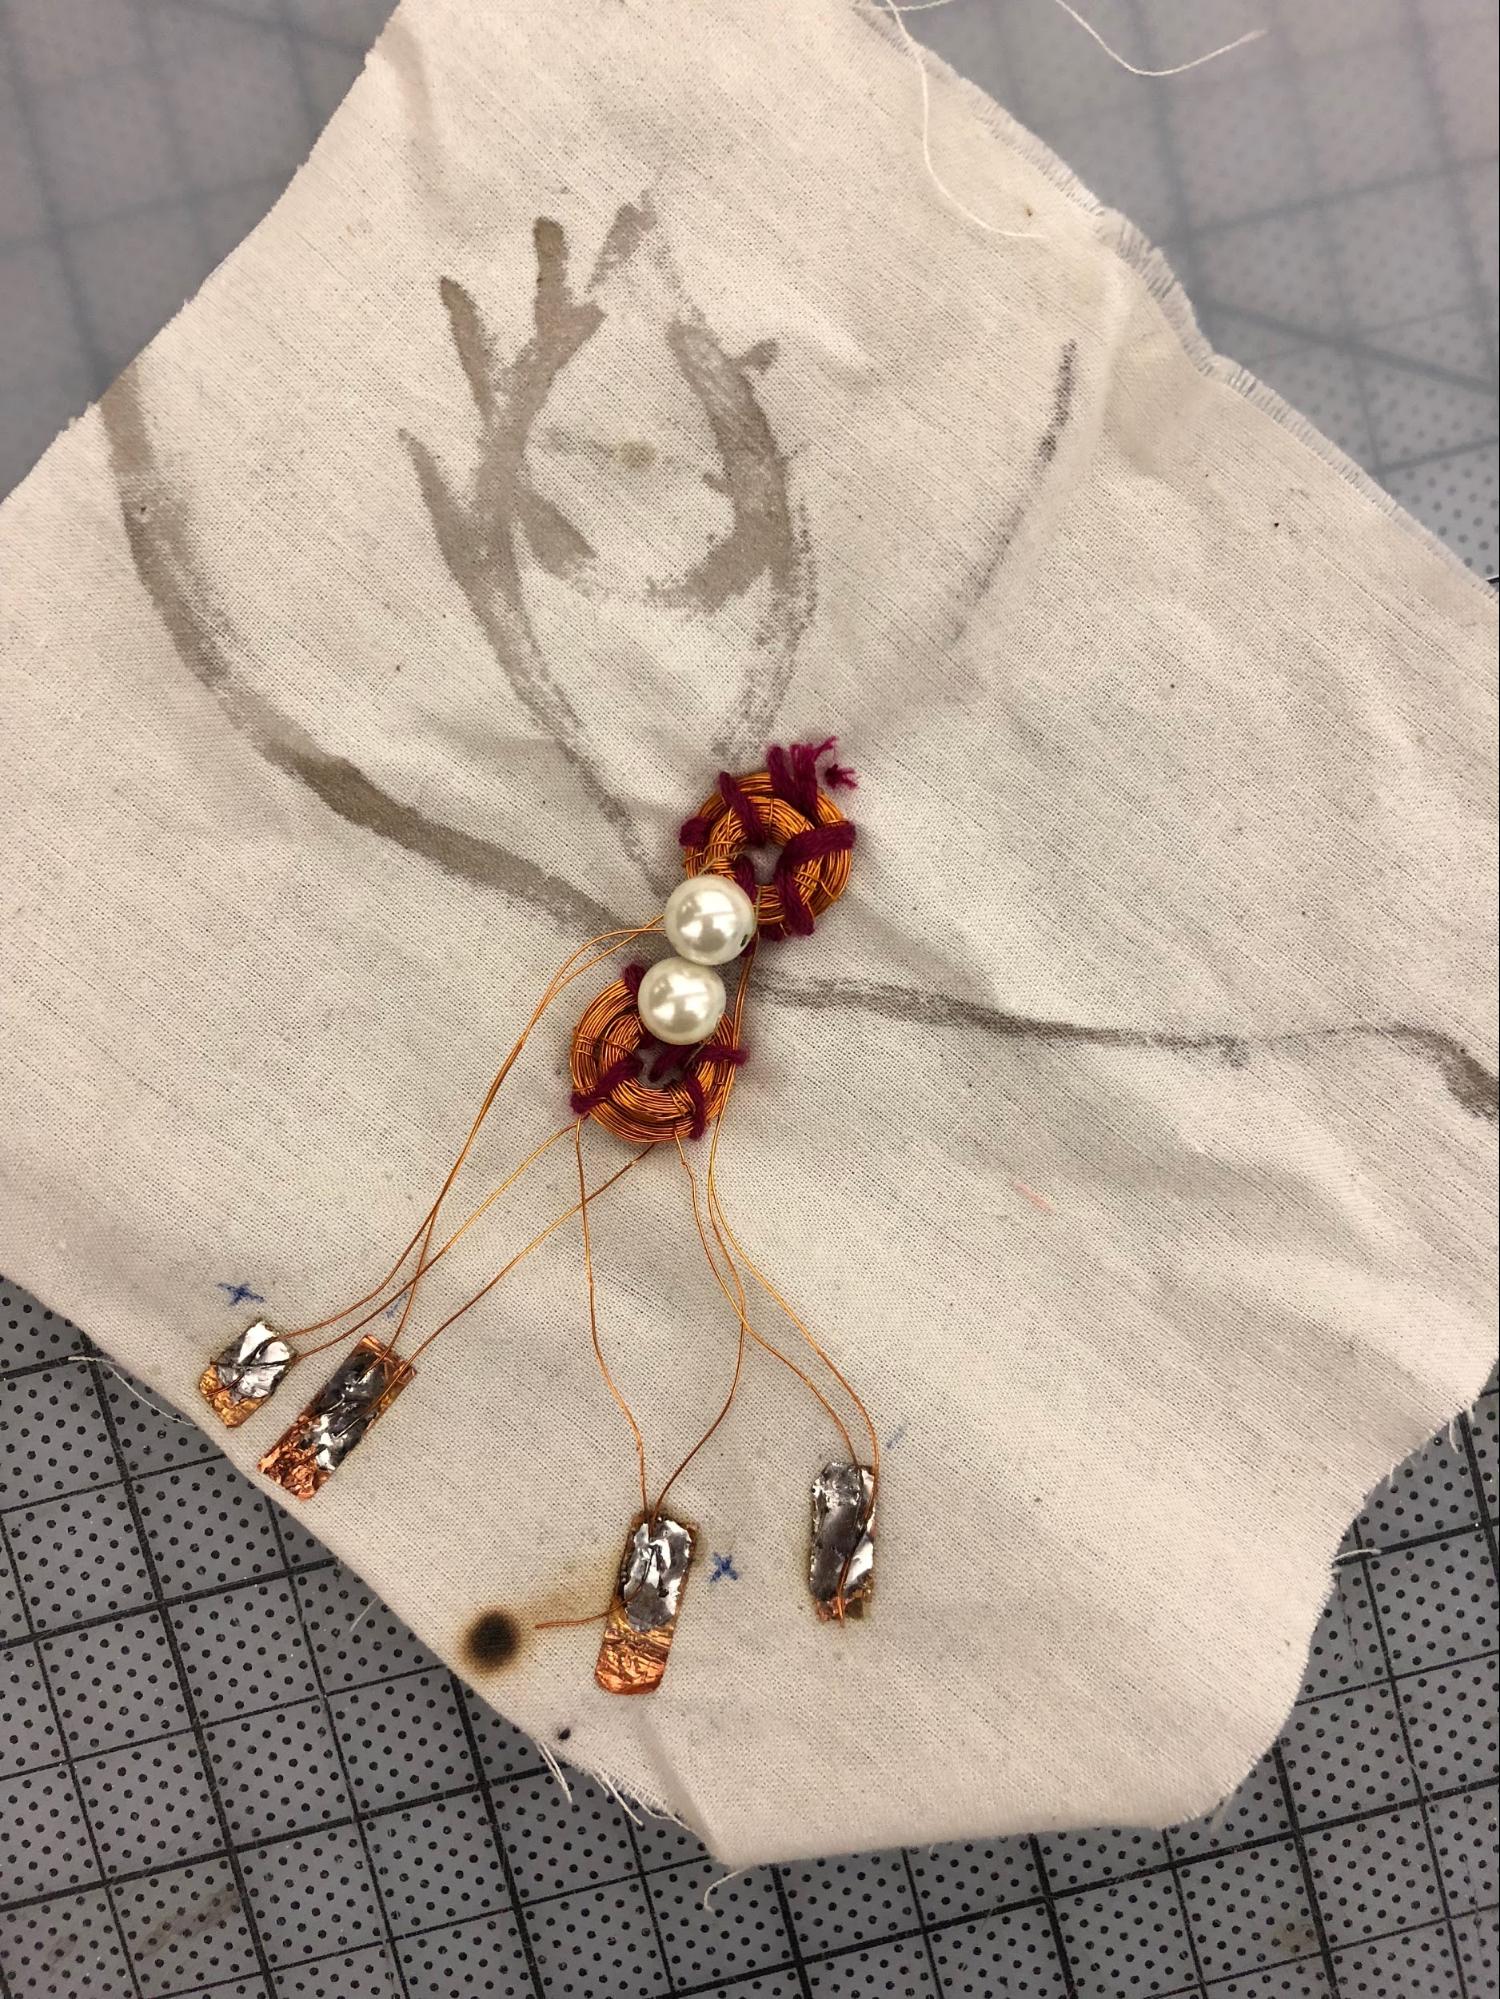
• Conductive Thread
• Resistor
• Conductive tape
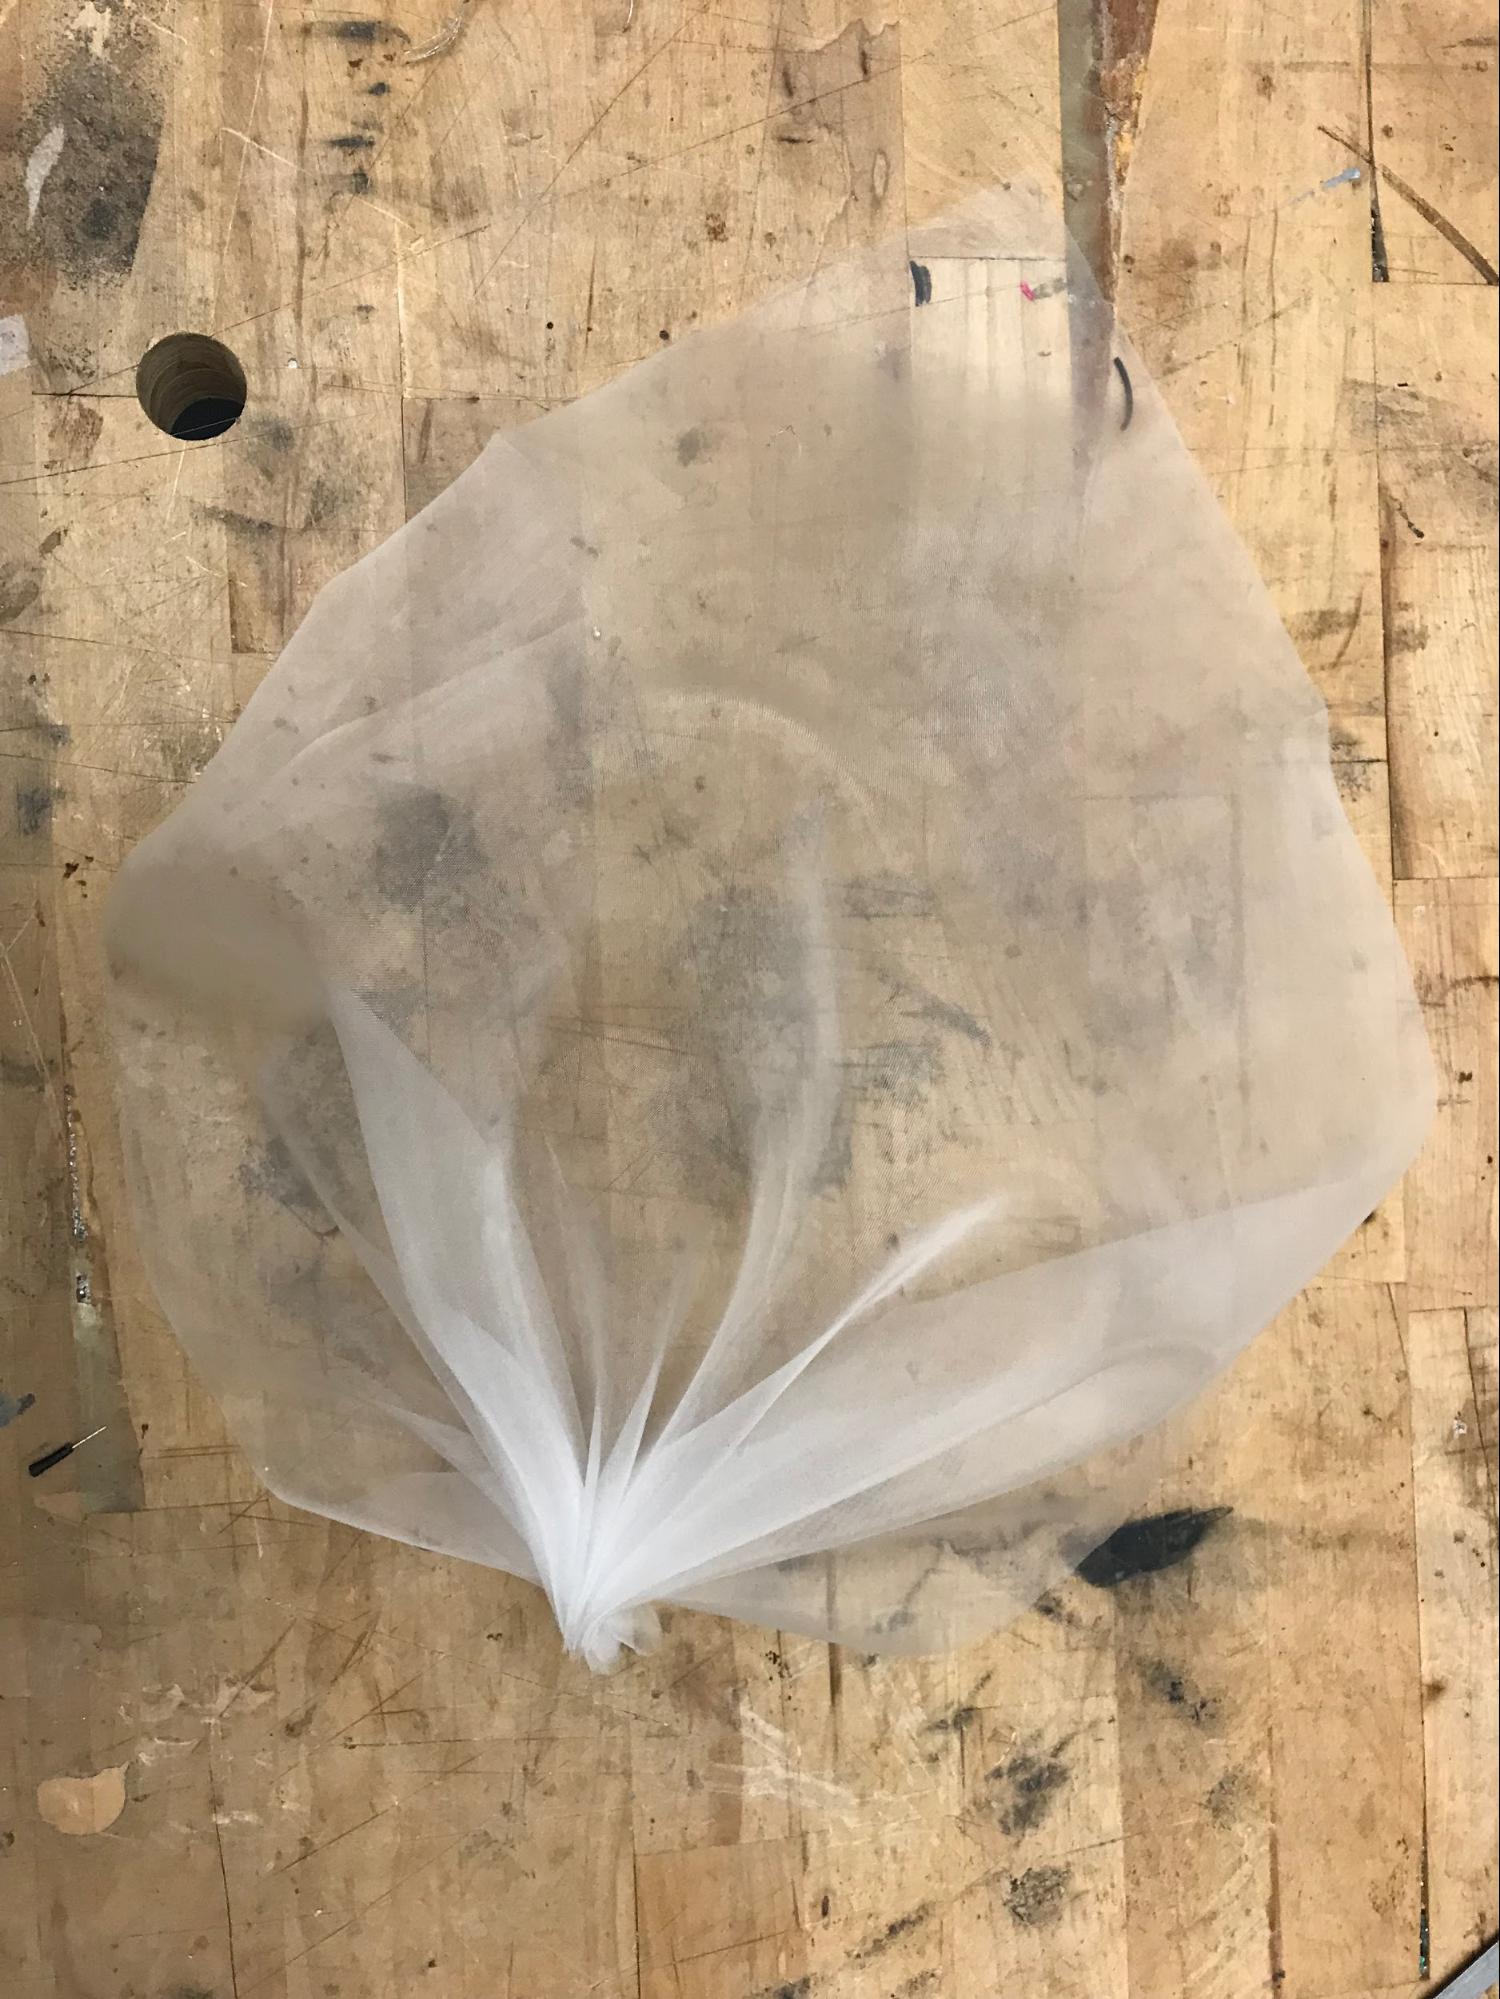
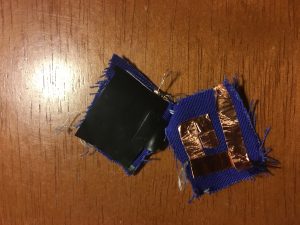
• Velostat
• Regular Thread (To sew the edges of the pressure sensor)
• 3V batteries (3 in total)
• 2 x 2032 Coin Cell Battery Holder – 6V output with On/Off switch
• 1 coin cell battery holder
————————–
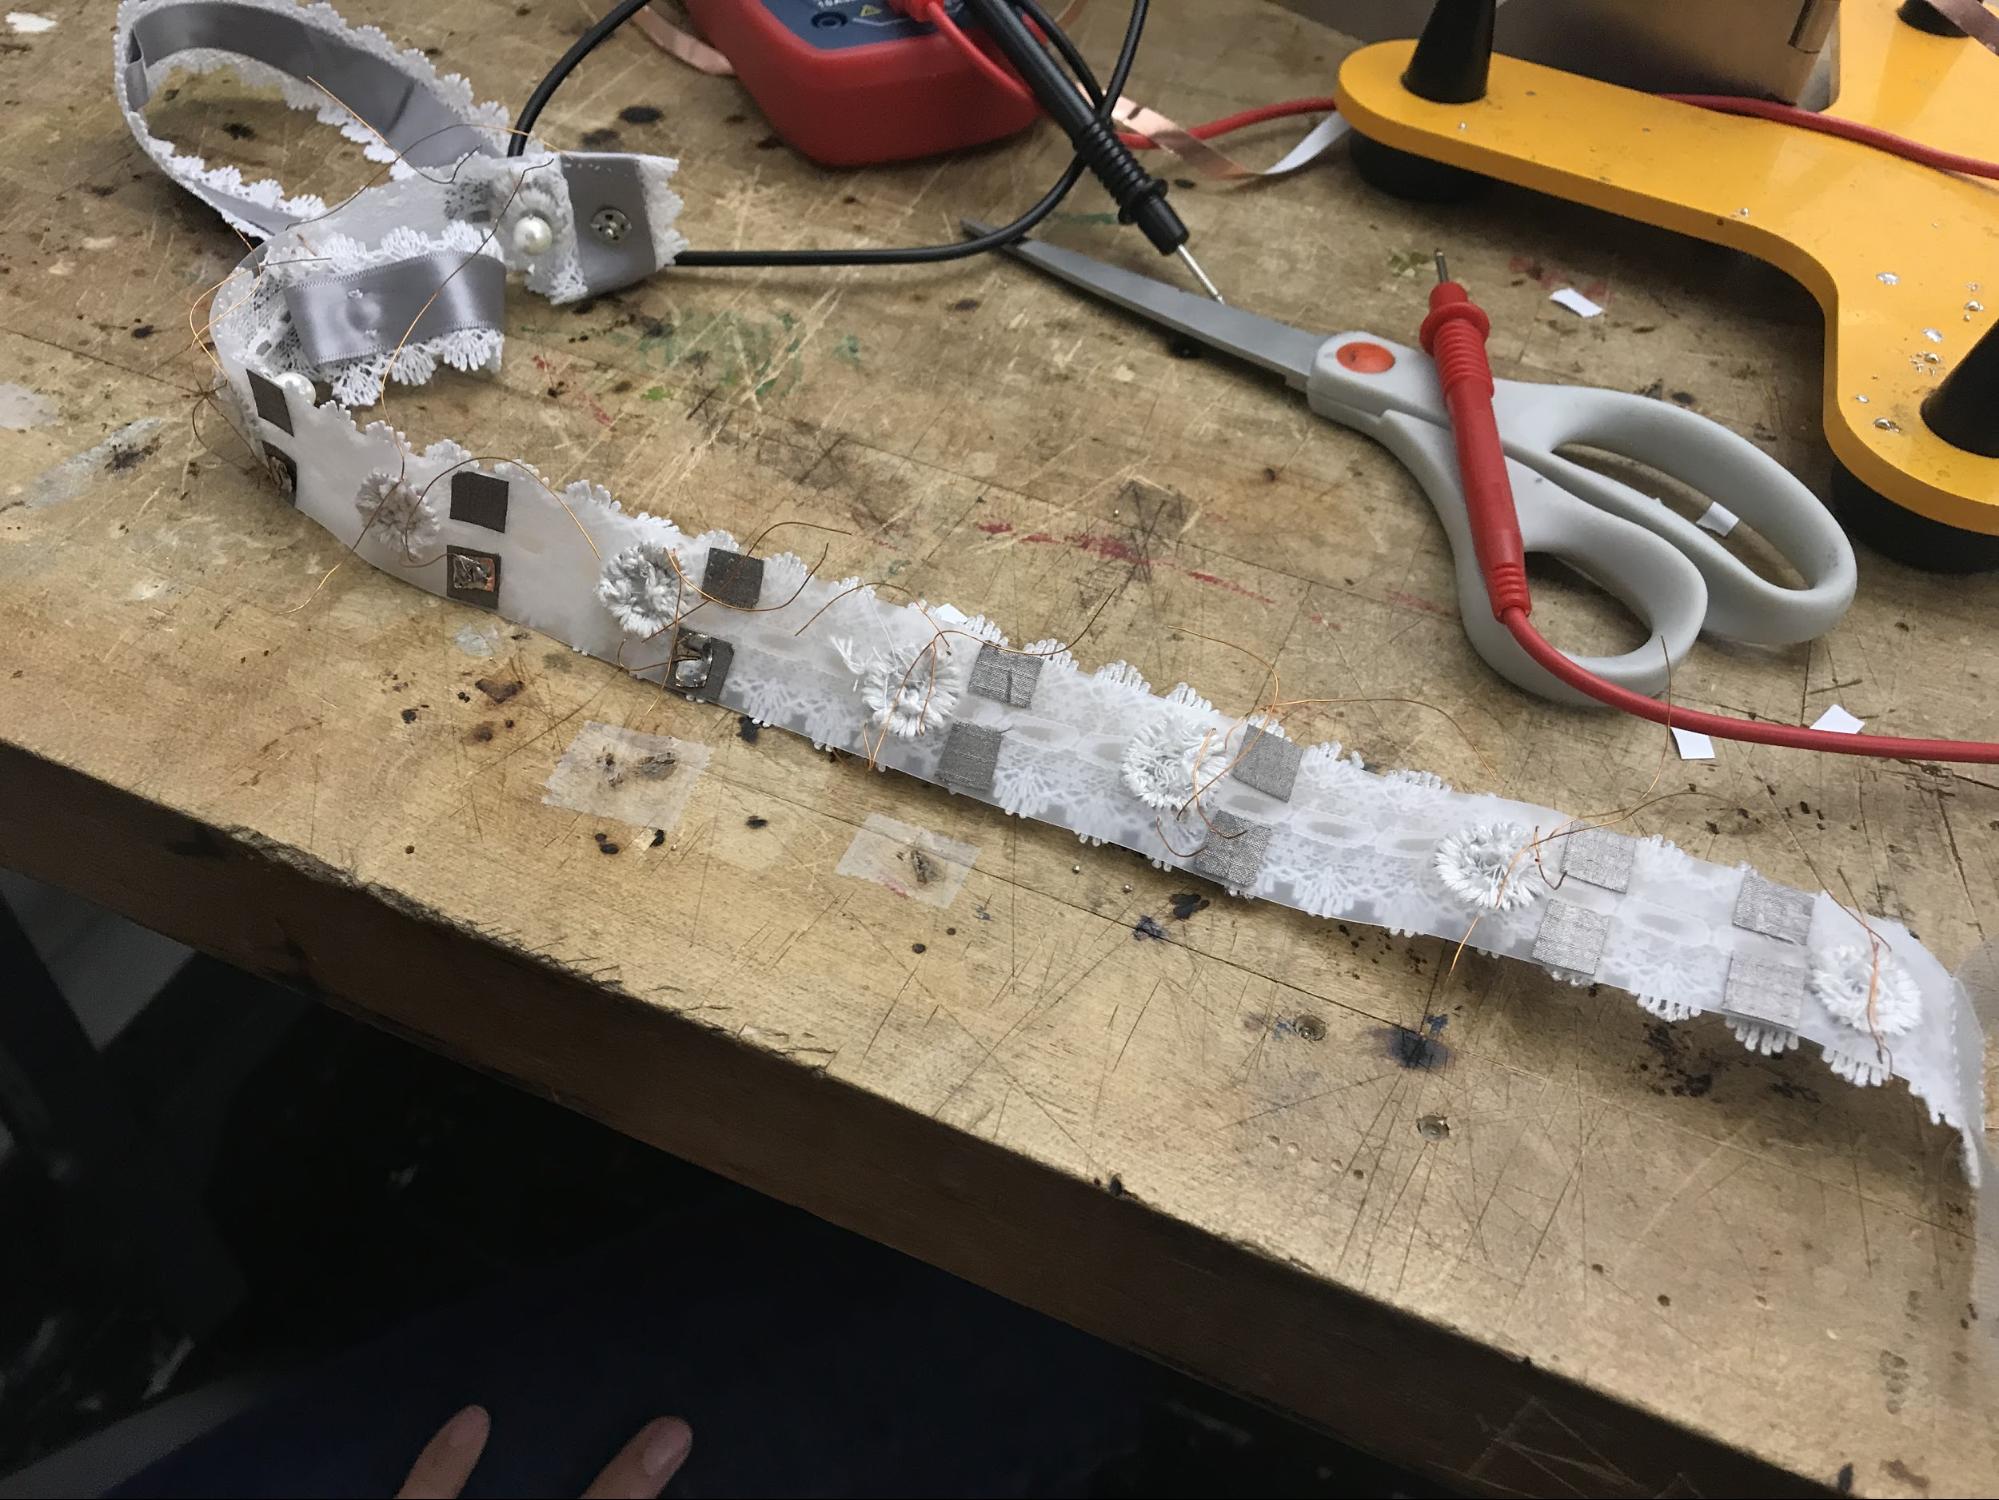
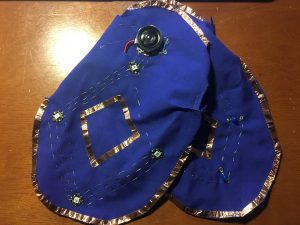
For The left hand Bracelet that will hold the Gemma
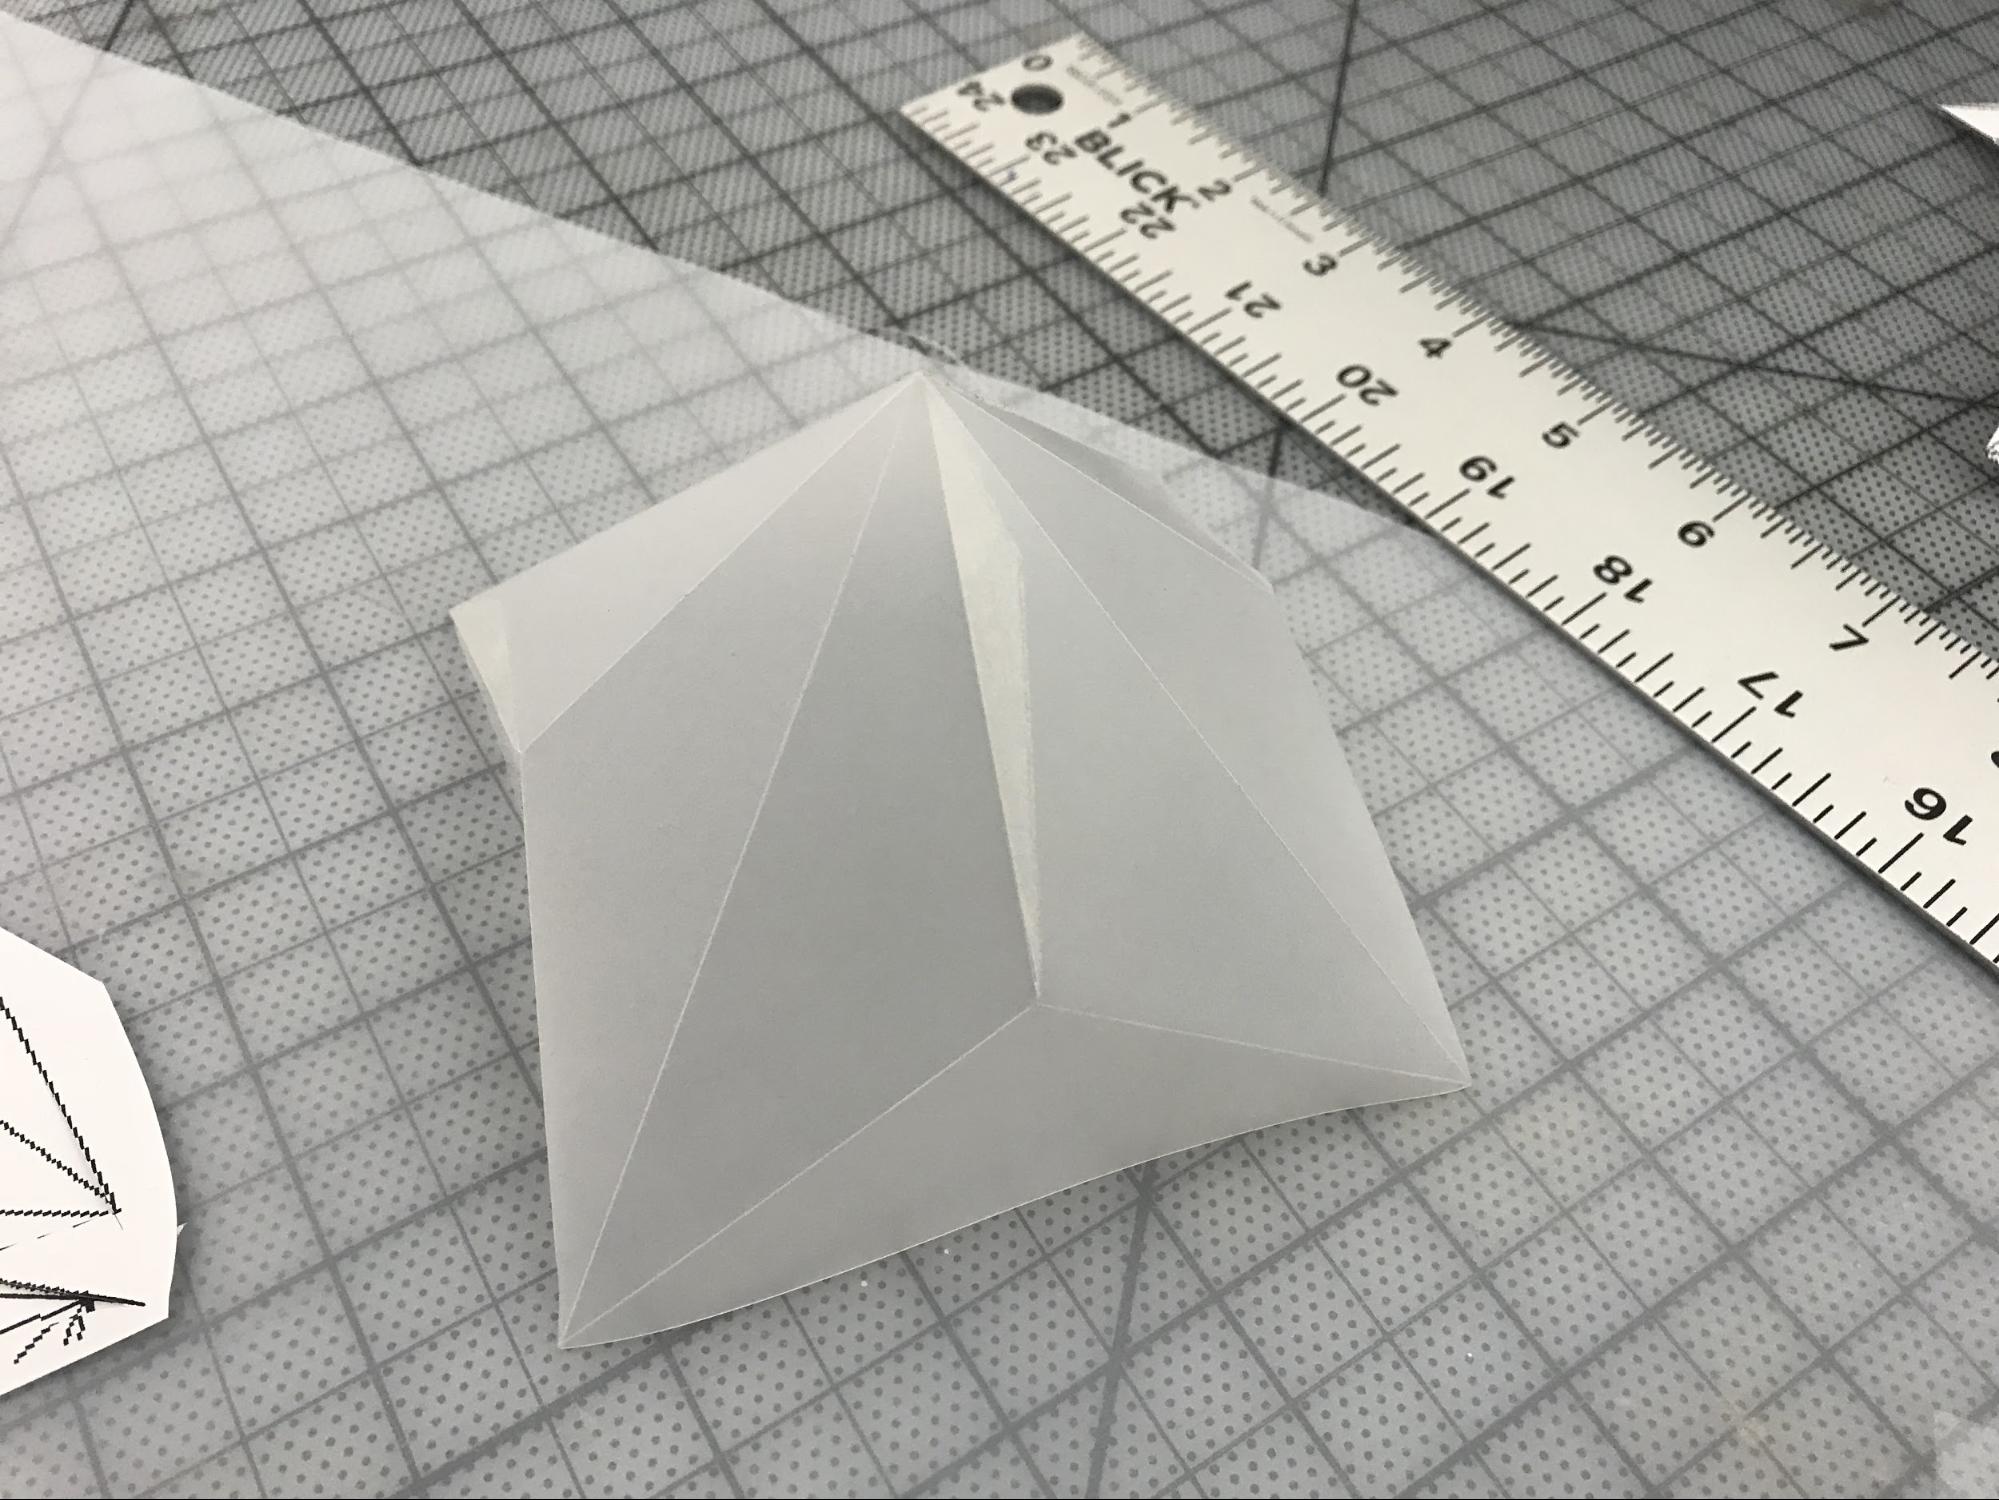
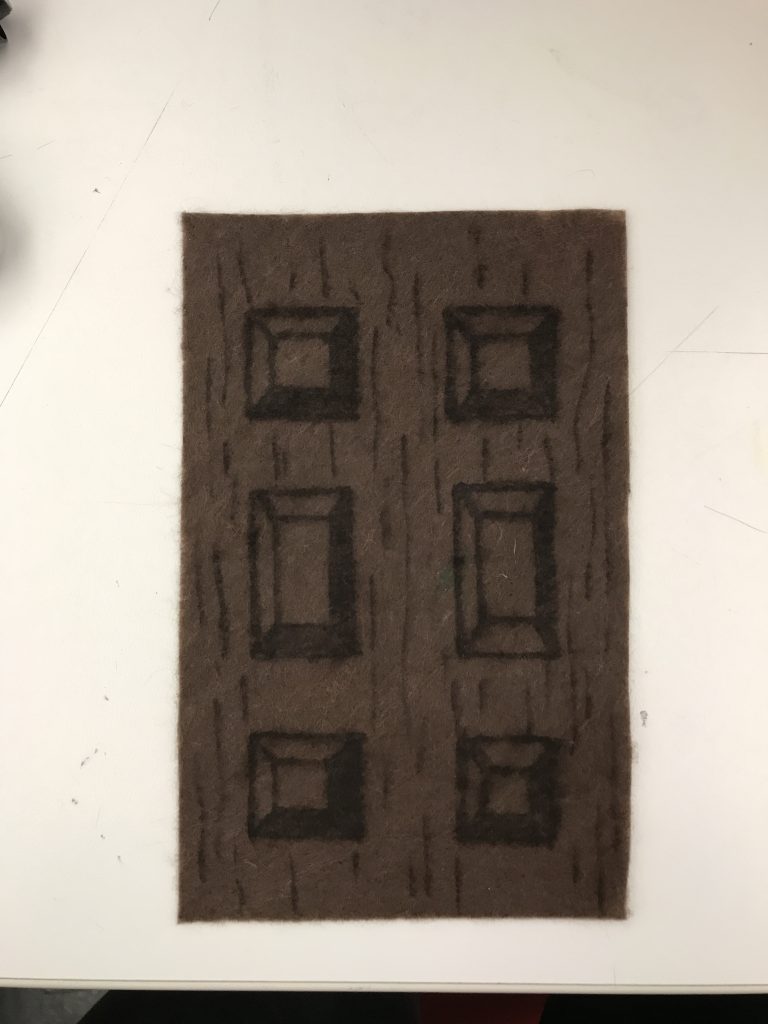
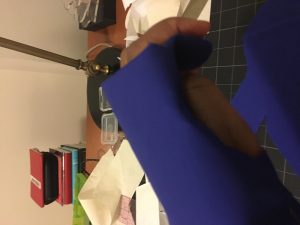
Step One: Cut shape to fit your and and arm (out of moleskin).
Step Two: I cut the shape out from the material you want to use.
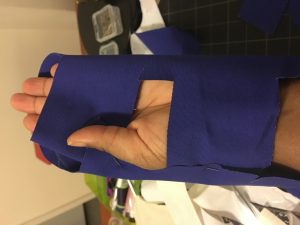
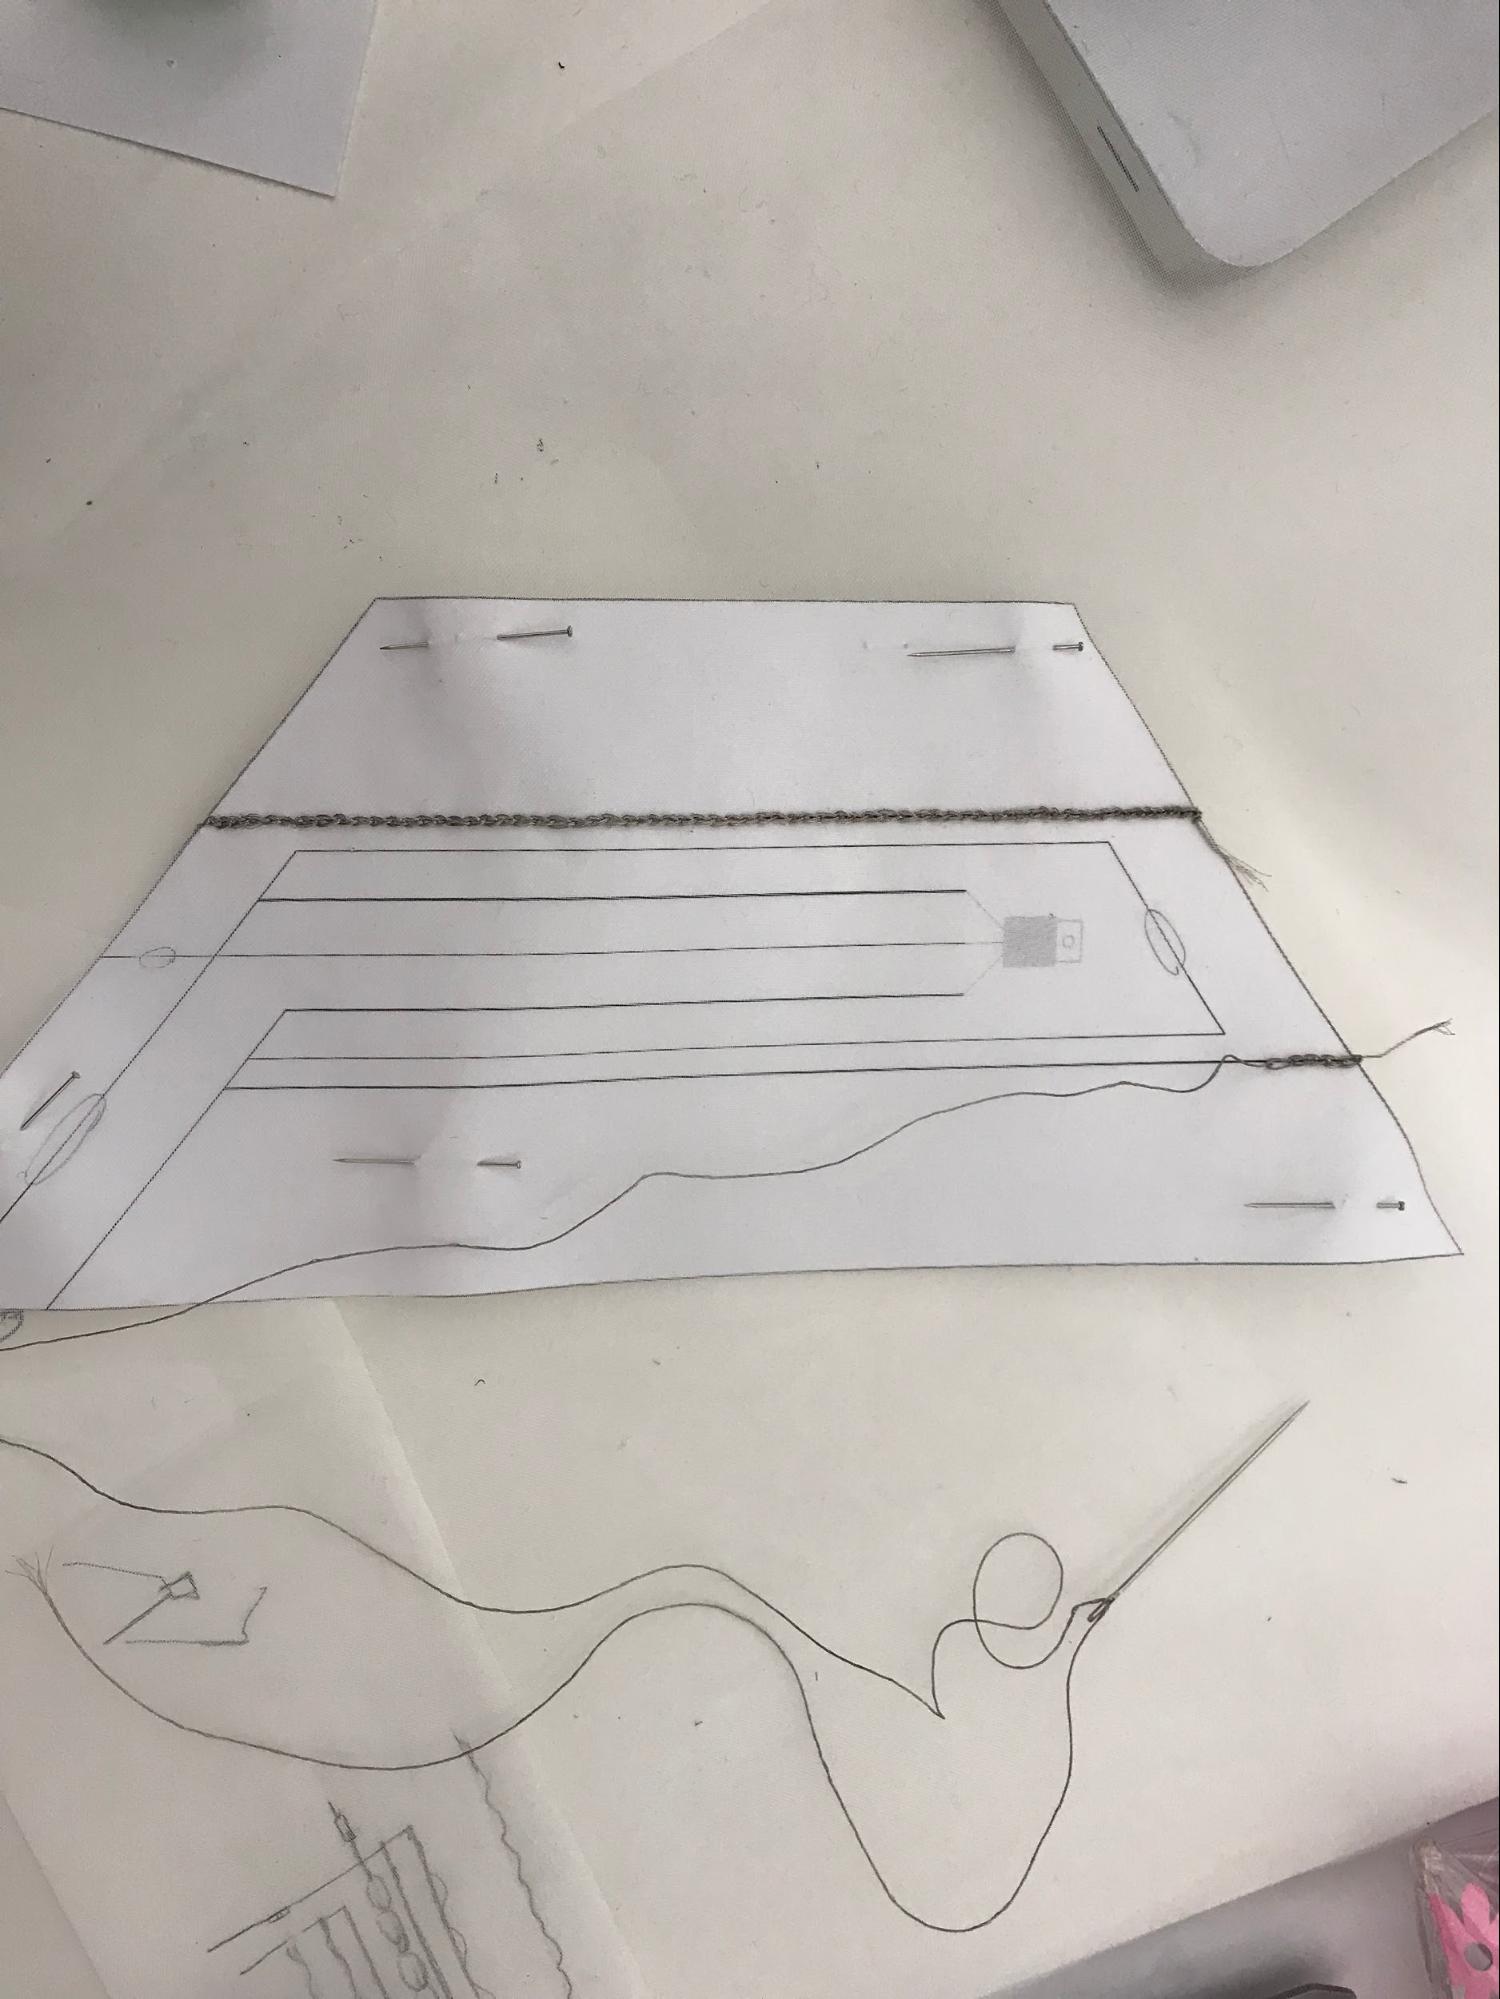
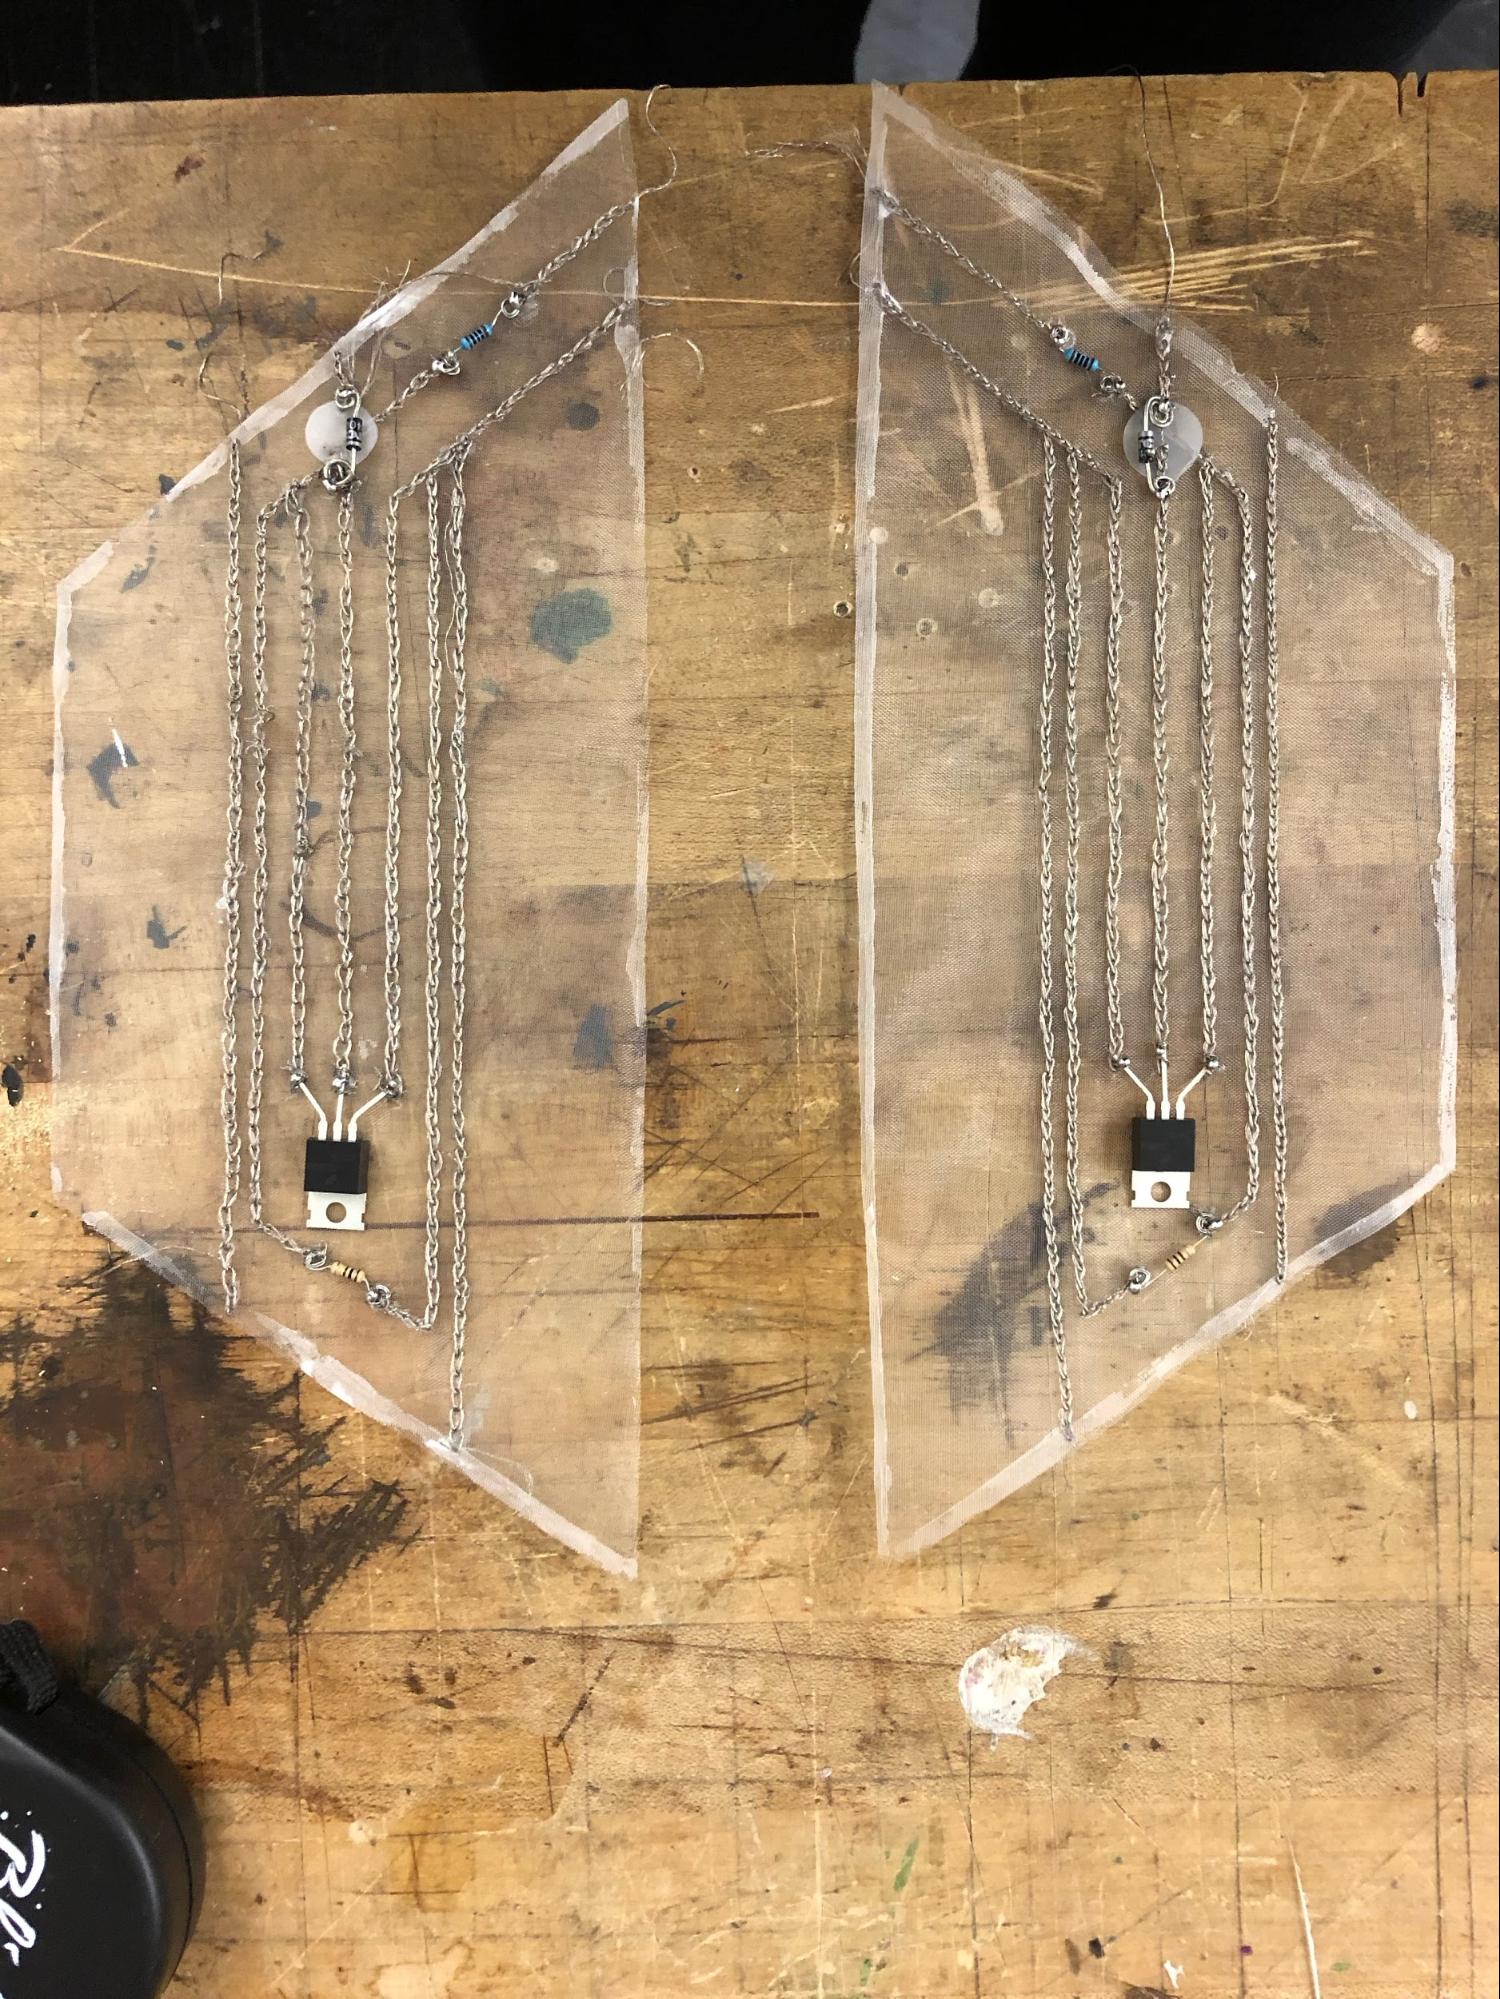
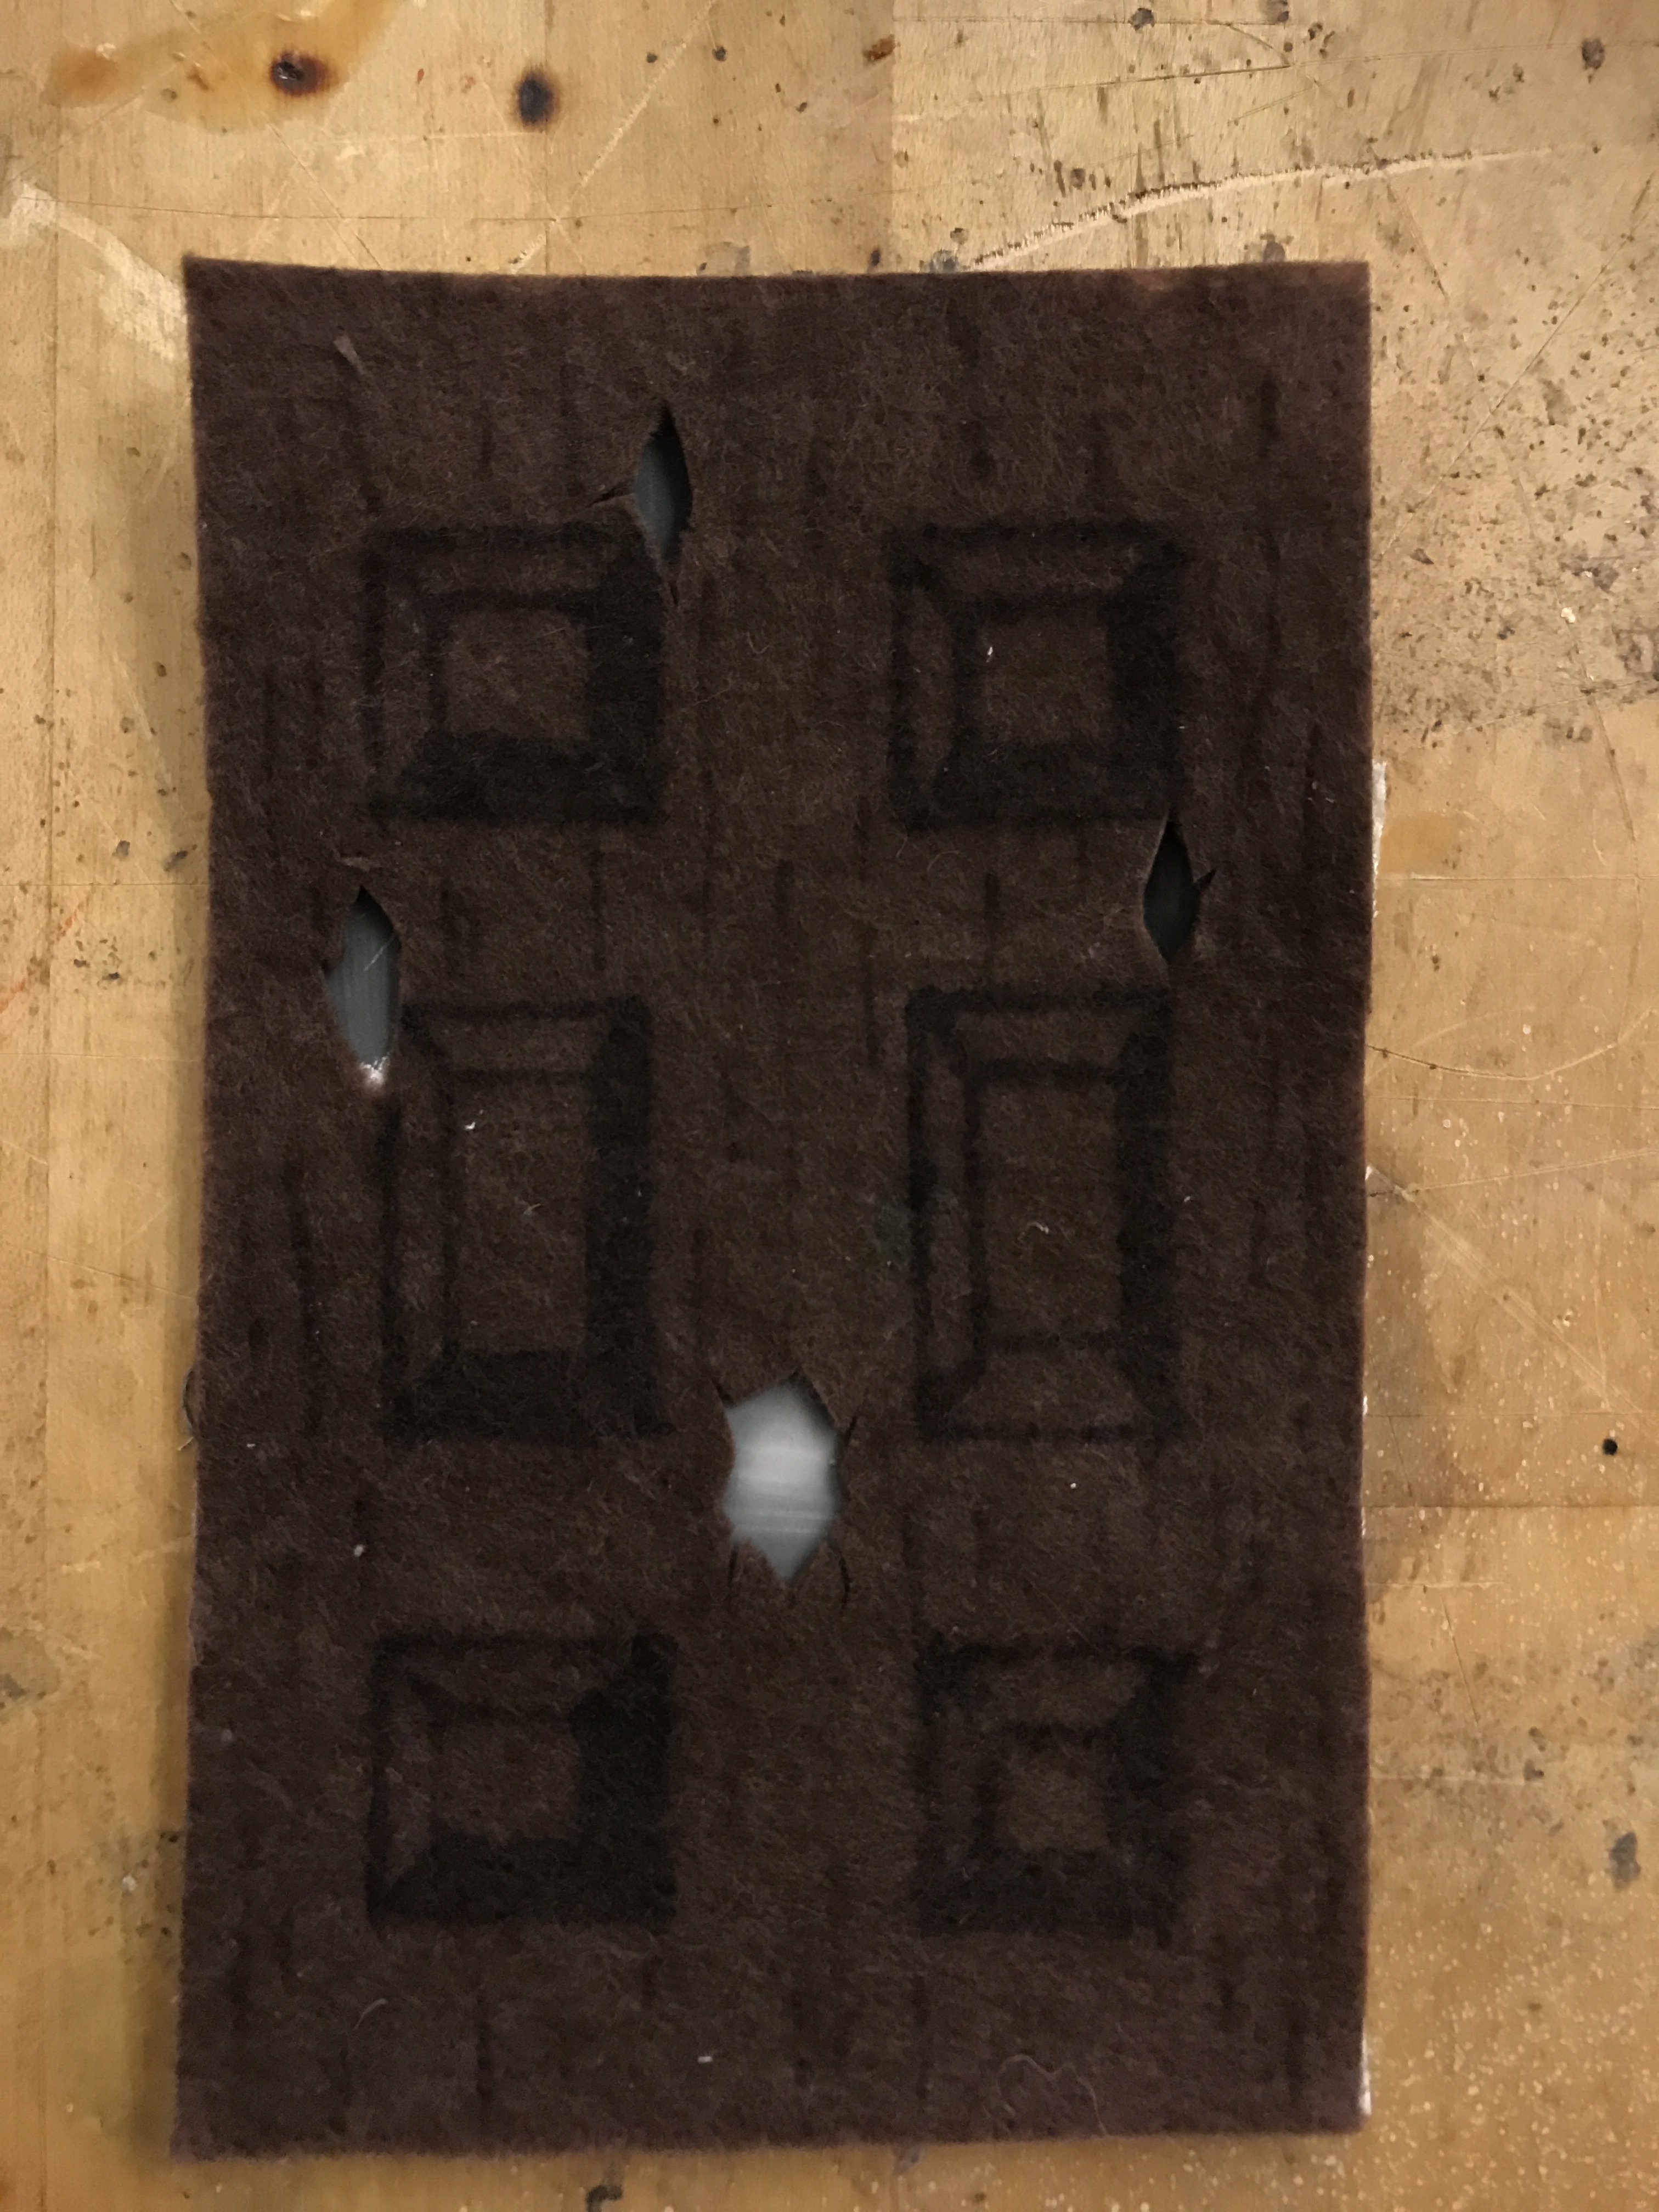
Step Three: Draw location for Neo Pixels
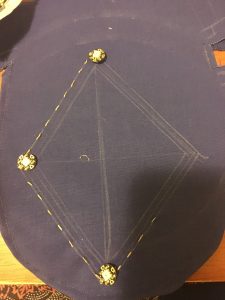
Step Four: Sew in Gemma
Step Five: Connect first neo pixel to gemma (continue the additional 3 neo pixels in the design you have created.
Step Six: sew resistor to gemma
Step Seven: sew in pressure sensor to gemma (the sensor should be located under the palm of the hand below the pinky)
Step Eight: Plug in Gemma and modify blink code based on pressure sensor
Step Nine: Add code that incorporates speaker

Step Ten: plug in 2 x 2032 Coin Cell Battery Holder – 6V output with On/Off switch (turn switch on to test)
————————–
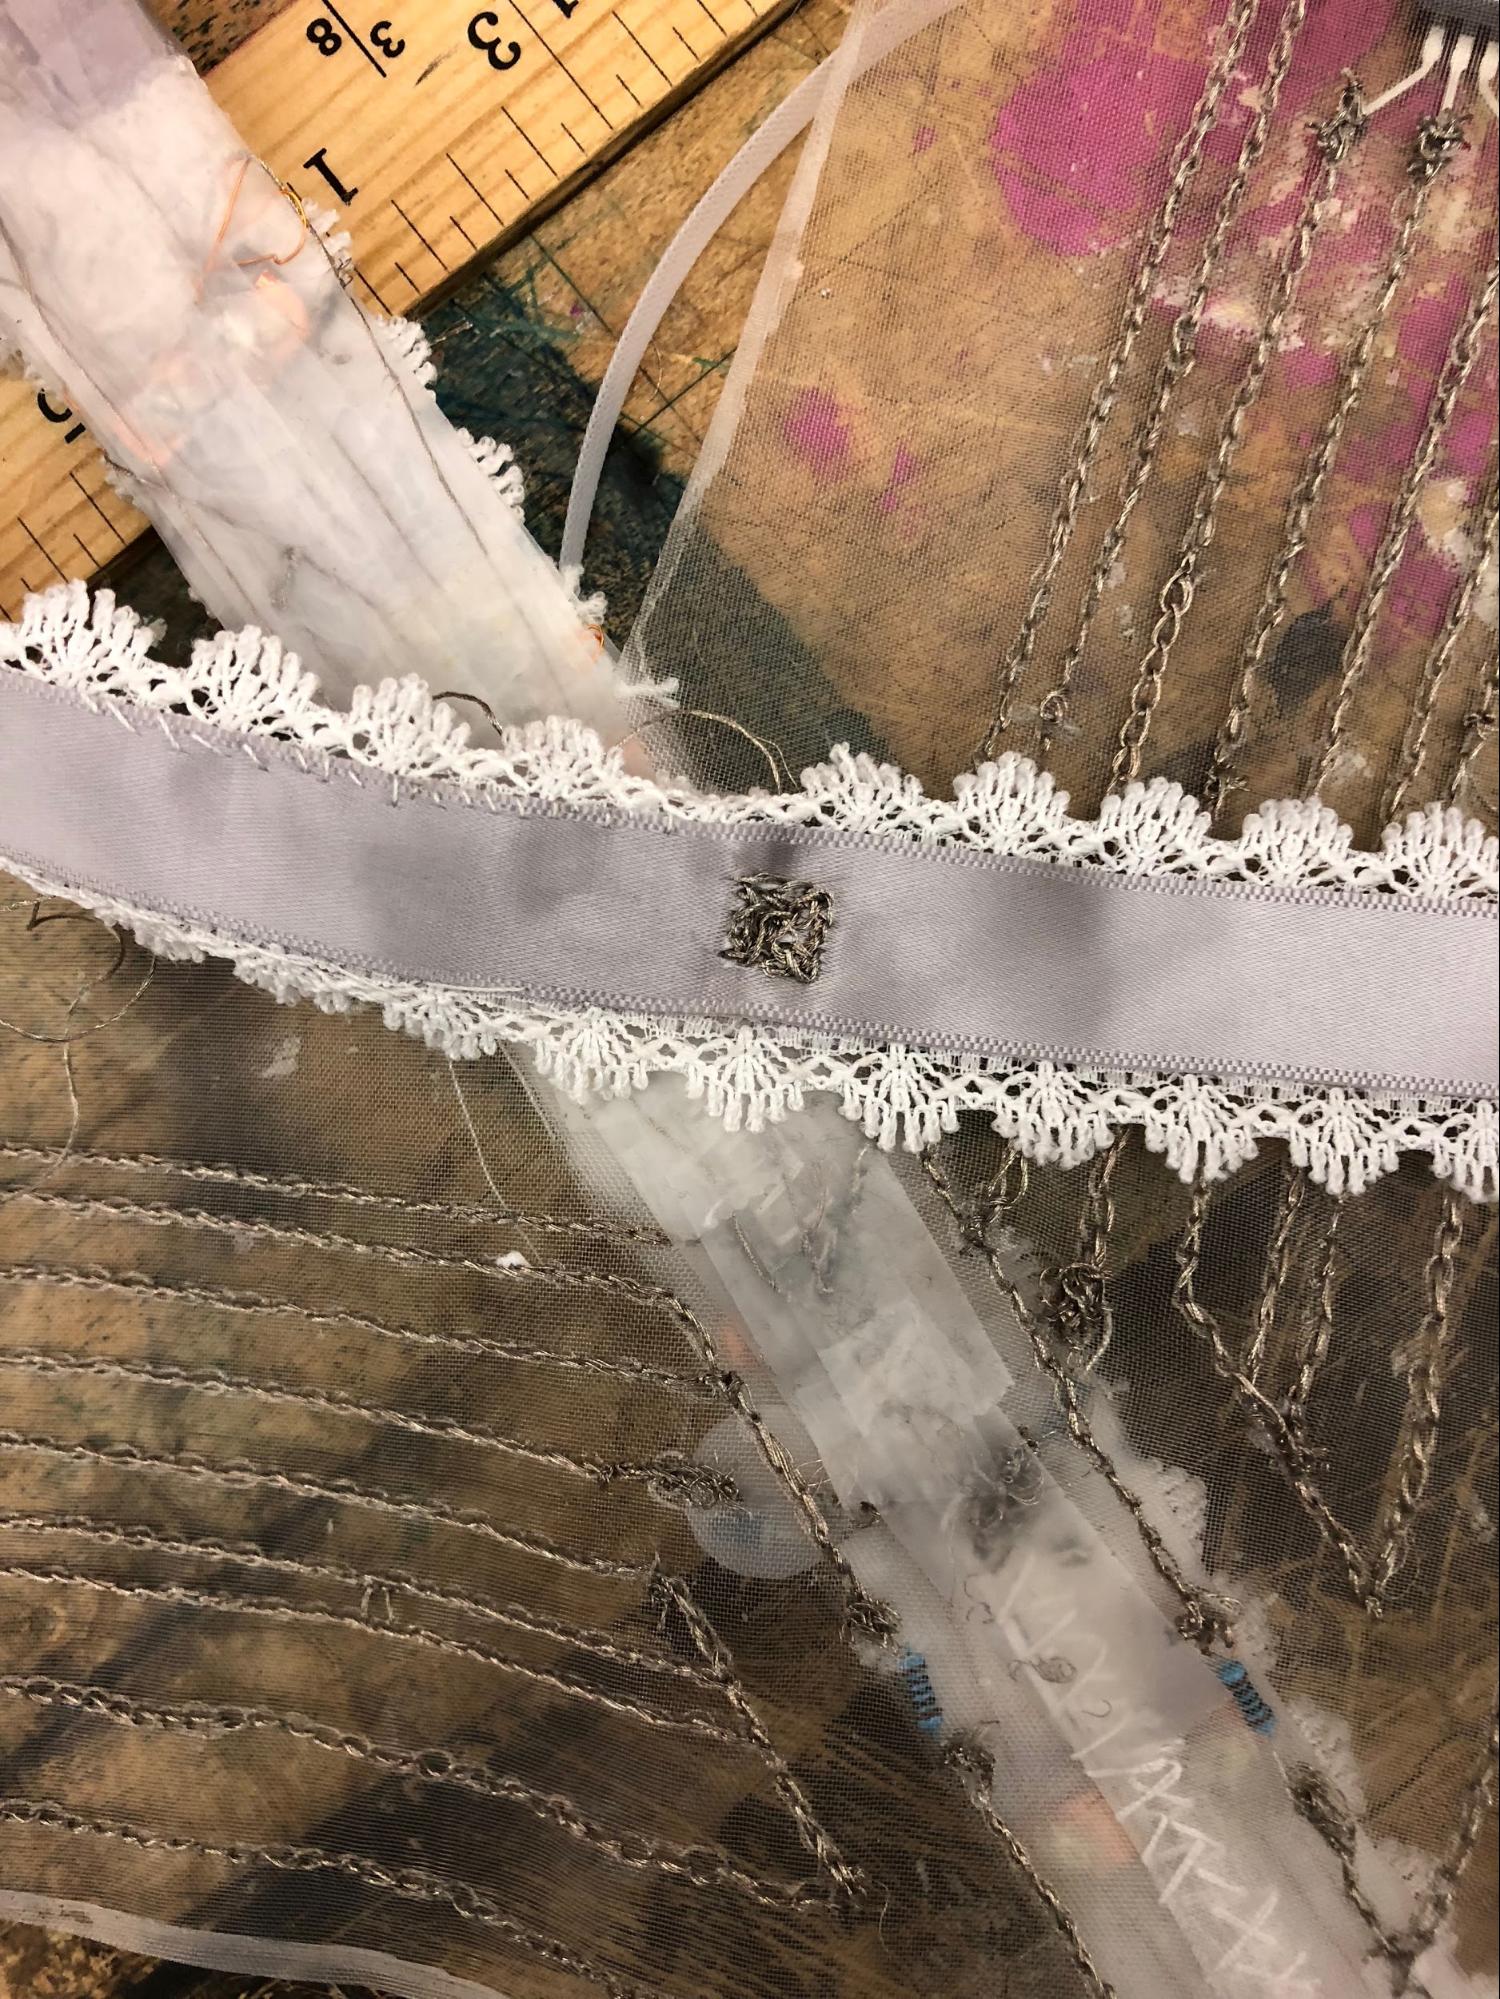
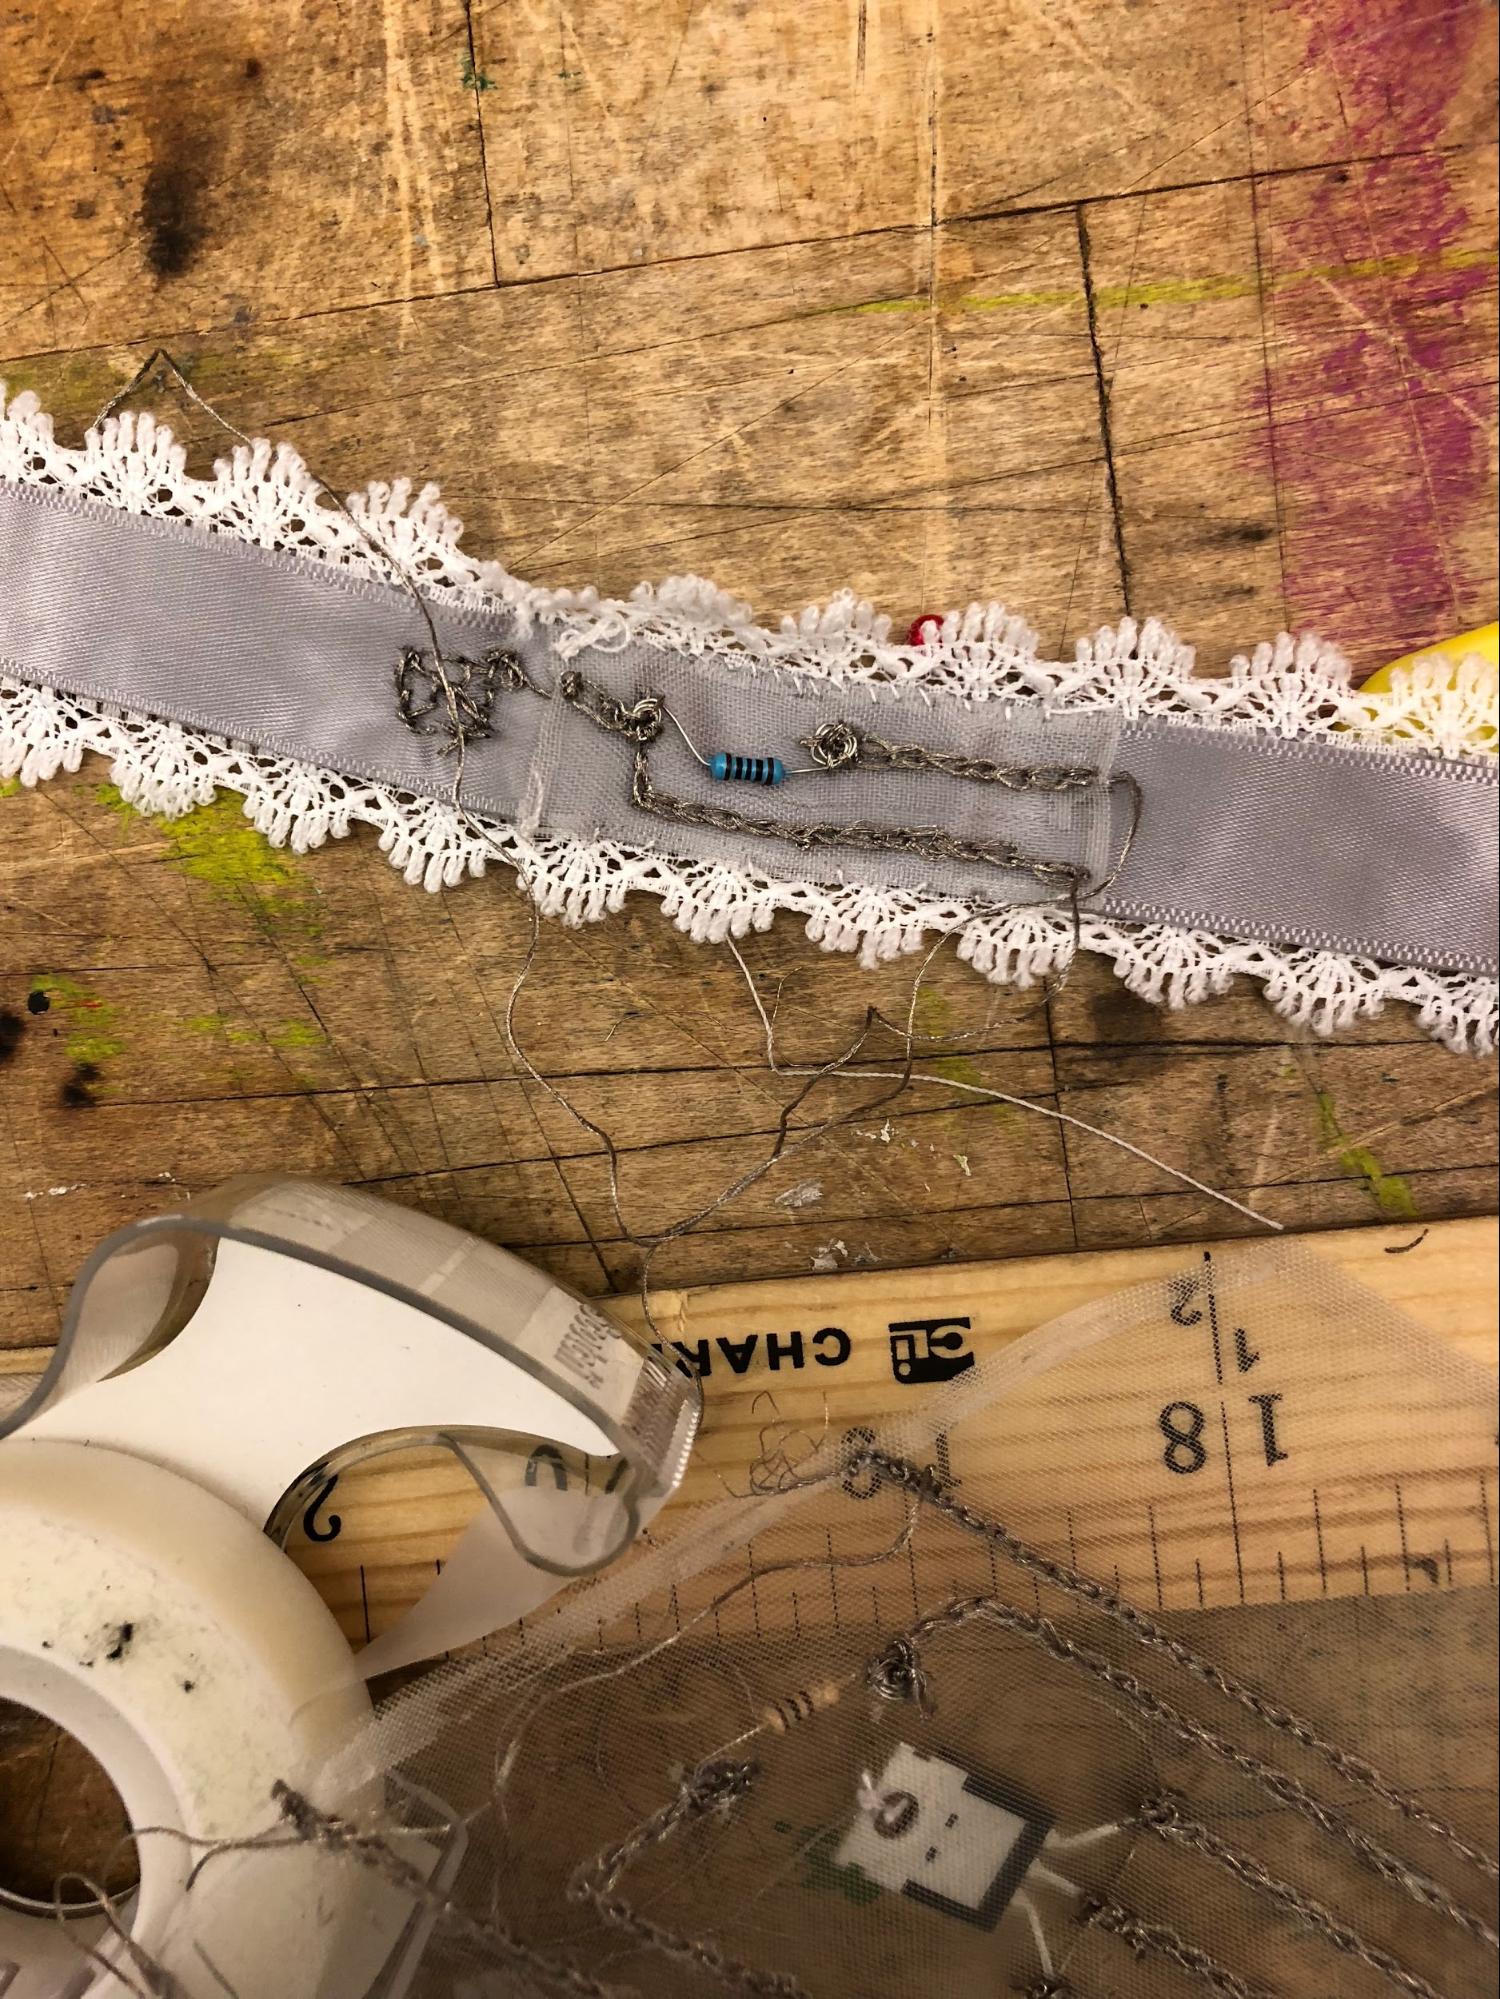
For the right hand second Bracelet
Step Eleven: curl ends of LEDS
Step Twelve: sew in LEDs in the design you have created
Step Thirteen: sew in 3V cell battery holder
Step Fourteen: sew in pressure sensor connect to positiveeside of battery holder (pressure sensor should be near the thumb
Step Sixteen: connect the other side of pressure sensor to negative side of battery
Step Seventeen: Place conductive copper tape for design
————————–
Test view the following video to see Demo:
When the pressure sensors meet the NEO Pixels and LED’s should react and glow brighter.
Challenges:
• sewing
• incorporating sound
• getting the code to match using two different sets of lights.
• figuring out where the short circuit is happening
Next Steps: Use a stiffer material or fabric.